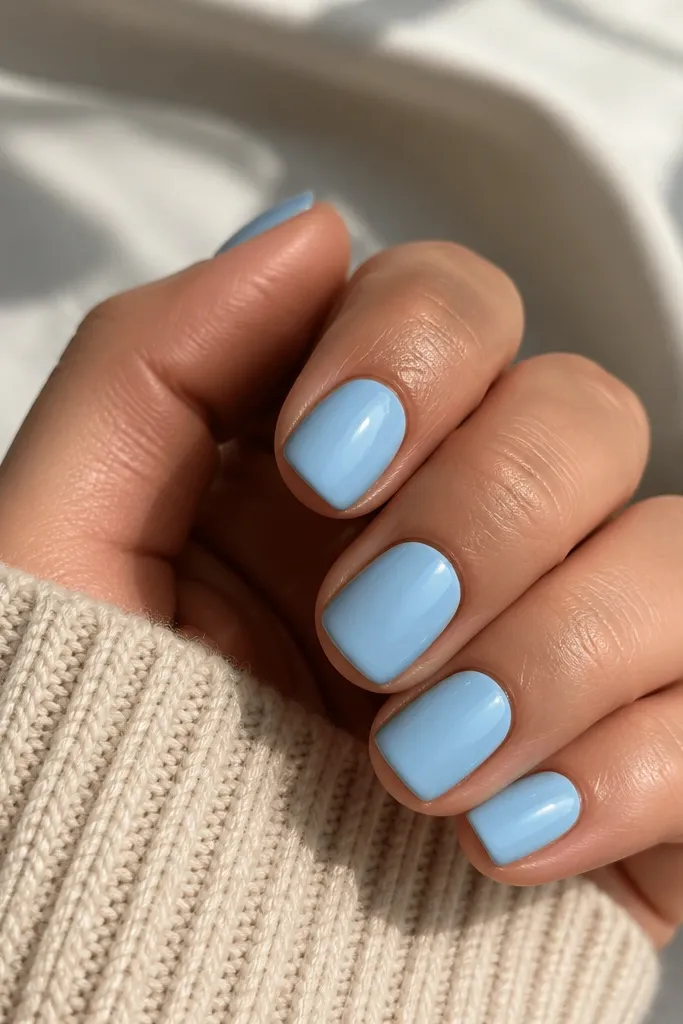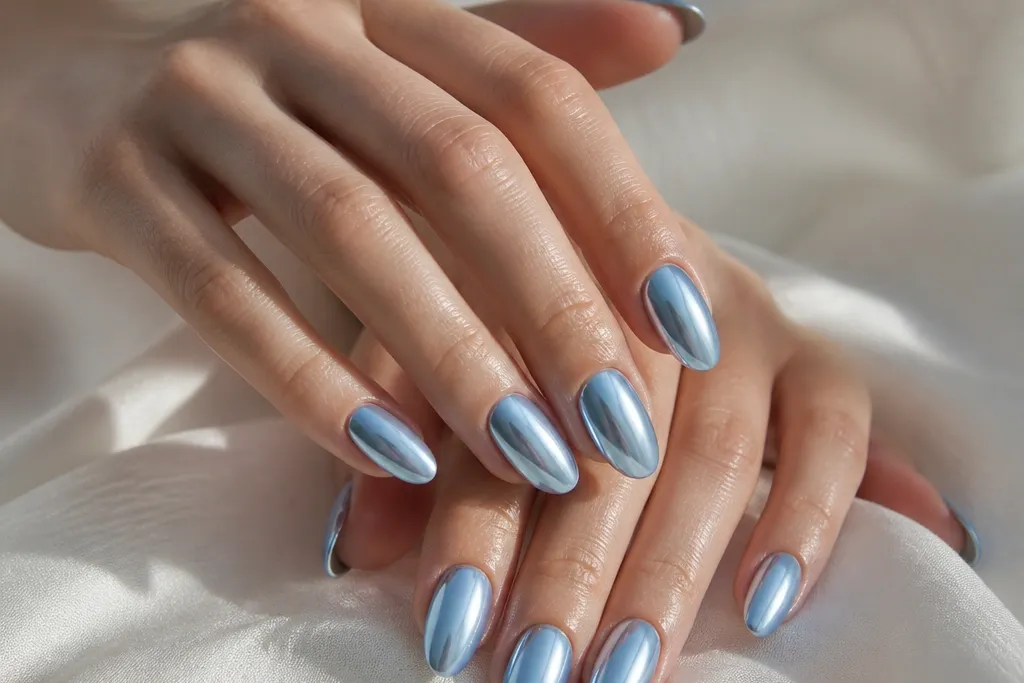
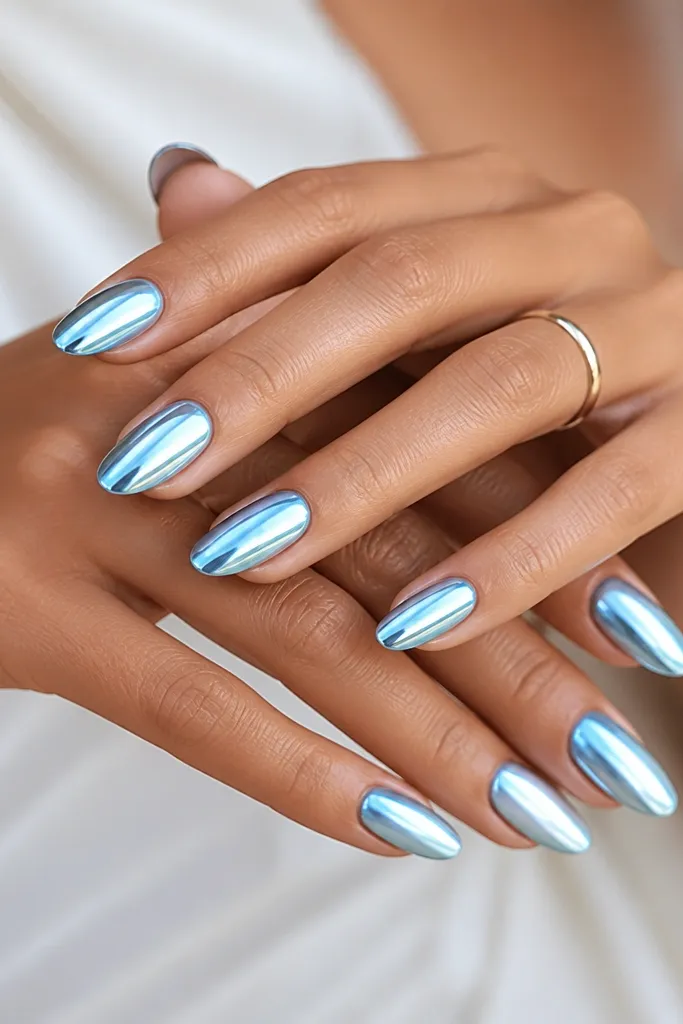
1. Icy Powder Sky Chrome on Short Squoval
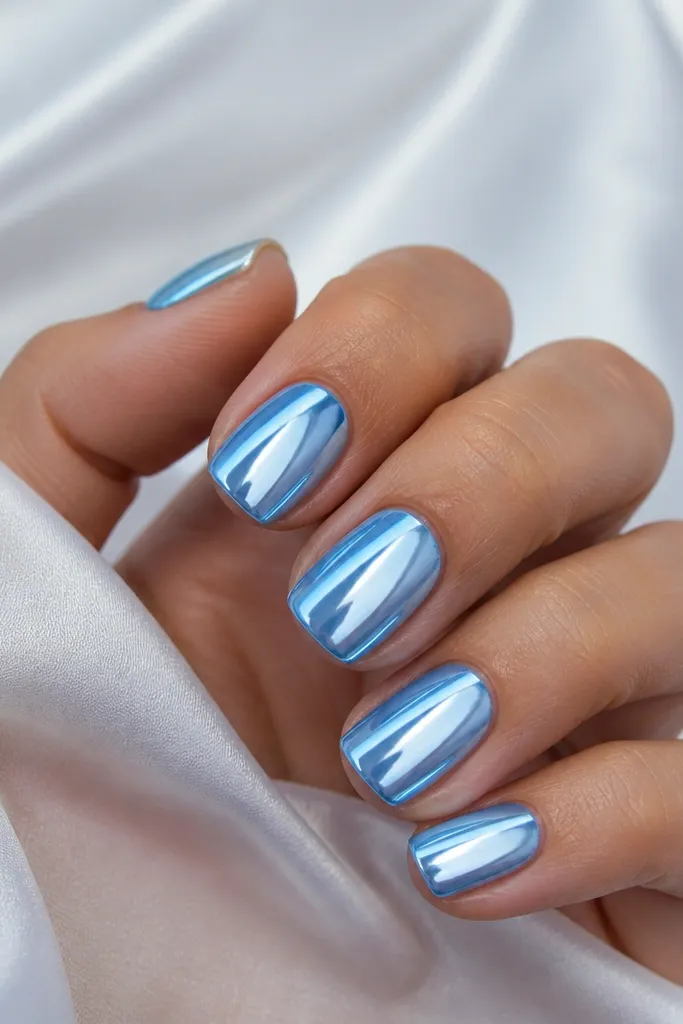
This is the "wet glass" look - a true icy sky blue under a silver-toned chrome so the reflection stays crisp. Short squoval helps the mirror finish read smooth instead of busy. The color stays bright in indoor lighting, not gray.
Use a powder sky blue gel base (think light, almost frosty) and apply chrome in thin passes. After curing, cap the free edge with the same glossy top coat you'll use on top. Aim for a 2-3 mm free edge on squoval so the chrome has a clean rim to reflect.
Pro tipIf you see streaks, buff lightly only on the top gel surface before chrome. Then wipe again with 70% isopropyl alcohol and reapply chrome with a sponge motion.
Watch outAvoid thick chrome - it lifts at the edges and creates cloudy patches.
2. Periwinkle Sky Chrome with a Silver Cuticle Halo
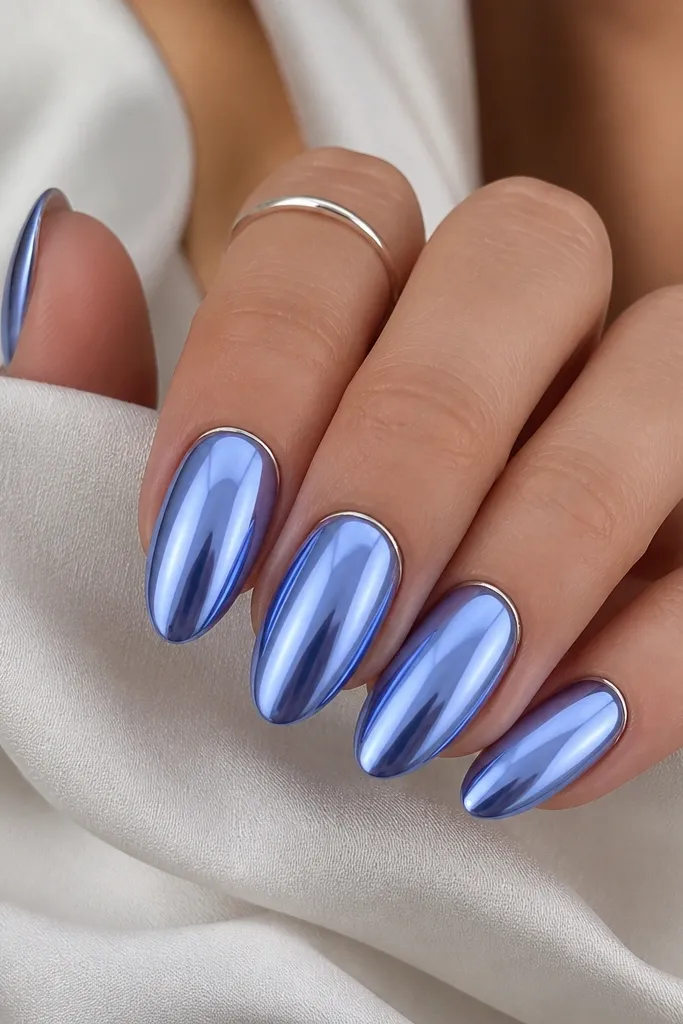
Periwinkle makes chrome look softer and more "dreamy" in photos, especially with a silver halo that frames the cuticle. The halo gives you structure so the color reads intentional even when the nails are full chrome. The contrast is subtle, but it keeps the look from blending into one flat shade.
Paint the nail with periwinkle gel, cure, then apply chrome. For the halo, use a fine liner brush with a silver chrome pigment or loose chrome pressed into a gel strip 1 mm wide near the cuticle. Cap with glossy top coat and keep the halo line under the same top coat layer for a smooth feel.
Pro tipUse a cuticle pusher to clean around the edges right after you cure the halo gel. That one cleanup step makes the halo look crisp instead of messy.
Watch outDon't drag gel from the halo into the cuticle - it makes the line look thick and sloppy.
3. Two-Tone Sky Chrome Ombré Fade
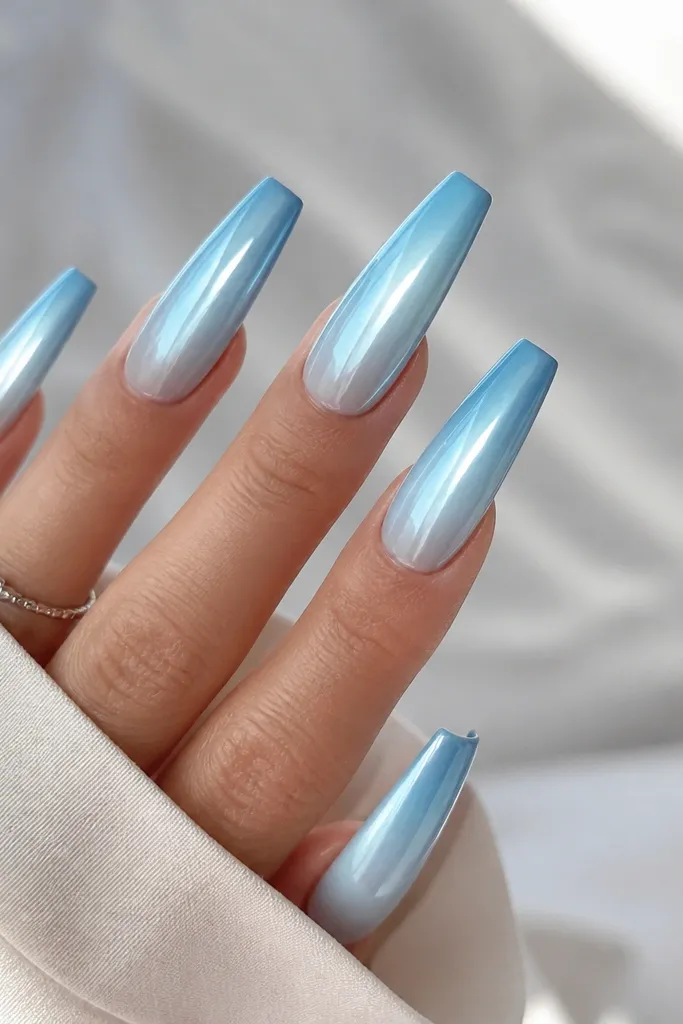
A sky-blue-to-sky-blue ombré looks extra high-end because the chrome reflects each shade differently. The fade gives dimension even though chrome is reflective. I like deeper tips because they keep the nails looking grounded instead of washed out.
Start with pale sky blue gel at the base, then sponge in a slightly deeper sky blue at the tips. Cure each layer to prevent bleeding, then apply chrome over the whole nail. Blend the sponge edges with a very light second sponge pass so the transition stays soft.
Pro tipWipe the sponge area with alcohol on a lint-free wipe before curing. It reduces fuzzy edges that can show up under mirror chrome.
Watch outAvoid a hard ombré line - chrome makes it look like a sticker seam.
4. Baby Blue Chrome Tips with Clear Jelly Base
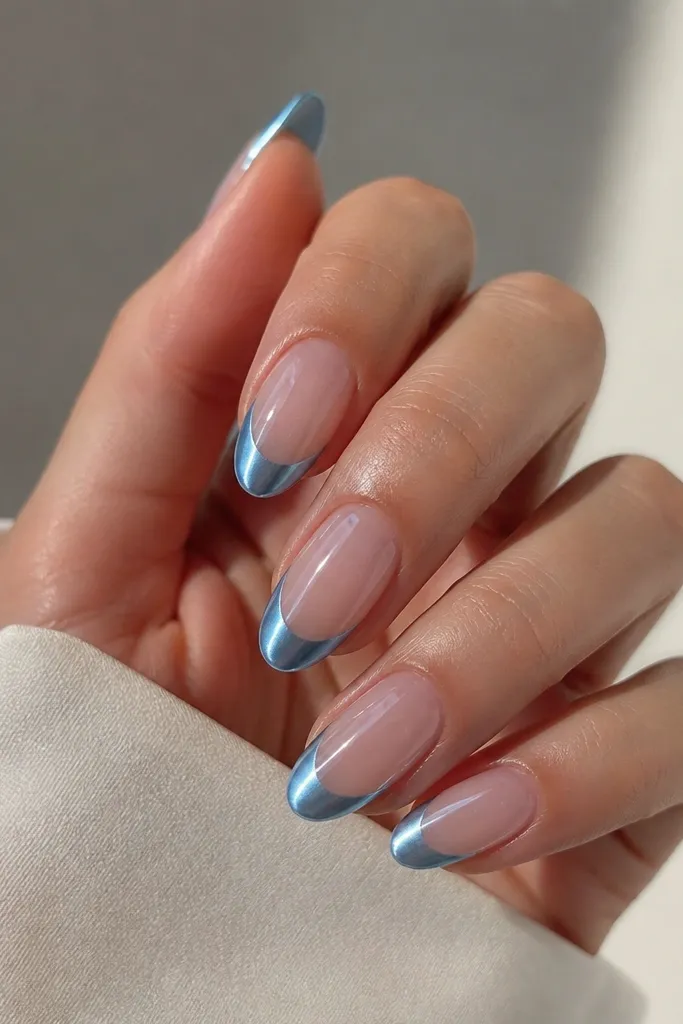
This one reads fresh because the clear base lets your natural nail color and skin tone show through, and the chrome tips do the work. The contrast between see-through jelly and mirrored baby blue makes the chrome look extra sharp. It's also easier to maintain since regrowth doesn't ruin the design.
Use a clear jelly builder gel base and cure. Create a French tip with baby blue gel, cure, then apply chrome only on the tip zone. Cap the tip and the smile line with glossy top coat so the curve feels smooth to the touch.
Pro tipKeep the French curve slightly flatter than you think - chrome shows every wobble.
Watch outDon't apply chrome to the clear base - it can make the nail look cloudy instead of glass.
5. Sky Chrome with Micro Star Dust Overlay
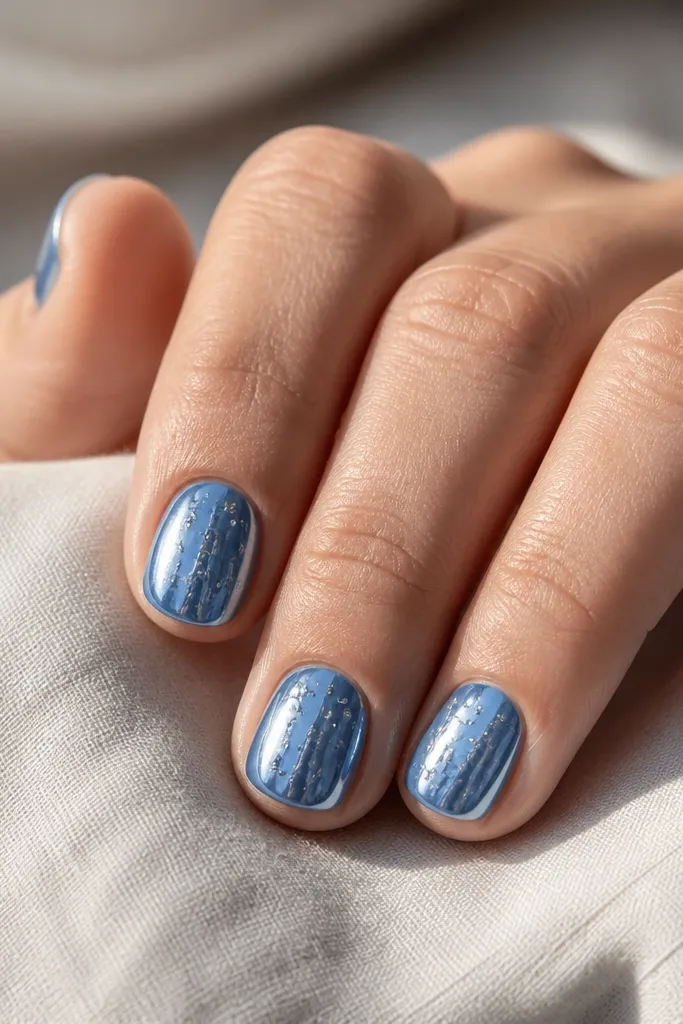
Micro stars break up the mirror reflection without turning the nail into heavy glitter. The key is star dust placed lightly so it reads like "sparkle in the sky," not confetti. Because the base is full chrome, the stars look like they're floating.
Apply sky blue gel, cure, chrome the nail, then place a few tiny star decals or micro glitter in a light gel tack zone. Cure again and finish with glossy top coat. Keep stars mostly toward the center to prevent the design from looking crowded near the cuticle.
Pro tipPress decals down with a flat silicone tool so they don't lift under top coat.
Watch outAvoid chunky stars - they dull the mirror reflection around them.
6. Sky Chrome with Thin White Cloud Lines
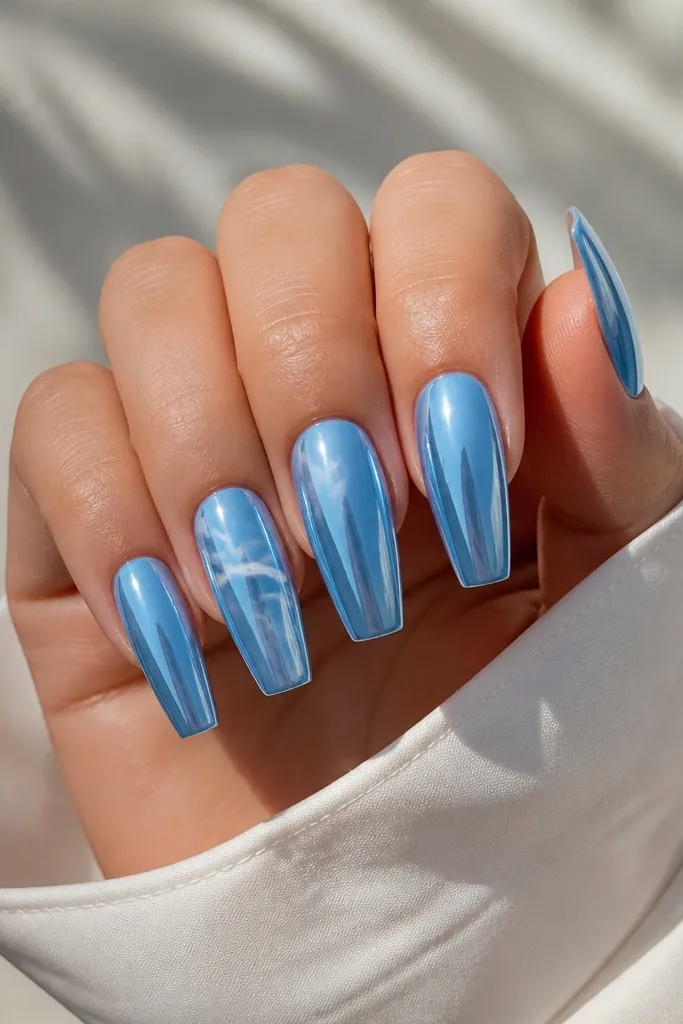
White line art over mirror chrome looks clean and modern because the lines stay crisp against the reflective background. The cloud shape adds a soft, airy theme without adding bulk. I like placing lines diagonally so the reflection doesn't look like it's blocked in one spot.
Chrome the nail first. Then use a striping gel or white acrylic paint mixed with a tiny drop of clear gel to get a smooth line. Cure carefully, apply glossy top coat, and cap the edges of the white lines so they don't catch on hair or fabric.
Pro tipUse a liner brush with a tiny bead of gel - too much gel makes the cloud edges look blobby.
Watch outDon't outline clouds with thick gel - it turns the look into cartoon clouds.
7. Blue Chrome Marble with Clear Vein Map
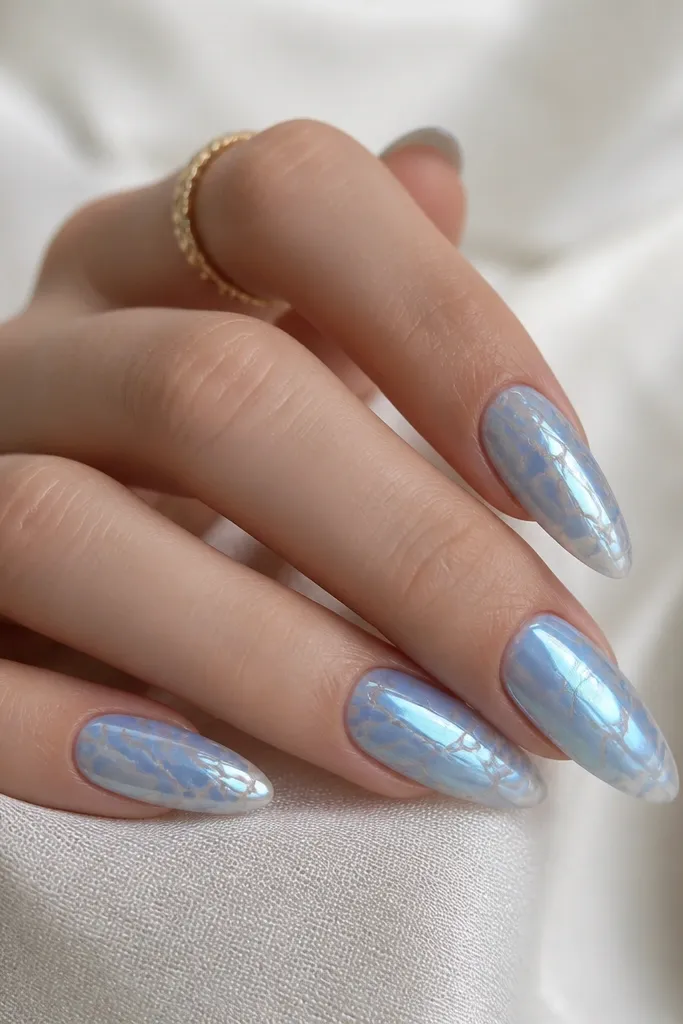
Marble works because the chrome reflects different planes, so the "veins" feel like depth. Clear veins keep the sky blue from getting muddy and make the design look airy. This is the closest chrome can get to a glass-marble effect without using bulky stones.
Start with a sky blue base, cure, then drag a clear gel vein using a small dotting tool. Add a second thin sky blue layer in irregular swirls, cure again, then apply chrome over the whole nail. The clear veins should remain mostly transparent under chrome, so don't over-press chrome into them.
Pro tipUse a light hand when applying chrome - press only enough to coat the blue areas.
Watch outAvoid heavy marble swirls - chrome will blur them into one big patch.
8. Sky Blue Chrome with Pearlized Micro Dot Gradient
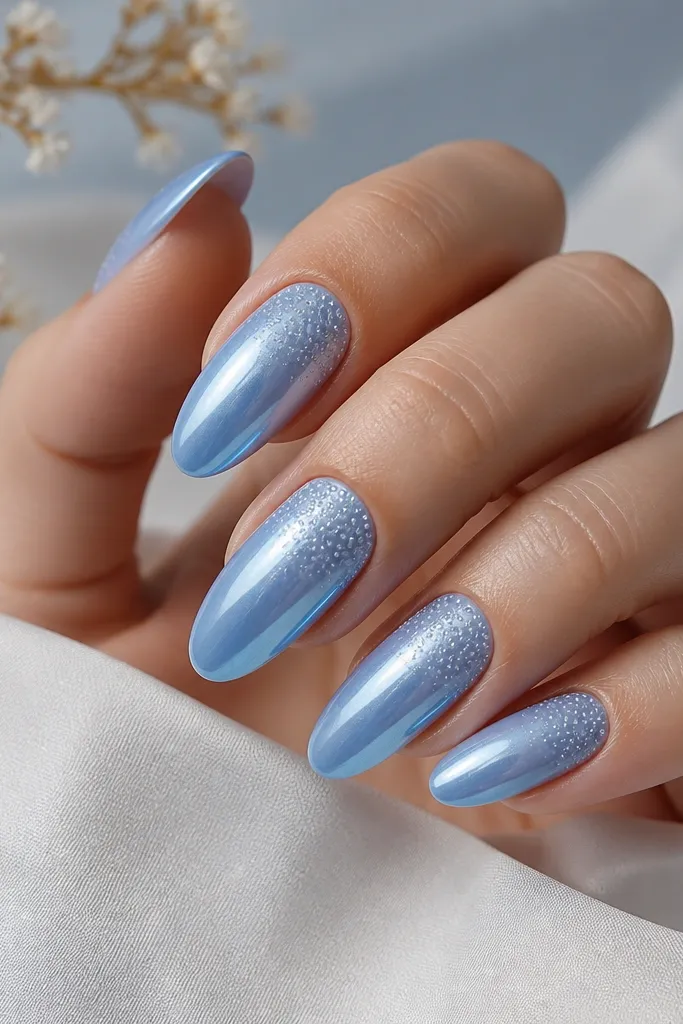
Pearl micro dots give a soft highlight that plays nicely with chrome. The gradient placement makes the nail look lifted at the cuticle and smoother down the length. It also makes sky blue look more "jewelry" and less like plain polish.
Chrome the nail first, then create dots with a dotting tool dipped in pearl gel or pearl pigment mixed with clear gel. Place the densest dots at the cuticle line and thin them out every 2-3 mm down the nail. Cure, then finish with a thick glossy top coat for a smooth glass surface.
Pro tipCount your dot rows. Three to four dot rows near the cuticle looks intentional; five-plus rows can look like a rash.
Watch outAvoid big dot sizes - they catch light harshly and ruin the chrome mirror look.
9. Metallic Sky Chrome Half-Moon Cuticle
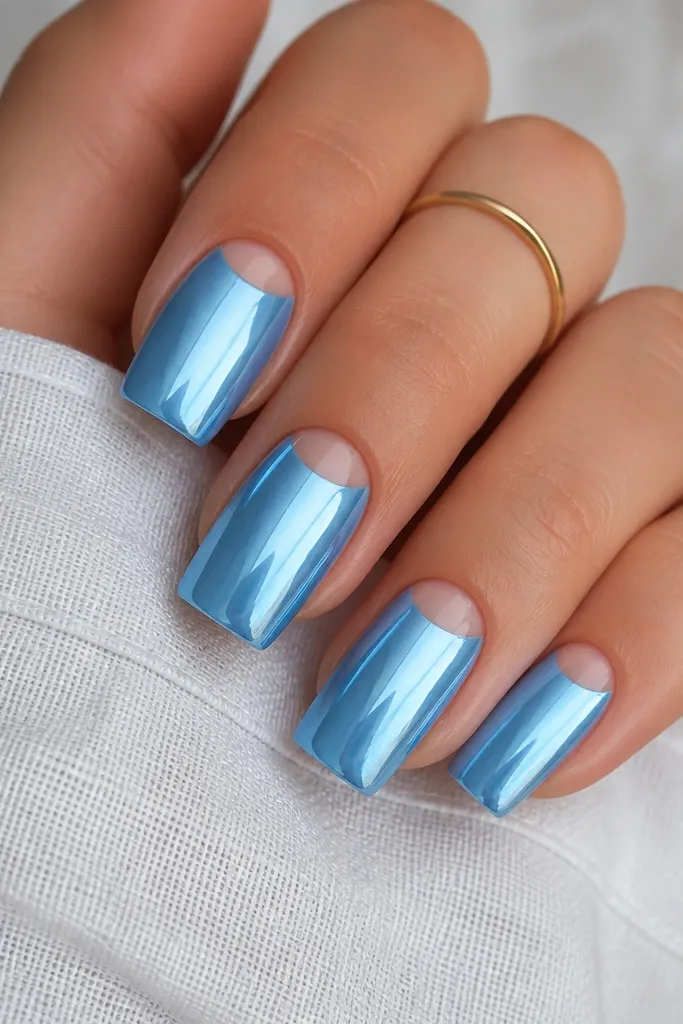
The half-moon cuticle negative space makes chrome feel graphic and tailored. It also gives your eye a break from full mirror reflection, so the nails look clean instead of too mirror-heavy. The sharp edge is what makes it look salon-done.
Paint a clear or nude gel at the cuticle area in a half-moon shape, cure. Apply sky blue gel over the rest of the nail, cure, then chrome coat only the blue area. After curing, top coat over everything but keep the half-moon line smooth by capping carefully around the edge.
Pro tipUse a small curved stencil for the first try. Freehand works after you see the shape once.
Watch outAvoid smudging chrome onto the negative space - it kills the crisp half-moon.
10. Sky Chrome with Thin Diagonal Foil Stripe
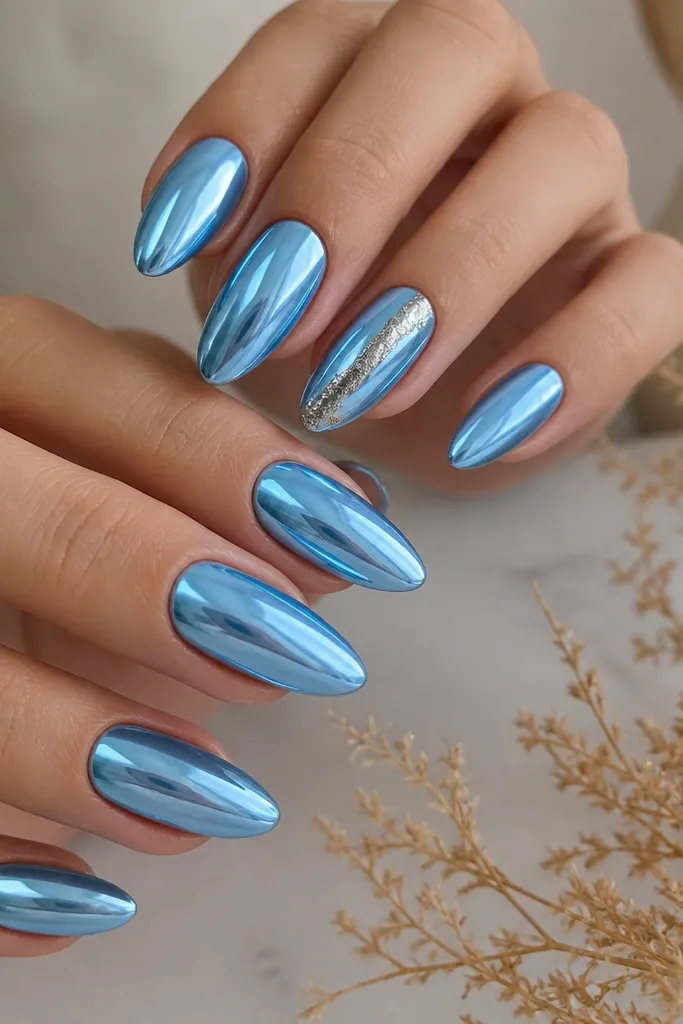
Foil stripes add a "camera flash" effect because foil reflects differently than chrome powder. Diagonal placement makes the nail look longer and keeps the design from feeling flat. Silver works best with sky blue chrome because it keeps the undertone cool.
Chrome the nail first. Then add a small strip of gel adhesive on the diagonal line, cure, and press thin silver foil onto it. Seal with glossy top coat and make sure the stripe is fully covered so it doesn't snag on sweaters.
Pro tipTrim foil slightly inside the nail edges so it doesn't lift at the corners.
Watch outAvoid wide foil stripes - they overpower the sky blue and look heavy.
11. Holographic Sky Chrome with Rainbow Edge Catch
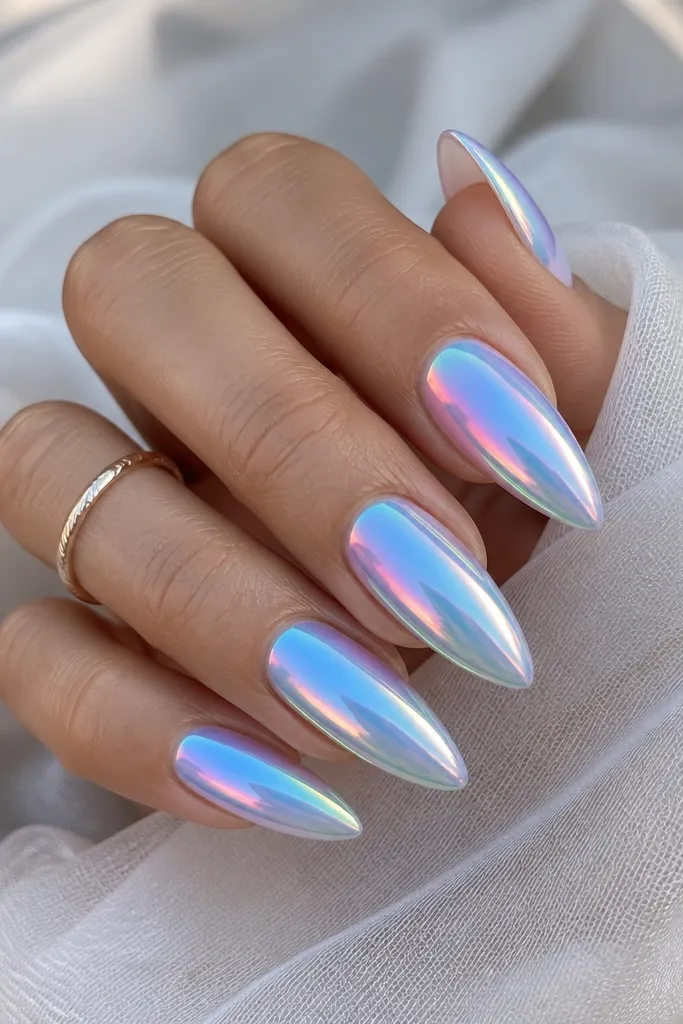
This look uses chromes that have a holographic shift layered over sky blue. Under light, the edges catch rainbow tones while the center stays sky. It's the best option when you want chrome to feel fun but still wearable.
Apply a stable sky blue gel base, cure, then apply a holographic chrome product with a light press. Focus on coating the sidewalls and free edge areas so the shift shows where light hits most. Finish with a glossy top coat that stays clear and doesn't add tint.
Pro tipAngle your nails under a lamp while curing. If the rainbow shift is too strong, use less holographic chrome and cap sooner.
Watch outAvoid thick holographic layers - they can look grainy instead of glassy.
12. Sky Blue Chrome with Matte Top Half Contrast
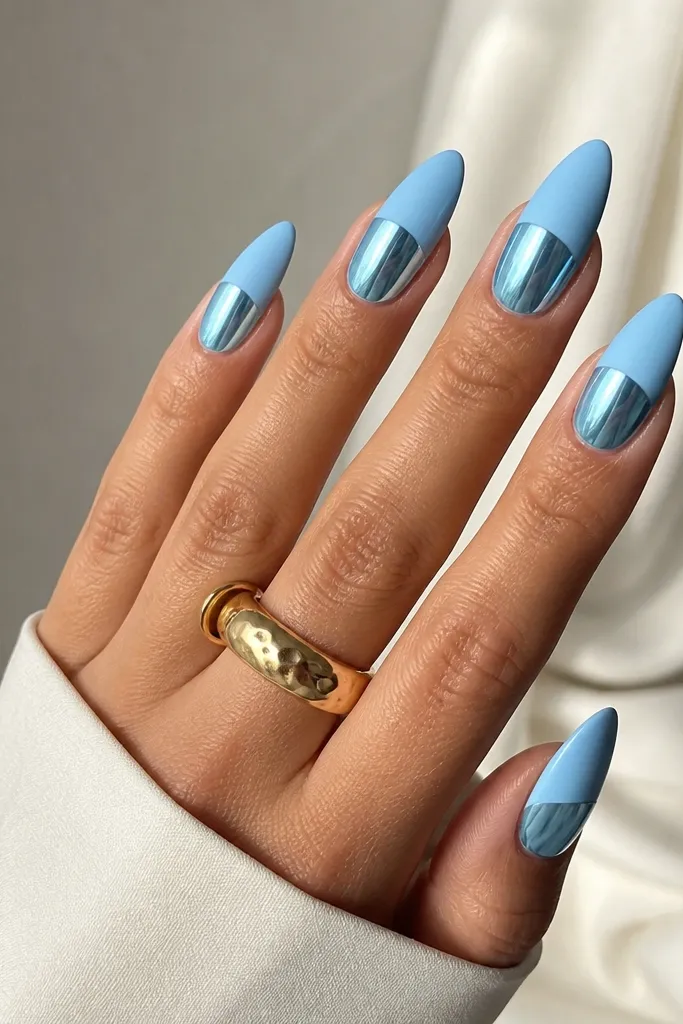
This contrast makes chrome feel intentional, not plain. The matte top half kills glare while the glossy bottom keeps the "sky glass" vibe. The horizontal line gives you a modern shape that looks good on photos from above.
Chrome the entire nail first for the base effect. After curing, apply a matte top coat only to the upper half using a striping tape guide. Cure the matte layer, then avoid adding more glossy top coat over the matte area unless you want it to lose the matte finish.
Pro tipUse thin tape and press it down hard along the line. Tiny gaps create a fuzzy boundary.
Watch outDon't mix matte and glossy on the same layer - you'll get a patchy sheen.