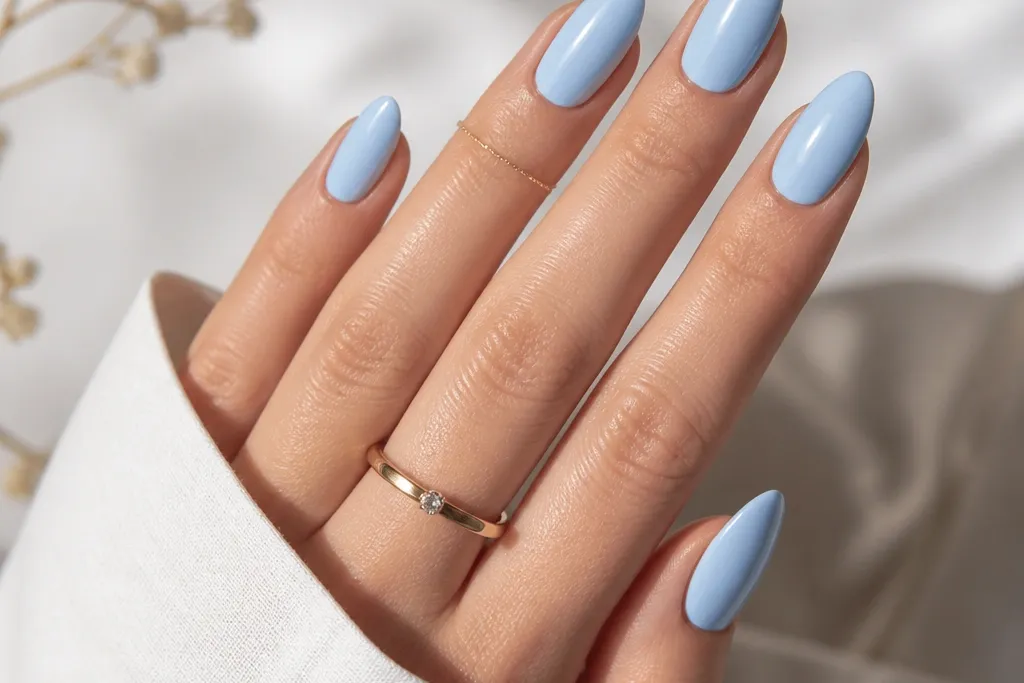
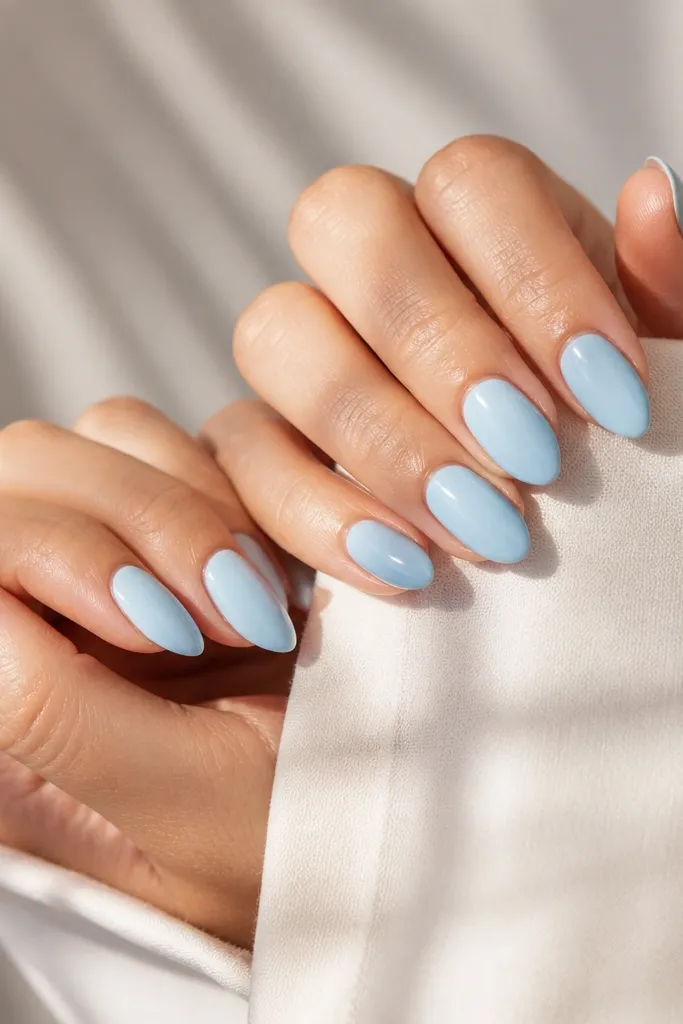
1. Icy Sky Cap Tips With Clear Base
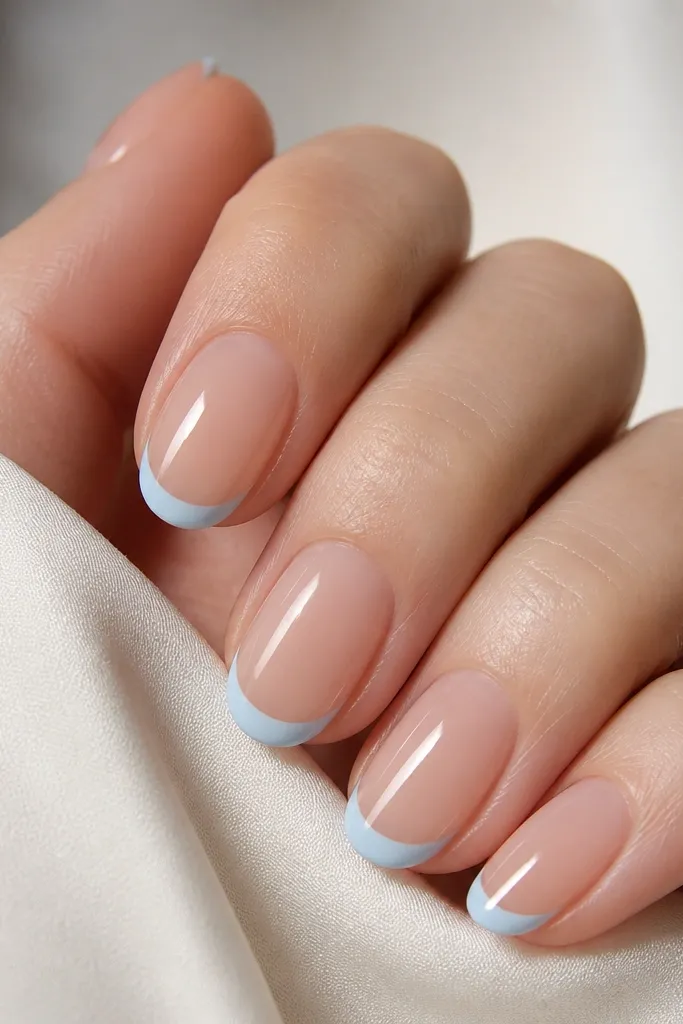
This look stays in style because the sky blue is concentrated where chips happen - the free edge. A clear or nude base keeps the nails from looking heavy as your nail grows out, and the sky blue cap reads clean even with minor length change. Icy tones also photograph crisp under both warm and cool lighting.
On a medium almond shape, paint a thin nude/clear base coat, cure, then add sky blue only on the tip edge. Keep the cap about 2 mm wide from the free edge inward. Finish with a high-gloss top coat and make sure you cap the very edge with gel so it doesn't lift.
Pro tipIf your sky blue gel looks streaky, mix it with a drop of clear gel (same brand) and apply in two thin coats instead of one thick coat.
Watch outDon't drag the sky blue up the sidewalls - thick edges lift first.
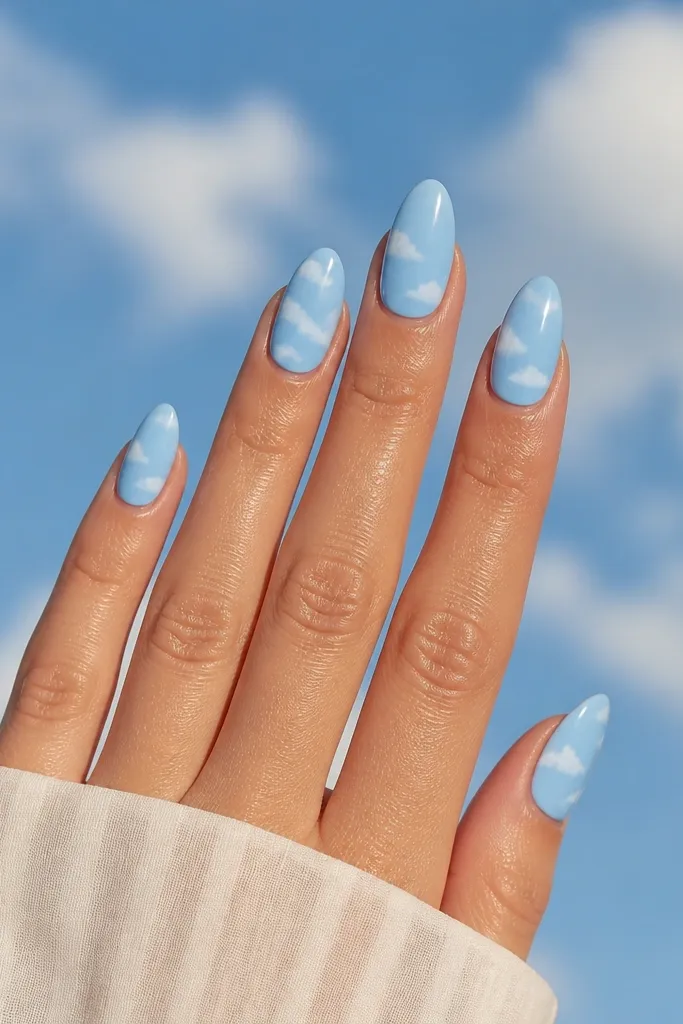
2. Sky Blue Cloud Line Over Nude
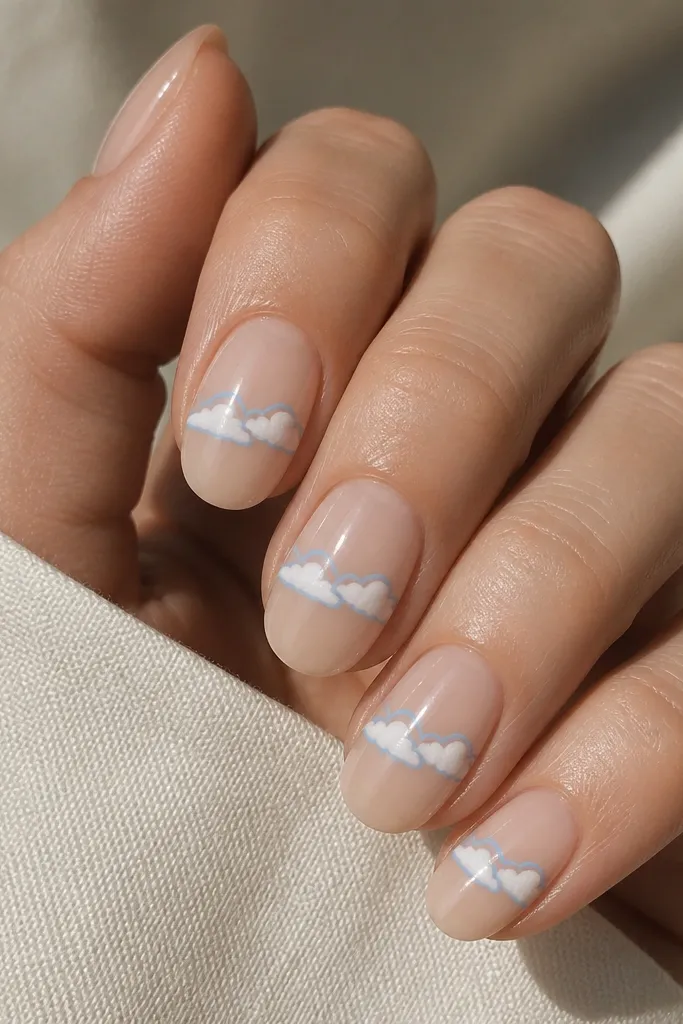
Cloud lines make growth look like a design because the "horizon" stays centered. The nude base reduces the chance of patchiness, and the sky blue outline stays readable even when the nail grows. It also hides tiny texture since the art is drawn in thin lines.
Start with nude builder gel or nude soak-off gel. Cure, then draw a sky blue horizontal line at mid-nail using a fine striping brush. Add small white cloud puffs inside the line, keeping spacing consistent across nails.
Pro tipCure each nail for a full cycle after line work, then top coat twice only on the art zone.
Watch outAvoid chunky cloud puffs - thick gel clouds trap lint and chip at the edges.
3. Matte Powder Sky With Micro-Glitter Fade
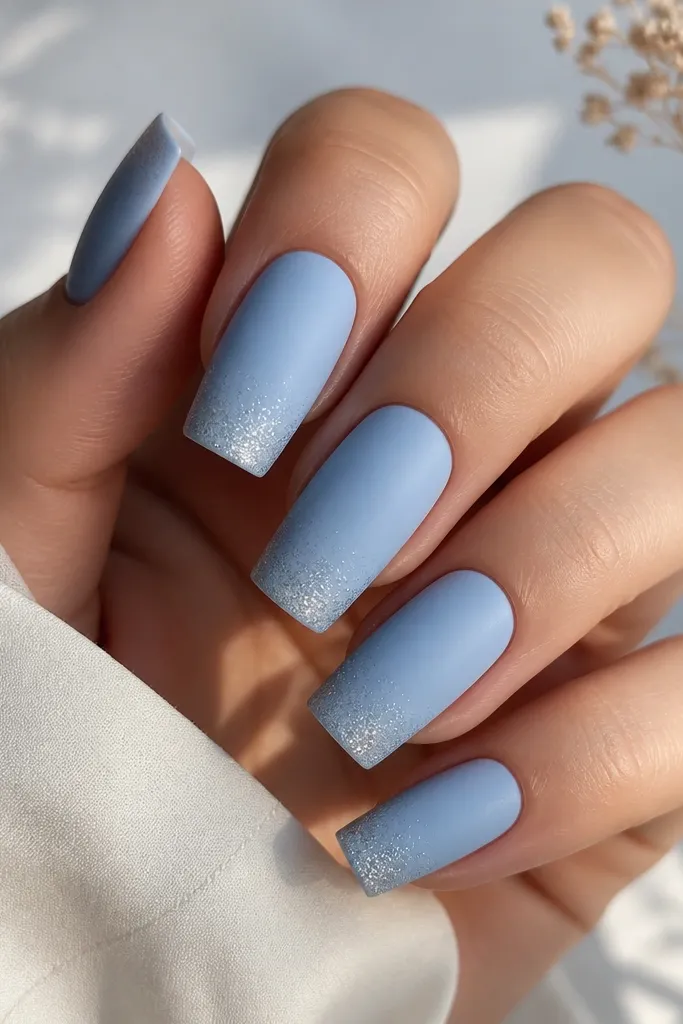
Matte hides surface scuffs better than mirror-gloss, and the micro-glitter fade makes the tips look intentional. The fade also masks the first signs of tip wear because glitter looks like texture, not damage. This is the closest thing I have to "set it and forget it" sky blue.
Apply sky blue gel in two thin coats, cure, then use matte top coat. For the glitter, tap silver micro-glitter gel only on the last 3 mm of the nail and keep it feathered with a sponge. Seal with a glossy top coat only on the glitter area so it stays smooth.
Pro tipPress a lint-free wipe lightly over the matte finish right before top coat - it removes dust that ruins the velvet look.
Watch outDon't matte the glitter area - it turns gritty and dull.
4. Sky Blue Half-Moon Cuticle Glow
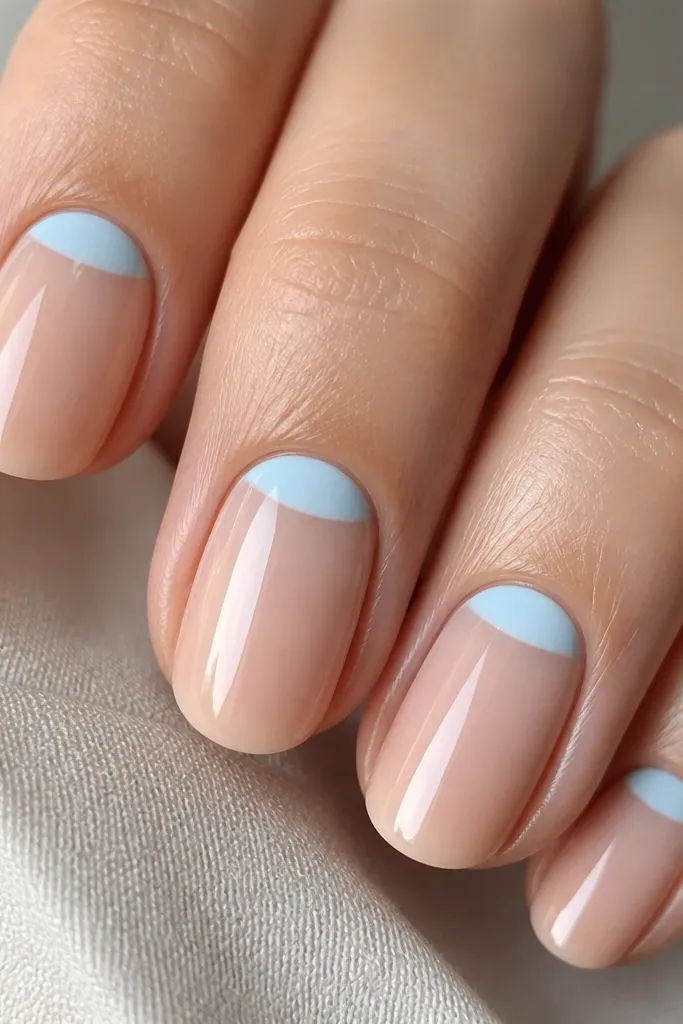
A cuticle half-moon is the fastest way I know to keep nails from looking "grown out." Since the design sits at the base, you don't notice small growth as much. The sky blue half-moon also frames the nail bed and gives the manicure a clean, intentional look.
Use a nude gel base or sheer builder. With a small brush, paint a half-moon that follows your natural cuticle curve - about 2-3 mm tall. Keep the half-moon crisp by cleaning the edges with acetone on a detail brush, then cure and top coat.
Pro tipIf your half-moon smears, chill your brush tip in cold air for 10 seconds before you paint. It firms the gel flow.
Watch outDon't overfill the half-moon - it can flood the cuticle and lift.
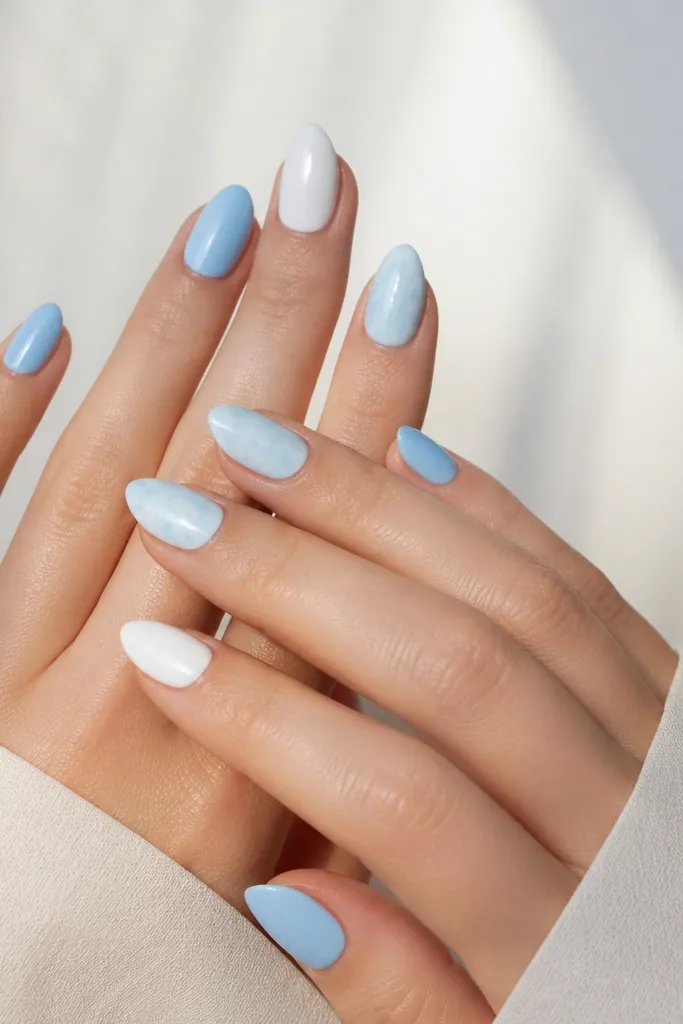
5. Sky Blue + White Marble Swipe
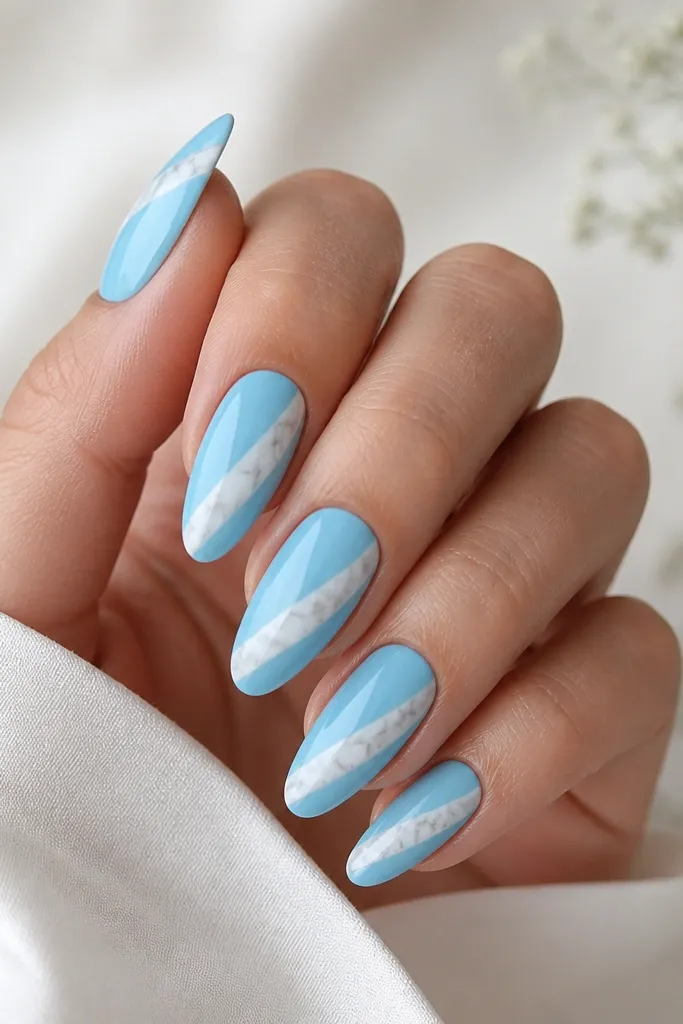
Marble swipes hide imperfections because the pattern breaks up any unevenness from application. The diagonal direction makes the nail look longer, and the white veining gives you contrast if your sky blue shifts slightly during wear. It's also forgiving when you need to redo one nail.
Paint a full sky blue base in two thin coats. For marble, drag white gel with a dotting tool or thin brush in one sweeping motion, then add tiny gray lines using the same brush with less product. Keep the swipe off-center so it looks like movement.
Pro tipSeal the marble with a slightly thicker top coat layer over the swipe area so it stays glossy and smooth.
Watch outDon't add too many veins - it makes the nail look muddy and chips faster.
6. Reverse French With Sky Blue Base
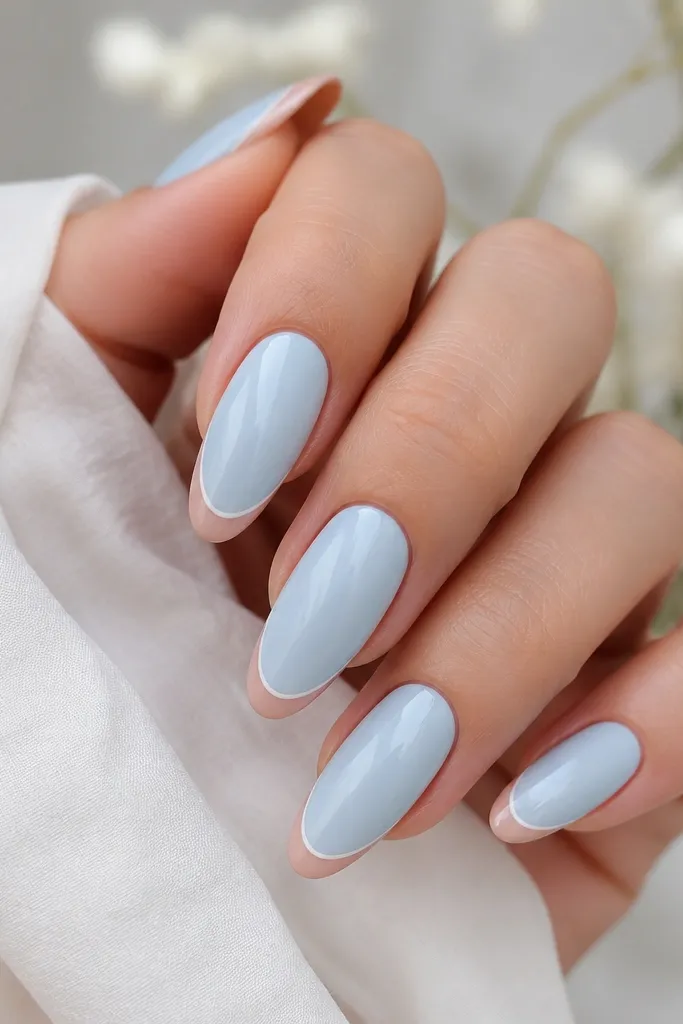
Reverse French gives you a built-in "reset" for growth. When your nail grows, the nude arc still looks like part of the design instead of a mistake. The sky blue background keeps the color consistent, and the thin white line makes the arc crisp.
Start with full sky blue coverage, cure. Then paint a nude arc from one sidewall to the other at about 1.5-2 mm from the free edge. Add a thin white line on top of the nude arc edge, cure, then top coat.
Pro tipUse a guide strip or press a strip of clear tape along the arc line to keep the curve even across nails.
Watch outDon't make the nude arc too wide - it can look like bare nail growth.
7. Sky Blue Gloss With Tiny Star Dust
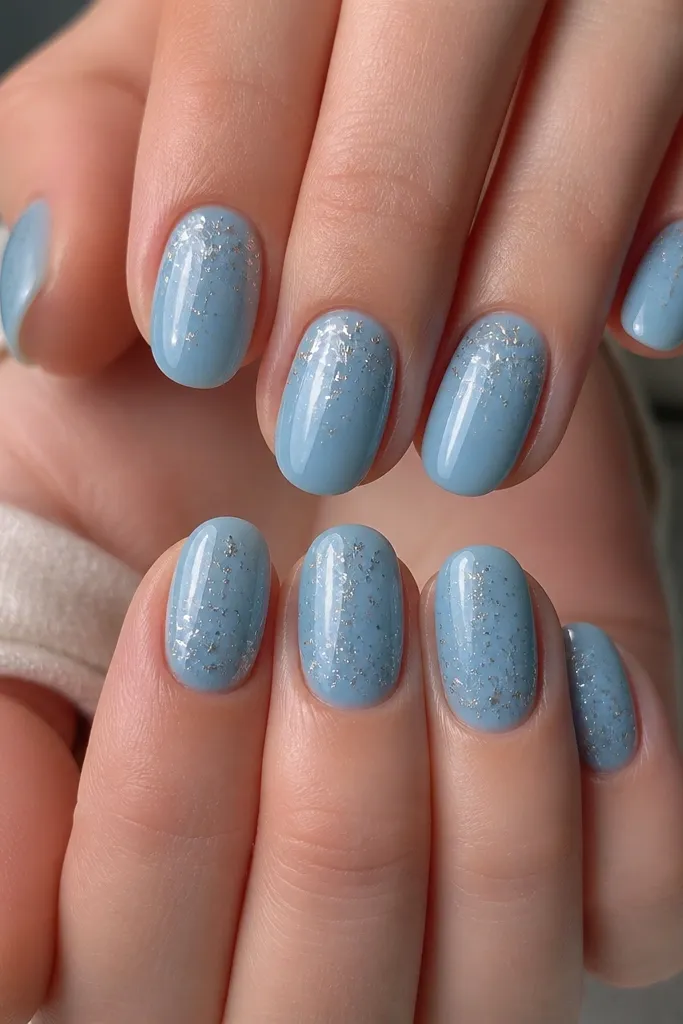
Star dust looks good through wear because it hides micro-scratches as "sparkle." Keeping the flecks denser near the cuticle makes the manicure still look intentional when your nail grows out. It also adds depth without turning the nails textured.
Apply sky blue gel in two coats, cure. Add star dust gel only at the top third using a dotting tool. Feather it down so it fades - you want an airbrushed effect, not glitter clumps. Top coat twice for smoothness.
Pro tipIf star dust catches on gloves or sleeves, buff the top coat lightly with a 240-grit block after cure, then re-seal.
Watch outAvoid chunky star pieces - they lift and snag.
8. Nude Jelly Base With Sky Blue Gradient Tips
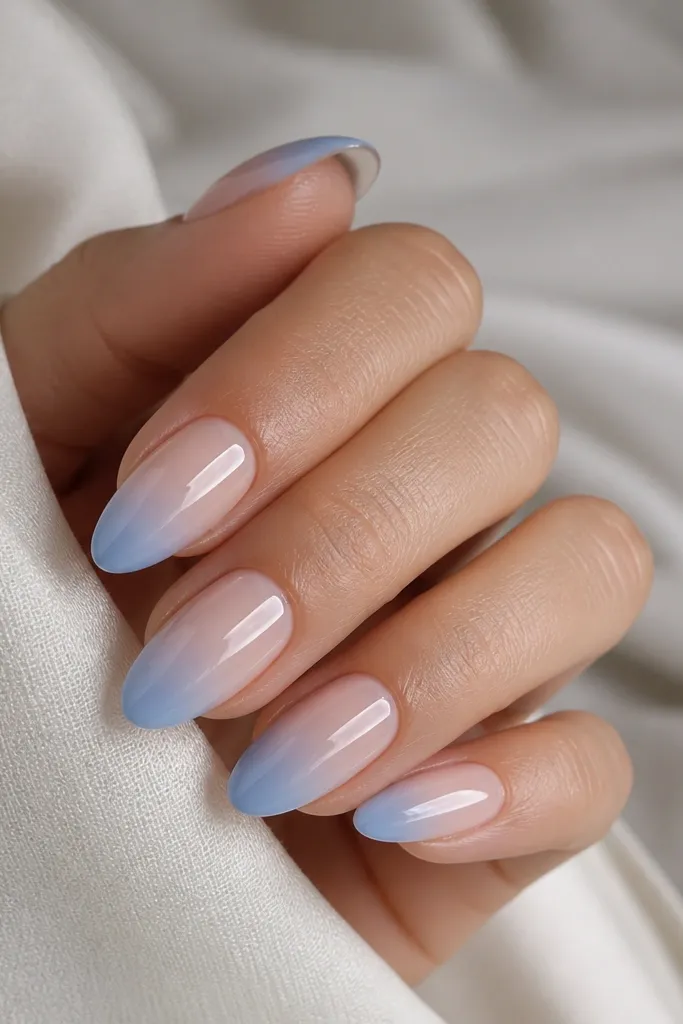
Gradients hide tip wear because damage blends into the color fade instead of looking like a clear chip line. The nude jelly base also keeps the manicure looking fresh as it grows. This is the one I reach for when my hands need to look polished but not loud.
Use a nude jelly gel as your base and cure. For the gradient, sponge sky blue gel at the free edge and blend upward with fewer passes. Keep the transition within the last 4 mm. Finish with glossy top coat and cap the free edge.
Pro tipWipe the sponge on a paper towel once before each nail so the gradient stays soft, not blotchy.
Watch outDon't overbuild the gradient with thick gel - it creates a ridge that chips.
9. Sky Blue Linework Frames on Clear Nails
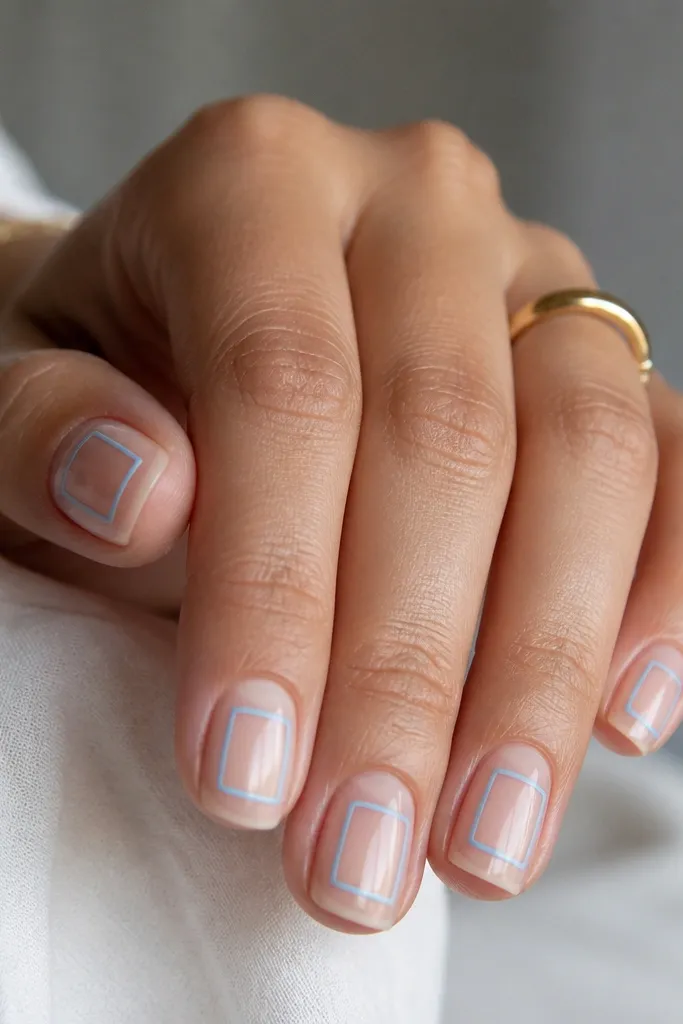
Clear nails with line frames look sharp even as they grow because the design is geometric and the negative space stays consistent. The thin sky blue lines also keep the manicure flat, which matters for wear. It's a clean look that still reads "done."
Apply a clear base coat and cure. Draw a thin sky blue rectangle or slightly rounded square in the center of each nail, leaving 1 mm gap from sidewalls. Cure, then top coat carefully so the lines stay crisp.
Pro tipUse a striping brush with very little gel, then go back for a second pass only if the line looks uneven.
Watch outSkip heavy top coat over the lines without checking - it can blur tiny edges.
10. Sky Blue Ombre With White Edge Frost
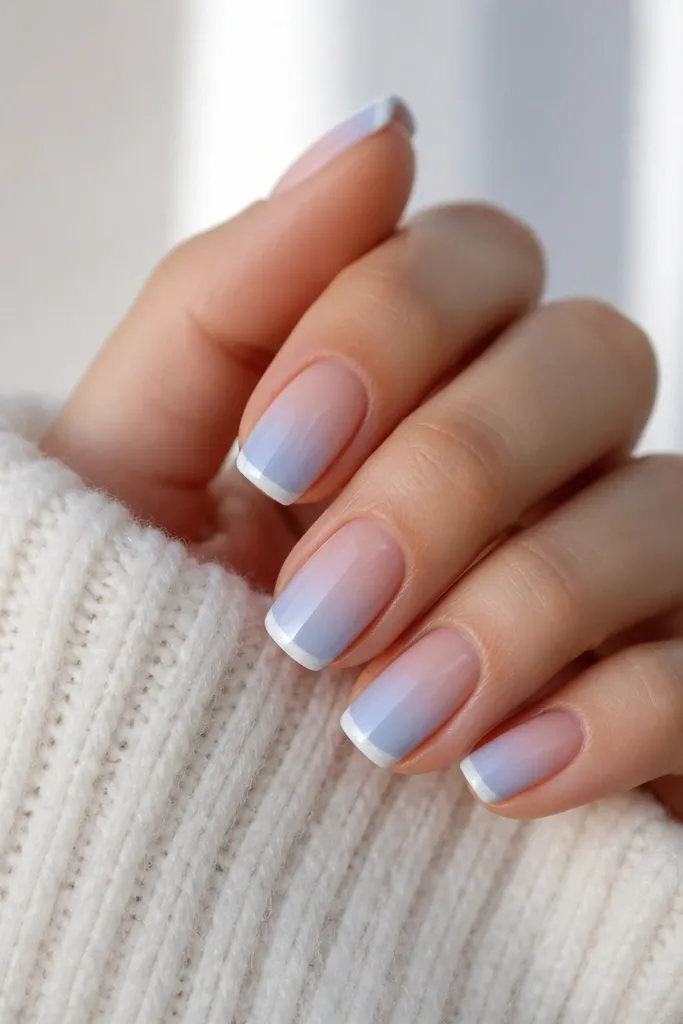
The white frost strip is the secret for staying stylish - it makes the tips look intentional even after small chips. The nude-to-sky gradient keeps the nails from looking like solid blocks of color. White also brightens the whole manicure when your skin gets drier in cooler weather.
Paint nude jelly base, cure. Sponge sky blue from the tip upward, then add a thin white line along the free edge with a striping brush. Keep the white strip under 1 mm tall so it looks like frost, not a thick border.
Pro tipFor a clean frost line, wipe your brush on a lint-free wipe, then touch the free edge lightly to deposit pigment.
Watch outDon't make the white strip too opaque - it can look like nail glue residue.
11. Two-Tone Sky Blue Diagonal Panels
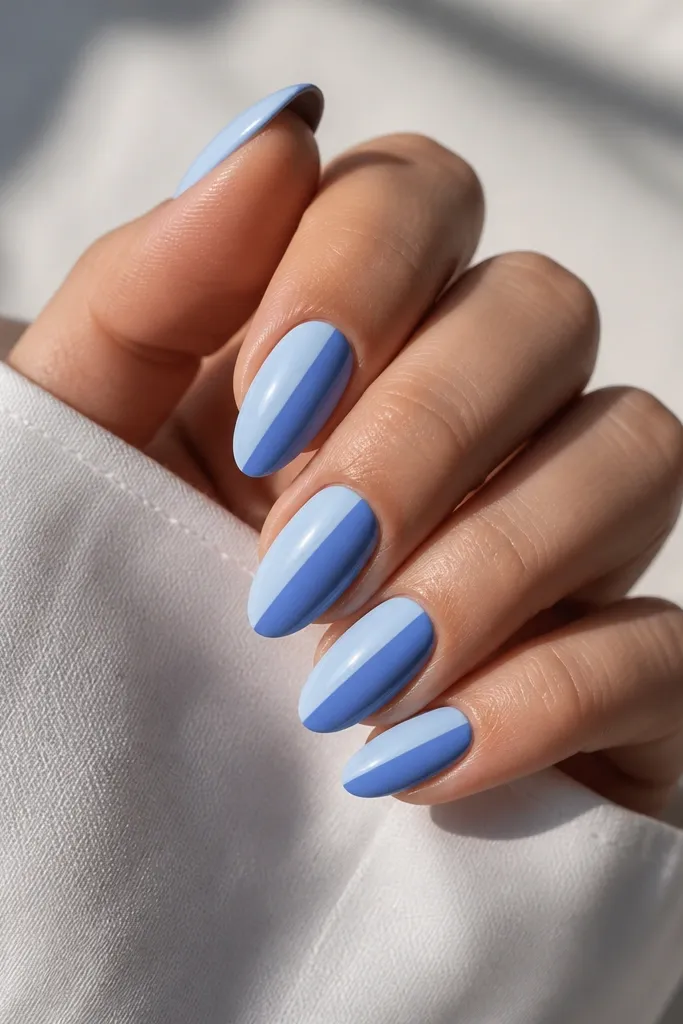
Two-tone panels keep the manicure looking fresh because any small growth still reads as part of the split. Diagonals also elongate the nail and add structure, so chips don't jump out as much. I like using one lighter and one slightly deeper sky-blue so it looks designed, not accidental.
Base with the lighter sky blue in two thin coats. Use tape or a nail art guide strip to mask a diagonal path, then paint the deeper sky blue on the other side. Remove the tape after a partial cure (follow your gel cure timing), then top coat.
Pro tipIf you don't want tape marks, use a thin striping brush and clean the split line with acetone on the brush tip.
Watch outAvoid fuzzy diagonals - they look like smudged polish and lift faster.
12. Sky Blue Chrome Halo Over Matte
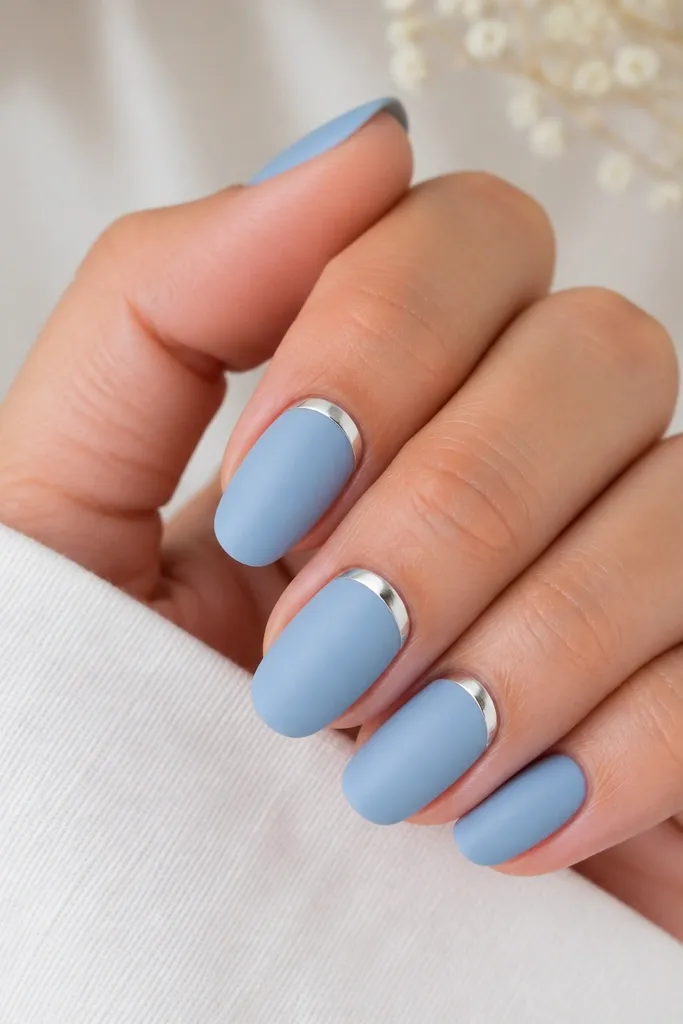
Matte sky blue gives you that soft, expensive look, and the chrome halo adds shine without covering the whole nail. The halo sits near the base, so it stays cute as the nail grows. It's also a great fix if your sky blue gel chips in tiny spots - matte makes those spots less obvious.
Apply sky blue gel, cure, then matte top coat. On accent nails, use a small dotting tool to place a thin line of gel where you want the halo, cure, then apply chrome powder or chrome gel. Seal with a matte top coat around the halo and a glossy top coat on the chrome itself.
Pro tipPress chrome with a firm, flat applicator and buff lightly - you want a smooth halo edge, not a foggy circle.
Watch outDon't top coat chrome before it's cured and dusted - it smears.