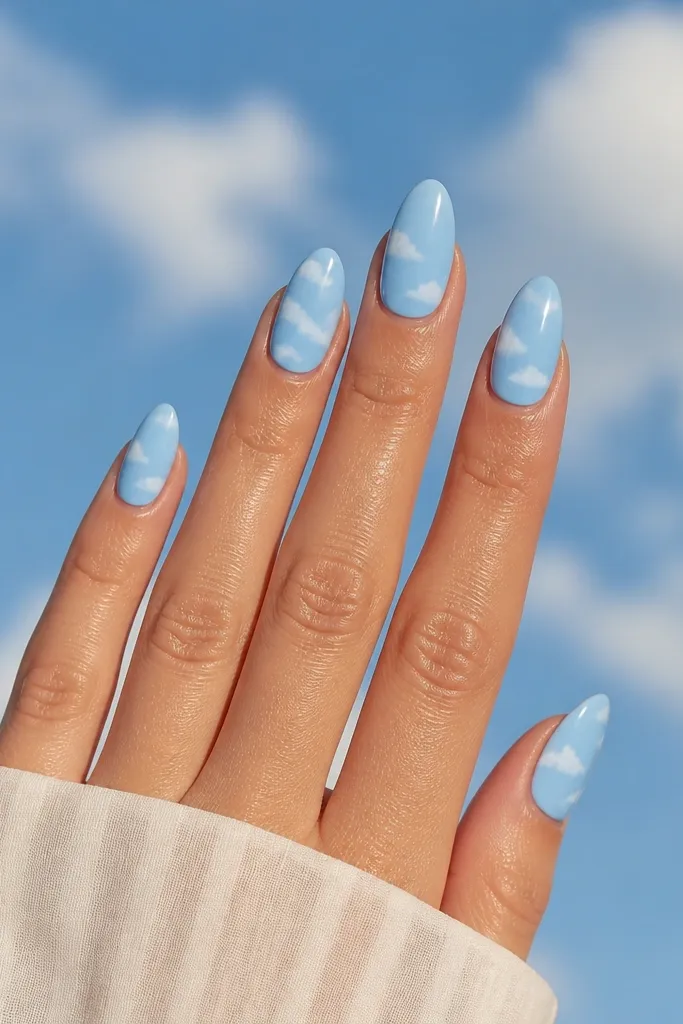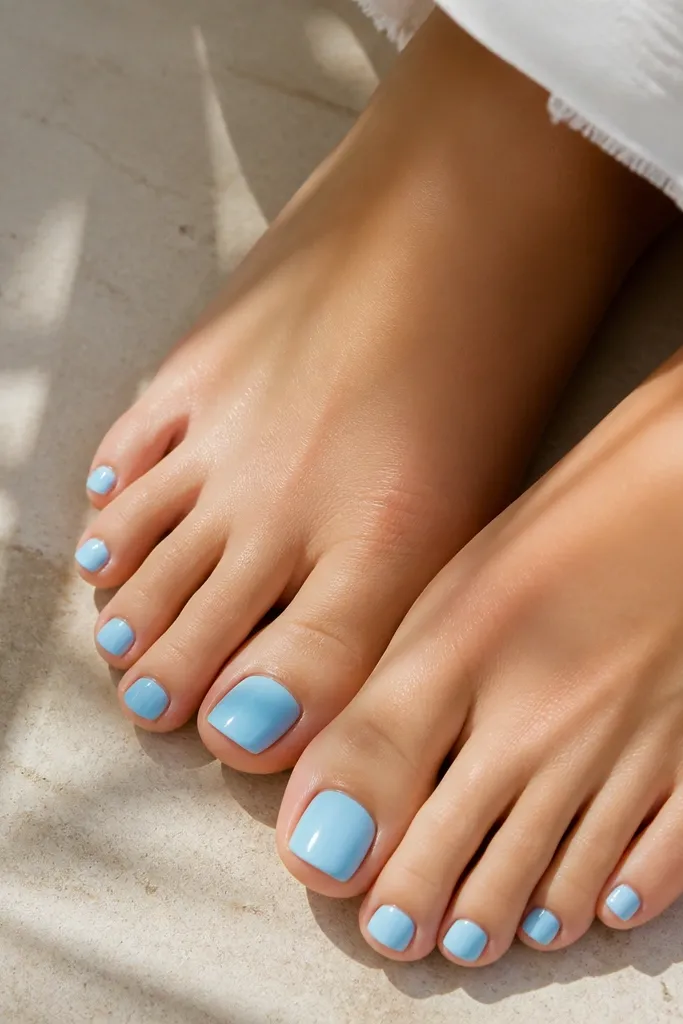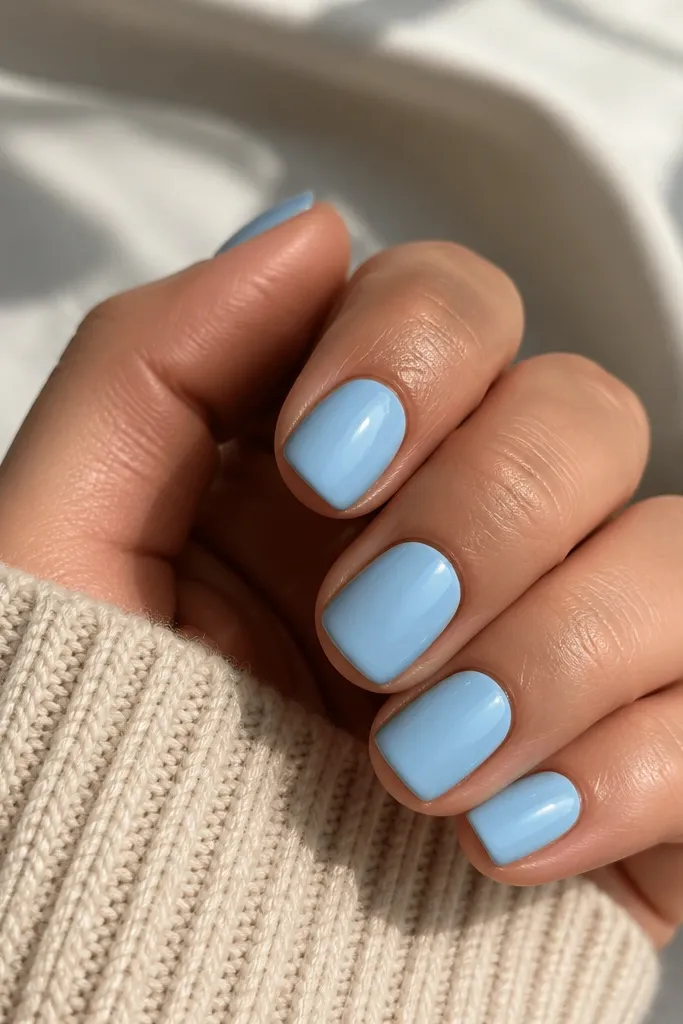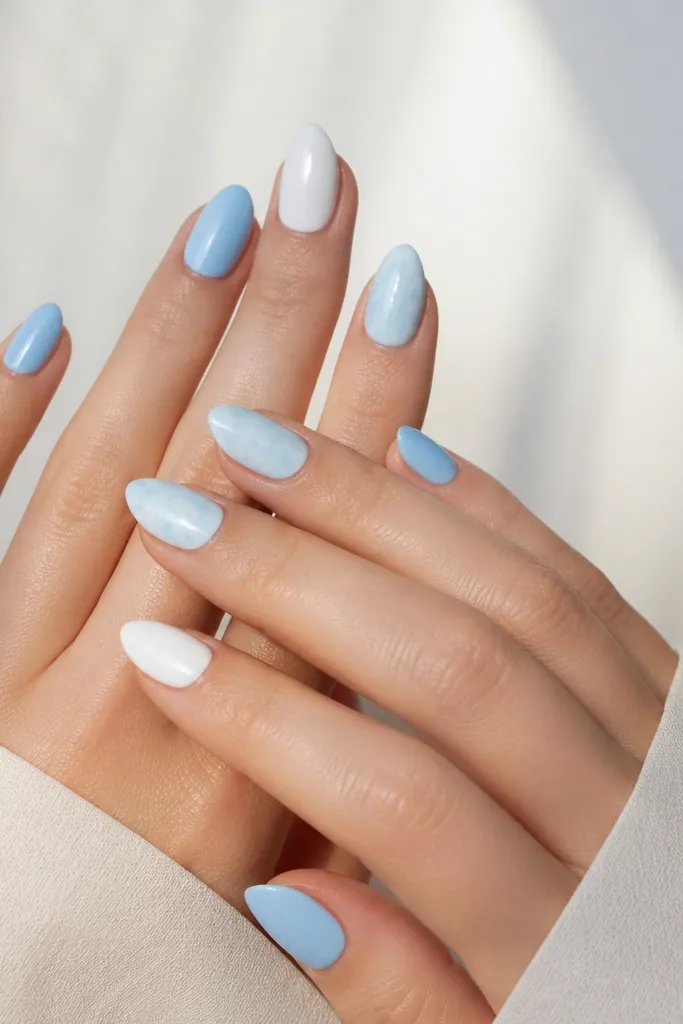
1. Milky Cloud Accent with Glossy Sky Base
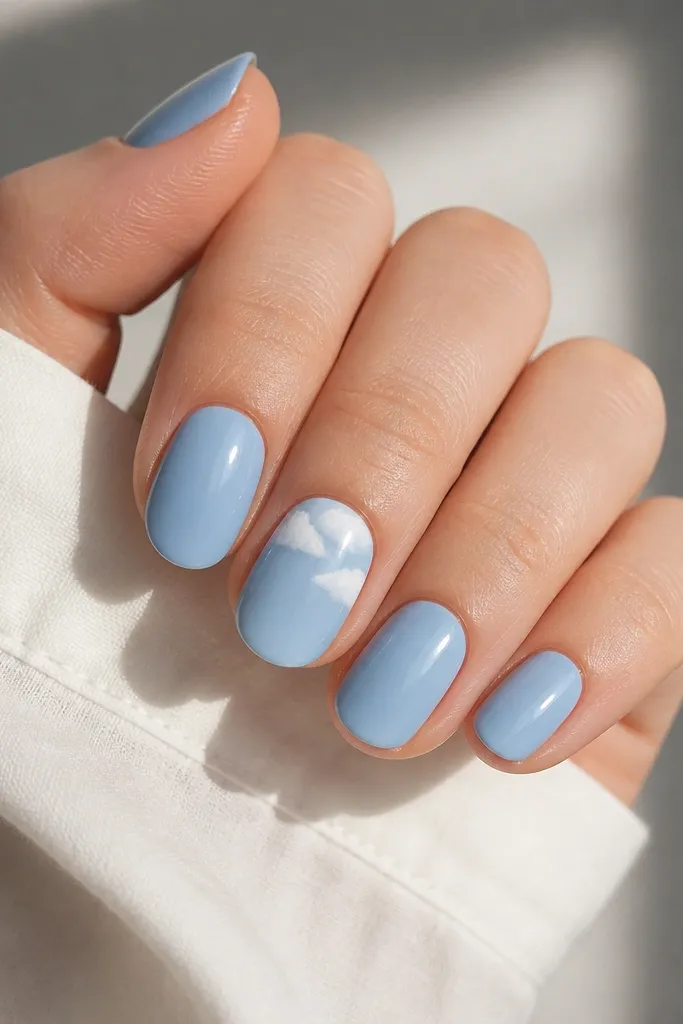
This uses the "soft edge" cloud trick. Sky blue stays glossy so it reflects light like a clear day, and the milky white clouds look airy instead of chalky. The contrast is value-based: bright sky against lighter clouds.
Paint all nails sky blue first. For the cloud nail, dab milky white onto a makeup sponge, then stamp puffs starting close to the cuticle and leaving negative space between clouds. Add one thin cloud tail line with a striping brush if you want extra direction, then topcoat.
Pro tipUse milky white (slightly opaque) instead of pure white so it blends into the sponge edges.
Watch outDon't drag the sponge - tap it so you keep cloud texture instead of smears.
2. Tiny White Star Scatter on Sky Blue French
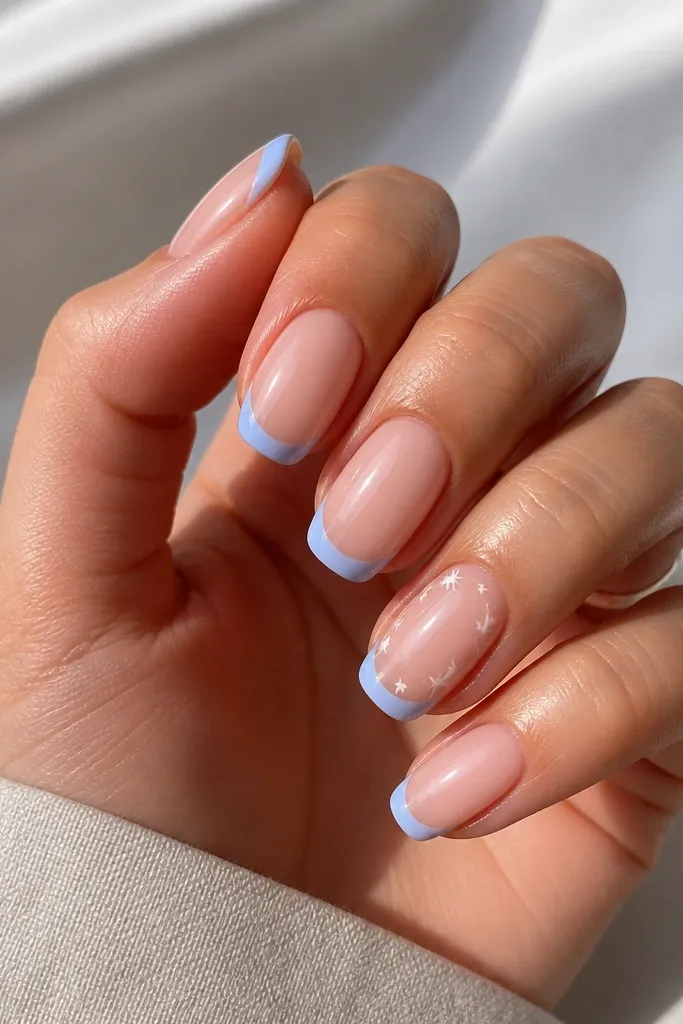
This is sky blue nail art that stays wearable because the stars are small and spaced. The French shape gives structure, and the stars add sparkle without turning the whole set into glitter overload. I like it because it looks crisp even as nails grow out.
Start with a sheer nude base. Paint a sky blue French tip with a curved brush, then add tiny white stars using a dotting tool. Keep stars clustered on the ring and middle fingers for a balanced look.
Pro tipMake star points by dragging the dot slightly with the tip of a toothpick after placing the dot.
Watch outAvoid putting stars too close together - they start looking like accidental dots.
3. Black Micro-Lines Over Ice Blue Glass
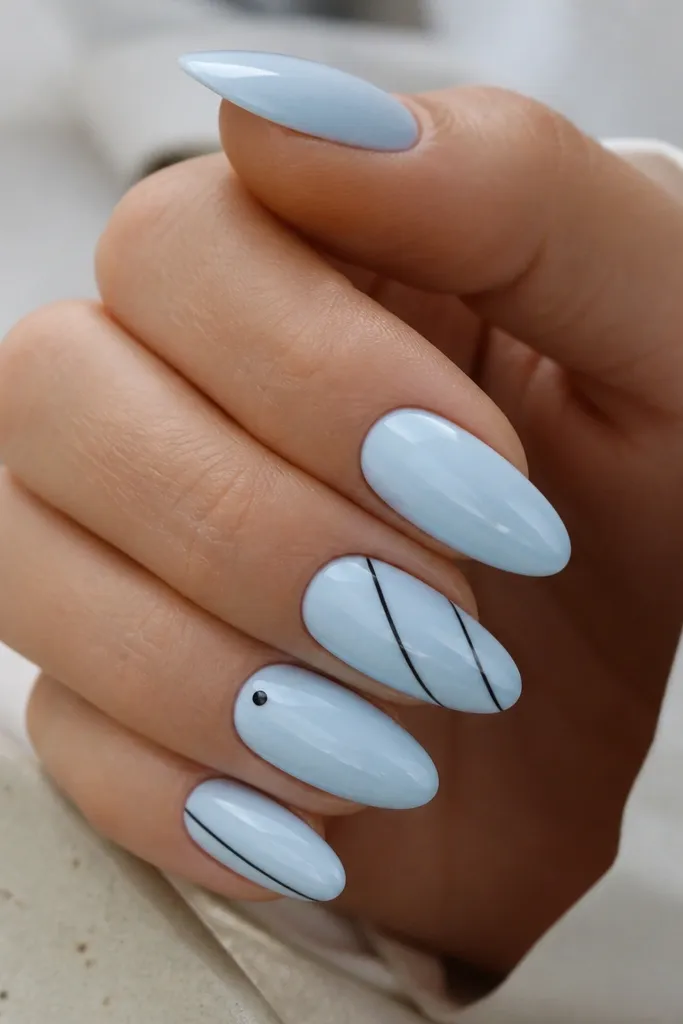
Ice blue plus black is the fastest way to make sky blue look intentional. Thin lines create graphic contrast without bulky art, and the glossy "glass" finish keeps it looking sharp. It's value and shape contrast together.
Use ice blue as your base and keep it fully opaque in two coats. Apply thin black striping tape lines diagonally, then remove after you place them if you're using tape. Or paint freehand with a liner brush and a steady hand.
Pro tipOutline one line with two passes: start thicker at the middle, then taper toward the edge.
Watch outDon't use thick black - it makes the set look heavy and masks the sky color.
4. Pearl Chrome Half-Moons on Powder Blue
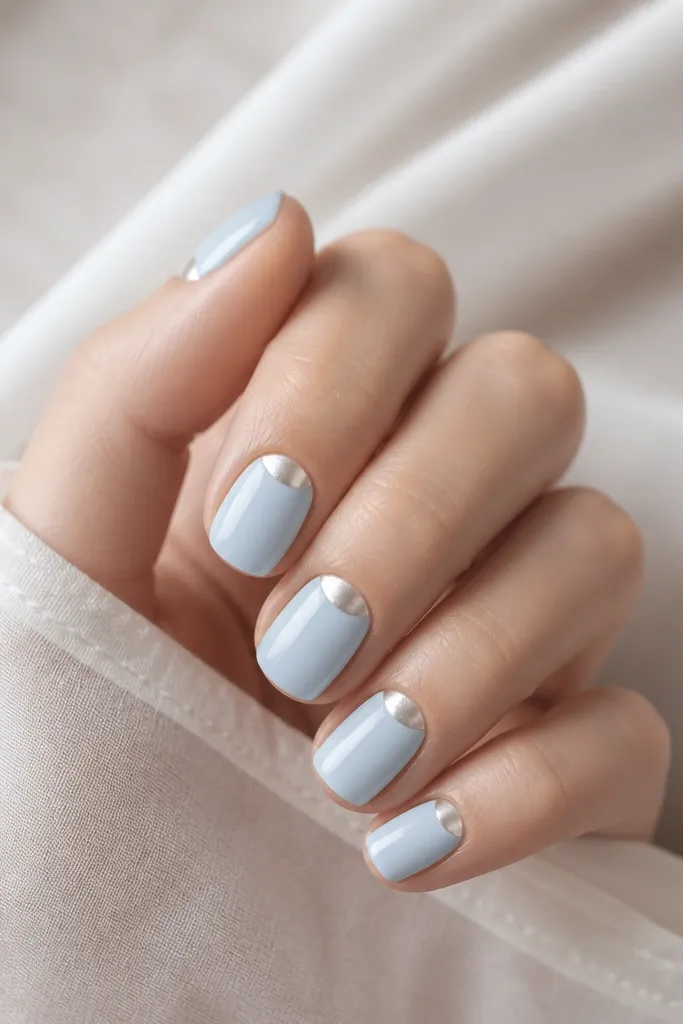
Half-moons read clean and "fancy" because they frame the nail bed. Pearl chrome reflects in soft highlights that match powder blue, so it doesn't look harsh. It's texture contrast: smooth paint plus metallic shine.
Paint powder blue in two coats, then place a half-moon mask or freehand using a small brush. Apply pearl chrome powder/gel and cure or set it according to your product. Finish with a thick topcoat so the chrome doesn't catch on fabric.
Pro tipKeep the half-moon edge slightly curved - sharp corners look like a sticker.
Watch outDon't apply chrome over uneven blue - lumps show through.
5. Sky Blue Watercolor Swipes with White Veins
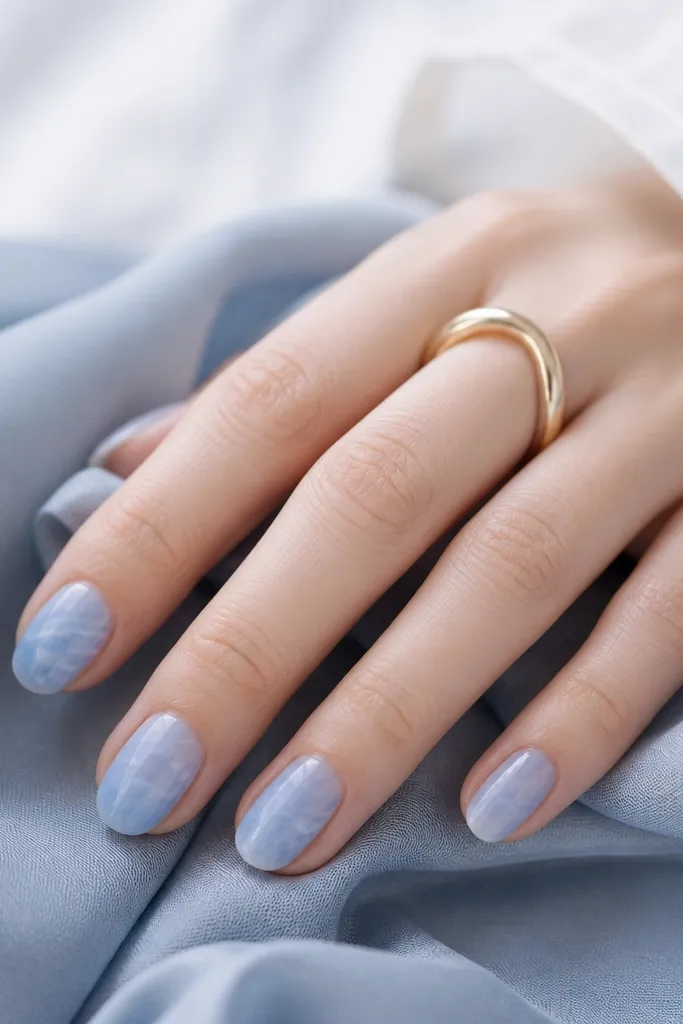
Watercolor swipes give a soft, artistic look without needing perfect symmetry. The trick is layering translucent sky blue so the nails still show natural depth. White veins add movement and keep it from looking like flat color.
Start with a sheer base coat. Add sky blue in a diluted layer using a flat brush, then dab edges with a sponge to blur. Use a liner brush to pull thin white streaks through the center, then seal with glossy topcoat.
Pro tipIf your white looks too opaque, thin it with a drop of clear gel/polish so it stays airy.
Watch outSkip heavy outlines - watercolor looks best when edges fade.
6. Reverse Glitter Fade at the Tips
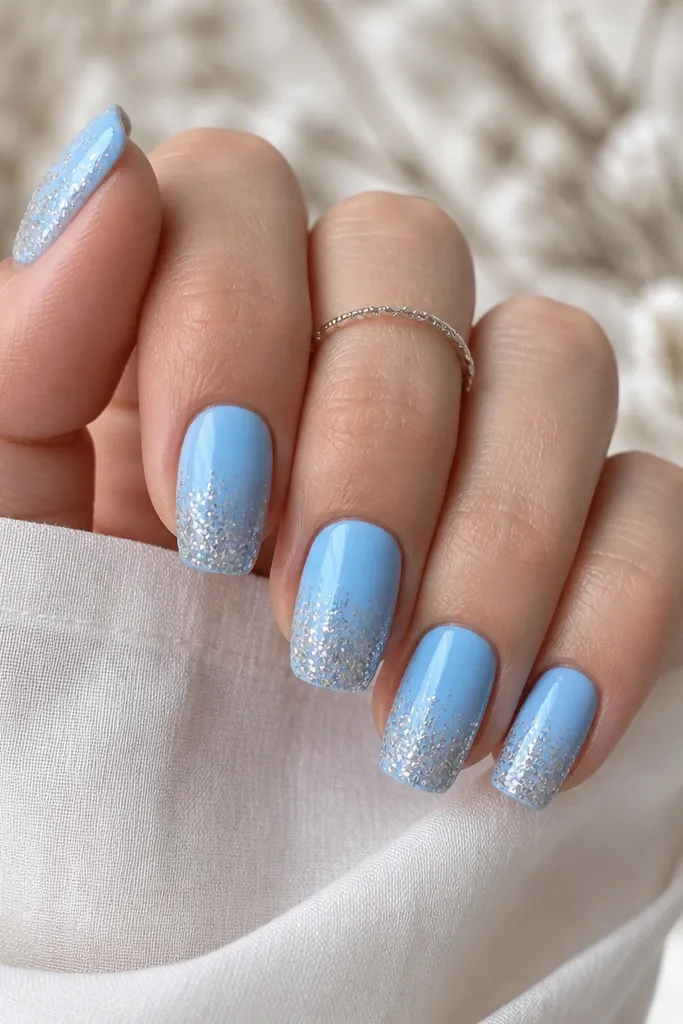
A glitter fade looks expensive because it has a gradient, not a blunt line. Sky blue stays the main color, and the glitter catches light at the tips like tiny reflections off water. It's value + texture contrast.
Paint sky blue all over and let it cure/dry fully. Sponge a fine silver-blue glitter at the tip area, then move the sponge upward slightly for a smooth transition. Cap the glitter area with an extra layer of topcoat.
Pro tipUse a makeup sponge cut smaller than your nail width so the fade stays controlled.
Watch outDon't pack glitter all the way to the middle - it turns into chunky sparkle.
7. Diagonal Sky Stripe with Clear Negative Space
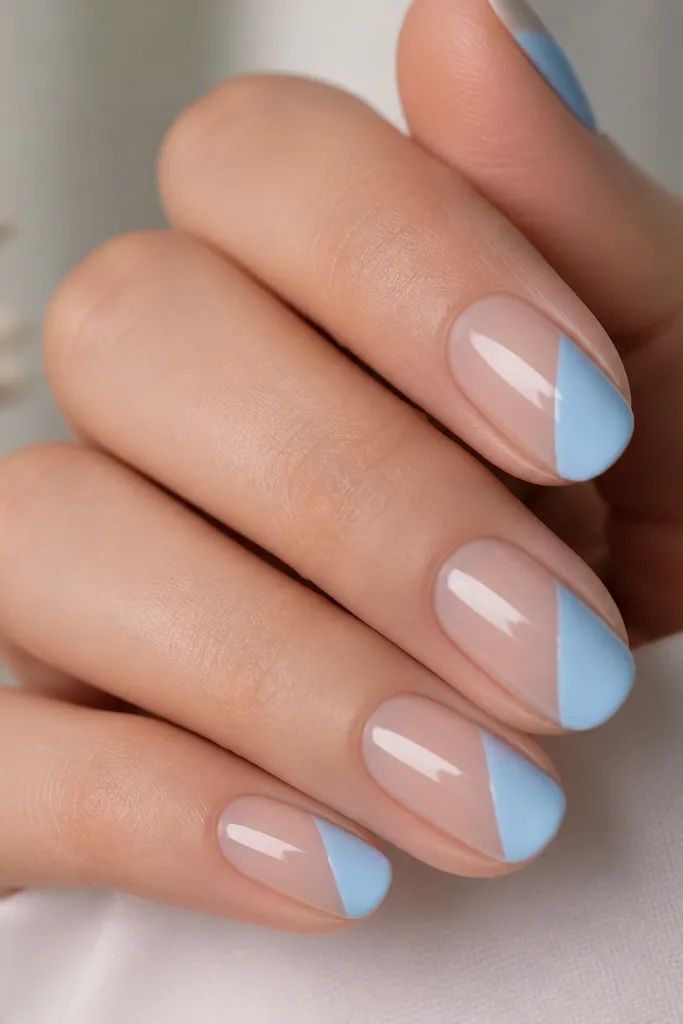
Negative space makes this look modern and clean. The diagonal stripe pulls the eye and makes short nails look longer. Because the stripe edges are sharp, it feels salon-level even though it's simple.
Start with a nude/clear base. Use striping tape to create the diagonal boundary, paint sky blue on the exposed strip, then remove tape while paint is still slightly tacky. Finish with glossy topcoat.
Pro tipPress tape down firmly at the sidewalls so paint doesn't bleed under.
Watch outDon't rush the tape removal - pulling too late can tear the polish.
8. Sky Blue and White Polka Dot Cuticle Pop
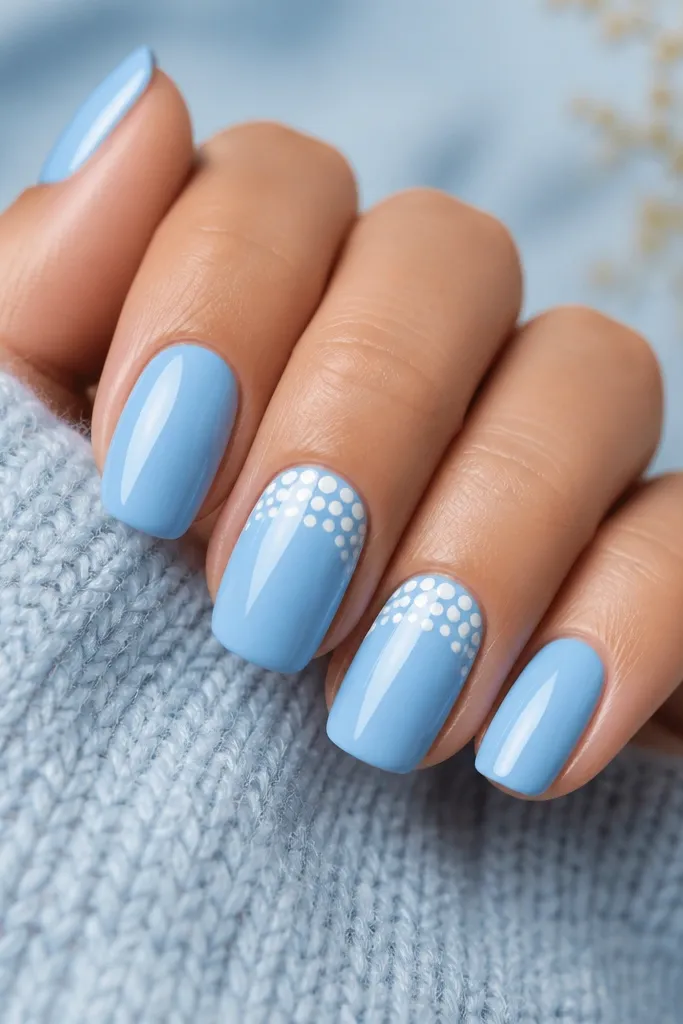
Cuticle dots look playful but still neat because they're contained. White dots brighten the whole set and keep the sky blue from looking flat. The placement makes it look intentional rather than random.
Paint sky blue as your base. On accent nails, place 6-10 white dots in a crescent around the cuticle using a dotting tool. Leave a tiny gap between dots so they look distinct, then topcoat.
Pro tipMatch dot size: use the same ball tip for every dot so the crescent looks even.
Watch outAvoid dragging the dot - lift and place for clean circles.
9. Matte Powder Blue with Glossy Waterline Detail
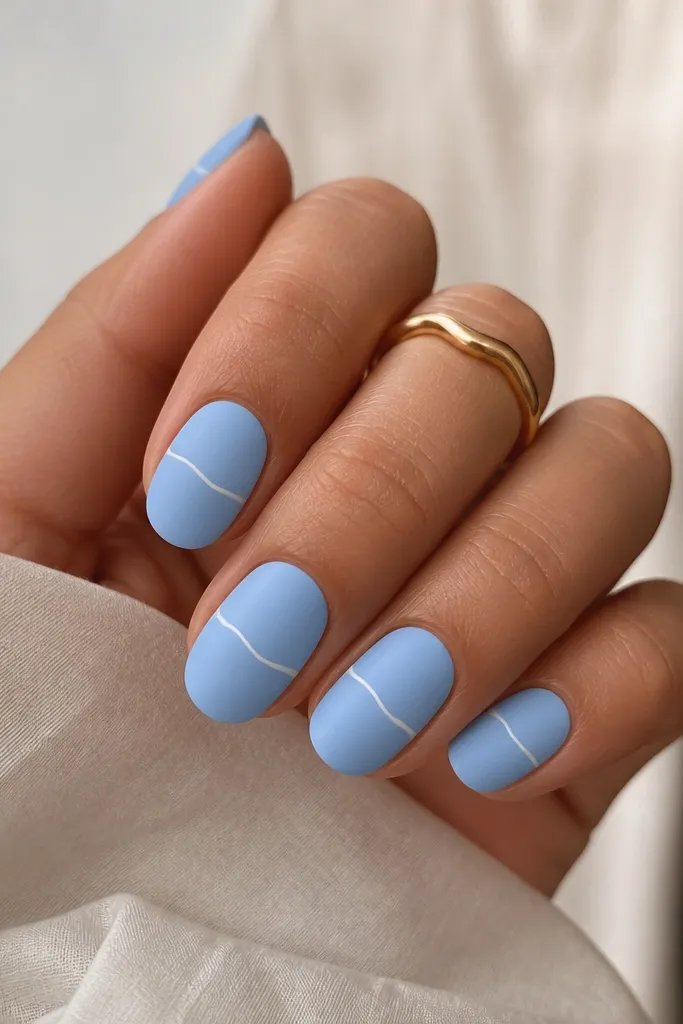
Matte sky blue softens everything, then the glossy waterline gives a crisp focal point. That contrast makes the manicure look designed, not accidental. The curve mimics a horizon line, which is why it looks natural.
Apply matte topcoat over powder blue. With a fine liner brush, paint a thin white line slightly above center, then topcoat only that line with glossy gel/topcoat so it stays shiny against the matte background.
Pro tipPractice the curve on one nail tip first - the curve is the whole look.
Watch outDon't matting-topcoat over the whole line - you lose the contrast.
10. Sky Blue Floral Dots with Tiny Center Pearls
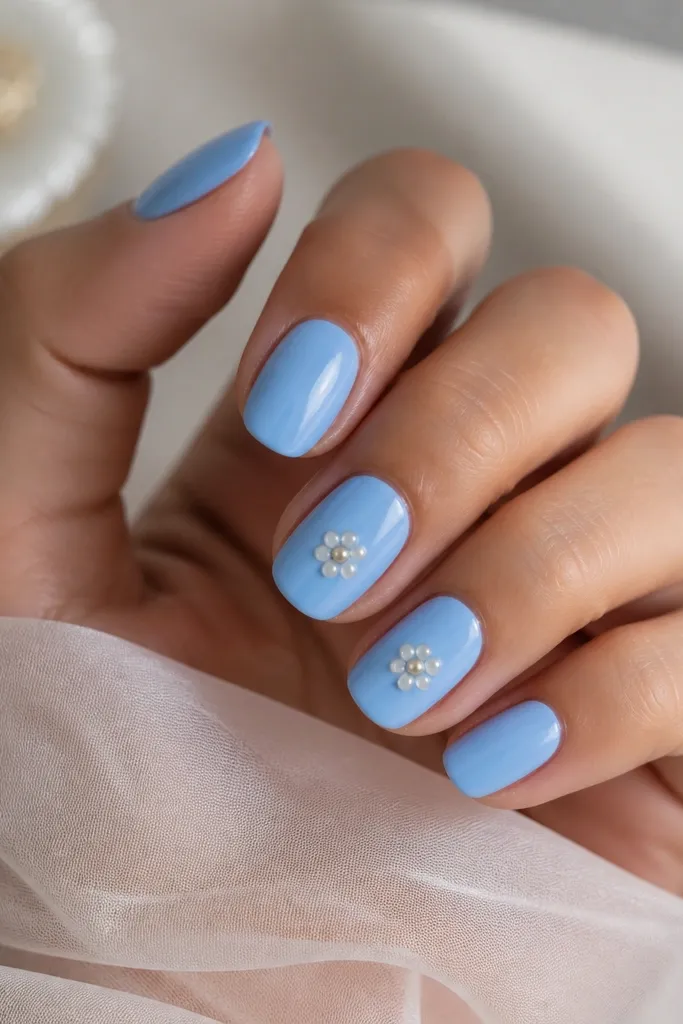
Dot flowers are faster than drawn petals but still look delicate. Sky blue is your canvas, white dots create the petals, and a tiny pearl center makes it look dimensional. It's texture contrast without heavy 3D work.
Paint sky blue base. Use a dotting tool to place five white dots around where the center will be, then add a micro pearl or metallic bead at the middle. Seal carefully with gel topcoat so the bead doesn't snag.
Pro tipUse tweezers for the pearl so you don't smear the surrounding dots.
Watch outDon't flood gel around the pearl - it spreads and blurs the flower.
11. Silver Foil Tear Drop on Ice Blue
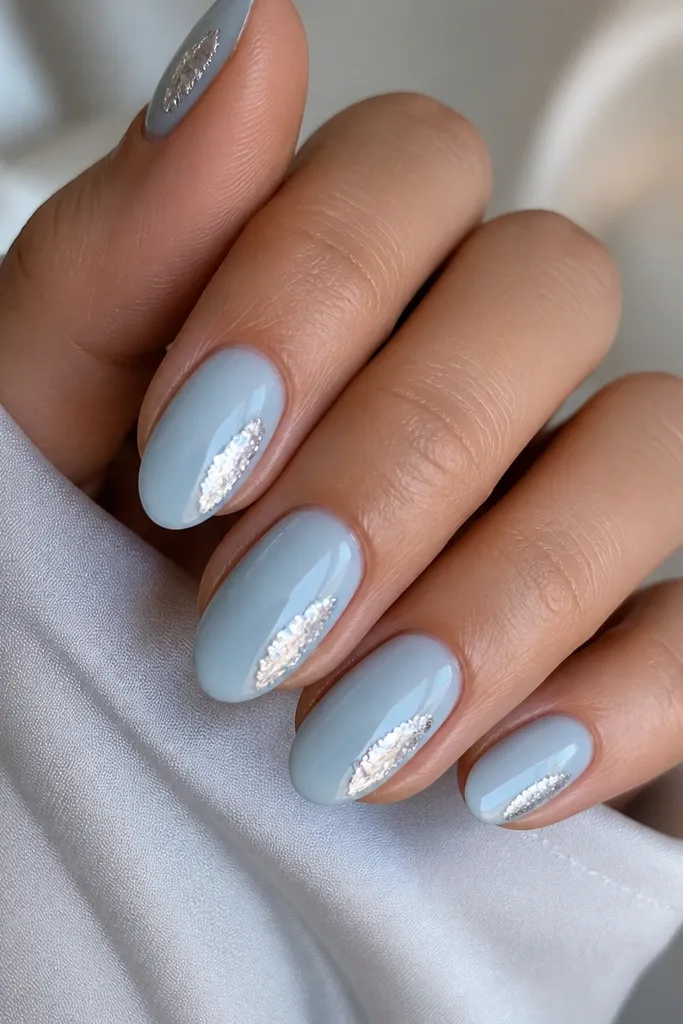
Foil looks best when it's placed like a highlight, not scattered everywhere. The tear-drop shape catches light and makes ice blue look icy and bright. Since foil has strong texture, you keep everything else simple.
Paint ice blue base. Add a small amount of foil adhesive or tacky gel where you want the tear, then press silver foil pieces into it. Keep the foil edges uneven so it looks like reflected light, then topcoat with a gentle layer first.
Pro tipPress foil with a silicone tool or sponge tip so you don't dent the gel.
Watch outSkip full-coverage foil - it turns the set into one flat shimmer.
12. Reverse French with Sky Blue Bottom Edge
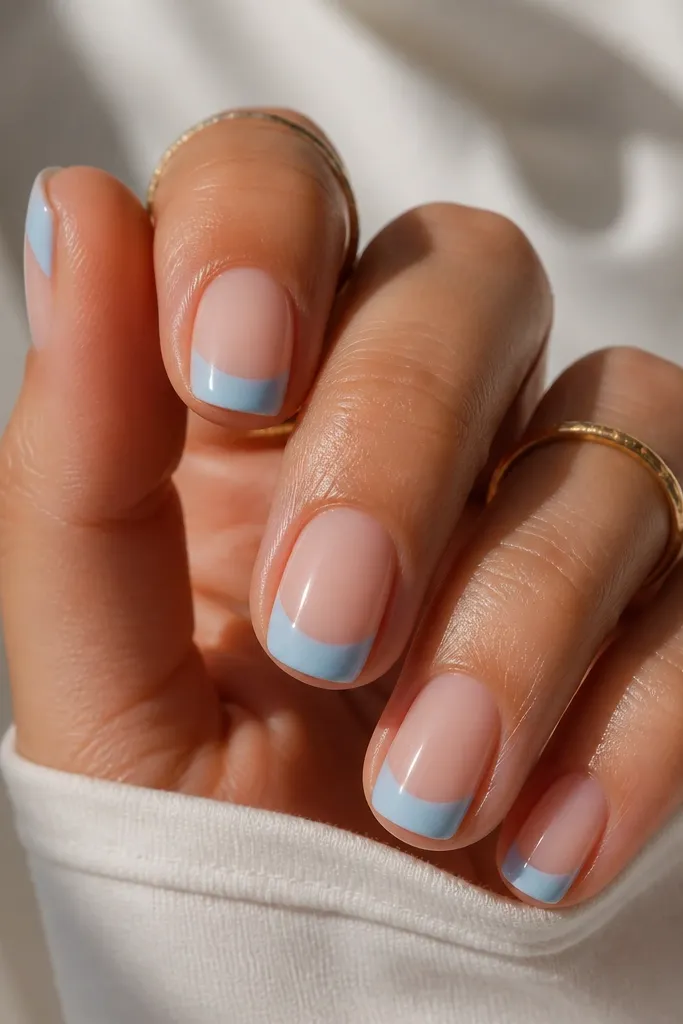
Reverse French is clean and it hides growth better than a standard tip. Sky blue at the bottom makes your nail look longer because the nude area stays visible. The curve looks neat on short or medium lengths.
Start with nude or sheer pink. Use a French guide or a steady curved brush to paint a sky blue band along the lower edge. Leave a small nude gap between band and sidewalls so it looks crisp.
Pro tipMake the curve slightly thinner in the center - it keeps the shape flattering.
Watch outDon't make the band too wide - it starts looking like a thick stripe.