1. Glossy Nude with Micro Web Lines
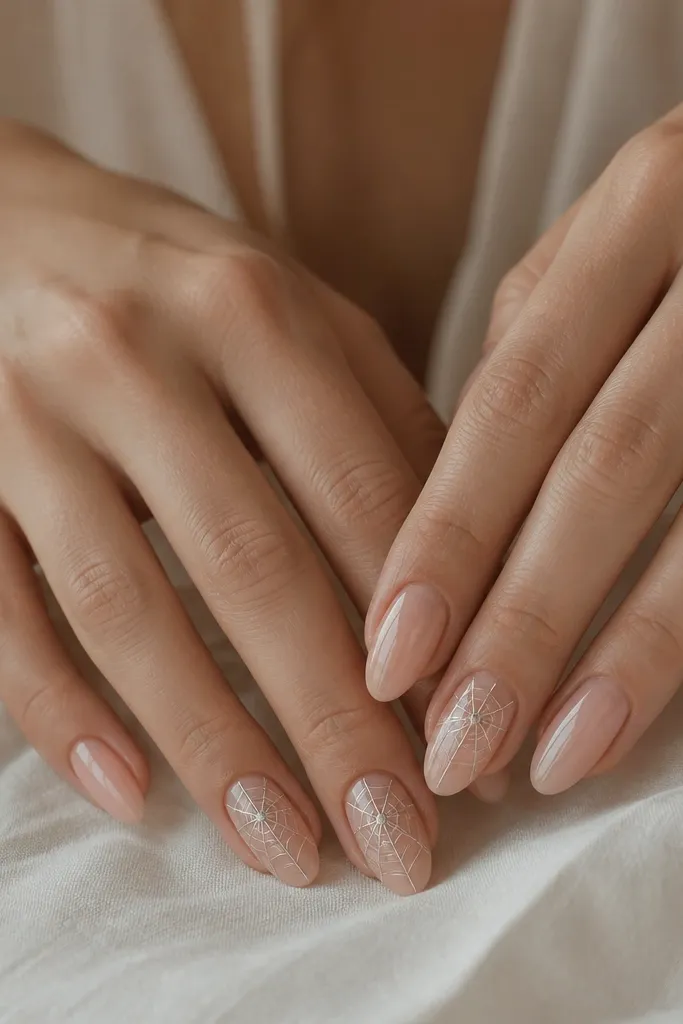
Start with a glossy nude base close to your skin tone. Add micro web lines in silver or cool gray so it reads spooky in a soft, classy way. The negative space stays open, so the nails look clean even when the web is visible in daylight. I like silver because it reflects light without turning the manicure into a costume.
Paint a thin nude layer, cure, then do the web with a striping brush using diluted silver gel or enamel thinned with a tiny bit of gel cleanser. Put the web center about 2 mm below the cuticle line and keep lines short - about halfway across the nail plate. Finish with a thin top coat so the lines stay sharp.
Pro tipIf your web lines look too dark, mix silver with a drop of clear gel first. It keeps the sparkle from looking harsh.
Watch outAvoid thick web lines - they blur and make the set look like cheap nail art.
2. Black Cat Silhouette on One Accent Nail
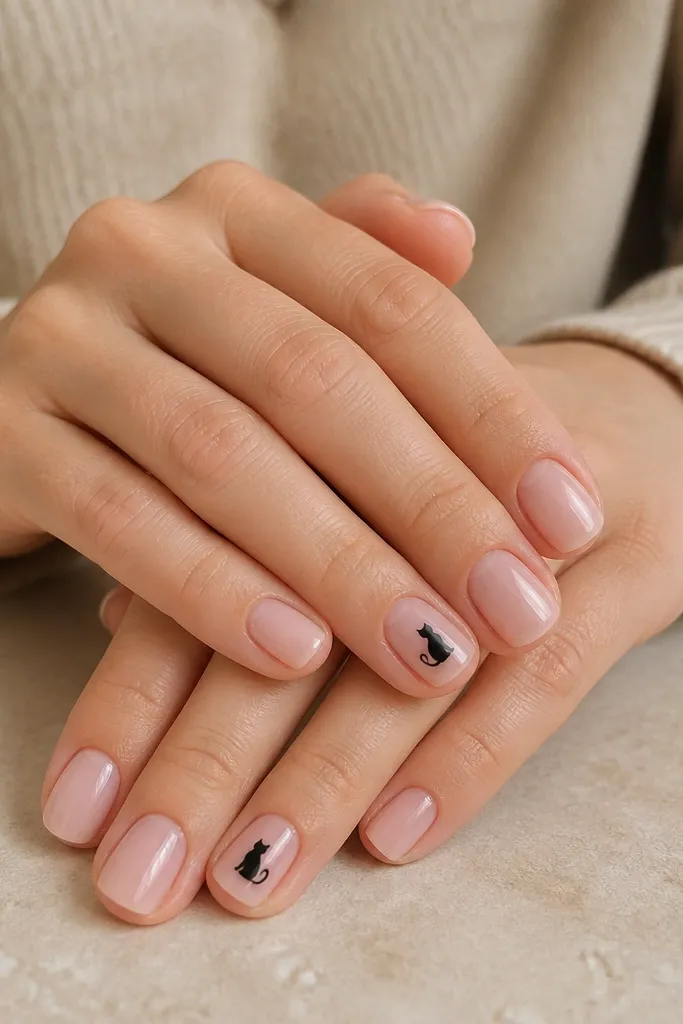
This is the Halloween version of a little black dress. The sheer pink base keeps everything wearable, and the single tiny cat silhouette adds personality without clutter. Use a matte black for the cat so it looks like ink, not shiny paint. I've found one accent nail reads more expensive than repeating the cat on every nail.
Use a sheer pink gel or polish, then cure. On the ring finger, place the cat about halfway down the nail and keep it smaller than your thumbnail's width. Cure again and seal with glossy top coat on the rest of the nails, but keep the cat matte by skipping top directly over it or using a matte top only on that nail.
Pro tipUse a makeup sponge to dab off any stray black edges around the cat before you cure.
Watch outDon't add whiskers that reach the side walls - that's where it starts to look messy.
3. Burgundy Sheer with a Single "Blood Streak" Dot
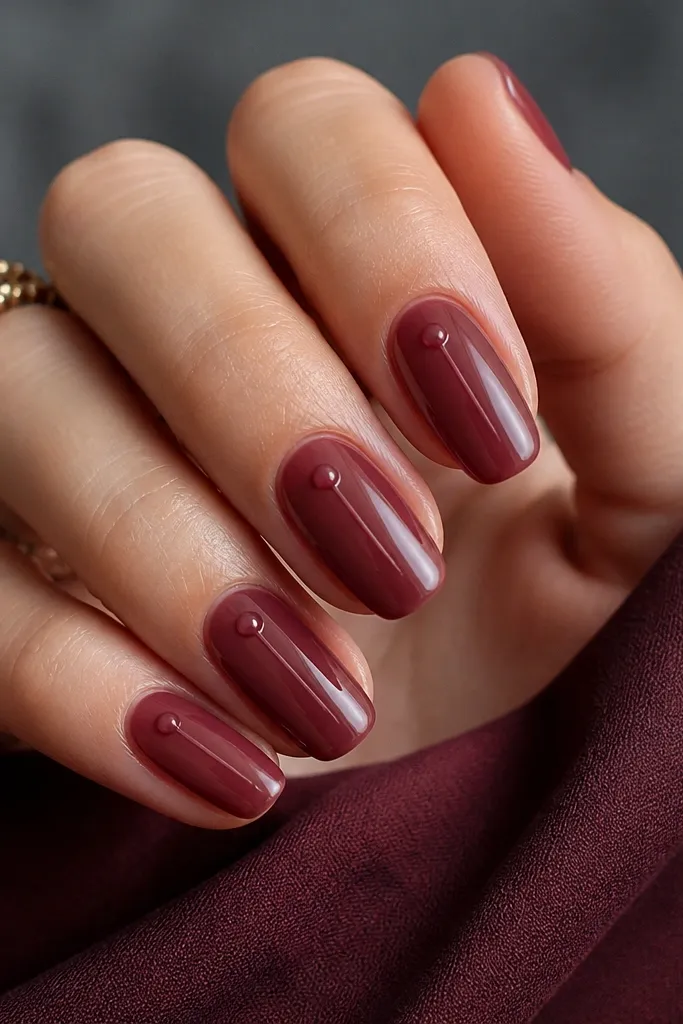
Keep it classy by going sheer, not opaque. A translucent burgundy base looks like tinted glass, and the tiny streak is Halloween without looking graphic. The dot at the top sells the "drop" effect while staying small enough to feel wearable. This design is great for people who want spooky but don't want full black nails.
Apply a sheer burgundy jelly layer and cure. With a fine liner brush, pull one short vertical streak using deep wine red, keeping it under 3 mm long. Add one dot at the streak's top, then cure and seal with a glossy top coat.
Pro tipIf the streak looks too thick, wipe your brush on a lint-free pad before you draw it.
Watch outSkip big drips that hit the free edge - they read more costume than classy.
4. Matte Black Half-Moon with Nude Glow
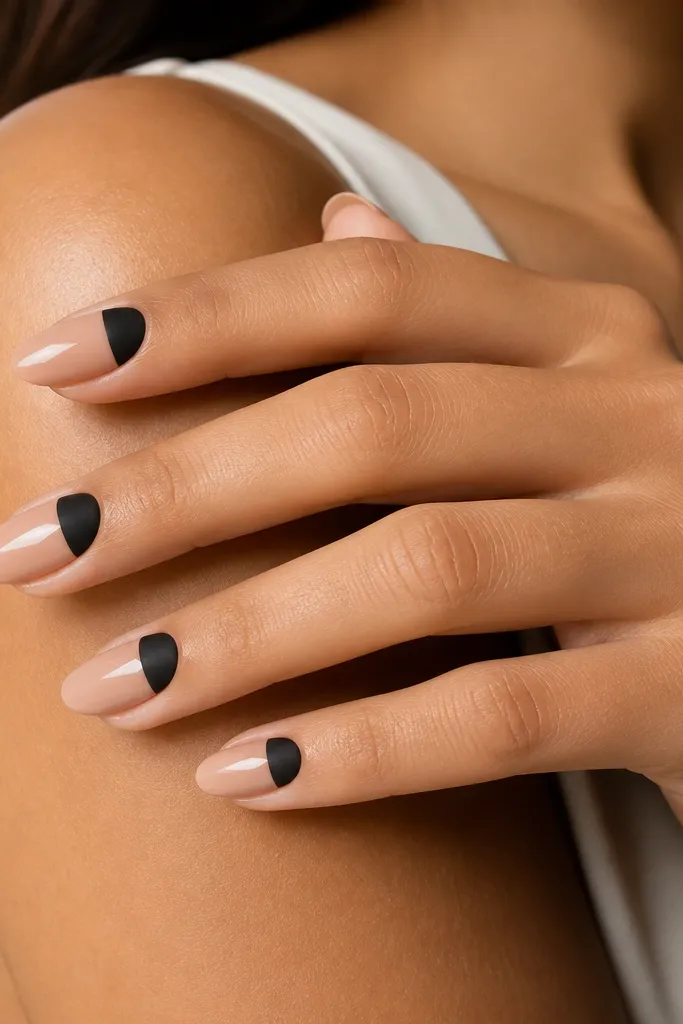
This one looks expensive because it plays with finish contrast. Matte black near the cuticle looks sharp and modern, while the nude stays bright and clean. The half-moon shape creates an instant focal point without any drawings. Under indoor lighting, it gives a soft goth vibe without going full witch.
Paint a nude base and cure. Use a half-moon stencil or carefully place a curved striping tape at the cuticle line. Fill the half-moon area with matte black gel, cure, then remove the tape. Finish everything except the matte area with glossy top coat so the black stays velvety.
Pro tipFor crisp edges, press tape down for 5 seconds per nail before painting.
Watch outDon't drag matte black over the nude - it stains and ruins the clean edge.
5. Soft Oval Nude with Silver Pumpkin Slice
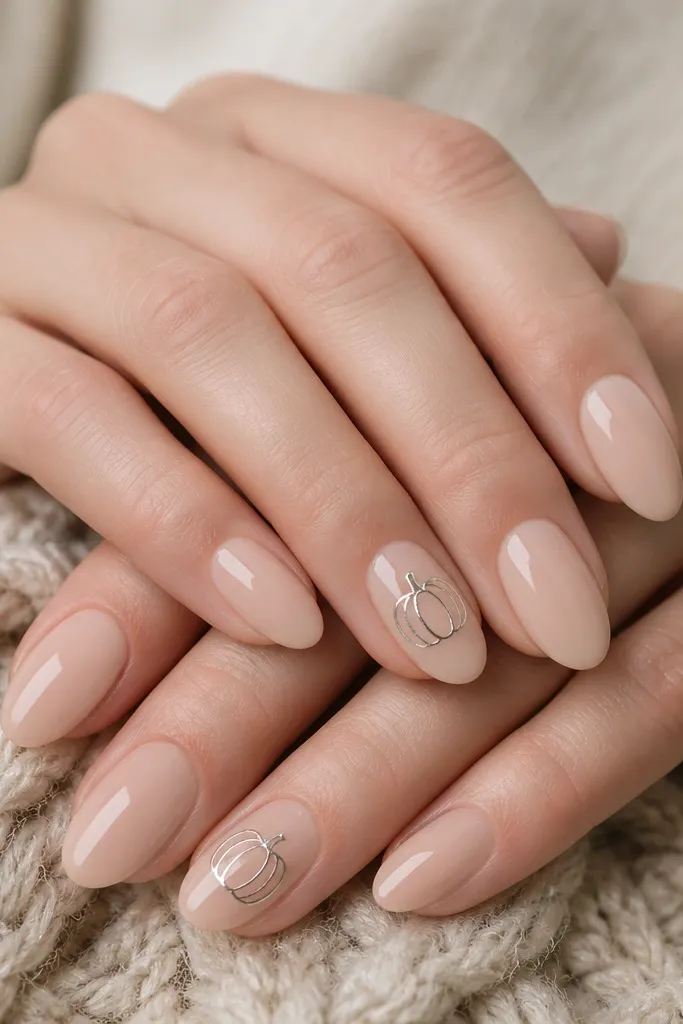
Pumpkin designs look classy when they're minimal and metallic. A silver pumpkin slice reads like jewelry, not cartoon Halloween. Keep it to two accent nails so the set stays wearable for work photos and dinner plans. The glossy nude base makes the silver pop without looking harsh.
Start with nude gel and cure. On the accent nails, draw a small curved pumpkin wedge with a metallic silver gel liner. Add 2-3 thin arc lines to suggest segments, then cure and top coat the whole nail glossy.
Pro tipIf silver gel is too streaky, apply two thin coats instead of one thick one.
Watch outAvoid orange pumpkins - they can look too literal and childish on a short set.
6. Sheer Nude with Tiny Witch Hat on Thumb
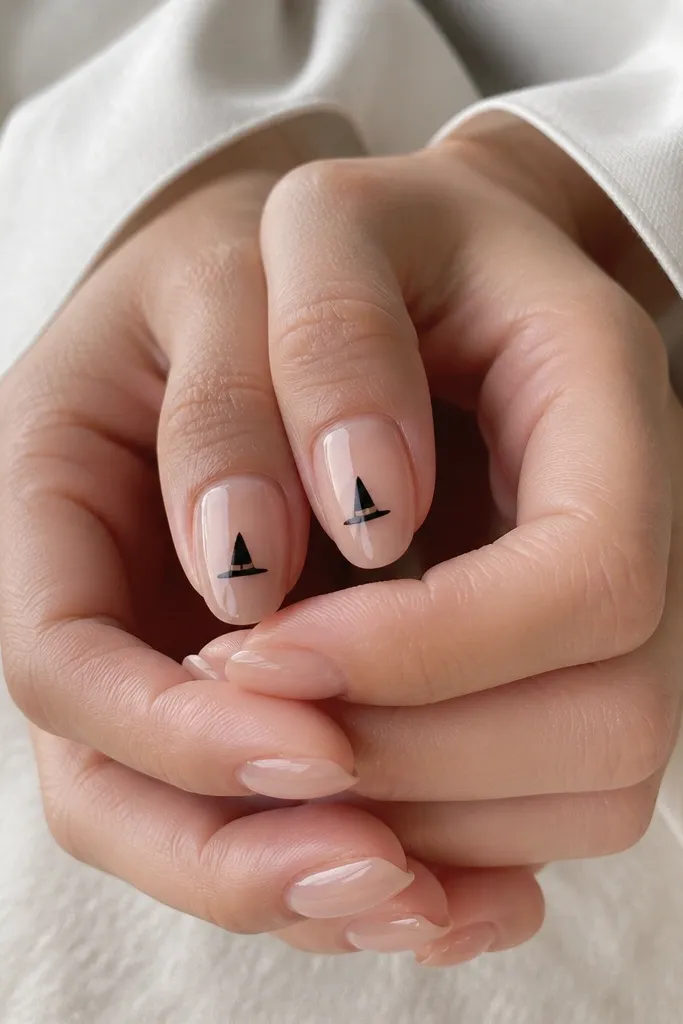
A single witch hat works because it's recognizable even at a small size. The sheer nude base keeps the overall look light and clean. Black line-art gives you Halloween without going full dark set. It's also easy to wear if you're doing Halloween dinner, trick-or-treat, or a themed party but still want a neat manicure.
Apply sheer nude, cure. For the hat, use a fine liner brush and draw a small triangle with a curved brim. Add one tiny buckle line using dark gray, cure, then top coat over everything glossy.
Pro tipKeep the hat about the width of your pinky nail's center line, not bigger.
Watch outDon't add a face or full character - the detail overload makes it look like a sticker.
7. Chocolate Brown Ombré into Matte Black Tips
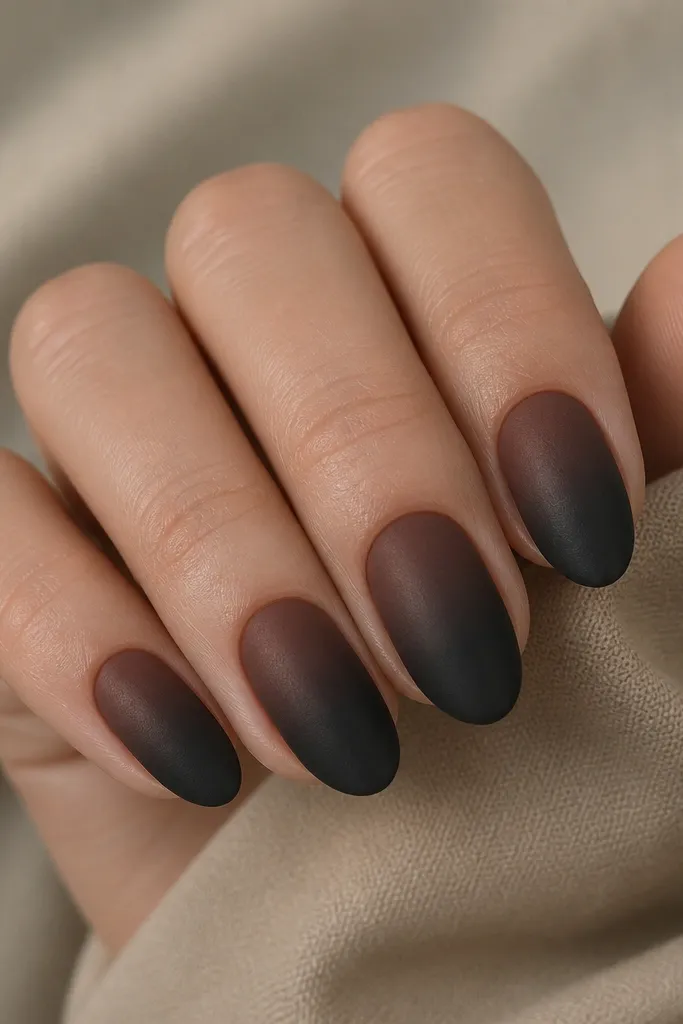
This is Halloween without drawings. Warm chocolate ombré feels cozy, and matte black tips read like a witchy silhouette. The smooth blend makes it look salon-done, and the matte finish keeps it classy. I love this for almond or soft oval shapes because the tip shape frames the gradient.
Paint a chocolate brown base and cure. Sponge on a slightly darker brown near the tips, then blend with a clean sponge. Seal the tips with matte black gel and cure. Finish with a glossy top coat on the brown area only, leaving the matte tips matte.
Pro tipUse a makeup sponge and tap, don't swipe - swiping creates streaks.
Watch outAvoid harsh lines between the ombré and matte tips.
8. Clear Base with Floating Black Dots
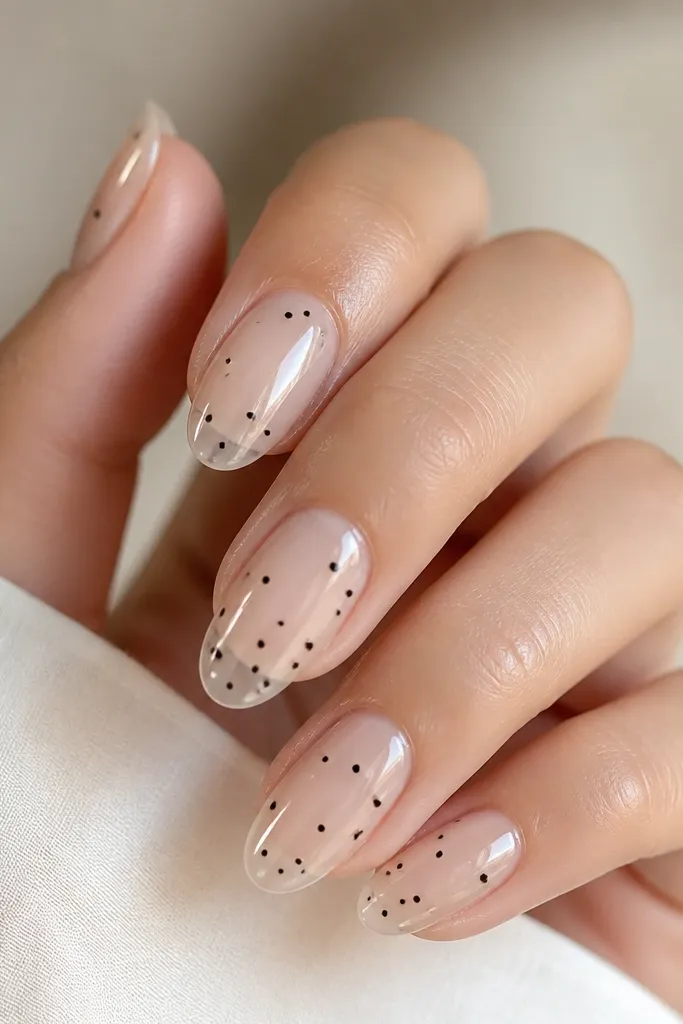
Floating dots look playful but still classy because there's no theme overload. Use a clear jelly base so your nails look fresh and the black dots look like ink splatter - controlled, not messy. This design reads like Halloween confetti on a small scale. It's also beginner-friendly because dots hide small mistakes.
Apply a clear jelly base and cure. Use a dotting tool to place 3-5 tiny dots per nail, varying height but keeping them away from the cuticle edge by 1-2 mm. Use black gel and cure, then top coat glossy.
Pro tipIf your dots look too large, lightly press the dotting tool once and lift - don't drag.
Watch outDon't cluster all dots together - spacing is what makes it look intentional.
9. Nude with One Thin Black Web Accent at Sidewall
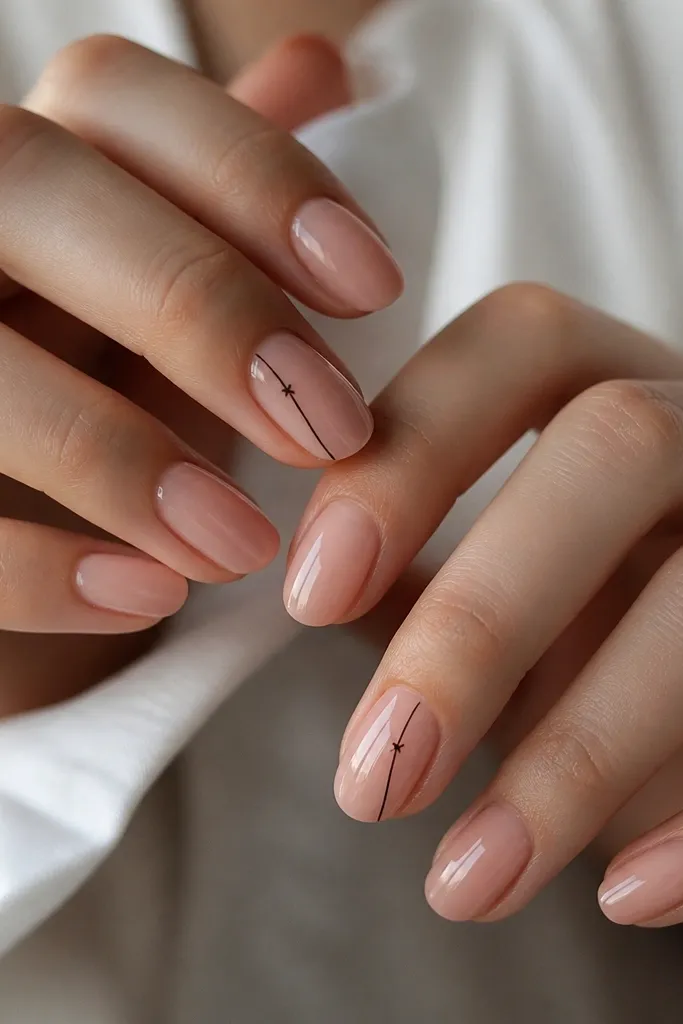
Side accents look chic because they follow the nail's natural lines. A single thin web thread in black gives Halloween energy, but it's still minimal. This is the design I reach for when I want spooky but I'm wearing sleeves that cover my hands - it still shows in photos. Keep it thin and controlled.
Paint nude glossy base and cure. On the accent nail, draw a single diagonal line using a striping brush, then add 2-3 short intersecting lines to suggest a web. Place the accent so it sits in the center third, not near the tip. Cure and top coat.
Pro tipUse black gel liner straight from the bottle if it's too runny - watery liner makes web lines look smoky.
Watch outDon't add multiple web strands on the same nail - it becomes clutter.
10. Pewter Shimmer Moon with Matte Black Stars
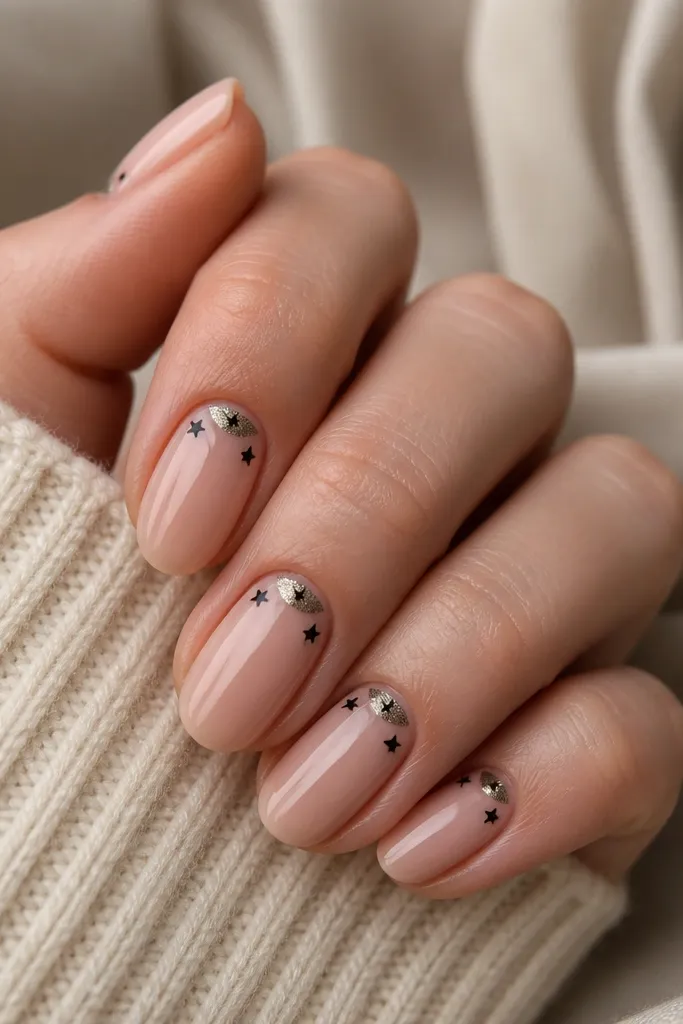
The crescent moon is instant Halloween, and pewter makes it look grown-up. Matte black stars add contrast without needing a full sky scene. This design looks great on short almond and soft oval because the crescent sits cleanly at the cuticle area. The mix of glossy base, shimmer crescent, and matte stars is what makes it look "styled," not random.
Use nude glossy base and cure. With a small brush or half-moon stencil, paint a thin pewter crescent at the cuticle and cure. Add tiny stars with matte black gel using a dotting tool tip shaped like a star or a micro stencil. Top coat glossy on the base only; keep stars matte by skipping top over them.
Pro tipMake the crescent slightly thicker on the outside edge so it catches light in photos.
Watch outAvoid big stars - small stars look more expensive.
11. Matte Nude Nails with Glossy Black French Tips
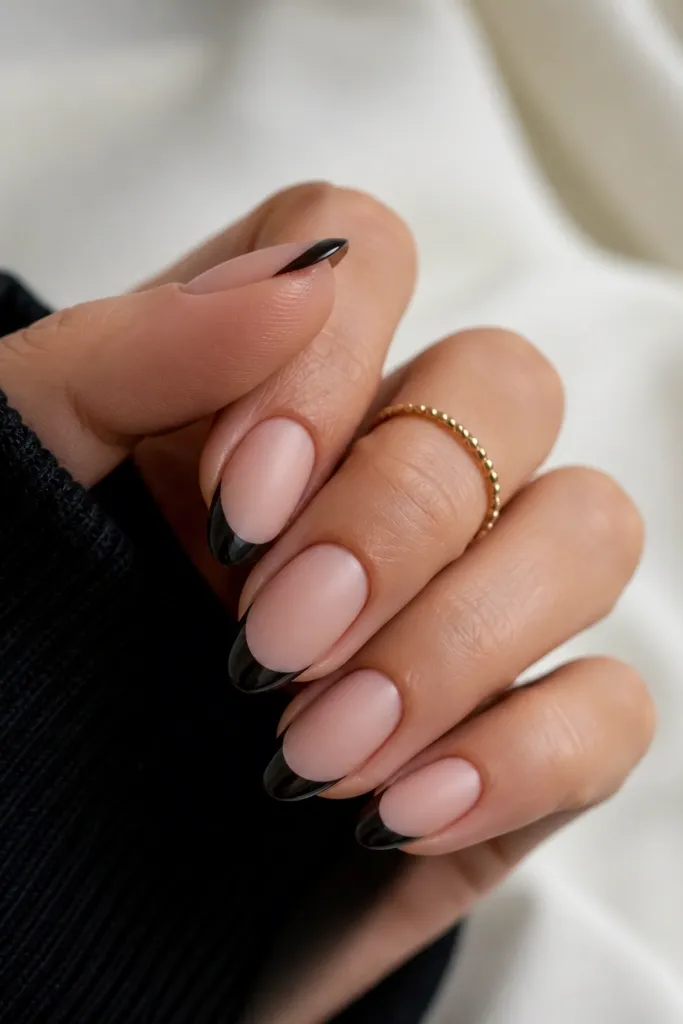
French tips look classy even when you switch the color. Matte nude makes the manicure feel soft, and glossy black tips create that crisp Halloween contrast. This is a great option if you want Halloween that looks like fashion, not holiday craft. The sharp smile line is the main thing - it should look like a boutique manicure.
Start with a matte nude base (use a matte top at the end). Then apply glossy black gel at the tip using a French guide or tape. Keep the smile line thin - about 1.5 mm - and cure. Finish with glossy top only on the black tips; keep the nude area matte.
Pro tipUse tape for the smile line the first time. Freehand French is where people lose the clean look.
Watch outAvoid thick black tips that cover too much nail - it makes the set heavy.