1. Matte Black Half-Moons on Nude
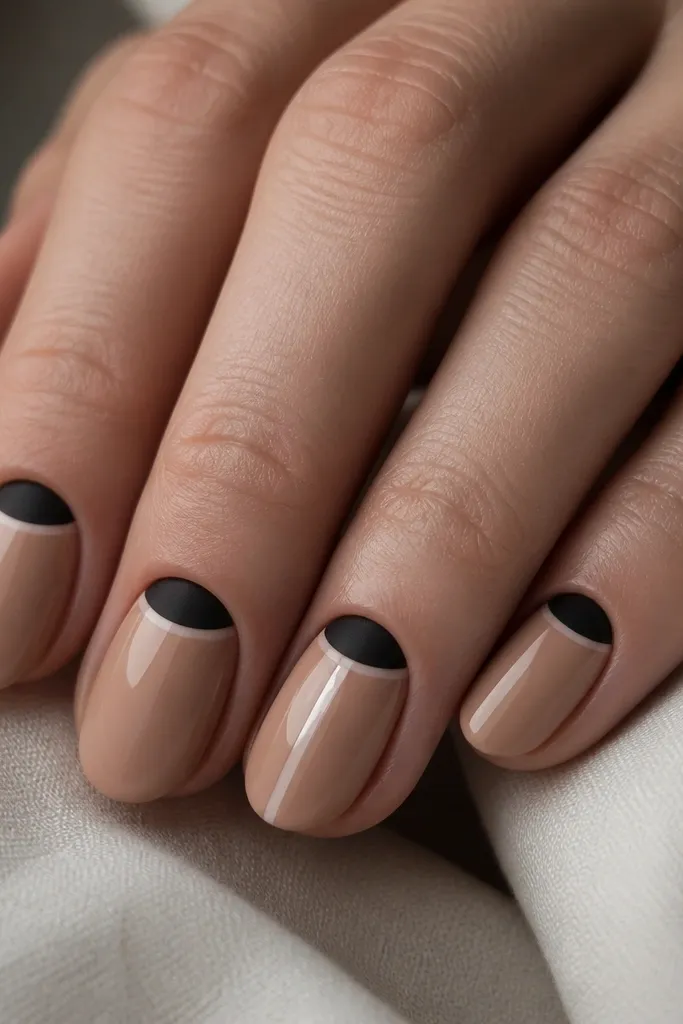
This look reads Halloween because the half-moon instantly feels like a witchy nail shape, but the nude base keeps it modern. Matte black at the cuticle looks intentional, not harsh, and it hides tiny imperfections near the growth line. I like adding gloss only on one nail so the design has a focal point without adding extra symbols.
Paint a warm nude base (opaque in two thin coats). Use a half-moon stencil or a small makeup sponge to keep the black crisp at the cuticle, then cure. Finish with matte top coat on all nails except the ring finger, which gets glossy top coat.
Pro tipIf your half-moon edges blur, clean the perimeter with a small brush dipped in acetone before top coat.
Watch outAvoid full-coverage black on every nail - it turns into a generic Halloween manicure fast.
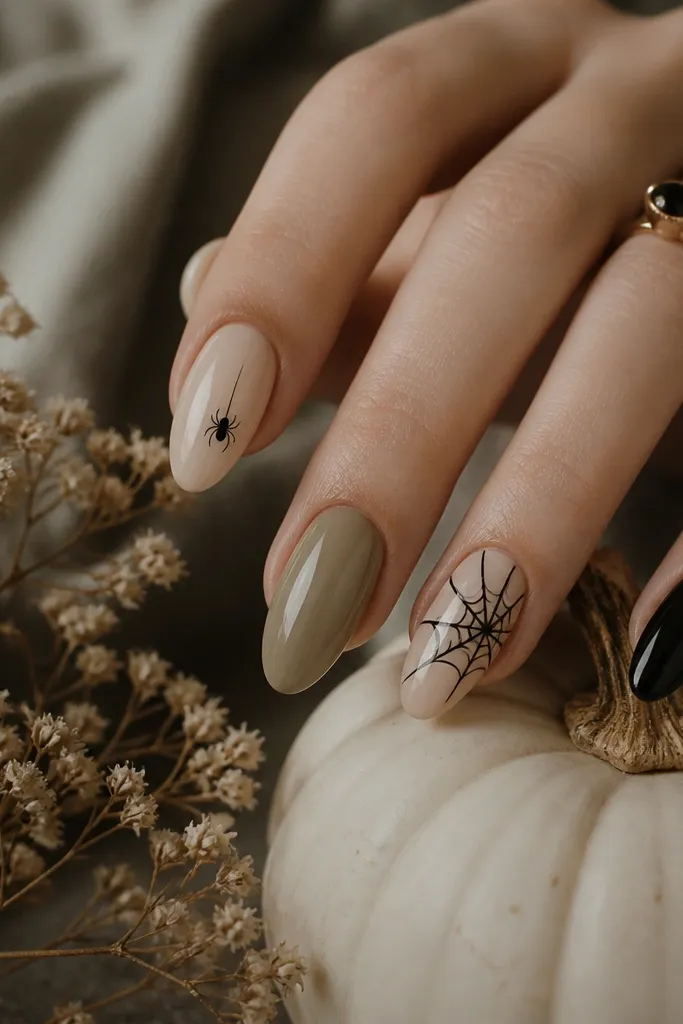
2. Tiny Spider Web Line on One Accent Nail
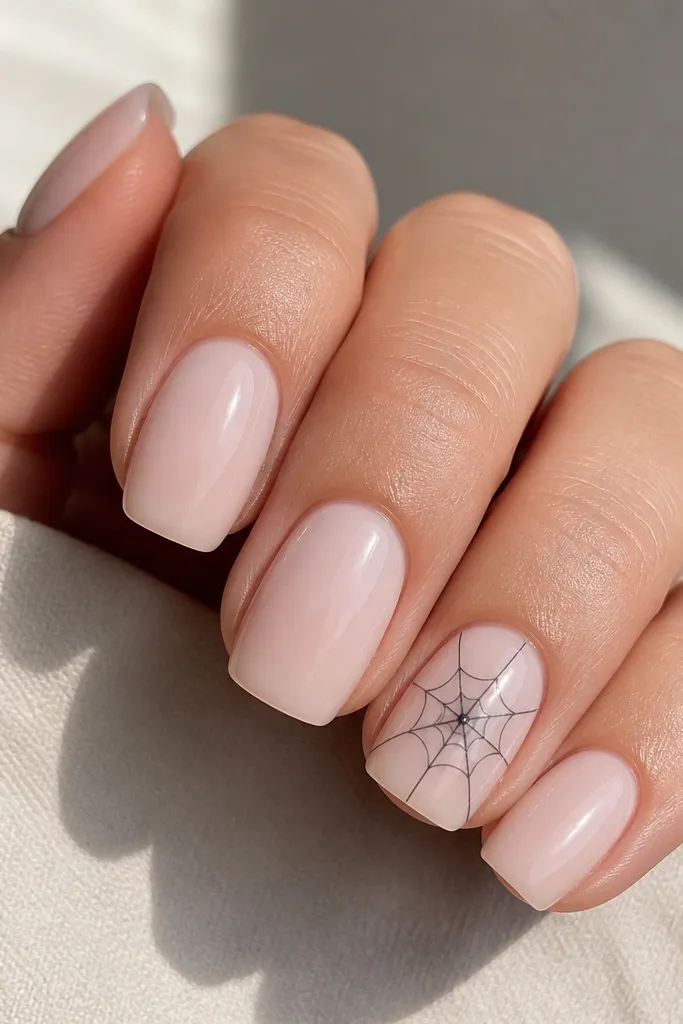
A web drawn as a single thin line looks minimalist because it stays mostly negative space. Charcoal (not jet black) feels softer in daylight and still looks Halloween at night. The tiny center dot is what sells the spider-web idea without turning the nail into a cartoon.
Base coat with milky nude. On the ring finger, use a striping brush and charcoal polish to draw one central dot, then 4 radiating lines. Add a single curved outer ring and two small arcs for the "threads," then seal with a glossy top coat.
Pro tipKeep the web under 1/3 of the nail width so it doesn't sprawl when your nails move.
Watch outAvoid heavy, filled-in web lines - they look thick and cheap under indoor light.
3. Glossy Black Micro-French Tips
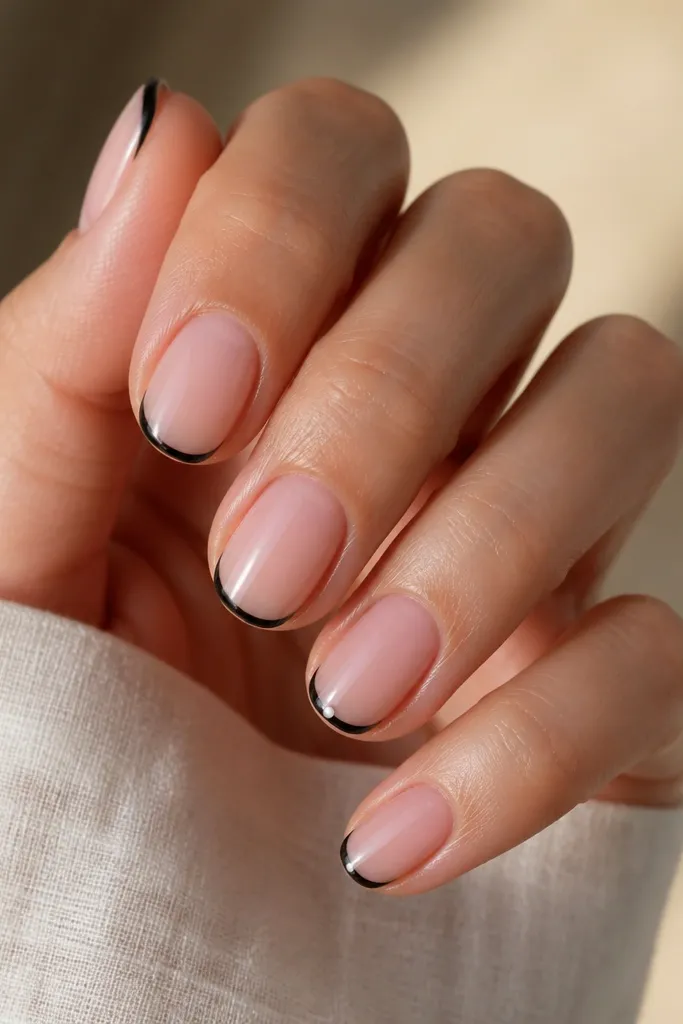
Micro French tips look clean and modern, but black screams Halloween in a way that's still subtle. The thin line keeps your nails looking neat even as they grow out. I add one tiny white dot on the ring finger to give it a little "spooky candy" energy.
Start with a sheer pink or nude base. Use tape or a steady hand to paint a 1-2 mm black tip line, then cure and top coat with gloss. Place one small white dot just under the tip line on the ring finger.
Pro tipIf your tip line wobbles, fix it by adding a second ultra-thin line over the first instead of repainting the whole tip.
Watch outAvoid wide French tips - they make the whole set feel costume-y.
4. Oxblood Crescent Moon Over Clear Base
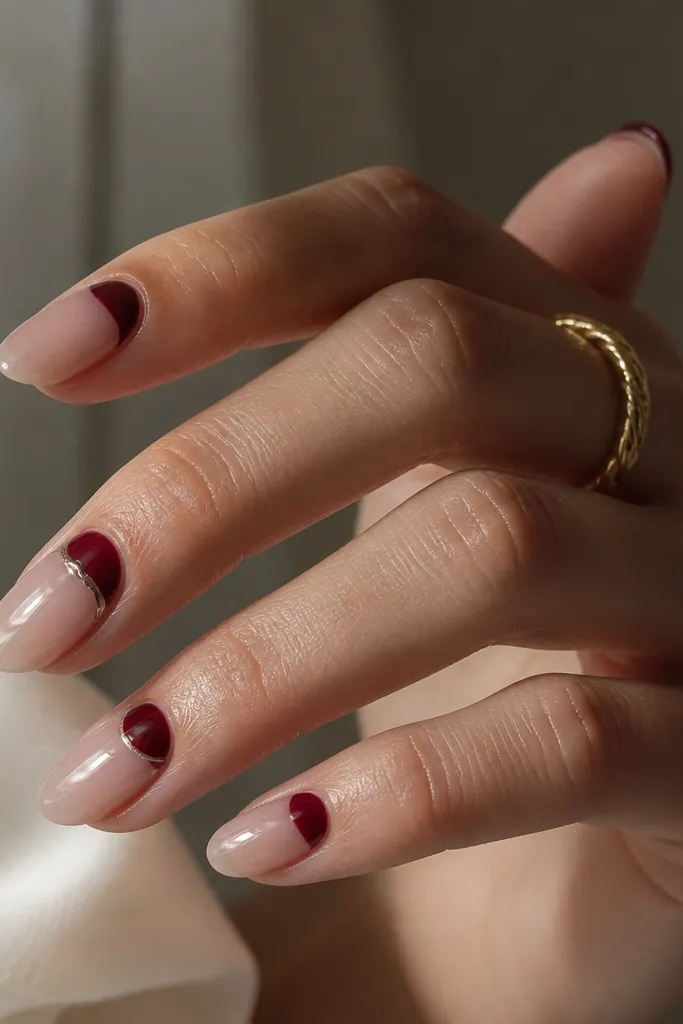
Crescent moons feel like Halloween without using pumpkins or bats. A clear jelly base keeps it airy and modern, and oxblood looks richer than basic red. The silver outline on one nail adds a metallic glint when you move your hands.
Apply a clear jelly base and cure. Paint an oxblood crescent with a small angled brush so the curve is smooth and not blob-like. Add the silver outline only on one accent nail, then seal with a glossy top coat.
Pro tipUse the nail's natural curve as a guide for the crescent - it makes the shape look effortless.
Watch outAvoid opaque base layers - thick coverage kills the jelly effect.
5. Matte Nude with One Glossy "Candy Corn" Corner
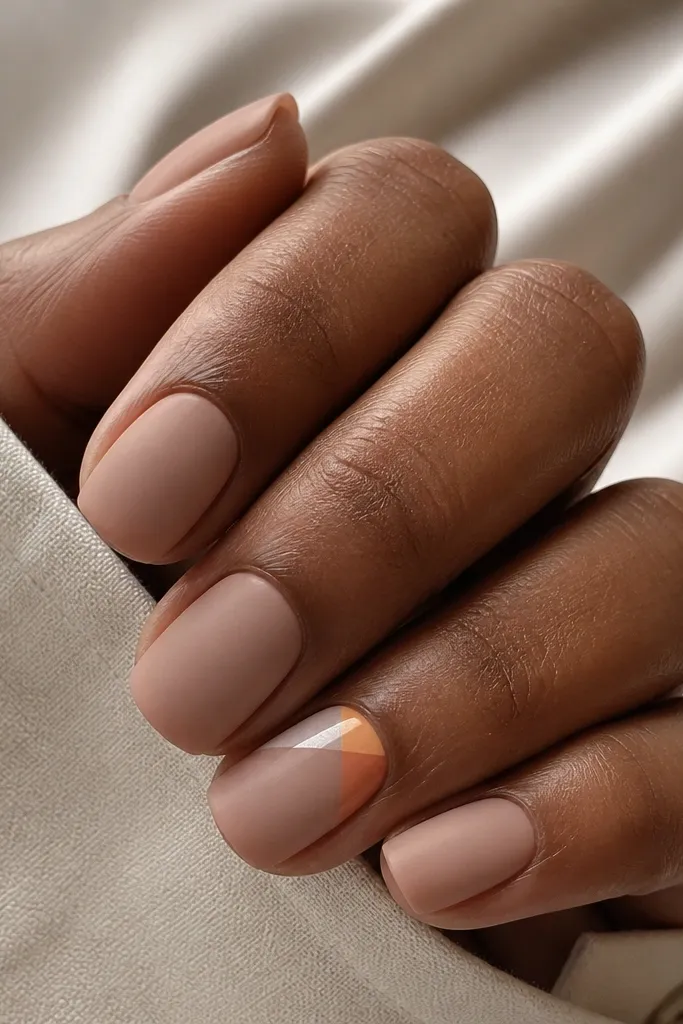
Candy corn is Halloween by name, but this version stays minimalist because it's tiny and placed in one corner. Matte nude makes the glossy triangle pop, and the small size prevents it from looking childish. The color split gives you that instant Halloween read without covering the whole nail.
Base with matte nude and top coat matte. On the ring finger, paint a small triangle corner near the tip using three thin stripes: cream, orange, pale yellow. Keep the triangle height around 2-3 mm so it stays "accent" not "theme."
Pro tipLet each color dry for 30-60 seconds before adding the next so the edges stay sharp.
Watch outAvoid painting candy corn across multiple nails - it gets busy fast.
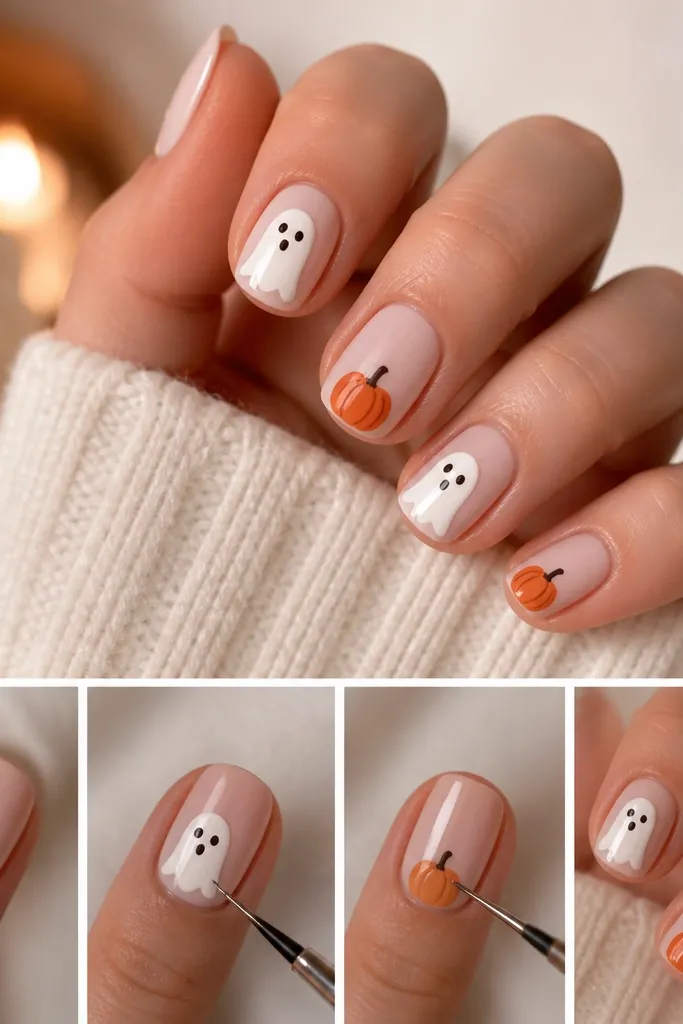
6. Negative Space Pumpkin Stem Dot
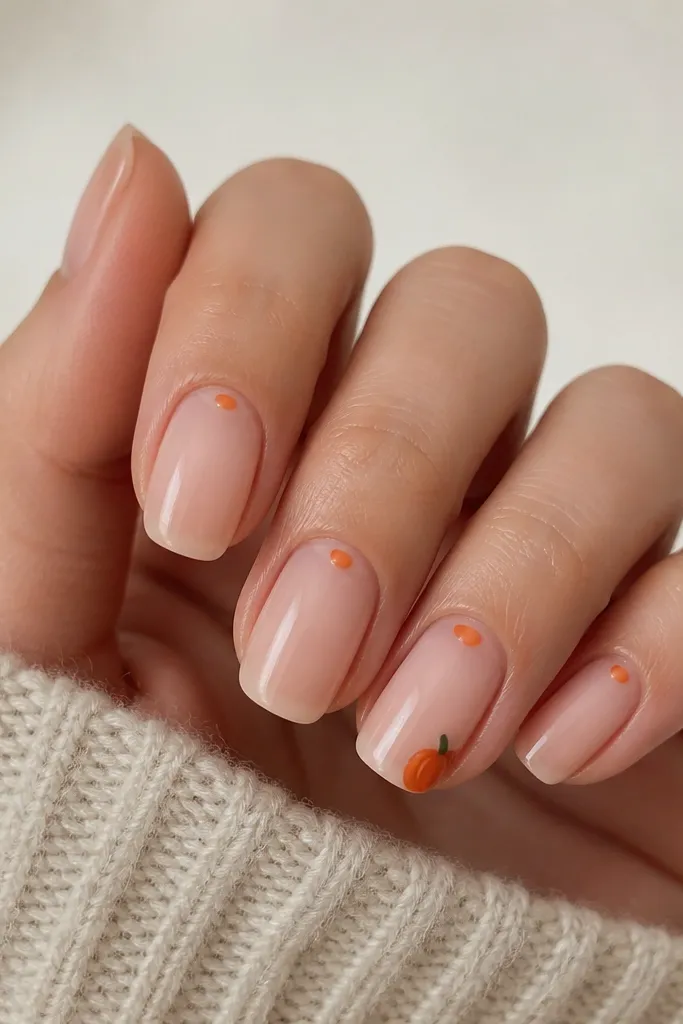
This is the minimalist pumpkin trick: keep the pumpkin tiny and let the nail do most of the work. A single orange dot on other nails ties the set together without making every nail a pumpkin. The tiny green stem adds the detail people recognize when they glance at your hands.
Use a sheer nude base so negative space stays visible. On the ring finger, draw a small pumpkin at the tip corner using a light orange fill and a slightly darker orange for the ridges. Add a tiny green dot for the stem and cure. Finish with glossy top coat.
Pro tipMake the pumpkin width about the same as your pinky nail's width at the tip so it looks proportionate.
Watch outAvoid thick pumpkin outlines - they make it look like a sticker.
7. Charcoal Skulls on the Ring Finger Only
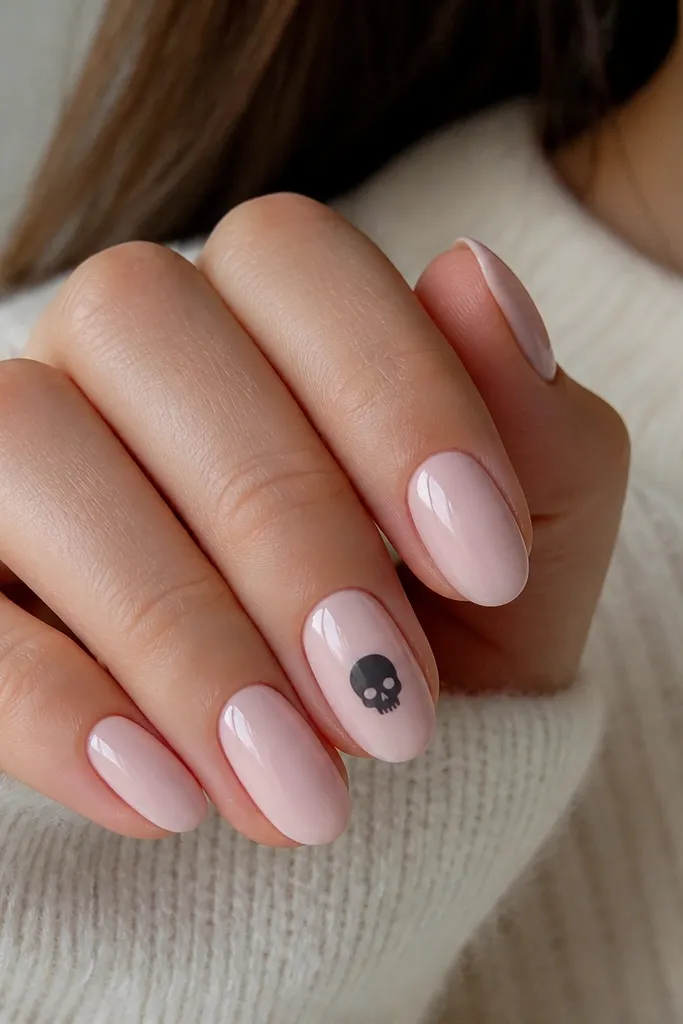
Skulls can look edgy and still minimalist if you keep them small and place them on one nail. Charcoal is less harsh than black and reads more "modern gothic." White eyes give contrast without needing a full background.
Paint milky pink base and cure. Draw a simple skull using a thin liner brush: two eye shapes, a small nose triangle, and a curved jaw line. Add tiny white highlights for the eyes, then top coat glossy.
Pro tipIf your skull looks lopsided, redraw only the jaw curve - it fixes the whole face faster than repainting everything.
Watch outAvoid skulls on every nail - it stops being minimalist immediately.
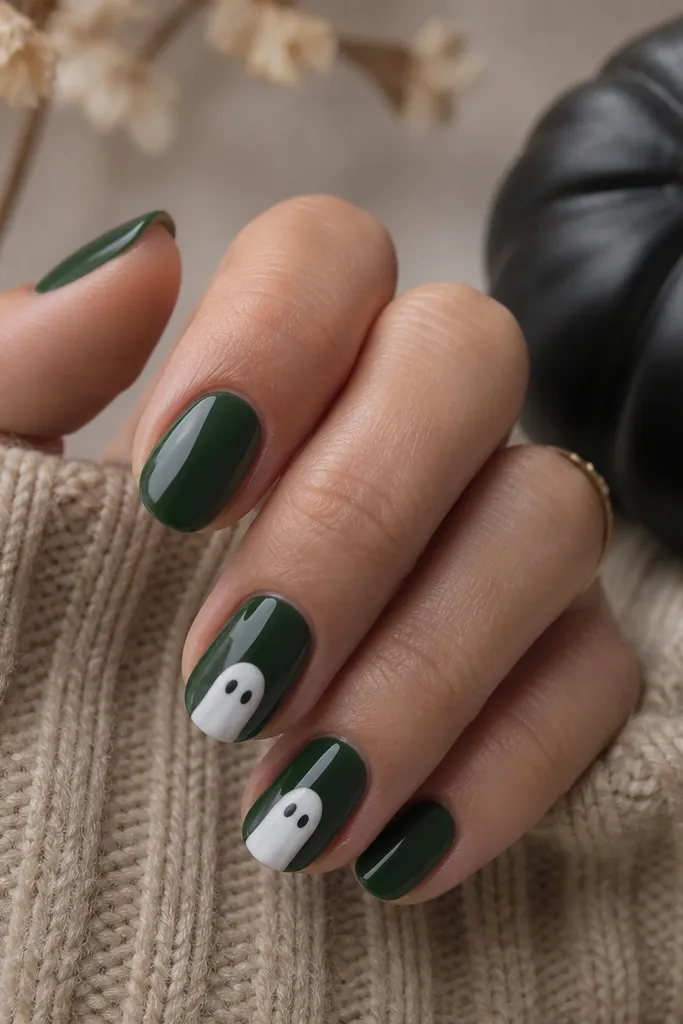
8. Ghost Silhouette Outline in Milky White
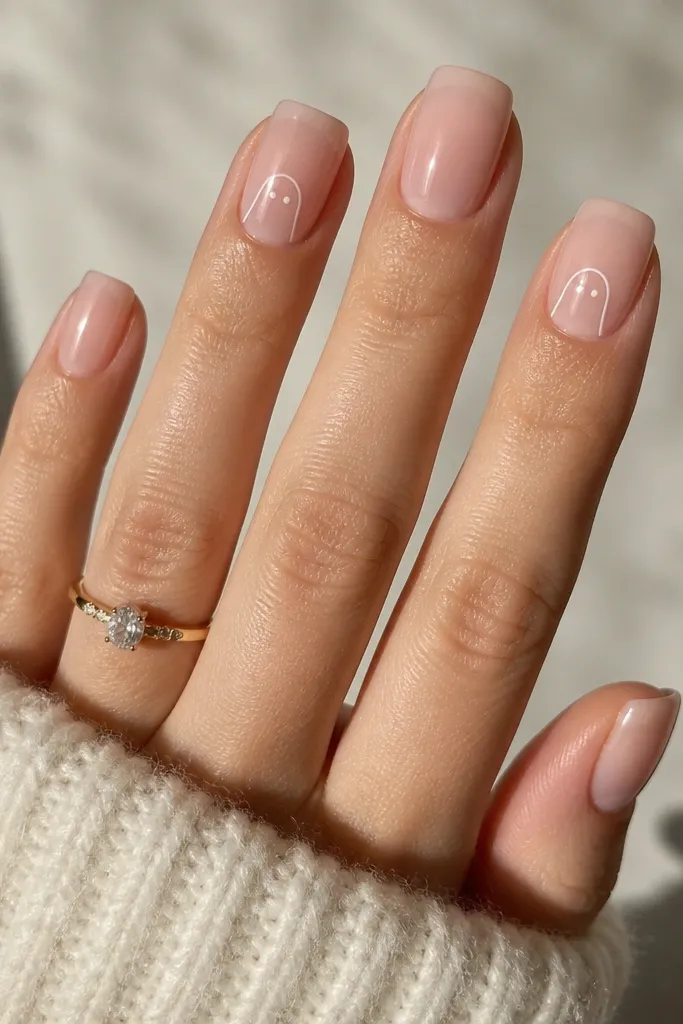
Ghost outlines are clean because they use line work, not filled shapes. Milky white on nude looks soft and wearable, and it still reads ghost from a few feet away. Keeping it to two nails gives the set balance.
Use a sheer nude base in two coats. With a liner brush, draw a wavy ghost top and a rounded bottom, keeping the outline thin. Add two tiny eye dots and cure, then glossy top coat.
Pro tipPlace the ghost slightly off-center toward the sidewall so it doesn't look like a sticker centered in the nail.
Watch outAvoid thick filled ghosts - they turn into a cartoon blob.
9. Matte Black Dot Trail Like a Witch's Brew
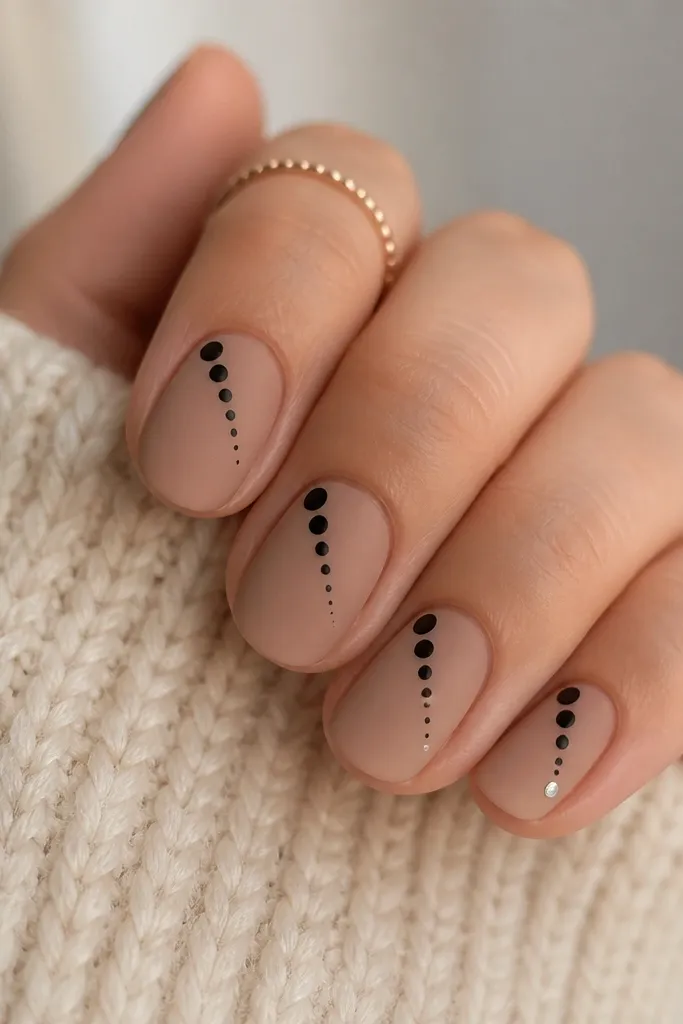
A dot trail is minimalist and still feels spooky, especially when it's diagonal and tapered. Matte black dots look like "ink" and hide minor polish texture. A single silver dot at the end gives a little "spark" effect without adding more icons.
Base with matte warm nude. Use a dotting tool to place 5-6 dots in a diagonal line, starting larger near the cuticle and slightly smaller as you move. Cure, then add one silver dot on the ring finger and seal with matte top coat.
Pro tipDip the dotting tool lightly - too much polish makes the first dot too big and ruins the taper.
Watch outAvoid random dot placement - it looks accidental instead of designed.
10. Thin Silver Web Across the Tip
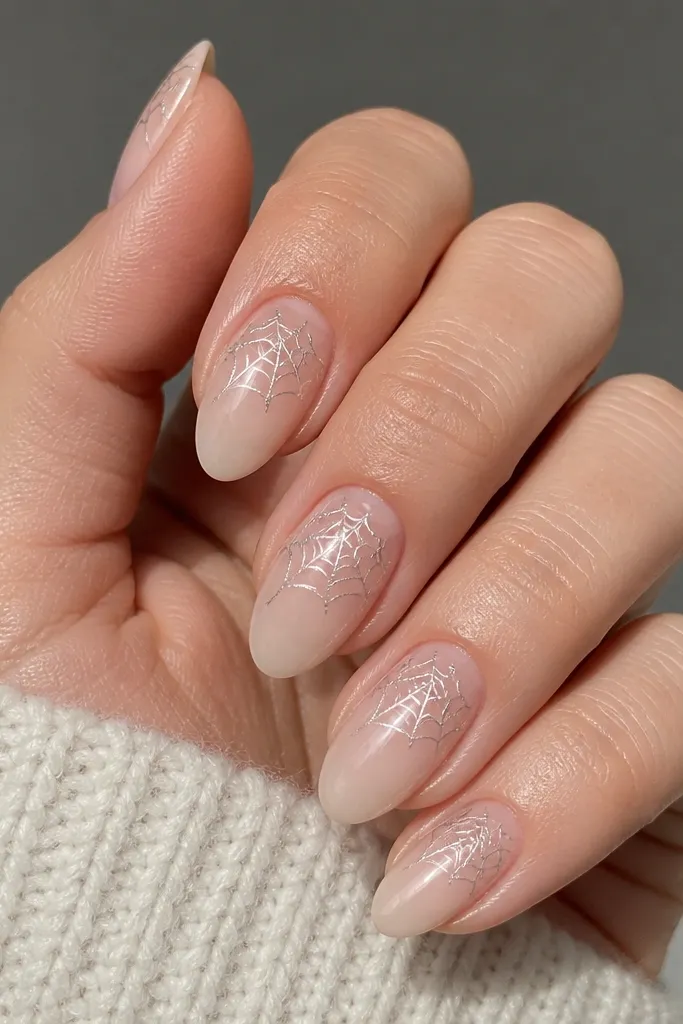
This one looks modern because the web is metallic and restrained. Silver turns Halloween into something that looks party-ready, not messy. Keeping the web in the top third keeps it from covering the whole nail and making it feel crowded.
Apply nude gloss base. Draw a small web band near the tip: central dot, 4-5 radiating lines, and one outer curve. Use a fine liner brush and metallic silver gel or polish. Cure and finish with glossy top coat.
Pro tipIf metallic lines drag, clean your brush with gel cleanser and wipe it on a lint-free wipe before reloading paint.
Watch outAvoid placing the web too low - it makes the nail look dirty as it grows out.
11. Black Cat Face Tiny Line Art
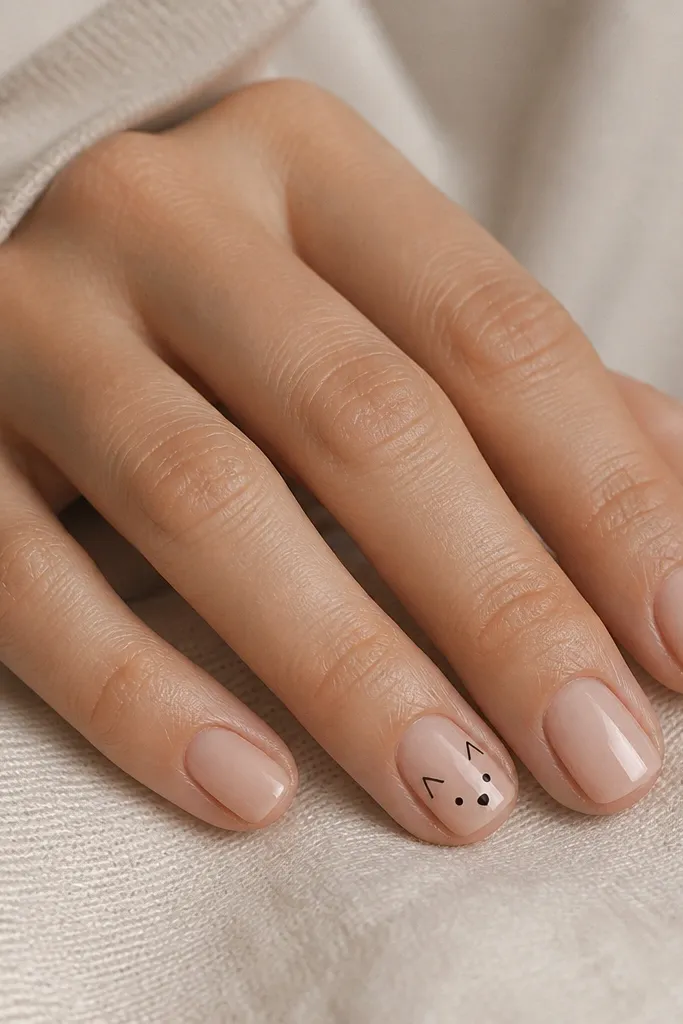
Cat faces work because they're instantly recognizable even when they're small. Thin line art keeps the vibe minimalist and prevents the design from looking heavy. I like a sheer nude base so the cat feels like it's floating on your nail instead of sitting on top of a thick background.
Use a sheer nude base and cure. With a liner brush, draw the cat ears as two small triangles, then add two eye dots and a tiny nose line. Keep it under 2 mm tall. Top coat glossy.
Pro tipPractice on one fake nail first - cat ears are the part that make or break the look.
Watch outAvoid big cartoon cats - they overpower a short manicure.