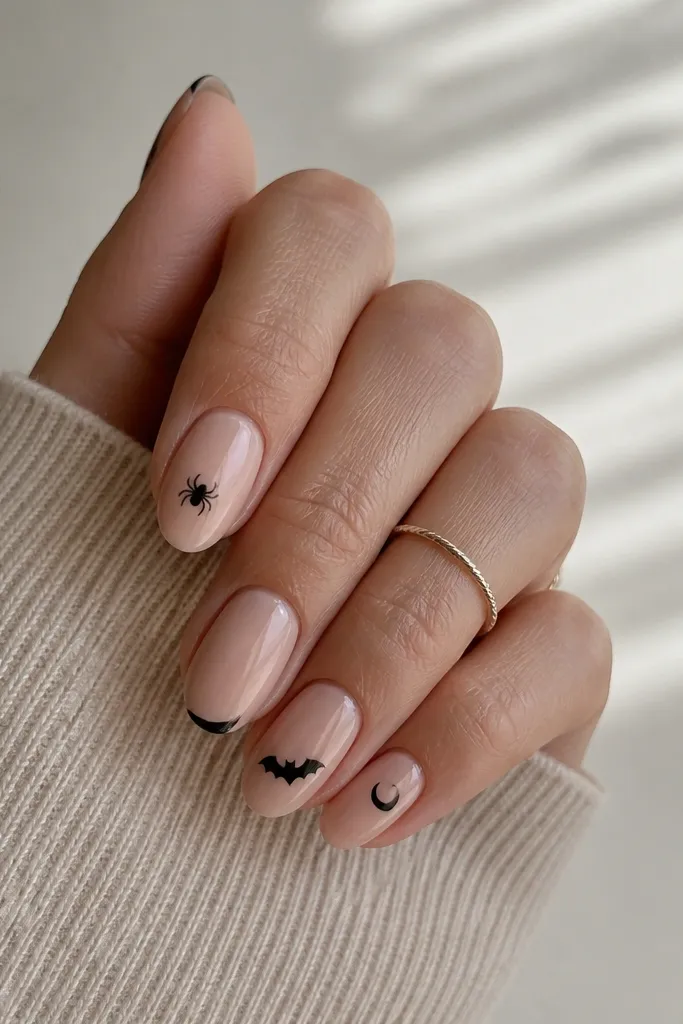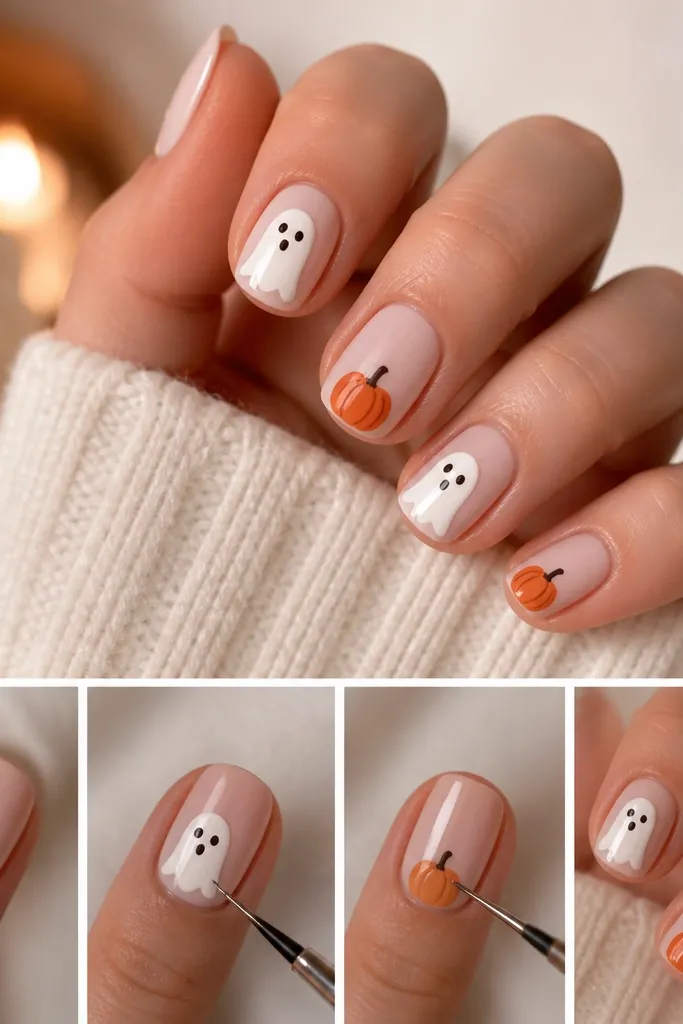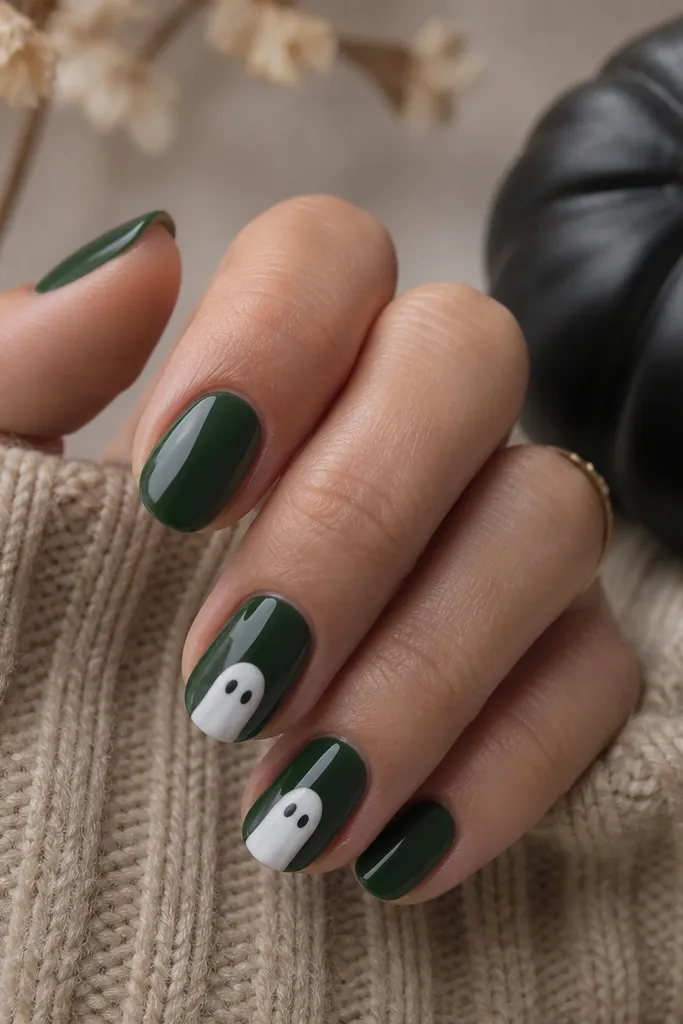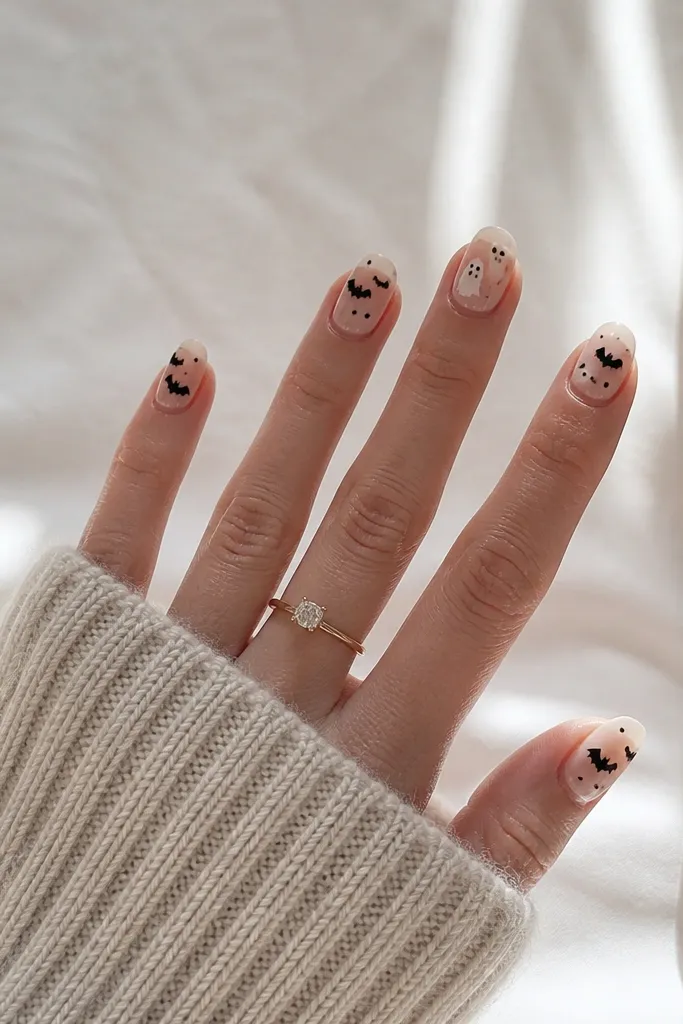
1. Candy Corn Tips on Soft Squoval
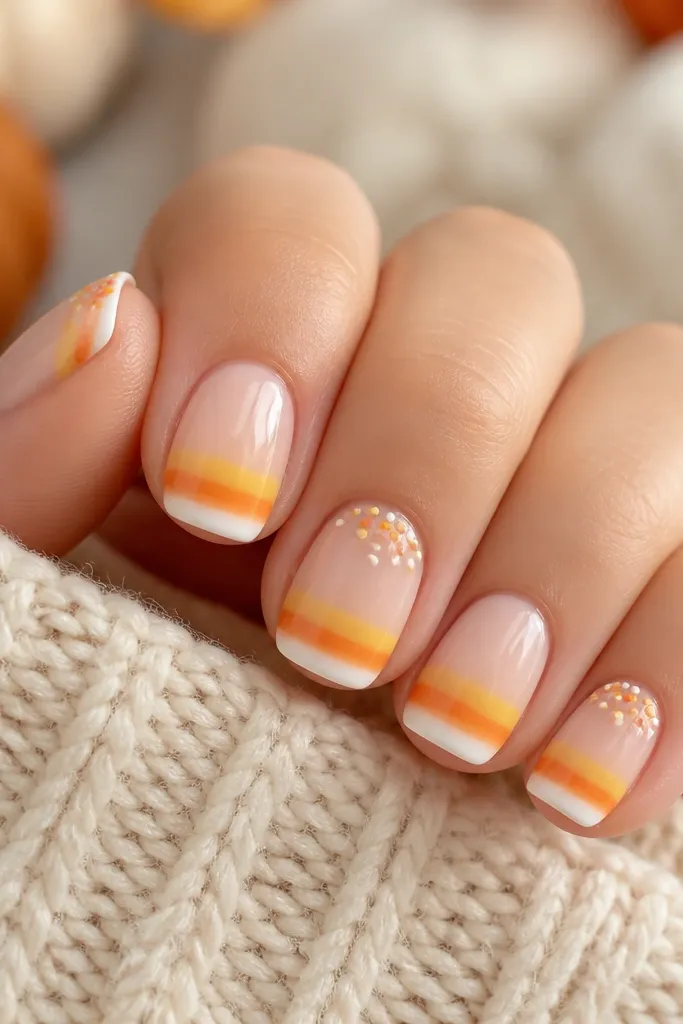
This one is cute because candy corn already has a built-in shape. The three stacked colors create a crisp look even if your lines aren't perfect, as long as you keep each band thin. Use a milky nude base so the colors pop, and keep the tip width around half the nail so it doesn't feel heavy.
Paint your nude base in two thin coats. For the tip bands, use a small striping brush and start near the sidewalls, filling in toward the center. Make the yellow band about 2 mm tall, orange about 2 mm, and the white band about 1.5 mm on a 2-3 mm short nail. Finish with a glossy topcoat.
Pro tipIf you struggle with straight edges, tape a thin strip across the nail for each band, then remove it while the polish is still slightly wet so the line stays sharp.
Watch outAvoid thick paint on the tip - it makes the bands look like blobs instead of candy corn.
2. Micro Webs on Nude with Black Corners
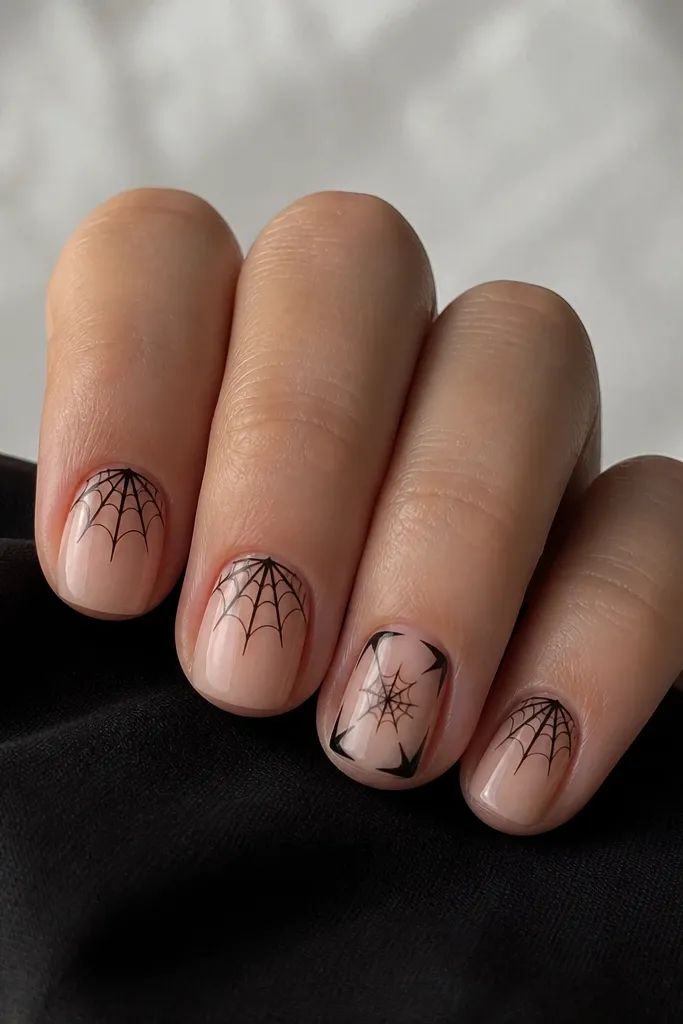
Micro webs look high-end because they're delicate and scaled to short nails. The nude base keeps everything wearable, and the black lines read clearly without needing a lot of shading. This design works especially well if you like Halloween nails that don't feel too "costume."
Start with a nude base. Use a nail art dotting tool or the tip of a bobby pin to place 4-5 radiating points around the center. Then draw a few curved lines connecting the points. For the framed nail, paint a thin black line at the side corners and extend it slightly toward the tip.
Pro tipUse a gel liner or very thin black polish for the web lines - if the brush spreads, your web will look messy instead of spiderweb-thin.
Watch outDon't cover the whole nail with webbing - dense webs swallow short nails and look crowded.
3. One-Bat Accent on Deep Purple
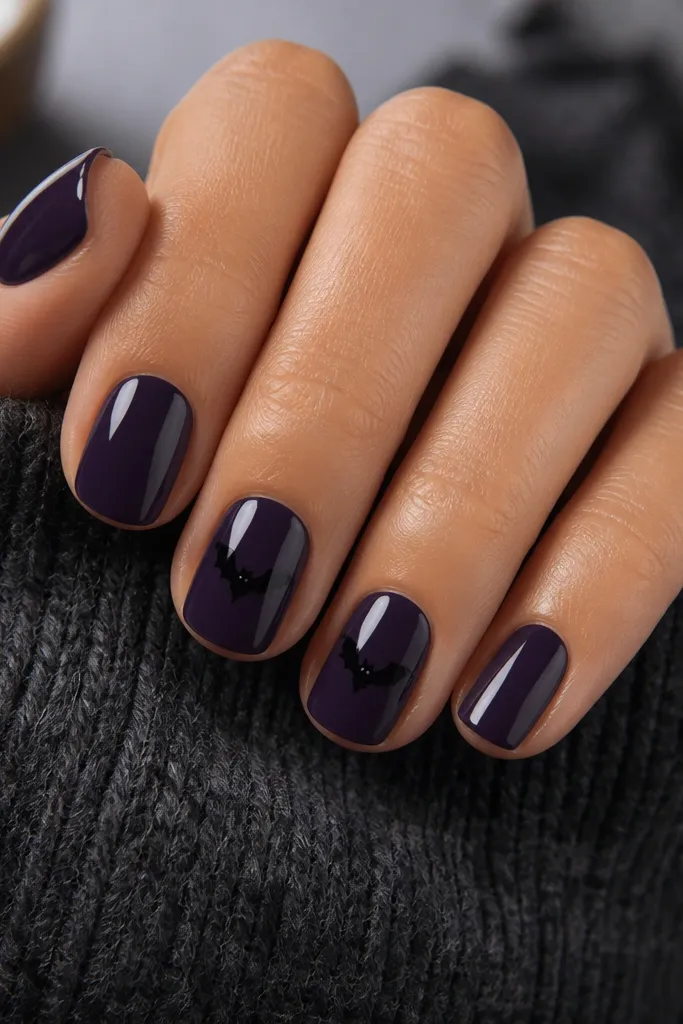
A single bat is the fastest way to make Halloween nails look intentional. Deep purple gives a moody background that makes black silhouettes pop. Keeping the bat small prevents the design from turning into a smudge when you're working quickly.
Paint all nails deep purple in two coats. For the bat, use a black striping brush or a nail art pen and draw a tiny body dot first. Then add wing arcs on both sides and a small curve for the tail. Place it about 1 mm below the cuticle so it looks like it's "flying" forward.
Pro tipIf you're using a regular polish pen, press lightly - hard pressure makes the line too thick for a small bat.
Watch outAvoid placing the bat too close to the tip - it shortens the visual space and makes it look cramped.
4. Skeleton Smile Lines on Milky Pink
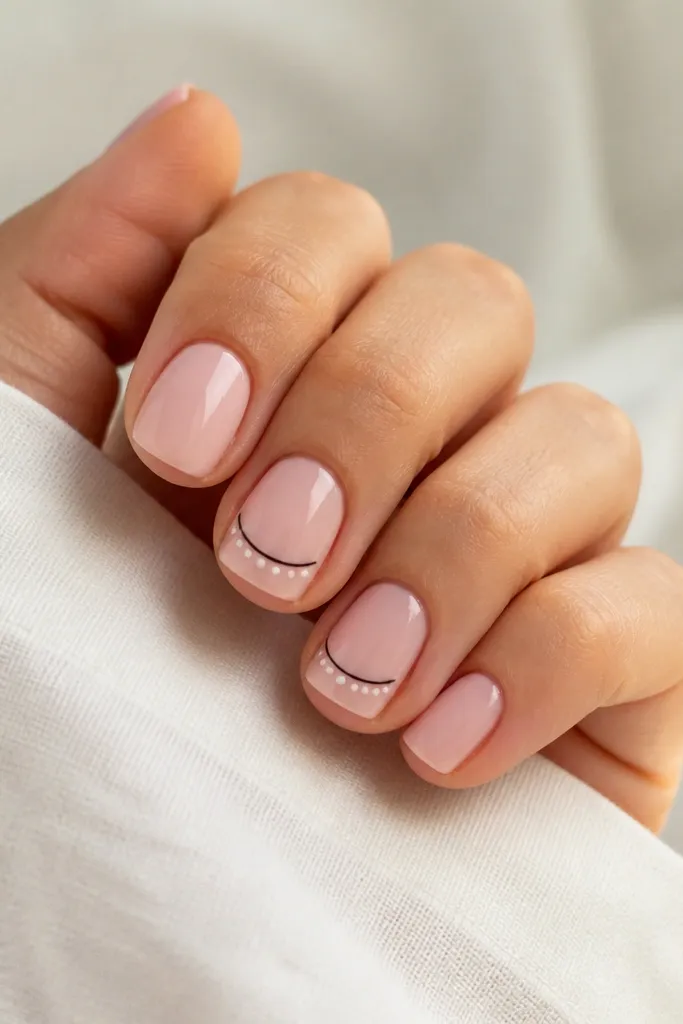
This is a cute Halloween option because it reads "skeleton" without full skull art. The smile curve gives you a clear focal point, and the tiny teeth dots add just enough detail to look intentional. Milky pink keeps it sweet instead of scary.
Use milky pink as your base. Draw a thin black smile curve using a liner brush. Add small white dots for teeth - keep them about the size of a poppy seed and space them evenly. Topcoat with a glossy layer to smooth out any dot texture.
Pro tipUse tooth-pick sized dots for teeth - if the dots are too big, the smile looks cartoonish in a bad way.
Watch outSkip thick black lines - they make the smile look like a marker scribble.
5. Spooky Stripes on Black Base
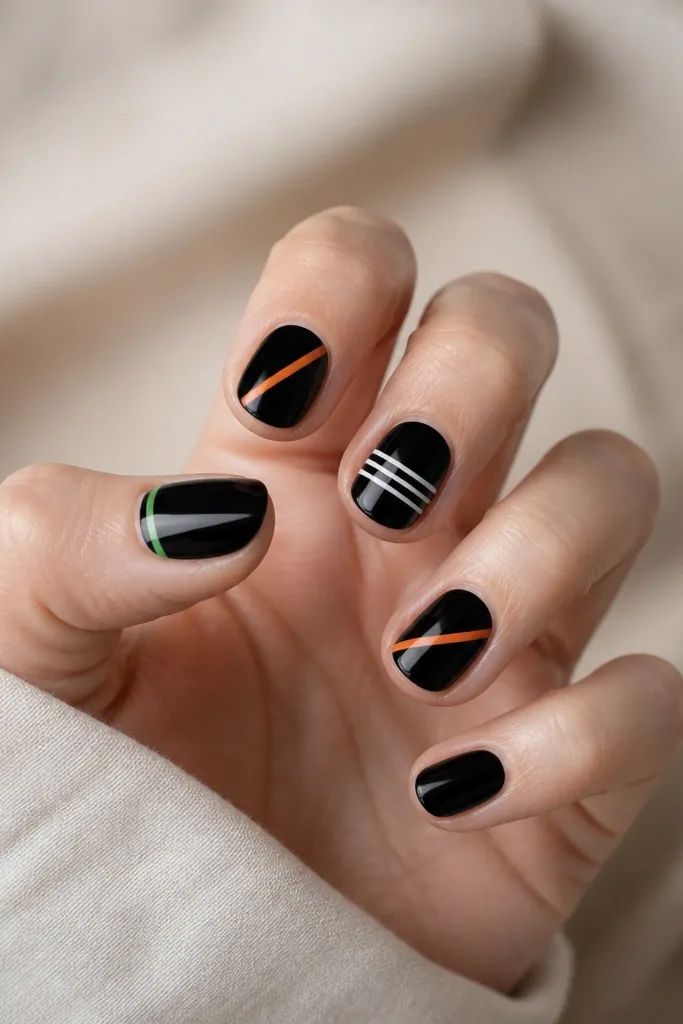
Stripes are the easiest way to look designed without freehand pressure. Black is forgiving, and the bright stripe colors make it Halloween without needing characters. The trick is using thin striping lines so the nail still looks clean.
Paint black on all nails. Use striping tape or a thin brush to add diagonal orange lines on two nails, keeping them about 1 mm wide. Add one white horizontal stripe centered on another nail. For the green accent, paint a narrow stripe 1 mm below the cuticle.
Pro tipIf you're using tape, press it down for 10 seconds and remove slowly at a slight angle while the polish is still wet or after gel cure with a topcoat-free surface.
Watch outDon't add more than two stripe colors per nail - it gets busy fast on short lengths.
6. Tiny Pumpkin Faces on Nude
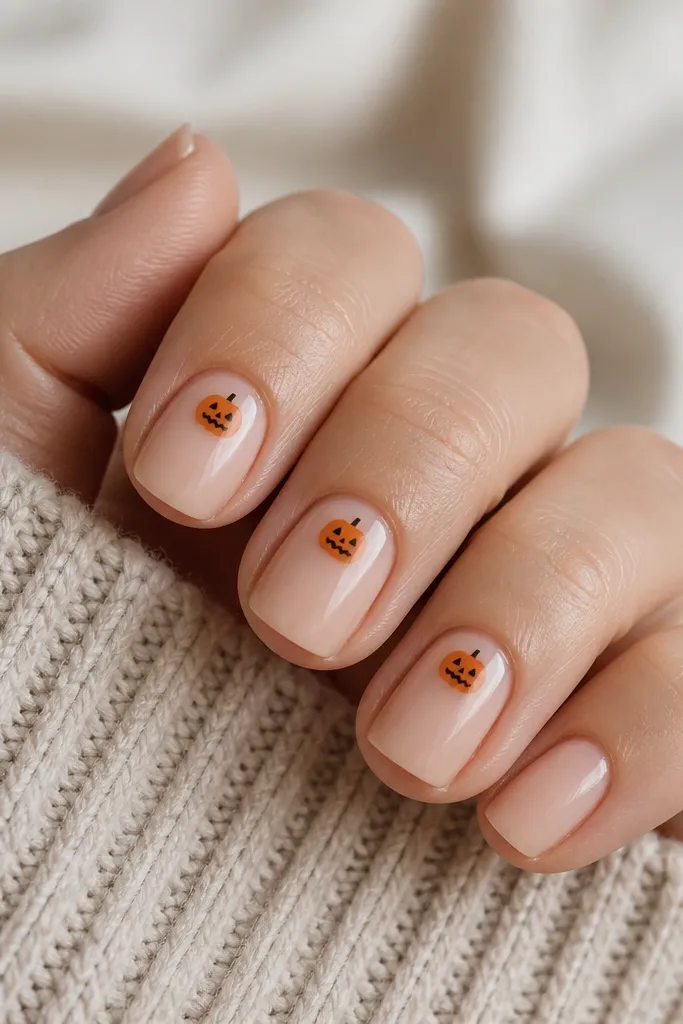
Tiny pumpkins look adorable on short nails because you can keep the face features small and readable. Nude base makes orange look bright and fresh instead of muddy. This design also hides uneven brush strokes because the face is built from simple shapes.
Paint nude base. For pumpkins, use a small dotting tool to place an orange circle near the cuticle, then add a green stem with a tiny line. Make the eyes two small triangles or dots. Add a zigzag mouth with a liner brush so it looks like a jack-o-lantern grin.
Pro tipLet the orange dry fully before adding the stem - green on wet orange bleeds outward.
Watch outAvoid big pumpkin circles - oversized faces crowd a short nail and look heavy.
7. Ghost Outline on Clear Pink
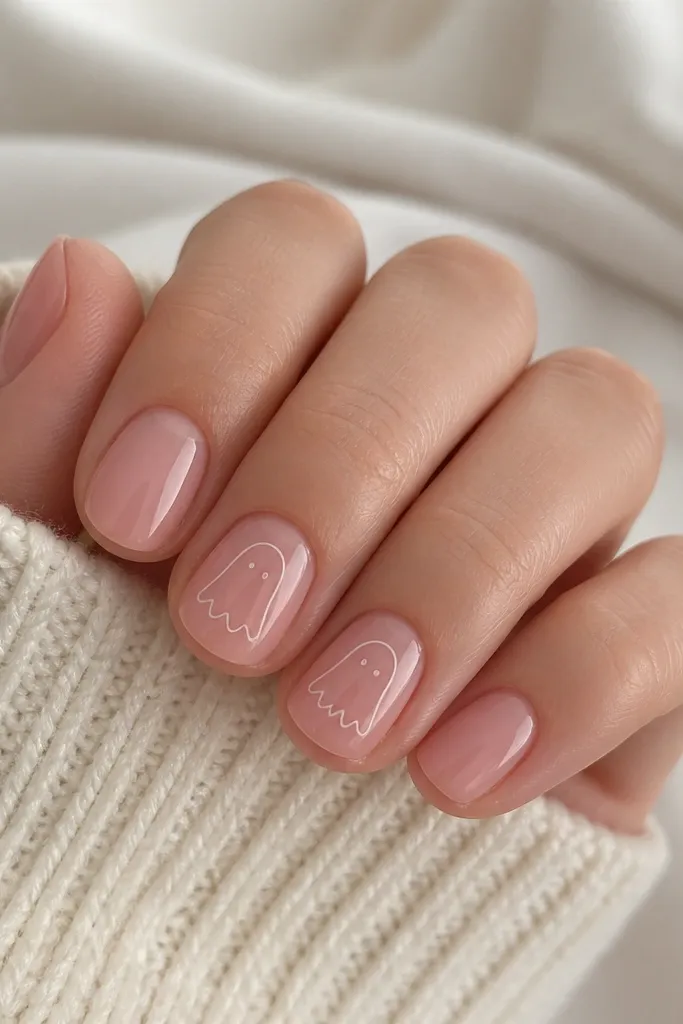
Ghost outlines are quick and forgiving because you're drawing a contour, not filling a full character. Clear pink base gives a soft glow under the white lines. The rounded ghost shape reads clearly even when your nails are only a few millimeters long.
Use clear pink or sheer nude as your base. With white polish or a gel white liner, draw a ghost head first - rounded top, slight indent at the sides. Add a scalloped bottom with 5-6 curves. Finish with two small dot eyes and a tiny curved mouth line if you want extra cuteness.
Pro tipIf your white looks streaky, do one thin outline coat and cure/dry, then do a second pass only where needed.
Watch outDon't fill the ghost in solid white on short nails - it can look chalky and thick.
8. Black Cat Ears on Matte Nude
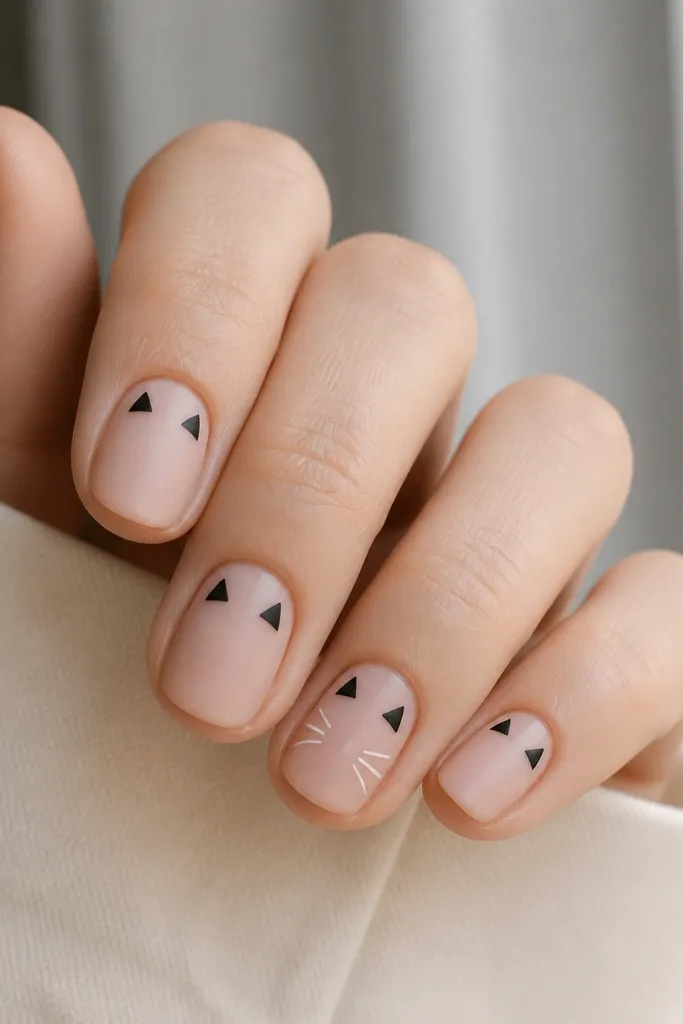
Cat ears are the fastest Halloween nail art I've done that still looks intentional. Matte nude makes the black ears look like little patches. If you add one whisker detail, it reads "cat" instantly without needing a full face.
Start with nude base and either matte topcoat or a matte polish finish. Paint two small black triangles 1 mm below the cuticle on each nail. On one accent nail, add three short whisker lines on each side using a white liner. Seal with a matte topcoat for the main nails, but use glossy only on the whisker nail if you want contrast.
Pro tipKeep the ears tiny - about 1.5 mm tall - so they don't overpower the nail.
Watch outAvoid glossy base with matte ears - the uneven finish makes the ears look pasted on.
9. Orange Drip on Black Like Candle Wax
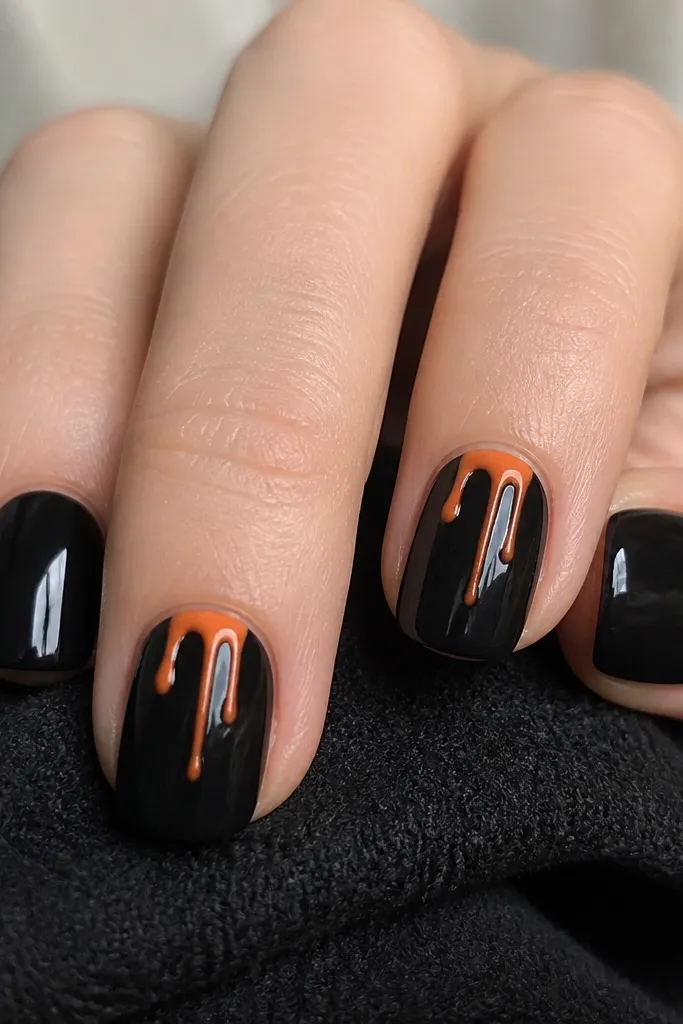
Drips look spooky without being complicated. Black gives you that night-sky contrast, and orange reads like pumpkin guts or candle wax. The taper is the secret: a drip that stays thick looks messy; a drip that narrows looks like it dripped.
Paint black on all nails. On two accent nails, dot orange near the cuticle and pull downward with the tip of a brush or toothpick. Let gravity do part of the work, then refine the edges. Keep the biggest drip about 3 mm long for short nails.
Pro tipIf the drip spreads, stop and clean the edges with a small brush dipped in remover before it dries.
Watch outDon't add glitter to every drip - it turns into costume sparkle instead of waxy Halloween.
10. Spider Legs French on Nude Tips
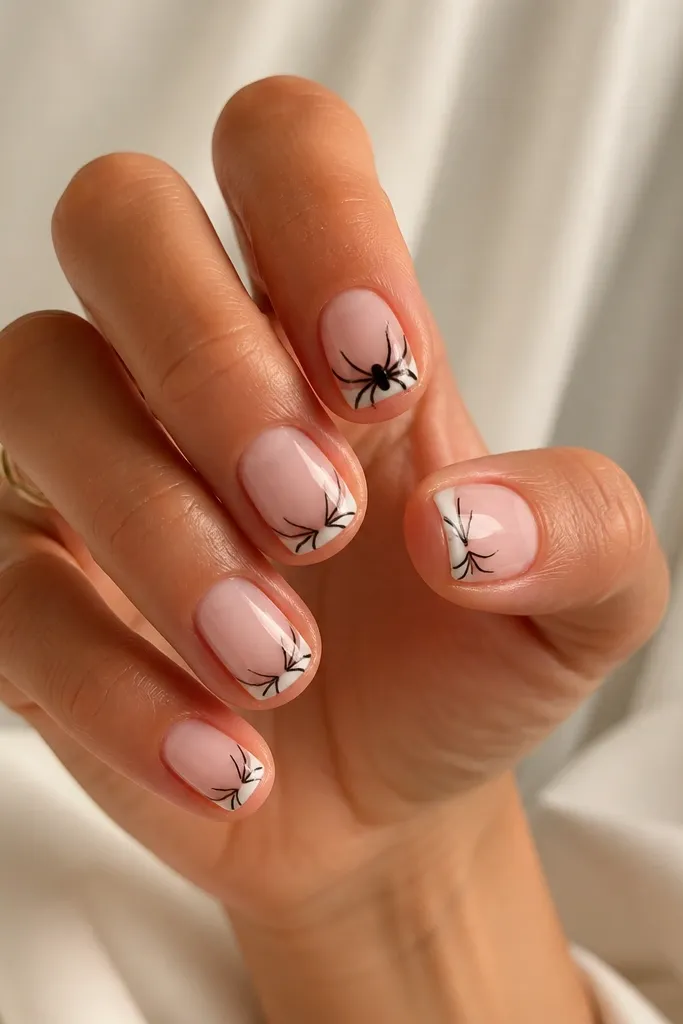
Spider legs over a French tip gives you a clean structure to build on. The nude and white make it look like a classic manicure, and the legs add the Halloween twist. Keeping the legs thin keeps the design airy instead of heavy.
Paint nude base. Add a thin white French tip using tape or a guide strip. Then draw 4-5 pairs of thin black lines from each side of the tip - curve them slightly outward. Add a tiny dot at the center of the French line for the spider body if you want.
Pro tipUse a liner brush and clean it between nails so the leg lines stay consistent thickness.
Watch outAvoid thick French tips - legs on a wide tip look crowded.
11. Mummy Wrap Lines on Clear Nude
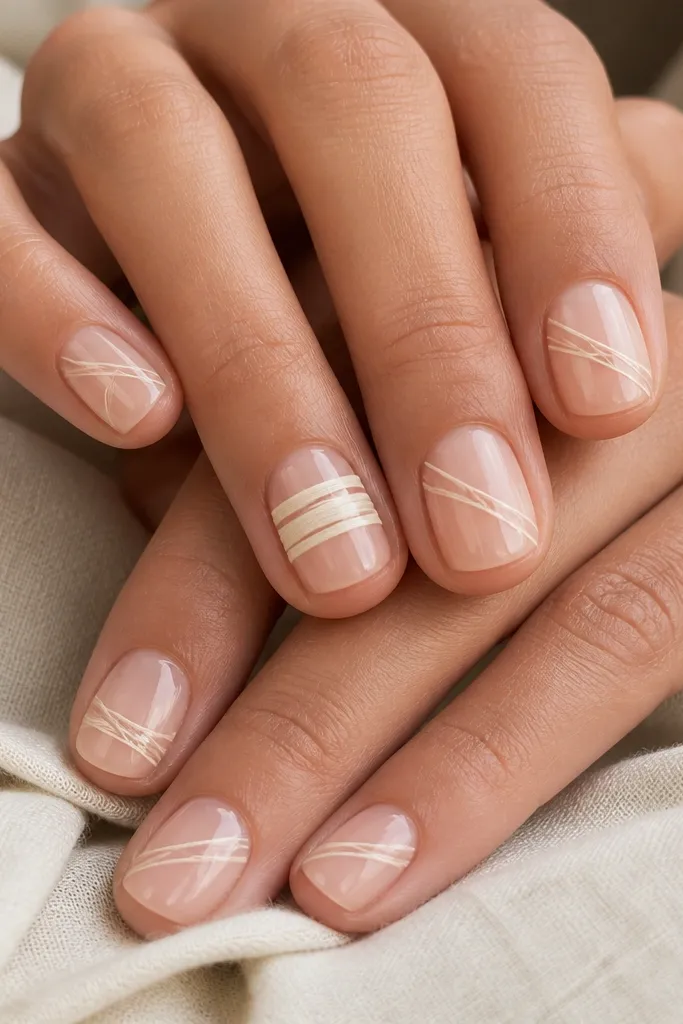
Mummy nails are simple because you're drawing fabric strips, not painting a skull. Clear nude keeps it light, and off-white lines look like bandage wraps. The diagonal crossing makes the pattern feel "wrapped" even at short length.
Use clear nude or milky nude as a base. With off-white polish or gel, paint 3-5 thin diagonal lines across each nail. Leave small gaps between lines so it looks like wraps. For the accent nails, add one horizontal band across the middle.
Pro tipKeep one edge of each wrap slightly irregular - that tiny imperfection makes it look like real cloth.
Watch outSkip solid blocks of off-white - strips look like bandages, blocks look like paint.
12. Glitter Coffin Sparkle on One Accent Nail
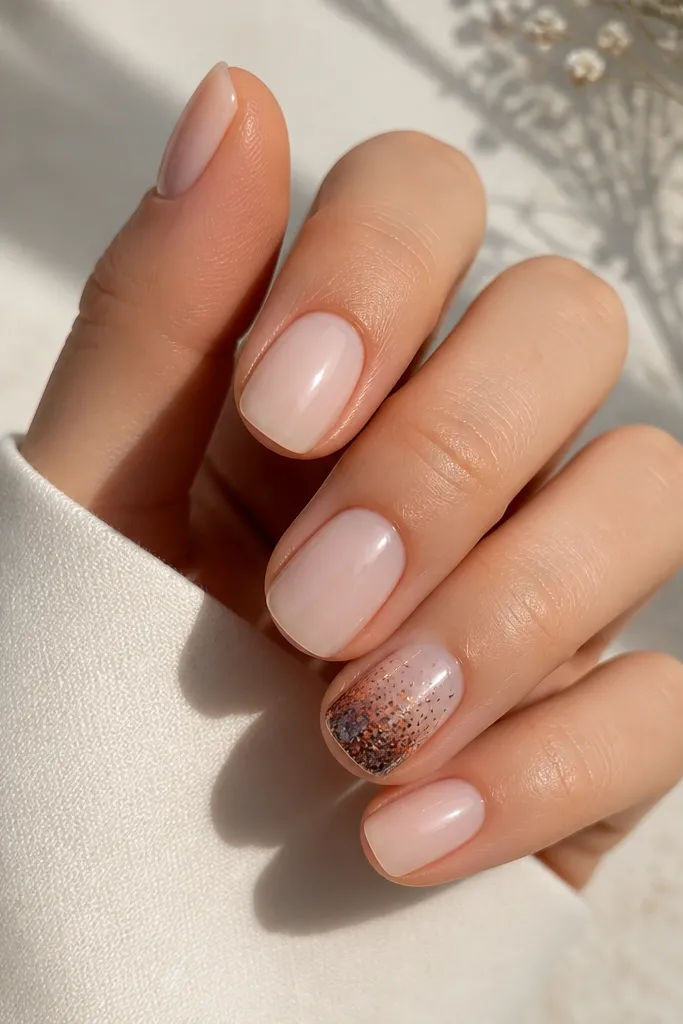
You don't need art on every nail. A single glitter accent looks festive and still fits the "simple" rule. Orange-black glitter reads Halloween without specific characters, and it hides tiny imperfections on short nails.
Paint milky nude on all nails. On one nail per hand, sponge or dab orange-black glitter at the tip, then blend upward slightly with a dry brush. Keep the glitter area about 40% of the nail length so it stays balanced. Topcoat twice if you're using gel glitter so it doesn't feel gritty.
Pro tipUse a thin layer of topcoat before glitter so the sparkle grips and doesn't flick off.
Watch outAvoid putting glitter on every nail - it stops looking simple and starts looking messy.