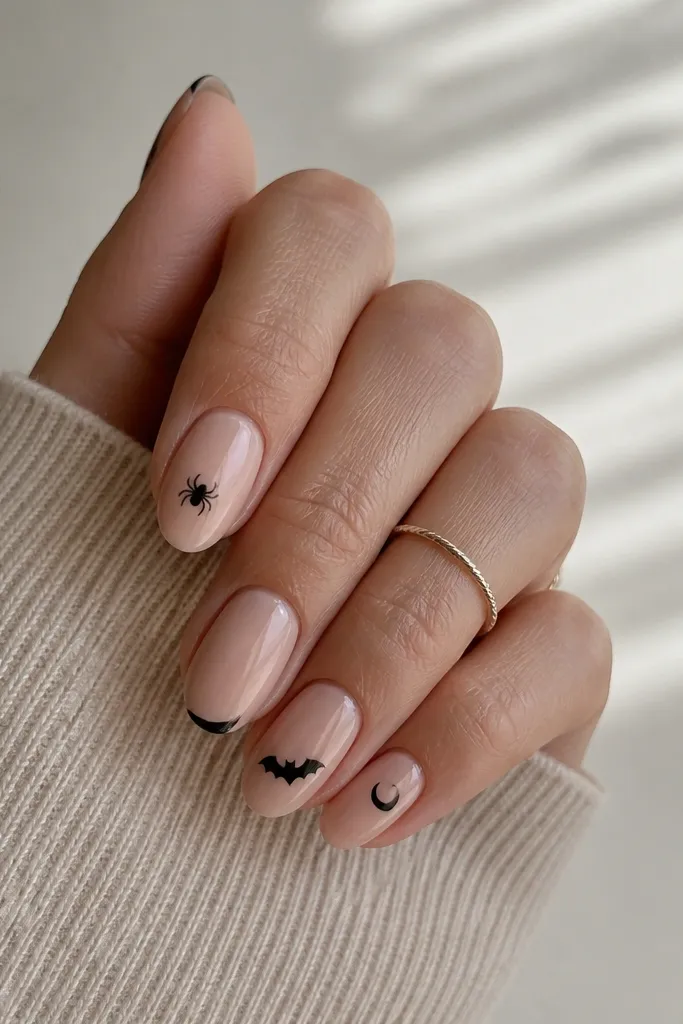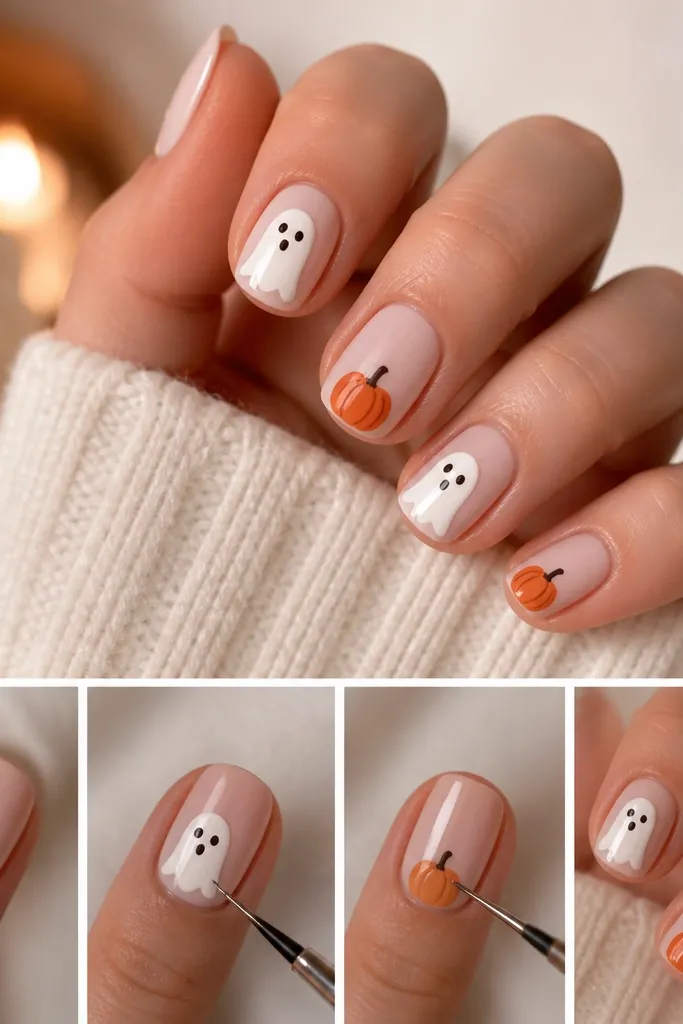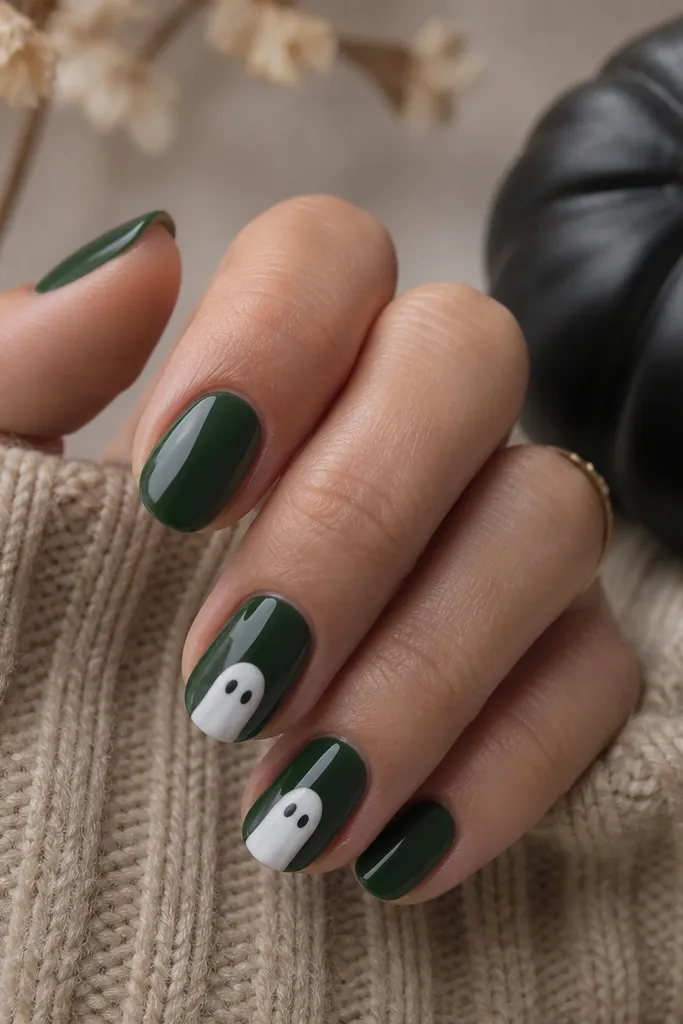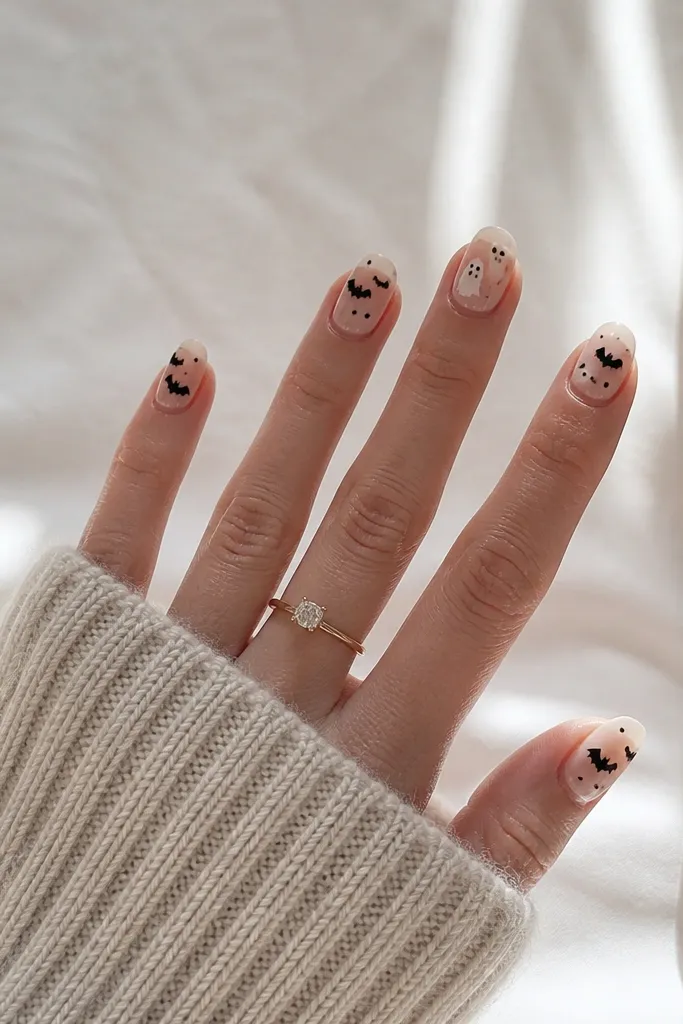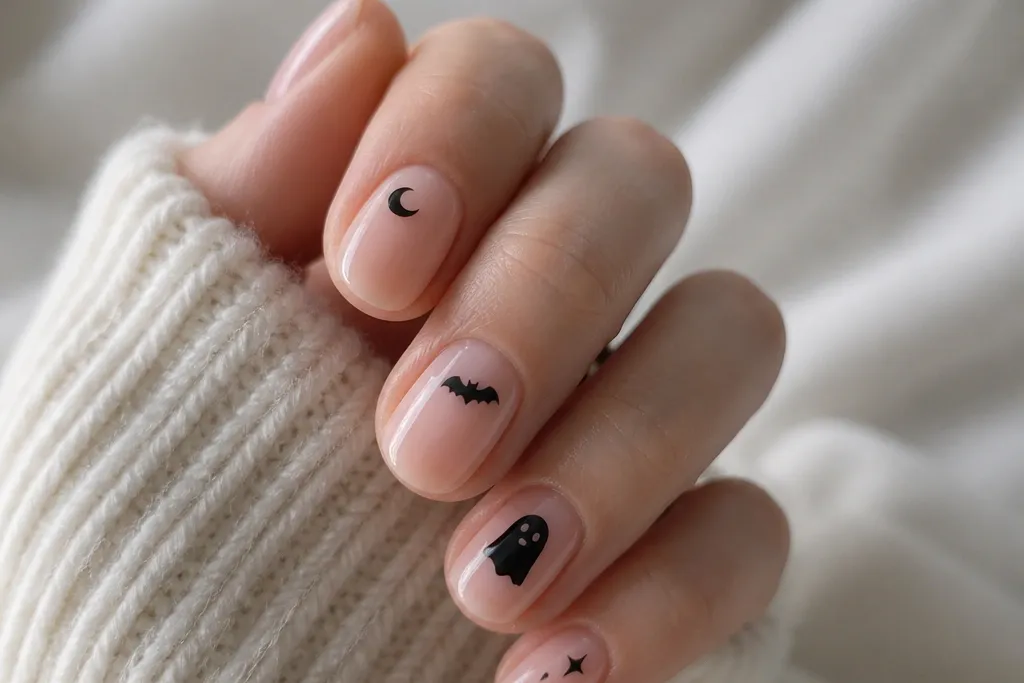
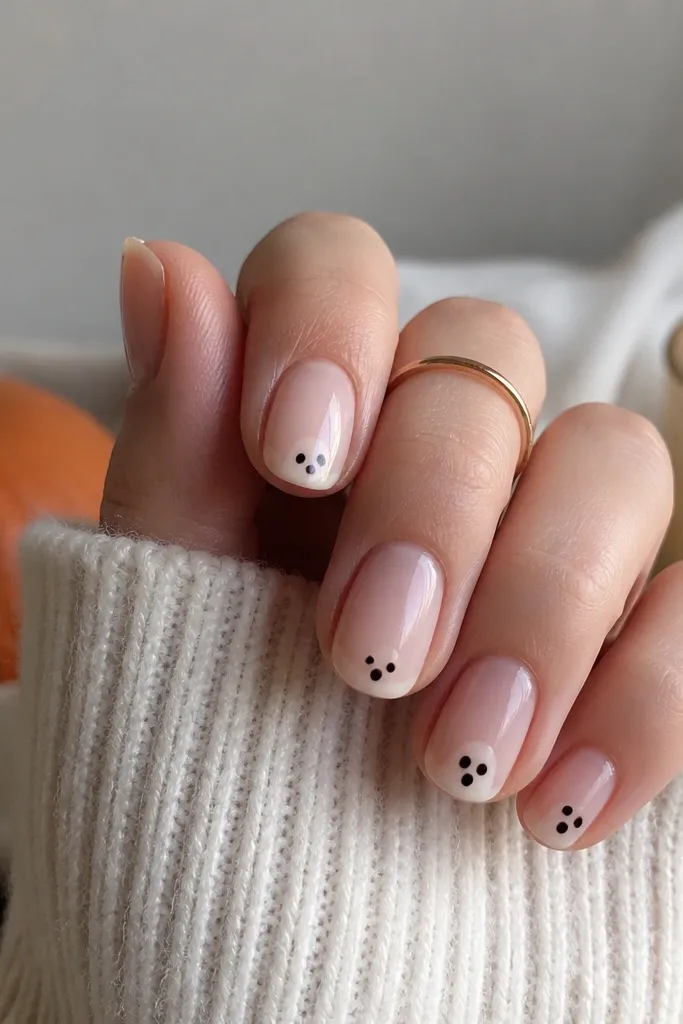
1. Micro Ghost French Tips
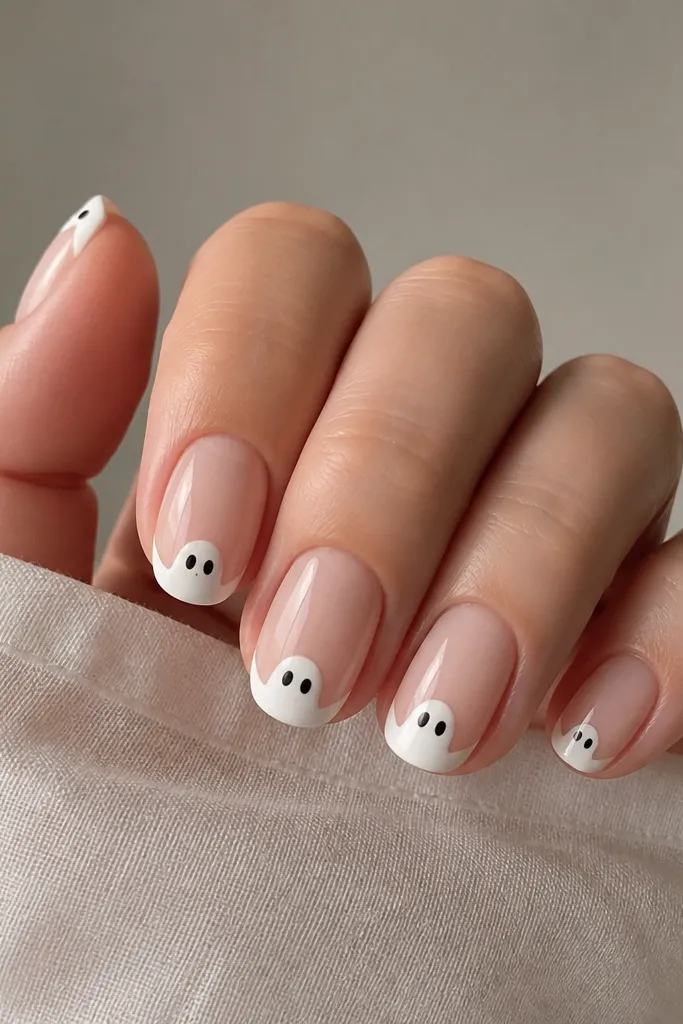
This works because ghosts read instantly even when they are small. The nude base makes the white tips look crisp, and the tiny face keeps the design from turning into a blob. I use a matte or satin top coat on the ghost area only, so the face looks a little foggy against the glossy nude.
Start with two thin coats of nude or pink-beige. For the tips, use a white polish and painter's tape to keep the curve. Add the ghost head with a small dot for the top outline, then two dots for eyes and a short curved line for the mouth using a 00 liner brush.
Pro tipMake the ghost face smaller than you think - 1 mm eyes look cuter than big cartoon eyes.
Watch outDon't overfill the tip - thick white paint is how this turns cloudy and uneven.
2. Tiny Pumpkin Accent with Negative Space
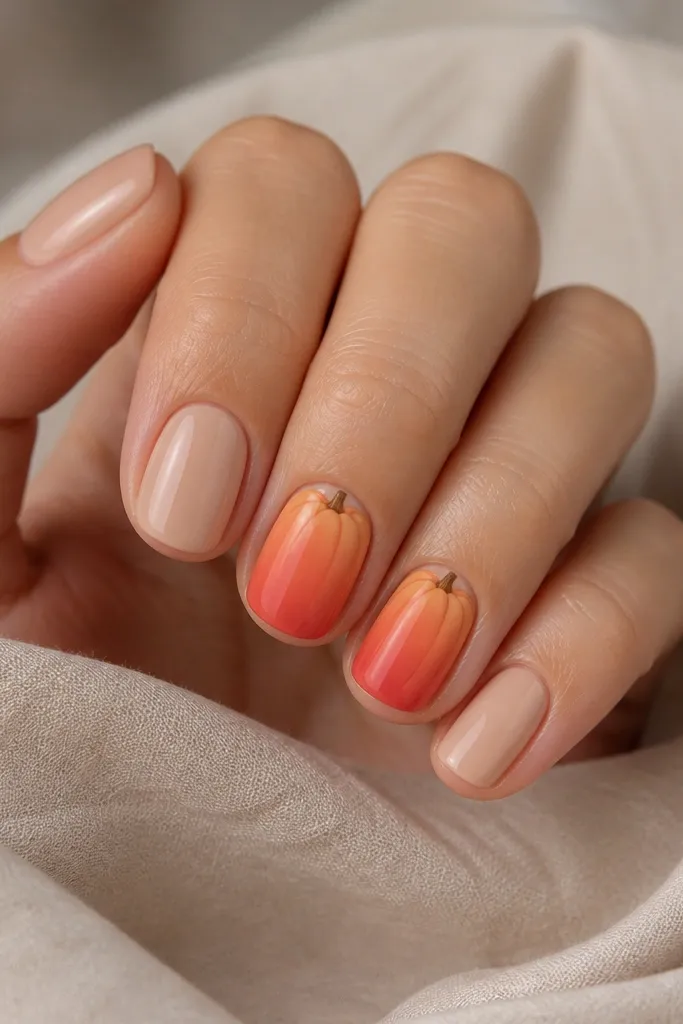
Negative space is doing the work here. The nude nails keep the look clean, while the tiny pumpkin gives Halloween without covering the whole nail. I like orange-red (like a warm brick) because it looks richer than bright neon orange.
Paint all nails nude. On two accent nails, sponge a light orange near the cuticle and blend down. Use a toothpick to draw three pumpkin ridges and add a small green stem with a dark green gel or polish.
Pro tipUse a white gel pen or white striping polish for the pumpkin highlight line - it makes the tiny pumpkin look dimensional.
Watch outSkip full orange coverage - it makes short nails look shorter and harder to keep neat.
3. Mini Black Cat Side Silhouette
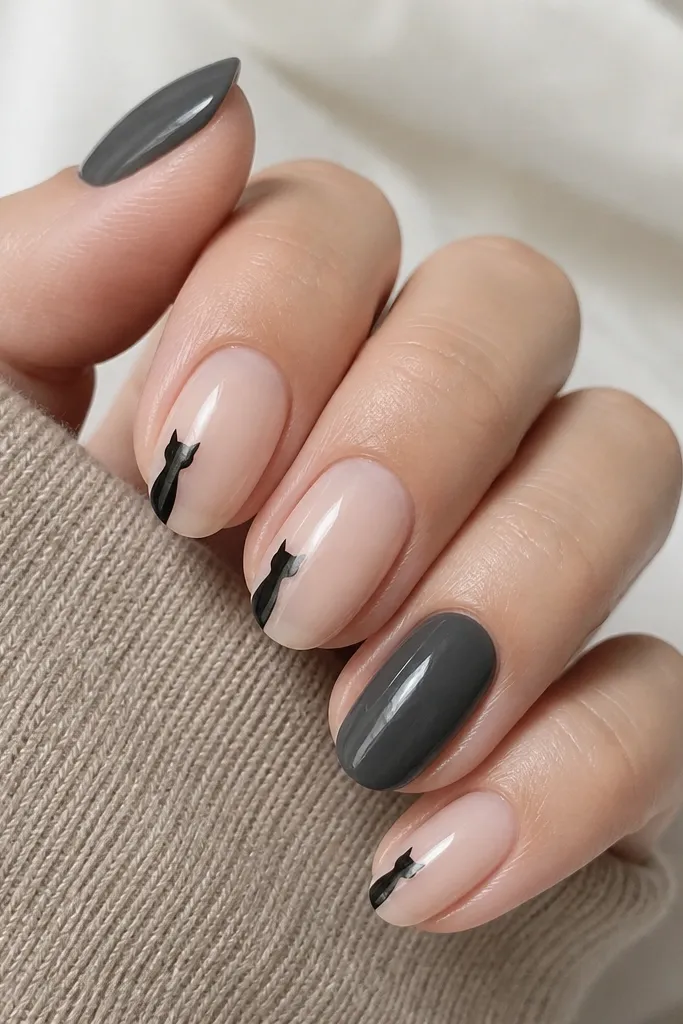
A side silhouette is the easiest way to get a cat look without precision on the whole nail. Keep the cat angled upward and leave space around it so it doesn't feel crowded. Charcoal accents make the black cat pop without needing a full black manicure.
Base coat nude on most nails. On two nails, paint charcoal (two thin coats). For the cat, use a black striping brush and place it 2-3 mm from the side edge. Draw ears first, then the body curve, then a tiny tail flick.
Pro tipIf you mess up one cat line, wipe with a tiny brush dipped in remover before it dries - it fixes faster than repainting the whole nail.
Watch outAvoid drawing the cat centered - side placement looks cleaner on small nails.
4. Spider Web Half-Moon at the Cuticle
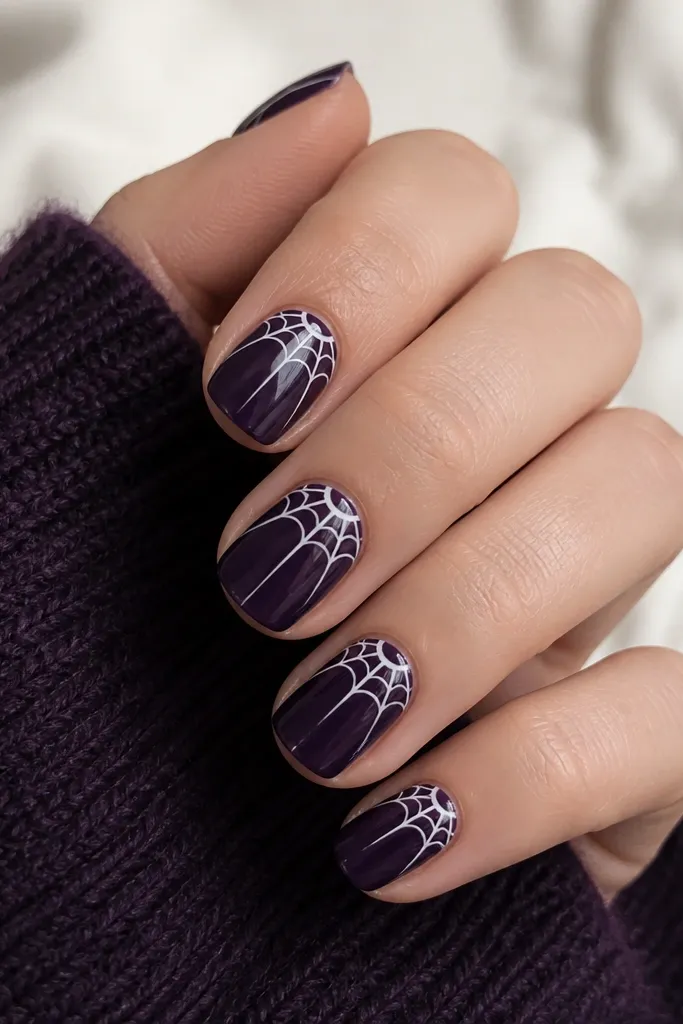
Half-moon webs look fancy but they are simple because the web lines have boundaries. Purple gives you that Halloween mood instantly, and white lines stay readable even at tiny scale. The cuticle web also frames your nail shape, which helps if your nails are uneven.
Paint a deep purple base (two coats). Use a striping brush to paint a thin white half-moon at the cuticle. With a toothpick, pull 6-8 radial lines out from the half-moon center, then add 2-3 curved cross lines.
Pro tipLet the white half-moon fully dry before webbing so the lines stay sharp.
Watch outDon't make the web lines thick - thick lines look like smudges on short nails.
5. Creepy Candy Corn in One Corner
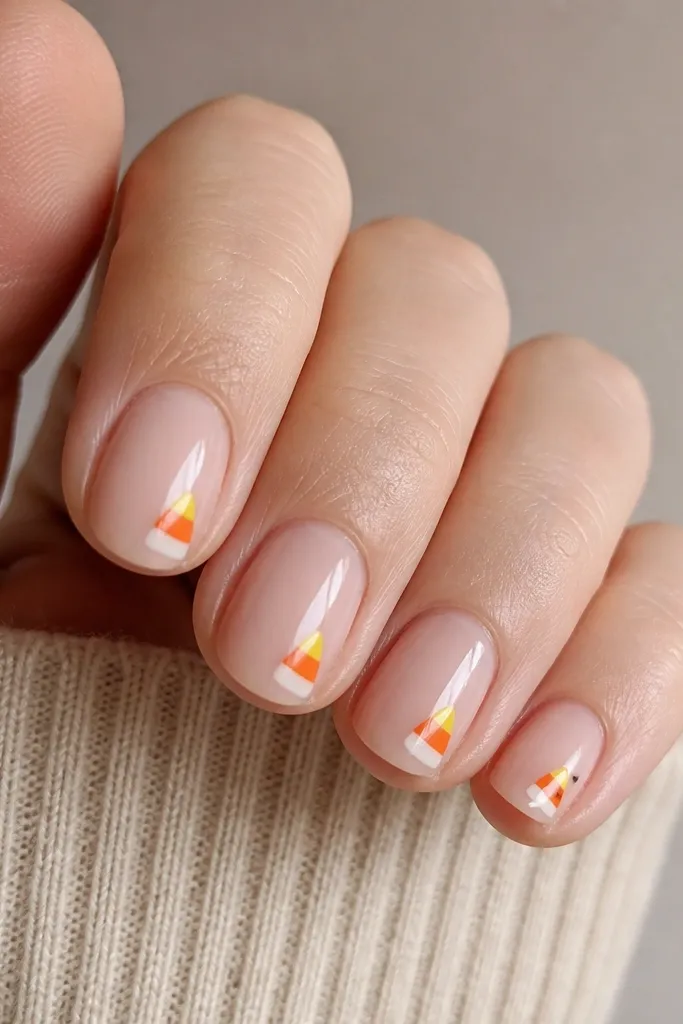
Candy corn is instantly Halloween, and one corner placement keeps it from taking over the nail. The three-band triangle reads clearly even when it's small. Nude base makes the yellow and orange look bright without turning neon.
Start with a nude or pale pink base. Use a small makeup sponge or tape to block the triangle: paint the yellow top band first, then orange middle, then white bottom. Cap with top coat and add a tiny black dot or thin line if you want one extra detail.
Pro tipUse tape cut into a small triangle shape for the cleanest edges - you can remove it while the polish is still tacky.
Watch outAvoid blending the bands - candy corn should have hard lines.
6. Orange Squeeze Gradient Blood Drip (Tiny)
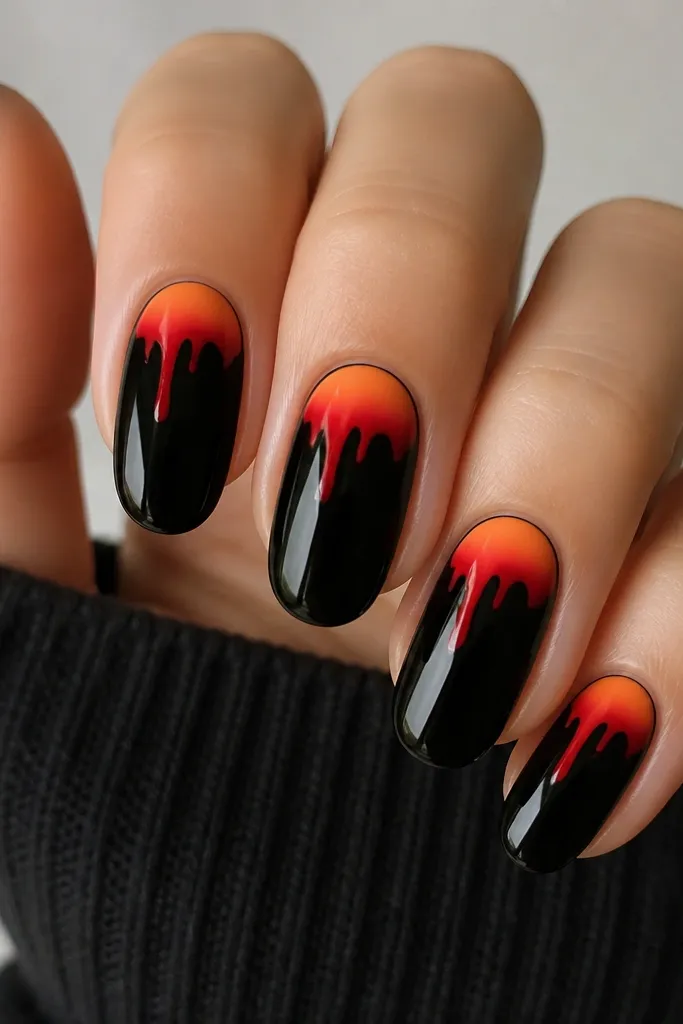
Tiny drips look spooky without making your nails look like a costume prop. The black base makes the drip color look brighter, and the gradient patch gives it a "squeezed" effect like it's coming from a pocket. I keep the drips short so the design stays readable on small nails.
Paint a glossy black base. Sponge or airbrush a small orange patch near the center top. Use red-orange polish on a fine brush to pull two short drips downward, then add a smaller second drip inside the first for depth.
Pro tipLet the orange patch set 30 seconds before you paint drips so the drip edges don't bleed.
Watch outSkip big drips - long drips look messy and take longer to clean up.
7. Vampire Bite Mark Dots
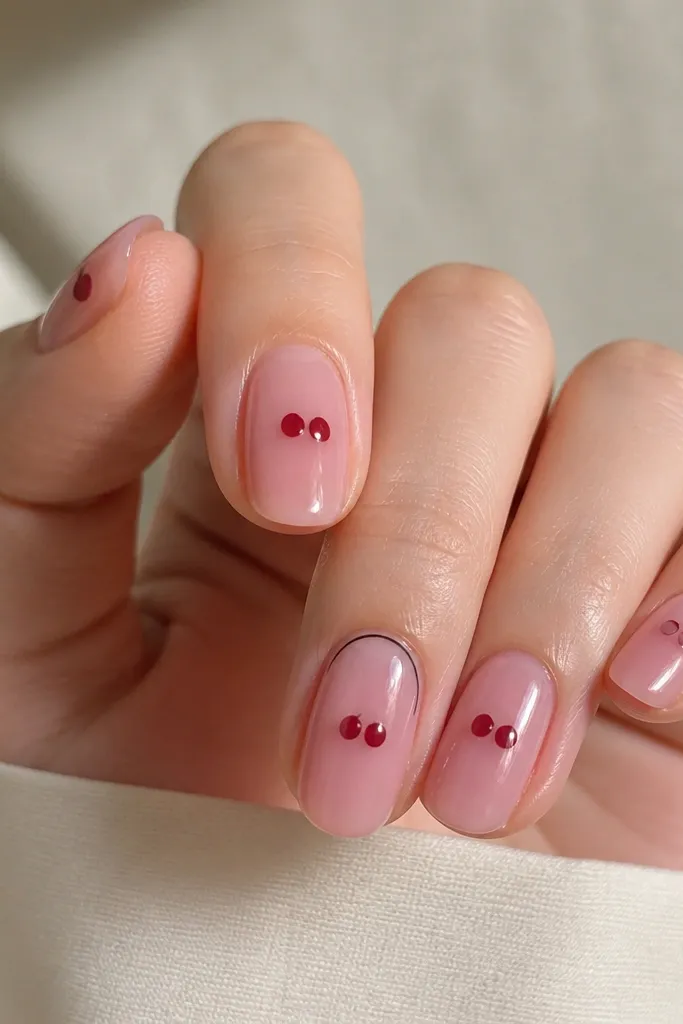
This is the fastest Halloween design I do when I'm short on time. Two dots and a highlight give the illusion of punctures without any fine lines. Deep red against sheer pink looks more realistic than bright red.
Use a sheer pink or nude base. With a dotting tool, place two deep red dots 2-3 mm apart. Add a tiny crescent highlight using a lighter pink or white dot just between them.
Pro tipMake the dots slightly different sizes - it looks more natural and less symmetrical.
Watch outAvoid using glossy top coat over thick red dots - they can smear while curing.
8. Neon Green Swamp Monster Nails
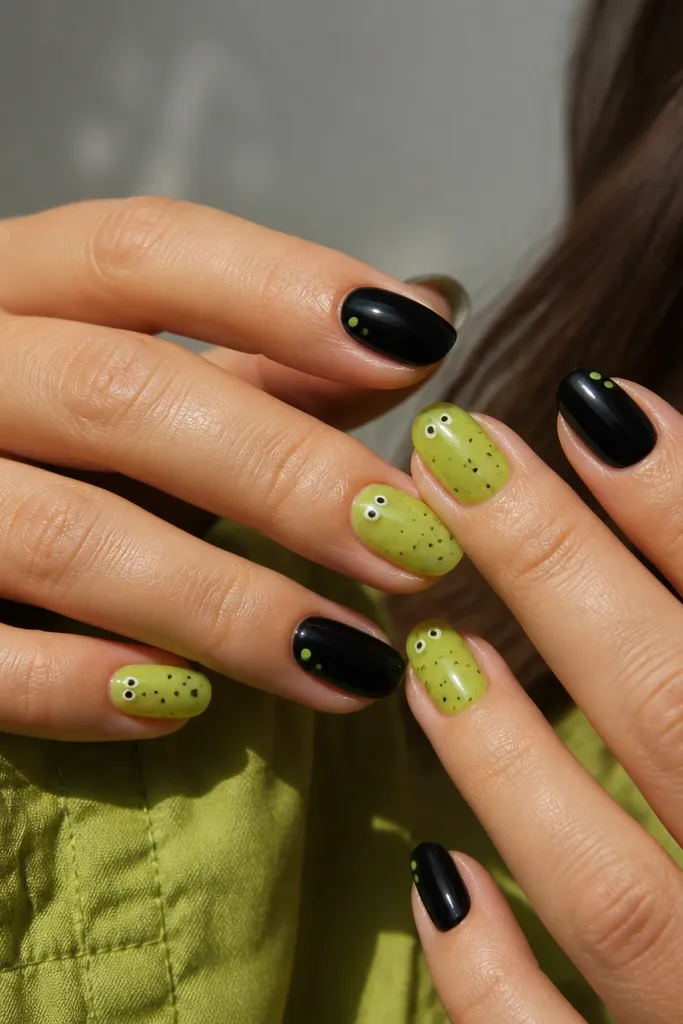
Neon green is loud enough to read as "monster" even when the design is tiny. The trick is keeping the shapes irregular - dots that look hand-placed. Black nails anchor the neon so it doesn't look like a Halloween sticker sheet.
Paint every other nail black. On the green nails, sponge lime over a sheer base so it looks semi-translucent. Add two tiny white eye dots and a few irregular green spots with a dotting tool.
Pro tipUse matte top coat on the monster nails only to kill shine and make the eyes look creepier.
Watch outDon't use a full neon green solid layer - it shows every streak on short nails.
9. Midnight Cauldron Sparkle Dot
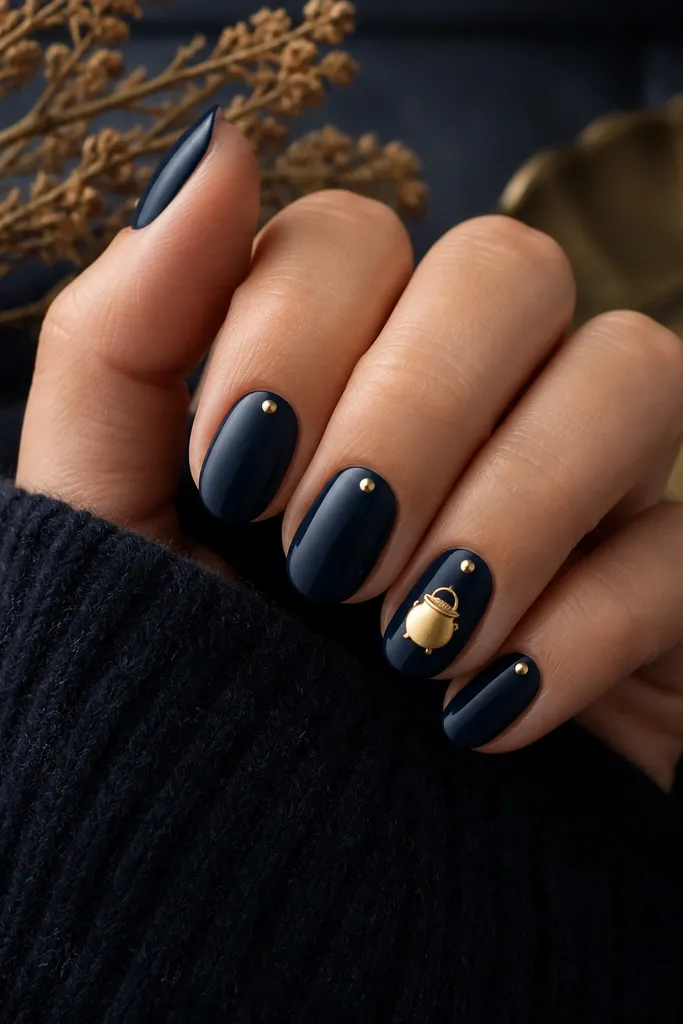
This is Halloween in disguise: it looks like jewelry until you see the cauldron. The gold dot gives you a "spell" vibe, and the navy base makes gold pop. The tiny cauldron icon is simple line work, so you do not need steady striping skills.
Paint navy (two coats). Add a gold dot 2-3 mm from the cuticle using a dotting tool. On one accent nail, draw a tiny cauldron shape with a 00 liner brush: a rounded U, a small top lip, and a loop handle.
Pro tipChoose metallic gold polish that dries smooth. Grainy glitter gold makes the icon look rough.
Watch outAvoid placing the dot too close to the cuticle - it will flood and lift.
10. Skeleton Hand Tiny Outline (One Finger)
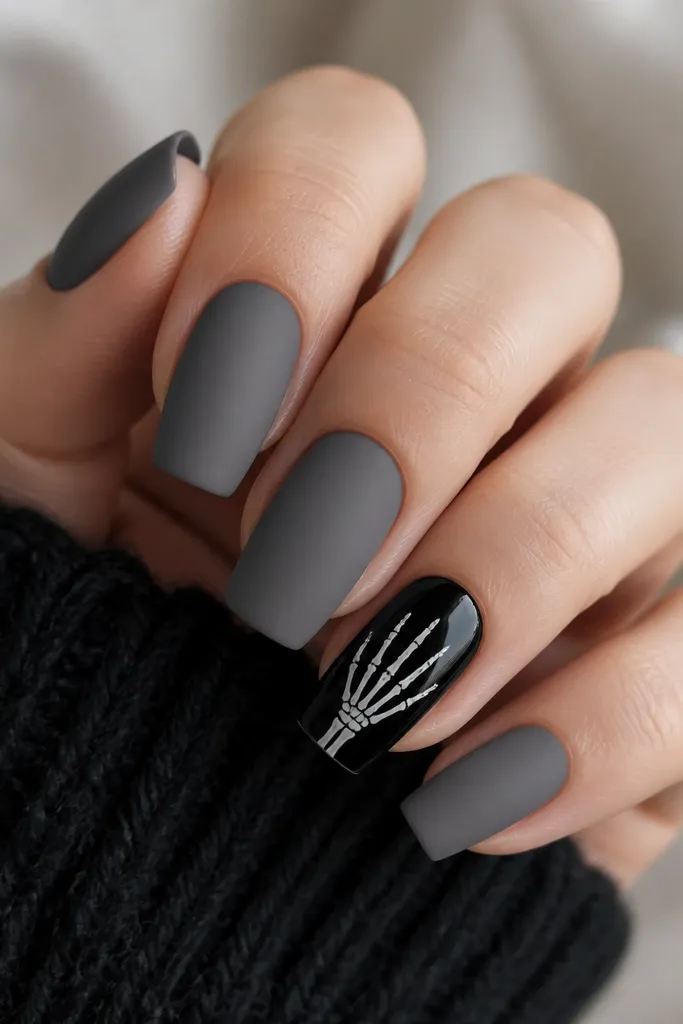
An outlined skeleton hand reads best in thin lines. Keeping it on one accent nail keeps the rest clean and lets your line work look intentional. Gray matte on the background makes the white outline look like chalk.
Matte gray background on four nails. Paint one nail black glossy. Use white striping polish and a fine liner brush to outline five fingers - start with the thumb line, then the rest in a slight fan. Add a small wrist curve.
Pro tipPractice on a paper towel first. Skeleton outlines need a quick confident stroke.
Watch outDon't fill the skeleton shape in white - outlines look sharper than solid blobs.
11. Black Rose Petal Tips
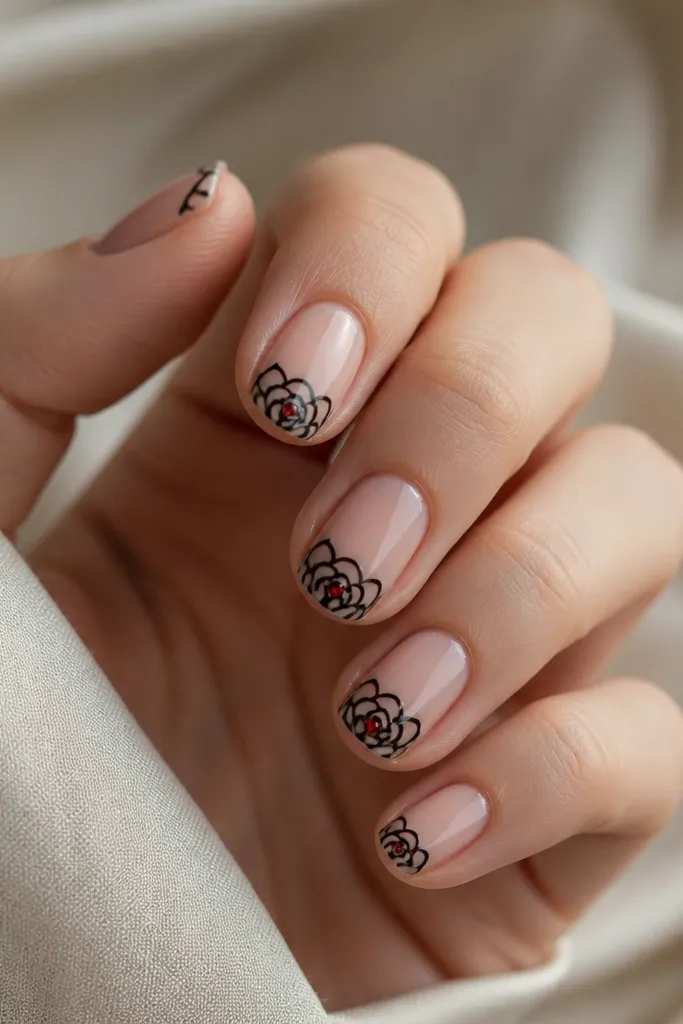
If you want Halloween that feels more gothic than cartoon, black rose tips are perfect. The petal shapes stay readable when they are small and repeated at the tips. A tiny red center dot gives you a "blood rose" effect without painting full red.
Use nude base. Paint black petal strokes at the free edge with a liner brush: 3-4 curved lines that overlap like a mini flower. Add a red dot only on two nails. Finish with glossy top coat for a night-ink look.
Pro tipKeep petals uneven in size. Perfectly identical petals look like clip art.
Watch outAvoid thick black at the tip edge - it chips faster on short nails.
12. Ghost Confetti Dots Across One Nail
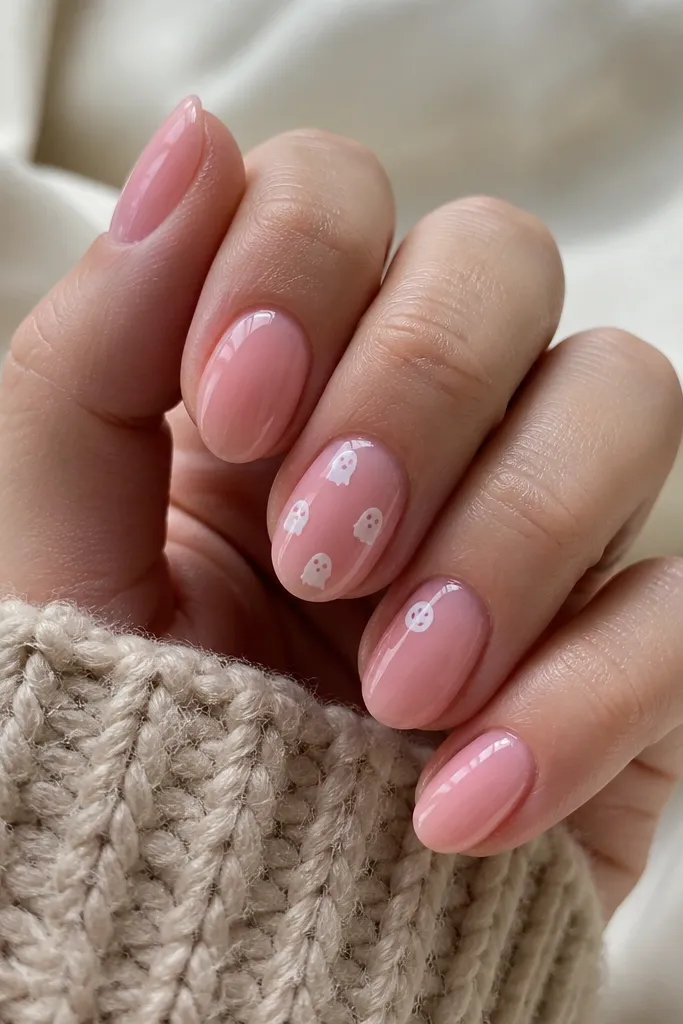
Confetti ghosts are playful but still clean because each ghost is tiny. You get movement across the nail without filling every inch. Sheer pink keeps it sweet; white ghost heads read clearly even at small size.
Paint all nails sheer pink. On one accent nail, place three mini ghost heads: a white dot for the head outline, then a thicker curved line for the mouth. Add two small dots for eyes. Leave lots of space between them.
Pro tipUse the same dotting tool size for every ghost head so the set looks intentional.
Watch outDon't add too many ghosts - five or more tiny faces on one short nail starts to look crowded.