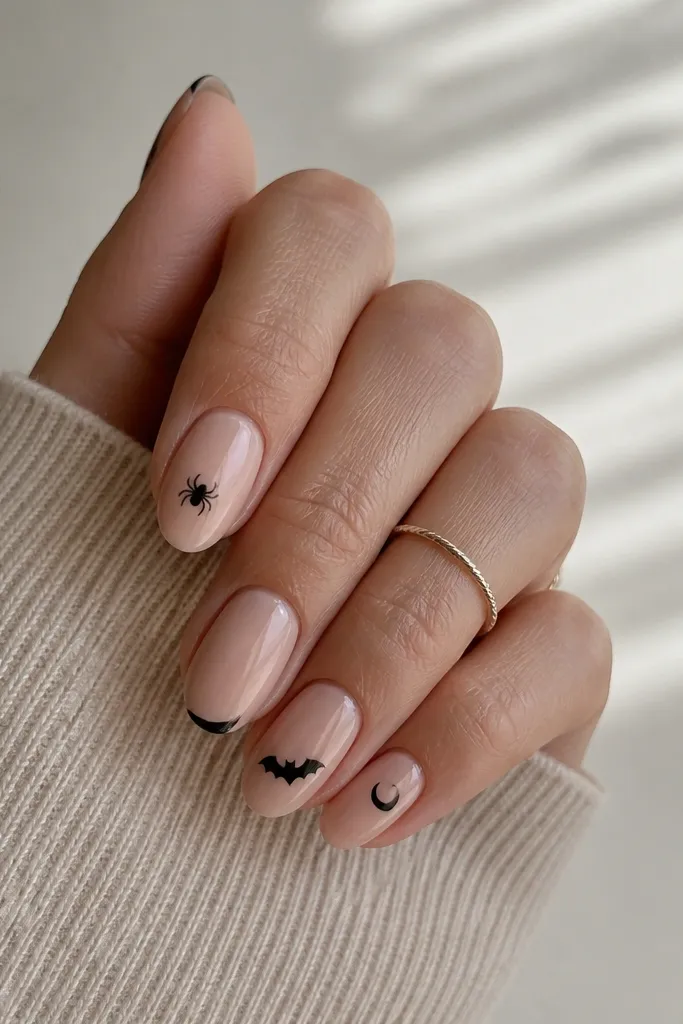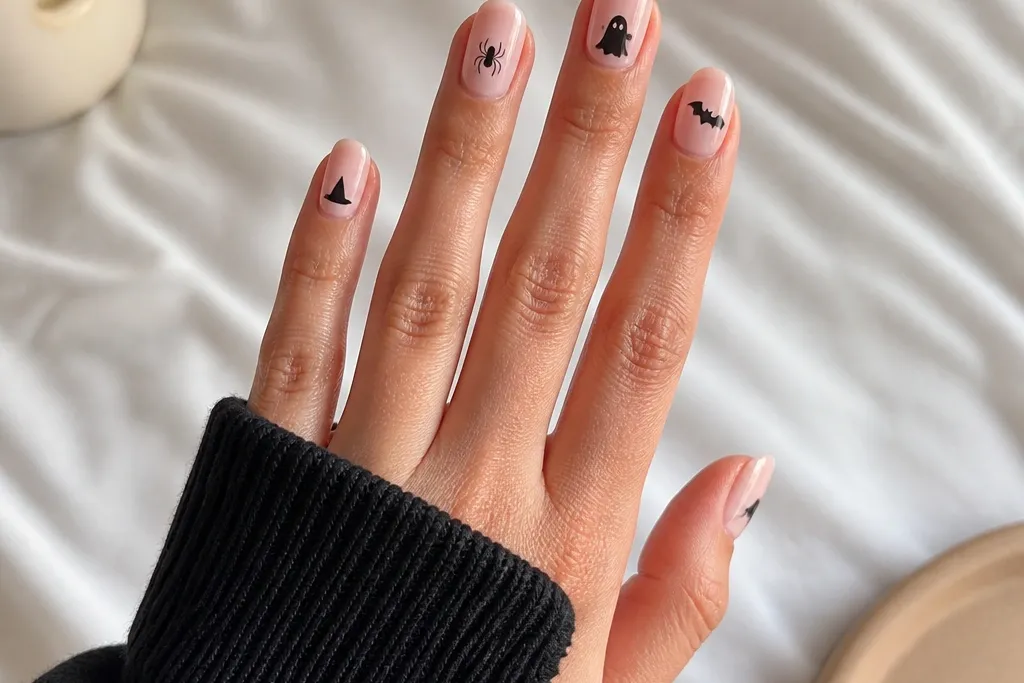
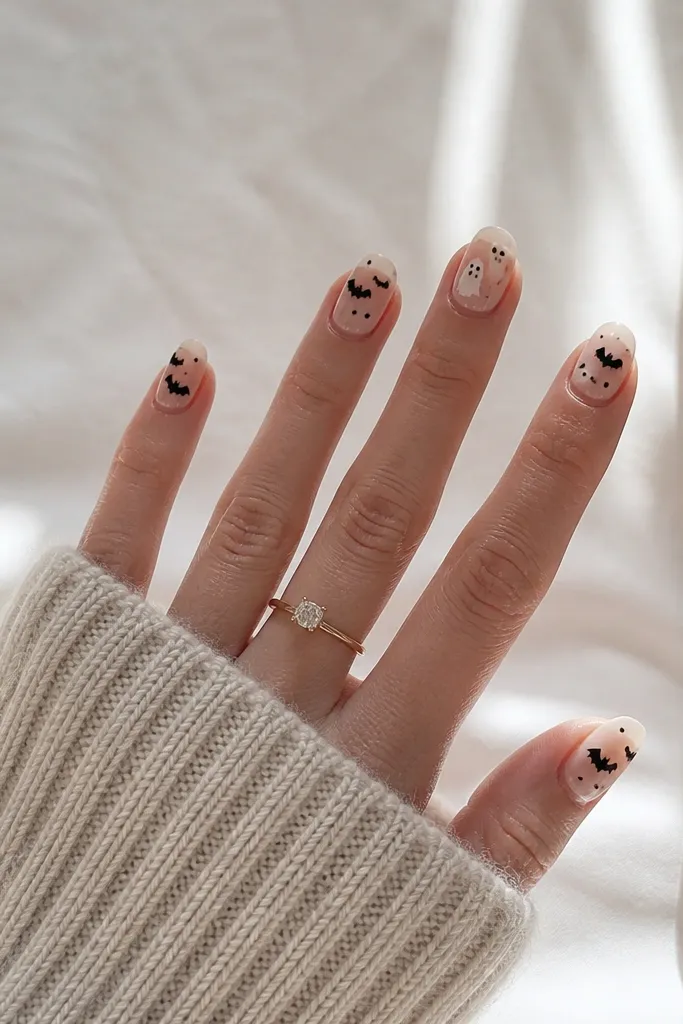
1. Black Cat Eye Half-Moon
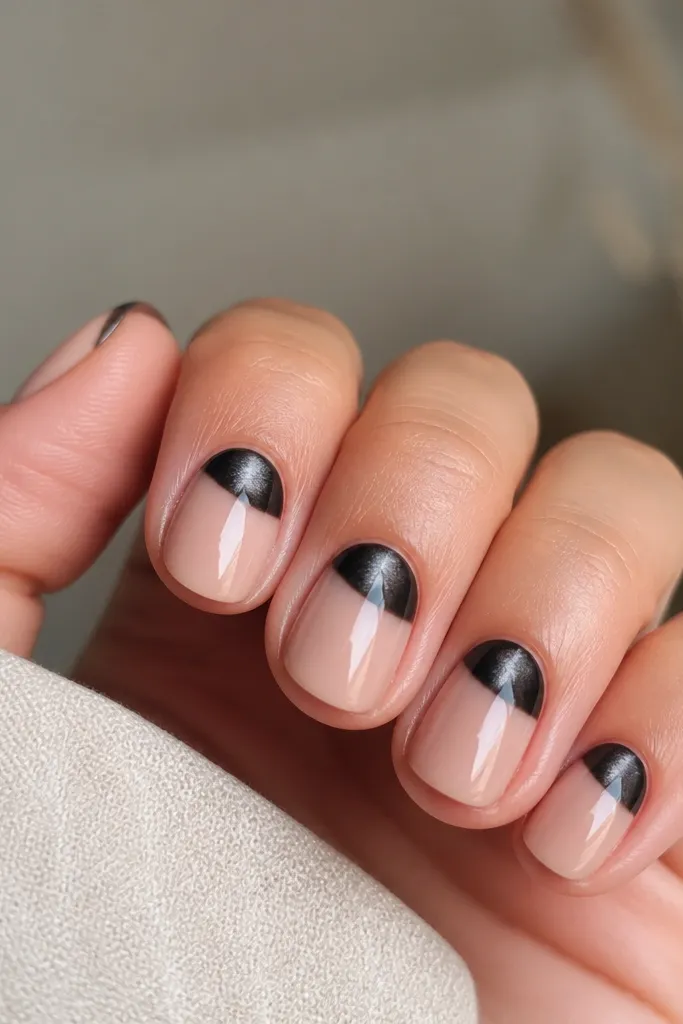
This look reads Halloween even though it's simple because the half-moon shape mimics a cat's glow. The nude base keeps it renter-friendly because you can hide tiny edge differences, and the black cat-eye gives that "sleek witch" vibe without hand-drawing anything. You get movement from the magnetic streak, so it looks styled under normal lighting.
Use a nude press-on base or a nude peel-off layer, then apply black cat-eye polish only on the lower half near the cuticle. Angle the magnetic tool so the streak points up toward the center of the nail. Keep the black half-moon about 20-25% of the nail height for short nails.
Pro tipAfter it cures, add a thick glossy topcoat just on the black area so the half-moon edge looks sharp instead of fuzzy.
Watch outDon't paint the black up too high or it will crush the nude and make the shape look like a mistake.
2. Pumpkin Face Accent Only
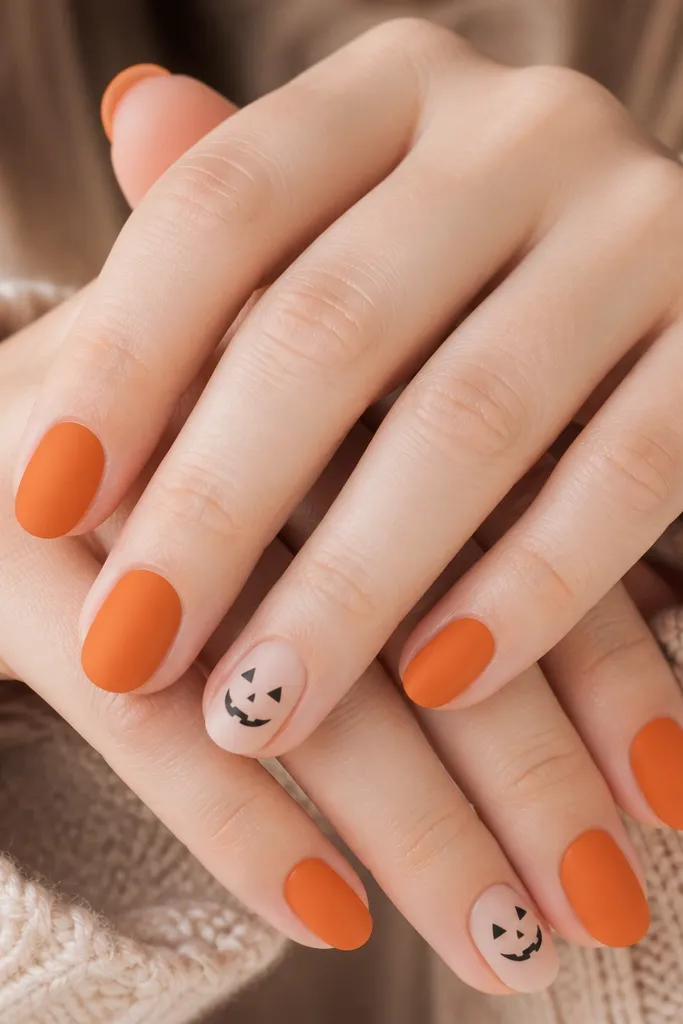
This is the easiest way to do Halloween faces without turning your nails into a cartoon every finger. Orange polish gives instant theme, and the face stays neat because it's only on one nail per hand. The matte finish on the orange nails makes the black lines look cleaner and less shiny.
Paint four nails warm orange (matte) and keep one nail nude or sheer pink. On the accent nail, use a dotting tool for the eyes and a fine brush for the mouth. Make the face about the width of a dime on a short nail.
Pro tipIf you're using peel-off base, do the face last and keep the lines thin - thick paint can peel off in chunks.
Watch outSkip full orange on every nail with faces; it looks busy fast.
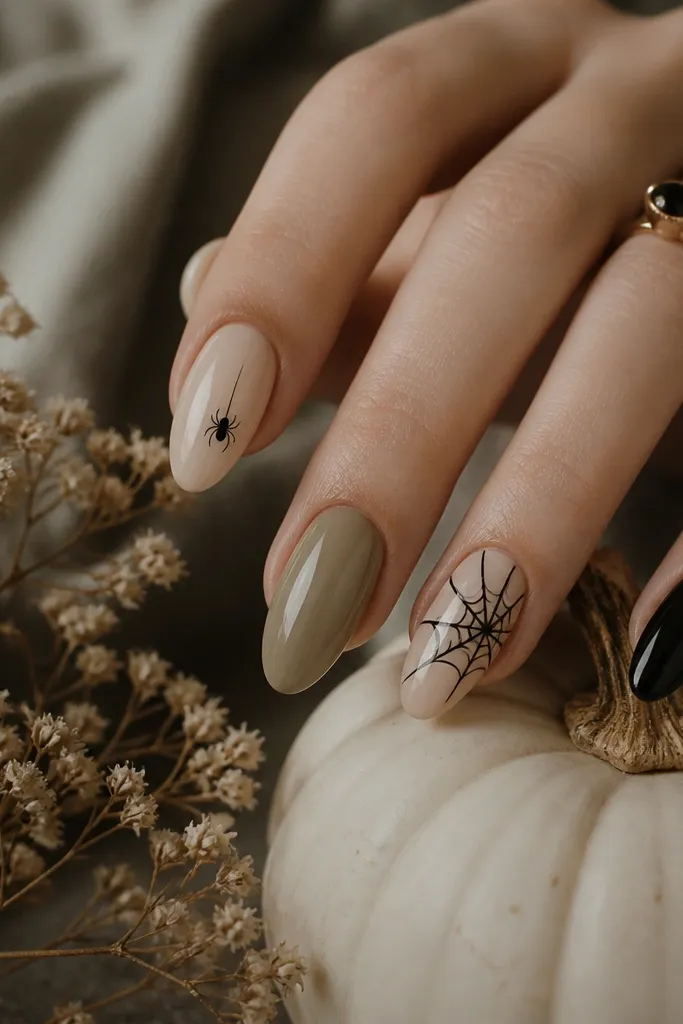
3. Spiderweb Ring on Nude
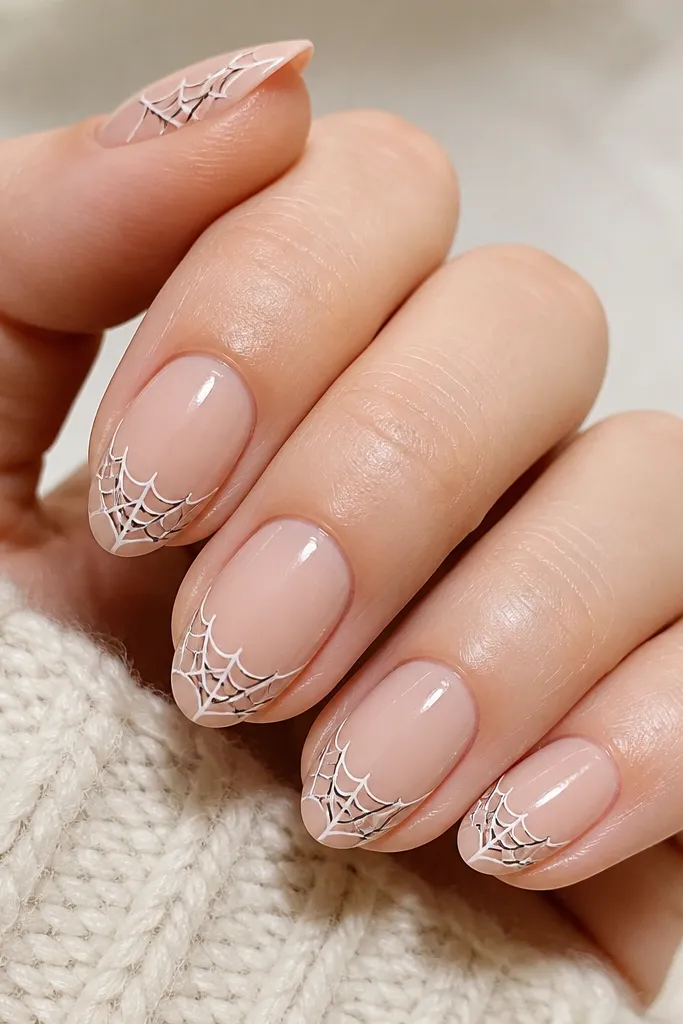
Spiderwebs look fancy but you don't need to cover the whole nail. A web "ring" near the tip reads like Halloween from far away, and the nude base keeps it wearable. Thin white lines with a black shadow make the web look crisp instead of chalky.
Start with a nude press-on or nude polish. With a striping brush, draw a curved arc near the free edge, then add 6-8 radial lines toward the center. Finish by adding a few cross lines to form the web pattern.
Pro tipLet the web lines dry fully, then add topcoat carefully only over the lines, not across too much - it prevents blurring.
Watch outDon't use chunky glitter for spiderwebs; the pattern disappears.
4. Trick-Or-Treat Candy Stripe
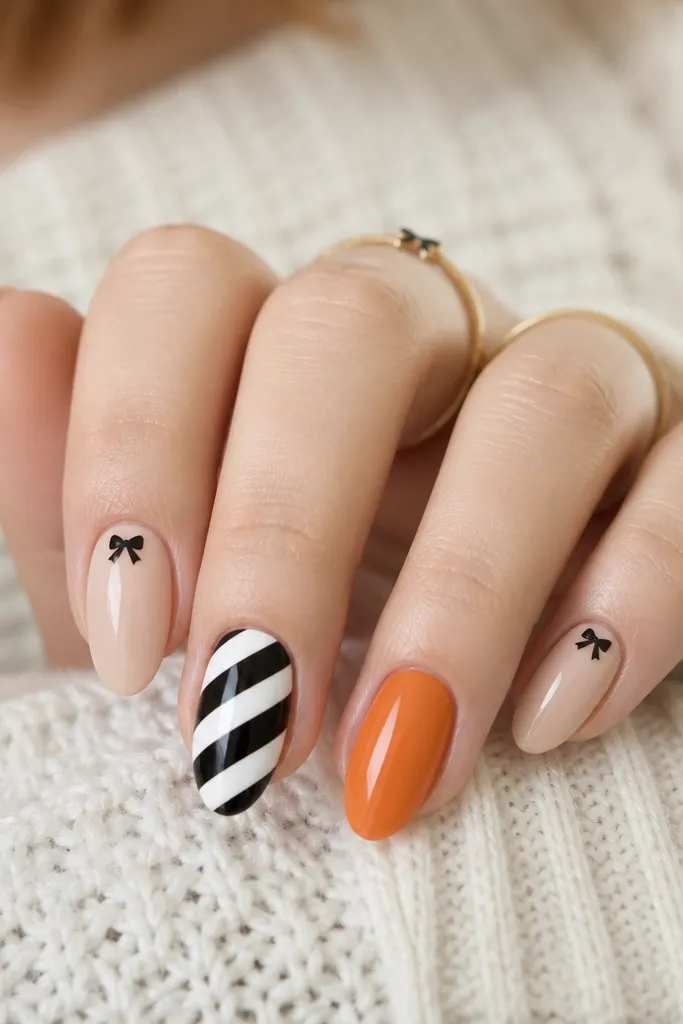
Candy stripes instantly scream Halloween without needing drawings. The diagonal layout makes your nails look longer, and the mix of black/white plus a single orange stripe keeps it from looking like a costume print. The tiny bow adds a "gift tag" detail.
Use striping tape for crisp diagonals: place tape at a 45-degree angle, paint black, remove tape, then paint white. Keep the tape width around 1-2 mm for short nails. Add a small bow sticker on one nude nail, about 2-3 mm from the cuticle.
Pro tipPress the tape down firmly at the edges so polish doesn't bleed under - you'll see it instantly on Halloween photos.
Watch outDon't freehand stripes if you want it to look expensive; tape wins.
5. Midnight Skulls on Clear Nude
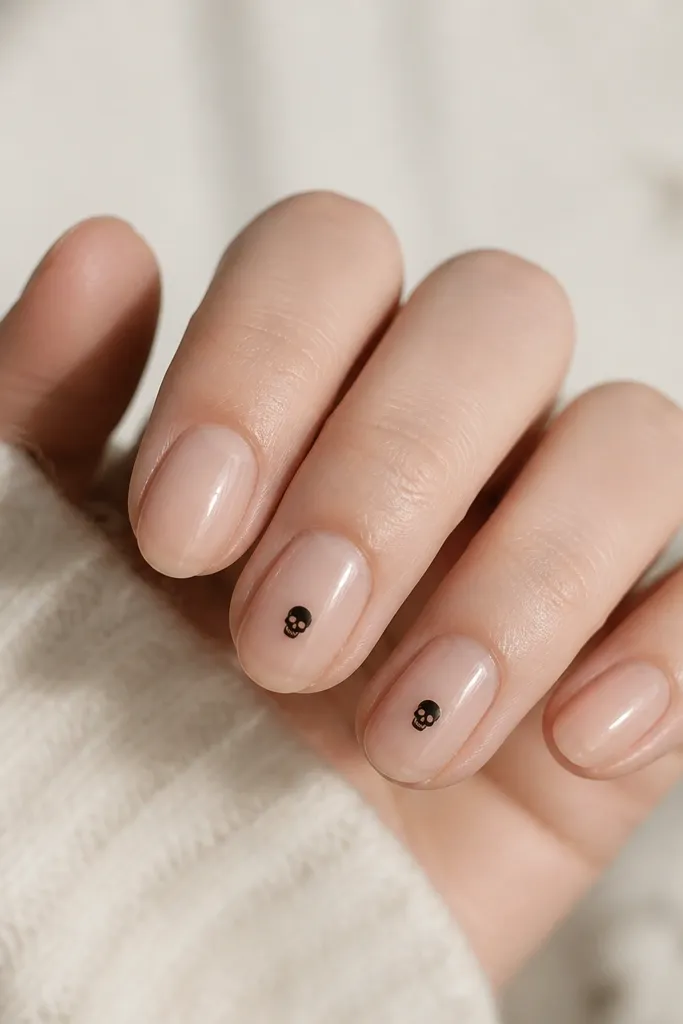
Skulls can look harsh, but on a clear nude base they look stylish instead of spooky. The icons are small and centered, so they don't overwhelm short nails. Black-on-clear also hides tiny alignment differences when you're using press-ons.
Choose a clear nude press-on or sheer gel look. Apply a thin coat of black nail art paint to create the skull shape using a dotting tool and a fine brush. Keep skulls to one or two nails, not all ten.
Pro tipTopcoat after the paint sets, then add a second topcoat to seal the edges so the skull doesn't catch on fabric.
Watch outSkip full black nails with skulls; it looks like a sticker that melted.
6. Classic Orange Black French Tips
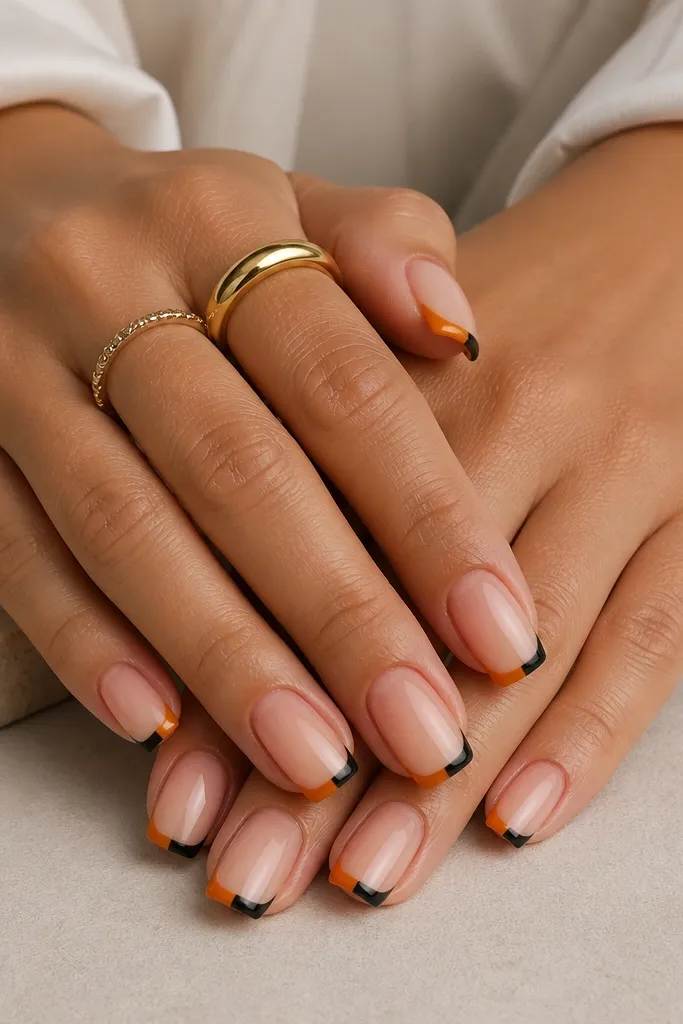
French tips are clean and renter-friendly because the base grows out without looking messy. Orange and black create Halloween instantly, and the split tip looks graphic rather than childish. It also photographs well under flash because the tip line stays sharp.
Use a nude press-on or nude polish, then paint a French tip on each nail with a thin guide line. For the split, paint half the tip orange and half black, aligning the split at the center. Keep the tip width around 2-3 mm on short nails.
Pro tipUse a striping brush to refine the smile line - it should curve evenly across the nail.
Watch outDon't make the tip too thick or it looks like nail tape stuck on.
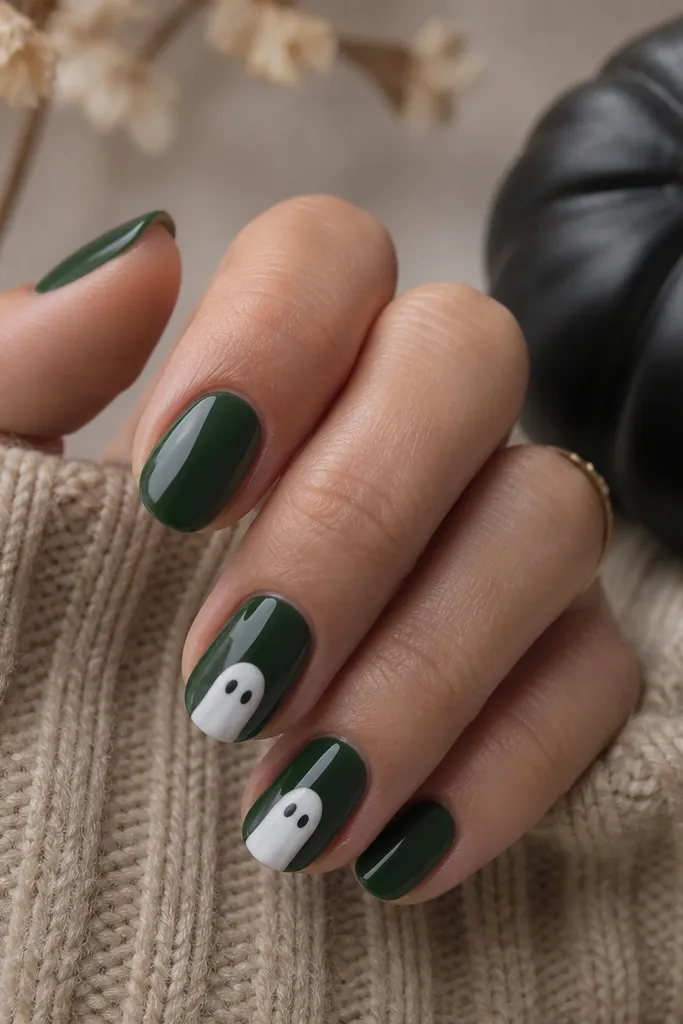
7. Witchy Glossy Green with Gold Specks
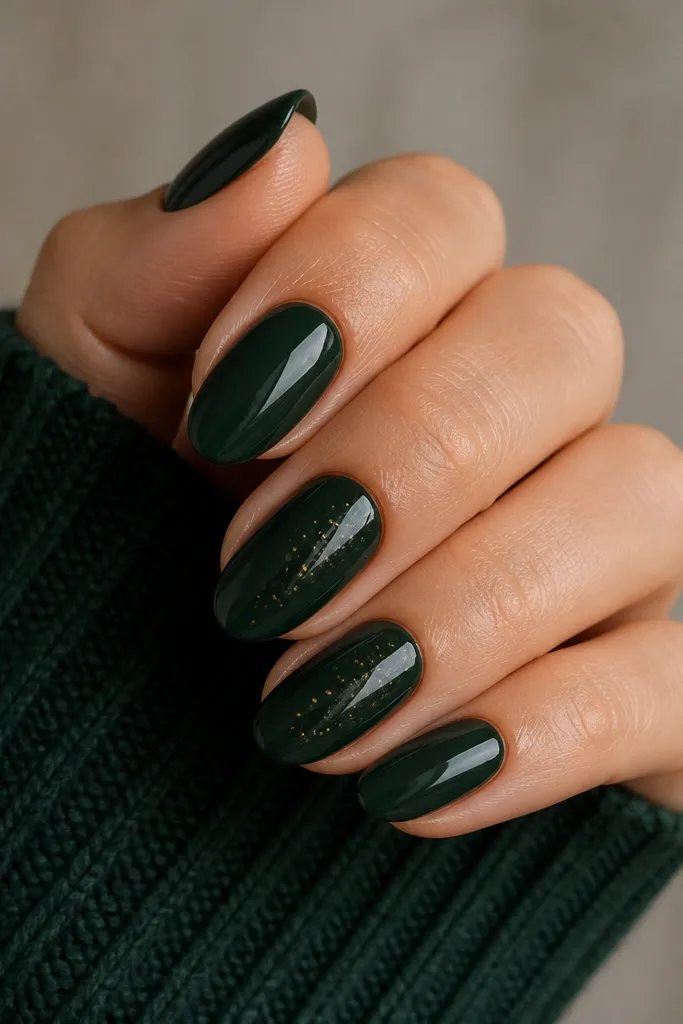
Green feels more "witch" than orange, and the gold specks keep it festive without covering everything. This one looks expensive because the gold is controlled. When the light hits, you get a little sparkle that doesn't read as cheap glitter.
Paint all nails deep witch green glossy. On two nails, dab gold foil or fine gold pigment with a sponge, then press lightly so it stays in specks. Keep spacing uneven on purpose - even spacing looks fake.
Pro tipSeal with a thick topcoat so the gold specks don't snag on sweaters or masks.
Watch outAvoid full-coverage gold glitter over dark green; it turns into a flat blob.
8. No-Carve Pumpkin Dot Gradient
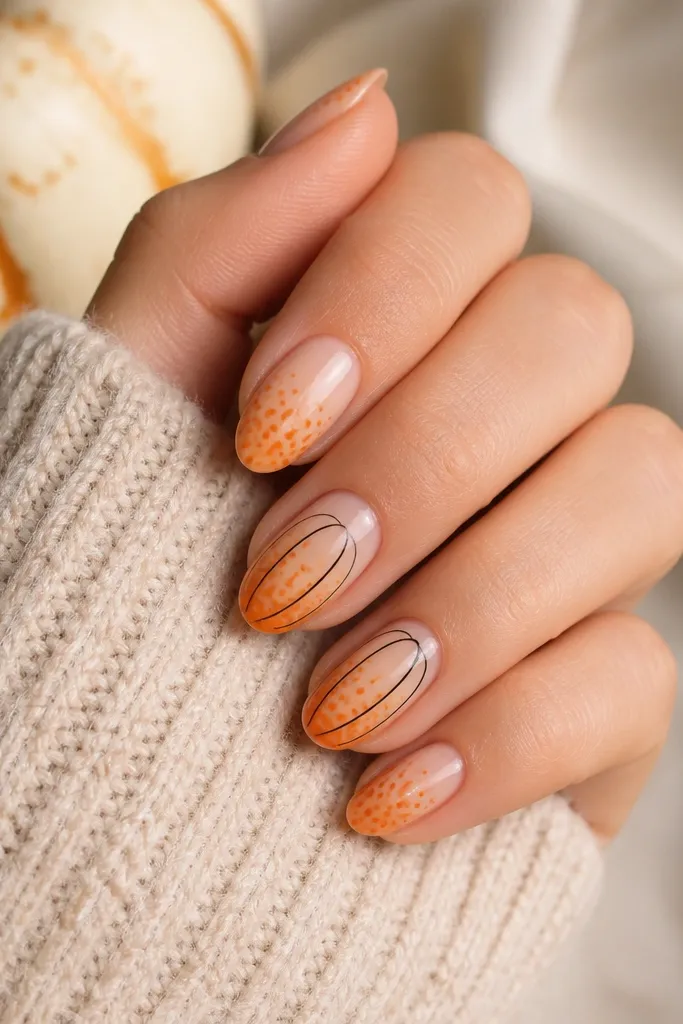
This is a pumpkin look without painting a full pumpkin face. The dot gradient is forgiving, and it hides any slight edge mismatch on press-ons because the pattern draws the eye away from the sides. The black ridges on two nails make it feel intentional.
On a nude base, use an orange dotting tool to place larger dots near the tip and smaller dots toward the middle. Leave the cuticle area mostly clear. For the ridges, draw 3-4 thin vertical lines in black on two nails.
Pro tipWipe your dotting tool on a paper towel between nails so the dots don't get too thick and muddy.
Watch outDon't cover the whole nail in dots; it kills the clean pumpkin silhouette.
9. Bat Silhouette on Matte Black
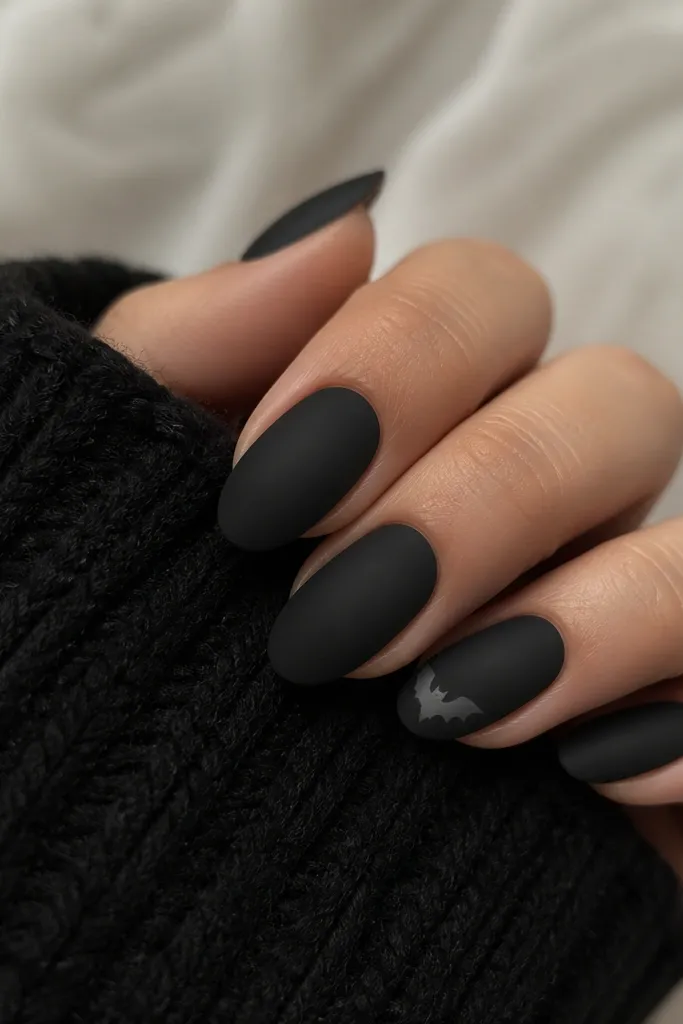
Matte black is already Halloween, and a small bat silhouette keeps it cute instead of goth. Gray on black gives a softer look than white, especially in indoor light. The matte finish also hides tiny streaks from press-on application.
Paint or press matte black onto every nail. On one nail per hand, add a tiny bat silhouette near the free edge, angled slightly upward. Use a light gray paint for the bat and keep the wings narrow for short nails.
Pro tipSeal matte nails with a matte topcoat on the black, then use glossy topcoat only on the bat for contrast.
Watch outSkip glossy black with thin art; the lines look smeared fast.
10. Oreo Cookie Bones Skulls
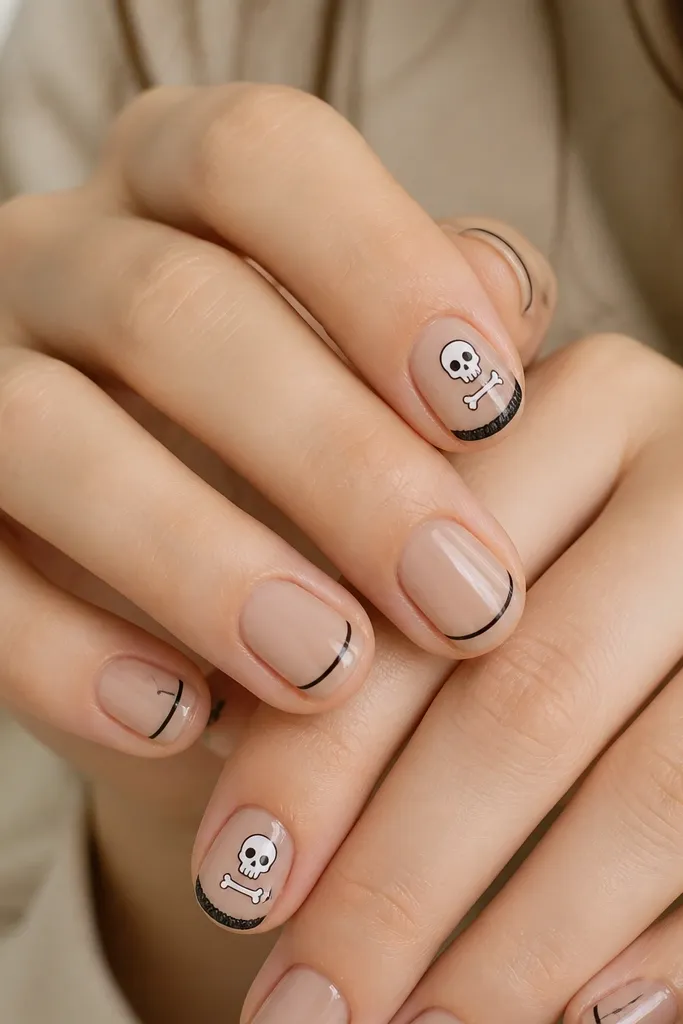
This is Halloween that feels playful and clean. The nude base makes it wearable for work, and the thin black outline keeps it looking like nail art instead of a sticker. White icons pop against nude and show up clearly in photos.
Paint nude on all nails. Add thin black lines like a simple outline around the accent nail, then place a small skull and bone icon using a nail stamping plate or a fine brush. Keep icons centered, about the size of a sesame seed for short nails.
Pro tipIf you're stamping, press once with steady pressure and wipe the plate immediately so the image stays sharp.
Watch outDon't use thick white gel for tiny icons; it pools and rounds the details.
11. Candy Corn Cuticle V
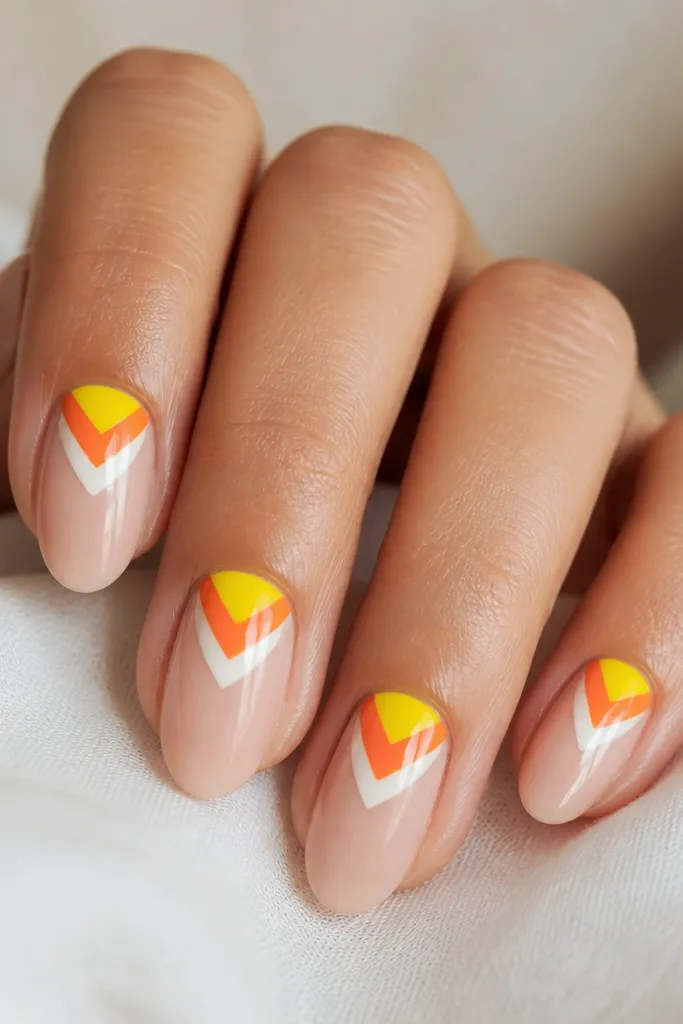
Candy corn looks hard until you realize it's basically a simple V shape. Starting at the cuticle makes the graphic feel neat and keeps the lines short, which is perfect for removable nails. The three colors give the Halloween vibe without needing any extra art.
Use sheer nude press-ons. At the cuticle, paint a small V: yellow on the top point, orange filling the middle wedge, and white at the bottom wedge near the center. Use a striping brush so the edges meet cleanly.
Pro tipDo the yellow first, then orange, then white - each layer should dry a minute before the next so colors don't bleed.
Watch outAvoid painting candy corn across the whole nail; it looks like a themed costume.
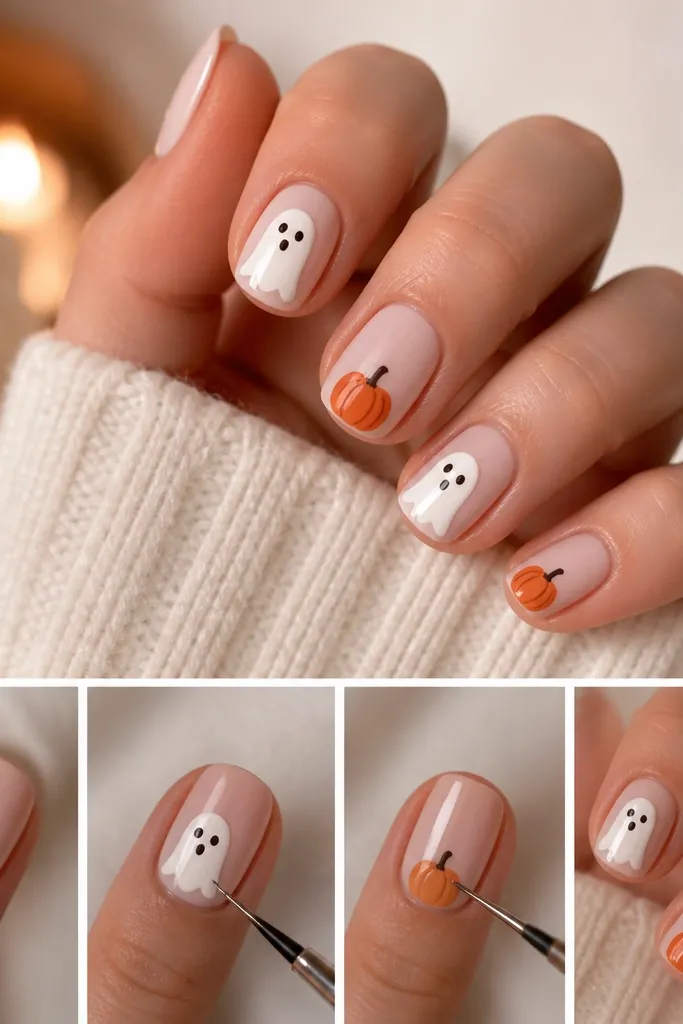
12. Ghost Window Negative Space
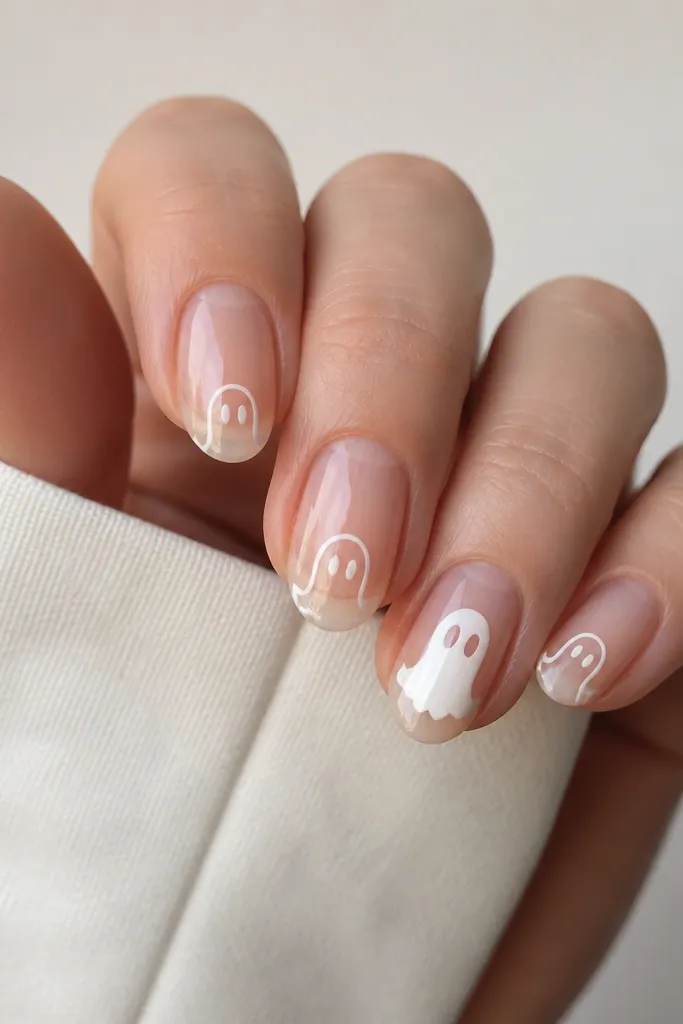
Negative space makes Halloween look modern. A ghost outline on clear nude looks like a little window sticker, and it's forgiving if your press-on doesn't match your nail perfectly. The solid ghost on one nail adds contrast and makes the set look planned.
Start with clear nude. Draw a ghost outline near the tip using white paint and a thin brush, then add two small dot eyes and a curved mouth. On one accent nail, fill the ghost shape solid white.
Pro tipTopcoat lightly over the outline first, then add a second topcoat once it levels.
Watch outDon't thicken the ghost outline; thick lines can look like marker.