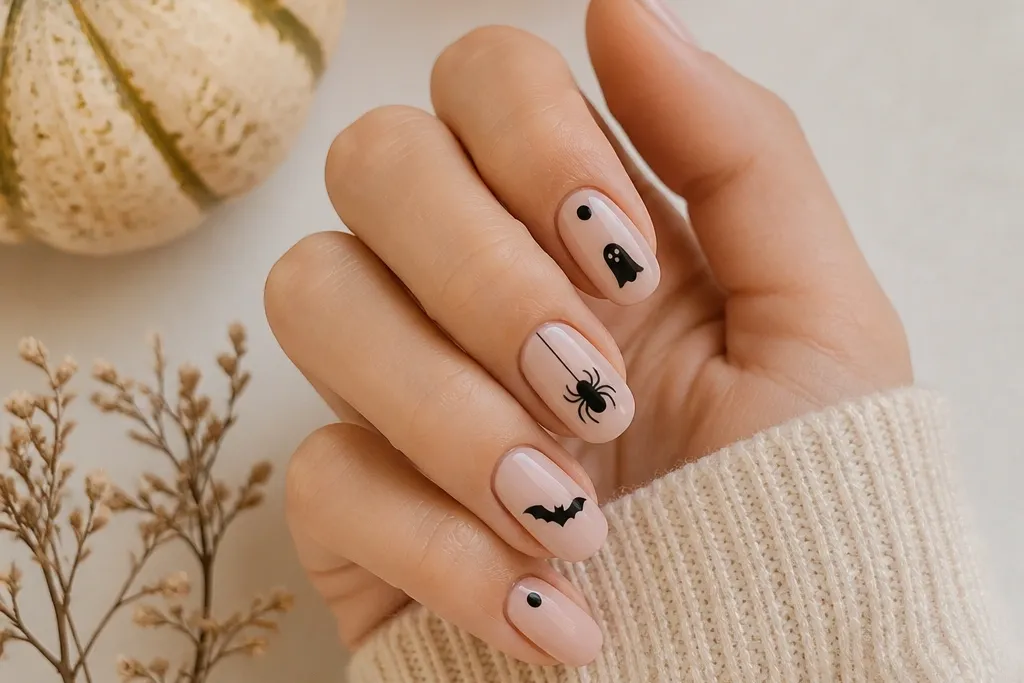
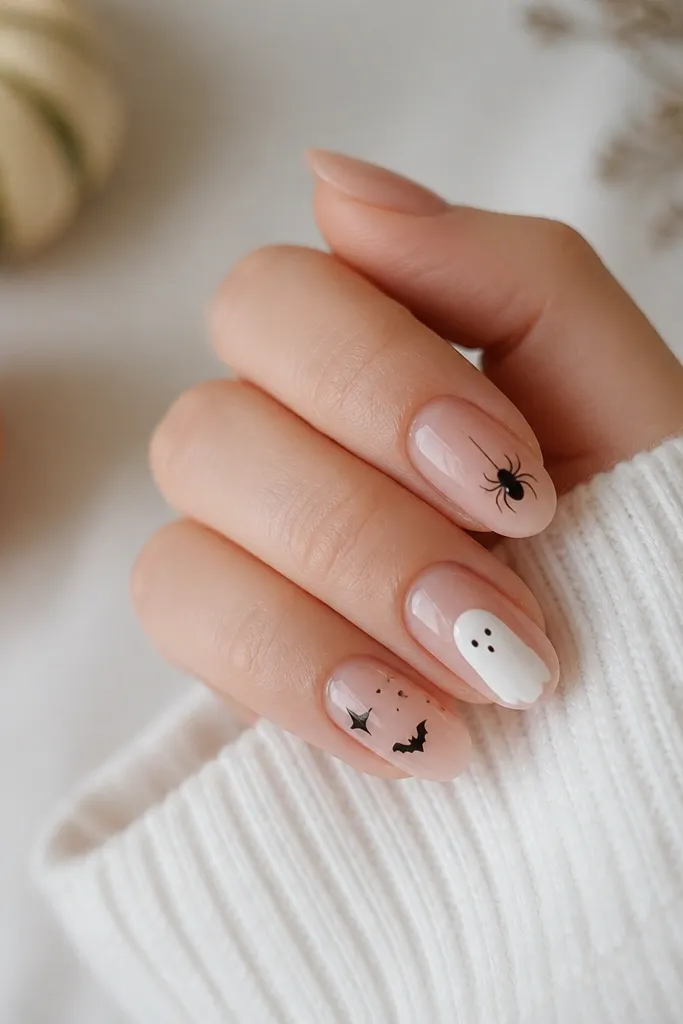
1. Candy corn half-moons
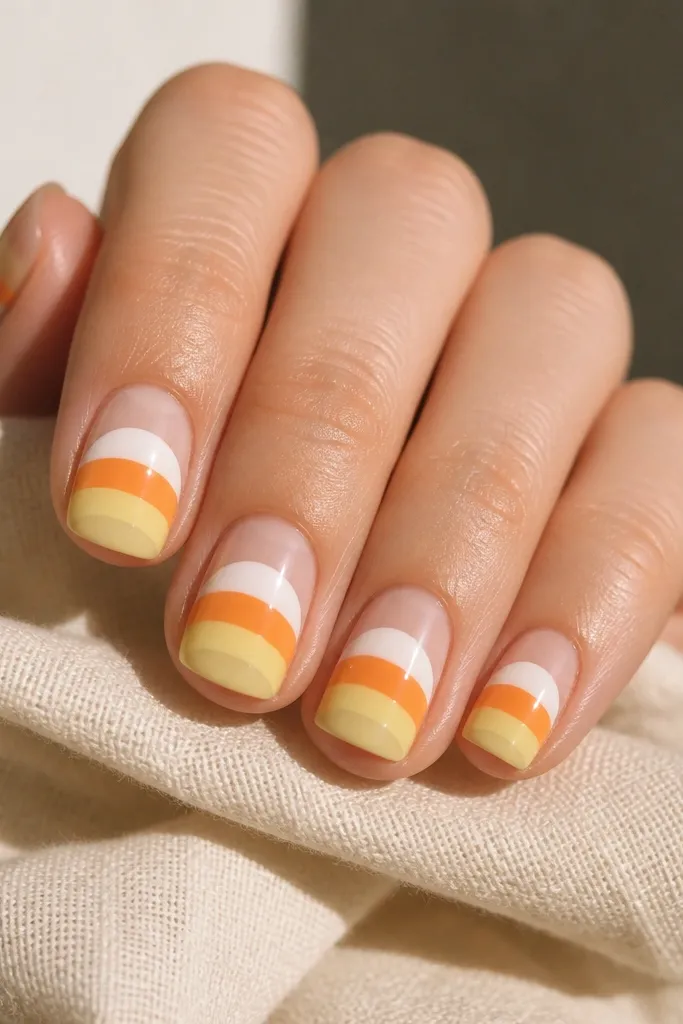
Paint your base nude or milky pink. Then create a candy corn effect using two thin horizontal color bands that meet neatly - yellow at the free edge, orange in the middle, and white near the cuticle. The half-moon shape reads candy corn even if your edges aren't perfect because the color blocks do the work.
Use a small flat brush or makeup sponge to keep bands even. Start with white near the cuticle, then orange, then pale yellow at the tip. Keep each band about 1/3 of the nail height for a balanced look.
Pro tipPress a strip of striping tape just above your cuticle line, paint the bands, then pull the tape while polish is still slightly tacky.
Watch outDon't blend the edges with a sponge - messy gradients look like smudges instead of candy corn.
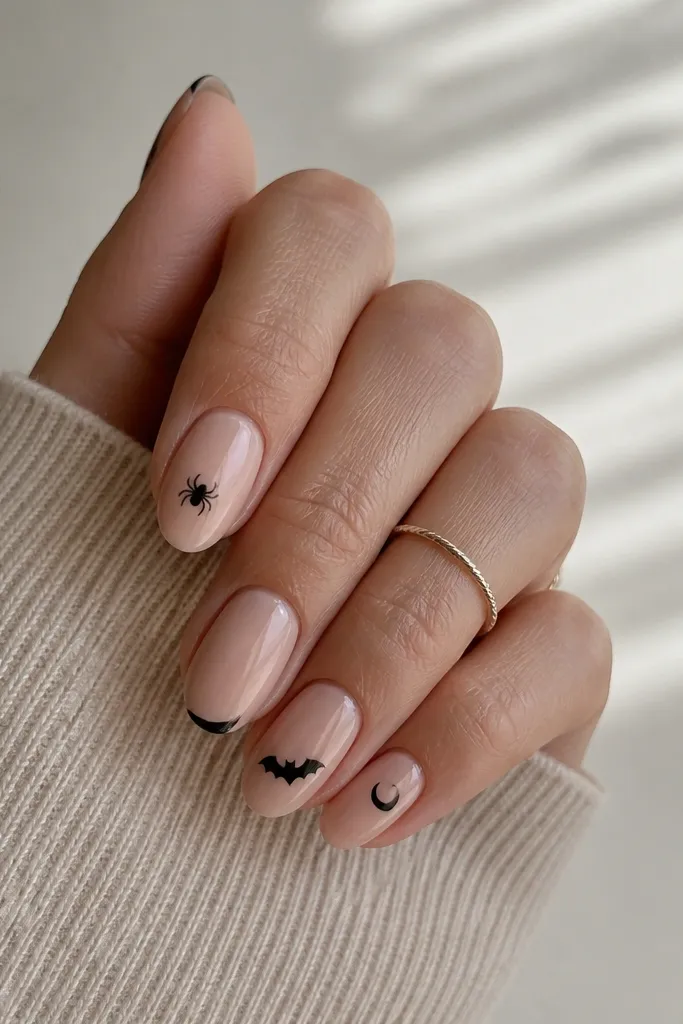
2. Black cat silhouette on nude
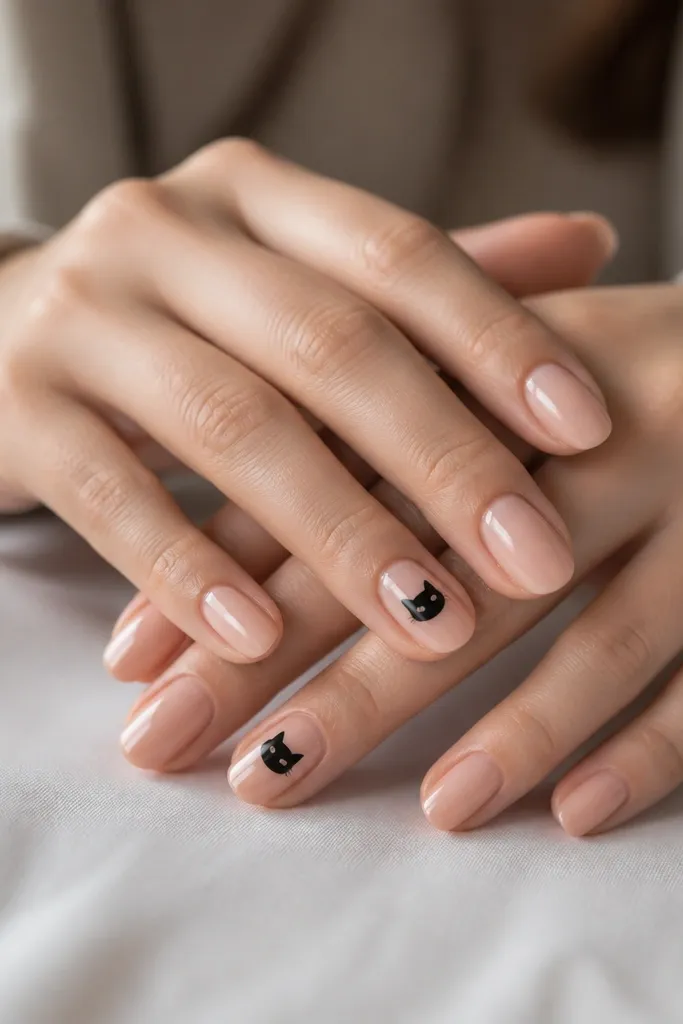
This one looks high-effort with almost no painting. A tiny black cat silhouette is instantly Halloween, and nude keeps it clean. Because the cat is dark, you don't need perfect details - the shape reads cat from a distance.
Use a nail vinyl sticker or a stamp for the cat if you're new. If you're hand-painting, dot two small triangles for ears, then curve the face outline with a fine brush. Place it slightly above the center so it doesn't look bottom-heavy on short nails.
Pro tipAdd a tiny white dot for the eye highlight using a dotting tool and white polish.
Watch outSkip heavy outlines - thick black rings around the cat make it look like a sticker residue.
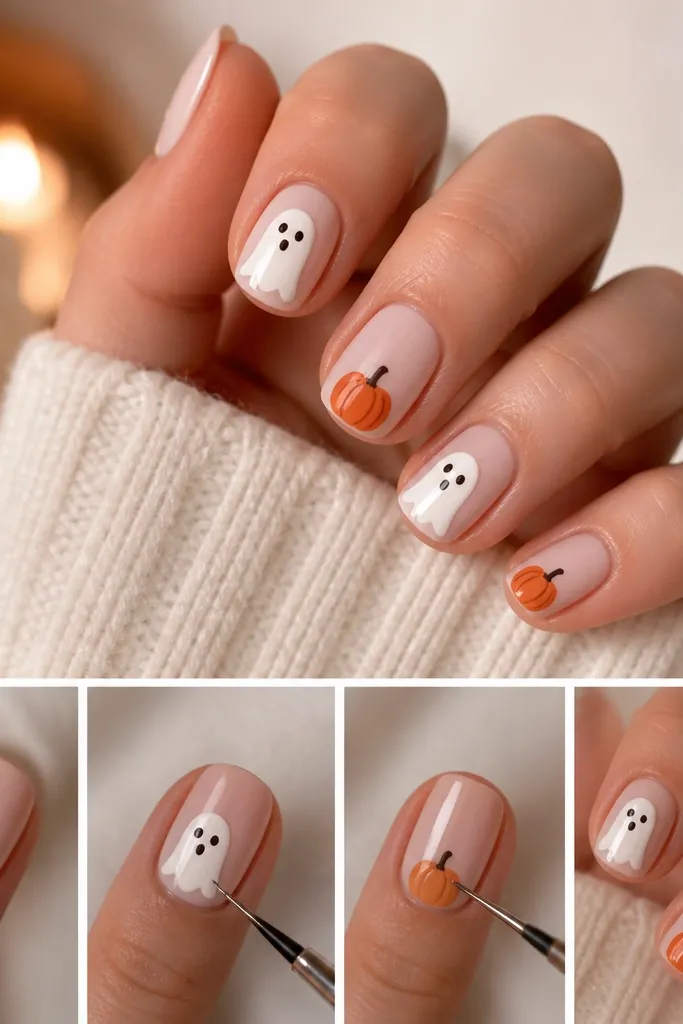
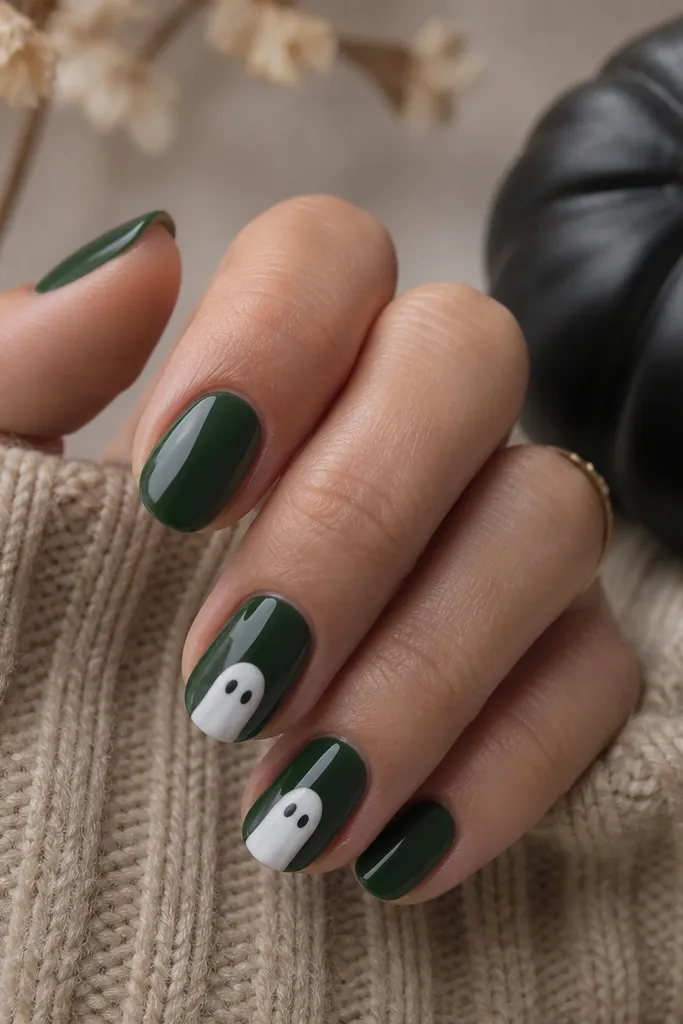
3. Ghost with one dot eye
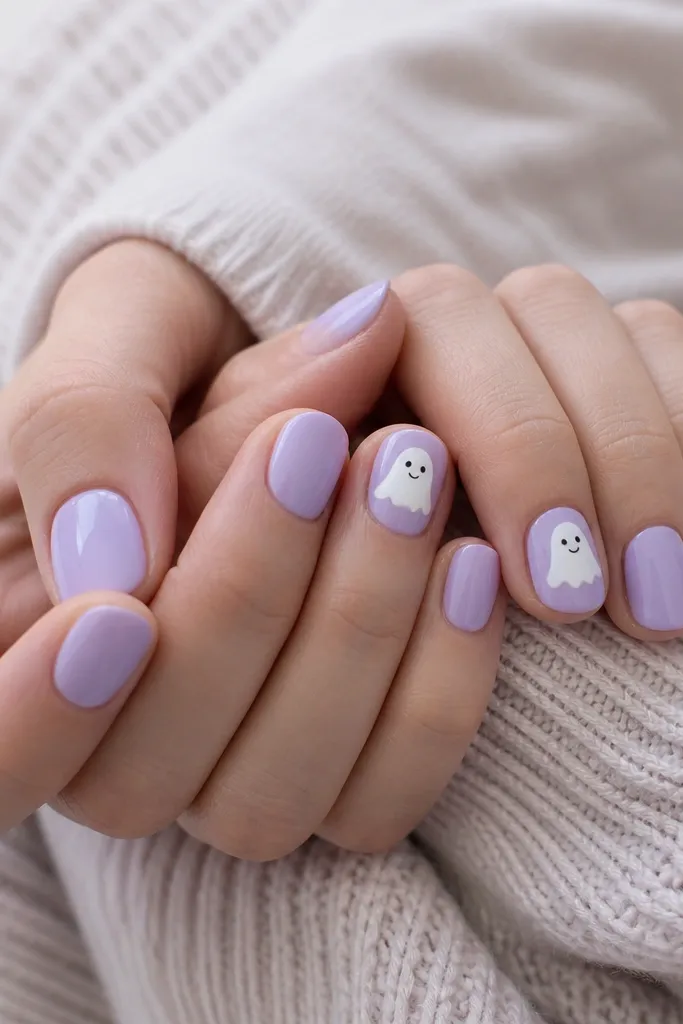
Ghost nails are beginner-friendly because the shape is forgiving. Use white gel polish or opaque white regular polish for the ghost body, then add one dot eye and a small curve for the mouth. The lavender base makes the ghost look softer instead of stark.
Paint a blob-like teardrop for the ghost, then add three scallops at the bottom using the tip of your brush. Keep the ghost height about the same as the nail width. Add one dot eye, then a tiny smile with a 000 brush.
Pro tipIf your ghost looks lumpy, use a clean brush dipped in polish thinner to smooth the edges before it fully dries.
Watch outDon't make the ghost too big - if it touches the sidewalls, it looks messy.
4. Orange spider web negative space
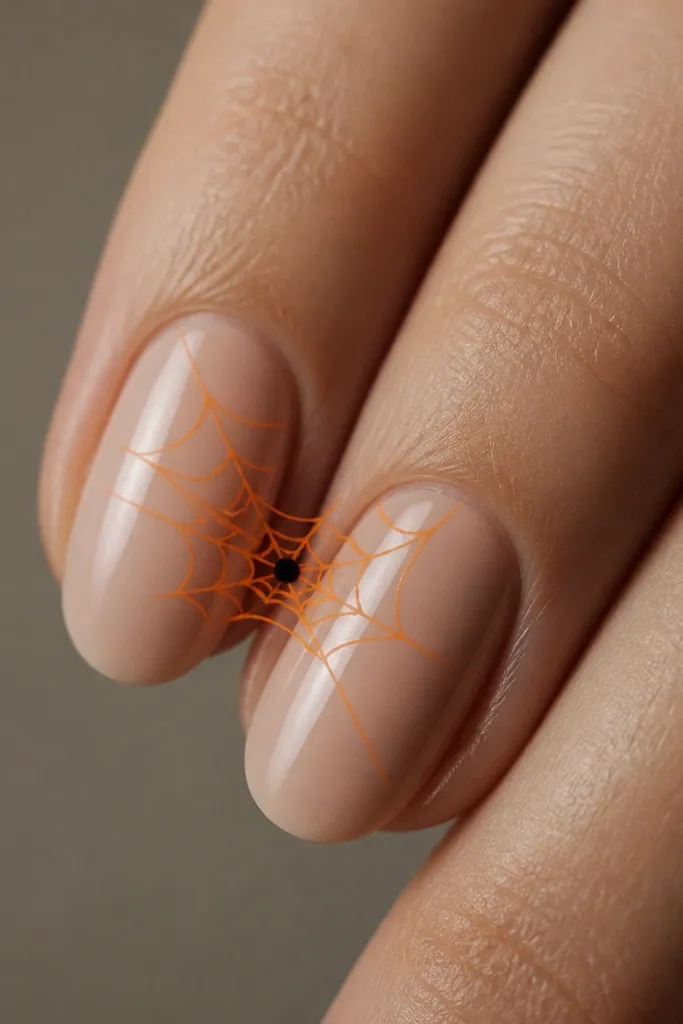
Negative space webs look crisp because you're drawing lines instead of filling shapes. The spider web pattern reads Halloween without looking heavy. Orange lines on nude look playful, and a black dot at the center gives the web a focal point.
Use a thin striping brush and draw a vertical line down the center. Add diagonal lines from the center outward like spokes, then draw curved arcs connecting them. Finish with a small black dot where the lines meet.
Pro tipLet the base cure fully before web lines - wet base makes lines bleed and thicken.
Watch outDon't overdraw every arc - 4-5 arcs look cleaner than 10.
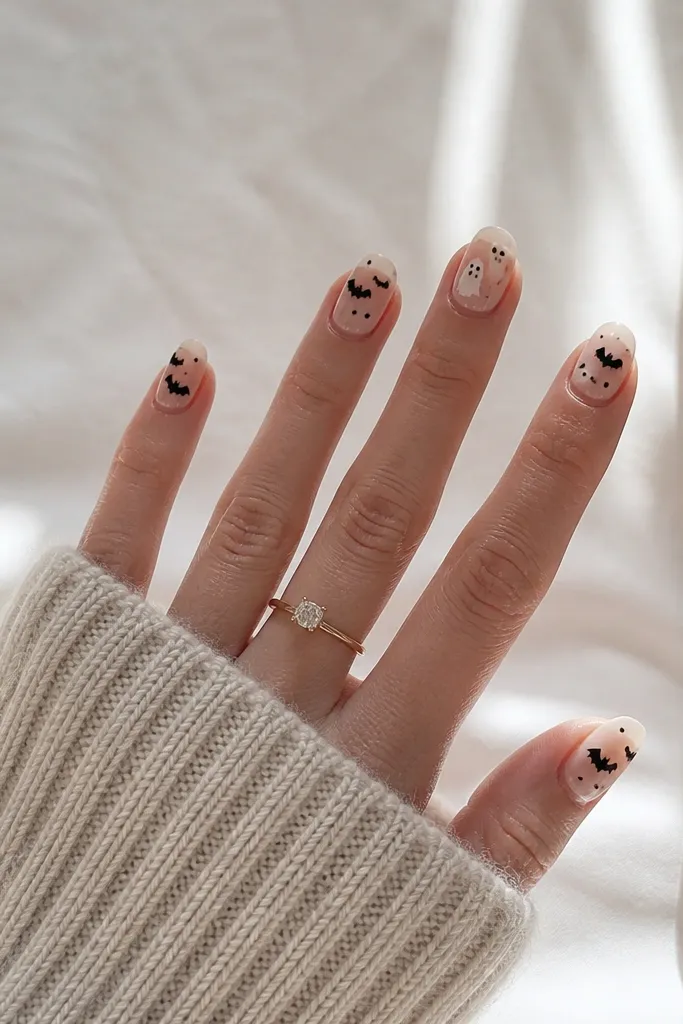
5. Tiny bat wing tips
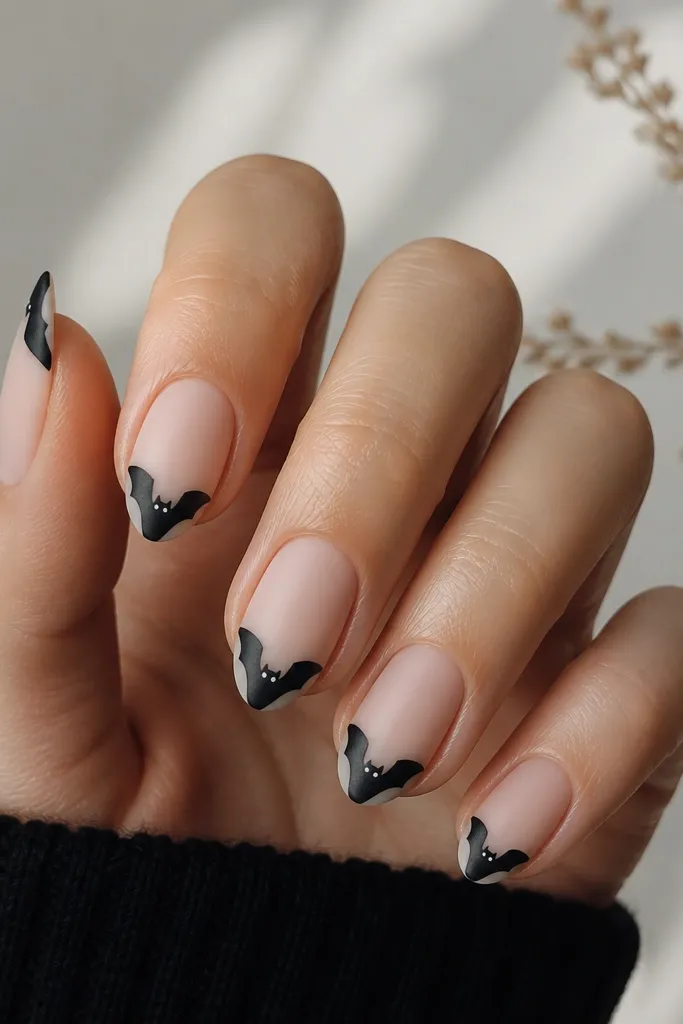
Bats look great when they're small and perched at the tips. Matte black wings give the design texture, and tiny white dots for eyes keep it cute instead of spooky. The angled placement makes your nails look longer.
Paint your base glossy nude, then dab matte black at the tips with a sponge or a small brush. Add two small triangle wings by pulling two short strokes upward from a central dot. Place one white dot eye near the inner edge of each wing.
Pro tipIf you don't have matte top coat, use matte black polish for the wings and seal only the base with glossy top coat.
Watch outDon't put the bat in the middle of the nail on short lengths - it shrinks the nail visually.
6. Spooky French in black and orange
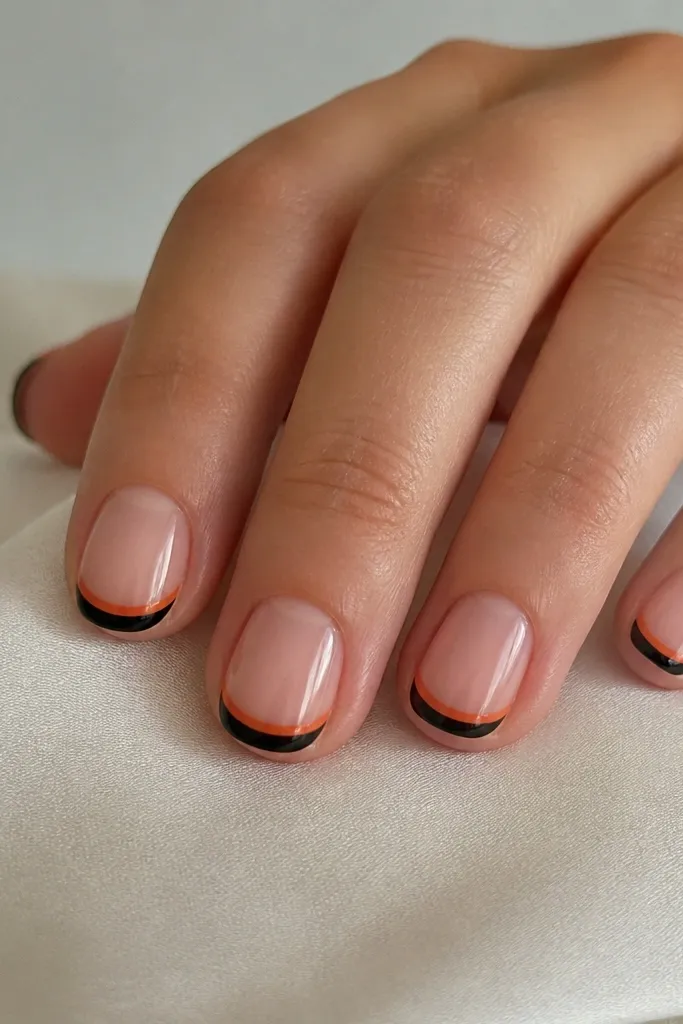
French tips are the easiest structure for Halloween because the lines already exist. Black tips read instantly spooky, and a thin orange underline makes it feel themed instead of plain. This is the kind of manicure that looks like you planned it.
Use a sheer pink base. Then paint a black smile line for the tip. While black is tacky, add a super thin orange line just below the smile curve using a striping brush.
Pro tipUse a French tip guide sticker if you're shaky - press it down firmly, paint, then remove while still wet.
Watch outAvoid thick orange lines - they look like marker strokes.
7. Orange drip accents
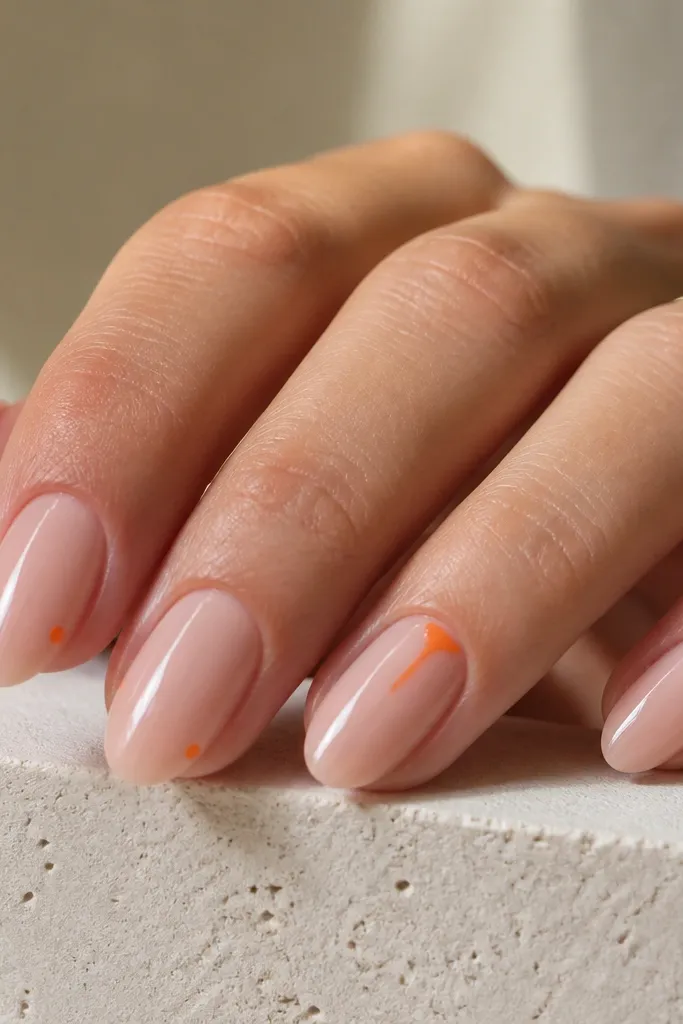
Drips are Halloween without needing detailed art. The trick is making the drip short and controlled, so it looks like a stylized costume effect. Nude keeps it wearable, and orange on nude looks like candy or pumpkin.
Paint nude base. For the drip, place a small orange dot near the cuticle center, then pull it downward with the brush tip to form a narrow line. Repeat once per accent nail - keep it to one drip so it doesn't look like a spill.
Pro tipAdd a tiny white highlight on one side of the drip for a glossy "wet" look.
Watch outDon't add multiple drips on the same nail if you're new - they merge into one blob.
8. Spider dots on midnight
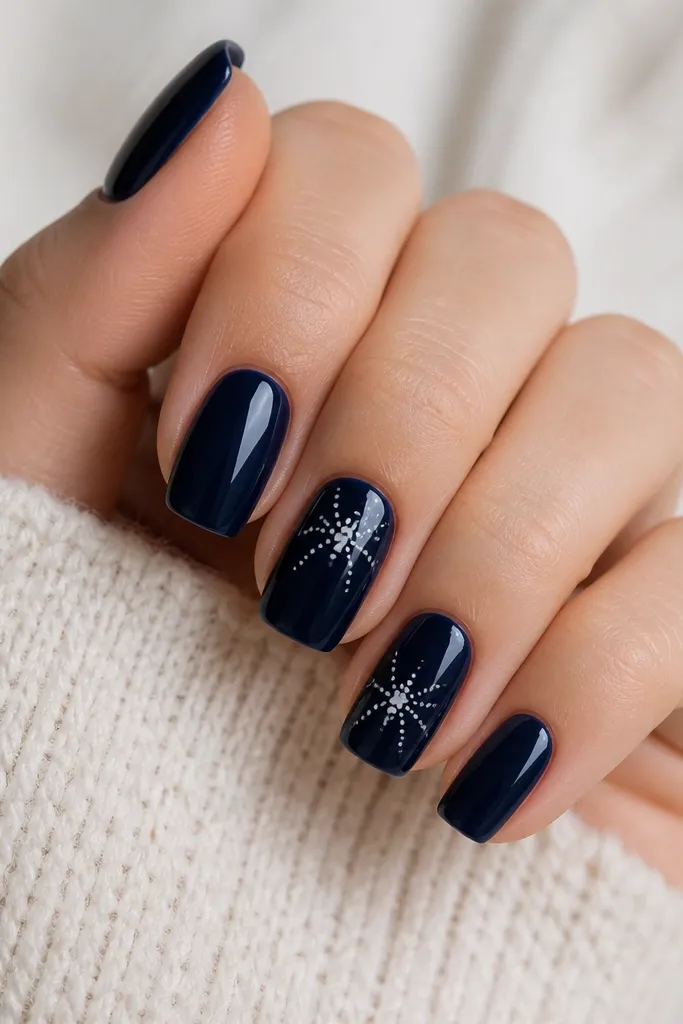
This design is basically dot art. A navy base makes the white dots pop sharply, and the spider arrangement reads even if the legs are just short lines. It's fast and looks clean because you're not drawing detailed legs.
Paint two nails navy. For the spider, place a white dot for the body, then add six smaller dots around it for legs. Connect legs with tiny short strokes using the brush or leave them as dots for a graphic look.
Pro tipUse a dotting tool with a 1mm tip for consistent dot sizes.
Watch outSkip metallic white - it can look grainy and less crisp than opaque white.
9. Glitter skull cap
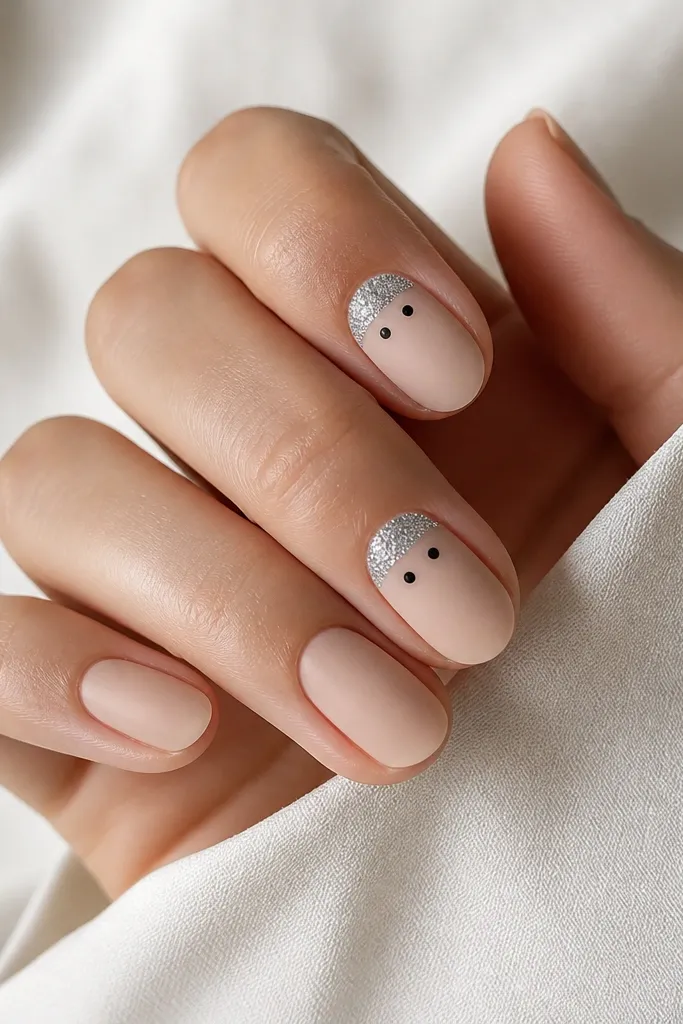
A skull cap is a cute Halloween nod that stays subtle. Silver glitter at the top makes it look like a costume accessory, and black dot eyes finish the skull idea. Matte nude underneath prevents the glitter from looking messy.
Start with matte nude. Add a curved silver glitter semicircle near the cuticle using a small sponge or a glitter polish brush. Dot two black eyes under the glitter cap and add a tiny curved line for the nose/mouth.
Pro tipSeal glitter with two thin coats of top coat so it doesn't snag.
Watch outDon't put glitter across the whole nail - it looks like random sparkle instead of a skull.
10. Green witch hat tip
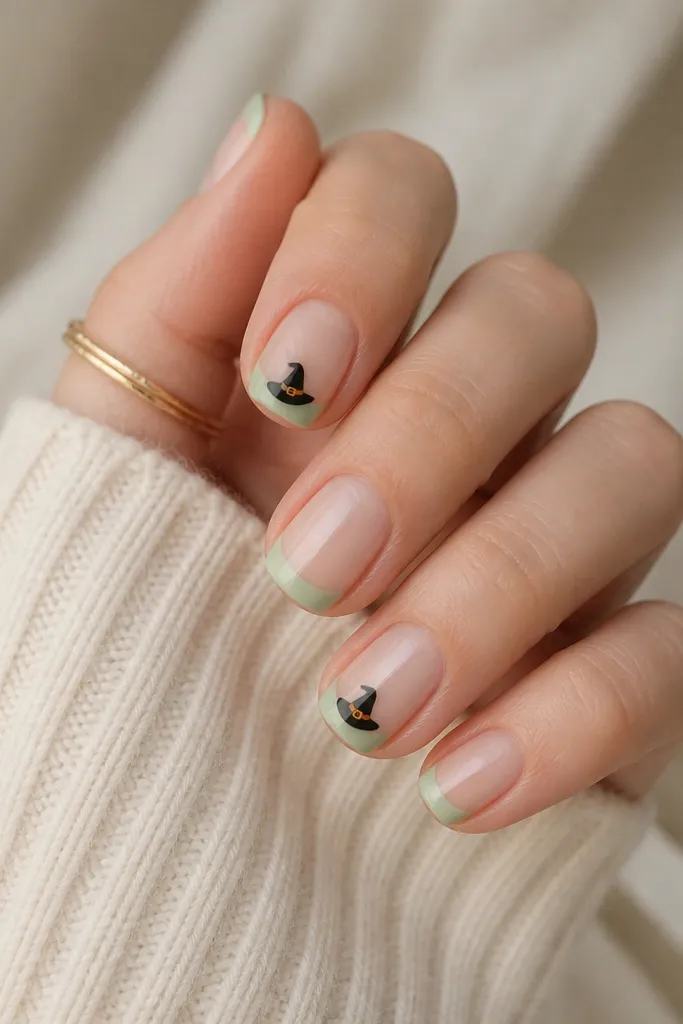
This is a tip-sized icon, which is why it's beginner-friendly. The witch hat is mostly triangles and a band, so it doesn't require fine line work. Green tips give the Halloween vibe without going full orange/black.
Paint all nails pale green at the tips. On accent nails, draw a black triangle hat pointing upward from the tip area, then add a white horizontal band across the triangle. Finish with a tiny orange dot on the band like a buckle.
Pro tipIf your triangle is crooked, use striping tape to block a straight hat edge, then remove right away.
Watch outAvoid tiny hats that touch both sidewalls - keep them centered.
11. Pumpkin face dots
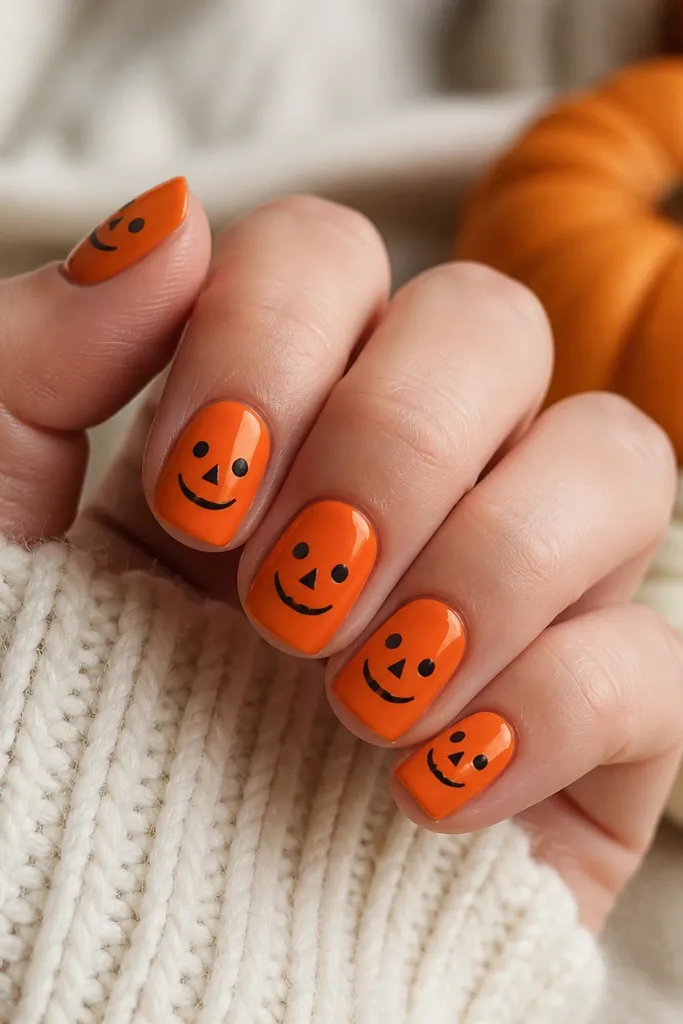
Jack-o-lantern faces look great as dot-and-line symbols. Orange gives instant pumpkin energy, and black facial features stay readable even if the smile isn't perfect. This design is forgiving because symmetry isn't required.
Paint orange base. For eyes, place two black dots. For the nose, draw a small black triangle. For the mouth, draw a curved line and add 3-4 small teeth bumps with the brush tip.
Pro tipUse the brush cap to pick up the exact amount of black polish so it doesn't pool.
Watch outDon't thin your black polish too much - watery black looks gray and stains the orange.
12. Black rose for Halloween
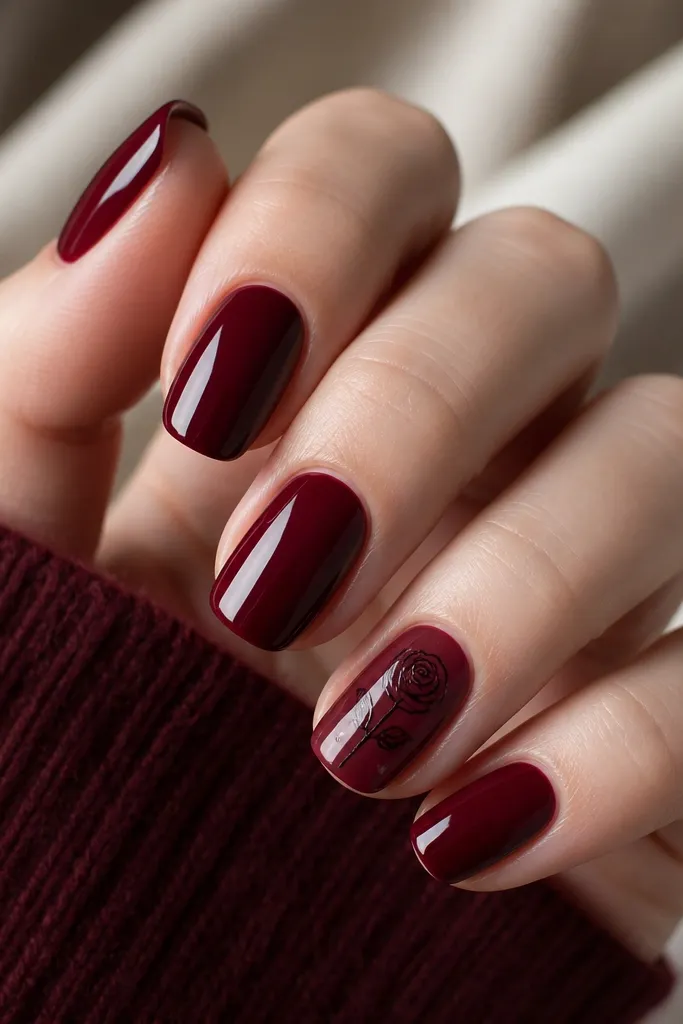
A black rose reads spooky and romantic, not childish Halloween. The contrast between deep burgundy and black lines looks classy, and the two white dot accents keep it from feeling too heavy. It's also easy because you can use a simple rose stencil.
Paint all nails deep burgundy. On one or two nails, use a rose stencil or stamp to place a black outline rose. If you hand-paint, draw a spiral center and add small petal loops around it. Add two tiny white dots at the top right and bottom left.
Pro tipUse a stamping plate if you have one - it keeps rose lines sharp.
Watch outSkip a full black fill - outline looks cleaner on short nails.