1. Milky Nude + Black Half-Moon
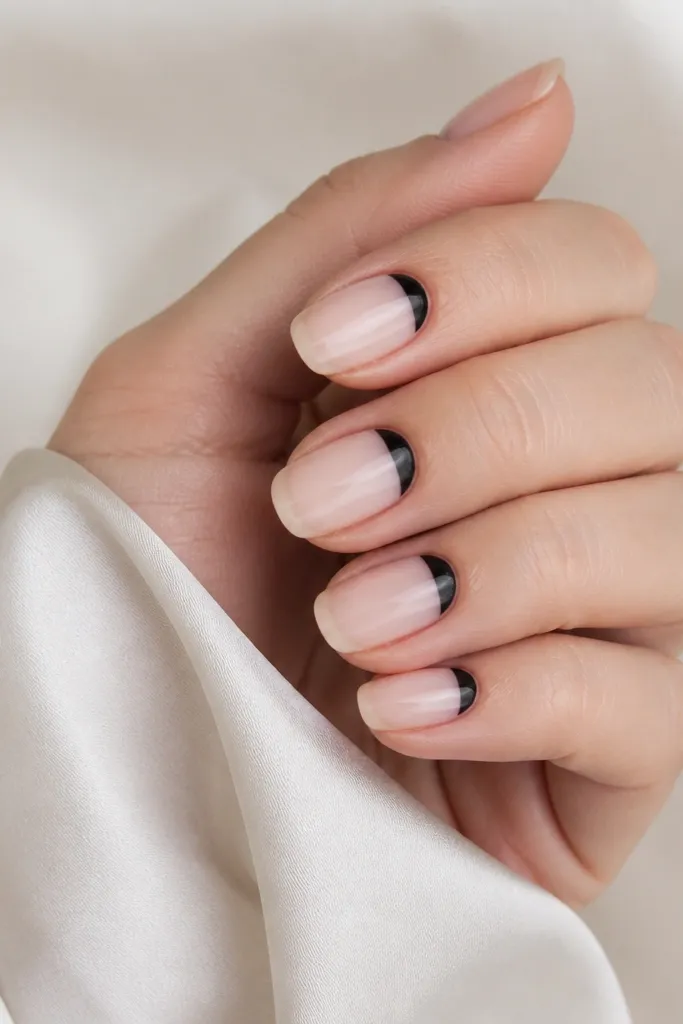
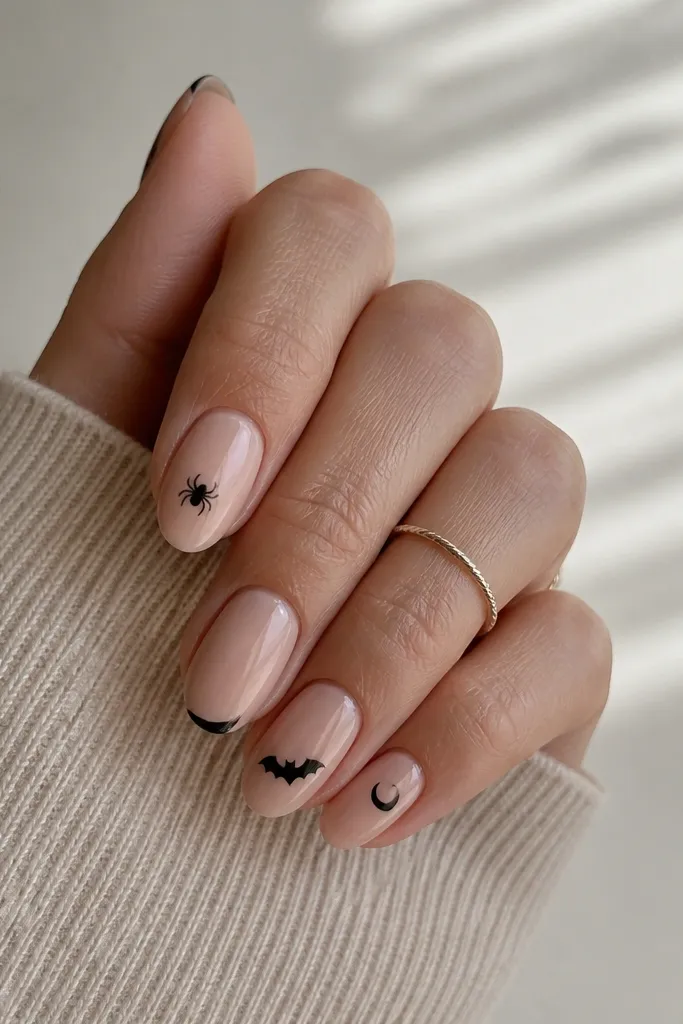
This one reads classy because it's graphic, not busy. The milky nude keeps it soft, and the black half-moon gives Halloween energy without orange, glitter, or tiny art. I've worn this to dinner and it still looked sharp under warm restaurant lights because the nude base reflects gently while the black stays crisp. It also hides small polish streaks better than full coverage.
Start with two thin coats of milky nude gel or lacquer, then cure. Use a small half-moon stencil or a curved cuticle sponge to paint a black semicircle just above the cuticle line. Keep the half-moon about 1/3 the nail width so it looks clean on short nails too. Finish with a glossy top coat on every nail.
Pro tipIf your half-moon edge goes fuzzy, clean it with a flat brush dipped in acetone - do it before curing.
Watch outDon't let the black touch your cuticle - a tiny gap makes it look intentional instead of grown-out.
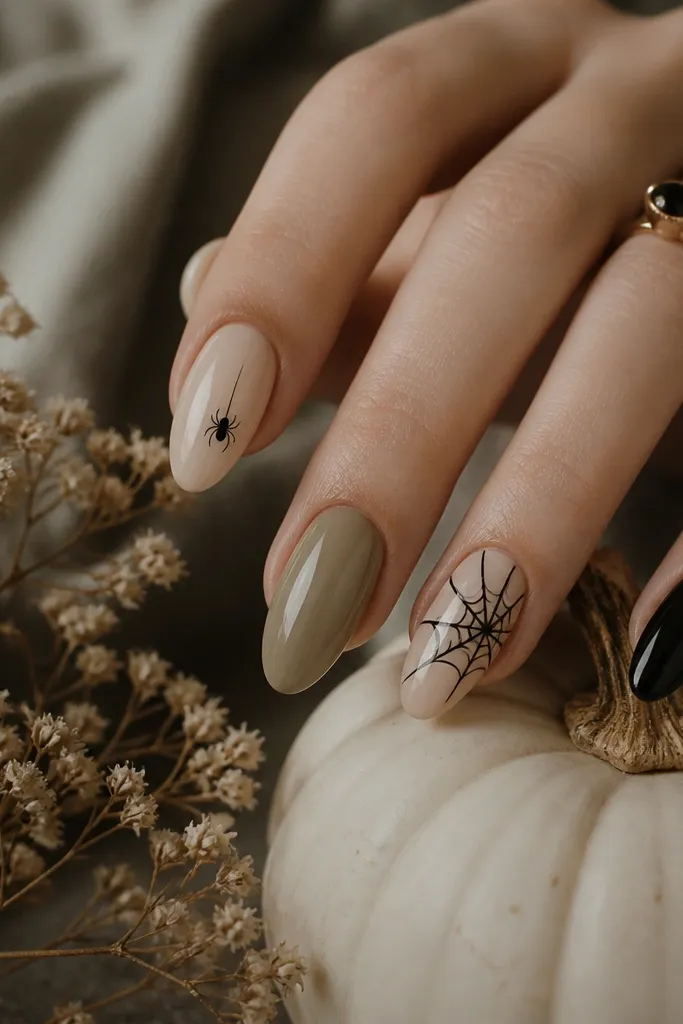
2. Oxblood Micro-Spider Nails
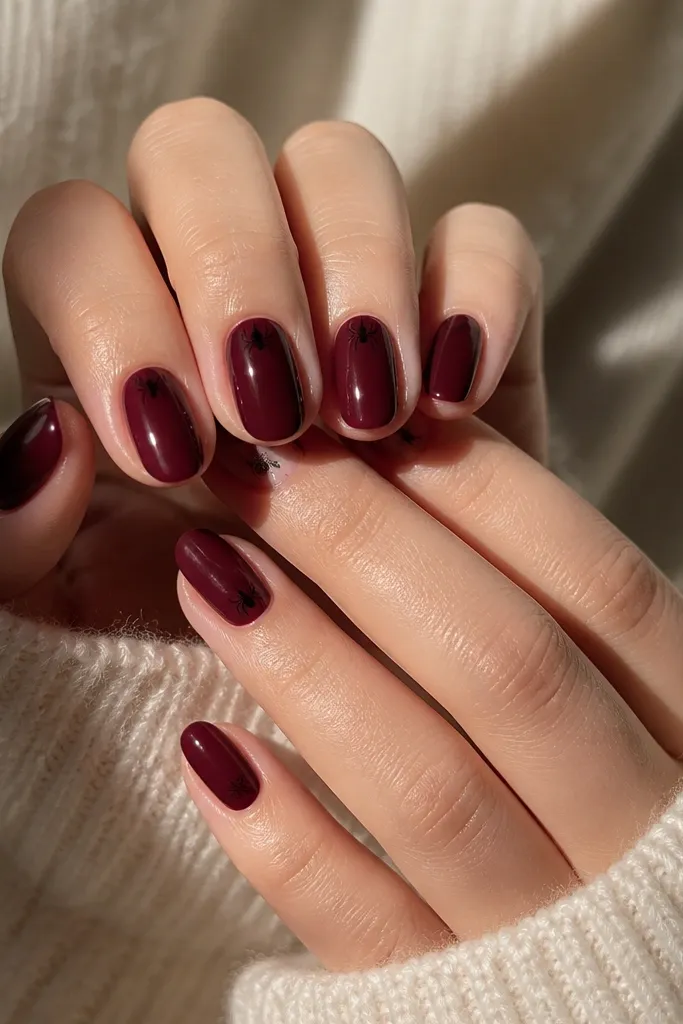
Micro-spiders look cute and grown-up when the base is a wine shade. Oxblood makes black spiders feel like "Halloween fashion" instead of candy-cart spooky. I prefer the spider placed close to the cuticle because it looks like a deliberate decal, and it grows out better than art sitting mid-nail. The set stays low maintenance because only a couple nails need detail.
Paint all nails oxblood, two coats for opacity. On ring and middle fingers, dot the body with a dotting tool or the tip of a toothpick, then add 8 legs with thin striping polish. Keep the spider size small - about the width of a pencil eraser. Seal with a thick glossy top coat.
Pro tipUse a black gel liner brush if you have one; it keeps legs from getting wobbly.
Watch outDon't draw thick legs - chunky lines look like smudges at close range.
3. Orange Tip Reverse French
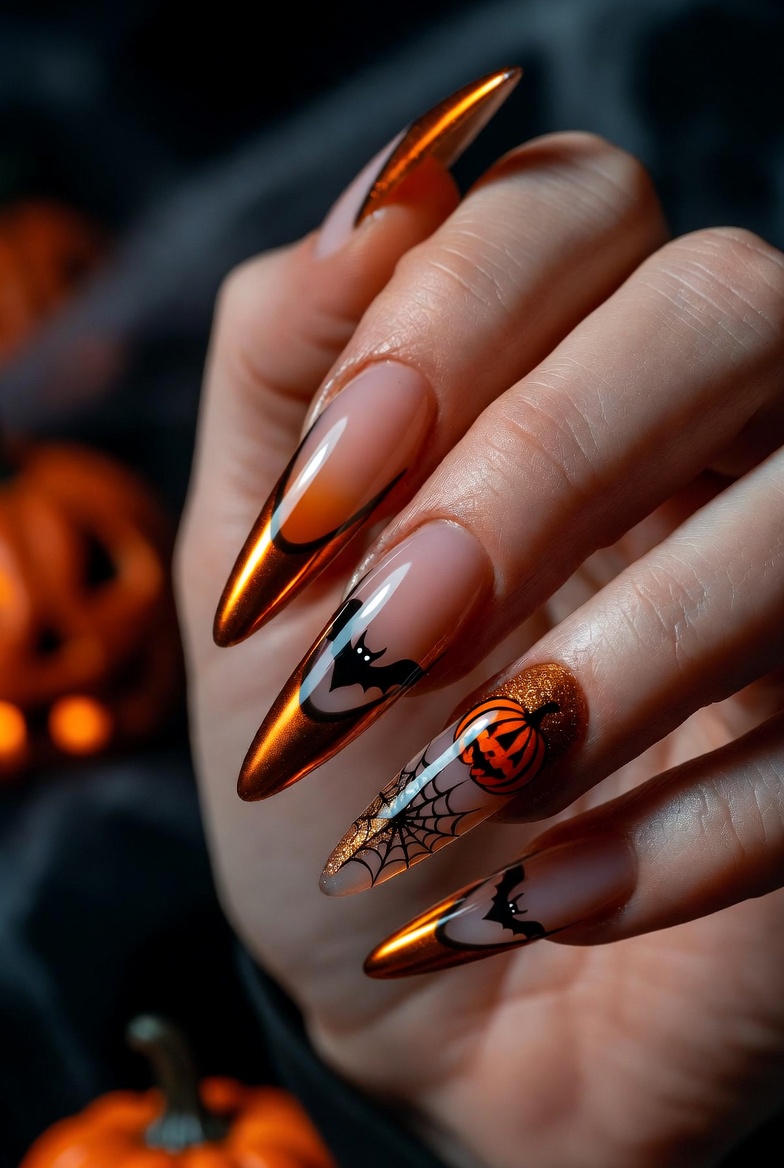
Reverse French with orange gives Halloween energy without clutter. The orange strip adds warmth and makes your nails look like they belong to a manicure, not a costume. This works especially well on short squoval nails because the line stays neat and doesn't overpower the hand. It's also fast: you're painting one shape repeatedly.
Apply sheer nude as your base. Use a thin striping brush to paint an orange curve at the cuticle area, leaving the center clear. Make the strip about 1.5-2 mm wide. Add top coat for shine; keep the orange matte if you want a subtler vibe, glossy if you want it to pop in photos.
Pro tipFor a sharper curve, press a small piece of tape as a guide, paint, then remove the tape immediately.
Watch outSkip neon orange - it looks harsh next to skin and can read cheap next to nude.
4. Black Cat Silhouette Accent
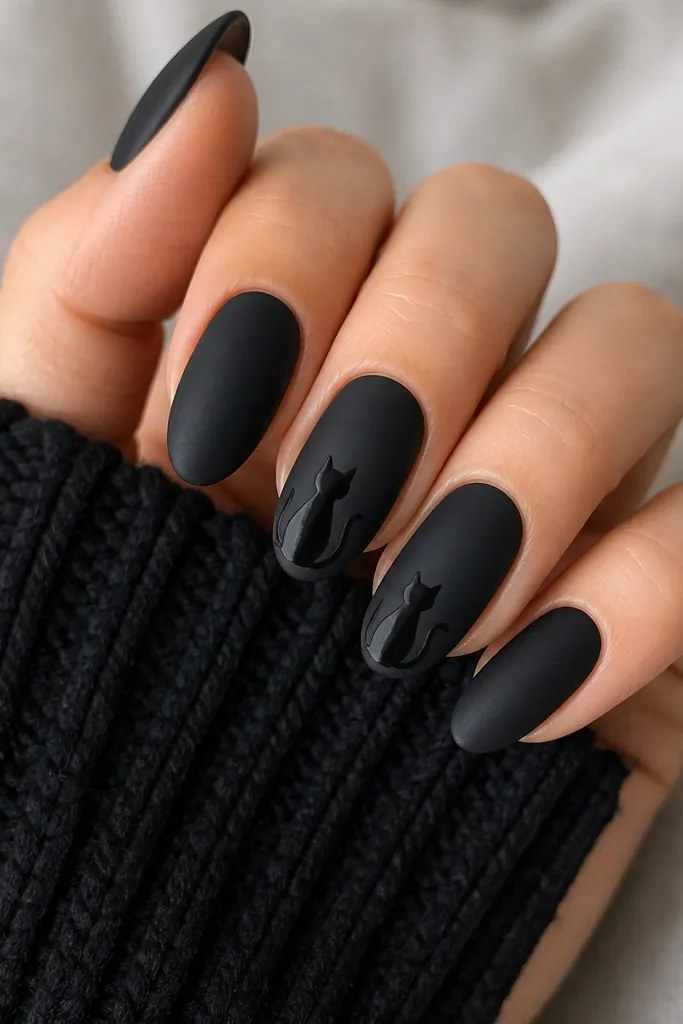
A cat silhouette is instantly Halloween, and matte black makes it feel intentional. I like doing matte black on most nails because it hides tiny edge imperfections that glossy polish shows. The cat accent keeps it from looking flat. If you keep the cat small and placed near the cuticle, it feels chic instead of cartoonish.
Do two coats of matte black (or use glossy black then apply matte top coat after curing). On one or two nails per hand, paint a small cat using a nail stamping plate or freehand with a fine liner brush. Keep the cat height under 1/4 of the nail. Finish with matte top coat so the cat and base share the same finish.
Pro tipIf you're freehanding, draw the head first, then the ears, then the tail - it keeps the silhouette readable.
Watch outDon't add glowing eyes or extra details; simple silhouette reads cleaner.
5. Ghost Outline on Clear Pink
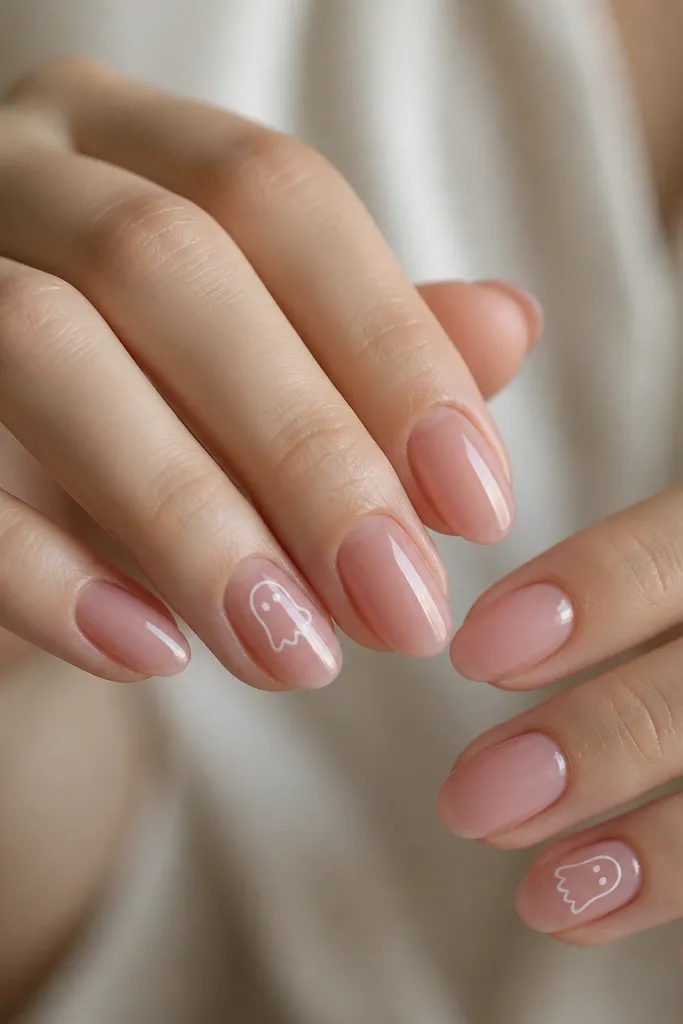
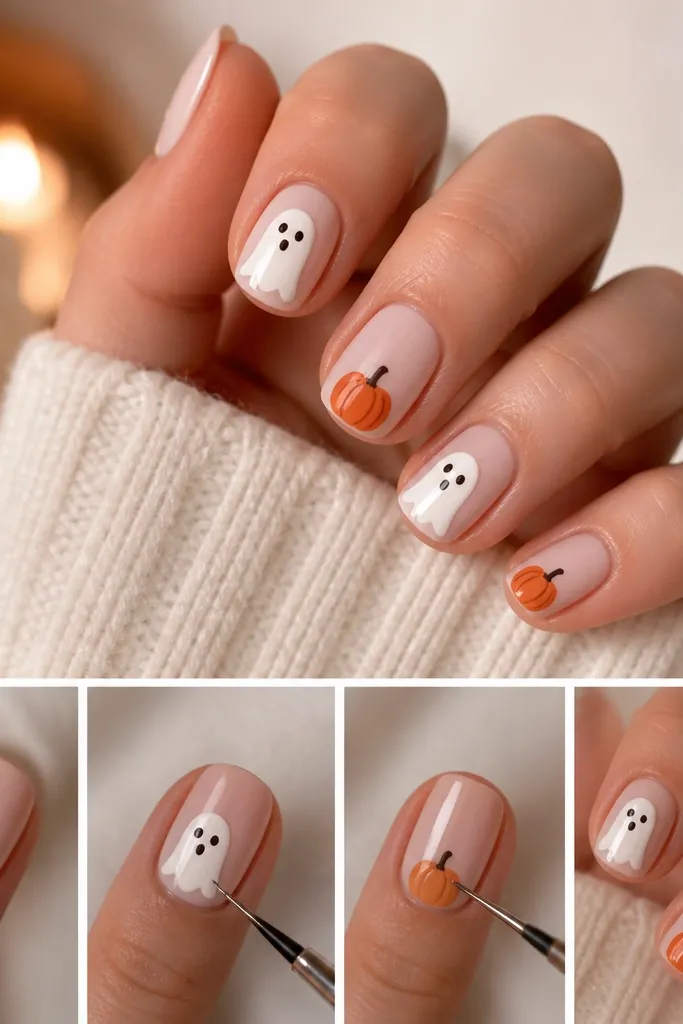
Ghost outline nails look airy and cute, not heavy. Clear pink jelly makes the white lines look crisp and bright, and the glossy finish keeps it fresh. Outline art is low maintenance because you're not filling big areas - just tracing shapes. The design also looks good on medium and short lengths because the ghost sits in a defined space.
Use a clear pink jelly base in two thin layers, cure. On accent nails, draw a ghost with white gel liner: start with the head curve, then add two small dot eyes, then the wavy bottom. Keep the outline thin and let the jelly show through. Top coat everything glossy.
Pro tipIf your outline bleeds, wipe the brush on a lint-free pad before drawing - it reduces pooling.
Watch outDon't fill the ghost solid white - it makes the nail feel bulky and harder to tidy.
6. Spiderweb One-Thread Wrap
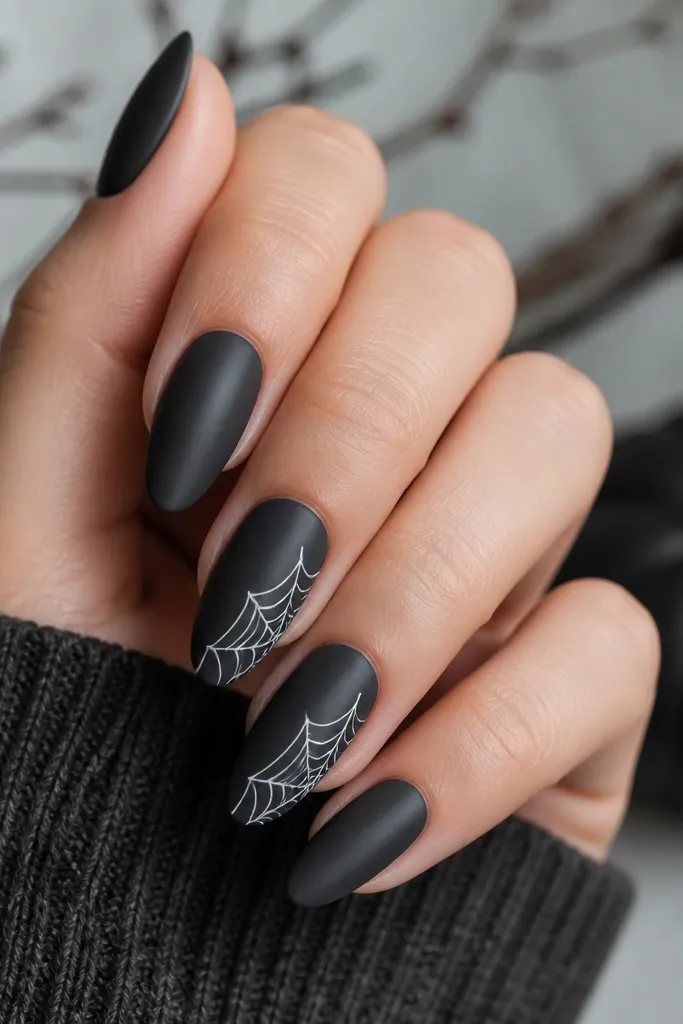
Spiderweb can get messy fast. This version uses one clean diagonal web so it looks graphic and modern. Charcoal base makes the web lines look intentional, and the diagonal placement keeps it from covering the whole nail. You get Halloween without the "Halloween sticker" effect.
Paint charcoal on all nails. On accent nails, draw a diagonal line from near the left sidewall at mid-nail to the right tip. Add a few short lines radiating from the center point, then add one or two curved arcs. Keep it sparse - three to five lines total. Seal with a glossy top coat.
Pro tipUse a striping brush with gel to keep lines steady; regular nail polish brushes drag on dark bases.
Watch outDon't draw a full web across the entire nail - it turns into a blur.
7. Tiny Pumpkin Dot Line
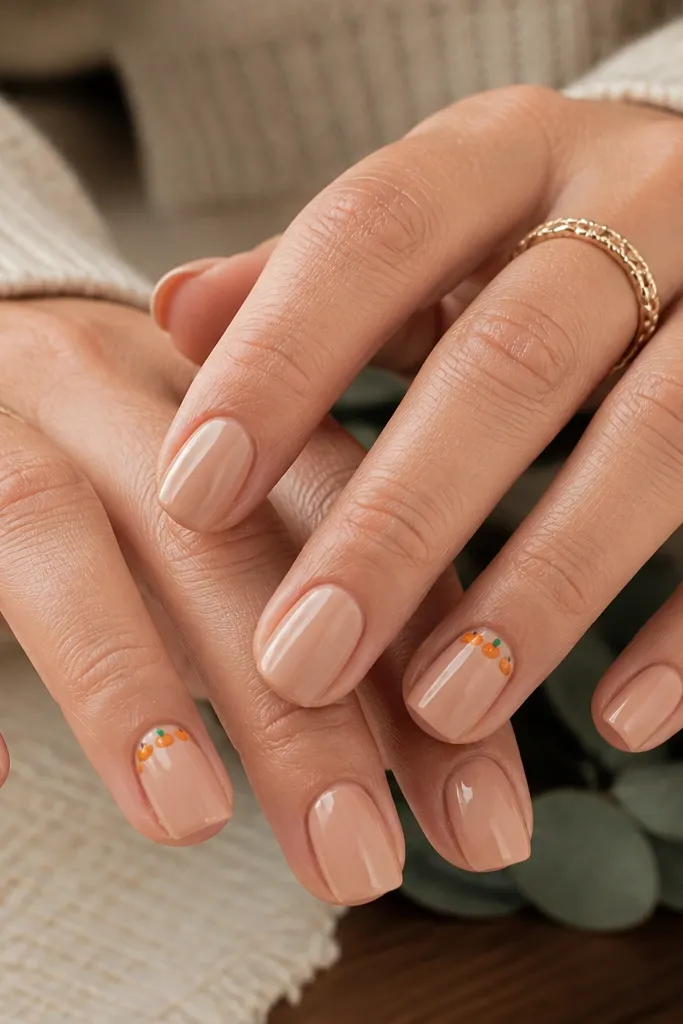
This is pumpkin Halloween without painting pumpkins. The small dot line reads playful, and the warm nude base keeps it chic. I like placing the dots near the cuticle because it frames the nail and looks tidy even as you grow out. You're using a simple dot technique, so it stays low maintenance.
Paint nude base, cure. Use orange gel to make 3-4 tiny dots in a straight line, then add a tiny green dot at the top of one dot to suggest a stem. Add a very light brown line at the center of each orange dot if you want a pumpkin feel. Top coat glossy.
Pro tipDotting tool size matters - use the smallest tip so the dots don't turn into blobs.
Watch outSkip overdoing the stem lines; one green dot reads cleaner than a detailed pumpkin.
8. Black Glitter Cuticle Halo
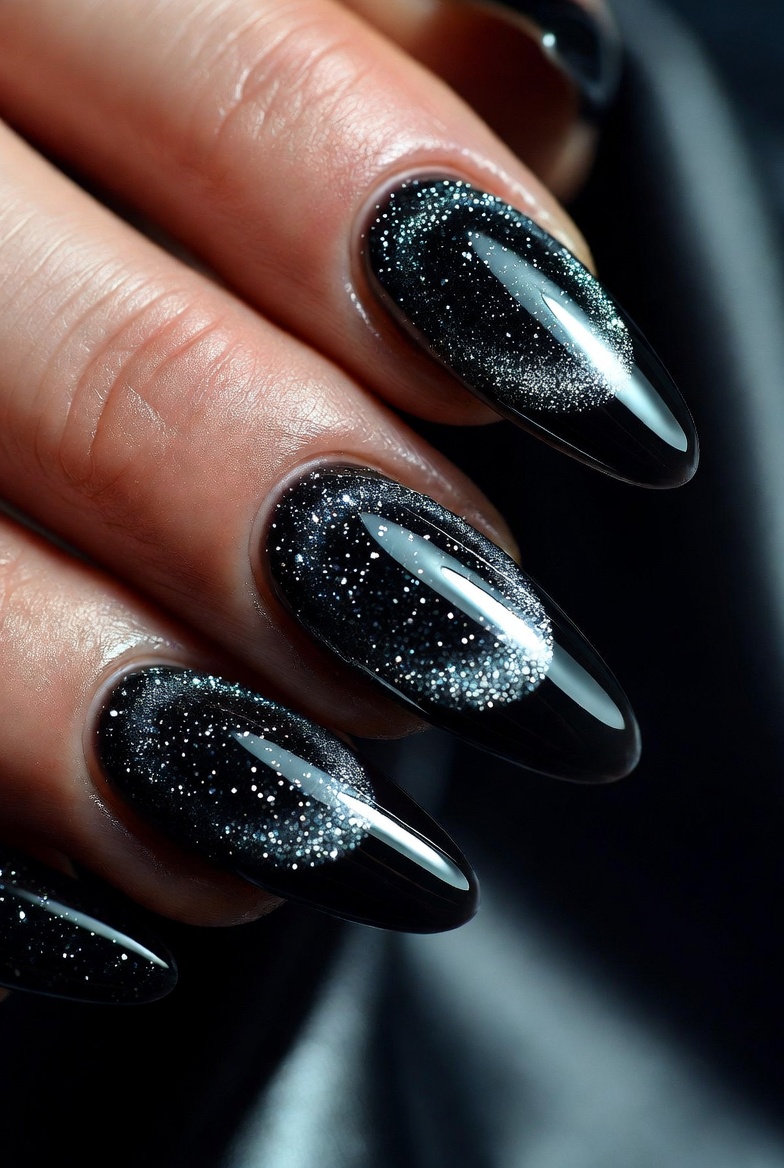
A cuticle halo looks fancy but it's easy. The sheer nude base keeps the nail looking natural, and the glitter ring gives you that Halloween sparkle without covering the whole nail. I like fine black glitter because it looks like smoky shimmer instead of chunky "craft glitter." The fade-out keeps it smooth and prevents rough texture.
Start with a sheer nude base. Dab fine black glitter gel around the cuticle in a ring using a sponge or small brush, then lightly blend outward so it fades. Cure. Finish with glossy top coat, and cap the glitter edges so it doesn't catch on hair.
Pro tipUse a sponge for the halo - it gives that soft fade that looks expensive.
Watch outDon't use chunky glitter - it lifts and catches, especially around the cuticle.
9. Candy Corn Micro Accent
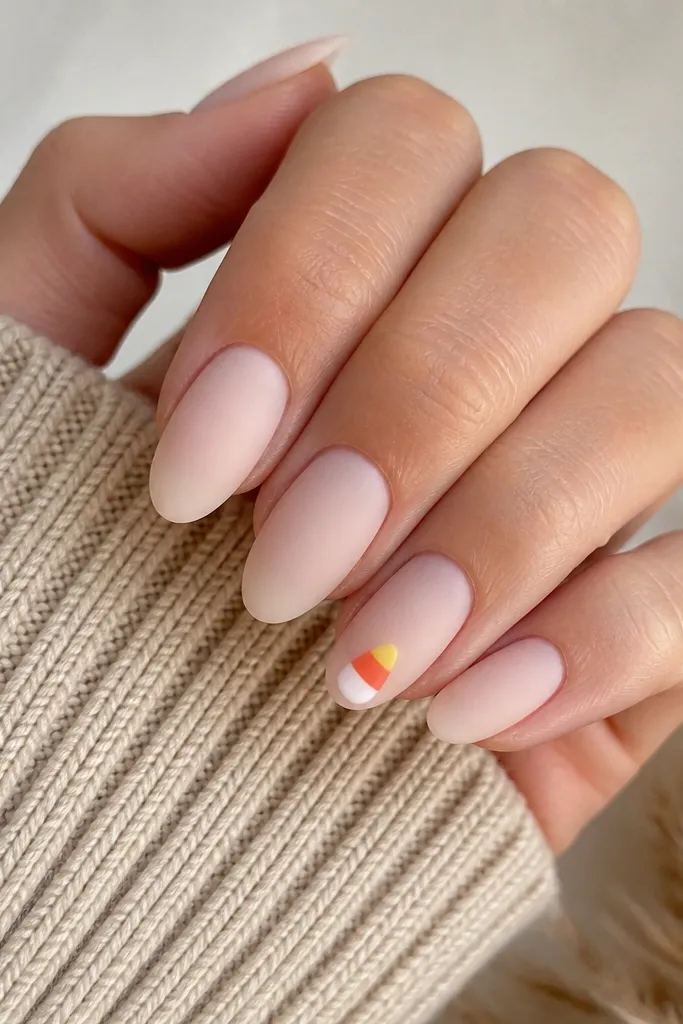
Candy corn usually looks loud, but micro versions look cute and controlled. Matte milky nude makes the colors feel softer and more "chic Halloween." The trick is keeping the candy corn tiny and only on one nail per hand. That gives you the theme without turning your whole manicure into candy wrapper energy.
Paint all nails matte milky nude. On accent nails, create a small triangle at the tip: top section yellow, middle orange, bottom white. Use nail striping tape to get sharp edges, then remove carefully. Seal with matte top coat so it all matches.
Pro tipIf triangles look wonky, draw the outline first in white, then fill each section.
Watch outDon't add extra stripes or dots - the tiny triangle already carries the look.
10. Midnight French with Thin Web Line
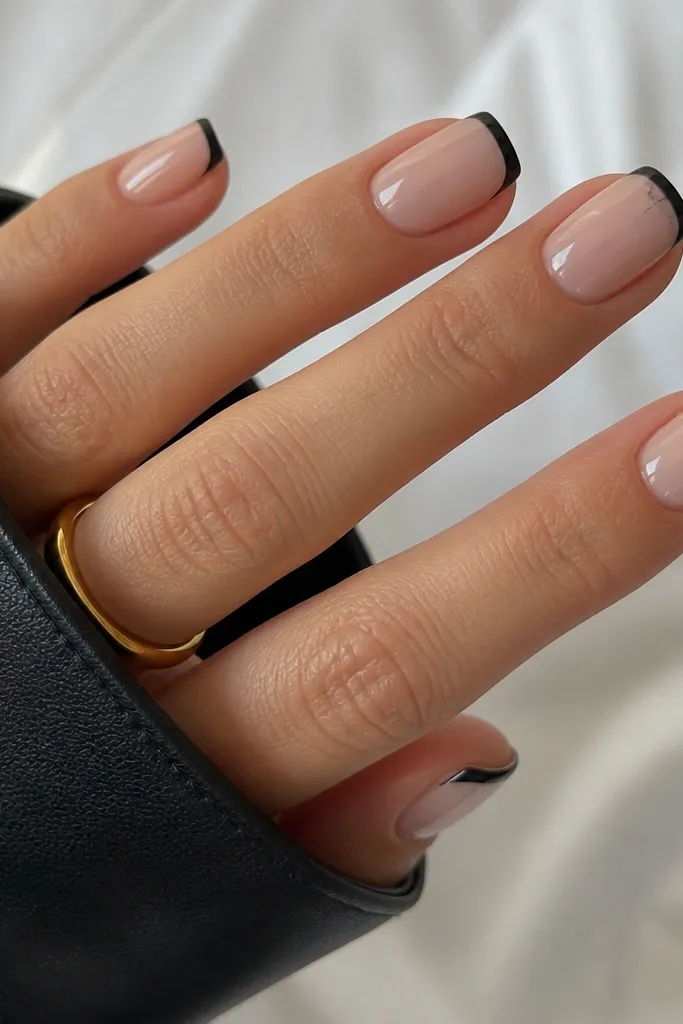
This is the cleanest way I've found to make French nails feel Halloween. The thin midnight French looks polished, and the web line is just a small detail that sits where your nail naturally draws attention. It stays low maintenance because you're not filling whole patterns. Also, French tips hide tiny chips at the edge better than full coverage.
Use a sheer nude base. Paint a thin French tip in midnight black, keeping it 2-3 mm from the nail edge on short nails. On one or two nails per hand, draw a small web: one vertical center line, then two short arcs. Keep the web under half the nail length. Top coat glossy.
Pro tipUse a nail guide sticker for the French line, then peel it while the polish is still slightly wet.
Watch outSkip thick French tips - they look heavy and make short nails look blunt.
11. Skull on Clear Jelly with One Matte Nail
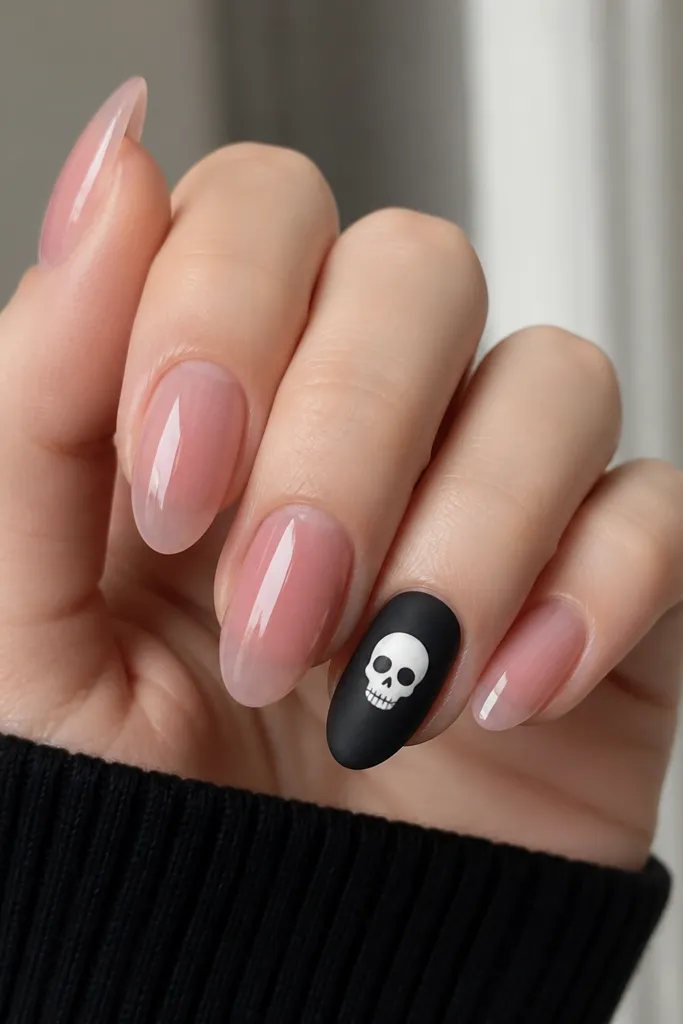
A single skull works because it's placed like a focal point, not scattered across every nail. Clear jelly pink makes the skull pop without needing bright orange or neon. The matte black nail makes the skull read crisp, and the rest of the nails stay glossy so you get contrast. This combo looks good on both square and squoval shapes.
Do clear jelly pink on all nails. Choose one nail per hand for matte black: paint black then apply matte top coat after curing. On the matte nail, add a skull decal or freehand: two eye circles and a small nose triangle, then a simple jaw line. Seal with a thin matte top coat over the skull to avoid smearing.
Pro tipIf you're using a decal, press it flat with a silicone tool and seal only after the decal edges look fully stuck.
Watch outDon't put a glossy skull on a matte nail - the shine difference looks off in close-up.
12. Holographic Orange Accent Stripe
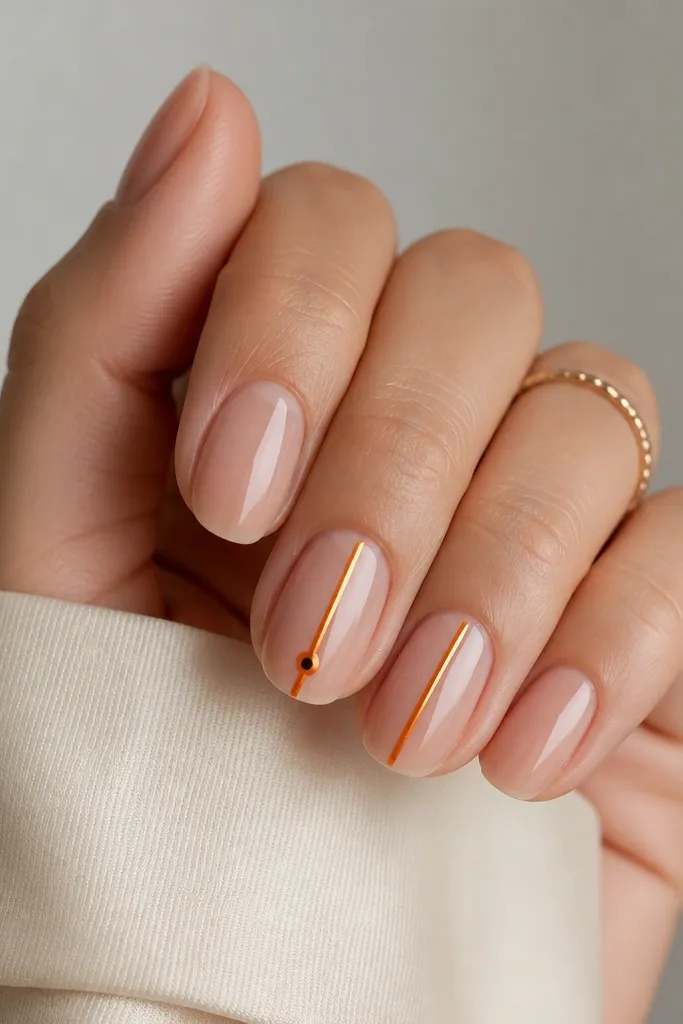
This reads Halloween without the usual black-and-orange full coverage. The holographic orange stripe catches light and looks intentional in photos, especially at night events. Keeping the stripe narrow keeps it classy and low maintenance. One tiny black dot adds theme without turning into busy art.
Base coat sheer nude and cure. Paint a vertical stripe with metallic orange gel using striping tape as a straight edge. Make it about 1 mm wide. Add a tiny black dot near the cuticle on one of the striped nails. Finish with glossy top coat to lock in the metallic.
Pro tipUse striping tape - even 1 mm off-center makes the set look messy.
Watch outDon't use thick metallic paint; it shrinks when cured and leaves a ridge.