1. Black Cherry Glazed Short Coffin
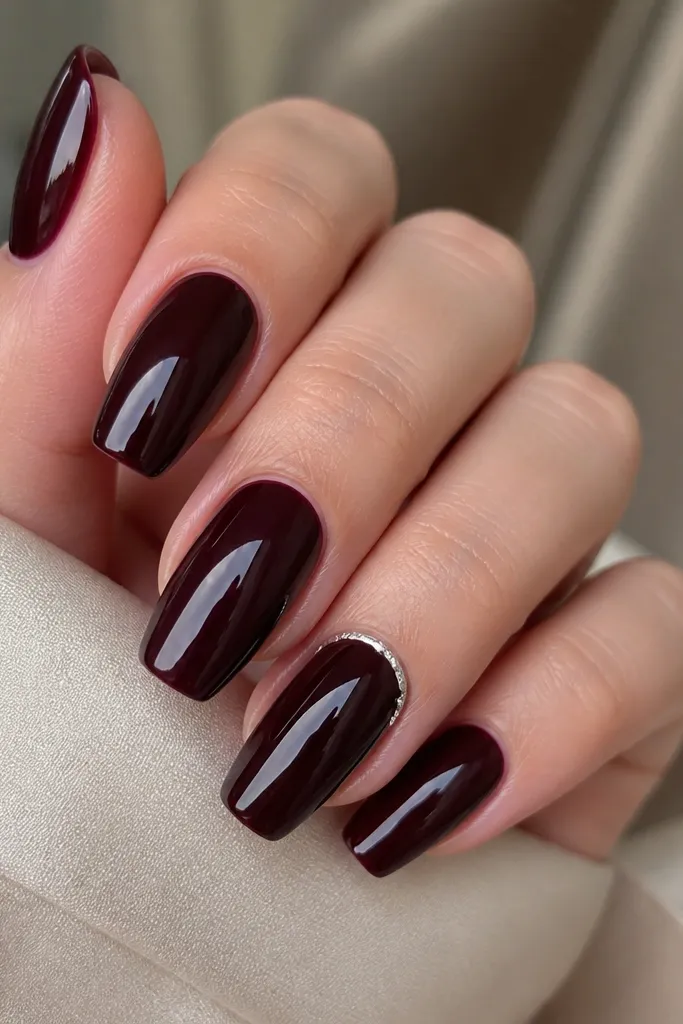
This is the easiest "luxe high end simple halloween nails" look because the color does the heavy lifting. Black cherry reads Halloween without looking like costume makeup. The glazed topcoat makes it look like the nails are lit from inside. The tiny silver half-moon keeps it special while staying clean on a short length.
Use black cherry gel polish as the base on all nails. Paint one accent nail with a silver half-moon using a small makeup sponge or a half-moon nail stencil, then topcoat everything. Keep the coffin shape short - think rounded edges, not pointy tips.
Pro tipAfter curing your topcoat, wipe with a gel cleanser and check the shine under a lamp. If it looks dull, add a second thin topcoat layer and cure again.
Watch outDon't use a matte topcoat on this one - it kills the "glaze" effect and makes the color look flat.
2. Pumpkin Orange Micro-French
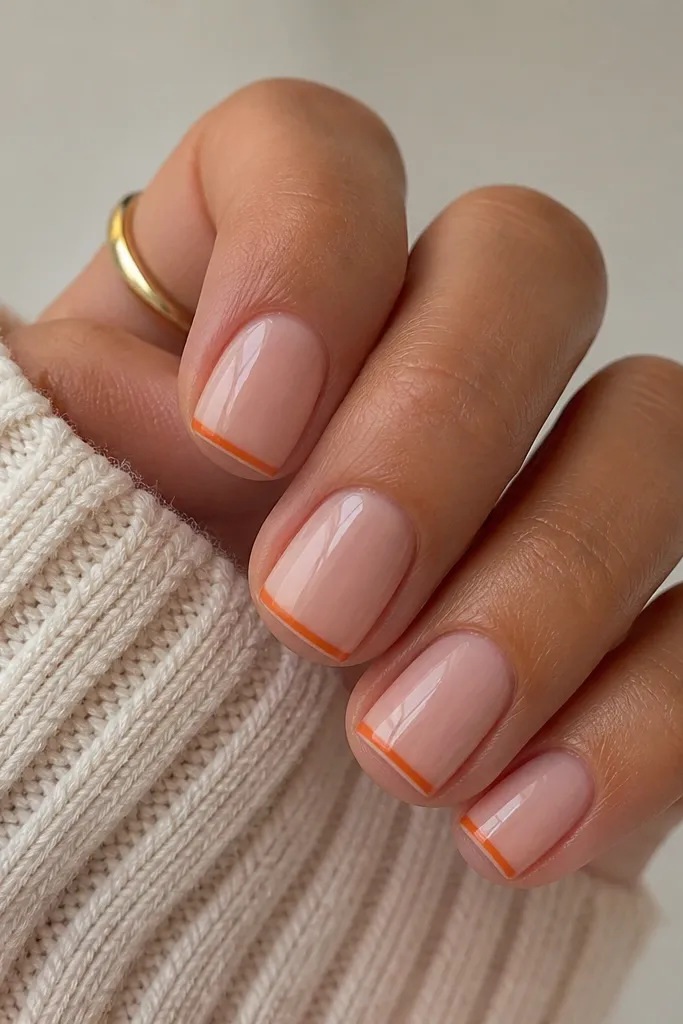
This looks Halloween-y without drawing haunted house scenes. A micro-French keeps the design readable on short nails because the tip line is controlled. Nude base makes your nail bed look longer, while pumpkin orange signals candy-season instantly. The key is thickness - the line should be thin and glossy.
Start with a sheer nude or pink-beige base. Apply striping tape about 1 mm from the tip edge, then paint pumpkin orange over the taped area. Remove tape while the polish is still tacky (or after gel curing if you use tape-safe gel), then seal with a glossy topcoat.
Pro tipDo two thin coats of pumpkin orange instead of one thick coat so the line stays sharp and doesn't pool at the tape edge.
Watch outSkip a thick tip line - it makes short nails look stubby and can look like nail art stickers.
3. Midnight Purple One-Line Spiderweb
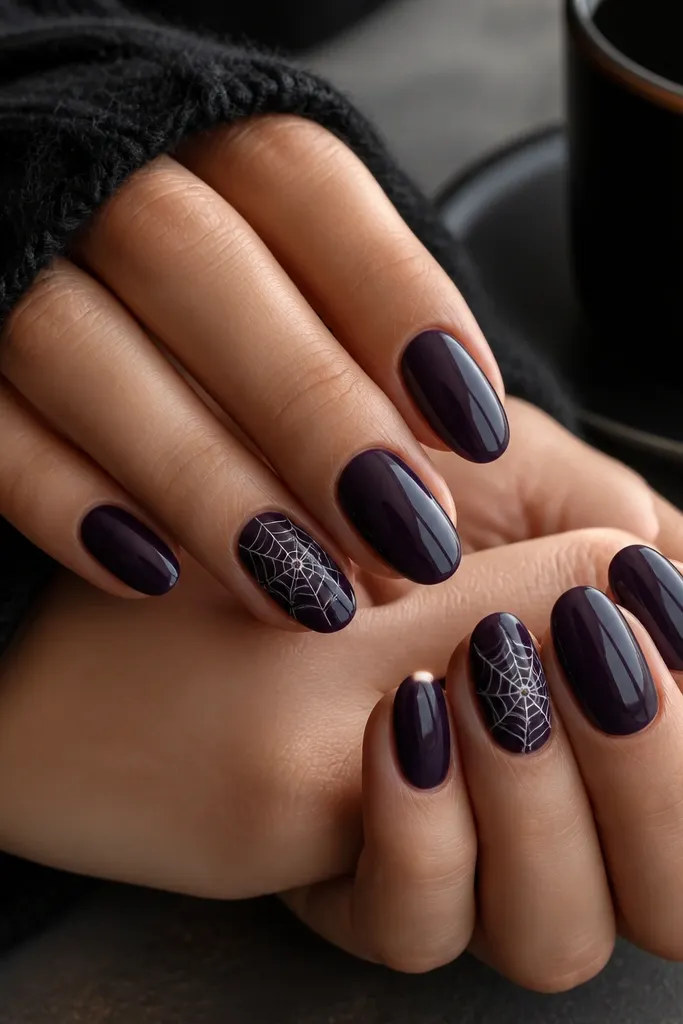
Spiderwebs can get messy fast, but a one-line web reads luxe because it stays graphic. Midnight purple feels rich under indoor lighting and makes white lines pop. Keep the web small and centered so it doesn't overwhelm the short nail. Add a single dot at the web center - it looks like a clean little "spider knot."
Paint all nails midnight purple. On two nails, use a thin liner brush to draw three or four radiating lines from the center dot, then connect them with light curved strokes. Finish with a high-gloss topcoat to smooth the lines.
Pro tipIf your liner brush drags, wipe it on a lint-free wipe before you draw the web. Less product keeps the lines crisp.
Watch outDon't draw a full web across the whole nail - the pattern will blur and look like a kid's Halloween craft.
4. Witch Hat Negative Space Tip
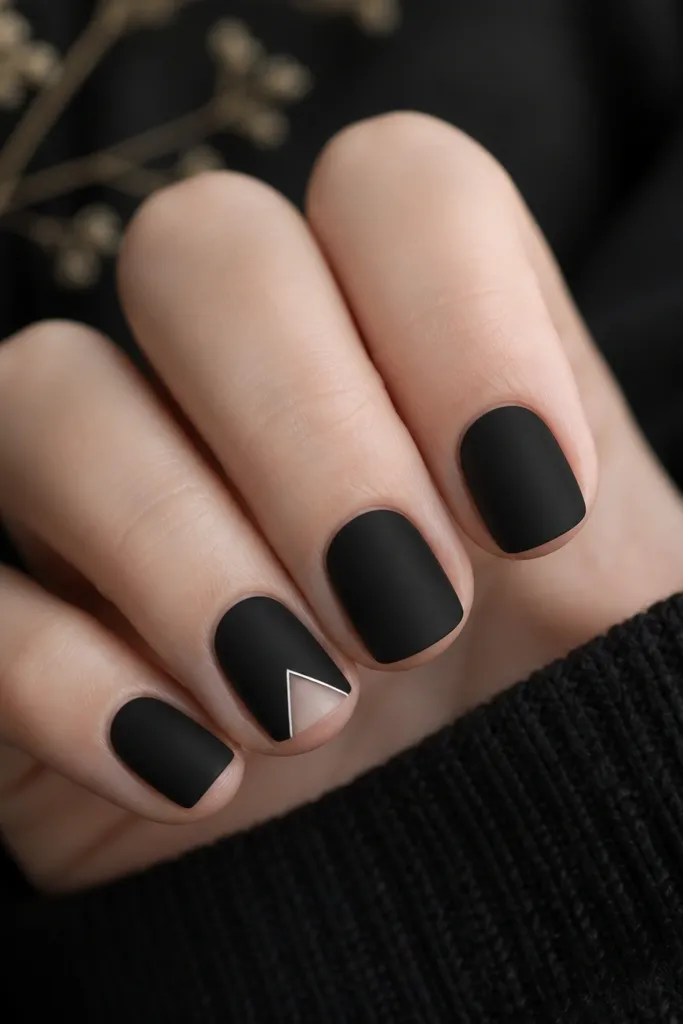
Negative space makes short designs look expensive because your nail still shows through. The witch hat triangle is simple, graphic, and reads instantly. A matte black base adds that witchy texture, while thin white outline keeps it crisp. The hat shape stays tiny so it doesn't crowd your nail.
Do a matte black base on all nails. On one or two accent nails, tape a small triangle near the tip and leave it unpainted for negative space. Outline the triangle with white liner polish, then seal with a matte-friendly topcoat (or use glossy only on the outline if you want contrast).
Pro tipUse nail art tape cut into a small triangle for cleaner edges than freehand.
Watch outDon't outline in thick paint - it makes the hat look chunky on short nails.
5. Silver Chrome Half-Moon Cuticle
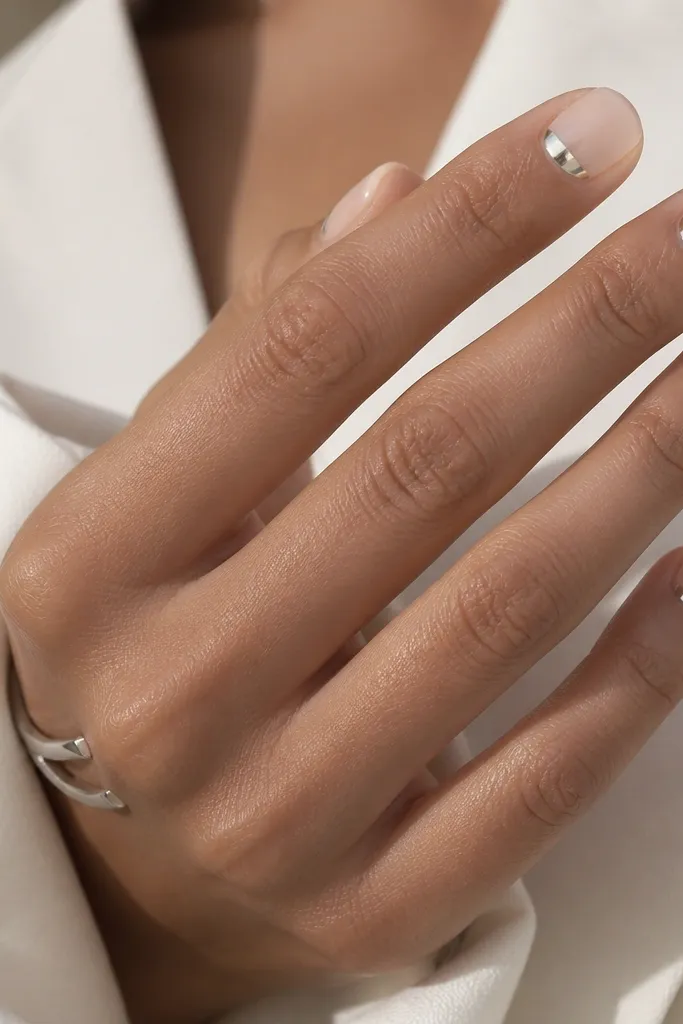
Chrome at the cuticle looks expensive because it frames your nail bed. The half-moon placement gives a jewelry vibe without needing any drawings. Sheer nude keeps it wearable, even for work. The reflective silver makes the set feel luxe in photos and in real life under light.
Apply a sheer nude base (pink nude or nude-beige). Use a small brush to paint a thin crescent of chrome gel at the cuticle, then apply chrome powder and rub off excess. Seal with a topcoat that won't dull the chrome too much.
Pro tipKeep the half-moon width about the size of your cuticle - too wide looks like a growth line.
Watch outSkip the full chrome nail if you want 'simple' - it's harder to keep it smooth on short nails.
6. Blood Orange Gloss with Tiny Black Dot
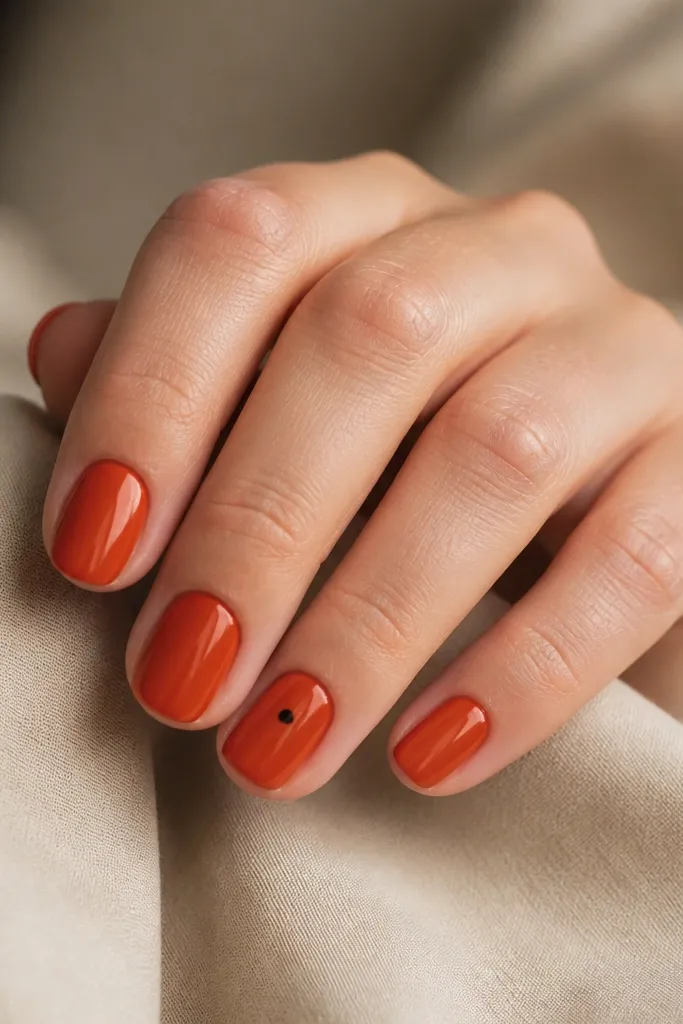
Blood orange is Halloween-coded but still pretty. The glossy finish makes it look like candy glaze. The tiny black dot adds a little spooky surprise without turning into a pattern. It's minimal, but it catches attention because it's so small and placed intentionally.
Paint all nails blood orange with two thin glossy coats. On one accent nail, place one tiny black dot using a dotting tool and let it sit centered. Topcoat over everything carefully so the dot stays raised and crisp.
Pro tipIf the dot smears when you topcoat, cure the dot first (or use gel dotting) and then topcoat after.
Watch outDon't add multiple dots - three or more makes it look random instead of designed.
7. Espresso Brown Matte with Nude Stripe
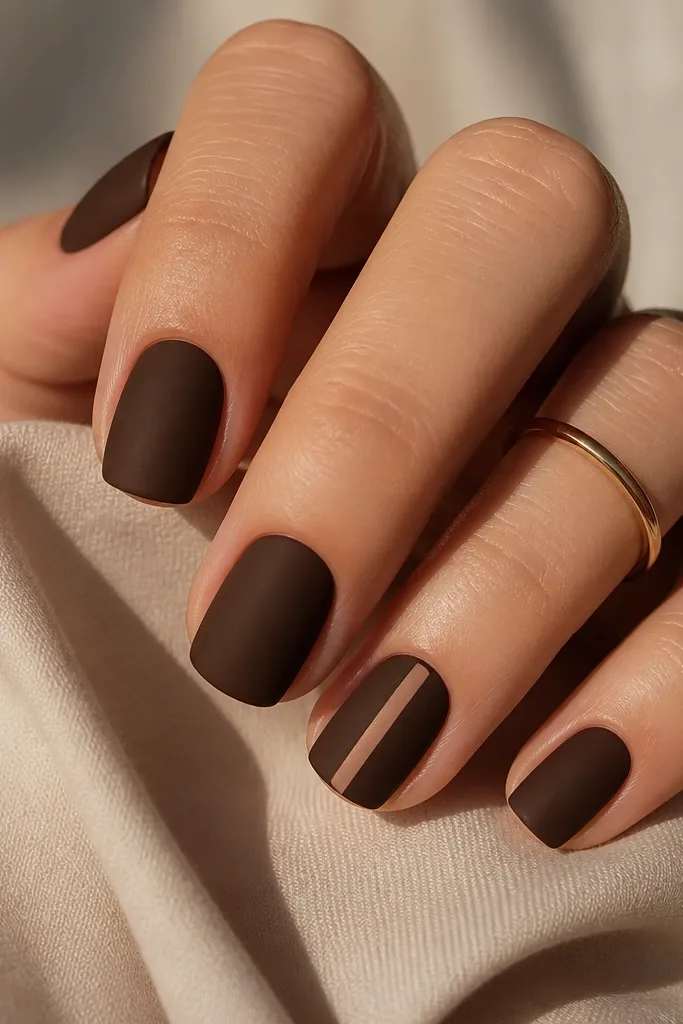
This is the "cozy Halloween" option that still feels high-end. Matte espresso looks soft and expensive compared to flat black. The nude stripe creates a clean vertical line that makes short nails look longer. You get Halloween without skulls or webs.
Paint all nails matte espresso brown. On one nail per hand, use striping tape to place a thin vertical nude stripe. Paint nude over the tape, remove tape, then topcoat with matte topcoat to match.
Pro tipUse a stripe width of about 1 mm - wider stripes look busy on short nails.
Watch outDon't mix glossy and matte randomly - it looks patchy unless you plan the contrast.
8. Spiderweb French on One Nail
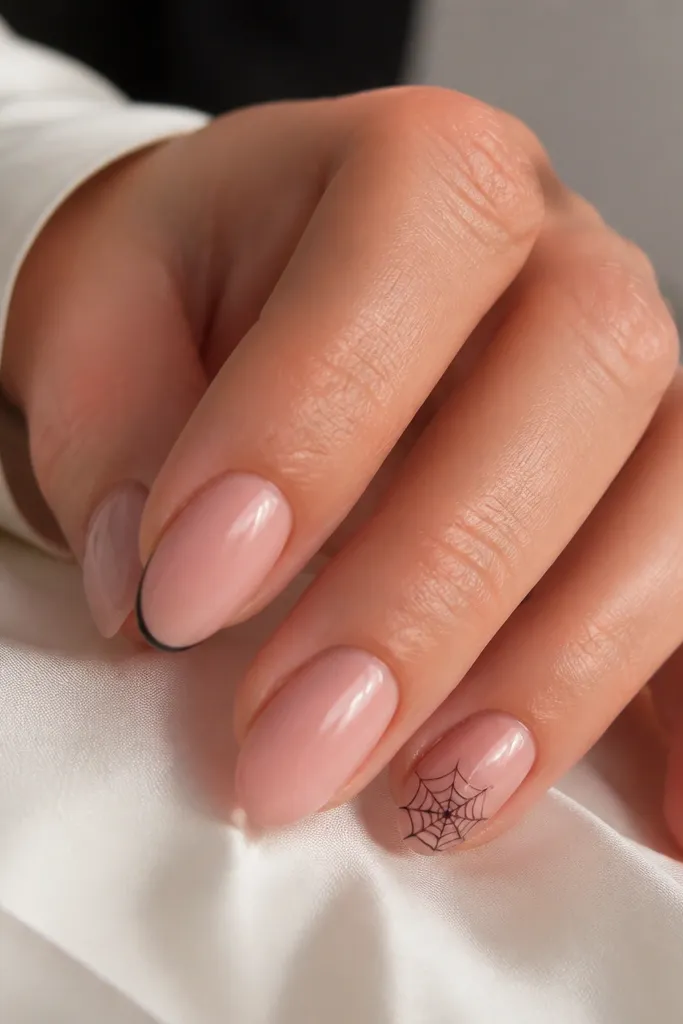
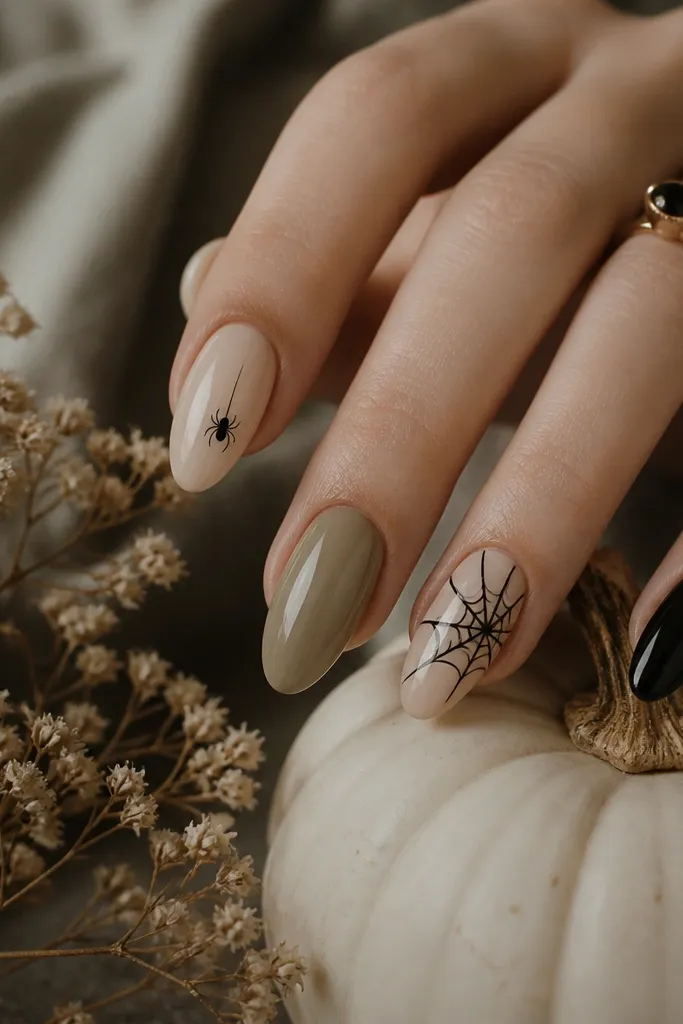
Micro-French plus a tiny web is the cleanest way to do spiderwebs on short nails. The nude base keeps it wearable, while the black tip reads Halloween instantly. The web stays inside the tip zone, so it never crowds the nail bed. This looks like salon nail art because the placement is controlled.
Paint a nude pink base on all nails. Make one accent nail with a thin black micro-French using striping tape. In the tip area, draw a center dot and connect a few lines to form a small web, then seal with topcoat.
Pro tipUse a black gel liner, not regular polish, if you want the web to look sharp under close-up lighting.
Watch outDon't freehand the French line - crooked tips read cheap fast.
9. Green Poison Drip Tip
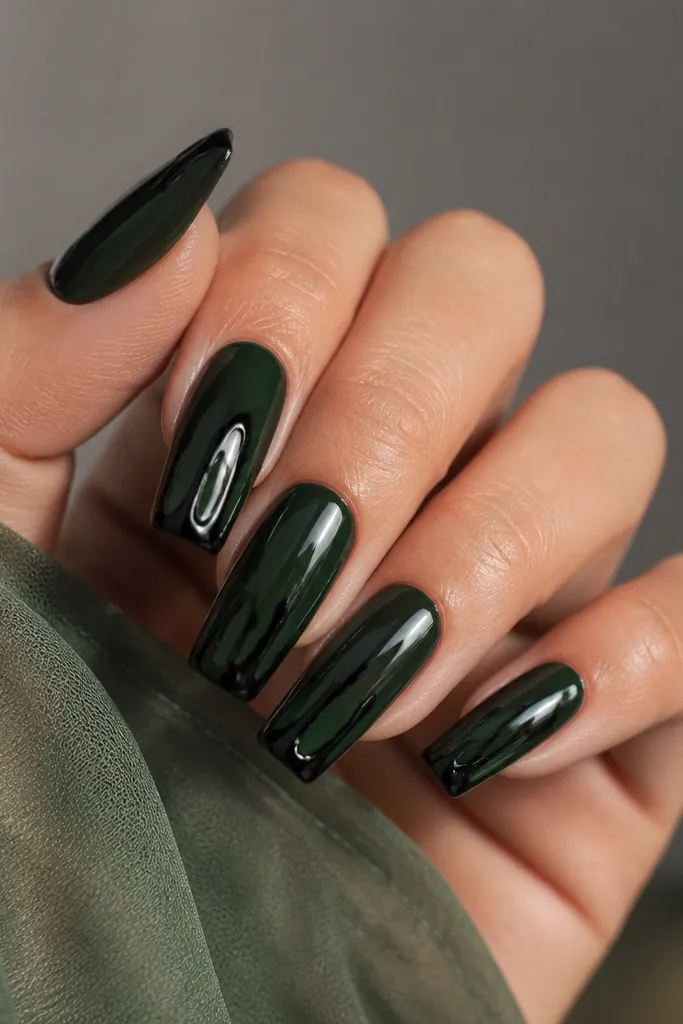
Green poison nails look Halloween without needing characters. The drip tip is a graphic shape, not a full scene, so it stays simple. Using translucent green makes the set look more "chemical" and less like a flat craft paint. Black drips add contrast and make the tip look dimensional.
Use translucent deep green (or build with thin layers over a clear base). For the drip, use a nail art brush to pull black gel downward from the tip edge in two or three small drips. Cure each layer so the drips don't slump.
Pro tipKeep drips short - about 1/3 of the nail length. Long drips make short nails look messy.
Watch outDon't flood the tip with black - it turns into a blob on short nails.
10. Rose Nude with One Black Cat Eye Accent
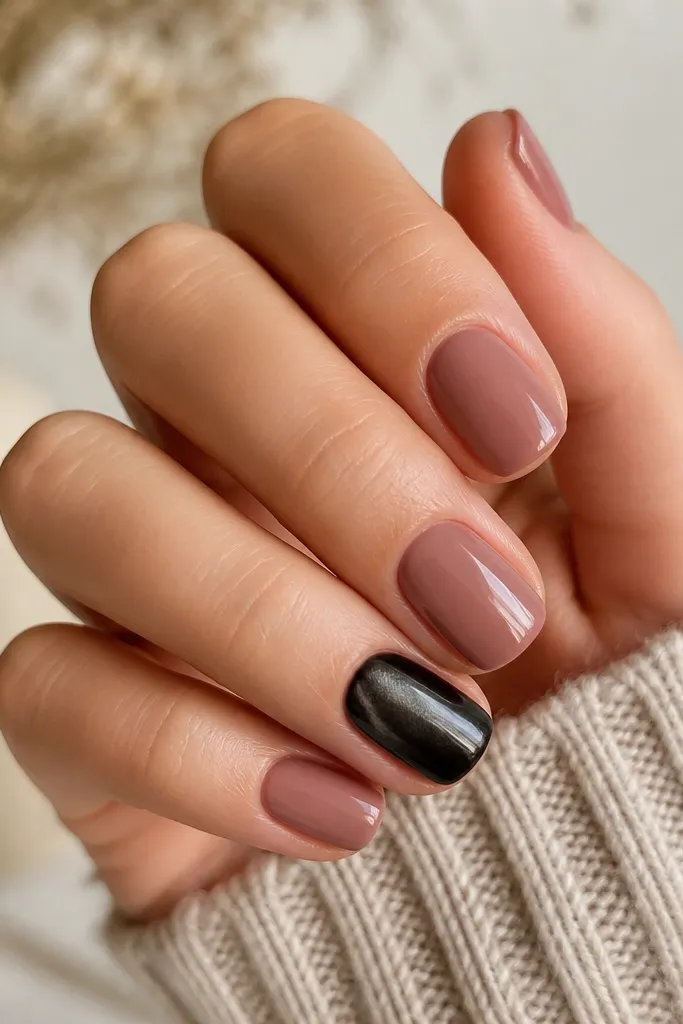
Cat-eye polish looks luxe because the light moves across it like a gemstone. Keeping it on one accent nail keeps the set simple and wearable. Rose nude is the perfect Halloween base because it looks romantic, not costume. The black cat-eye reads spooky in a grown-up way.
Paint all nails rose nude. On the accent nail, apply black cat-eye gel polish and magnetize while it's tacky so the stripe points toward the center. Finish with a glossy topcoat that doesn't dull cat-eye movement.
Pro tipMagnetize slowly for 5-8 seconds, then stop. If you keep moving it, the stripe wanders.
Watch outDon't cover cat-eye polish with a thick, dull topcoat - it kills the shine.
11. Gold Foil Tombstone Tip
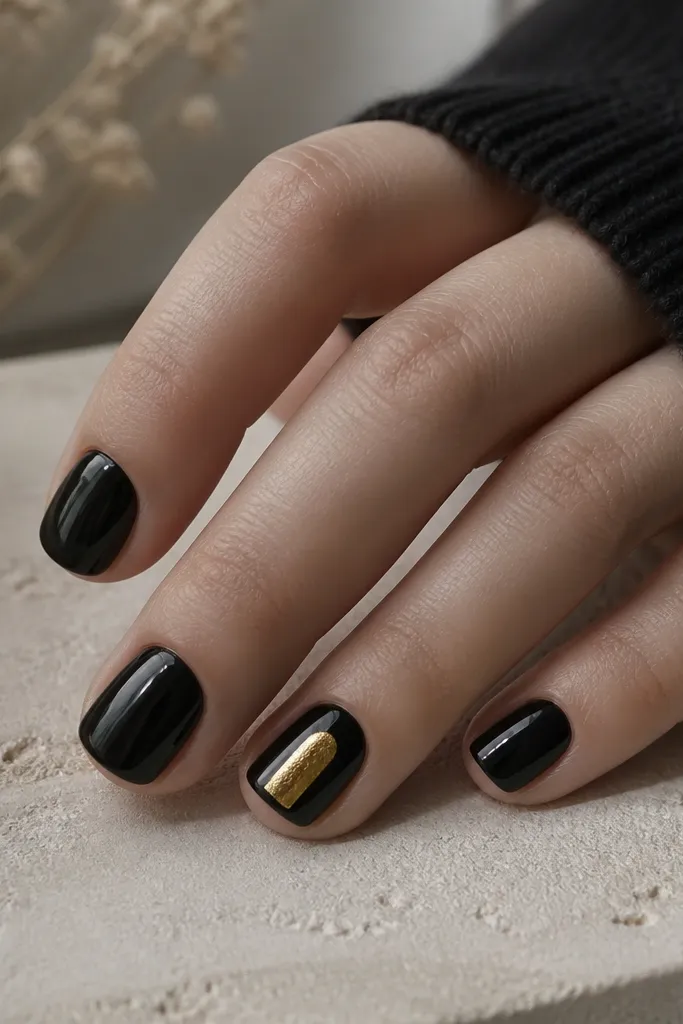
This is the "fancy Halloween" set that still stays simple. Black makes gold look expensive, and foil gives texture without needing detailed painting. A tiny tombstone silhouette reads as Halloween from far away. Keep it minimal so it doesn't look like a themed decal.
Paint all nails black or near-black. On one accent nail, press gold foil pieces into a tombstone outline shape (you can use a thin nail art brush to map the edges first). Seal with topcoat in a thin layer so the foil stays crisp.
Pro tipUse smaller foil fragments. Big foil squares look chunky on short nails.
Watch outDon't add glitter over the foil - it blurs the shape and makes it look messy.
12. Chocolate Brown Micro-Studs
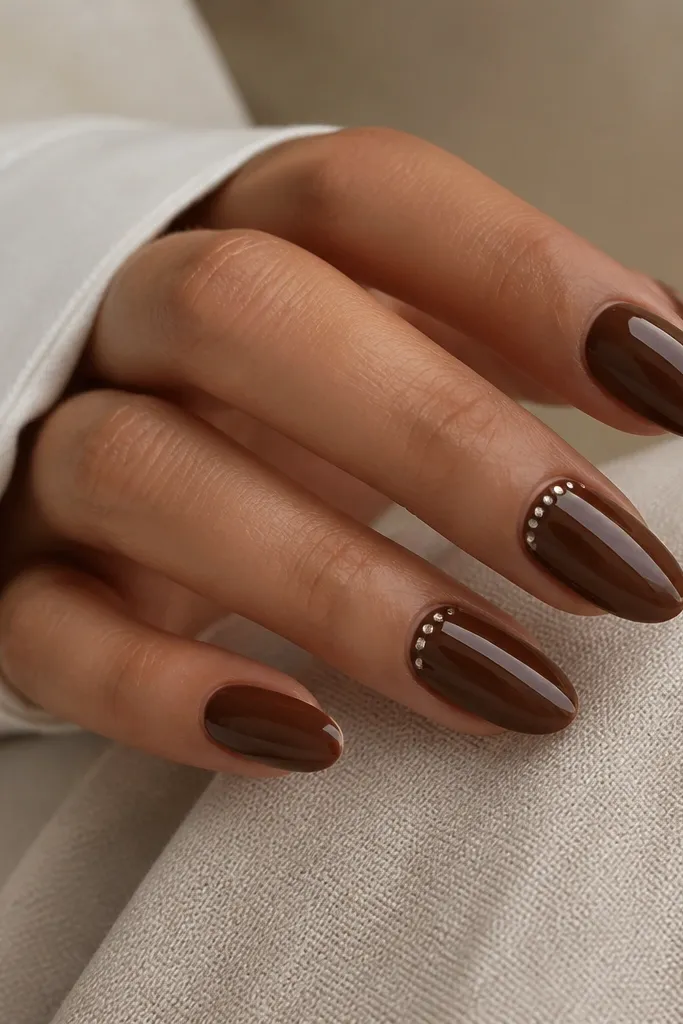
Studs look luxe when you keep them tiny and spaced. Chocolate brown feels like a Halloween dessert, and it looks better than flat black in most lighting. A neat line of micro-studs near the cuticle makes the set look like jewelry. It's simple because it's one placement and one material.
Paint all nails glossy chocolate brown. Place 3-4 micro-studs on two nails near the cuticle line, spaced evenly. Use gel glue or a dab of thick gel to anchor each stud, cure, then topcoat carefully around the studs.
Pro tipAnchor studs after your color is fully cured so you can place them cleanly without smearing polish.
Watch outDon't place studs too close to the free edge - they catch fabric and lift.