1. Candy Corn Corners
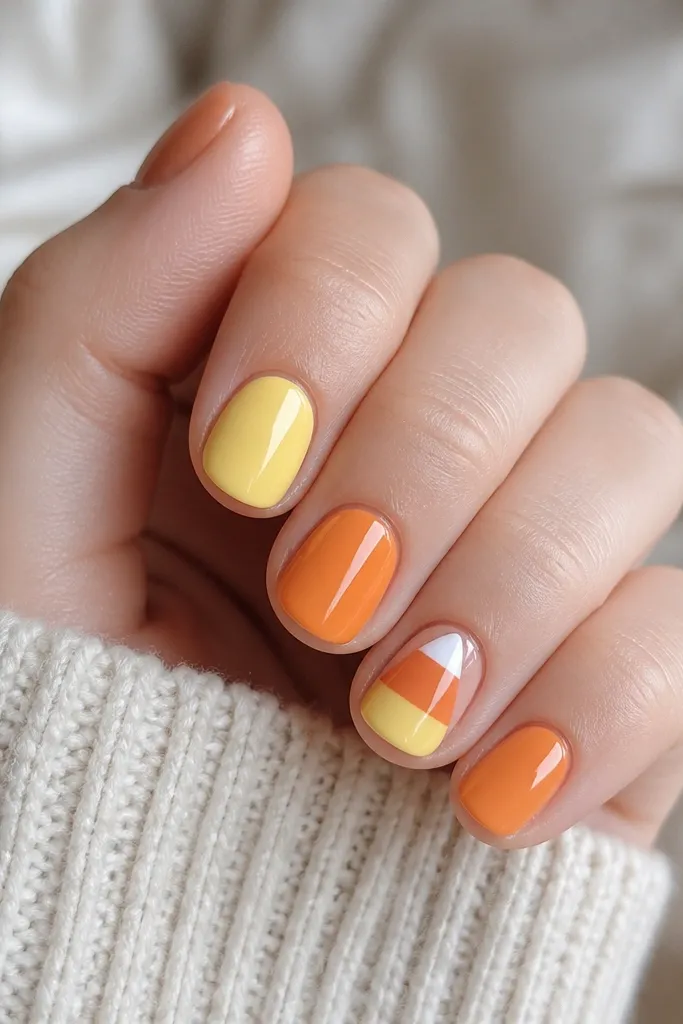
This is candy corn without the messy full-nail block. The trick is placing the triangle so it reads like candy corn even on a short nail - the top point sits just above the free edge. I use white at the tip, orange in the middle band, and butter yellow near the cuticle so the colors feel layered, not blended. It works because the design is symmetrical and short-length friendly.
Start with a sheer nude or pale peach base, then paint the lower third butter yellow. Next, place orange across the middle like a curved band, keeping it centered. Add white as a small triangle at the tip and cap the edges with top coat. For the quickest version, use a small nail vinyl strip to keep the triangle point sharp.
Pro tipUse a dotting tool to place the orange band first, then drag it into a straight edge with a striping brush.
Watch outAvoid letting the orange bleed into the white tip - blurred candy corn edges look like stained polish.
2. Ghost Window Stickers
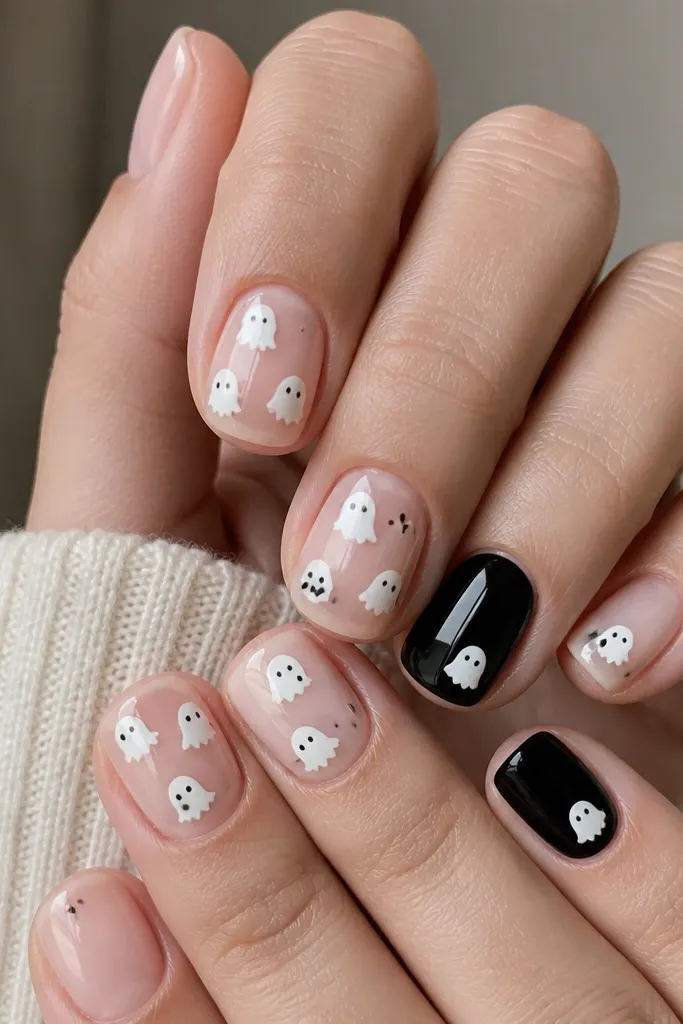
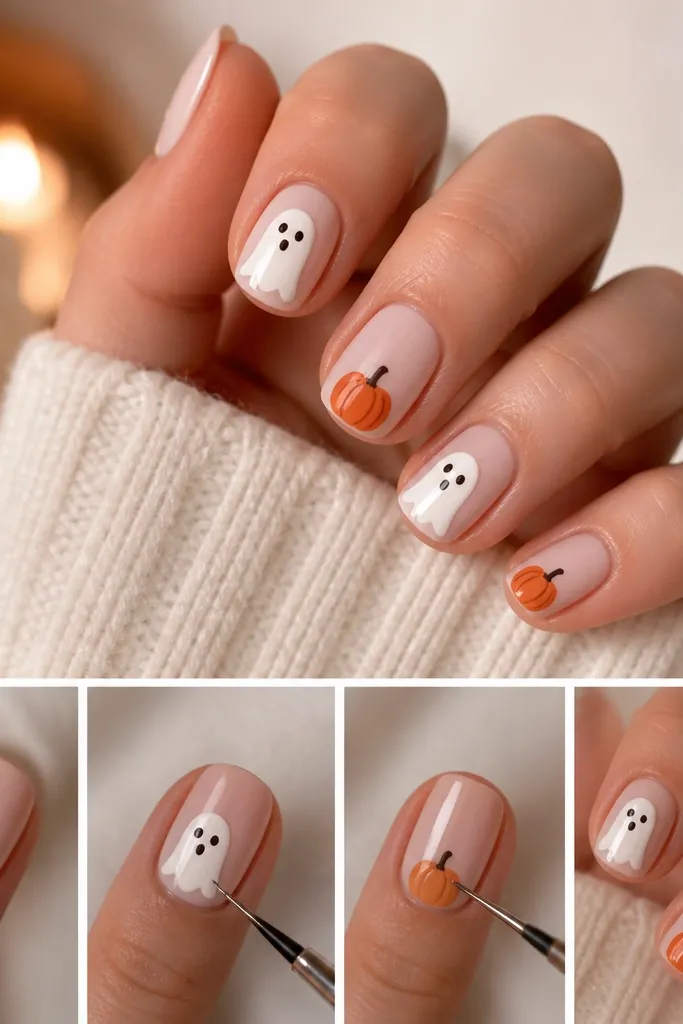
Ghost decals are the fastest way to get cute Halloween nails that still look intentional. The nude base makes the white ghosts pop without needing heavy coverage. I like adding one solid black nail so the set has contrast - it keeps the look from feeling flat. The ghost shape reads well at short length because the face sits near the center.
Paint all nails nude (I like a milky nude, not fully clear). Apply ghost decals on three nails, and on two nails press a single ghost near the cuticle. Seal with two coats of glossy top coat, focusing on the ghost edges so they don't lift when you wash dishes.
Pro tipWarm the decal between your fingers for 5-10 seconds before placing it - it hugs short curves better.
Watch outSkip thin top coat on decal edges - it shrinks and you'll see the border.
3. Black Cat Side Silhouettes
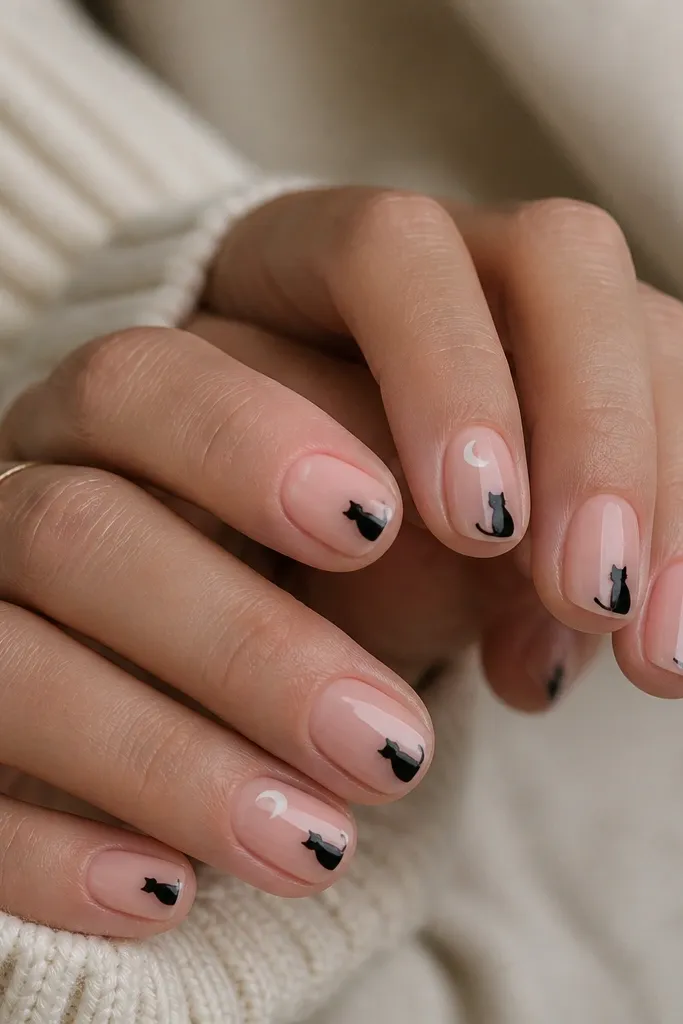
This is minimal Halloween that doesn't look childish. The cat silhouette on the side balances the nail shape and keeps the center clean, which is what makes it look expensive. A sheer pink base gives a "night sky" contrast without looking like you're wearing full black on every finger. The crescent moon is optional but makes it feel themed.
Start with sheer pink or rosy nude. Place cat silhouettes using nail vinyls or thin decals so the silhouette stays near the side wall. Add a tiny white crescent moon decal on two accent nails. Finish with glossy top coat to smooth over the decal texture.
Pro tipIf you're freehanding the cat, keep the body as one filled shape and only add the ear tips - details are what get shaky.
Watch outAvoid placing the cat dead-center on a short nail; it crowds the cuticle and looks top-heavy.
4. Orange Striped Webline
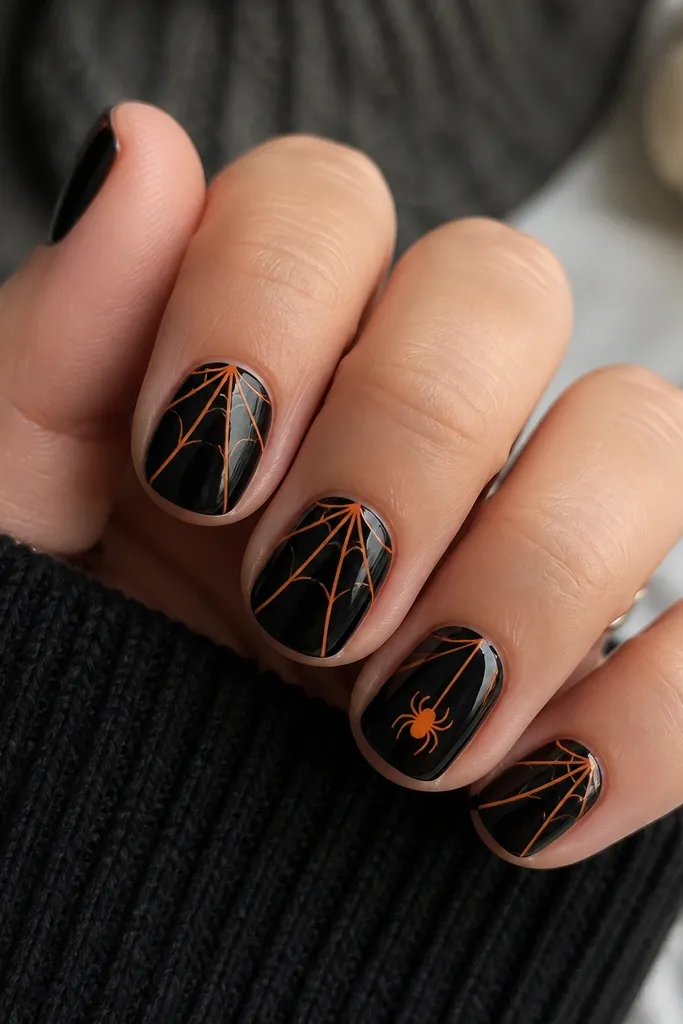
Thin striping makes webs look crisp even when you're working fast. Black base keeps the web line visible, and orange adds that Halloween hit without using neon. I like the version where the web is simplified into 4-5 lines - it reads as web at a glance. One accent spider makes the theme obvious.
Paint everything black and let it dry fully. Use orange striping tape or thin vinyl strips to place 4 radial lines from near the center toward the edges. Remove tape, then draw the connecting lines lightly with a striping brush. Add a tiny spider decal or dot the legs with a toothpick on one nail.
Pro tipUse a striping brush with a tiny amount of polish - too much product makes lines look fuzzy.
Watch outDon't try to paint a full web pattern on all five nails - short nails get busy fast.
5. Spooky Marble in 2 Swipes
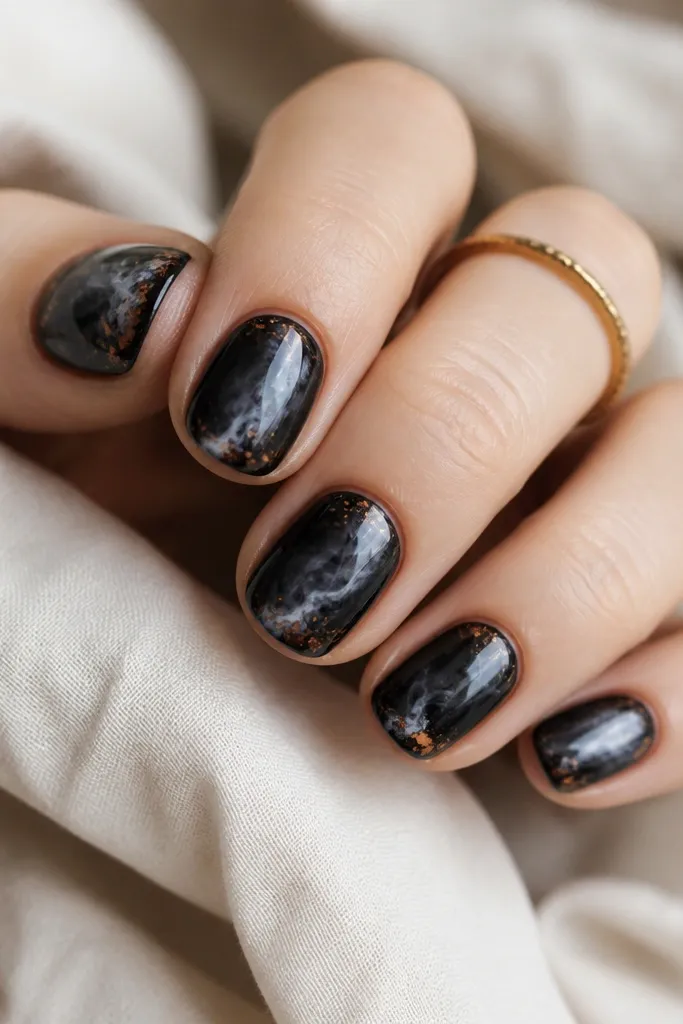
Marble is forgiving. You're not drawing a spiderweb - you're creating movement with a few swipes. The dark base makes the gray-white look like fog rolling in. Tiny orange flecks tie it to classic Halloween without needing extra shapes. This looks good on short nails because you only need one or two swirls per nail.
Start with a deep charcoal or black. Add a small amount of white polish onto a silicone mat, then drag a toothpick through it once or twice to thin it. Swipe a thin streak across the nail diagonally, then add 2-3 orange dots near the tip. Seal with a glossy top coat; marble looks better when it's shiny.
Pro tipIf your swirl looks too thick, don't fix it with more polish. Wipe the brush and lightly drag over the edge to thin it.
Watch outAvoid heavy white that covers the whole nail - it turns into chalky streaks on short tips.
6. Red Velvet Vampire Tips
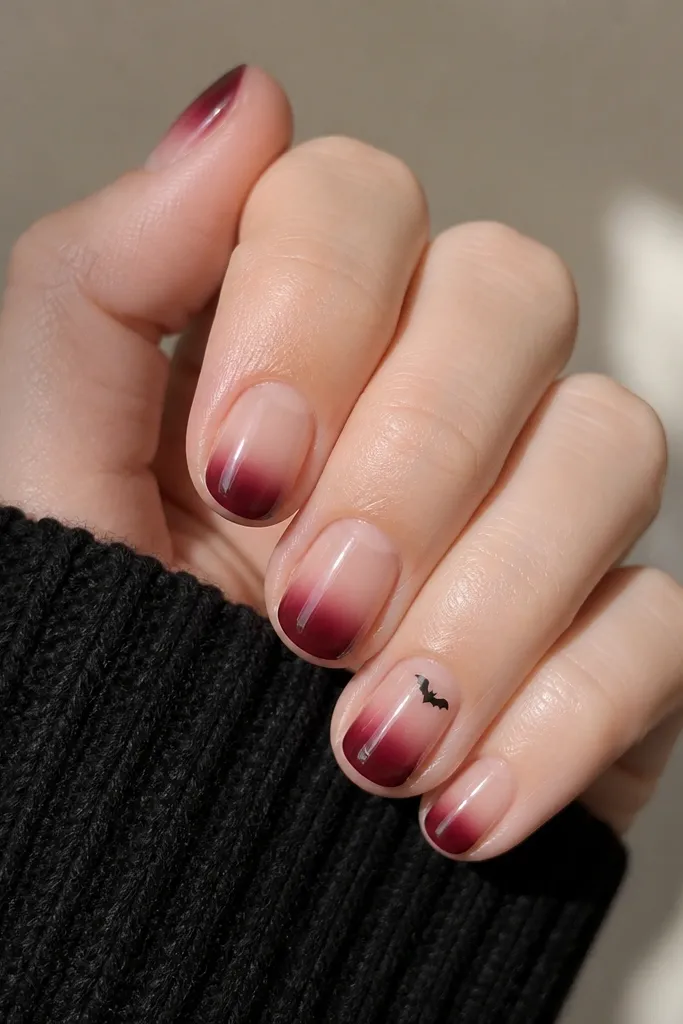
This is the cleanest "vampire" look if you don't want full red nails. The wine gradient reads like velvet at short length because it follows the curve of your nail tip. The nude base keeps it wearable for daytime Halloween plans. A single bat decal adds theme without clutter.
Paint nude base and let it dry. Sponge wine-red polish onto only the tip area, then tap lightly to blend upward just a few millimeters. Add a thin black bat decal on one nail near the cuticle. Finish with glossy top coat to lock in the sponge texture.
Pro tipUse a small makeup sponge and press, don't swipe - swiping creates streaks on short nails.
Watch outSkip matte for gradients - matte makes sponge edges look grainy.
7. Witch Hat Half-Moons
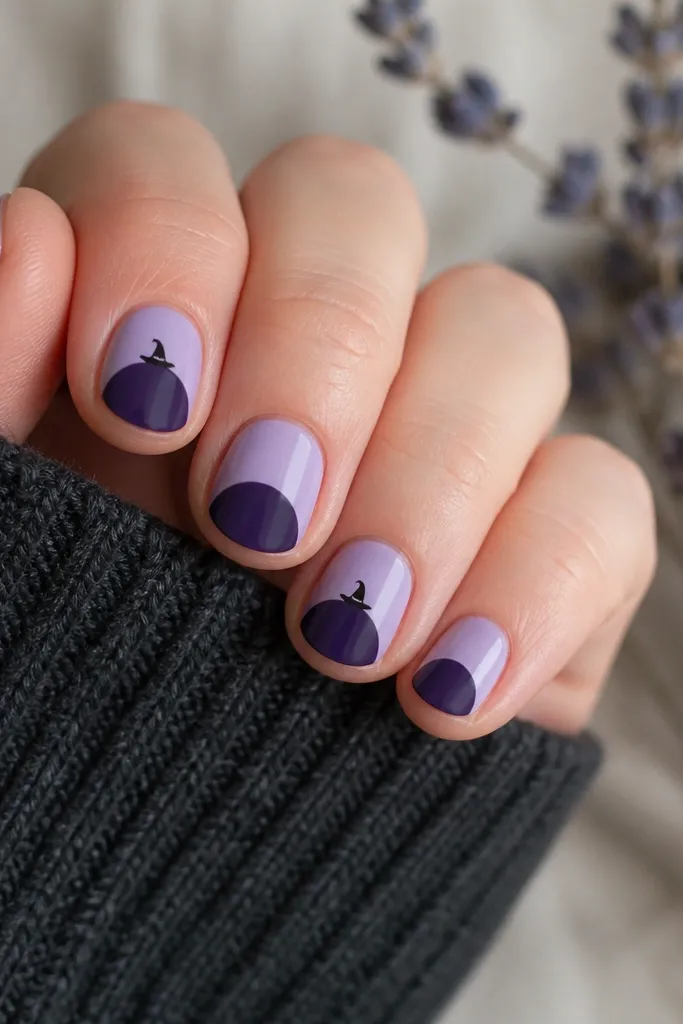
Half-moons are fast and look graphic. Lavender plus dark purple feels witchy without needing tiny details on every finger. The half-moon shape makes your nails look longer because it creates a clean arc across the center. Adding two witch hats keeps it cute but controlled.
Paint lavender on all nails. Use a curved nail vinyl or a half-moon makeup sponge stencil to place the dark purple arc across the center. Add witch hat decals on two accent nails so the hats sit at the top edge of the half-moon. Seal with glossy top coat and avoid dragging it over the decals while wet.
Pro tipIf you don't have half-moon stencils, trace a curved sticker from a sheet and cut it with scissors.
Watch outAvoid placing the half-moon too close to the cuticle - it shortens the nail visually.
8. Lime Green Potion Drips
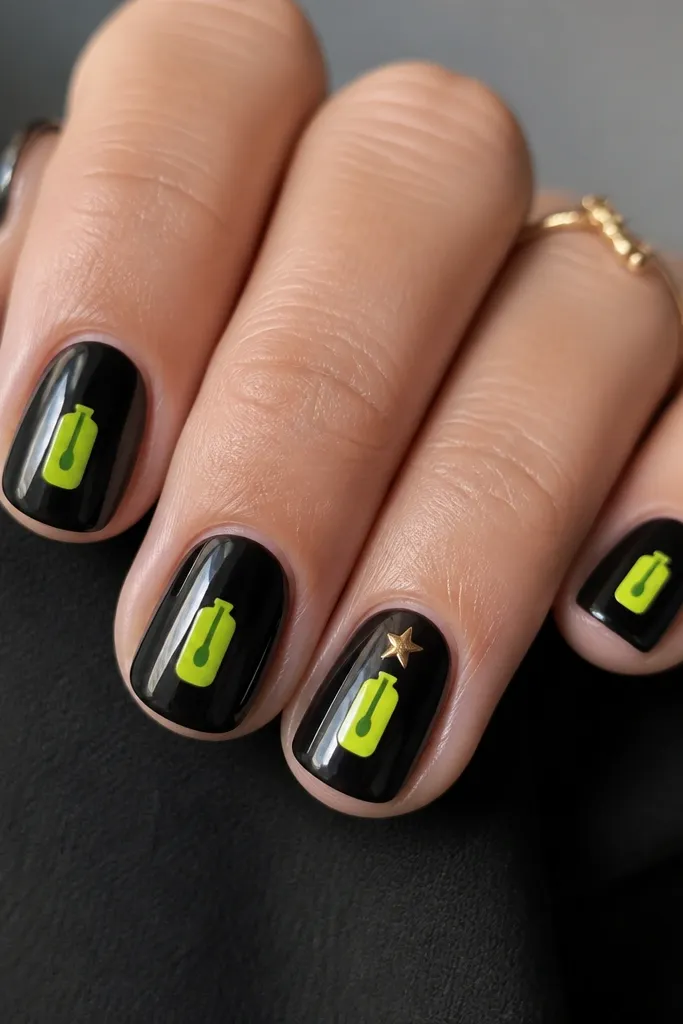
Potion drips look harder than they are. The bottle shape is just two curves - a rounded rectangle body and a tiny cap. Lime green on black is intense under indoor light, so it reads Halloween instantly. The drip line adds motion, and motion is what makes it feel "designed."
Paint black base. Use a striping brush to paint a rounded rectangle in lime near center, then add a thinner lime drip down from the middle. Add a gold star decal on one accent nail, or dot one with gold polish. Top coat twice so the drip line stays smooth.
Pro tipFor the drip, use a needle tool and drag straight down once. Multiple passes thicken the line.
Watch outAvoid neon green on bare nails - it stains and looks uneven once you wash.
9. Pumpkin Face Polka Dots
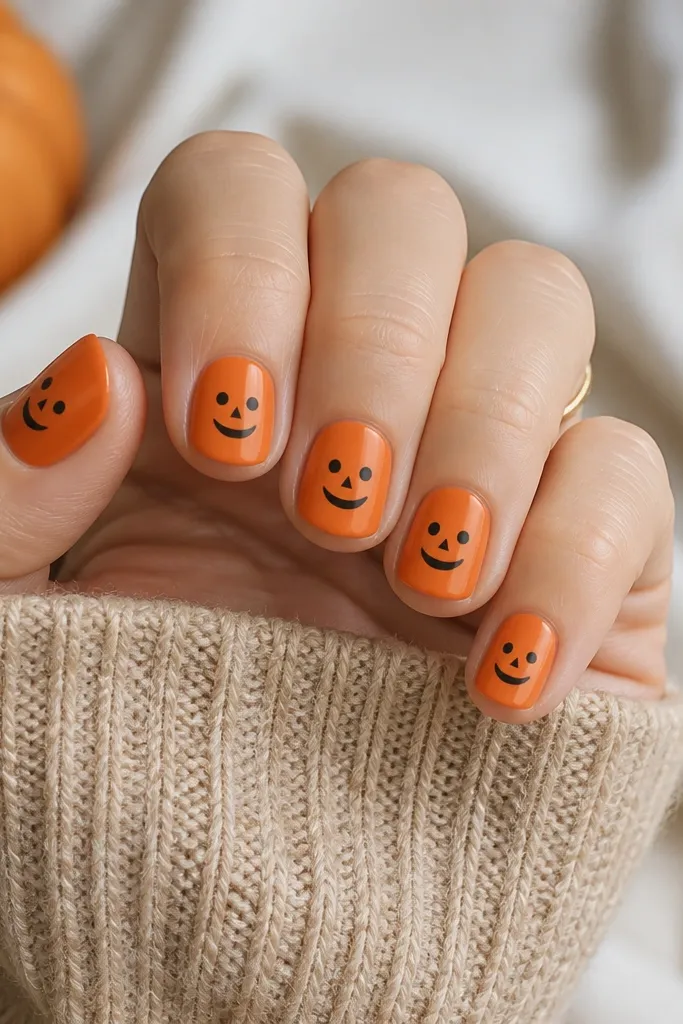
This version makes pumpkins look playful without painting a full pumpkin scene. The face is just 3-4 dots and one curved line, which is perfect for short nails. Black on orange is high contrast, so even if your circle isn't perfect, it still reads. I like adding tiny variations on each nail so it looks handmade.
Paint all nails orange (not too light; go for a warm pumpkin orange). Use a dotting tool to place two eye dots, then use a toothpick to make the nose triangle with three short strokes. Draw a curved mouth with a thin brush. Seal with glossy top coat.
Pro tipIf your orange looks streaky, do two thin coats instead of one thick coat.
Watch outAvoid tiny mouths that sit too low; the face starts to look like a sad clown.
10. Spiderweb French Microline
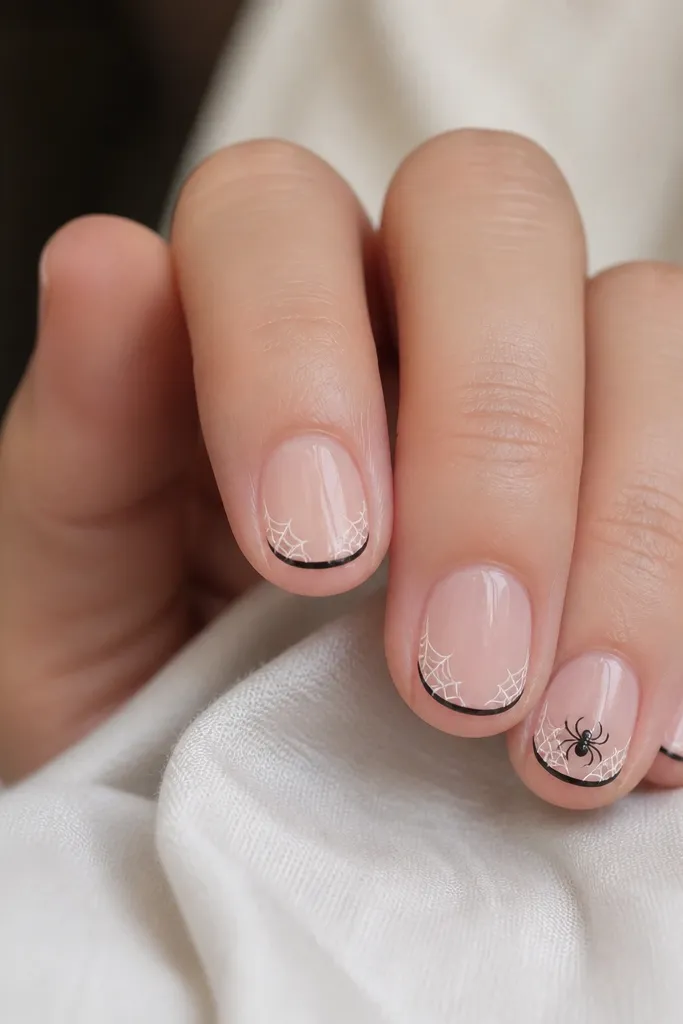
Micro French lines look sharp and clean, and they give you a built-in "grid" for the web. The nude base keeps it wearable. White web lines on top of black make the pattern visible without needing heavy coverage. You only need a few radial lines to sell the web.
Paint nude base. Add a thin black microline across the tip using striping tape. Now place 4-5 white lines from the center of the microline outward to the sides. Connect two lines with one short horizontal stroke to create the web's center. Add a spider decal on one nail, then top coat.
Pro tipLet the black microline dry 2-3 minutes before adding white lines so they don't smear.
Watch outDon't make the French line thick - thick lines make the web look like random scratches.
11. Creepy Checkered Tips
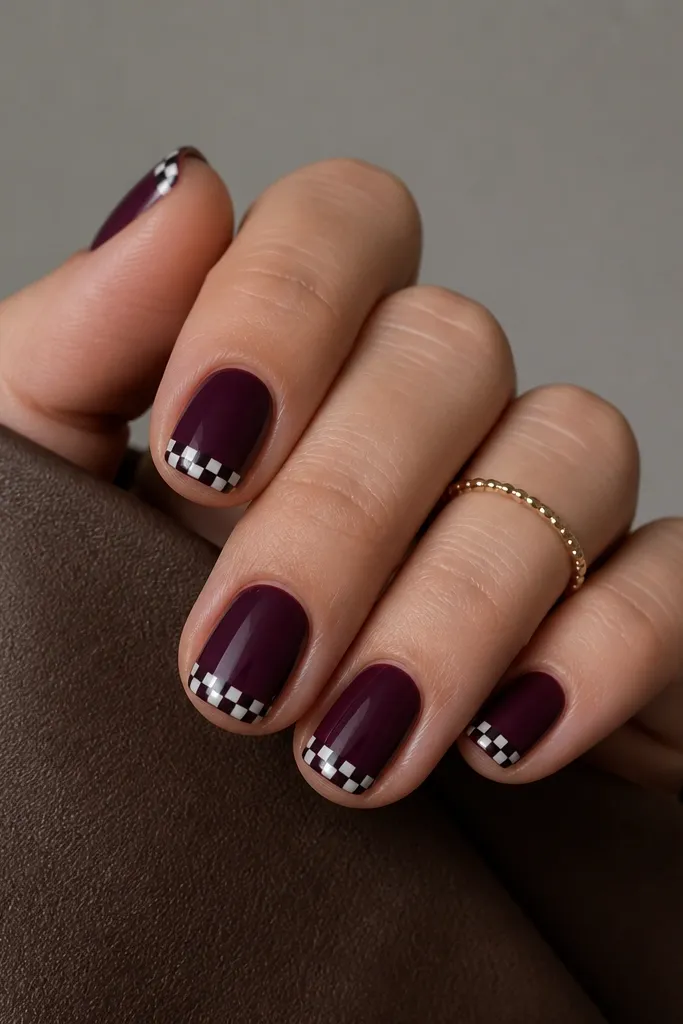
Checkers are Halloween-y in a spooky, slightly goth way. Keeping the pattern only on the tip makes it readable on short nails. Plum plus black and white looks crisp and keeps the design from turning into candy colors. The tiny squares give texture even when your nail is plain otherwise.
Paint plum base. Use a nail vinyl or cut thin strips of tape to make a grid on the tip. Fill alternating squares with black and white, then remove tape carefully while the polish is still slightly tacky. Seal with glossy top coat to even out the texture.
Pro tipUse a thin brush to clean the edges after tape removal with a damp cotton swab.
Watch outAvoid large squares - on short nails they look like a patch, not a pattern.
12. Orange Black Half-and-Half
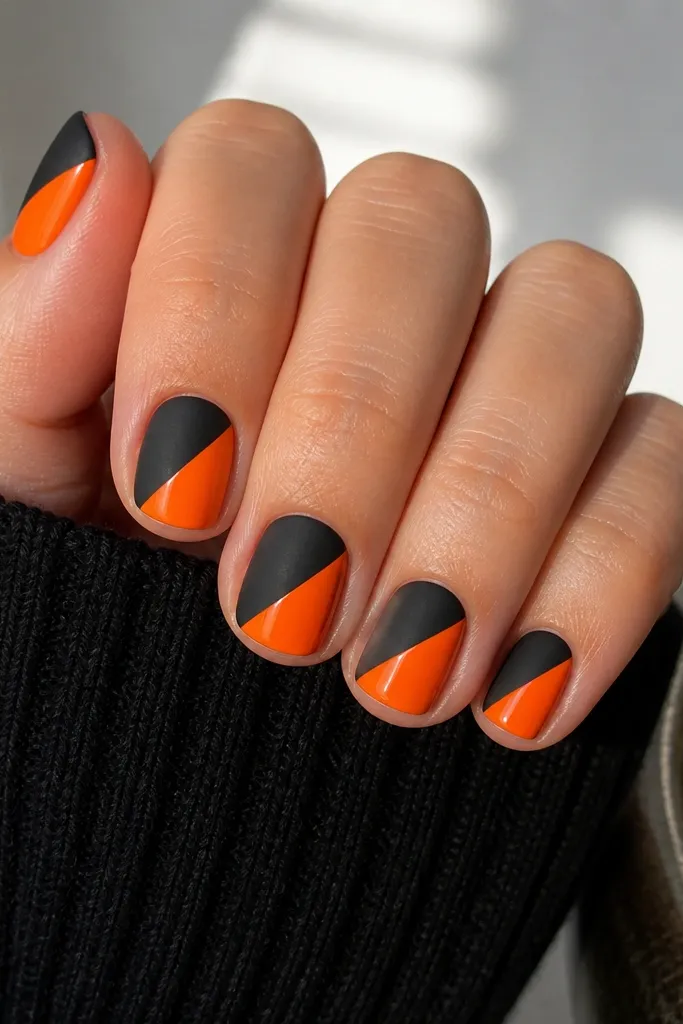
Half-and-half is the fastest way to make Halloween look like nail art instead of just color. The diagonal line gives movement and makes short nails look sharper. Matte black on one side and glossy orange on the other adds contrast without extra icons. It also hides small application imperfections because the split line is the focus.
Paint orange on one side of the nail using a diagonal vinyl strip as a guide. Remove the vinyl and paint black on the other side. If you want matte black, top coat only the orange side with glossy top coat and leave the black side matte. Finish carefully so the two finishes don't smear into each other.
Pro tipUse a vinyl strip that is wider than your nail tip so the diagonal edge stays straight.
Watch outAvoid rushing the vinyl removal - peel too early and you'll tear the nail polish edge.