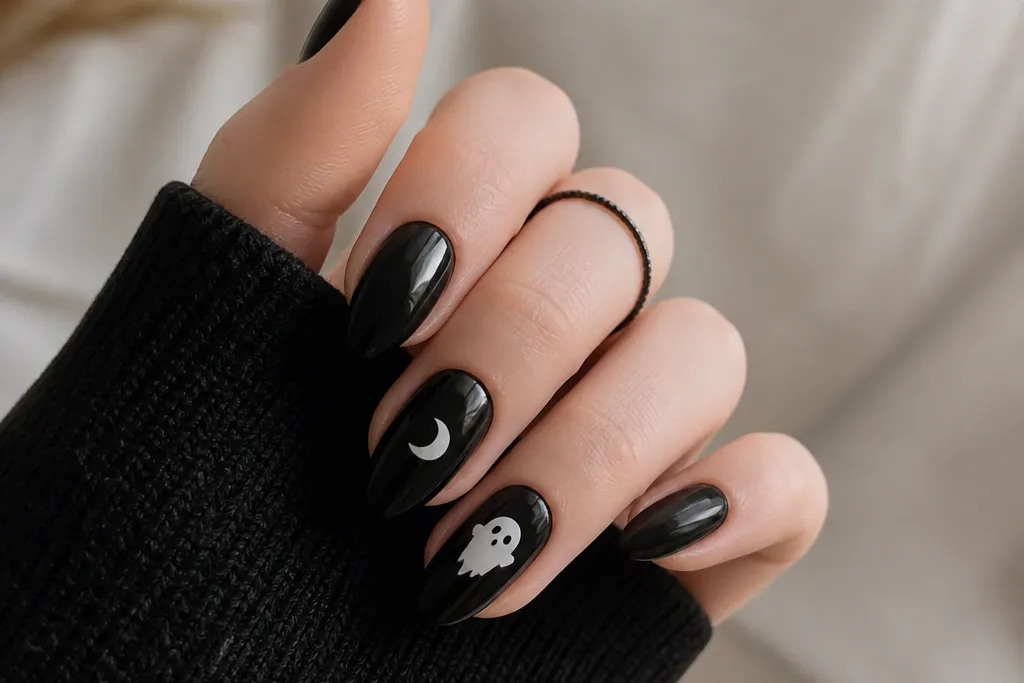
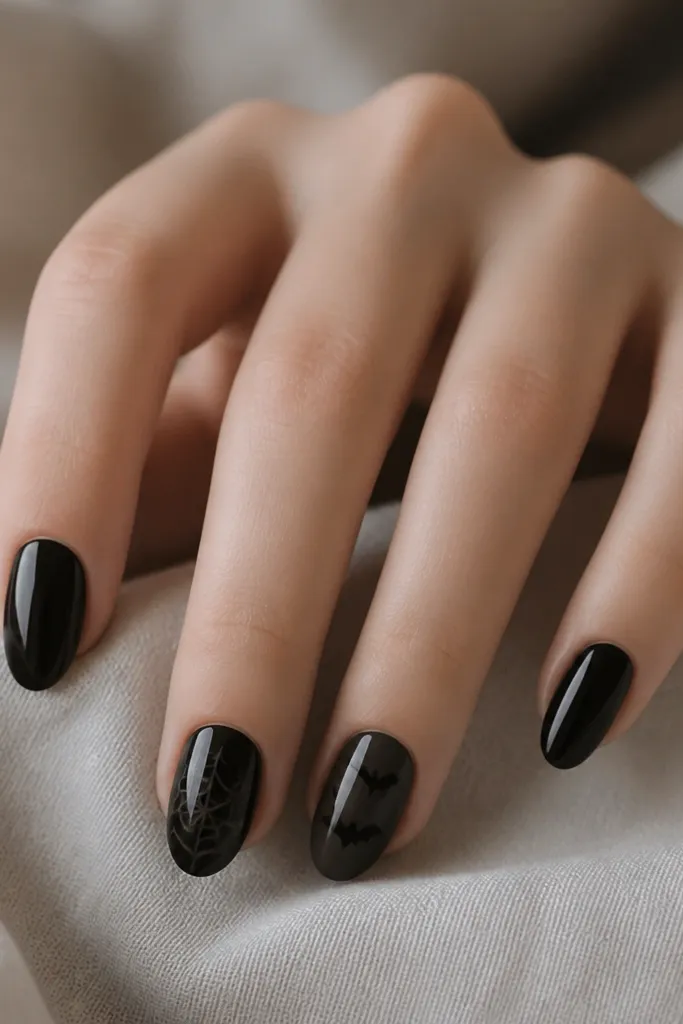
1. Gloss black with one white crescent moon
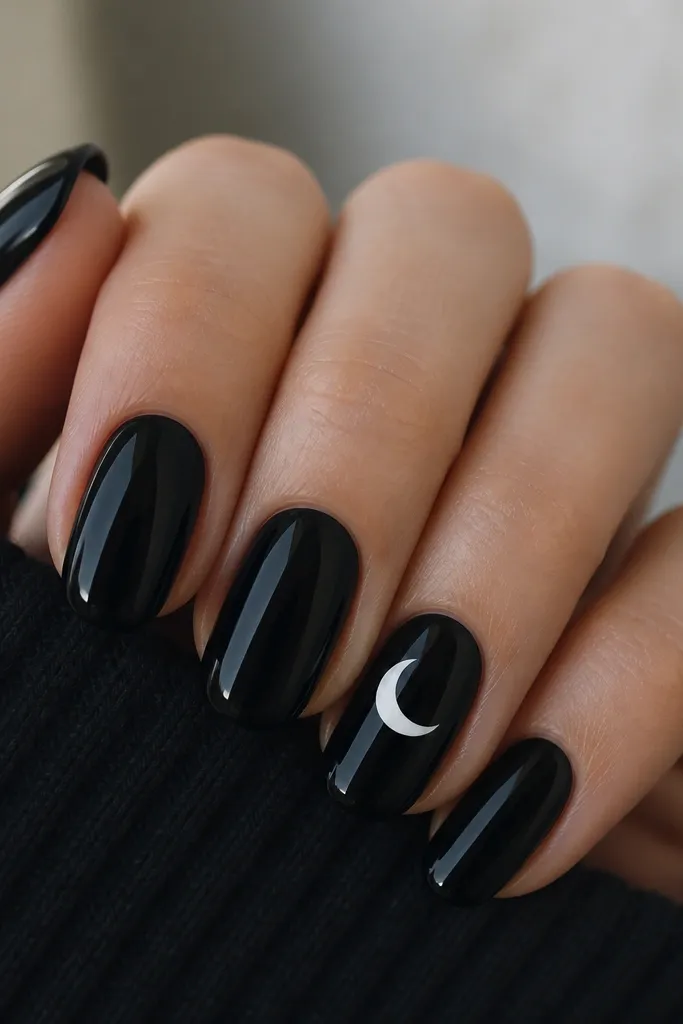
I love this because it reads Halloween without needing tiny pumpkins or scary faces. The contrast between glossy black and a bright white moon looks sharp even when you keep the design simple. Put the moon slightly above the center - it looks like it's floating, not slapped on. This design also works on short nails because the icon stays big enough to see.
Paint two coats of glossy black. On the ring finger, place a dot of white polish using a dotting tool, then drag it into a crescent with the edge of the tool. Keep the moon about the size of a small pea - roughly 2.5 to 3 mm tall. Finish with a thick top coat so the moon edges don't catch on fabric.
Pro tipIf your crescent edge looks uneven, add a tiny extra white dot to "correct" the curve instead of trying to repaint the whole shape.
Watch outAvoid matte top coat over messy white edges - it makes every ripple obvious.
2. Half-moon negative space spider web corner
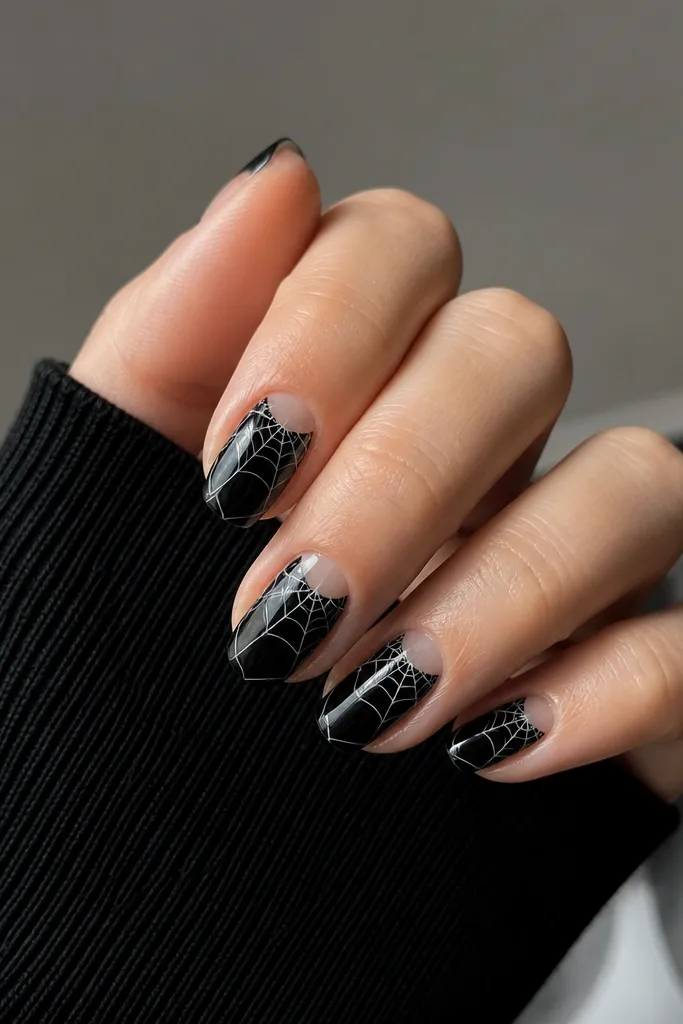
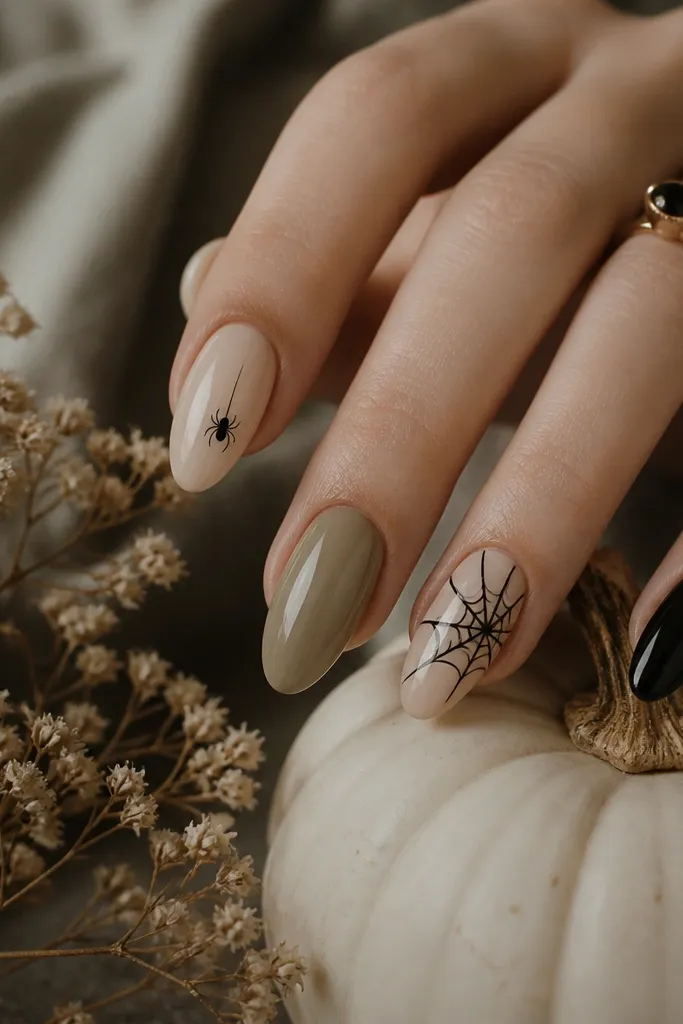
This looks like you planned it because the clear half-moon gives you a built-in guide. The web lines are thin and light, so they don't feel heavy. I draw the web from one starting point near the cuticle, then fan the lines to the upper corner. It gives "spooky" without turning into a full-page drawing.
Use a clear half-moon stencil or cut tiny semicircles from nail vinyl. Seal the half-moon by painting around it with black. For the web, use a striping brush dipped in white and draw 3 to 4 straight spokes, then add a couple curved lines across them. Keep the web inside the upper third of the nail.
Pro tipStart with spokes first. When they're straight, the curved lines look clean right away.
Watch outDon't draw the web too big - if it reaches the sidewalls, it looks crowded and messy.
3. Black base with one tiny white ghost on the ring finger
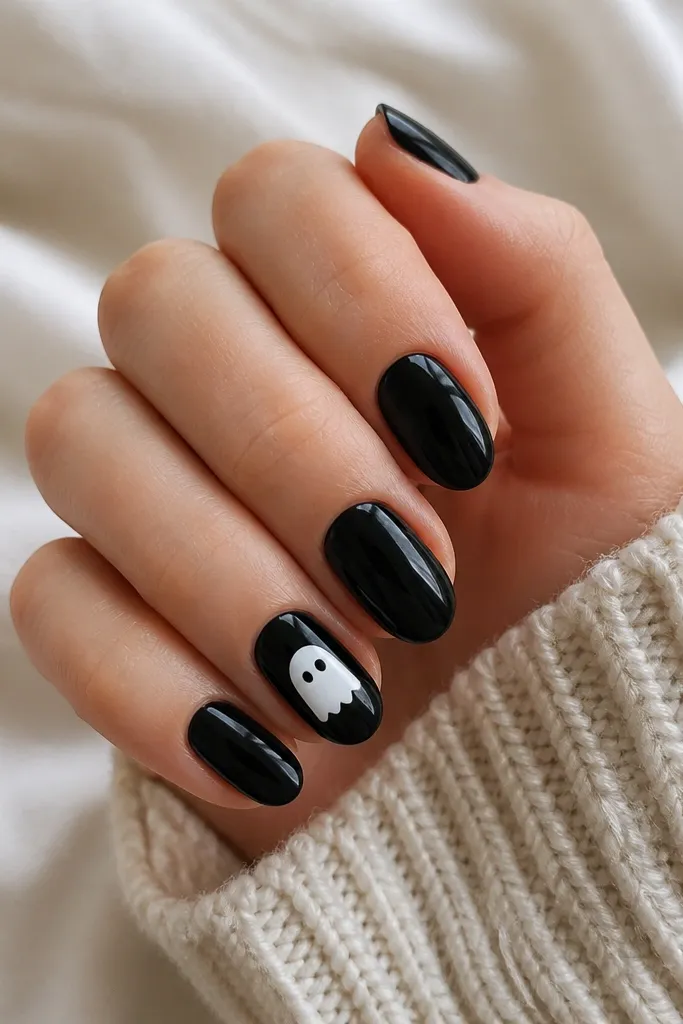
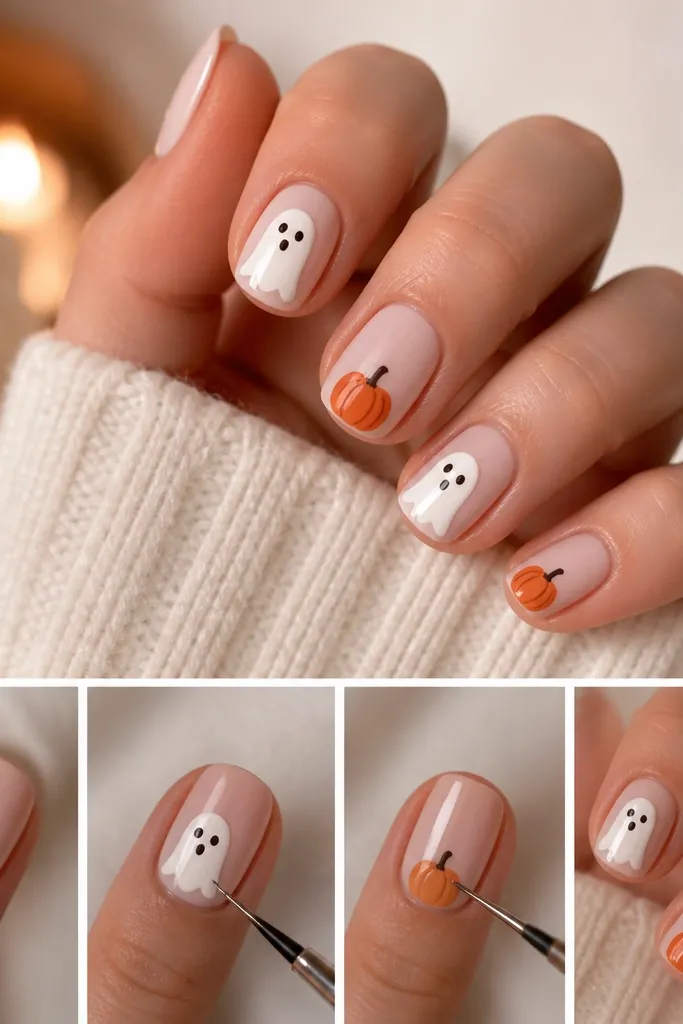
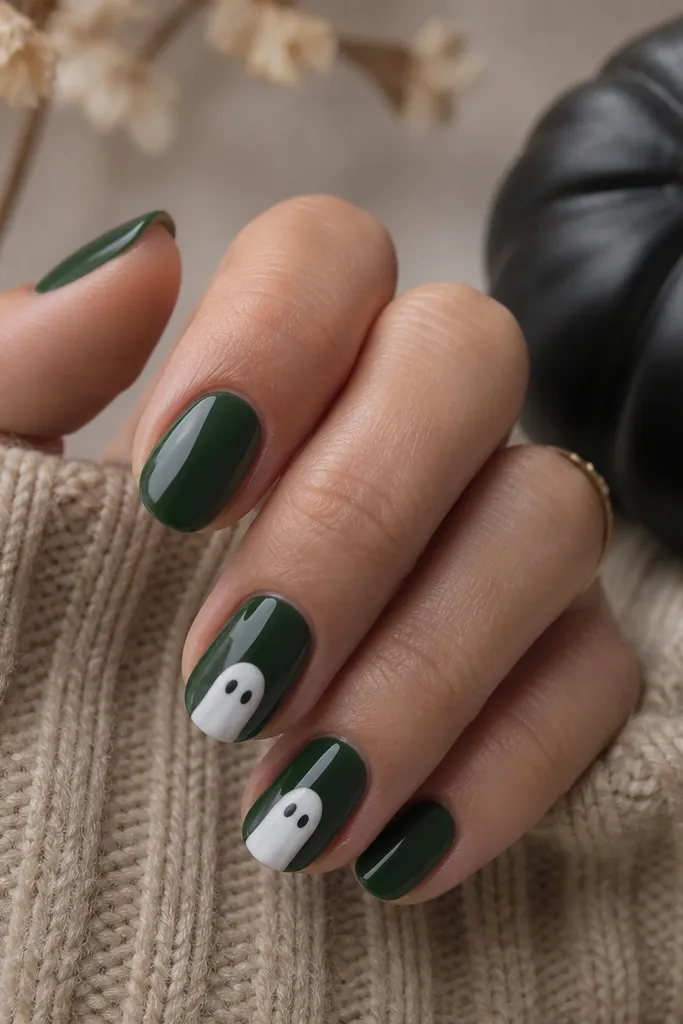
Tiny ghosts are the easiest Halloween icon because you only need three shapes: two eyes and a scalloped bottom. Keep it small and centered and it looks cute, not childish. Gloss black makes the white pop, and the ghost outline stays crisp under top coat. This is a great option if you hate freehand faces.
Do two coats of glossy black. On the ring finger, place a white dot for the top of the ghost, then add two small dots for eyes. Use the striping brush to paint a rounded "sheet" shape for the bottom scallops. Aim for about 3 mm wide on short nails and 4 mm on medium nails.
Pro tipUse a white polish that's thick, not watery. Thin white bleeds into the black and blurs the face.
Watch outSkip the full ghost body on every nail - it gets busy fast.
4. Black "cat-eye" diagonal with one silver claw mark
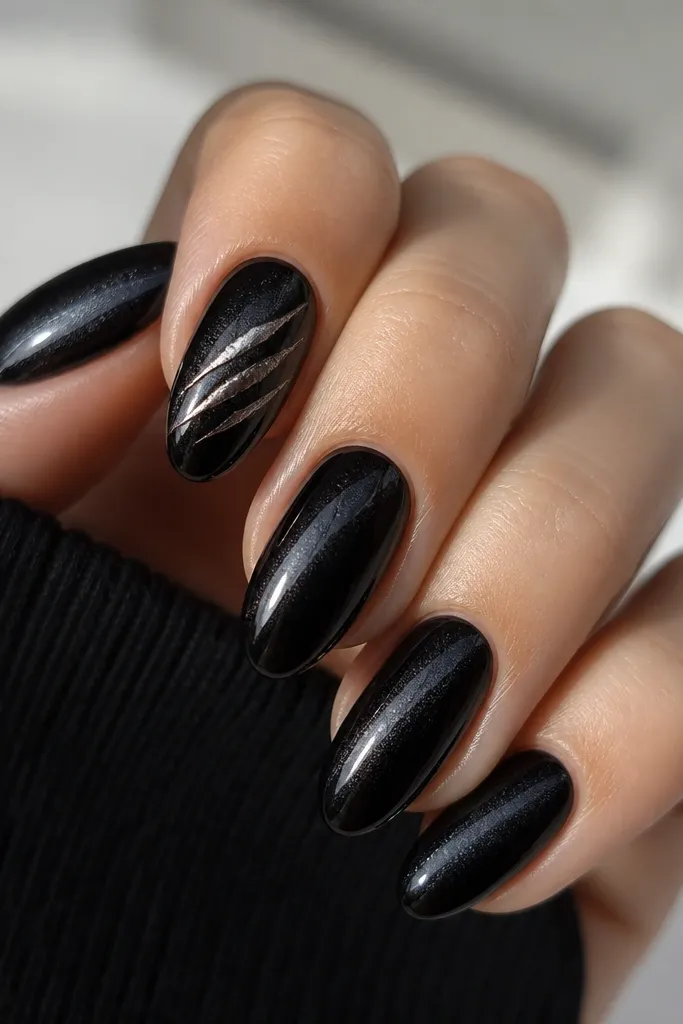
Cat-eye polish gives the Halloween vibe without adding extra lines. The diagonal highlight looks like a streak of movement, which reads spooky in photos. One silver claw mark keeps it simple but still themed. It's the kind of set people ask about because it looks "designed," not random.
Use a black cat-eye gel/polish. After curing or drying, tilt the brush and pull it in a diagonal direction so the shimmer line stays consistent. Add one silver claw mark on one nail using a striping brush and a metallic silver polish. Keep the claw mark short - about 5 mm long.
Pro tipIf the shimmer line lands wrong, repaint only the top coat layer and pull the cat-eye direction again before it fully sets.
Watch outDon't cover the shimmer line with extra art - keep the diagonal visible.
5. Matte black with one orange pumpkin triangle
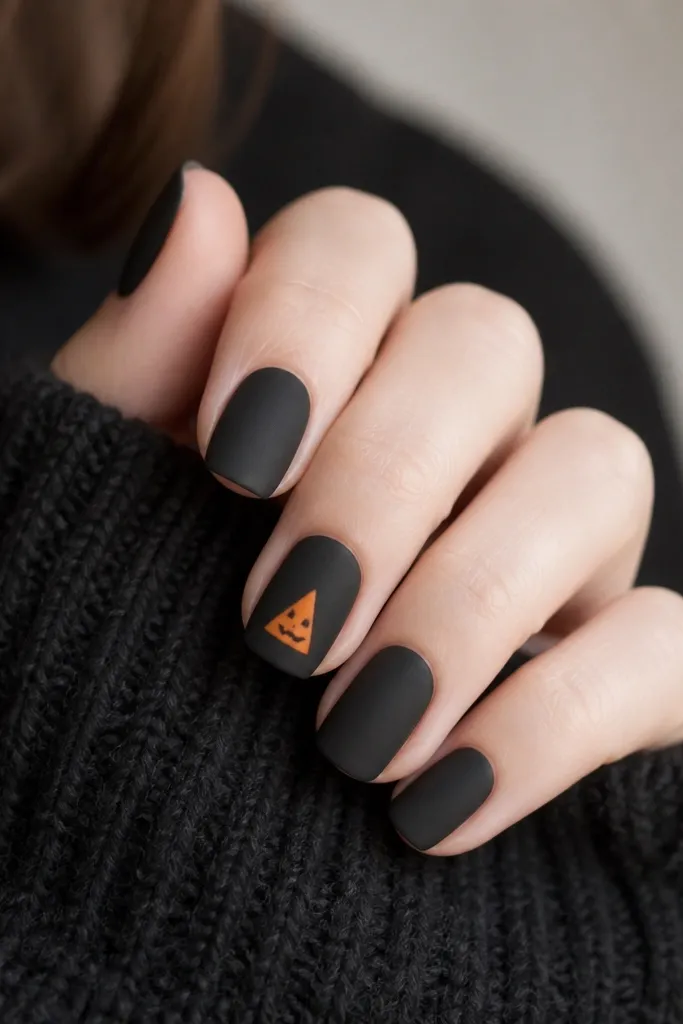
Matte black makes the orange look warmer and more Halloween-y. The pumpkin triangle is a cheat that still reads as "pumpkin" because of the cutout notches. I like placing it on the middle finger - it's visible when you're holding your phone. The matte finish also hides minor brush texture from the orange.
Paint black gloss first if your polish is streaky, then top with a matte top coat. Place a small orange triangle near the center using a striping brush. Add 2 to 3 tiny black notches on the triangle so it looks carved. Keep it about the width of your nail bed's center.
Pro tipUse orange with good opacity (bright tangerine). If it's thin, it turns into a muddy patch on matte.
Watch outAvoid putting orange too close to the cuticle - matte edges show cleanup mistakes.
6. Black "French tip" with thin white spider line
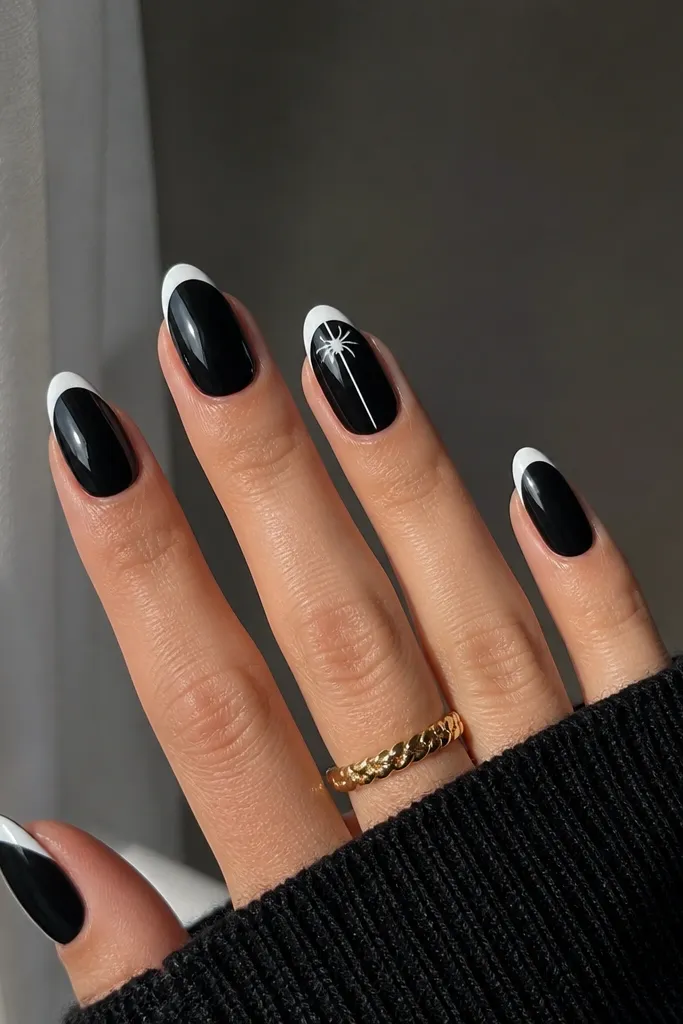
A black French tip is already Halloween-coded. The thin spider line adds theme without covering the whole nail. Because the spider is mostly dots and a single line, it stays neat. This set looks clean and graphic, which is the vibe I want when I'm doing quick nails.
Paint black first. Use tape or a French tip guide to create the white tips - keep them thin, about 1.5 mm. On one accent nail, draw a small dot for the spider body on the white tip, then add 6 to 8 mini legs using the dotting tool. Connect legs with a light line if you want extra definition.
Pro tipIf tape leaves a ridge, buff it lightly and add a second top coat layer to smooth it out.
Watch outDon't make the white tip too wide. Wide tips make the spider look crowded.
7. Black base with single white "NOPE" stripe
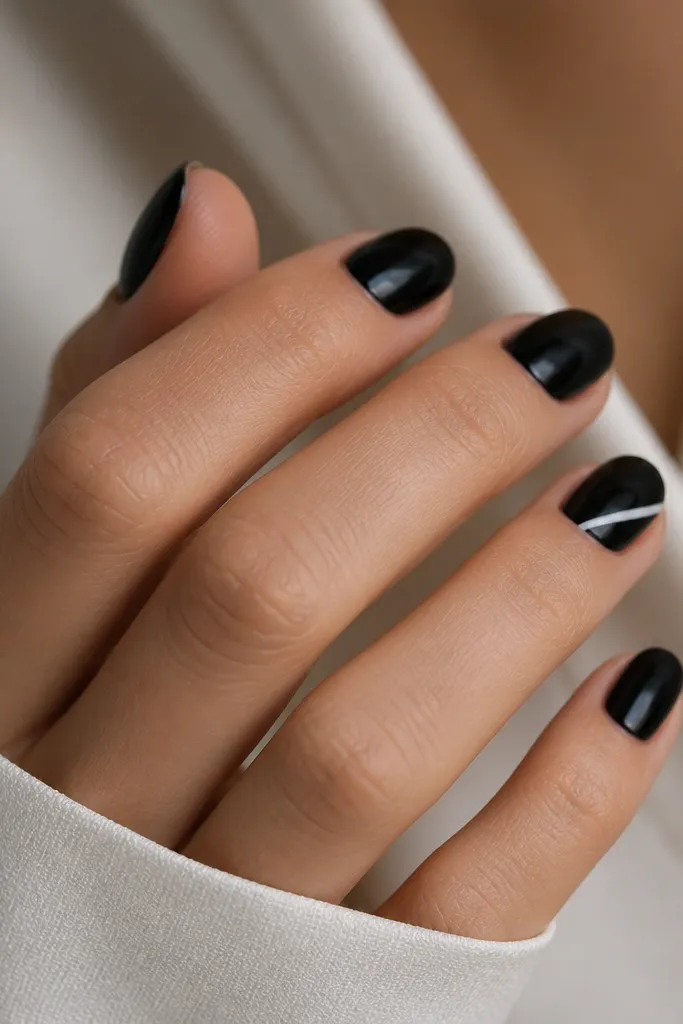
This is the Halloween nail version of a clean graphic tee. The diagonal stripe feels spooky because it looks like a warning. It's also forgiving - if your stripe is slightly uneven, it still reads as intentional. One stripe on one nail keeps the set from looking like you tried to do everything at once.
Paint two coats of glossy black. On the ring finger, place a thin striping brush on the nail and paint a diagonal line. Keep the stripe width about 1 mm. If you want the word look without lettering, add two tiny black dots near the top of the stripe like a stylized punctuation mark.
Pro tipUse a striping brush with a clean edge. Wipe it on a paper towel so the line doesn't blob.
Watch outSkip multiple stripes on every nail. It turns into a costume pattern instead of nail art.
8. Black ombre to smoky gray with tiny bat dots
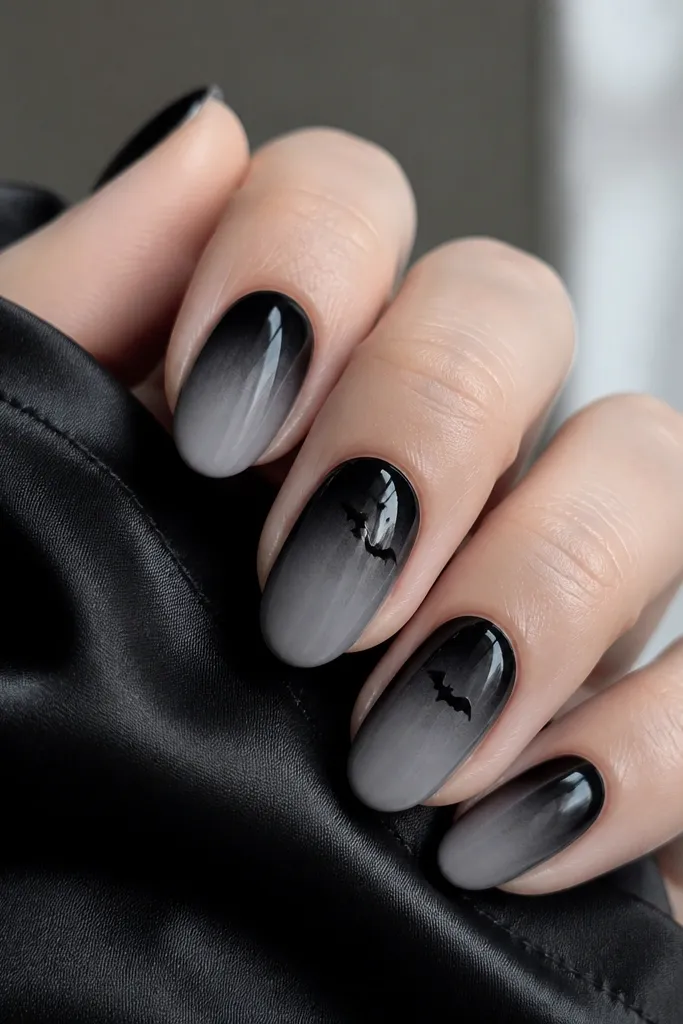
Smoky gray looks like smoke, and smoke is Halloween's best friend. The ombre is still simple when you keep the fade soft and use one gradient direction. Tiny bat dots are quick: you're basically painting two wings and a body shape. This set looks great in daylight and photos because the fade shows depth.
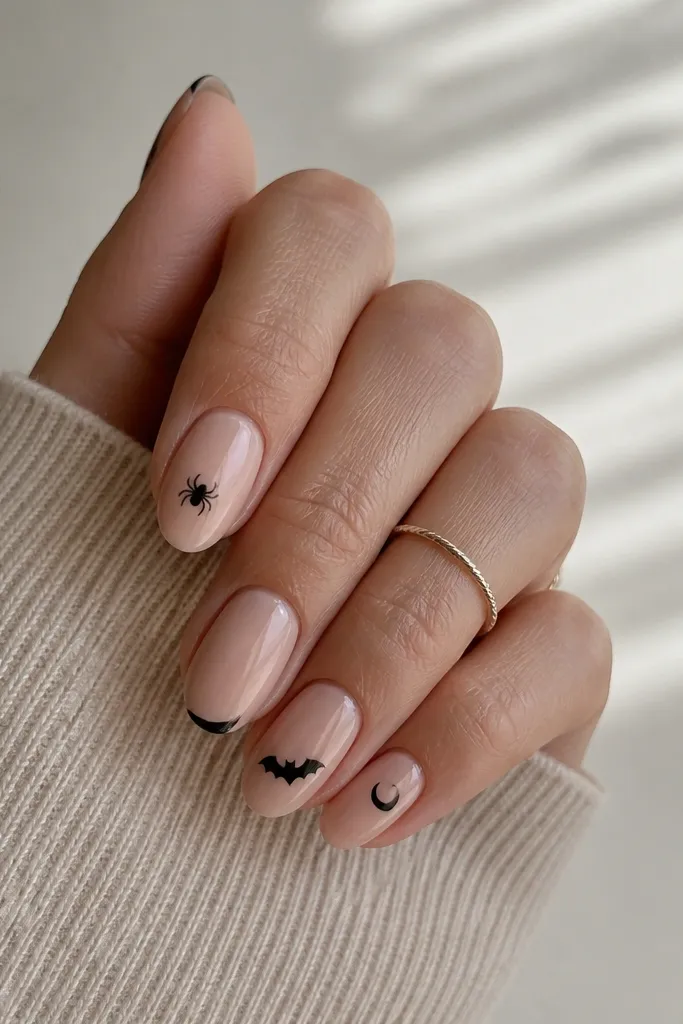
Create the ombre with a makeup sponge. Dab black at the cuticle and gray at the tip, then blend in the middle with light taps. Let it dry fully. Add bat silhouettes with black polish using a dotting tool and striping brush: a small oval body and two angled wings. Keep bats near the center-upper area, not the tip.
Pro tipPractice the bat shape on a scrap nail first. It's faster than fixing a bad one on your real set.
Watch outDon't overblend. If the fade turns muddy, add a second gray layer only at the tips.
9. Black base with one matte spider web ring
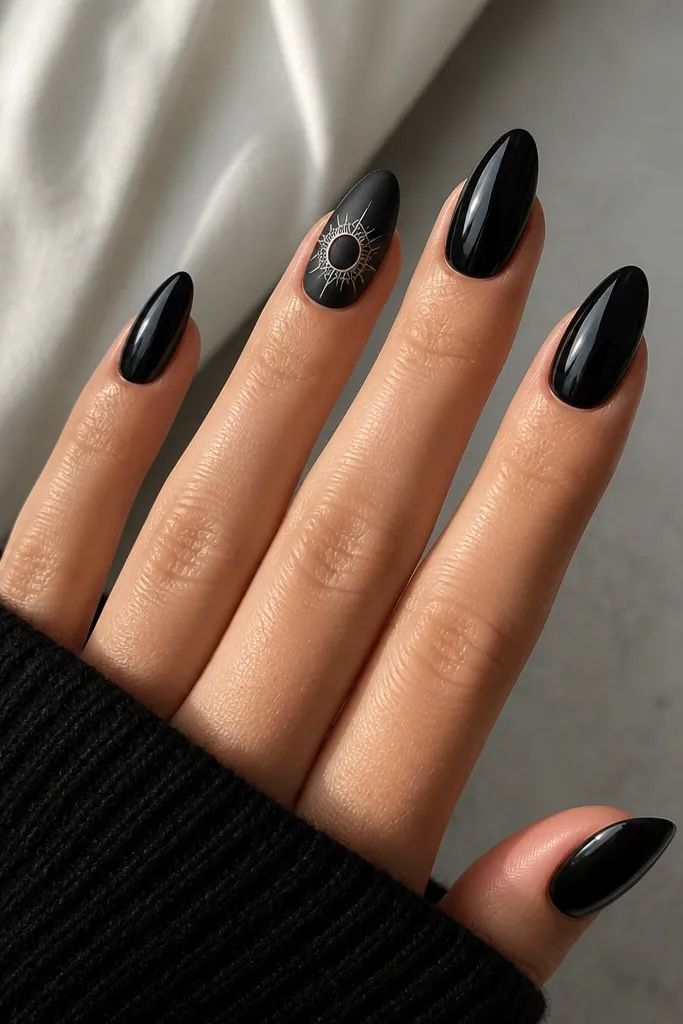
Using matte on just one nail makes the web look intentional. The "ring" effect is easier than a full web because you're drawing a circle and a few spokes. White lines pop against black, and matte keeps the design from looking glossy-plastic. It's spooky but still clean.
Paint black glossy on all nails. On the ring finger, cover with matte top coat. Add a clear half-moon or a faint circle guideline with a thin strip of nail vinyl. Draw spokes with white striping brush - 4 to 6 lines - then add 2 curved lines to complete the web ring.
Pro tipIf your circle wobbles, fix it by drawing a second white circle on top. It hides the shake instantly.
Watch outAvoid drawing the web too close to the cuticle. That area chips first and the web line will break.
10. Black nails with silver foil "moon shards"
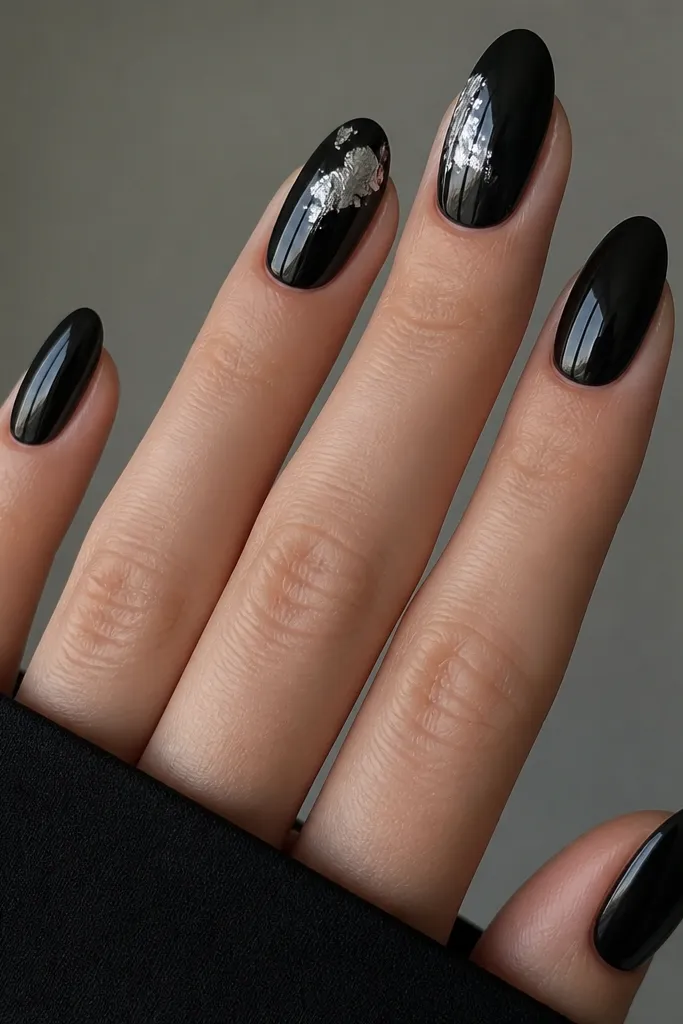
Foil shards catch light in a way that makes black nails look expensive. You don't need to draw anything - you place pieces and seal them. The "moon shards" idea fits Halloween because it looks like something cracked the night sky. I keep foil minimal so it doesn't snag on sweaters.
Paint glossy black base. Place tiny silver foil pieces with a foil adhesive or gel top coat (thin layer). Press gently with a silicone tool so the foil sticks only where you want it. Cover with a thicker top coat, then gently clean the edges with a lint-free wipe so foil doesn't lift.
Pro tipCut foil into smaller triangles before you start. Random large pieces stick where you don't want them.
Watch outDon't skip proper sealing. Unsealed foil lifts and catches on hair.
11. Black base with white dot eyes spider web face
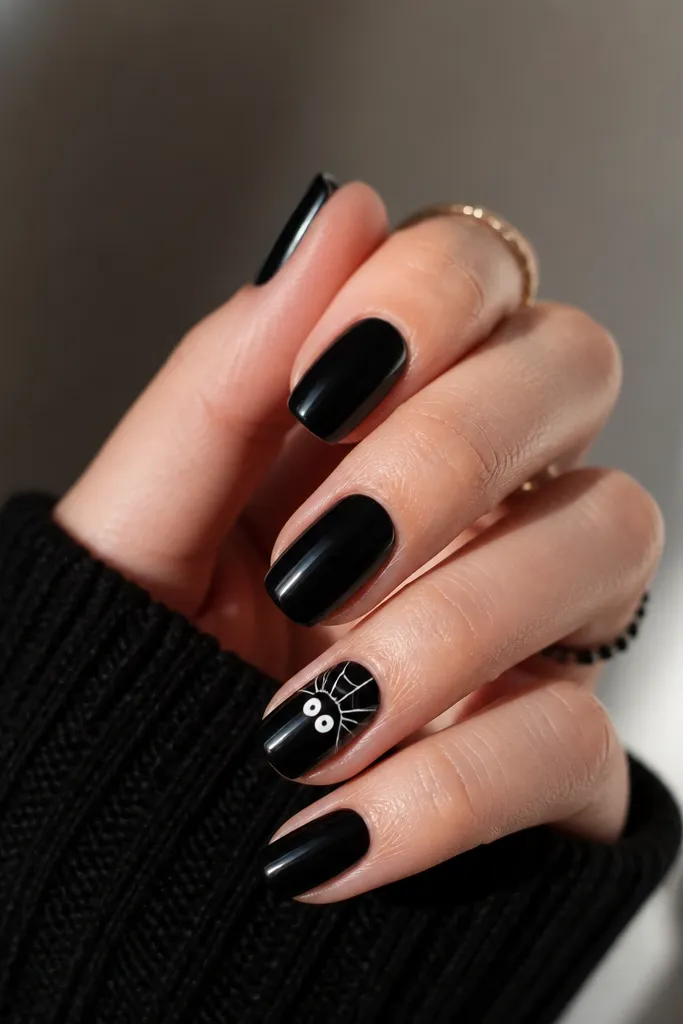
This is my go-to when someone says they want "spooky" but hates detailed art. Two dot eyes are fast, and the web halo gives the Halloween feel. It looks intentional because the design is centered and limited to one nail. Under top coat, the lines stay crisp.
Paint two coats of glossy black. On the accent nail, place two white dots for eyes. Then draw 3 to 4 curved web lines with a striping brush, starting near the dots and sweeping outward in a half circle. Leave the outer edges plain black so it doesn't look crowded.
Pro tipUse the dotting tool for the eyes and don't try to "paint" them. Dots stay round and clean.
Watch outAvoid using thick white gel for ultra-fine lines. It spreads and turns into blobs.