1. Classic Black French with Orange Outline
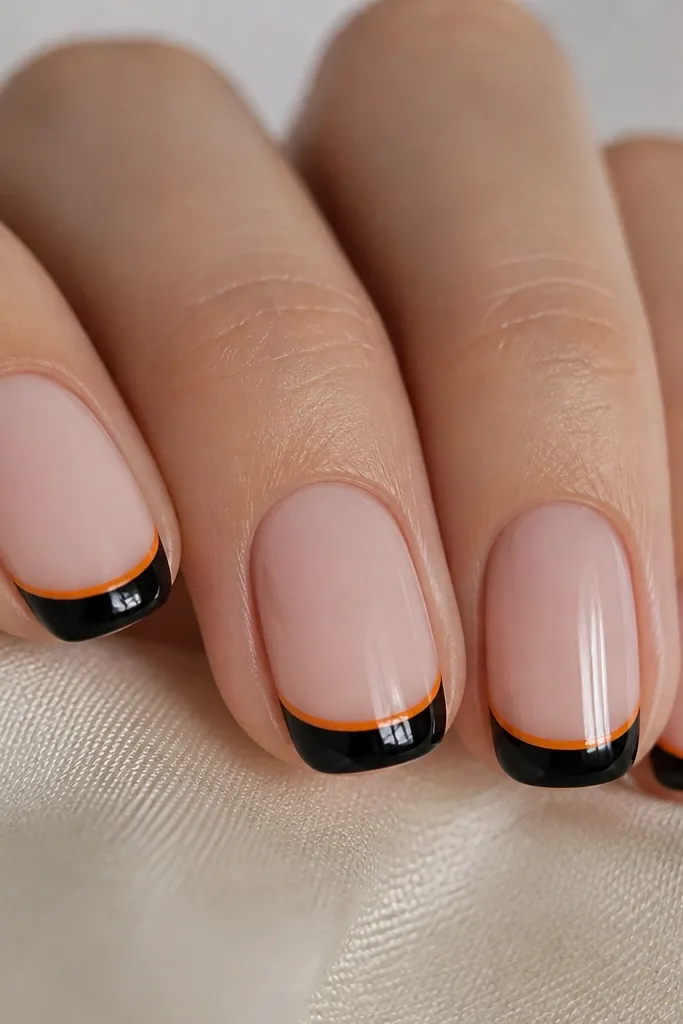
This look reads Halloween without needing a single tiny drawing. The sheer pink base keeps it wearable, while the black French gives instant spooky contrast. The orange outline is what makes it pop - it looks like a candle glow at the tip instead of a flat stripe. It also hides small chips because the French line is already a defined boundary.
Ask for short squoval with a 2-3 mm free edge. Use a sheer builder base or clear overlay, then paint the French tip in black. While the black is tack-free, add a thin orange strip just along the edge and cover with glossy top coat.
Pro tipUse a striping brush that's 0.5-1 mm wide so the orange line stays razor-thin and doesn't thicken at the sides.
Watch outAvoid painting the orange over a flooded black edge - it turns into a thick band that looks bulky.
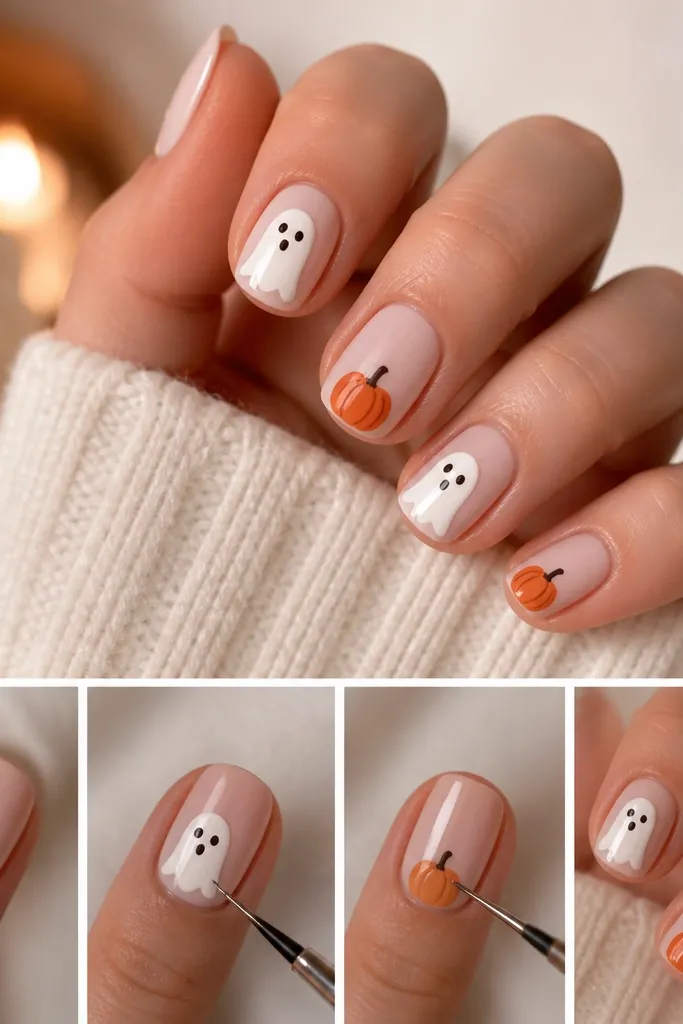
2. Orange-Cream Ghost Accent on Sheer Pink
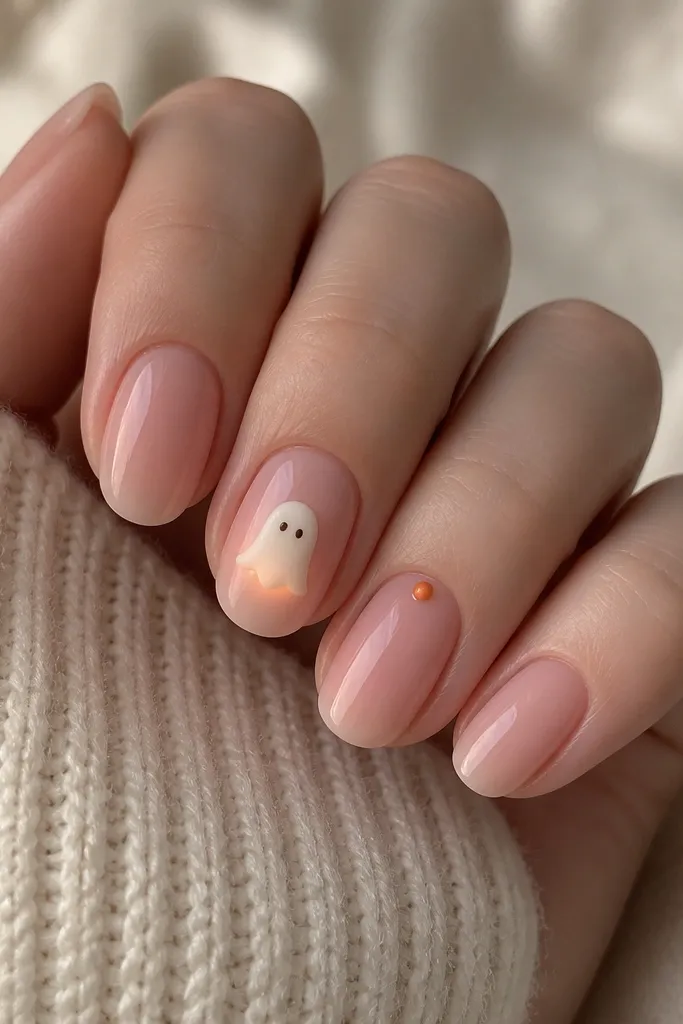
Ghosts look cute when they're not too big. Keeping the ghost small and placing it near the center of the nail makes it feel like a sticker, not a costume. The orange shadow gives it dimension without needing detailed eyes and shading. The rest of the nails stay simple, so you can wear it to work and still feel festive.
Build medium almond or short squoval, then leave most nails sheer. For the accent ghost, use matte cream for the body and a thin orange wash around the edges. Seal with top coat but keep the ghost slightly softer by using a satin top on just the ghost area.
Pro tipPlace the ghost 1-2 mm below the cuticle so it doesn't look like it's floating off the nail later.
Watch outSkip tiny facial lines that are under 1 mm wide - they smear the first time you snag a glove.
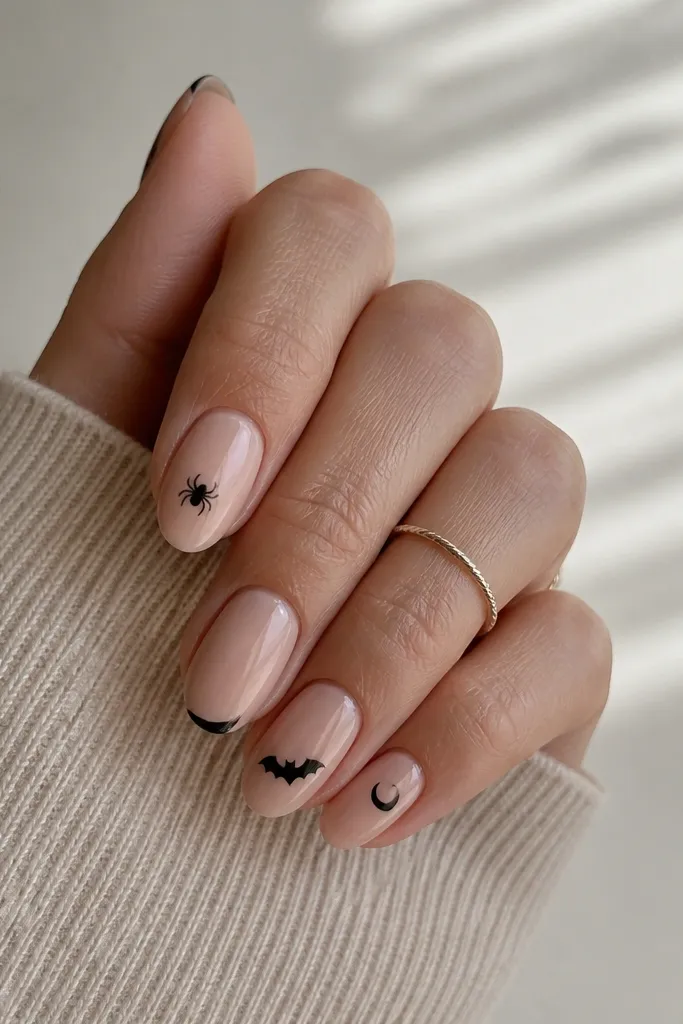
3. Black Cat Silhouette on Nude Base
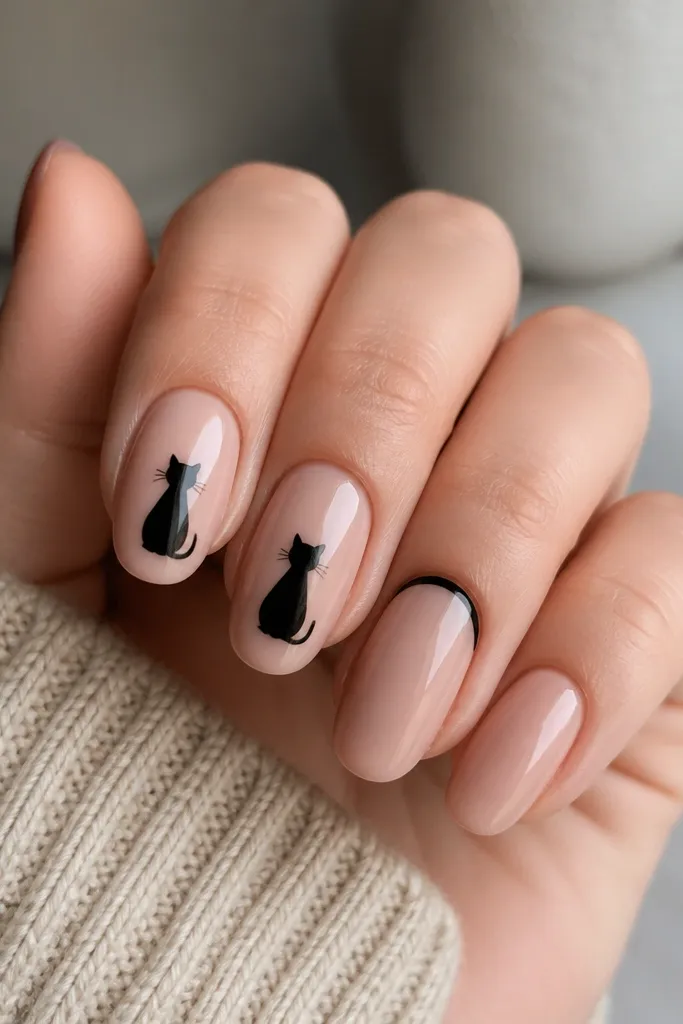
A cat silhouette is Halloween that doesn't require spooky colors everywhere. The nude base keeps your hands looking clean and long. The cat silhouette gives a strong shape you can see from across the room. This also forgives small wear because the silhouette stays readable even if the top layer gets scuffed.
Use a nude builder gel or sheer acrylic base. Apply a cat decal or stamp (black) on one or two nails, then lightly blend the edges with a clear overlay so it doesn't lift. Add a tiny crescent on one nail using a dotting tool and black gel.
Pro tipIf you hand-paint the cat, start with the ears first, then fill - it keeps the silhouette sharp.
Watch outDon't put the cat too close to the sidewalls or it will look crooked after filing.
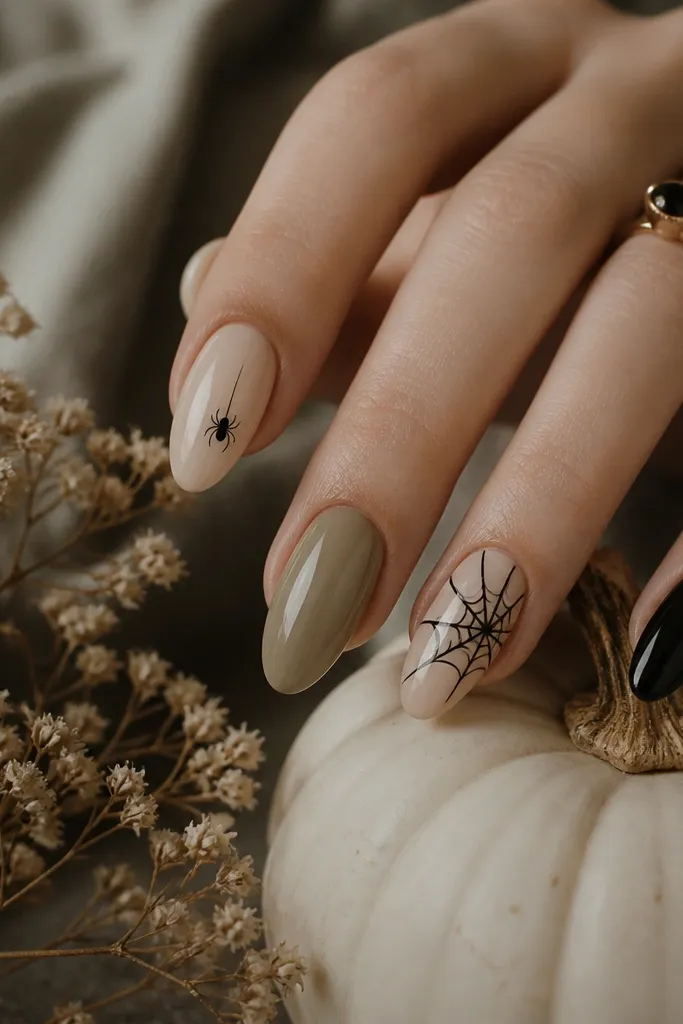
4. Spiderweb French Half-Moon
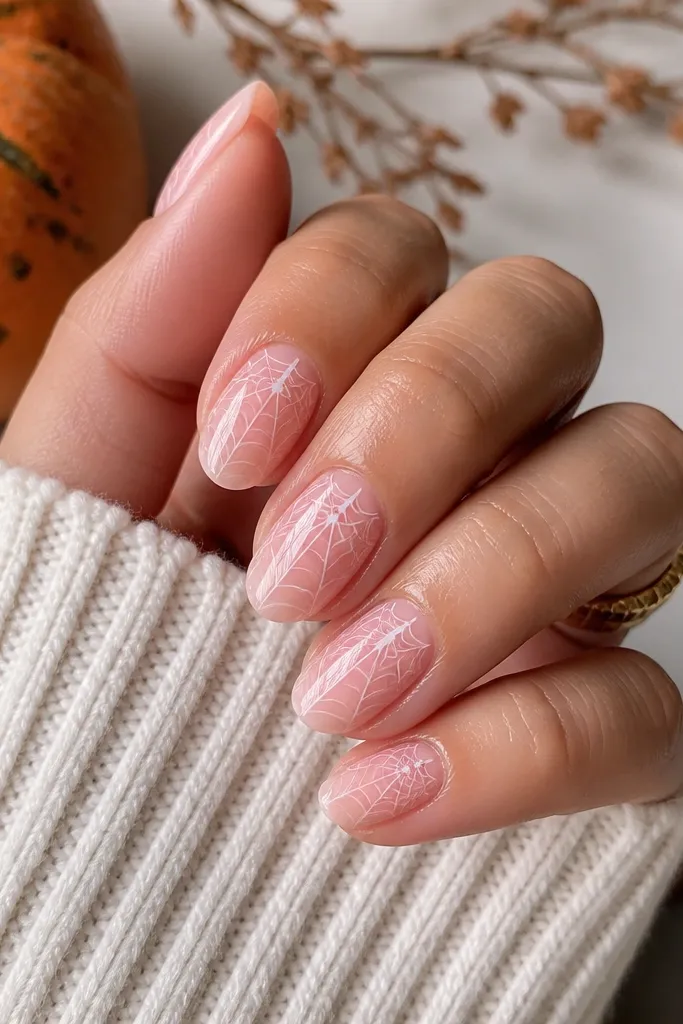
This is the easiest way to get a web without covering the whole nail. The half-moon placement keeps the design controlled and makes it look neat even as the nail grows out. Use thin web lines so the base color still shows through. It looks extra Halloween at night because the web is high-contrast against nude.
Choose short squoval so your web lines don't stretch. Paint a sheer base, then do a thin web pattern only on the upper half. Seal with glossy top coat and avoid flooding the web - you want the lines to stay crisp.
Pro tipUse gel liner or a stamping gel for web lines so they don't drag when you lift your brush.
Watch outAvoid thick white or black web lines - they look like stickers that were pressed too hard.
5. Candy Corn Tips with Clear Base
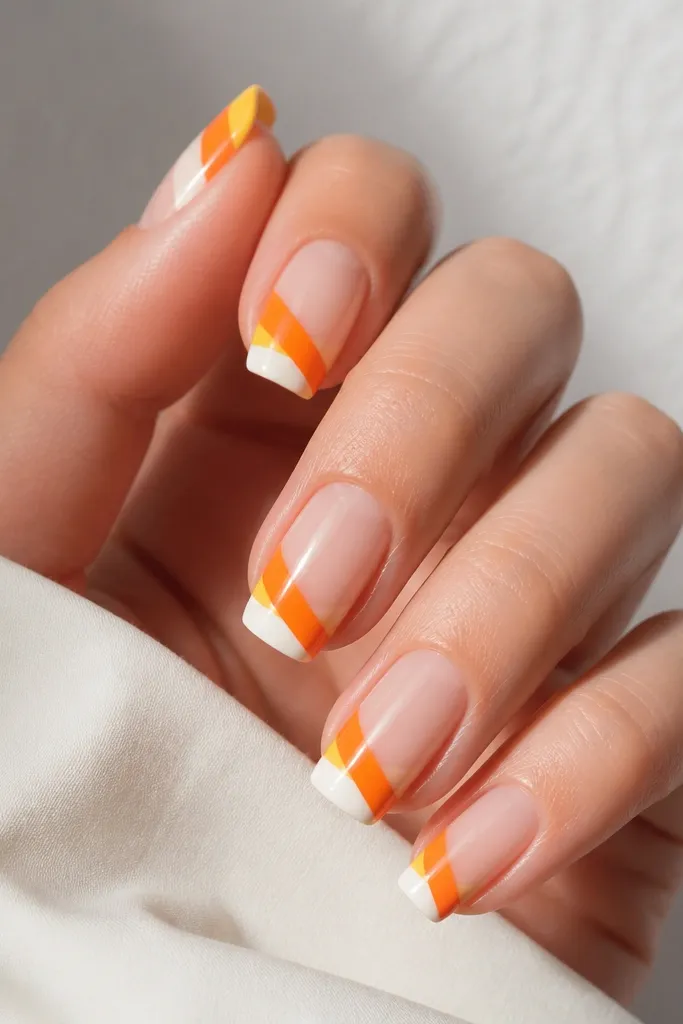
Candy corn looks like Halloween candy and it's basically a color-block design. Straight angled sections keep it clean, and the clear base makes it feel lighter than full coverage. Because the pattern sits on the tip, small chips show less - you're already expected to see the tip design.
Go for medium almond or short almond. Paint the tip sections with three thin layers: yellow first, then orange, then white near the cuticle side of the tip. Use tape or a nail guide strip for crisp angles.
Pro tipLet each color fully self-level before the next so the edges stay straight.
Watch outDon't freehand the angles without a guide - candy corn looks sloppy fast.
6. Neon Orange Dot Nails with Matte Black Accent
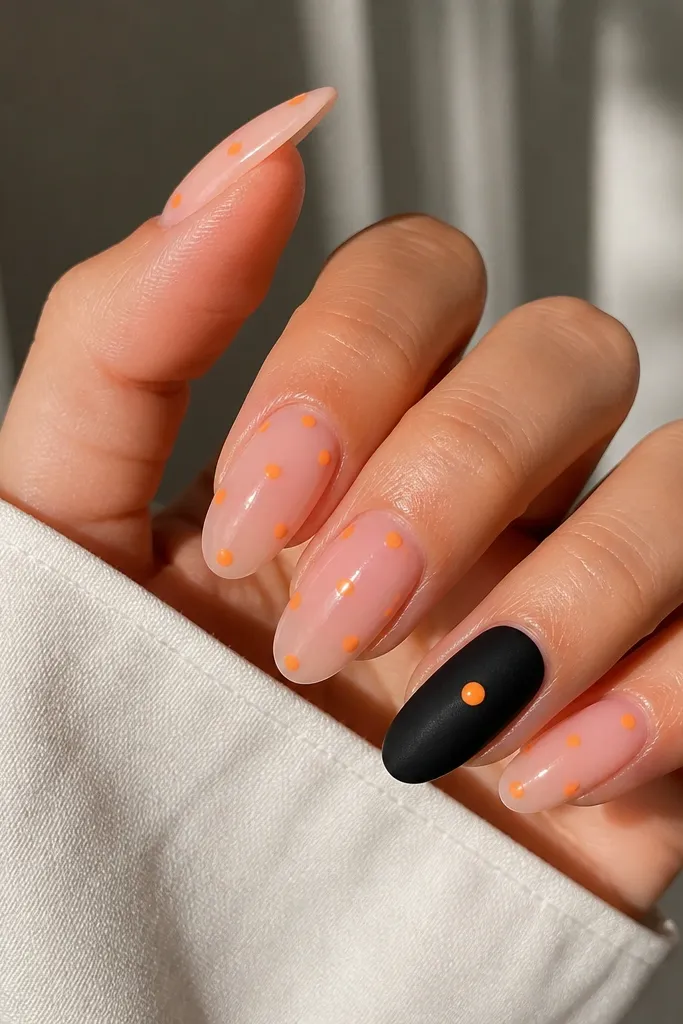
Dots are the easiest "Halloween" pattern because you don't need precision lines. Neon orange on a sheer base looks like highlighter ink - it pops under indoor lighting too. The matte black accent adds contrast and makes the dots feel intentional. This set looks good even when one nail is worn because the pattern is spaced.
Use a sheer pink base. Dot with neon orange using a dotting tool at 1-2 mm size per dot. For the accent nail, paint matte black and place one orange dot in the middle.
Pro tipKeep dot spacing uneven on purpose - perfectly even dots look like a stencil.
Watch outAvoid matte black under glossy top coat on the accent - it turns shiny and loses the contrast.
7. Pumpkin Patch Orange with Tiny Jack-O-Lantern Face
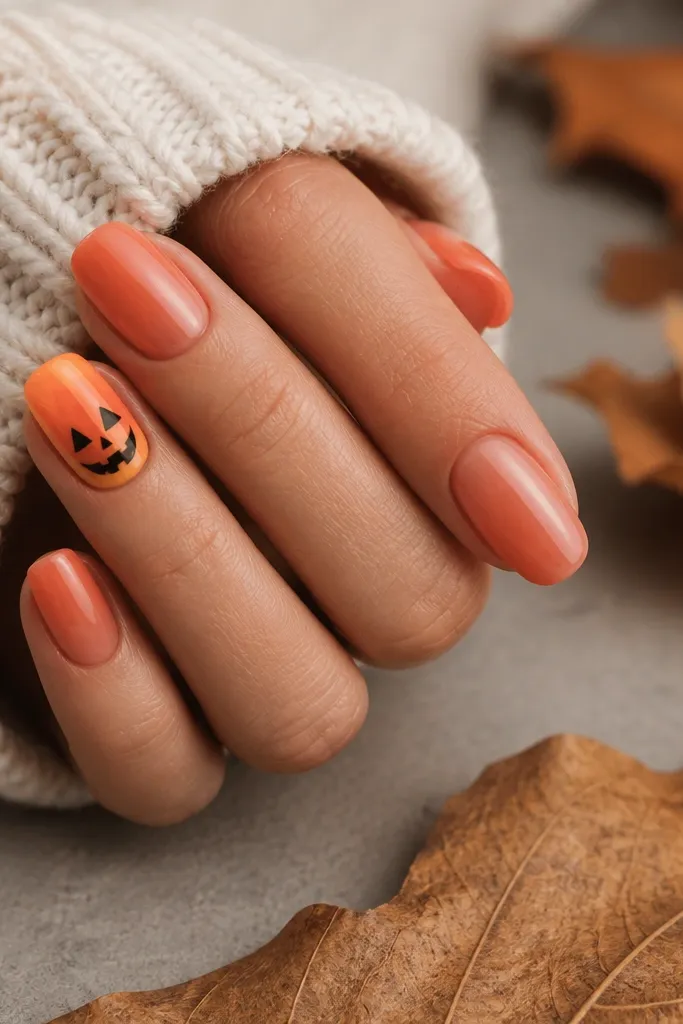
You get the pumpkin vibe without painting a full pumpkin scene. The key is keeping the face tiny and centered so it looks like a charm. A simple orange gradient background gives depth while staying easy. Black lines read clearly and don't need shading.
Pick short squoval. For the accent, sponge a soft gradient from burnt orange to lighter orange, then add a simple triangle eyes and jagged mouth in black gel. Seal and keep the gradient thin so it doesn't look lumpy.
Pro tipMake the mouth wider than the eyes so the face reads at a glance.
Watch outDon't add too many lines - three facial features are enough.
8. Oxblood Heart on Nude with One Glitter Nail
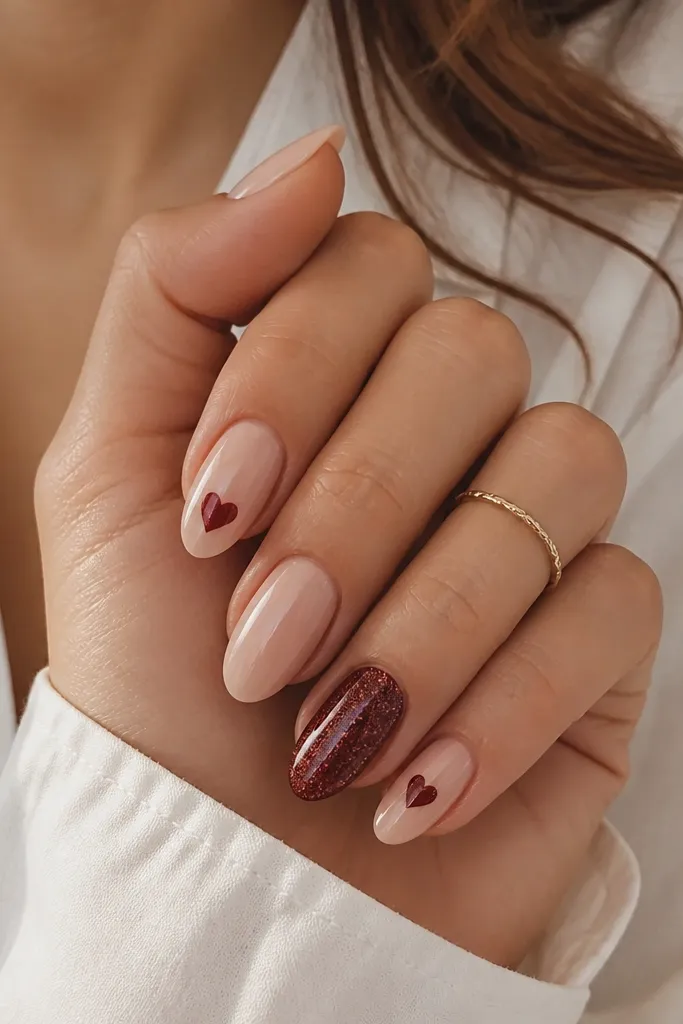
This is Halloween that leans cute instead of spooky. The oxblood heart looks like a witchy Valentine, and it pairs well with dark outfits. One glitter nail keeps it fun without requiring complicated art on every finger. I've worn this to Halloween parties and it still looks "done" in daylight.
Use nude base acrylic. Paint a small heart about the size of a pencil eraser top (around 3-4 mm wide) in oxblood. Add one glitter nail using dark red micro-glitter and top coat.
Pro tipUse a dotting tool for the heart bumps, then connect with a liner brush.
Watch outAvoid big hearts - they look like a sticker you forgot to scale down.
9. Black Bat Wings on Sheer Pink Sidewalls
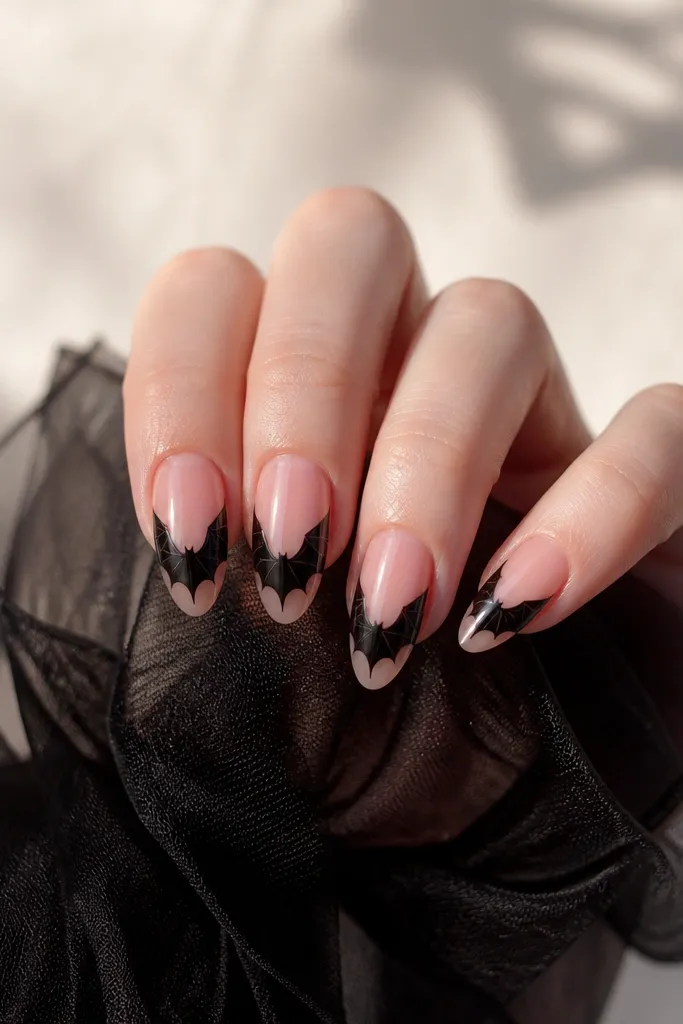
Sidewall bat wings look clever and take less time than full bat silhouettes. The wing shape frames your nail bed and gives movement. Because the design is mostly on the sides, small center chips don't ruin the whole look. It also makes your nails look longer - the wings pull the eye up.
Choose medium almond. Keep the base sheer pink and draw bat wings in black gel on the side panels. Add a tiny dot near the cuticle for the head, then outline the wings with thin lines.
Pro tipAngle your brush slightly toward the tip so the wings taper instead of staying thick.
Watch outSkip thick black fills - they look heavy and make the nail look smaller.
10. Creepy-Cute Skull Decals on Clear Overlay
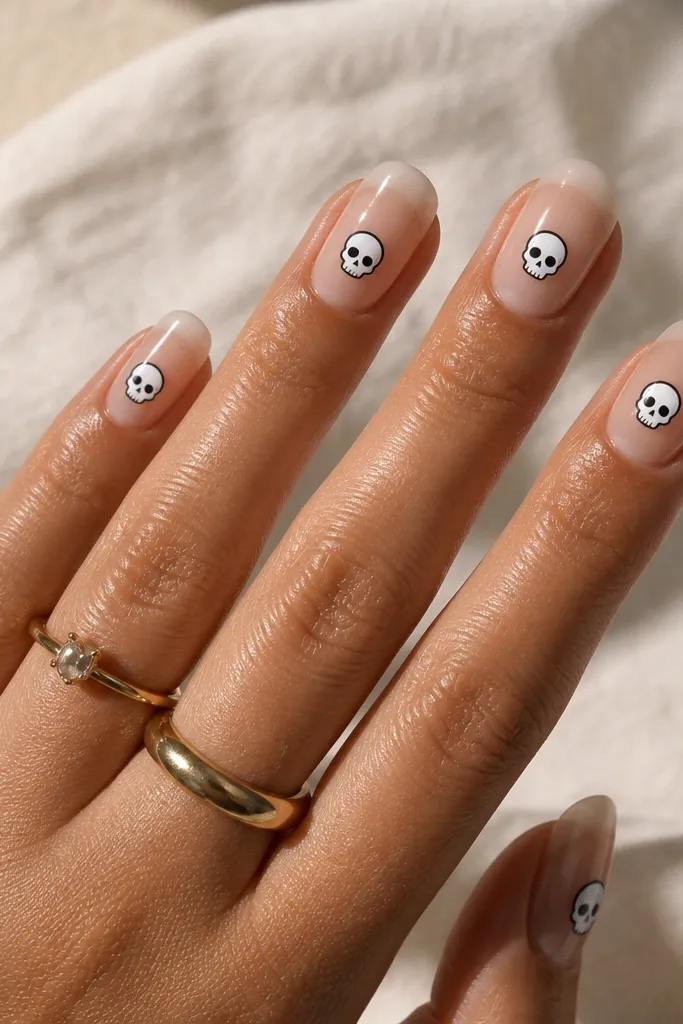
Decals are the whole "worth it" hack. You get a detailed skull without spending an hour with a liner brush. The clear overlay keeps everything light and makes the skulls look like tiny stickers under glass. You can place them on two nails and keep the rest plain for a clean look.
Use clear acrylic or sheer builder base. Apply skull decals, then cap with a clear overlay so the decal edges don't catch on hair or clothing. Seal with glossy top coat and file smooth at the free edge.
Pro tipCap the decal with a thin layer first, then add a second thin layer after it's cured so you don't trap air bubbles.
Watch outDon't skip smoothing the decal edge - that's what causes lifting and snagging.
11. Orange Glitter Cuticle Halo
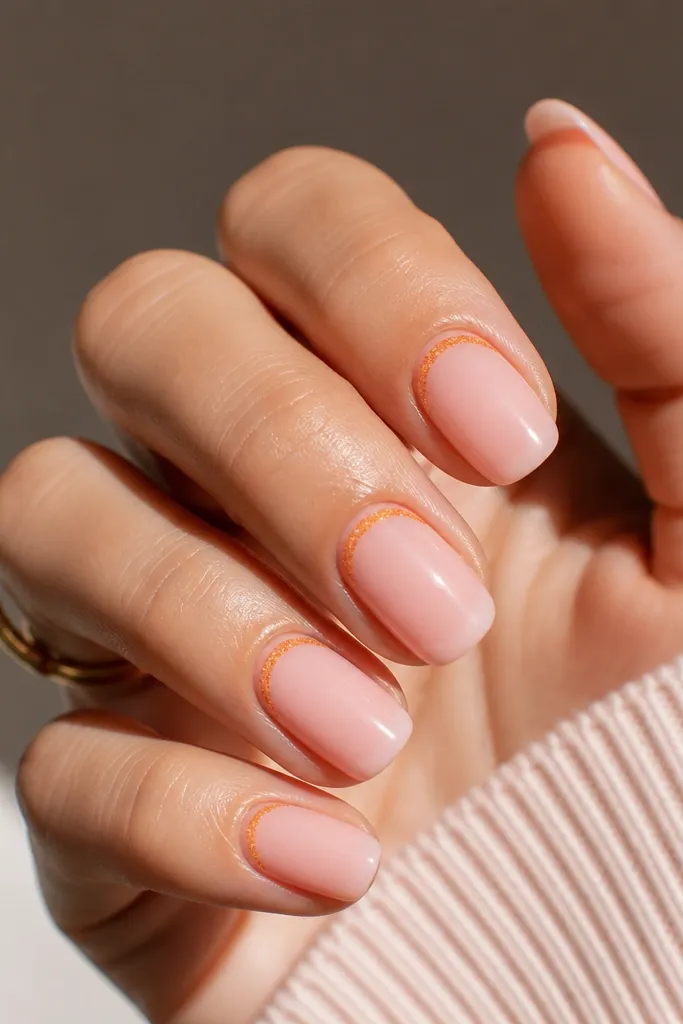
A cuticle halo is simple, fast, and it looks expensive. The glitter is concentrated where chips show least, and the rest of the nail stays simple. Orange glitter also matches classic Halloween colors while still looking wearable. It's a great option if you want Halloween nails but hate fully glittery sets.
Use a sheer base and paint a thin gel line along the cuticle, leaving a tiny gap from the skin. Press orange micro-glitter into the line and cure. Cap with clear acrylic or builder gel to lock it down.
Pro tipUse a flat brush to push glitter into the gel line so it stays smooth, not chunky.
Watch outAvoid dragging glitter onto the skin side - it leads to lifting and it feels rough.
12. White Matte "Milk Teeth" Tips with Glossy Base
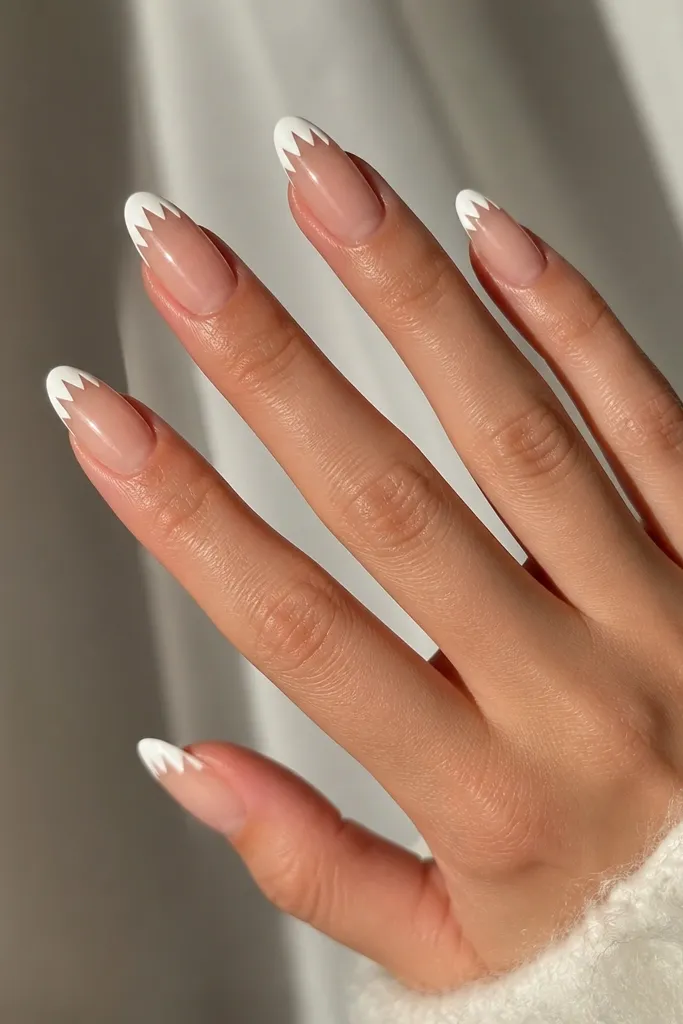
This one feels Halloween without being scary. The matte white tips look like little teeth, and the glossy base makes it contrasty. It also grows out better because the tip edge is already the focal point. The matte finish hides minor imperfections in the shape.
Use short squoval. Paint glossy sheer base, then apply matte white to the tip. Before curing, carve the tip edge with a nail art brush to create 3-5 small tooth points. Seal the rest of the nail with glossy top coat but keep the tooth area matte or satin.
Pro tipUse tape to keep the matte area from creeping down the sides.
Watch outAvoid full glossy over the matte tips - it ruins the teeth texture.