1. Candy Corn Tips on a Nude Base
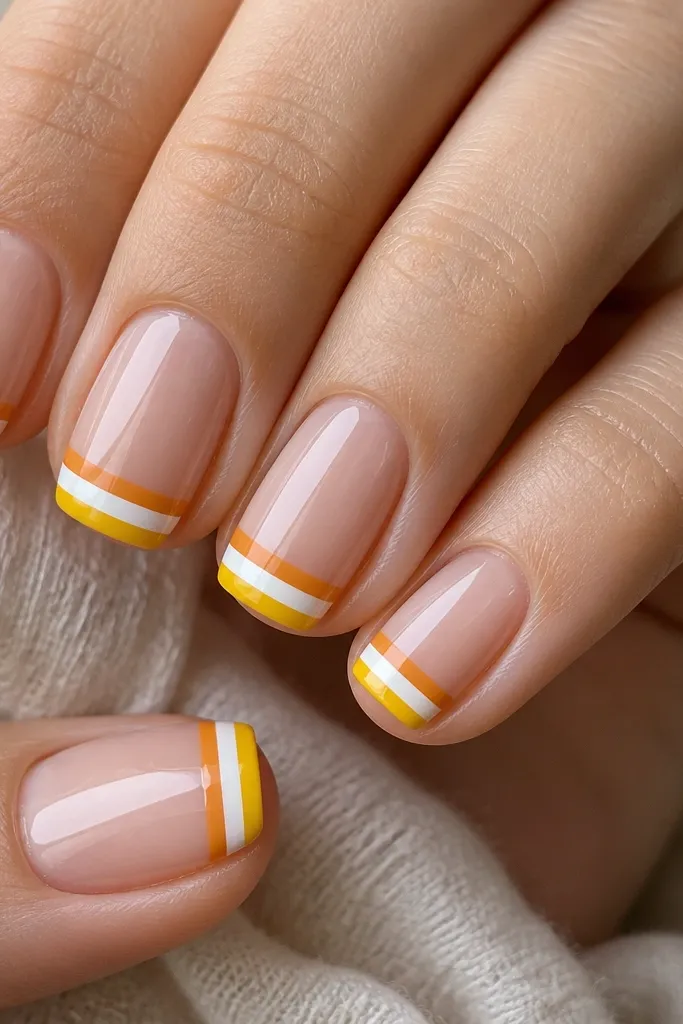
This works because candy corn already has built-in contrast. The nude base keeps it wearable, and the three-color tips read like a Halloween candy even from arm's length. I like the square shape because the bands look straight instead of wobbly. Glossy top coat makes the color blocks look sharper and more "store-bought."
Paint nude base first, then let it dry fully. Use a striping brush to place orange at the very tip, then add white just below it, then yellow closest to the nail bed. Keep each band thin - about 1 mm each on short nails so it doesn't feel chunky.
Pro tipIf your lines drift, tape a thin strip along the free edge for one nail at a time, paint the colors, then remove the tape while paint is still slightly tacky.
Watch outAvoid thick bands - they make the design look like costume paint.
2. Black Cat Silhouette with a Tiny Moon
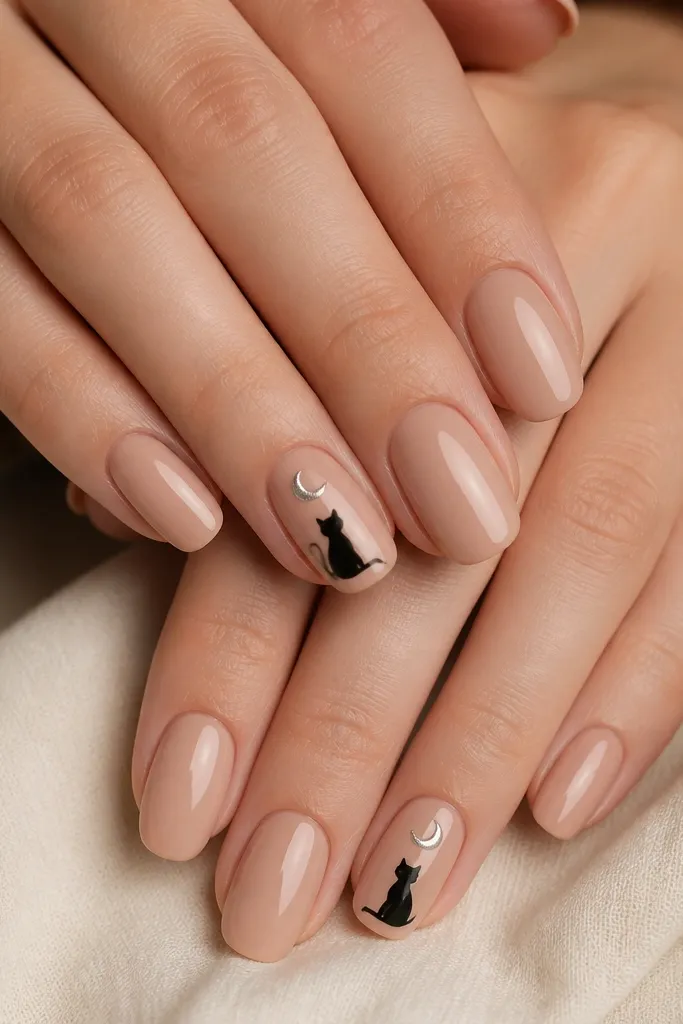
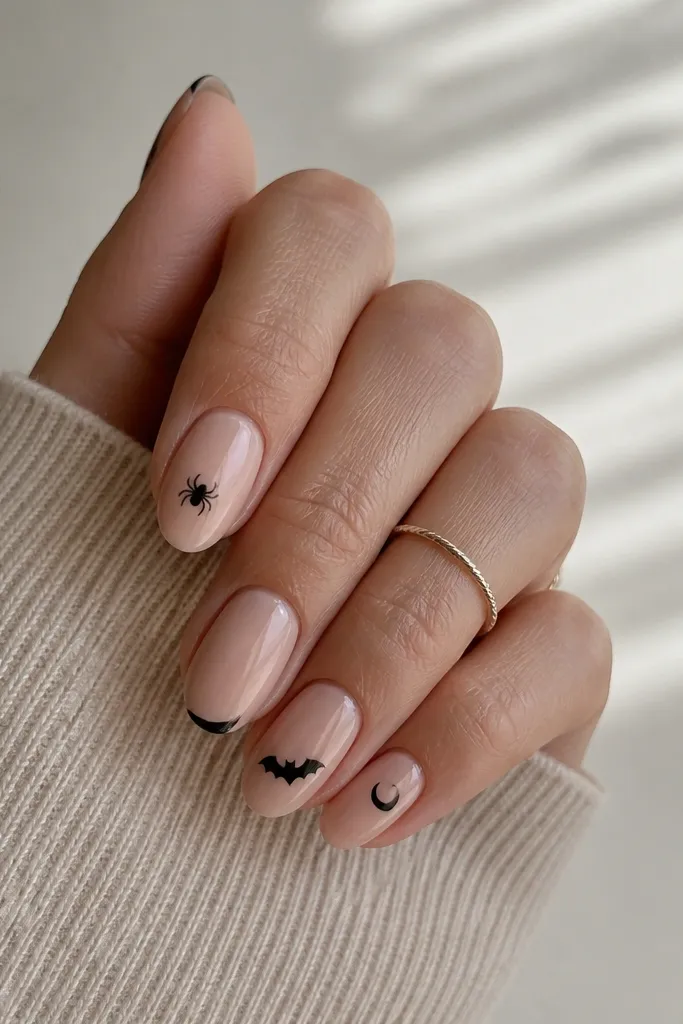
Silhouettes look clean when you keep the rest simple. A tiny silver crescent gives the cat a clear scene without turning into a full mural. I like a nude base because the black shape pops, and the moon adds sparkle without glitter overload.
Use nude or sheer pink as your base on all nails. On two ring-finger nails (or one per hand if you want it calmer), paint a small crescent with silver chrome or metallic polish. Then use a black nail art liner to draw the cat shape - head, back arch, and tail - or stamp a cat silhouette if you have a plate you trust.
Pro tipMake the cat smaller than you think - a 1/3 nail-width cat looks intentional, while a big one looks cartoonish.
Watch outDon't add extra details like whiskers on short nails - they blur and make it look messy.
3. Spiderweb Half-Moons at the Cuticle
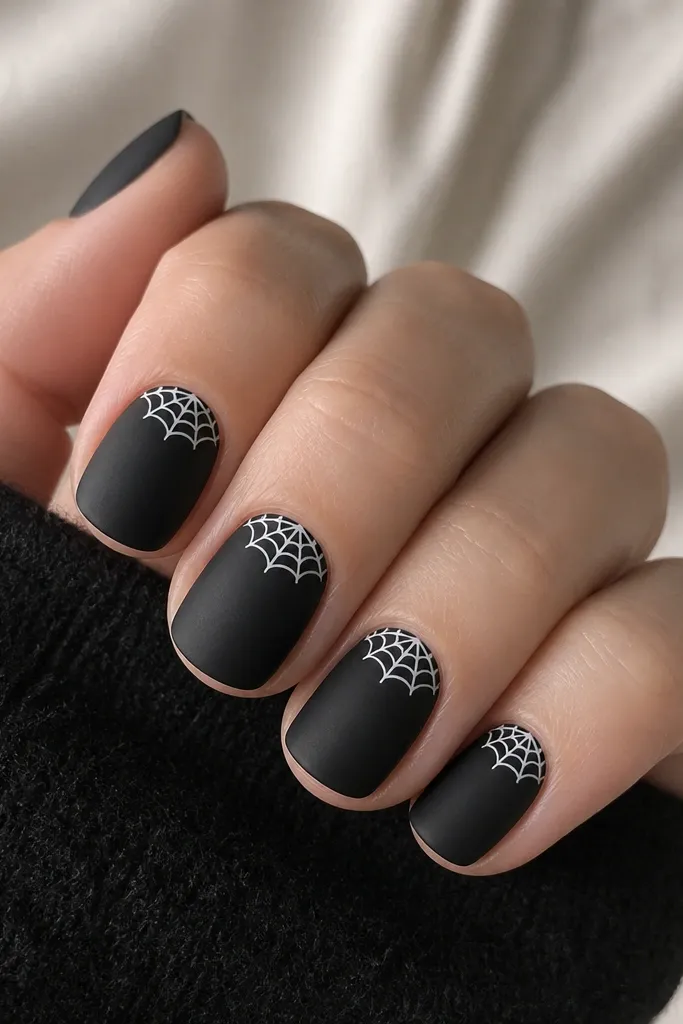
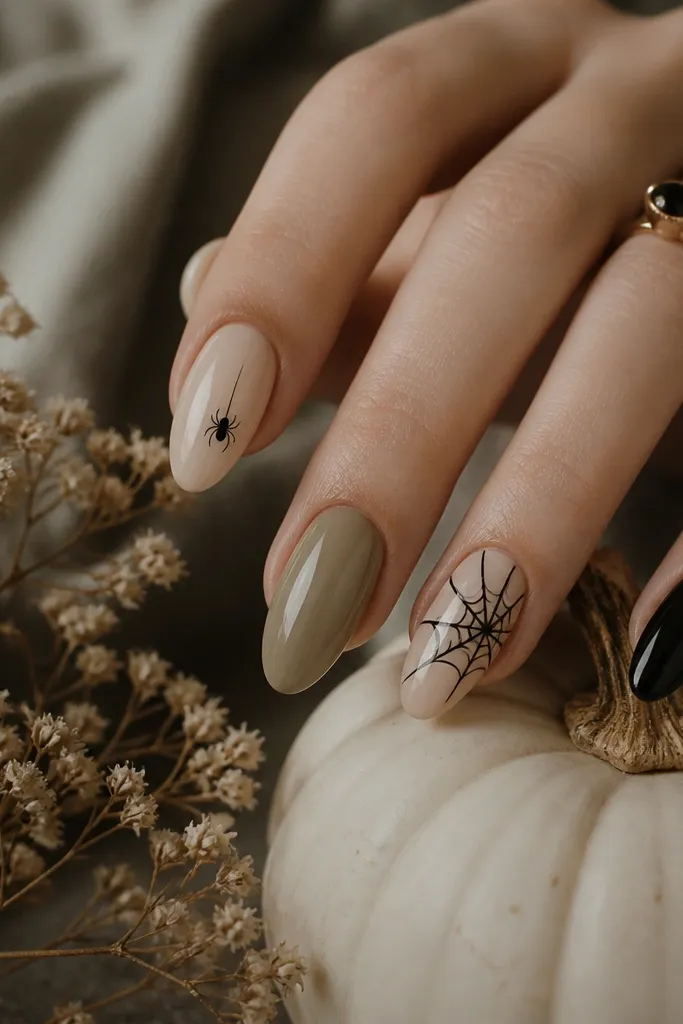
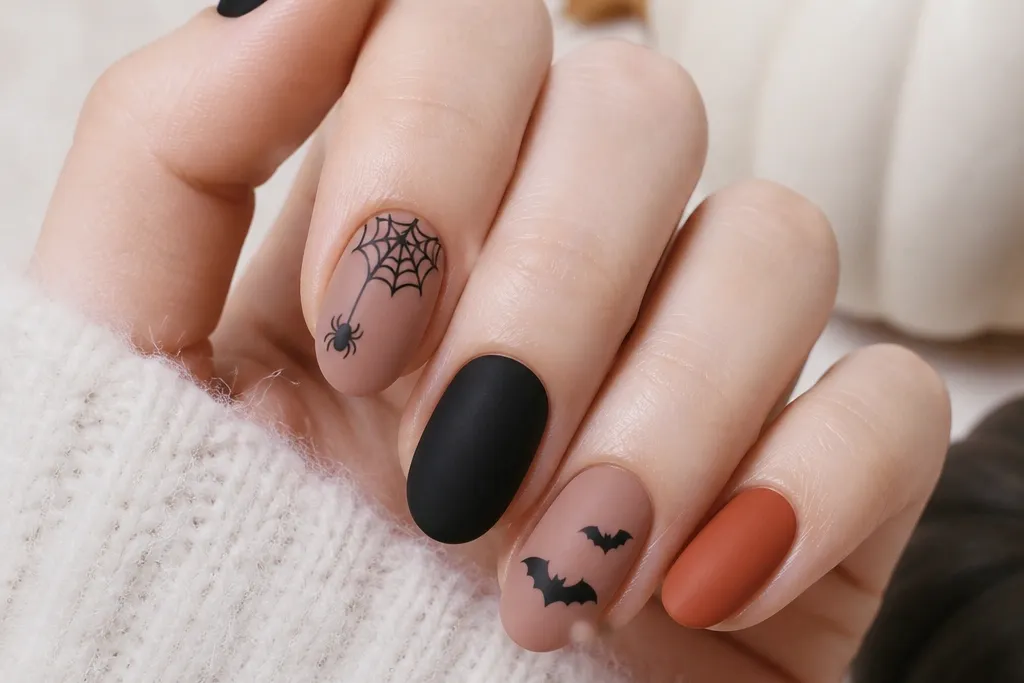
Cuticle webbing looks spooky but still neat because it's contained. Matte black makes the white lines look crisp and not shiny, and the half-moon shape frames your nail bed. This design is also forgiving - even if one line is slightly off, the web still reads as web.
Start with matte black polish. Using a white gel liner or striping polish, draw a U-shape at the cuticle line. Then draw 5 to 7 lines radiating from the center and connect them with 2 to 3 curved arcs. Finish with a matte top coat on the base area, or glossy only over the web if you want a little contrast.
Pro tipIf freehand webs stress you out, use a thin striping brush and do one nail at a time - don't try to keep pace across all ten.
Watch outAvoid thick white lines - they look like correction tape instead of webbing.
4. Oxblood Micro-Glitter Accent Nail
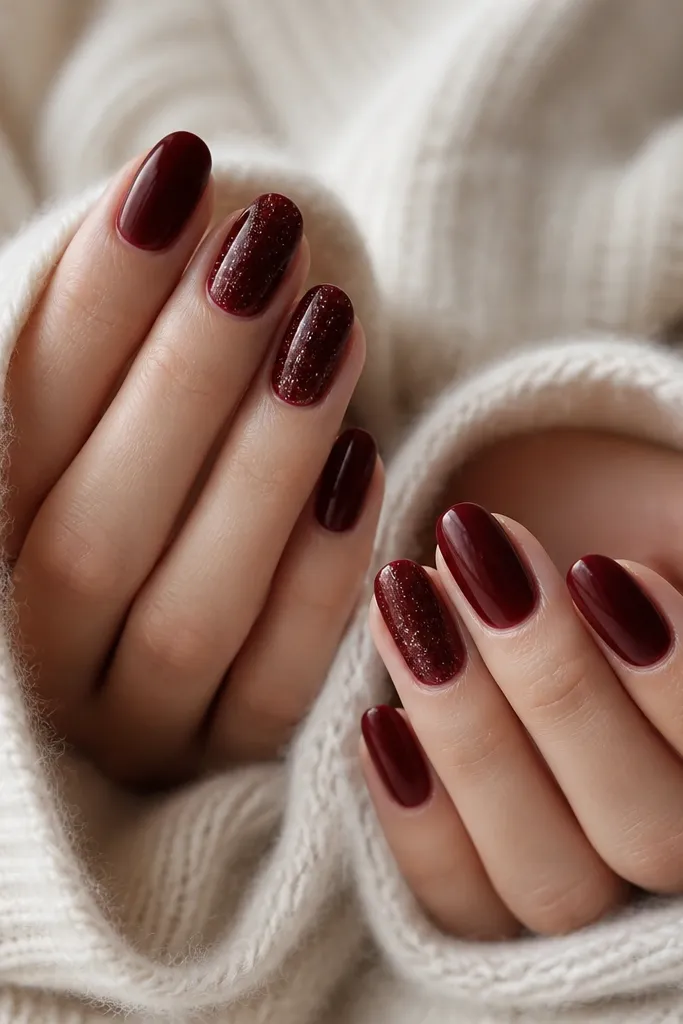
This is Halloween without characters. Oxblood reads like old wine and it looks dark even in daylight. The micro-glitter gives that "night out" sparkle, and the fade keeps it from looking like Halloween confetti.
Paint all nails oxblood gel or polish. On two accent nails, add micro-glitter in the middle only - like a vertical oval. Blend it outward with a clean sponge or a small flat brush lightly pulled through the glitter while it's still tacky.
Pro tipUse a glitter that's finer than you think (think dust, not chunks) so it doesn't catch on fabric.
Watch outSkip chunky glitter - it chips and catches fast.
5. Witch Green Dots with One Blood-Red Nail
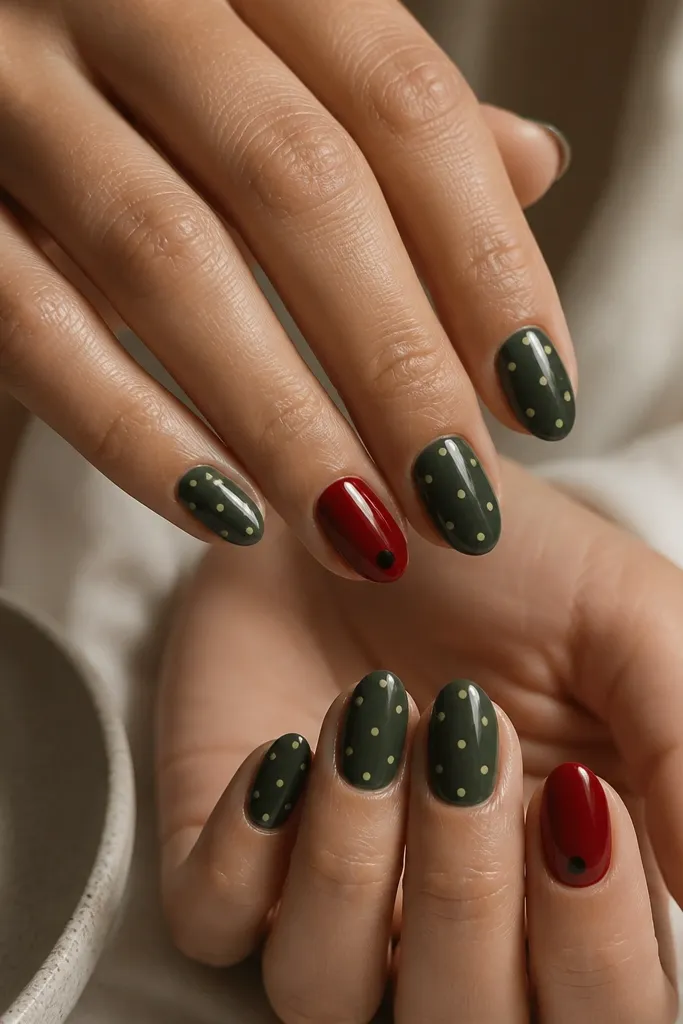
Dots look playful and spooky at the same time, and witch green is a Halloween color that still feels wearable. The blood-red nail gives you a focal point so the manicure doesn't feel random. Keeping the black dot small keeps the design sharp rather than gory.
Base coat witch green on all nails. Use a dotting tool to place 5-8 lime dots per nail - I space them like a loose diagonal. Paint one accent nail blood red on each hand, then add one tiny black dot near the free edge.
Pro tipRinse the dotting tool between colors so your lime doesn't turn muddy green.
Watch outAvoid uneven dot sizes - mix sizes on purpose, but don't let them grow by accident.
6. Clear Skittle Pumpkin Nails
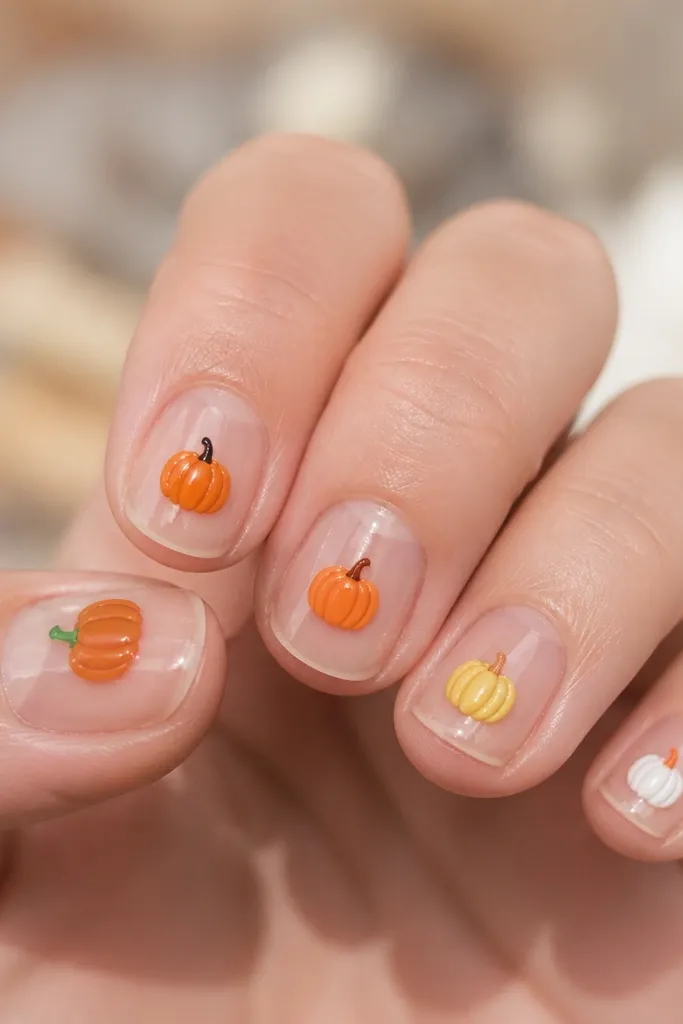
This is the Halloween look that feels light and modern. Clear jelly bases make the pumpkin art look like it's floating, and short rounded tips keep it clean. You get variety without needing full nail coverage.
Start with a clear jelly polish. Paint tiny pumpkin shapes with an orange liner (a simple oval with a stem). Add 3 pumpkins each in different color combos and keep the rest as plain clear jelly or one accent nail. Finish with a glossy top coat to deepen the jelly look.
Pro tipUse a nail art pen for stems - a brush stem always smears on jelly bases.
Watch outDon't use matte on a clear jelly base - it kills the floating effect.
7. Matte Black with Orange Line "Cracks"
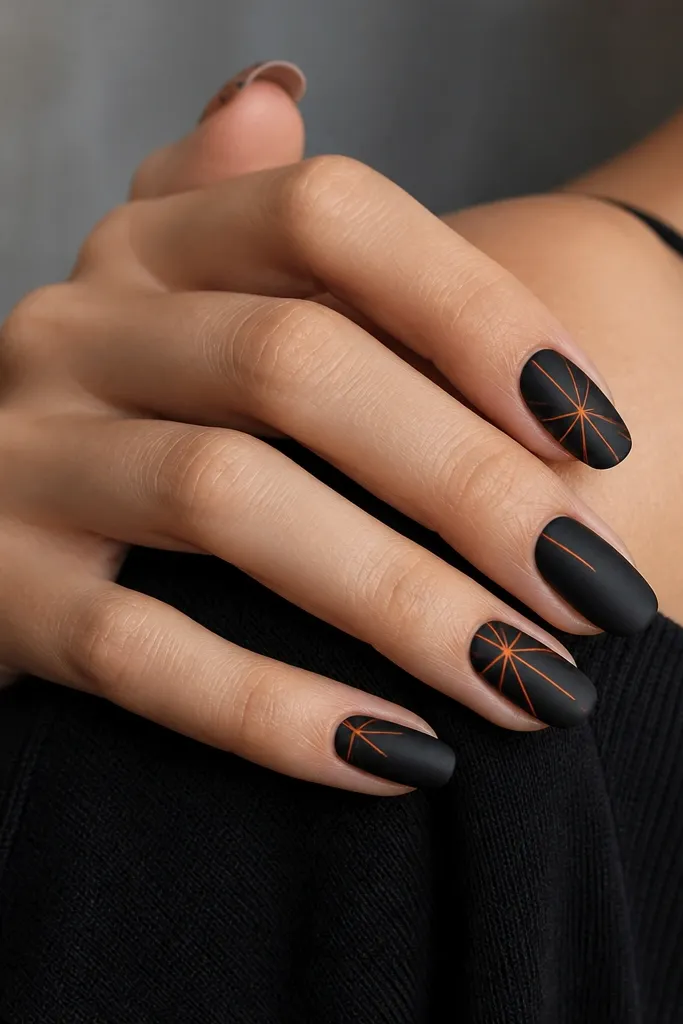
Crack lines look like cracked glass or a broken pumpkin shell, and they stay simple when you keep them thin. Matte black creates a flat background so the orange lines pop. It reads Halloween even if someone doesn't know exactly what it is.
Paint matte black on all nails. With an orange striping polish, draw 2-4 lines per nail, varying length. Add a tiny dot at one end of each crack for a "glow" effect if you want a little extra.
Pro tipLet the matte base dry longer than you think. If you rush, the orange line drags and looks uneven.
Watch outSkip thick lines - they look like marker drawings.
8. Ghost Face Negative Space
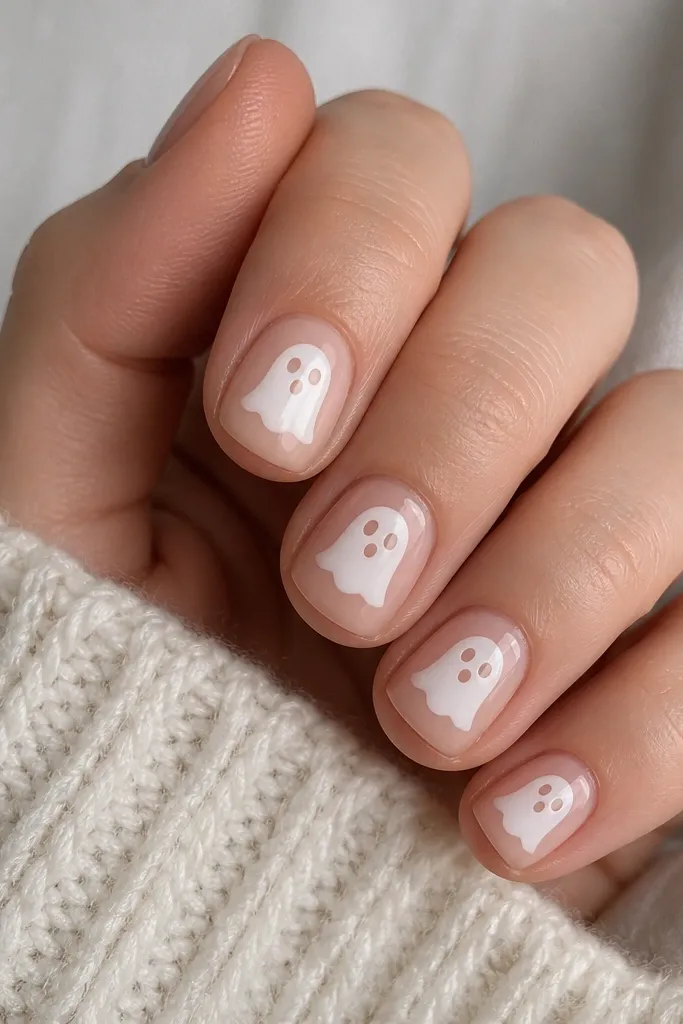
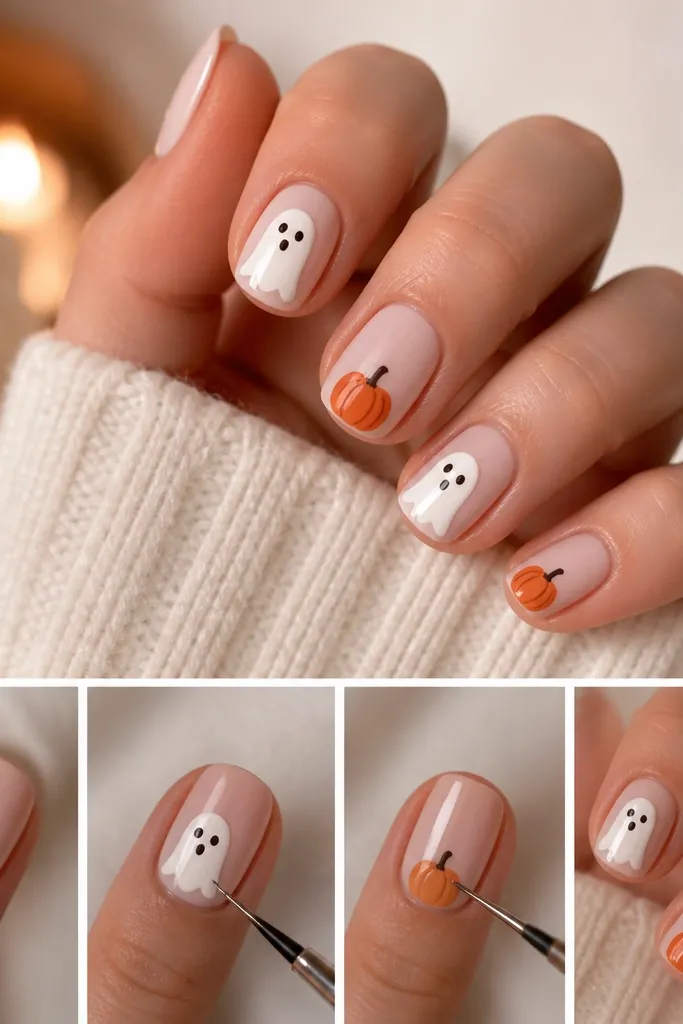
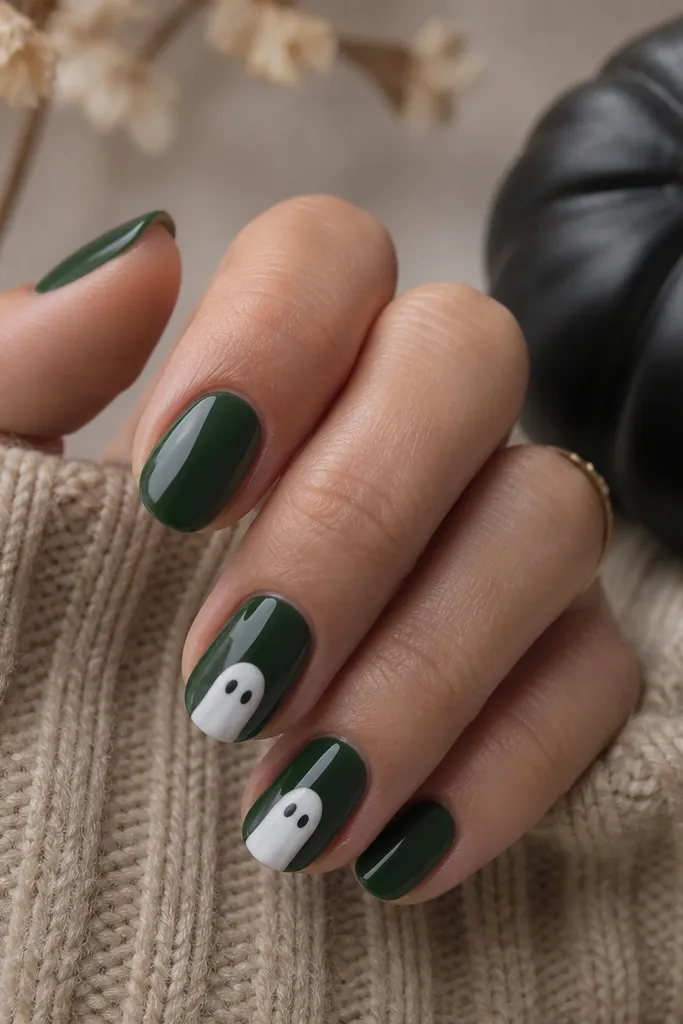
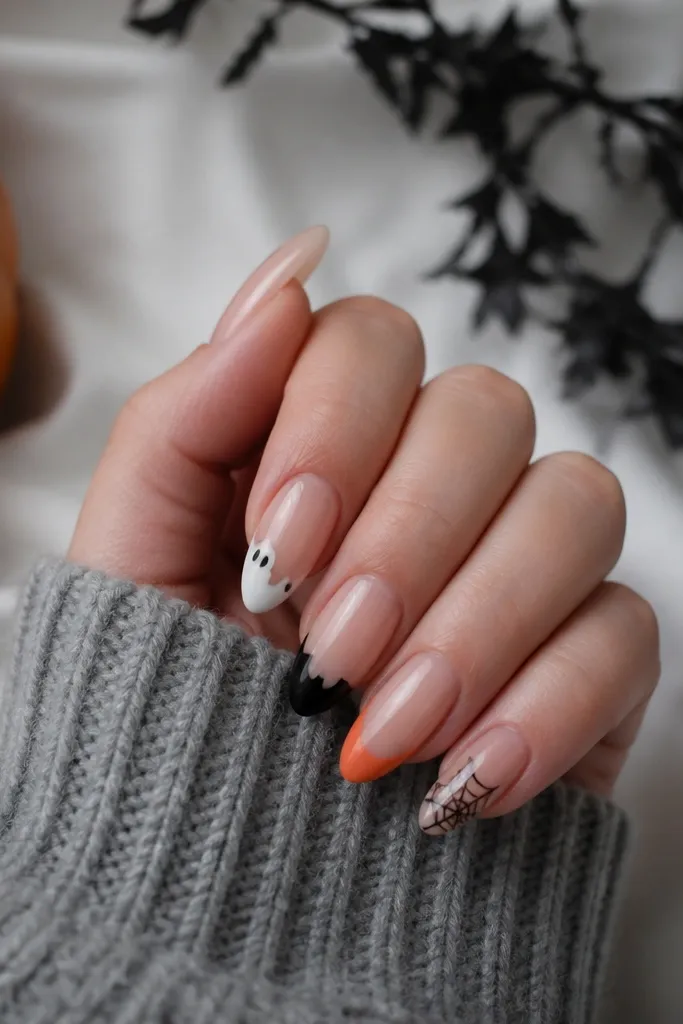
Negative space keeps ghost faces readable and clean. The nude eyes and mouth make the expression sharp instead of muddy. White on nude looks bright, even under warm indoor lighting.
Use a glossy nude base. Draw a simple ghost outline: a rounded top, two small bumps on the sides, and a wavy bottom. Leave two small nude ovals for eyes and one small nude curve or rectangle for the mouth. Seal with a glossy top coat.
Pro tipUse a dotting tool for the eyes first, then draw the mouth - it's faster than trying to freehand everything in one go.
Watch outDon't outline too close to the cuticle - the ghost body should sit in the center third.
9. Orange Marble Accent with Black Veins
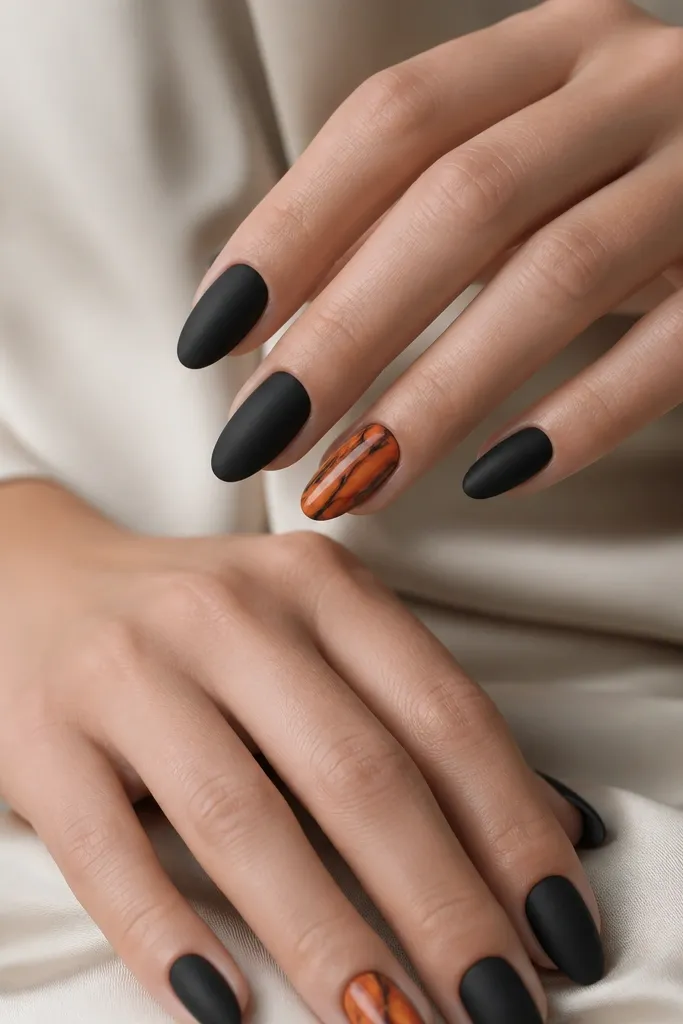
Marble looks high-effort, but you can do it with regular polish and a sponge if you keep the pattern controlled. Black veins make the orange look like it's lit from within. Keeping it to one accent nail keeps it simple.
Paint matte black on all nails. For the accent, dab small patches of orange and amber polish on a makeup sponge, then press onto the center of the nail. Drag a toothpick lightly through while still tacky to pull thin black lines through the orange.
Pro tipDo the marble right after you finish base color on that nail so it stays workable for blending.
Watch outAvoid heavy marble on every nail - it turns into a busy mess fast.
10. Silver Foil Crescent on Clear Pink
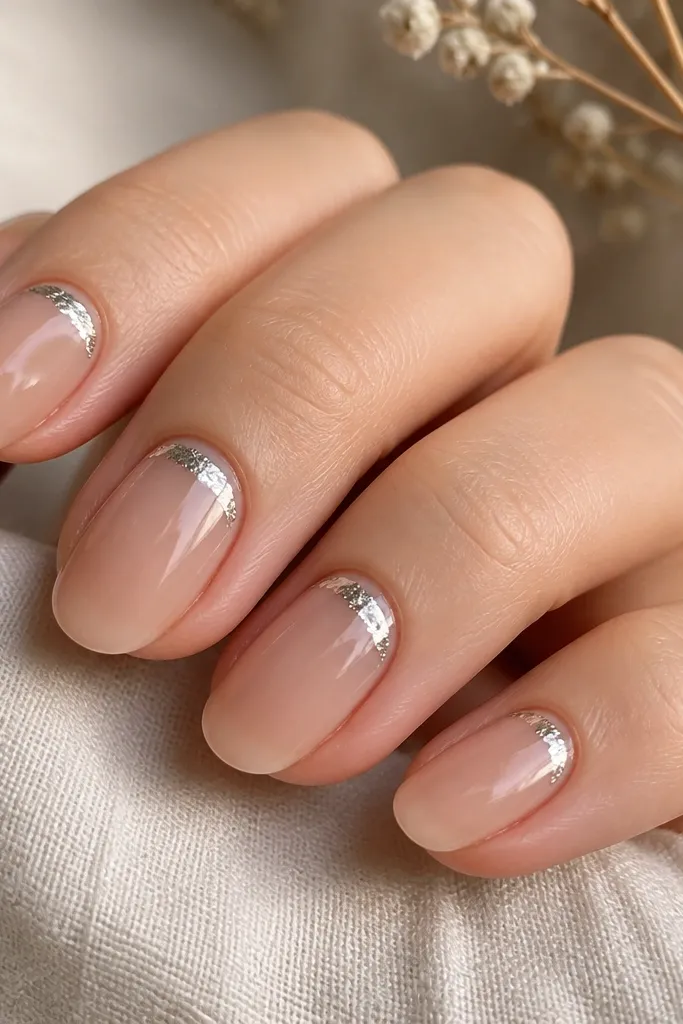
Foil crescent nails look like moonlight, not costume glitter. Clear pink keeps it flattering on every skin tone, and the foil catches light without needing thick paint. It's simple because it's one shape repeated.
Use clear pink or sheer blush gel. Apply foil glue in a crescent shape near the cuticle, then press silver foil onto it. Add a thin layer of top coat over the foil so edges don't lift.
Pro tipTrim any lifted foil edge with a fine file before top coat. It stops peeling later.
Watch outAvoid thick foil glue - it makes the crescent look bumpy.
11. Pumpkin French with Half-Orange Tips
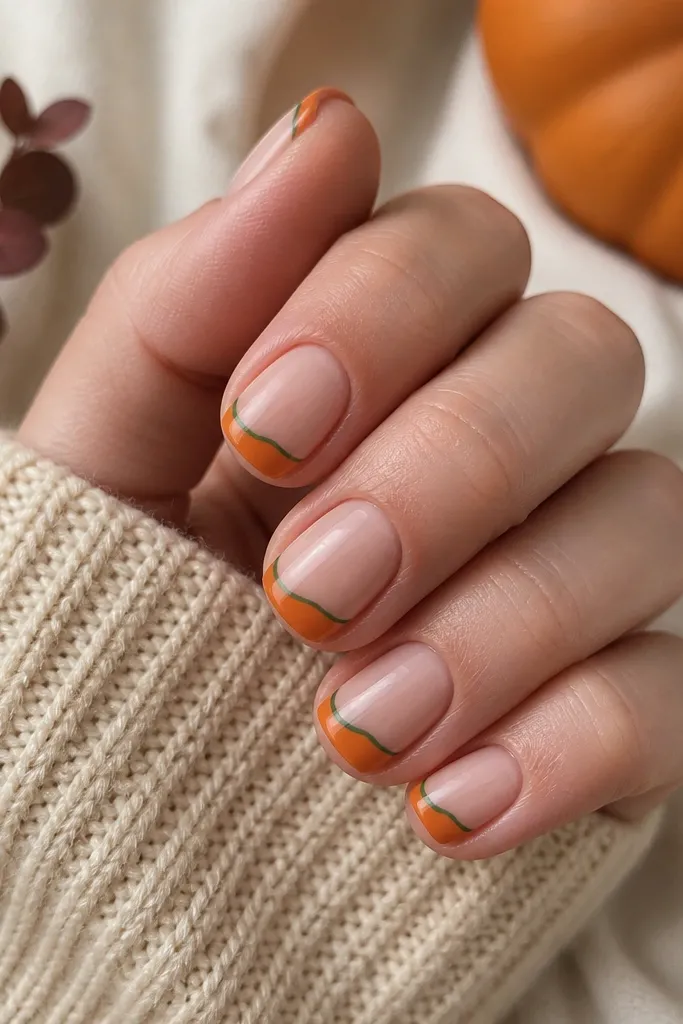
A French tip usually feels clean, so Halloween only needs a twist. Half-orange tips create a graphic look that doesn't cover the whole nail, which means less chipping risk. The thin green line makes it read as pumpkin without drawing full pumpkins.
Paint nude base. Use striping tape to block one side of the tip, then paint orange on the exposed half. Remove tape while polish is still slightly tacky. Add a tiny green line at the boundary with a detail brush.
Pro tipKeep the tape edge crisp by pressing it down with a cuticle pusher wrapped in tissue.
Watch outSkip rounded tape edges - they make the split look accidental.
12. Black Rosebud on Opaque Nude
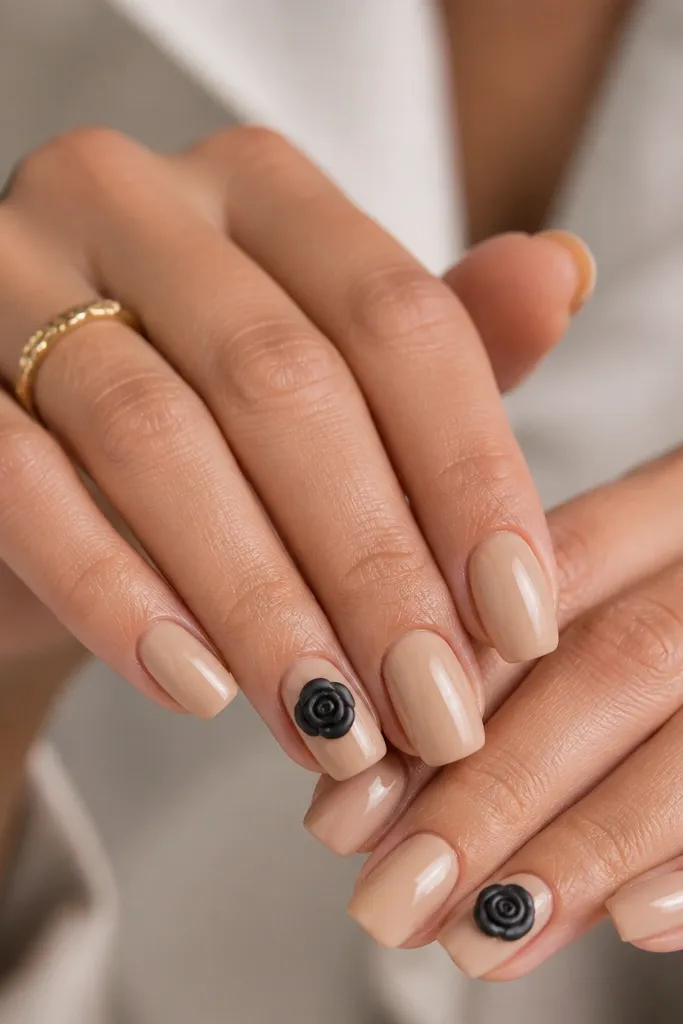
This one looks Halloween because black flowers look like they belong in a dark story, not because it has skulls everywhere. The rosebud is small and centered, so it reads as intentional art. Opaque nude makes sure the black flower stays crisp against your skin.
Start with opaque nude polish (not super sheer). For the rosebud, paint a tiny black dot, then pull 5-7 petal strokes outward with a dotting tool tip or nail art brush. Layer lightly - don't flood the center or the spiral spreads.
Pro tipIf your flower looks flat, add a second tiny spiral inside the first one after the first layer dries.
Watch outAvoid big flowers on short nails - they swallow the nail shape.