1. Jewel Half-Moon with Thin Gold Line
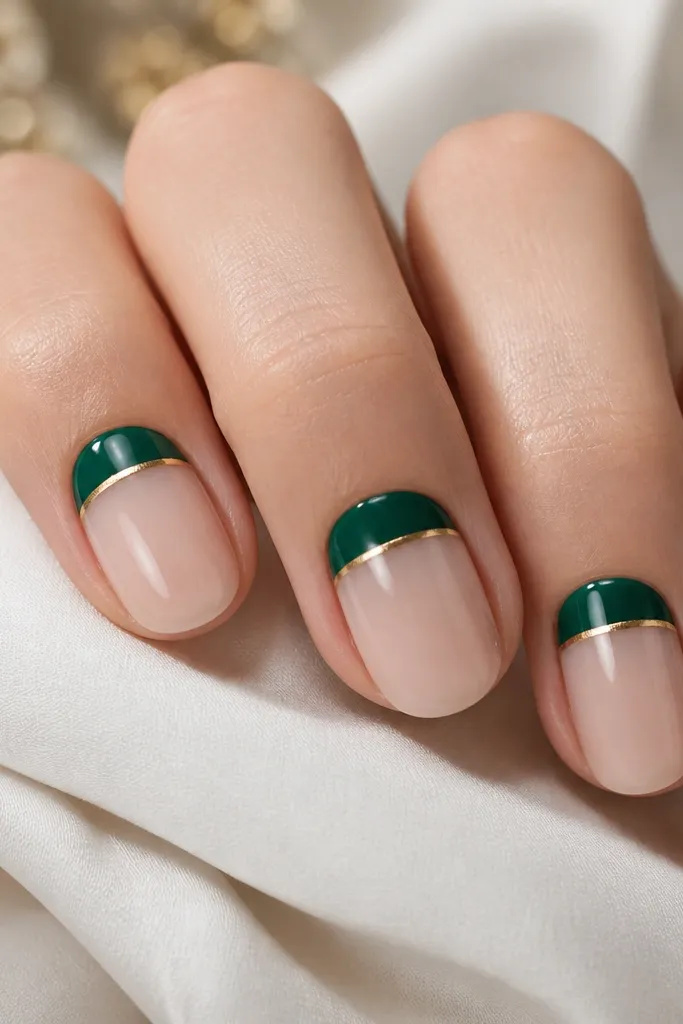
This design works because the gold line is narrow enough to look like jewelry wire. The emerald sits only in the half-moon area, so it stays deep and clean instead of getting muddy across the whole nail. Leave the rest bare or sheer nude so the gold has space to catch light.
Paint a sheer nude base, then use a small half-moon stencil or the edge of a makeup sponge to place emerald at the cuticle. Cure, then add a 0.5-1 mm strip of gold striping polish right where emerald meets nude. Top coat glossy and keep the gold line flat - no thick blobs.
Pro tipIf your gold polish is too thick, drag it with a liner brush dipped lightly in thinner or cleaner so it lays down as a hairline.
Watch outDon't flood the cuticle area with gold - it makes the line look lumpy after top coat.
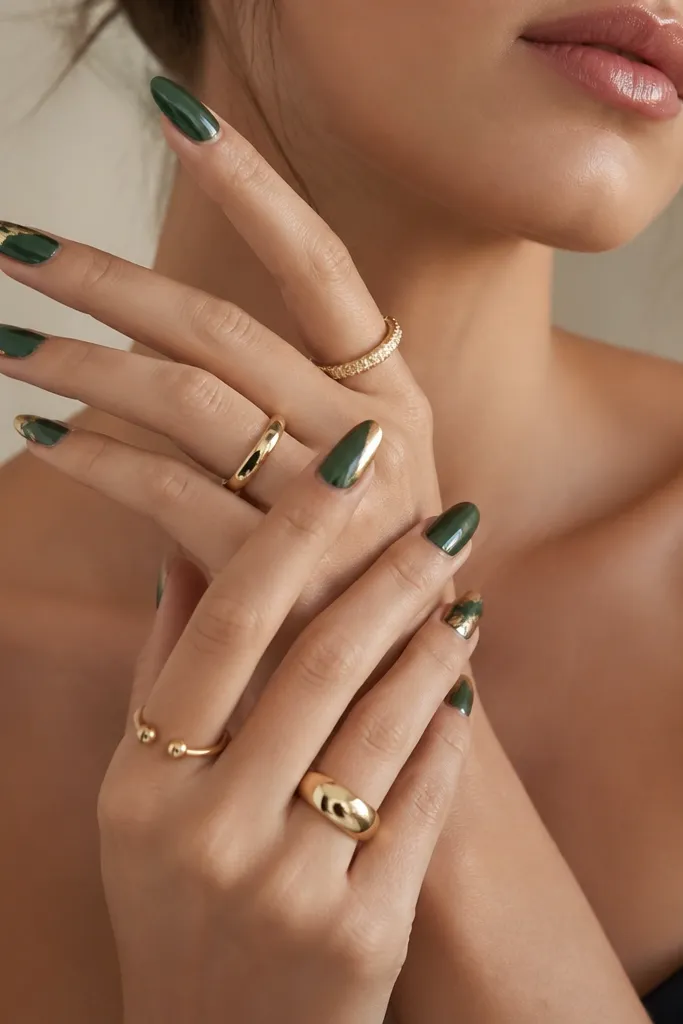
2. Emerald French Tip with Foil Corner
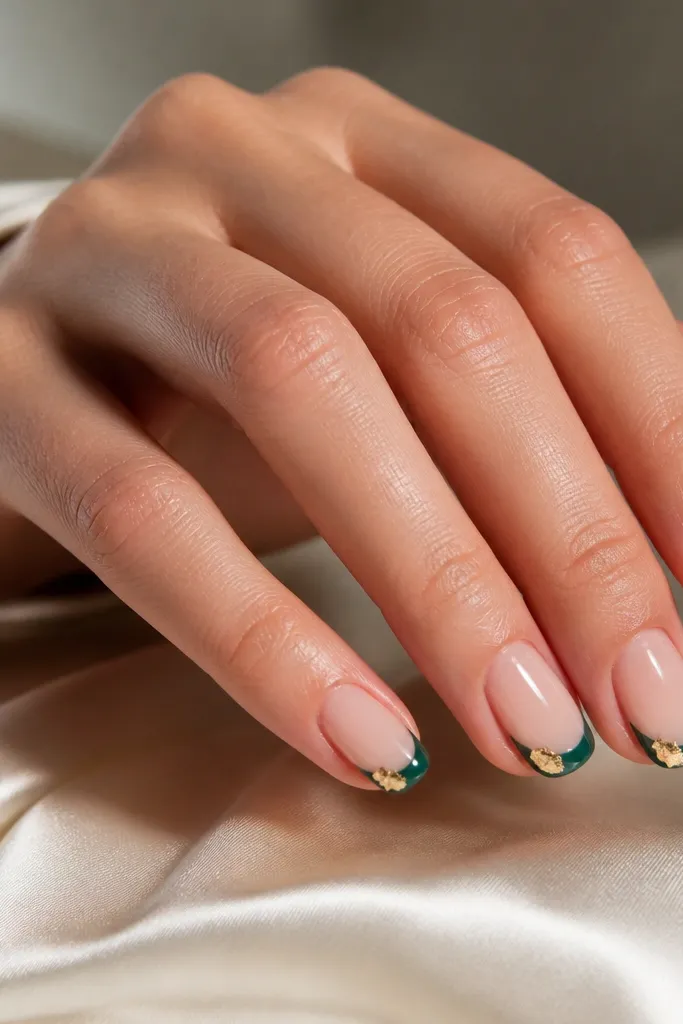
French tips already look polished. Swapping the tip color to emerald gives that deep, expensive jewel vibe, and the gold foil corner adds sparkle without covering the whole tip. The foil breaks up the straight edge so it looks less like a template.
Use a nude base that matches your skin tone, then apply emerald tips with a guide strip or freehand. While the tip is still tacky (gel) or before top coat (non-gel), dab gold foil at the outer corner only. Seal with glossy top coat so the foil doesn't snag.
Pro tipKeep the foil corner smaller than a match-head. Big foil squares look costume-y fast.
Watch outAvoid uneven tip curves - if one side is higher, the gold corner will make it look worse.
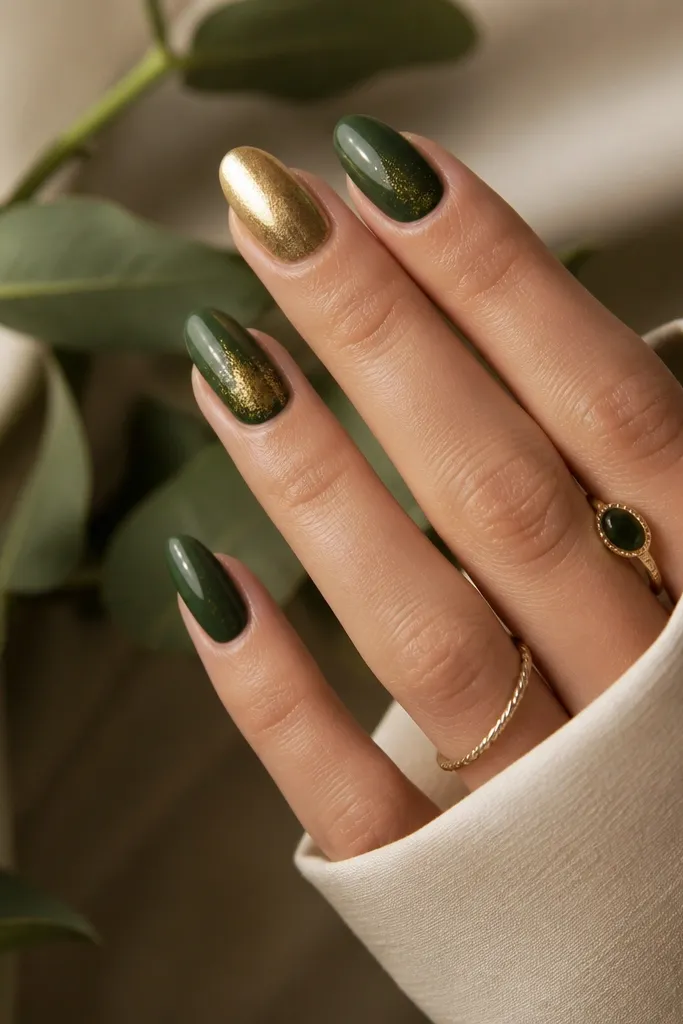
3. Melted Gold Foil on Emerald Jelly
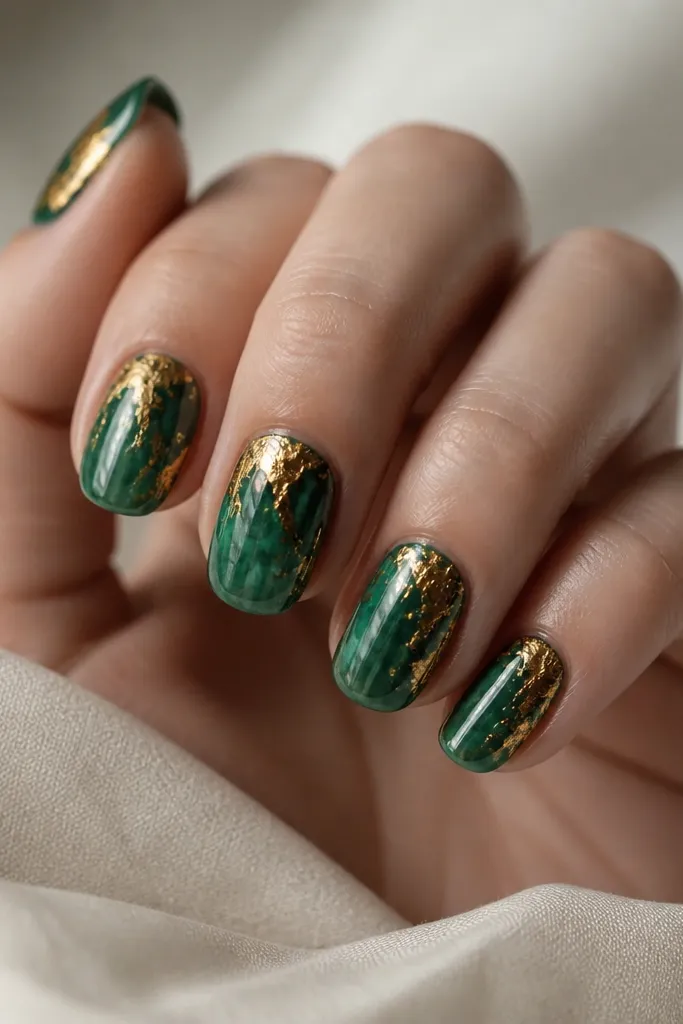
Jelly emerald makes the gold look like it's floating. The translucent base gives depth, and foil placed in a "melt" pattern creates movement - it doesn't look flat or sticker-like. This is one of the easiest ways to make cheap emerald green and gold nails look luxe because the foil does the heavy lifting.
Apply 2 coats of emerald jelly (thin coats) then cure. Press gold foil flakes at the center using a silicone tool or tweezers, then gently smear small pieces outward. Seal with 2 layers of top coat - foil needs extra coverage to feel smooth.
Pro tipUse a makeup sponge to lightly tap the jelly around where you'll place foil so the transitions look natural.
Watch outDon't use a creme emerald under foil if you want the floating look - it turns flatter.
4. Emerald Marble with Micro Gold Veins
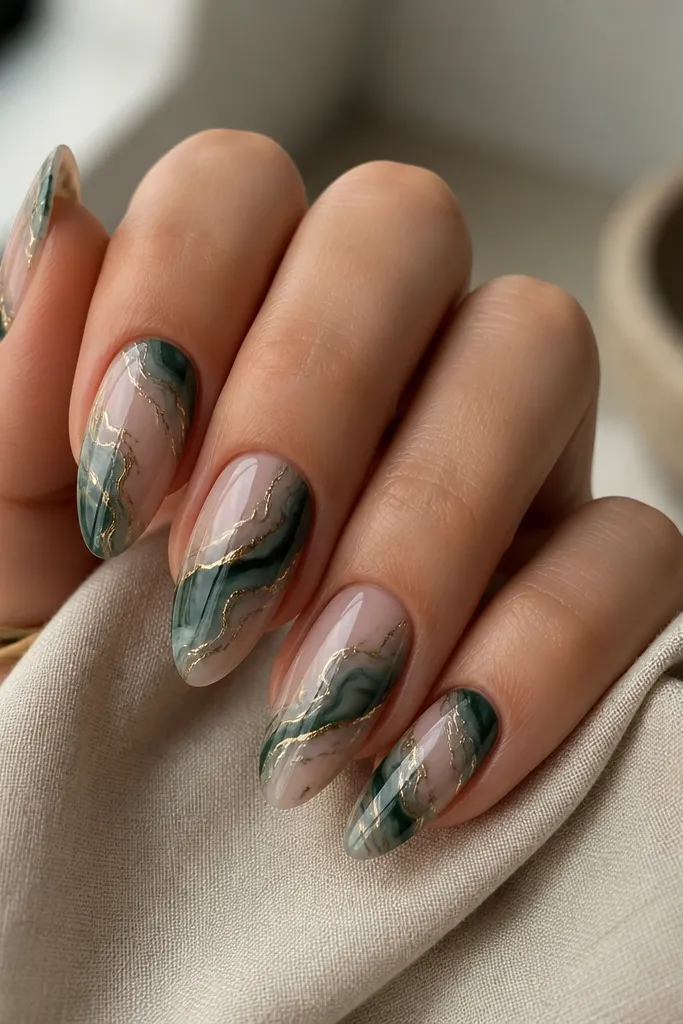
Marble reads fancy because it mimics stone. Emerald marble looks best when it's not too busy, and micro gold veins add that "luxury jewelry" feel. The key is using thin lines, not glitter, so it looks like metal in the stone.
Start with a nude base. Add a translucent emerald layer, then drag a small dotting tool or thin brush through slightly wet green to create marble strokes. Use a liner brush to draw 1-3 thin gold lines along the marble flow, then top coat glossy.
Pro tipMarble looks real when you vary line thickness. Do one thicker vein and two thinner ones.
Watch outSkip chunky gold glitter here - it kills the stone effect.
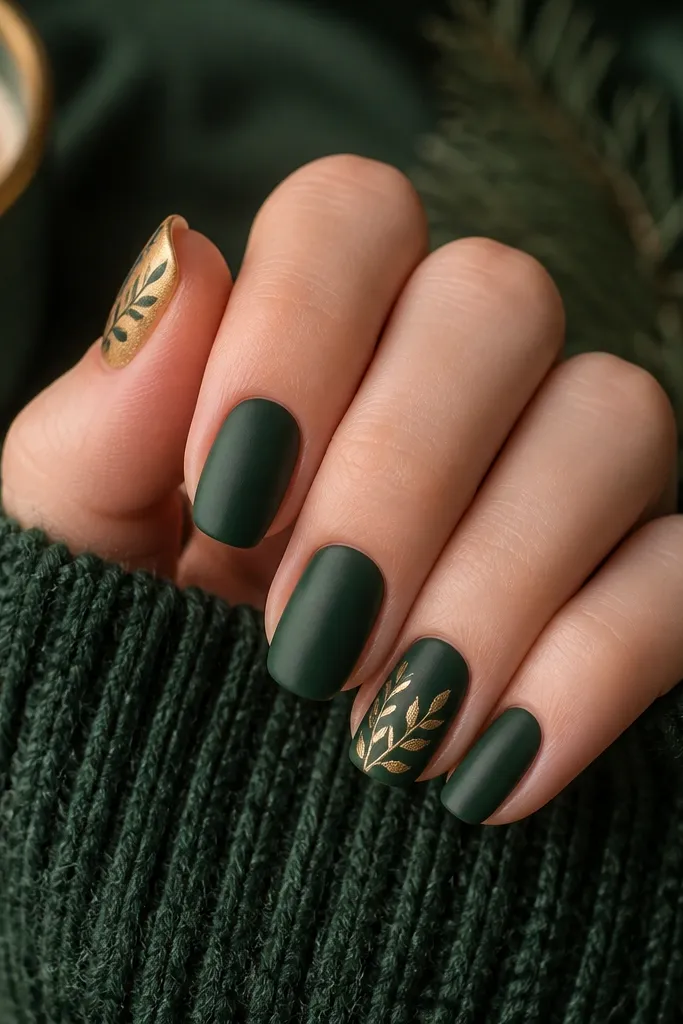
5. Satin Emerald with Gold Leaf Tips
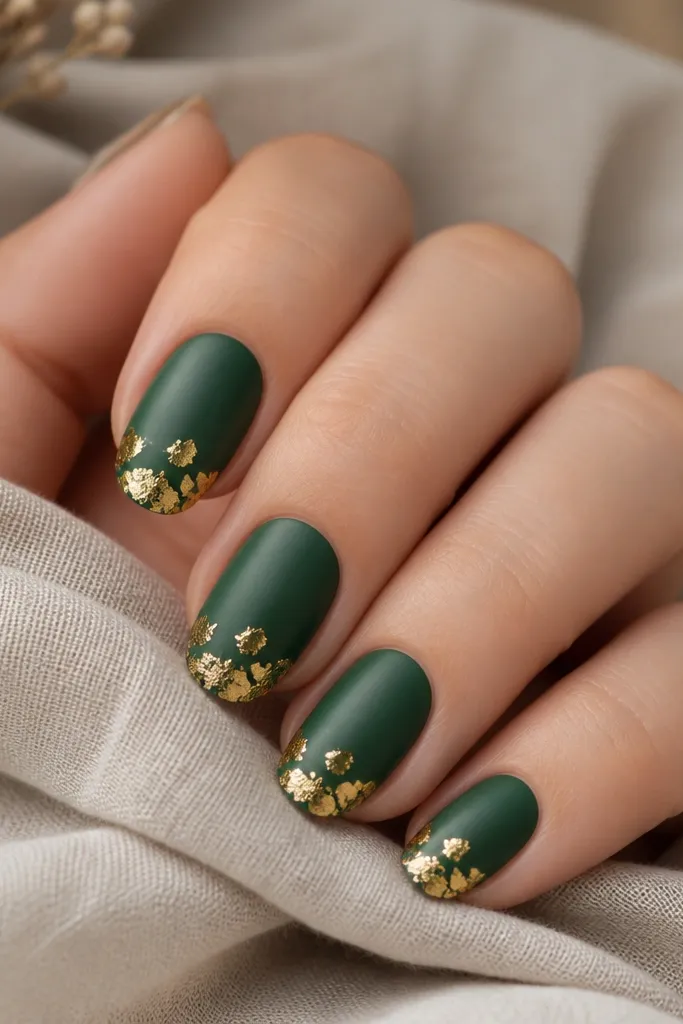
Matte or satin turns emerald into a soft lacquer color. Gold leaf at the tips looks like gilded edges on stationery - classy, not flashy. This combo is forgiving because leaf pieces hide tiny brush mistakes.
Paint full emerald, cure, then apply a satin top coat (not full matte if you want it softer). Add gold leaf to the tip using a leaf adhesive or a tacky layer, then press gently. Finish with another satin coat around the leaf edges.
Pro tipUse a barely damp lint-free wipe on your leaf placement tool. It helps leaf stick without tearing.
Watch outDon't use a super glossy top coat over gold leaf - it can make leaf look like it's floating.
6. Negative Space Emerald V with Gold Base
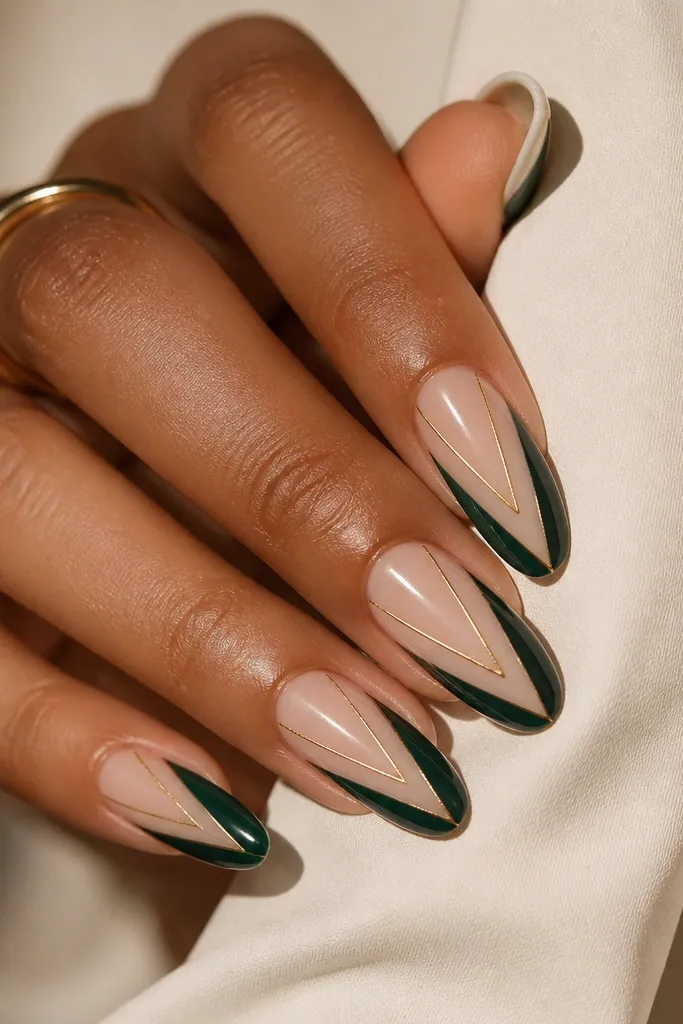
The negative space V creates a sharp silhouette that looks expensive. Gold outlines make it read intentional, while emerald blocks add the jewel color. It's a great design if you're doing short nails because the shape lengthens the look.
Paint emerald on the left and right sides of the nail, leaving a clear V gap in the middle. Cure, then outline both edges of the V with thin gold polish. Add a glossy top coat, keeping gold lines smooth.
Pro tipAngle your V so it points toward the center of your nail tip, not the cuticle.
Watch outAvoid thick gold filling the V gap. Keep it as an outline.
7. Emerald Ombré Fade with Gold Stipple
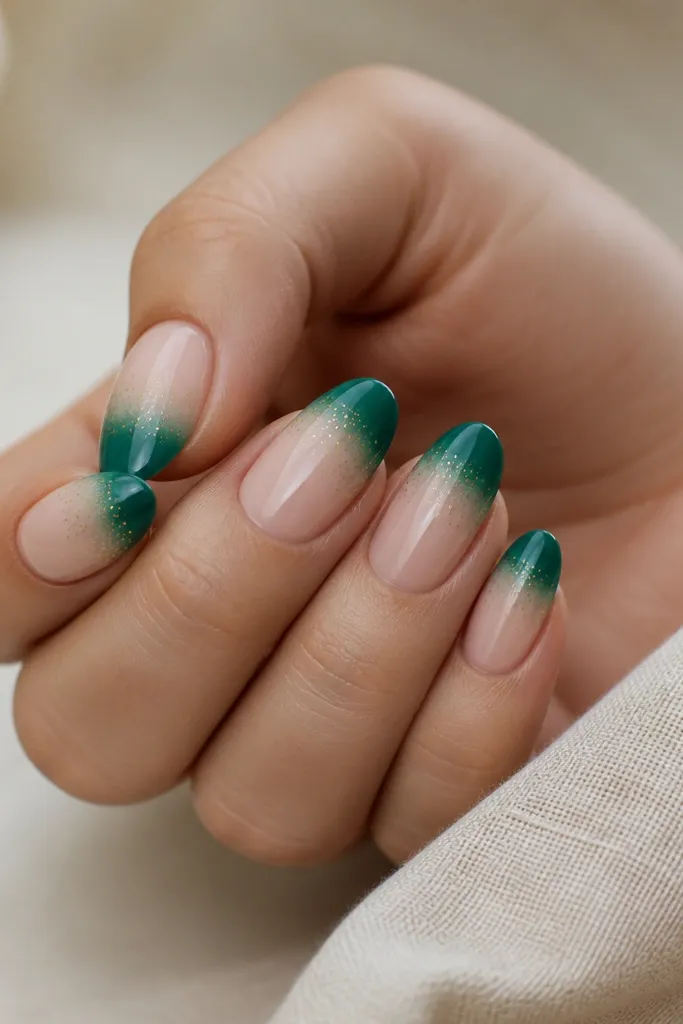
Ombré makes emerald look soft and expensive, especially when the fade is subtle. Gold stipple dots add texture like tiny highlights. The fade line is where your eye lands, so keep it clean.
Use an emerald polish mixed with a drop of clear or nude for the mid fade. Sponge from tip downward in 3 light layers. When the sponge layer is tacky, tap a small dotting tool with gold metallic polish to place dots along the fade boundary. Seal glossy.
Pro tipWipe your sponge off between layers. Dirty sponge makes the ombré look muddy.
Watch outSkip a hard line at the fade. If it looks like a stripe, your sponge pressure is too heavy.
8. Emerald Crackle with Gold Foil Fractures
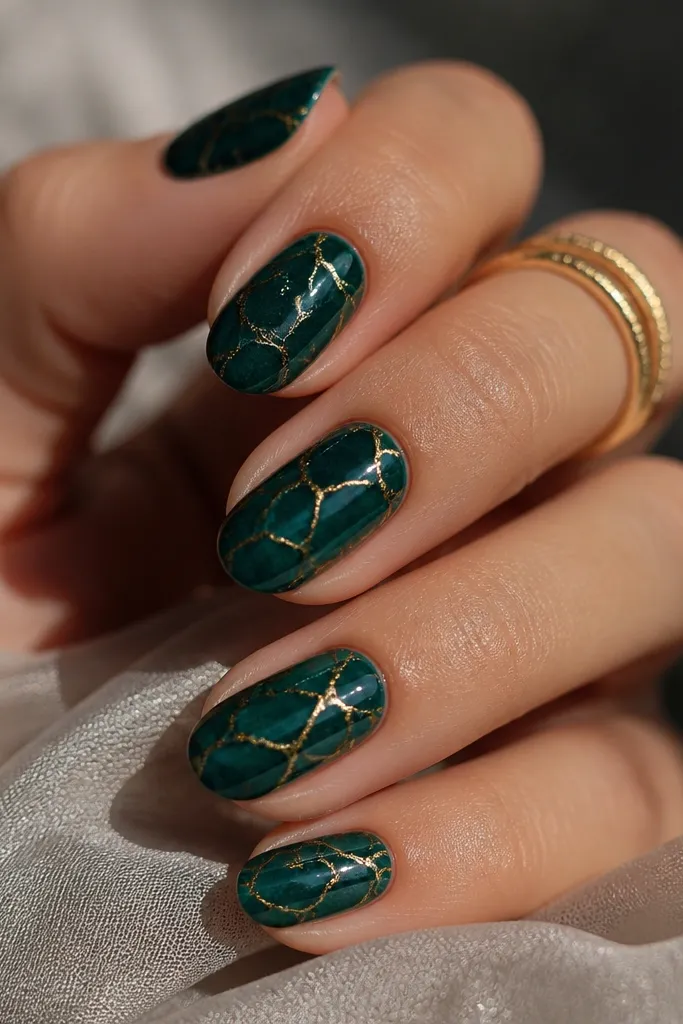
Crackle patterns look like broken glaze, which is perfect for emerald. Adding gold foil into the cracks makes the fractures look like metal seams. This one hides small application streaks because the crackle texture covers them.
Base coat nude or sheer. Apply emerald crackle polish (or use a crackle gel technique) and cure until the crack forms. Press tiny gold foil pieces directly into the crack lines, then top coat glossy.
Pro tipIf your crackle is too subtle, use a slightly thicker crackle layer - thinner layers crack less.
Watch outDon't rub the crackle after it starts forming. You'll smear the pattern.
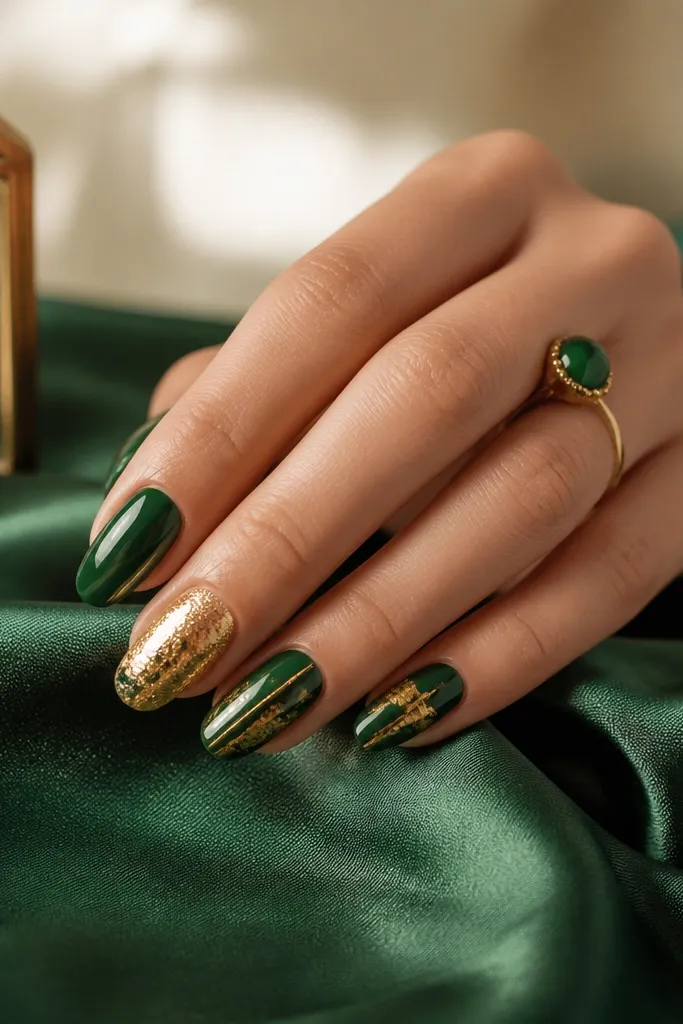
9. Gold Bar Accent on Emerald Full Color
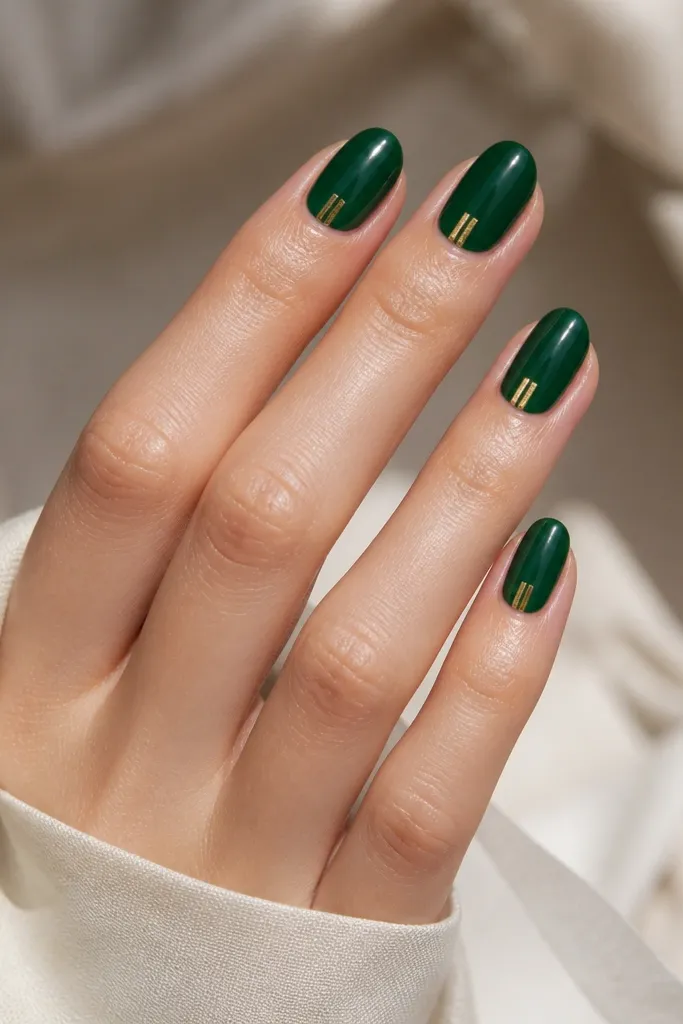
A single gold bar makes full emerald feel designed instead of plain. Keep the bar narrow and straight so it reads like hardware. This is the quickest way to get that "luxe manicure" look without complex art.
Paint full emerald and cure. Use striping tape to place a bar where you want it, then paint gold polish over the tape and remove carefully. If you don't have tape, use a liner brush and steady your hand on a table.
Pro tipMake the bar height about 1/3 of your nail length. Anything taller looks like a bandage.
Watch outAvoid gold bars too close to the cuticle. It can look crowded and grow out awkwardly.
10. Mini Emerald Top Spots with Gold Outline
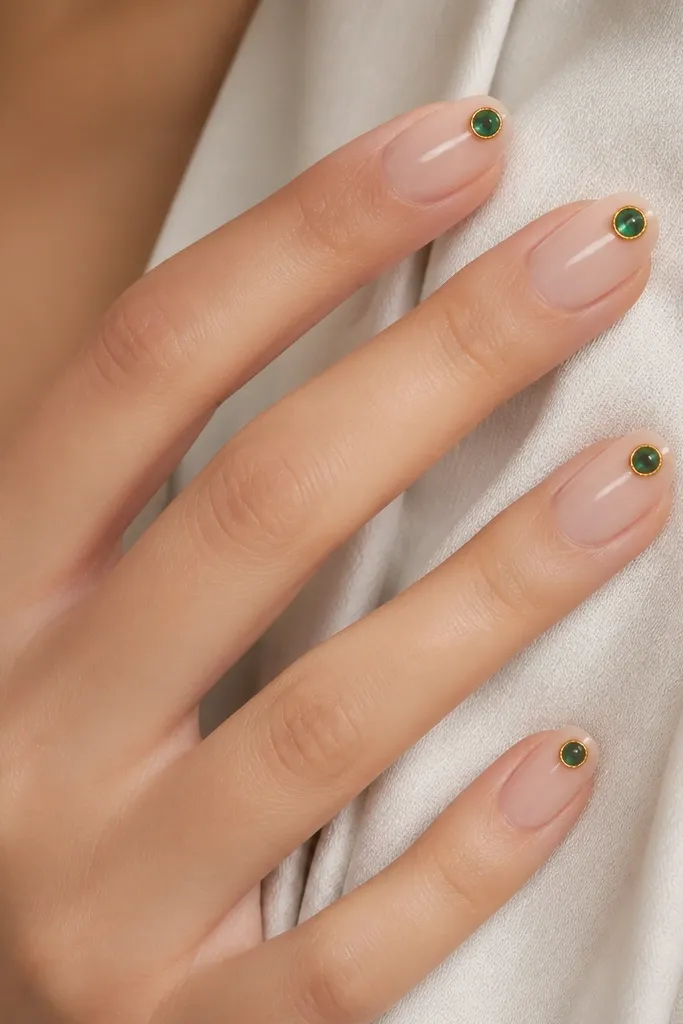
This looks like tiny gemstones because the emerald is concentrated into small spots. Gold outlines make the circles pop and keep the design from looking random. It's also forgiving if your circles aren't perfect - the gold defines the edge.
Start with nude base. Use a dotting tool to place small emerald circles near the tip, then cure. Trace around each circle with thin gold polish. Top coat glossy and avoid flooding the outline.
Pro tipKeep your circles different sizes by 1-2 mm. Stacked sameness reads fake.
Watch outDon't use thick metallic paint for the outline - it smears when you add top coat.
11. Emerald and Gold Skittle with One Marbled Nail
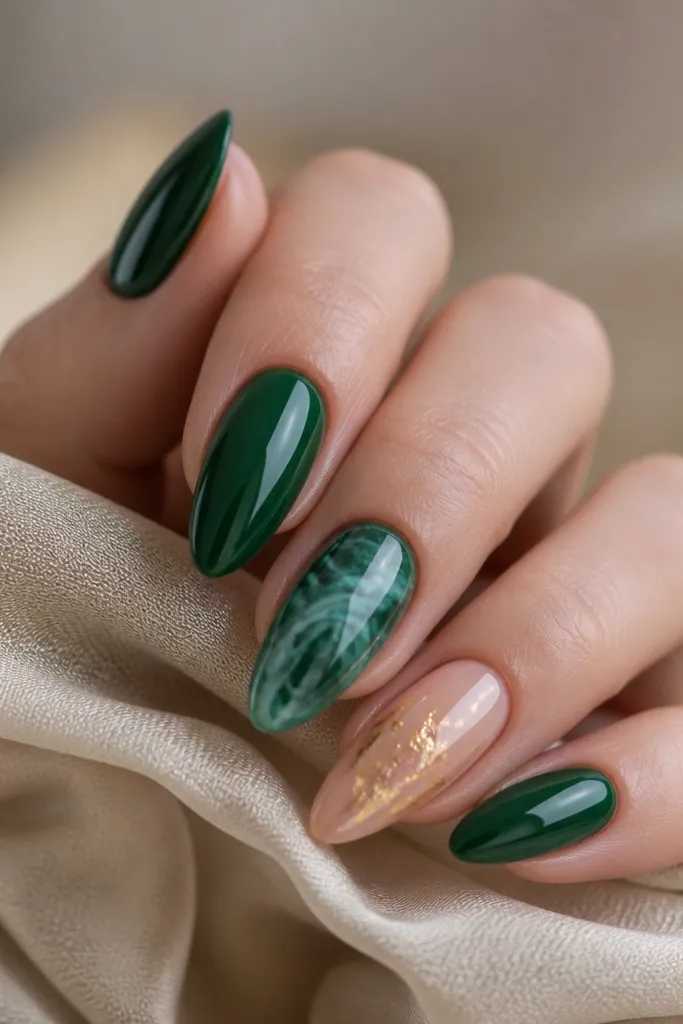
Skittle manicures look luxe when each nail has a clear job. Here, most nails stay simple (solid emerald or nude with a gold accent) and one nail gets the marble for drama. The mix makes cheap emerald green and gold nails look intentional even if the art is basic.
Pick 5 nail designs: 2 solid emerald, 1 nude with gold foil corner, 1 nude half-moon with gold line, and 1 emerald marble nail. Keep gold placement small across every nail so nothing looks overdone. Cure or dry fully, then top coat all.
Pro tipUse the same gold type across all nails - either foil or metallic polish - so the finish matches.
Watch outAvoid using three different gold products. Mixed textures look messy.
12. Emerald Gradient Tips with Gold Thread Line
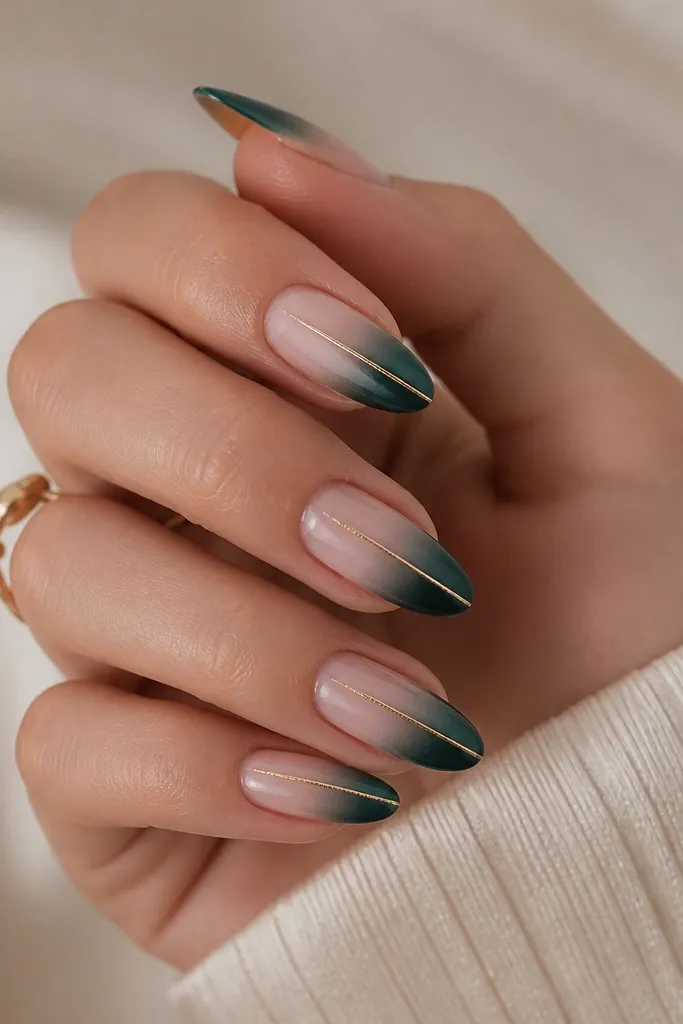
A gradient tip makes emerald look smooth and salon-made. The thin gold thread line adds a vertical "jewelry" effect that lengthens the nail. This is one of my favorite looks for hands that need to look polished fast.
Sponge emerald at the tip down to about 1/3 of the nail. Blend with a makeup sponge for a soft edge. With a liner brush, draw a single center gold line from just above the gradient into the tip. Seal glossy.
Pro tipIf your gold line wobbles, place a strip of tape as a guide and pull it off right after painting.
Watch outDon't make the gold thread too wide. 1 mm or less looks crisp.