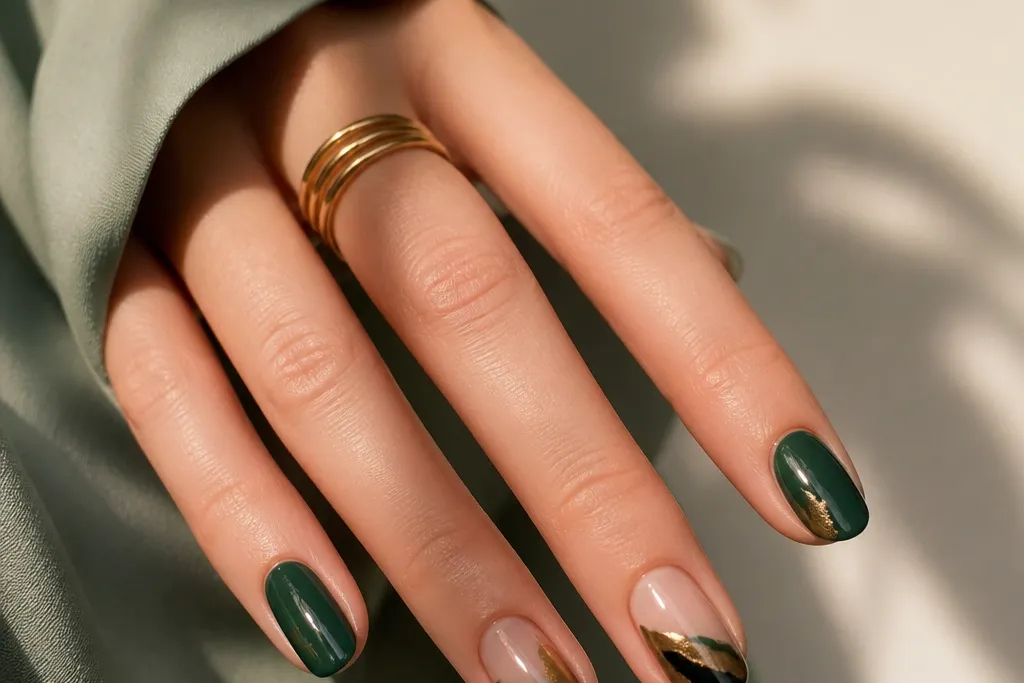
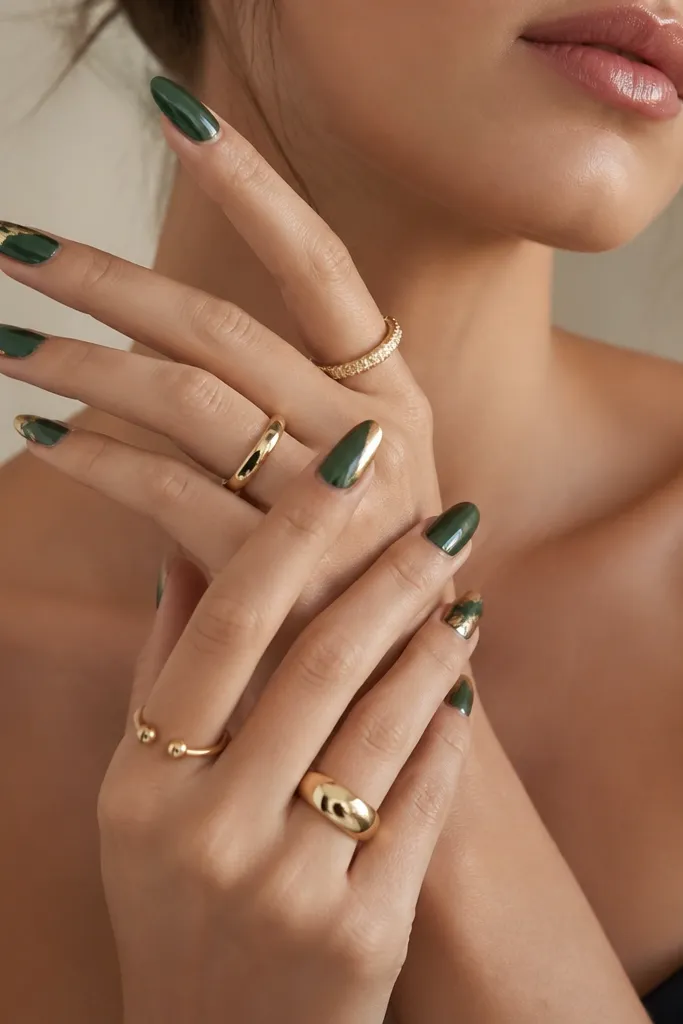
1. Forest Green Micro-French with Gold Foil Tips
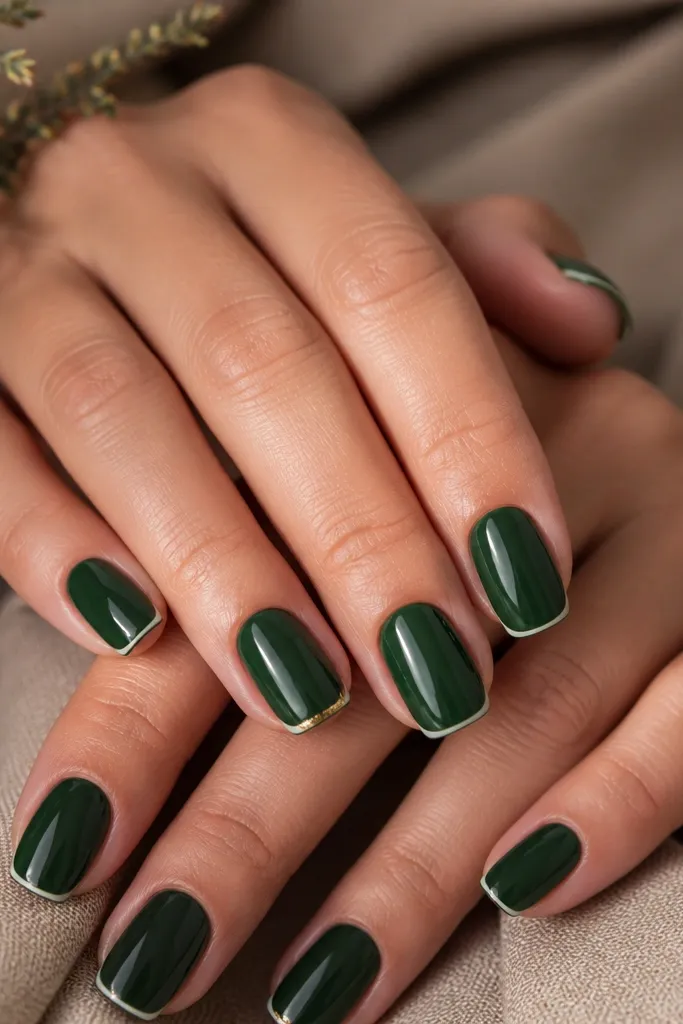
This one looks expensive because the gold is confined to the tip area, so it reads like jewelry. The forest green stays deep and stable, and the foil flakes catch light in tiny bursts instead of covering the whole nail. I like foil over chunky glitter here because it doesn't turn gritty or uneven. The micro-French line keeps the shape sharp without making it look like a holiday sticker.
Paint all nails opaque forest green. On the tips, place striping tape about 1-2 mm from the free edge to create the micro-French boundary, then remove tape and use a thin layer of foil glue or tacky gel at the tip only. Press gold foil flakes onto the gel, then seal with two coats of glossy top coat.
Pro tipIf your foil wants to lift, press it with a silicone tool for 20-30 seconds before curing.
Watch outDon't cover the full nail with foil - it makes the set look messy and harder to clean.
2. Emerald Chrome Half-Moons with Matte Gold Lines
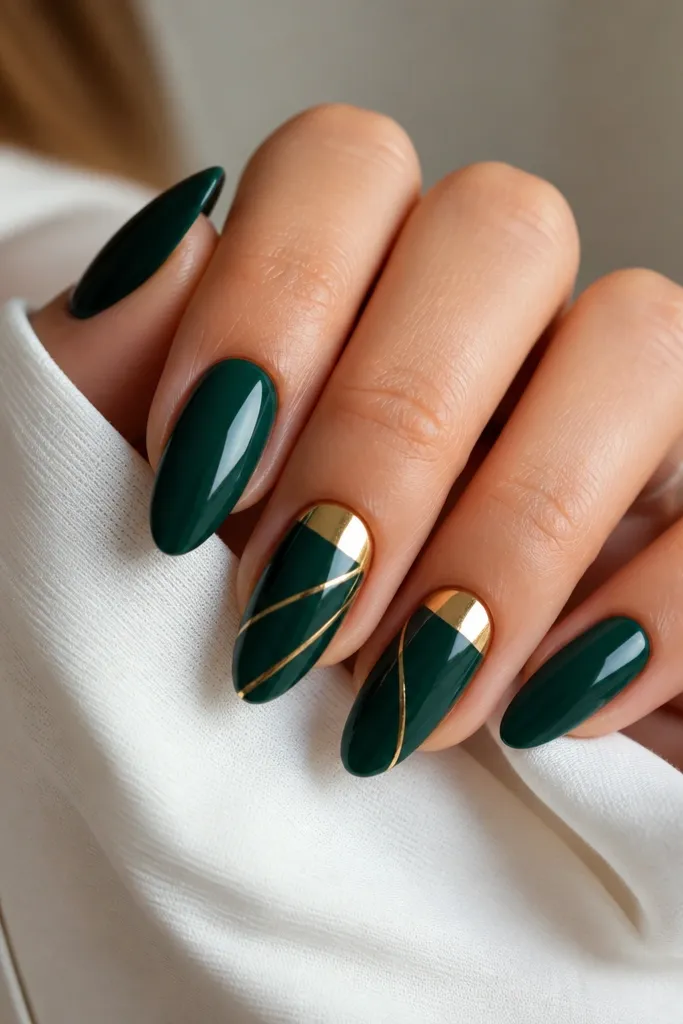
Half-moons at the cuticle area look modern because they mimic cuff jewelry. Emerald chrome is bright enough to feel festive without adding glitter bulk. The matte gold line breaks up the shine and keeps it from looking like a mirror accident. This set also photographs well because the matte line reduces glare.
Use a solid emerald green gel base and cure fully. On two accent nails, apply chrome powder gel to a half-moon area at the cuticle and blend it with a small sponge so it fades slightly. Paint a thin gold line with matte top gel (or apply gold pigment then matting top), cure, then finish with glossy top on the rest.
Pro tipKeep the half-moon shape tight - about 1/3 of the nail width - so it doesn't look like a nail bed stain.
Watch outSkip thick chrome layers; they wrinkle and catch on fabric.
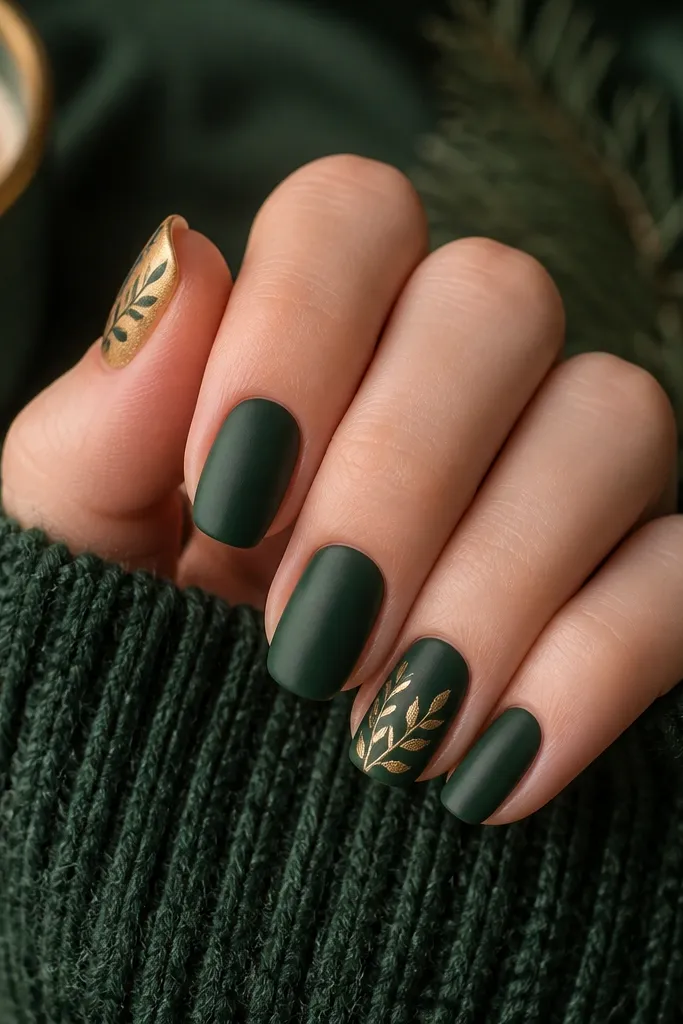
3. Green Velvet Nails with Gold Leaf Veins
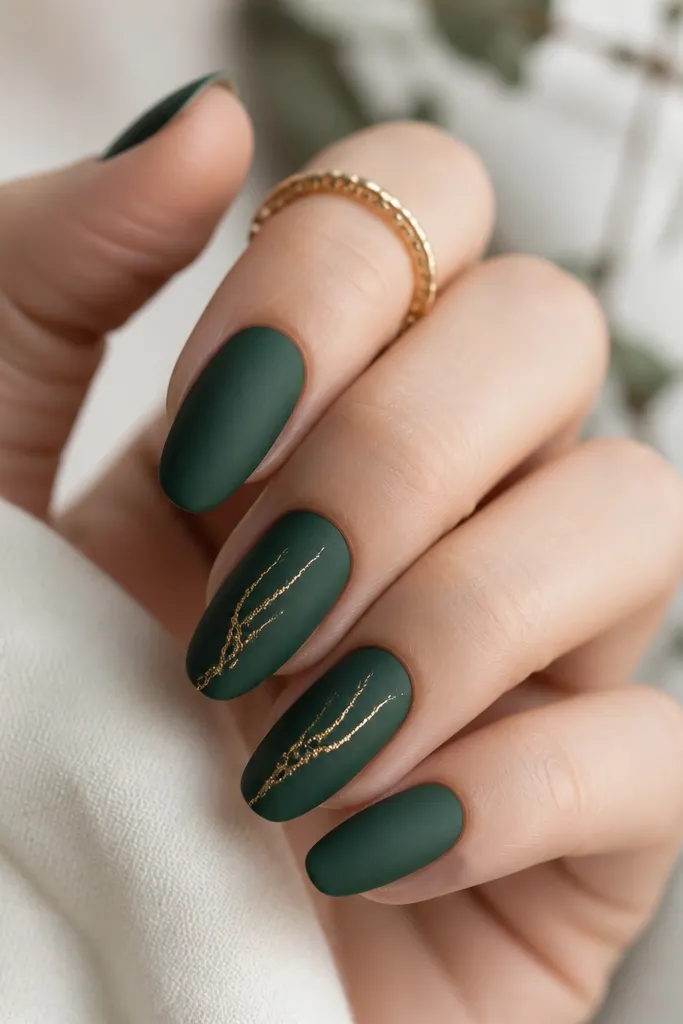
Velvet-matte green is the vibe when you want Christmas without sparkles. Gold leaf veins give that "marble but make it holiday" look, and the irregular edges feel organic instead of painted. Gold leaf also looks good on matte because it doesn't compete with shine. This combination reads classy even if your gold coverage is light.
Do a matte/velvet effect using a velvet powder or a matte top designed for nail powder (apply, press, then brush off). On accent nails, apply gold leaf adhesive gel in thin streaks where you want veins, then press gold leaf onto it. Seal with a light layer of matte top or a gentle top compatible with the velvet finish.
Pro tipPress the leaf only once. Multiple presses smear it and you lose the vein texture.
Watch outDon't use a super-glossy top over velvet; it flattens the texture and dulls the velvet effect.
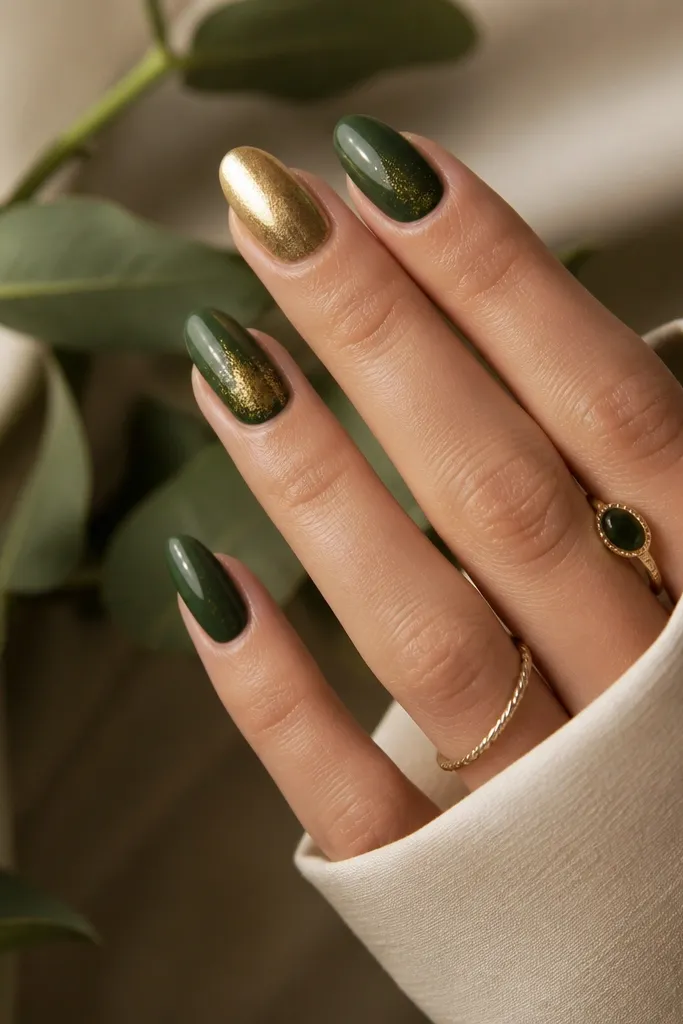
4. Shimmer Emerald Skittle with One Gold Chrome Nail
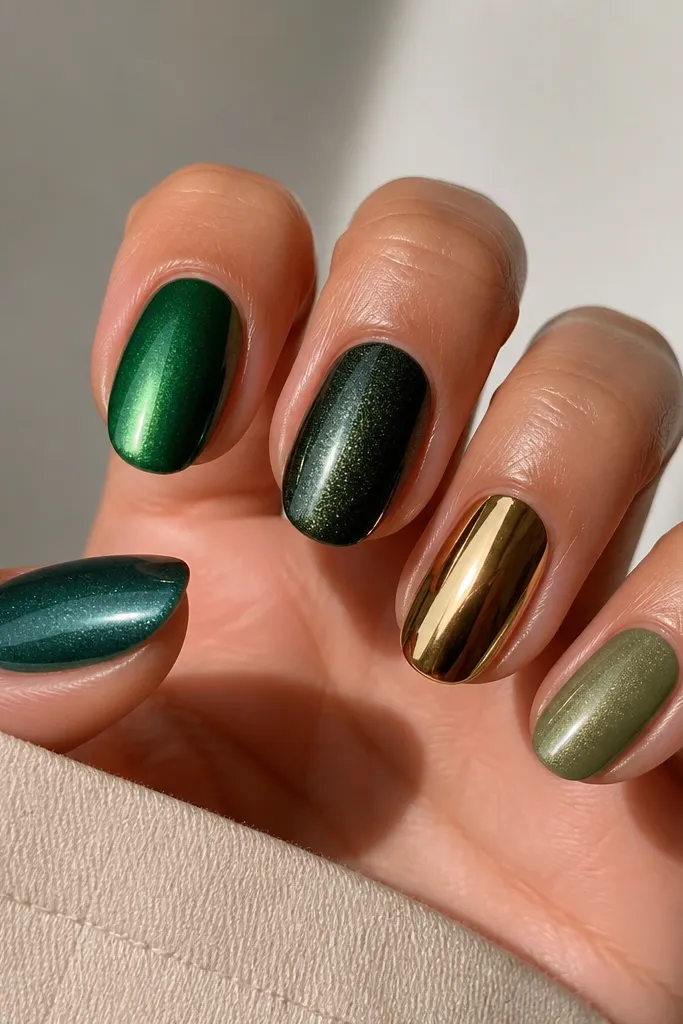
Skittle sets can go wrong fast, but green shimmers behave nicely when you keep them in the same family. Each shade looks intentional, and the single gold chrome nail acts like the focal point. The chrome nail also keeps the set from looking too subtle for Christmas. This is the easiest path if you like variety but still want it to look cohesive.
Pick four green shimmer gels that are close in temperature (cool greens). Paint each nail a different shimmer shade, then leave one nail for full gold mirror chrome. Use a chrome powder kit and cure correctly, then top coat carefully - chrome needs a compatible top if you want it to stay reflective.
Pro tipMatch undertones: keep all greens either cool (blue-leaning) or warm (yellow-leaning). Mixed undertones look muddy.
Watch outDon't add glitter top coat over chrome; it kills the mirror effect.
5. Gold Lined Green Checker Accent
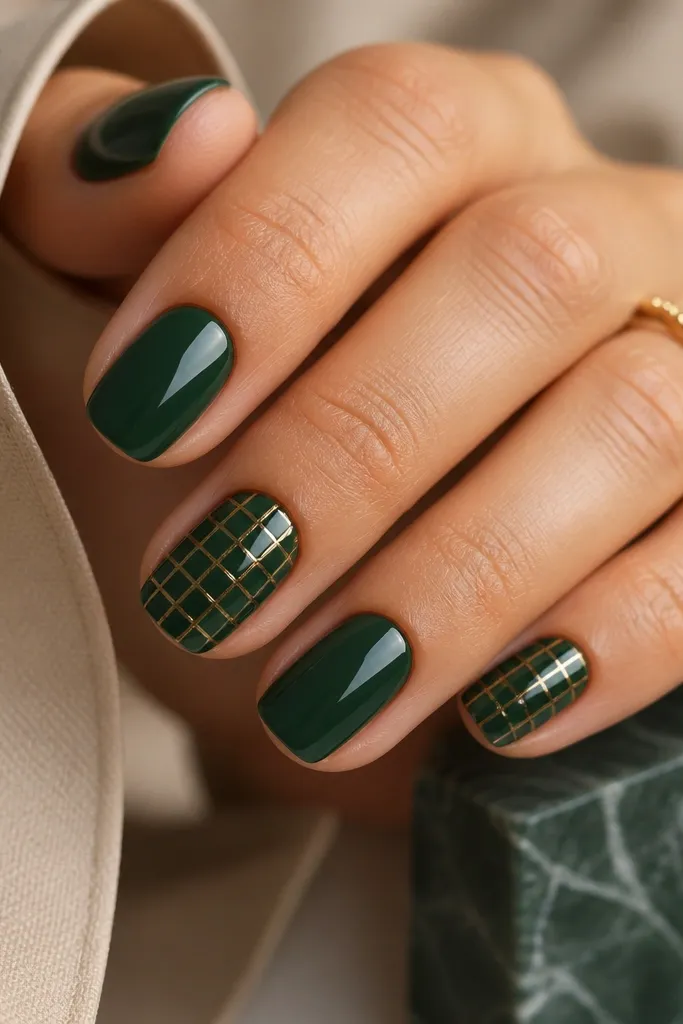
Tiny checkers look playful but still neat when the squares are small. The thin gold lines make each square crisp and give that holiday "ornament grid" feel. Keep the checkers limited to one or two nails so it stays modern. This design looks great on short nails because the pattern doesn't need length to read.
Paint all nails deep green first. On accent nails, use striping tape to create a grid, then remove and paint alternating squares with a slightly different green (emerald vs forest). Outline the edges with thin gold gel (or gold striping polish), cure, then add glossy top coat.
Pro tipUse tape for the lines, brush only for filling squares. Tape makes the lines straight.
Watch outDon't make the squares too big; big checkers look like costume nails.
6. Classic Green Gloss with Gold Bead Tips
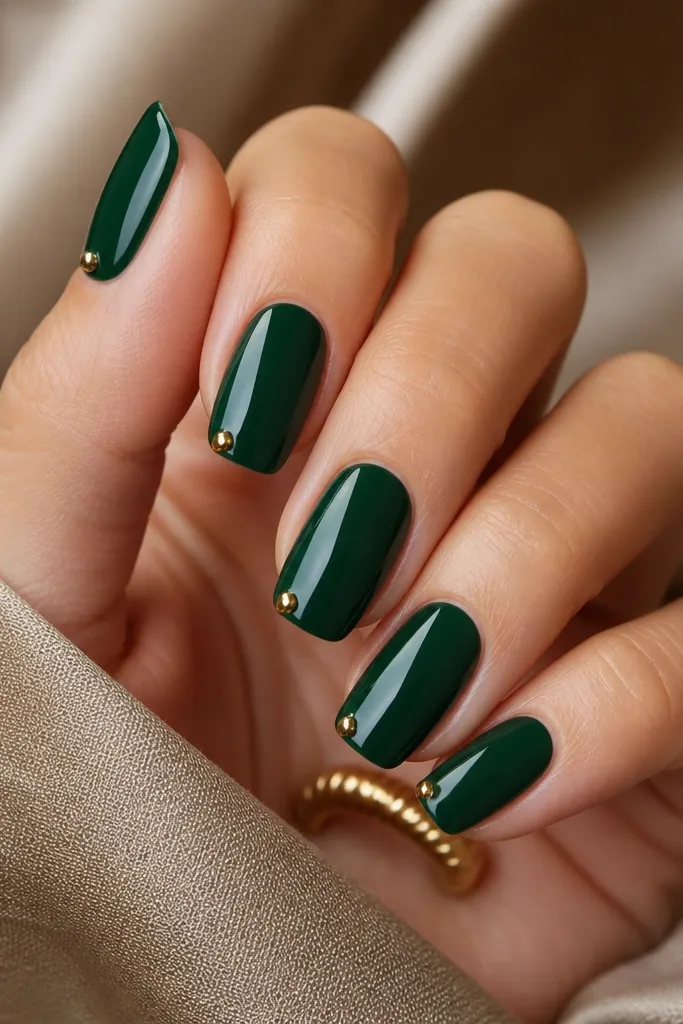
Raised bead tips feel festive without turning into full glitter coverage. Gold beads catch light like ornaments, and because there's only one per nail, the design stays clean. This is also forgiving - if the bead isn't perfect, it still reads as intentional texture. Glossy green keeps the look sleek.
Use deep green gel with a glossy top as your base. For each nail, place a small dot of 3D gel at one side of the tip corner (near the free edge) and cure. Add a tiny amount of gold chrome powder or gold pigment over the bead while tacky, then seal with top coat around the bead base without flooding the bead.
Pro tipPlace beads on the same side of each nail so your manicure looks directional.
Watch outDon't cap the bead fully with thick top; it flattens the bead and removes the ornament feel.
7. Emerald Marble with Gold Vein Stripes
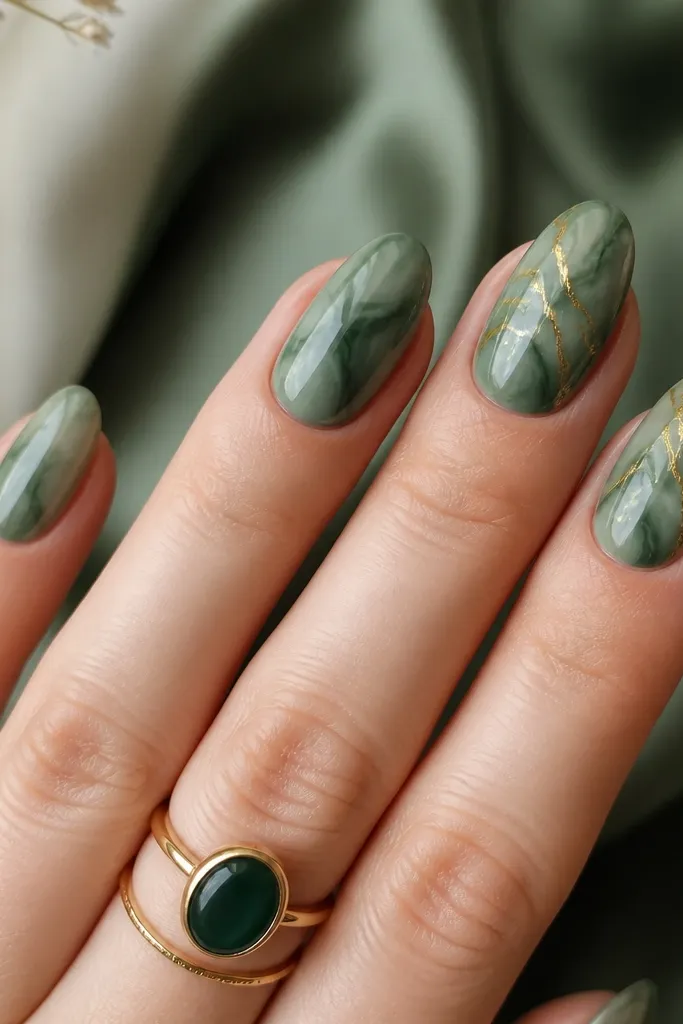
Marble looks modern when the swirls are thin and the base is opaque. Emerald marble gives that holiday stone vibe, and gold veins make it look like jewelry rather than random color mixing. Keep the swirls airy, not thick blobs. Gold lines also help the design look planned.
Paint a solid emerald base. Add lighter green gel in a few drops and swirl with a tiny brush or a silicone tool, then drag gold striping gel through the swirl paths on accent nails. Use a thin brush to pull lines, cure, then top coat with a glossy finish to smooth the surface.
Pro tipPractice on a nail tip first - marble looks best when you stop swirls early and let them settle.
Watch outDon't overwork the marble; too many passes muddy the colors.
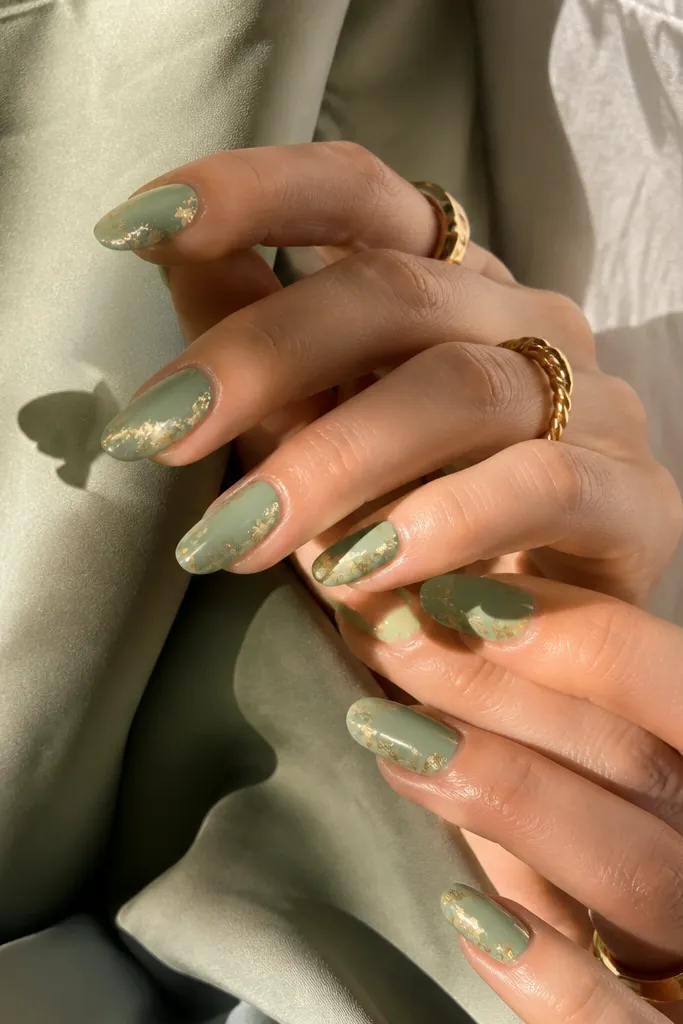
8. Sage Green Matte with Gold Foil Half-Nail
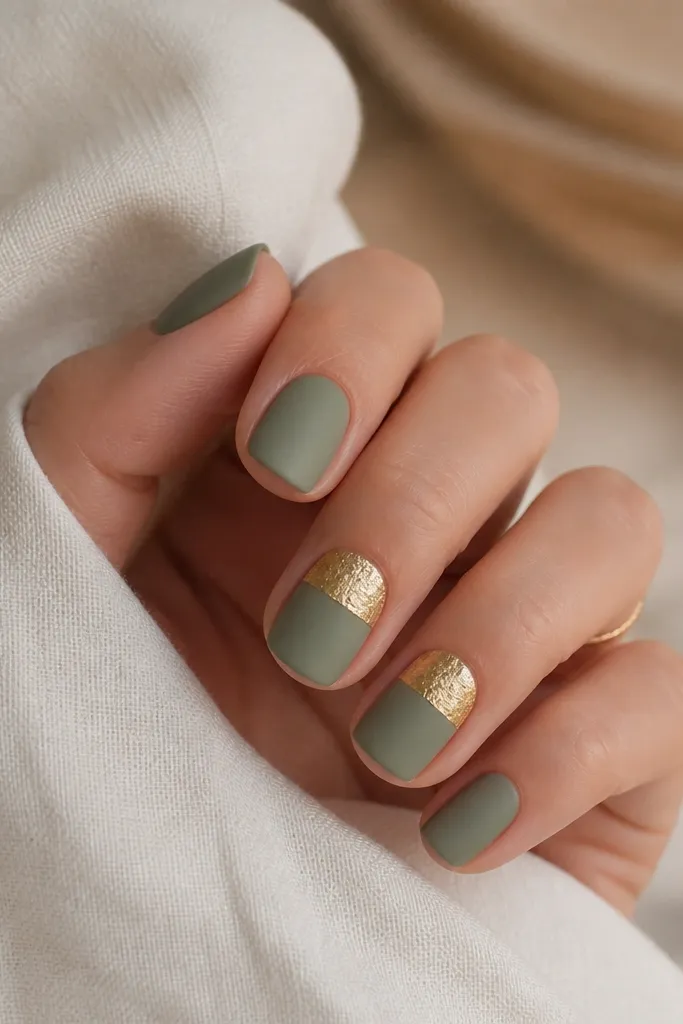
Sage matte is the "modern Christmas" version of holiday red. The gold foil half-nail gives a clean geometric break, so it doesn't look like accidental glitter. Matte keeps it soft and cozy, while foil adds sparkle without covering everything. This combo is flattering on shorter nails because the foil is controlled.
Start with sage green gel and cure. Apply matte top over all nails. On accent nails, apply foil glue to the upper half only (use a straight makeup sponge edge to keep the boundary sharp), press gold foil, cure, then add a thin matte-compatible top around the foil edges if needed.
Pro tipUse a makeup sponge for the line. Brush strokes make a wobbly boundary.
Watch outSkip full glossy top on the foil half - it makes sage look dirty.
9. Green Glitter Gradient with Gold Edge Frame
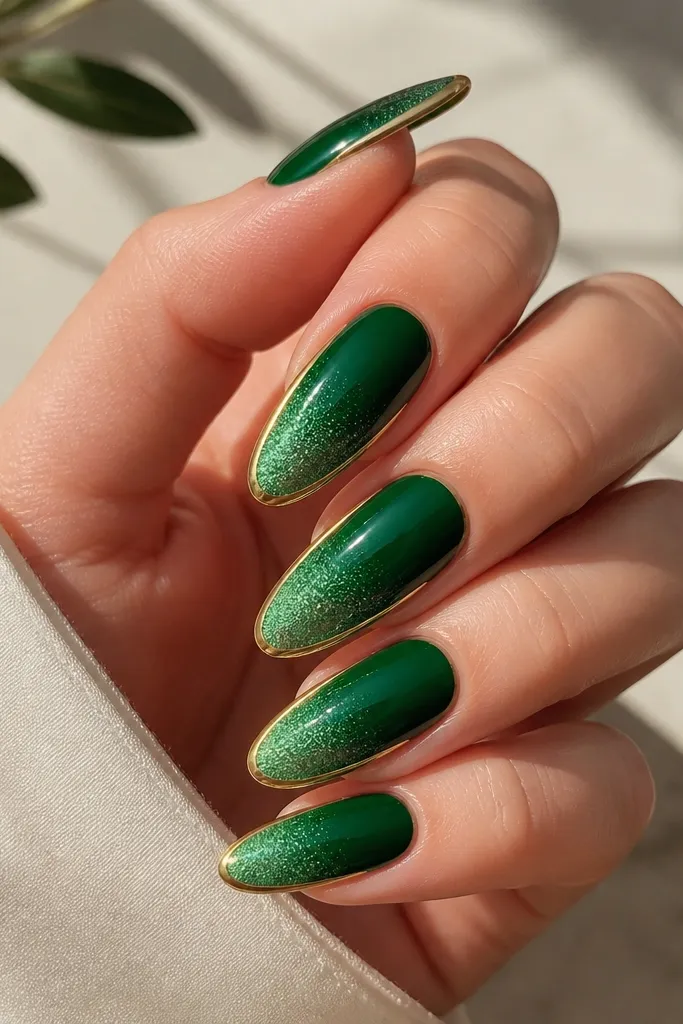
A gradient is easier to wear than full glitter, and it looks intentional when the glitter gets denser only at the tip. The gold edge frame makes the nail look outlined like a holiday ornament. This design stays festive even if you keep the glitter fine. It also makes the nail look longer because the frame follows the shape.
Paint base emerald at the cuticle area. Add a clear gel layer and blend fine green glitter downward with a sponge, then concentrate glitter at the free edge. Use thin gold striping gel to outline the nail sides and tip, cure, then finish with a glossy top coat.
Pro tipKeep the gold outline 0.5 mm away from the glitter edge so it looks like a frame, not a smear.
Watch outDon't put chunky glitter at the cuticle; it looks thick and can lift.
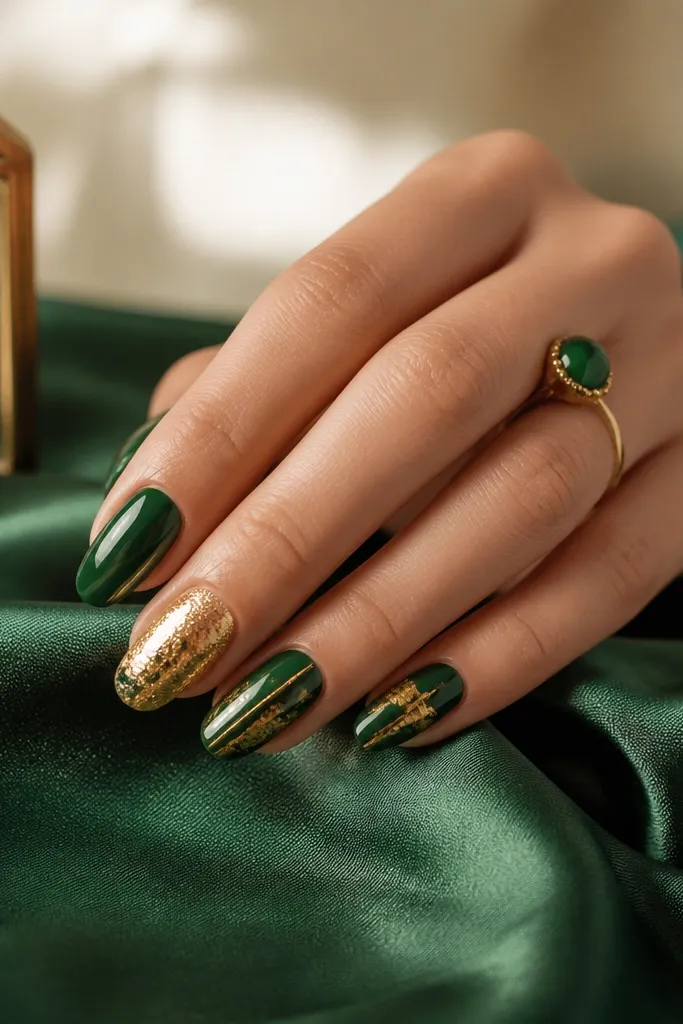
10. Gold Chrome Tips on Deep Green Gloss
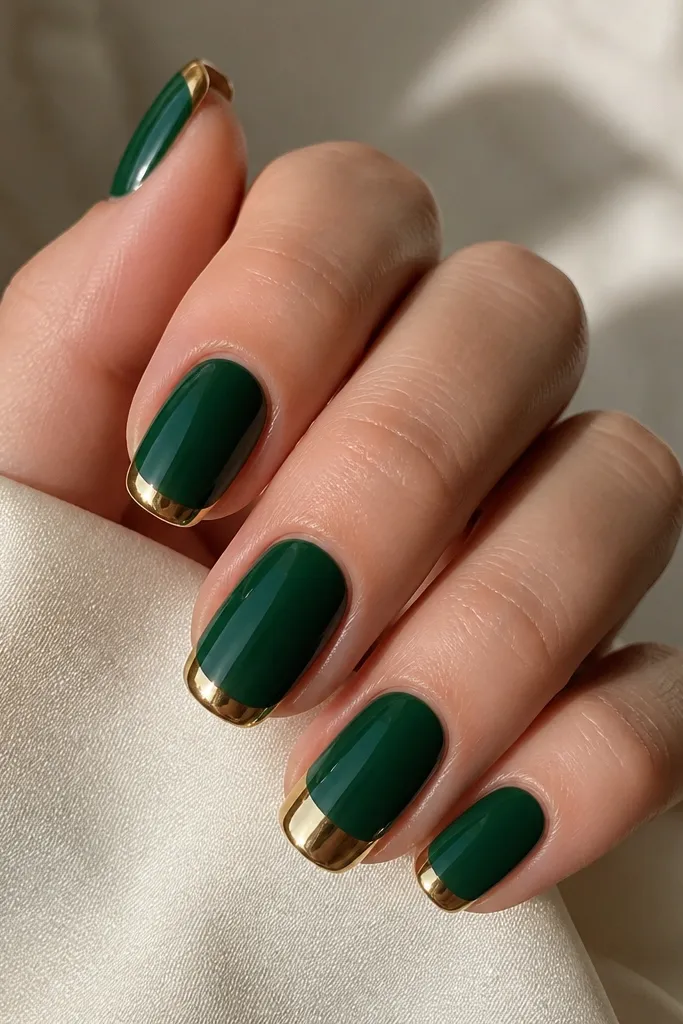
This is the cleanest "modern green and gold" look for people who hate busy art. The chrome tip reads polished, and the deep green makes the gold pop without looking neon. It's also fast: once the tip band is placed, you're basically done. The ring finger being slightly wider makes the set feel styled, not uniform.
Paint all nails deep green and cure. Tape a band across each nail tip where you want chrome (about 1.5-2 mm wide for short nails). Apply chrome powder gel to the taped band, remove tape, then rub mirror gold chrome powder over and cure, finally seal with a chrome-safe top coat.
Pro tipPress the chrome with a dry lint-free wipe after curing to remove loose powder.
Watch outDon't use a regular thick top coat over chrome; it turns it dull.
11. Green Candy Cane Stripe with Tiny Gold Dots
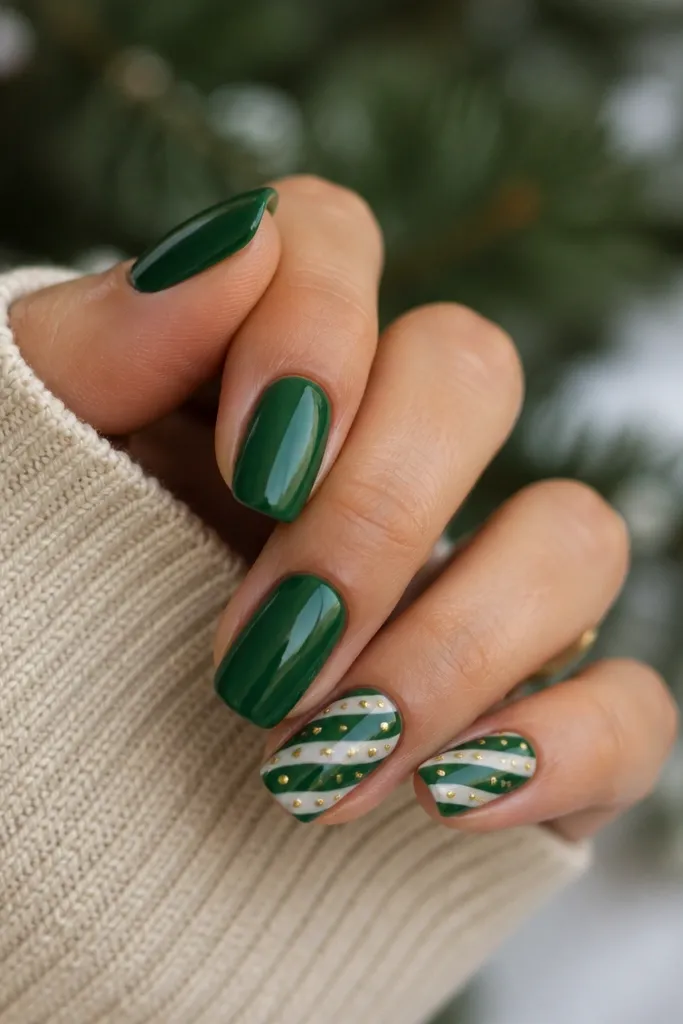
Candy cane stripes look modern when you keep them diagonal and slim. The gold dots add a "ornament bead" vibe without making it look like cartoon nails. Use two greens instead of green and red if you want to stay in your modern palette. The gold placement at stripe ends makes it feel finished.
On accent nails, paint a base green. Use striping tape for a diagonal guideline, then paint a thin lighter green stripe (or mix in a touch of sage) and a thin highlight stripe if you want contrast. Add tiny gold dots with a dotting tool, cure, then top coat glossy.
Pro tipUse gel striping polish for the stripe. It levels better than acrylic paint.
Watch outSkip thick stripes - they look clunky on short nails.
12. Emerald Ombré Base with Gold Foil Crown
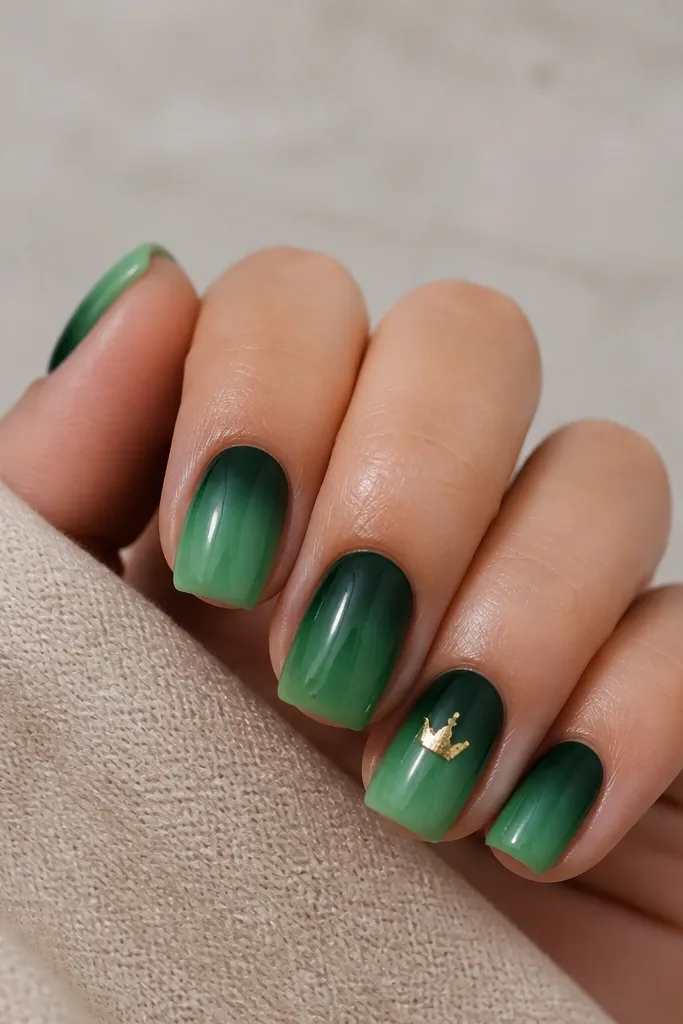
Ombré makes the set feel smooth and expensive, especially when the greens are close. The gold crown is small but instantly festive. It also draws attention to your cuticle area in a flattering way. This is a good option if you want a theme but don't want full nail art on every finger.
Use a sponge to blend deep emerald into lighter emerald starting at the cuticle and fading downward. On the ring finger, apply foil glue in a crown outline (two peaks and a flat base), then press gold foil inside the outline. Seal with glossy top coat and keep the crown edges crisp.
Pro tipCure in short bursts so the ombré doesn't get too hot and wrinkle.
Watch outDon't place the crown too low; it can look like a weird cuticle line.