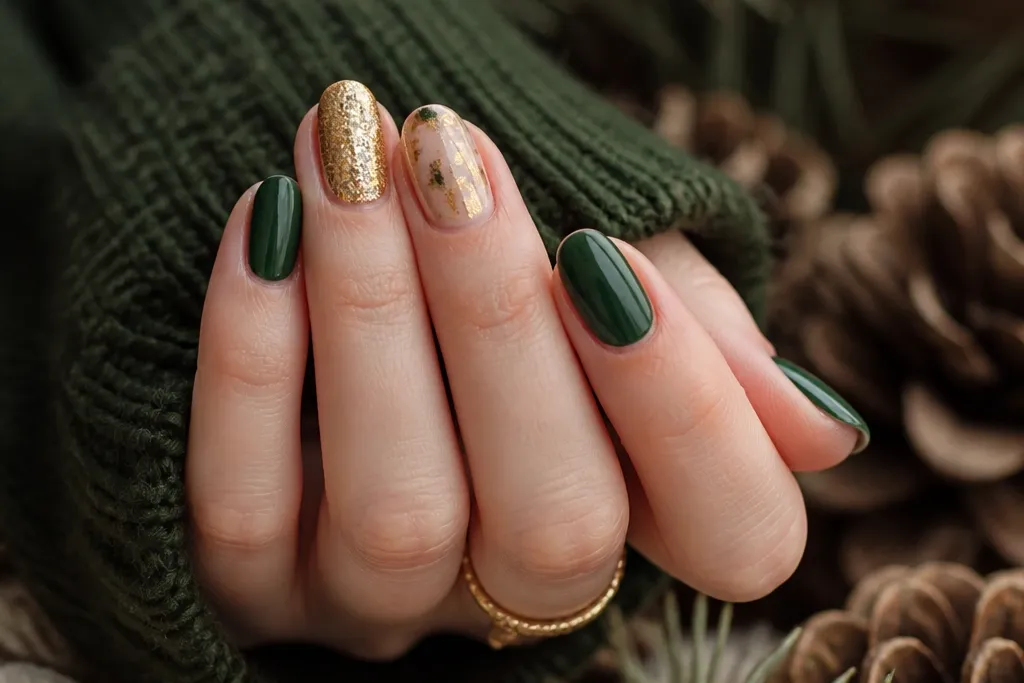
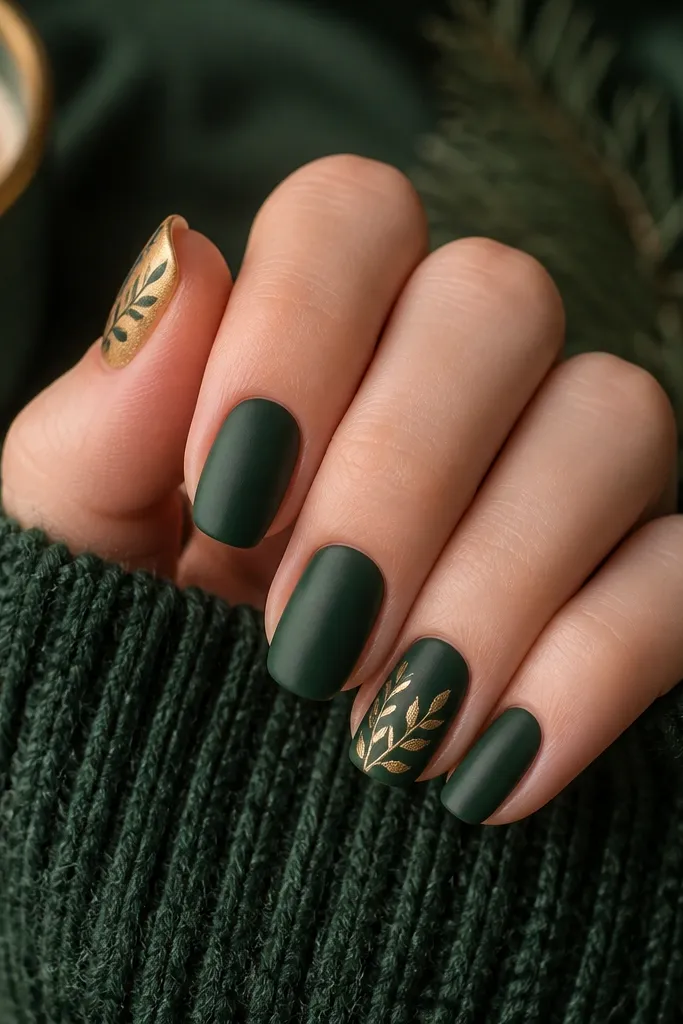
1. Pine Needle Matte with Antique Gold Leaf Tips
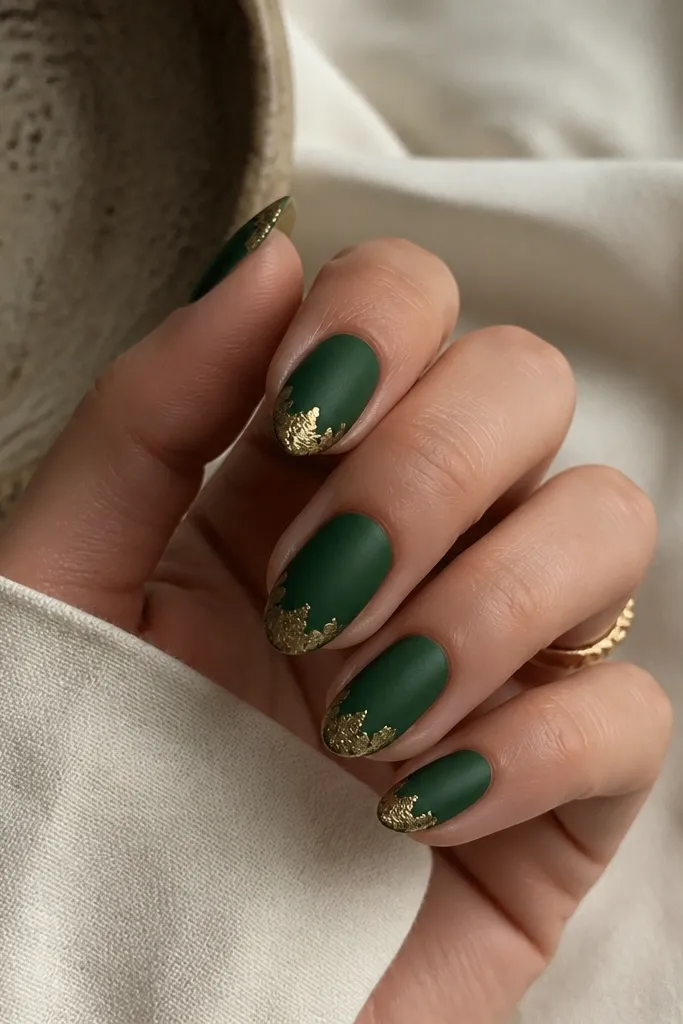
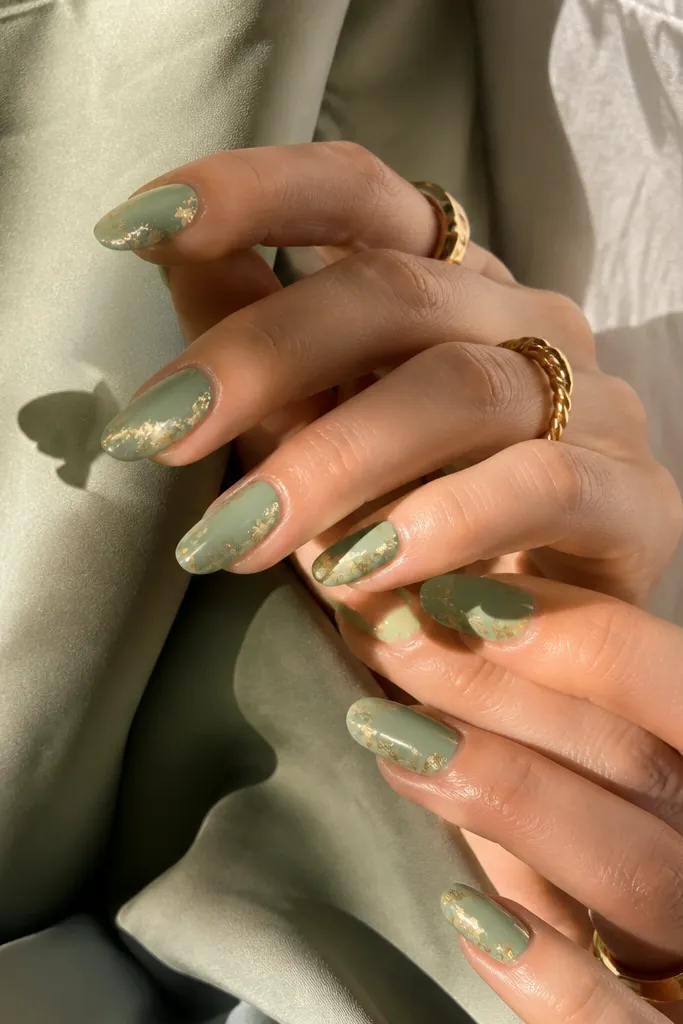
This one looks cozy because the matte green kills shine and makes the gold feel like metal. The gold leaf is irregular, so it mimics sunlight hitting bark and needles. It also hides tiny application mistakes better than chrome, because the leaf texture breaks up the look. The result feels warm and grounded, not holiday-screechy.
Keep nails short-to-medium almond, not super long. Paint two thin coats of matte forest green, then tap gold leaf onto the very tip - leave a 1-2 mm strip of green between gold and nail bed. Seal with two coats of top coat, pressing the brush along the free edge so the leaf doesn't lift.
Pro tipUse a matte top coat over the green, then a glossy top coat only over the gold pieces so the contrast stays crisp.
Watch outDon't use bright yellow foil chrome - it turns the whole manicure into costume gold.
2. Forest Green French with Thin Gold Outline
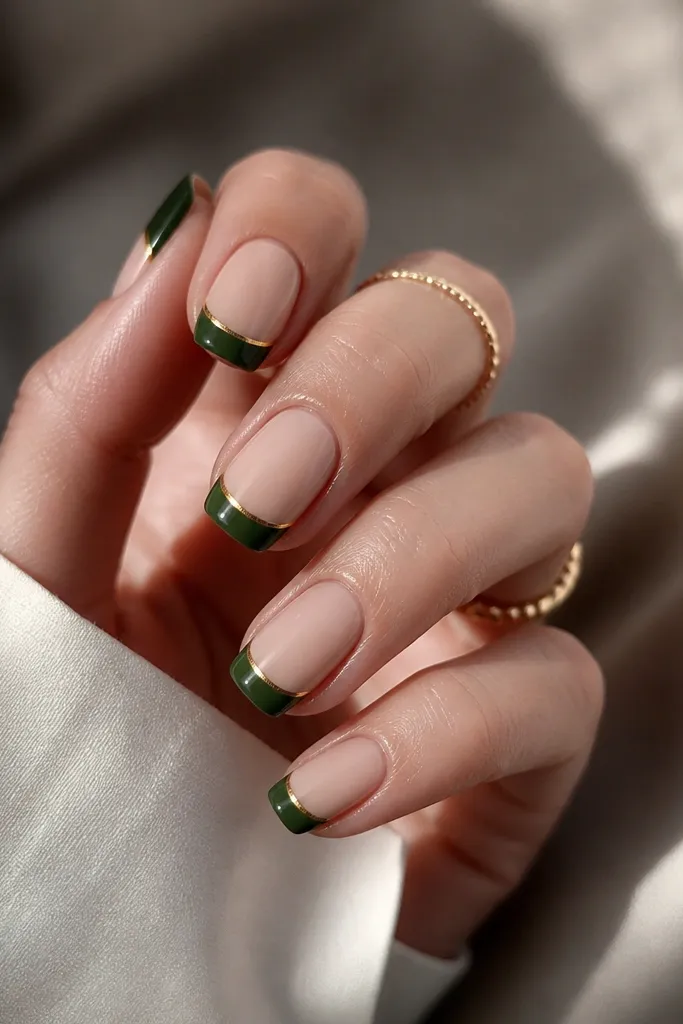
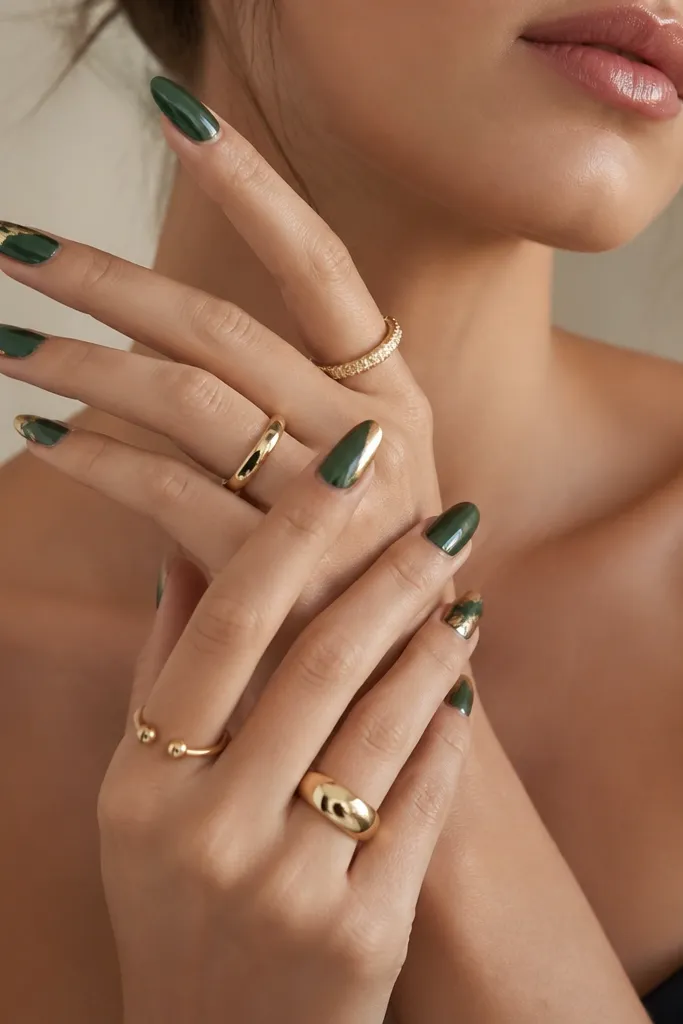
A French shape makes your nails look tidy, and the gold outline gives it that "jewelry edge" feel. The key is keeping the gold line thin - like a sketch - so it doesn't thicken the nail. Forest green on the tip looks cozy because it reads like a muted holiday sweater. This combo also photographs well because the border is sharp.
Start with a nude-pink base (sheer, not opaque). Paint the French tips in forest green with a guide sticker for a clean arc. Then use a fine liner brush or striping tape to add a 0.5 mm gold outline on the boundary line. Seal everything with a glossy top coat.
Pro tipIf your freehand line shakes, use striping tape for the gold outline, then peel while the base coat is still slightly tacky.
Watch outDon't make the gold outline wide - wide lines make the manicure look chunky.
3. Gold Cuticle Glow Over Deep Evergreen
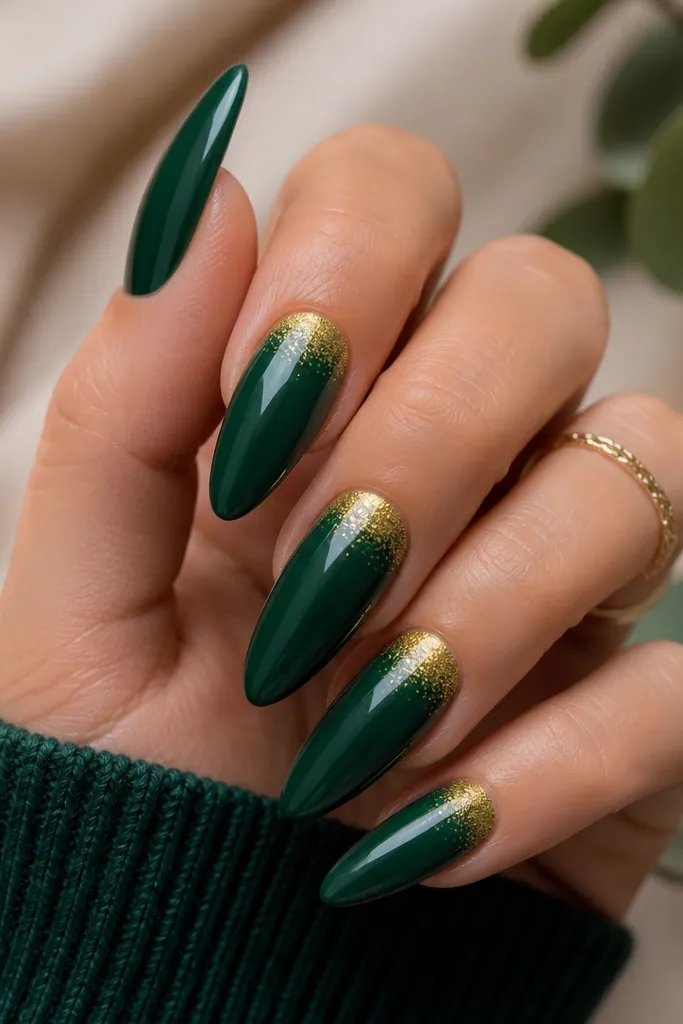
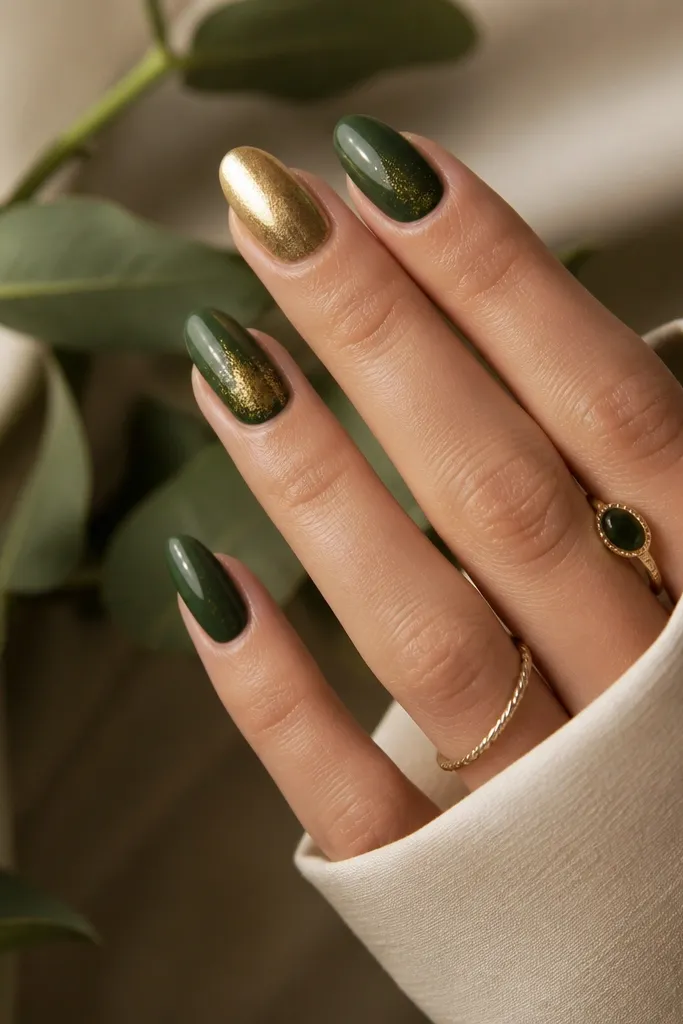
This is my go-to when you want cozy forest green and gold nails that still look clean. The gold at the cuticle lifts your nail bed visually and makes the green look richer. Because the gold is concentrated and feathered, it reads like glow, not glitter dust. It also works with any length since the effect starts at the point where nails look longest.
Use a deep forest green glossy polish as your base. Sponge gold shimmer at the cuticle - press lightly, then drag the sponge 2-3 mm toward the center so it fades. Leave the tip fully green so the manicure stays calm. Finish with a thick top coat for smoothness.
Pro tipWipe your sponge on a paper towel first so you get a soft haze instead of chunky glitter.
Watch outDon't pack glitter all the way to the tip - it turns into a rough texture fast.
4. Marbled Pine and Warm Gold Veins
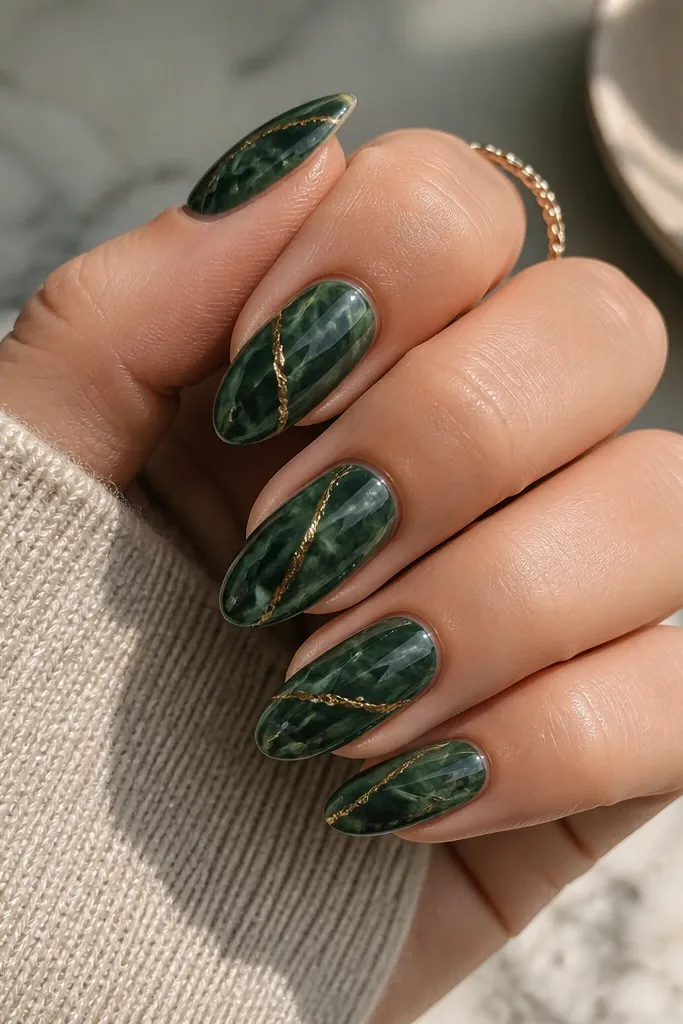
Marbling makes the combo feel artistic but still cozy because the colors blend. The gold veins look like mineral streaks, especially when they're thin and slightly uneven. This design hides brush marks because the swirl pattern breaks up any streaking. It's also great if you hate big gold blocks that catch on everything.
Paint a base coat and one solid layer of deep forest green. Add a second layer that's slightly streaky (don't fully perfect it), then use a dotting tool or thin brush to pull out wisps of lighter green. Finally, paint warm gold veins with a liner brush - think 2-3 veins per nail, not a web. Seal with glossy top coat.
Pro tipPractice veins on one nail first - keep them 1 mm apart max so they don't look crowded.
Watch outDon't use chunky gold glitter for the veins - it looks like confetti on marble.
5. Forest Green Velvet + Gold Micro-Specks
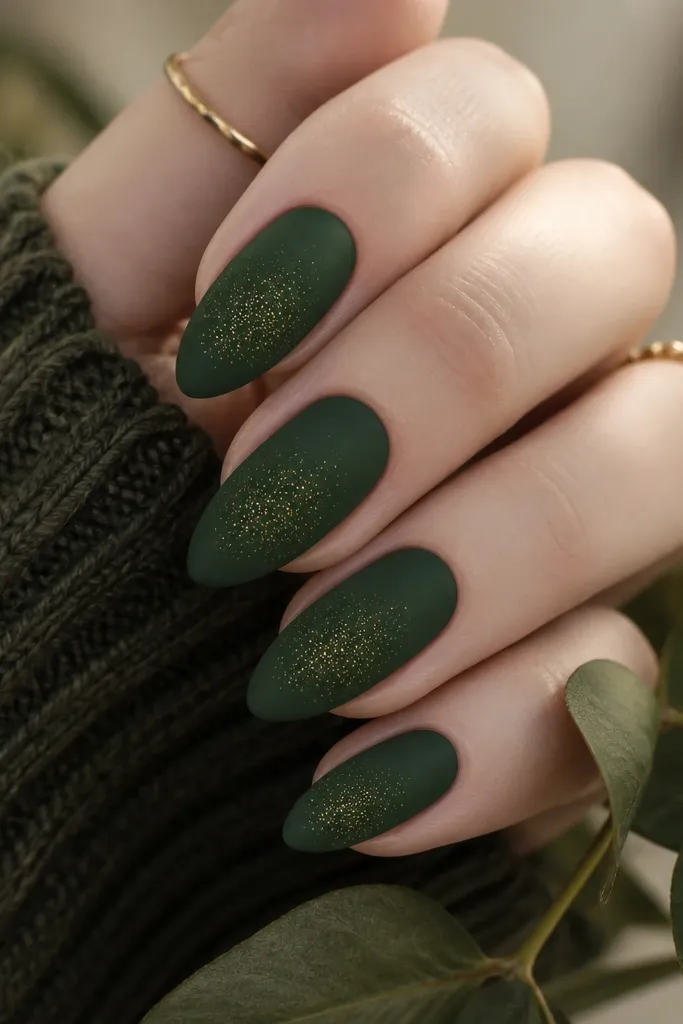
Velvet texture makes the green feel soft and cozy. Micro-specks of gold act like dusted light, so the manicure looks festive without big accents. I like this design for winter because it feels like fabric, not paint. It also looks flattering on shorter nails because the specks add dimension.
Use a velvet/matte powder system or a velvet-effect top coat over forest green. Once set, dab micro gold pigment (or a very fine gold glitter) with a stiff brush so it lands lightly. Keep specks concentrated, not full coverage. Top coat over velvet can reduce the texture, so seal with a thin layer only if your velvet system allows it.
Pro tipUse a fan brush to flick specks - you get control without overloading.
Watch outDon't spray glitter directly from the bottle - it lands in clumps.
6. Gold Foil Half-Moons on a Forest Green Base
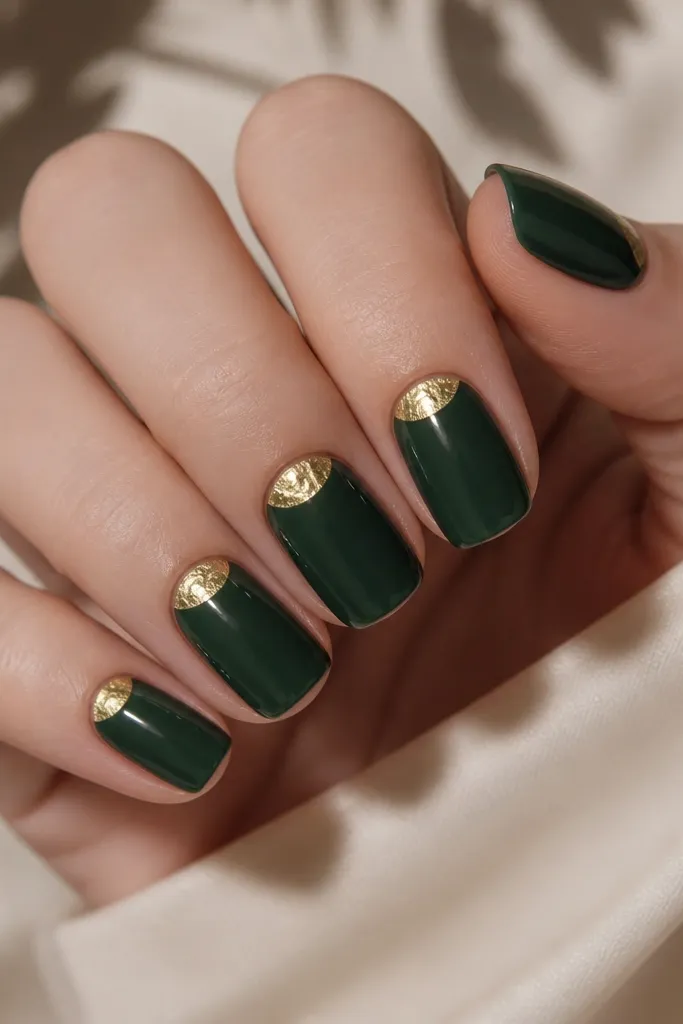
Half-moons look neat and grown-up, and gold foil makes them feel like tiny ornaments. The contrast is controlled because the gold lives only at the cuticle area. This design also makes your cuticle line look intentional, which is a win if your natural half-moon is uneven. It's cozy because the base is deep and the gold is warm, not neon.
Paint two coats of glossy forest green. Add half-moon guides (or cut small curved tape pieces) and apply gold foil to just that area. Press foil gently with a silicone tool, then remove guides. Seal with top coat, paying extra attention around the foil edges.
Pro tipIf foil won't stick, use a thin layer of foil glue in the half-moon area and wait until it turns tacky.
Watch outDon't overfill the half-moon - too much foil makes it look like a thick patch.
7. Forest Green Ombré Fade into Gold at the Tips
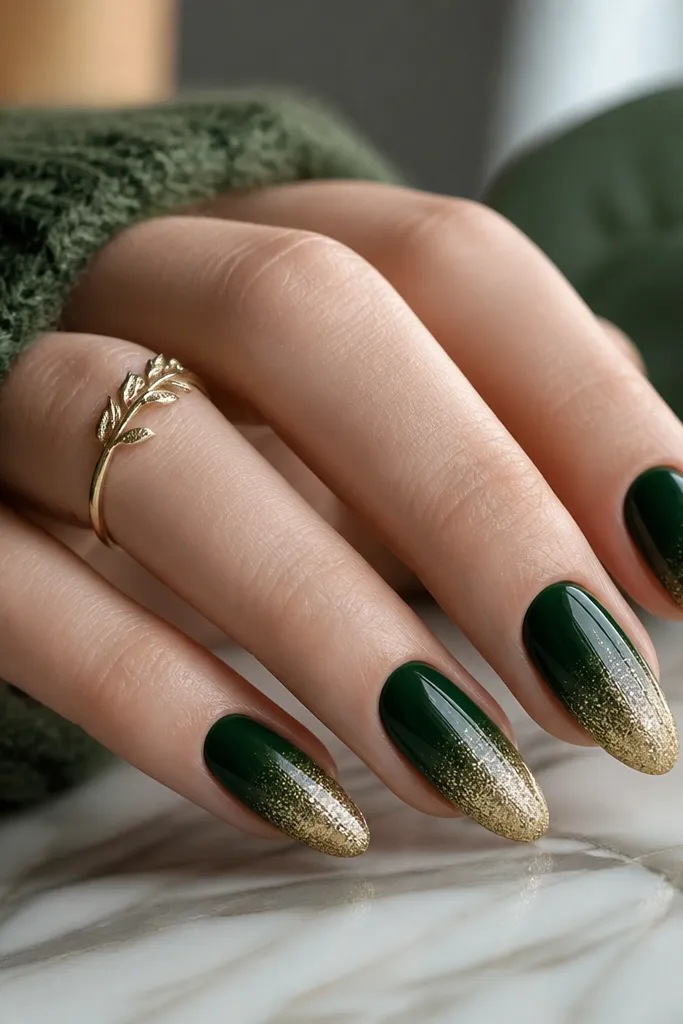
An ombré fade makes the gold feel like it's melting out of the green, which reads cozy instead of harsh. The fade also softens the transition, so it looks expensive even if your brush control isn't perfect. I like using gold at the tips because it draws attention to nail shape. With a smooth gradient, it works for holiday dinners and office days.
Start with a forest green base and let it dry. Sponge gold glitter or gold shimmer starting at the tip, then feather 2-4 mm upward. Blend until the middle is mostly green with a light haze. Finish with glossy top coat to smooth the texture.
Pro tipUse a makeup sponge cut smaller than your nail so you don't flood the sides.
Watch outDon't leave a hard line where gold starts - it looks like a sticker edge.
8. Gold Pine Tree Accent on Forest Green Matte
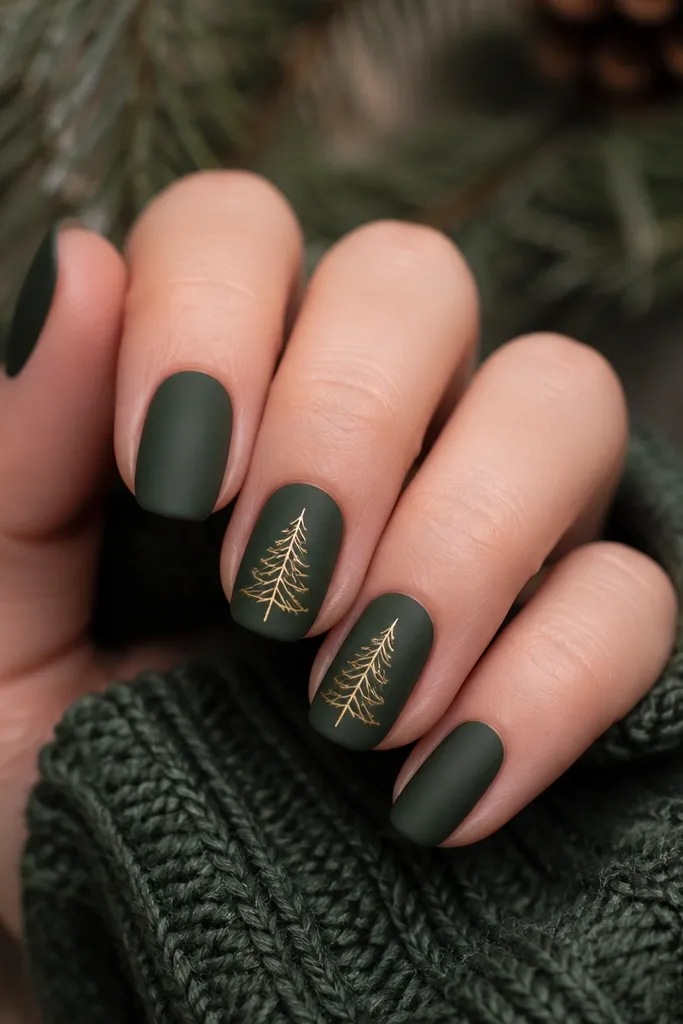
This one is cozy because the subject is simple and the finish is matte. Thin gold tree lines look delicate instead of cartoon-y. You also get variety without changing every nail, which helps the manicure feel wearable. It's a good option if you want the green and gold theme but you're not into full gold coverage.
Paint matte forest green on all nails. On one accent nail per hand, draw a small pine tree using a liner brush and metallic gold. Add a tiny trunk and 3-4 branches, keeping the lines thin. Seal with a matte-friendly top coat if you want it to stay flat.
Pro tipUse a nail art practice strip and measure the tree height - about 60% of the nail length looks balanced.
Watch outDon't make the tree outlines thick - chunky lines ruin the cozy, delicate look.
9. Glossy Forest Green with Gold Chrome Streaks
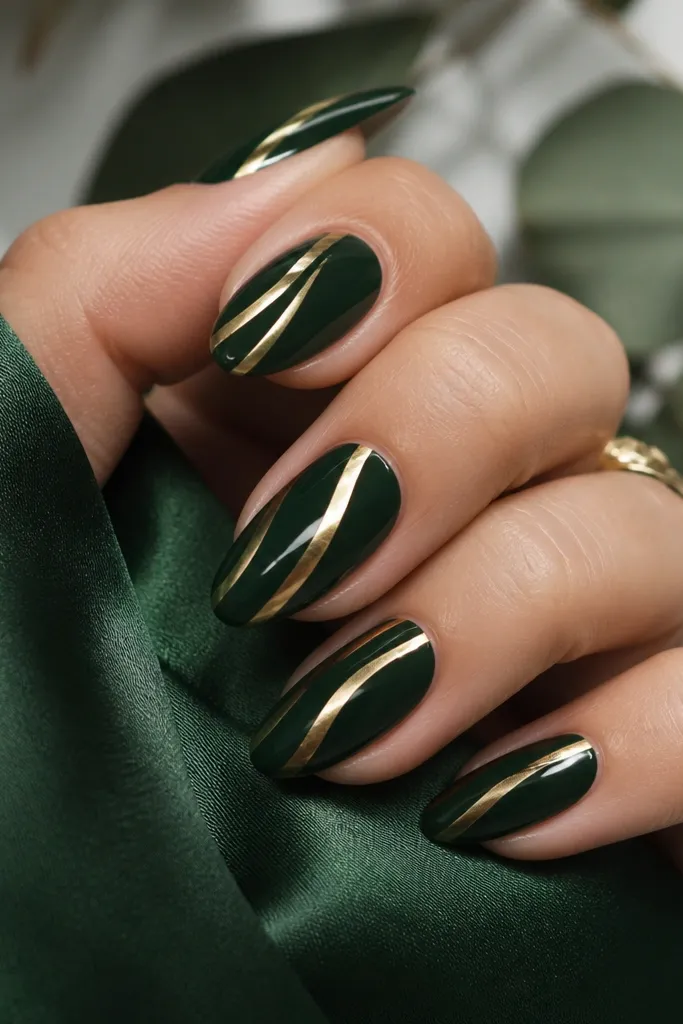
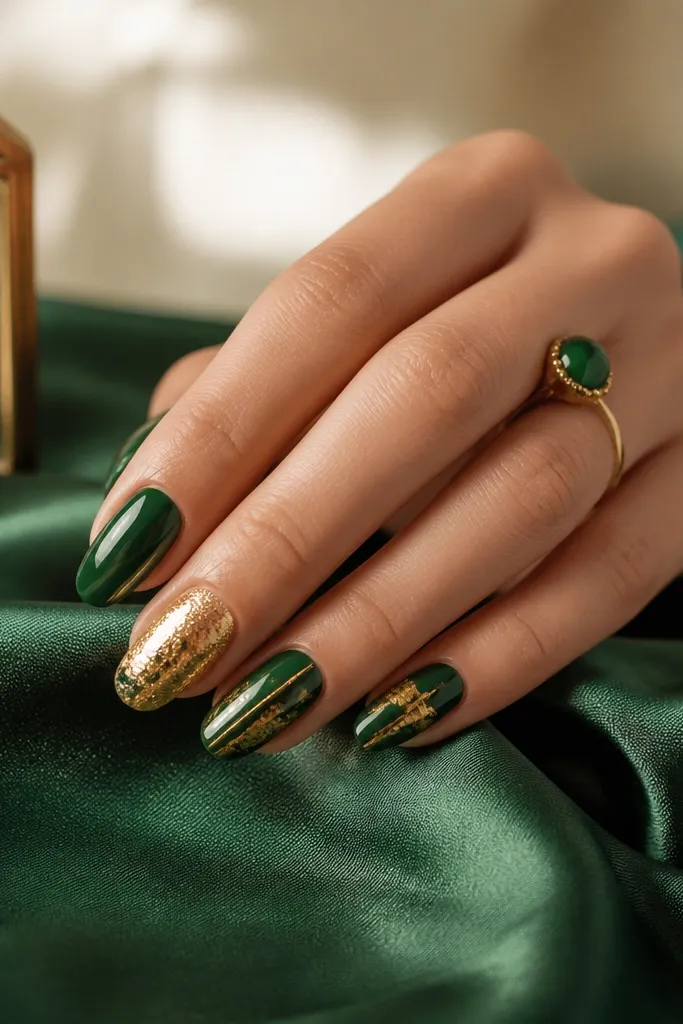
Chrome streaks give movement, and on forest green they look like sunlight breaking through branches. The streaks feel modern but still cozy because the base stays deep and calm. Mirror gold can look loud if you cover the whole nail, so I keep it to 1-2 streaks per nail. The variation in thickness makes it look hand-painted, not stamped.
Use a glossy forest green base and make sure it's fully dry. Apply gold chrome powder or chrome gel to a diagonal area with a small sponge, then drag lightly to shape the streak. Add 1-2 streaks, not a full sheet. Seal with a gel top coat designed for chrome longevity.
Pro tipWipe the chrome area gently with a soft brush after curing so it doesn't look dusty.
Watch outDon't over-scrub chrome - it dulls the mirror finish.
10. Gold Frame Nails with Forest Green Negative Space
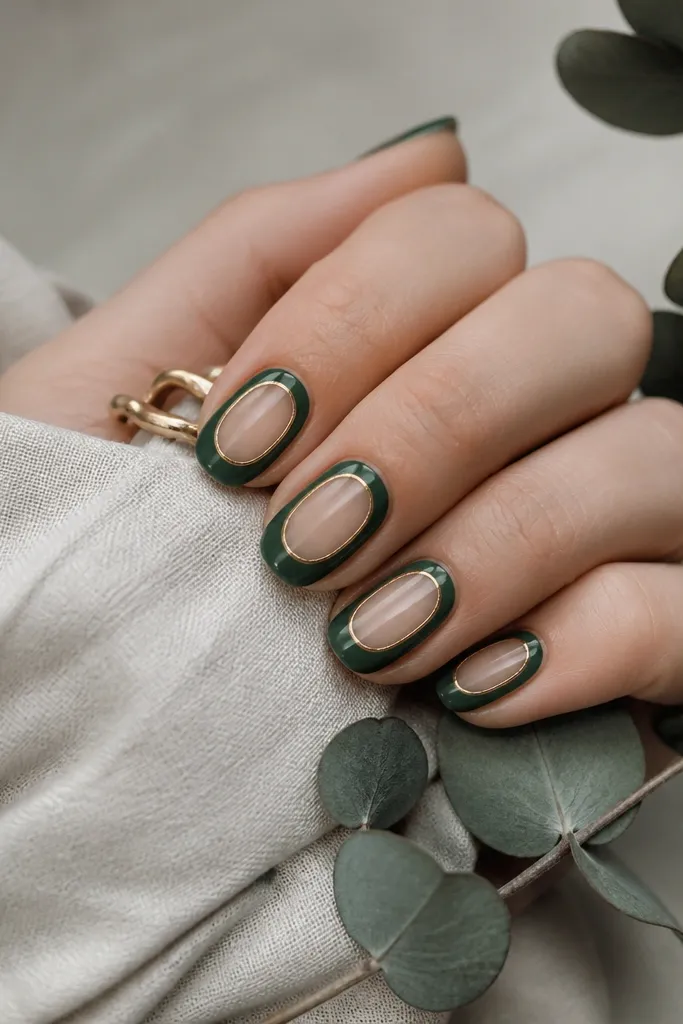
Negative space makes this feel clean and cozy at the same time. The forest green border grounds the look, while the gold frame adds that warm, finished edge. I like this design on short squoval because it visually lengthens the center. It also works if you hate heavy glitter - the texture is minimal.
Leave the center bare by applying tape in a vertical oval shape down the nail. Paint the border forest green around it and cure. Then add a thin gold line just inside the border - like a second edge. Remove tape and seal with glossy top coat.
Pro tipUse thin striping tape for the gold frame so the line stays straight.
Watch outDon't cover the negative space with thick top coat - it clouds the clear area.
11. Forest Green Geode with Warm Gold Spark Veins
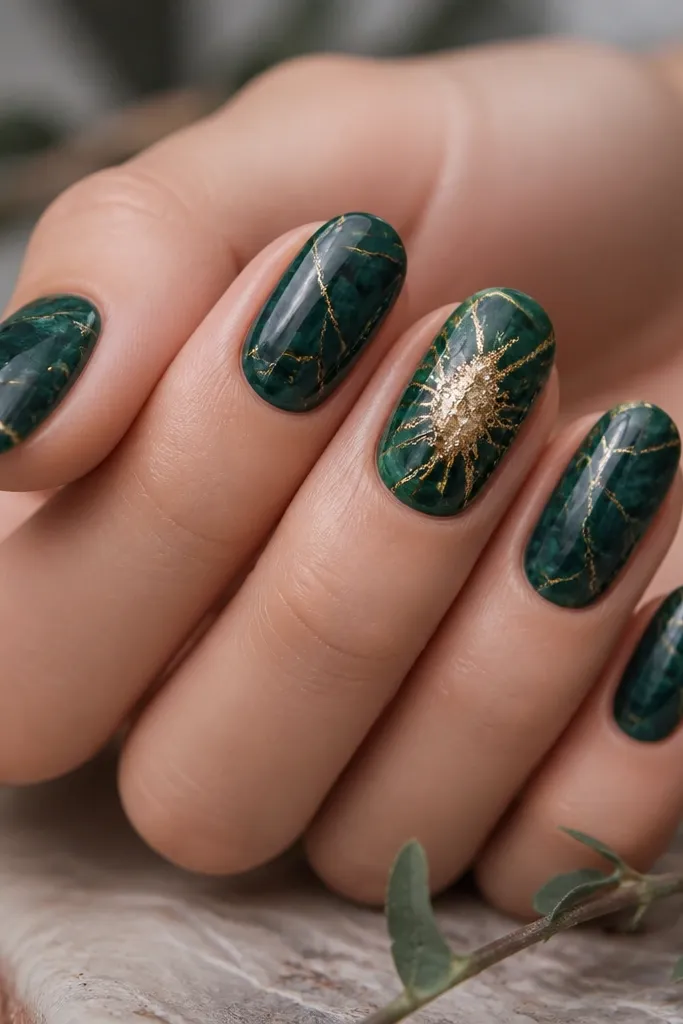
Geode nails look cozy because the green feels like stone and the gold veins look like minerals. The key is using crisp, fractured lines rather than random scribbles. When you keep the geode mostly on one or two nails, it looks like a design, not a mess. The gold spark center gives that "inside a rock" glow.
Paint forest green on all nails. On the accent nail, build a gold "crack" map using gold gel liner. Fill the center with gold glitter gel, then add a few more thin cracks over it. Keep the gold area to about the middle third of the nail. Top coat over the crack lines carefully so they stay defined.
Pro tipLet the gold gel crack lines cure fully before you add glitter, or the glitter smears into the lines.
Watch outDon't make the cracks too thick - geode looks best when the fractures look sharp.
12. Gold Glitter Fade with Forest Green Glossy Base
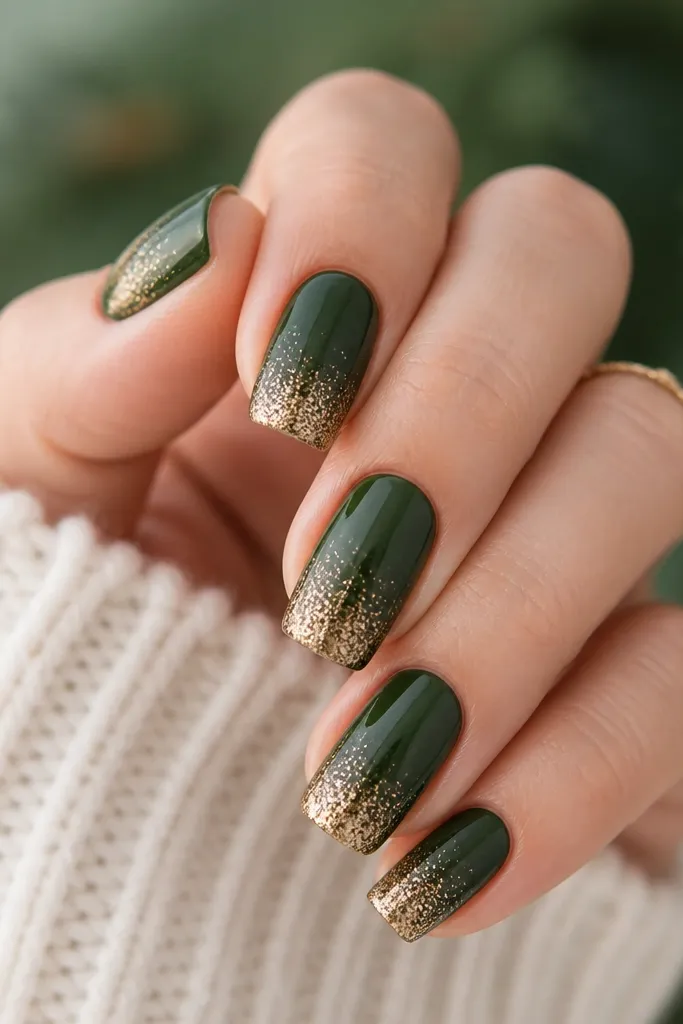
This is the "cozy party" option. The gold glitter at the tips catches light, but the fade keeps it from looking like a full glitter bomb. Glossy forest green makes the glitter pop because it reflects light cleanly. It's easy to wear because the base is still mostly green.
Paint two coats of glossy forest green. Sponge gold glitter from the tip upward until the fade looks even. Use a smaller sponge for the last 1-2 mm so the transition stays smooth. Finish with a thick top coat to lock glitter down and prevent gritty texture.
Pro tipAfter top coat, wipe the nail with isopropyl and then add one more thin top coat - it levels the surface.
Watch outDon't skip a thick top coat - glitter texture feels rough fast.