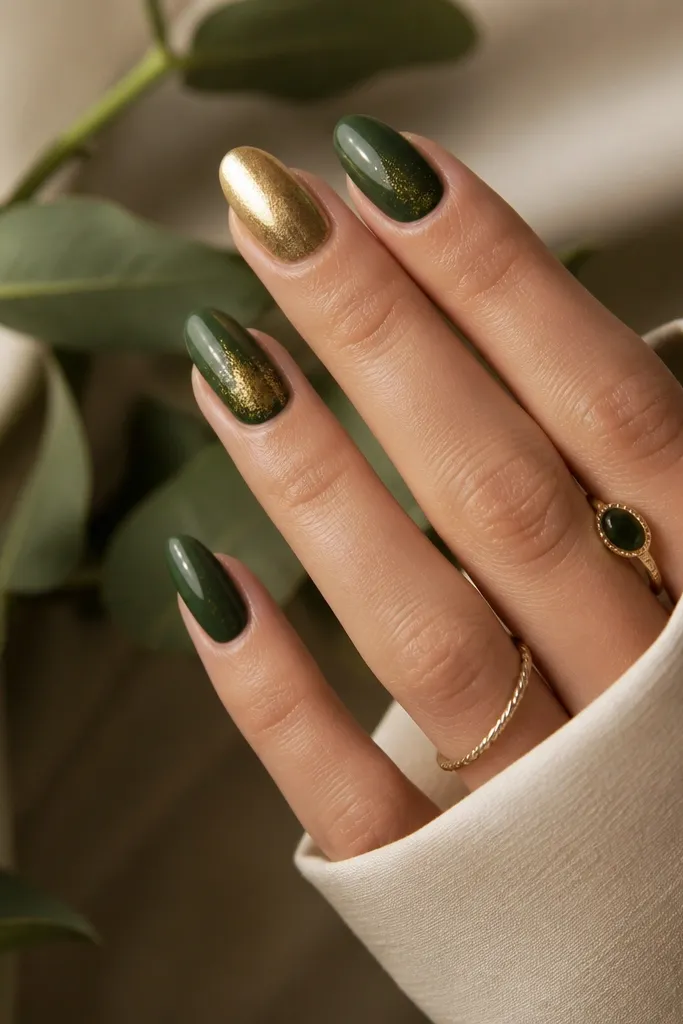
1. Emerald Reverse French with Thin Gold Smile
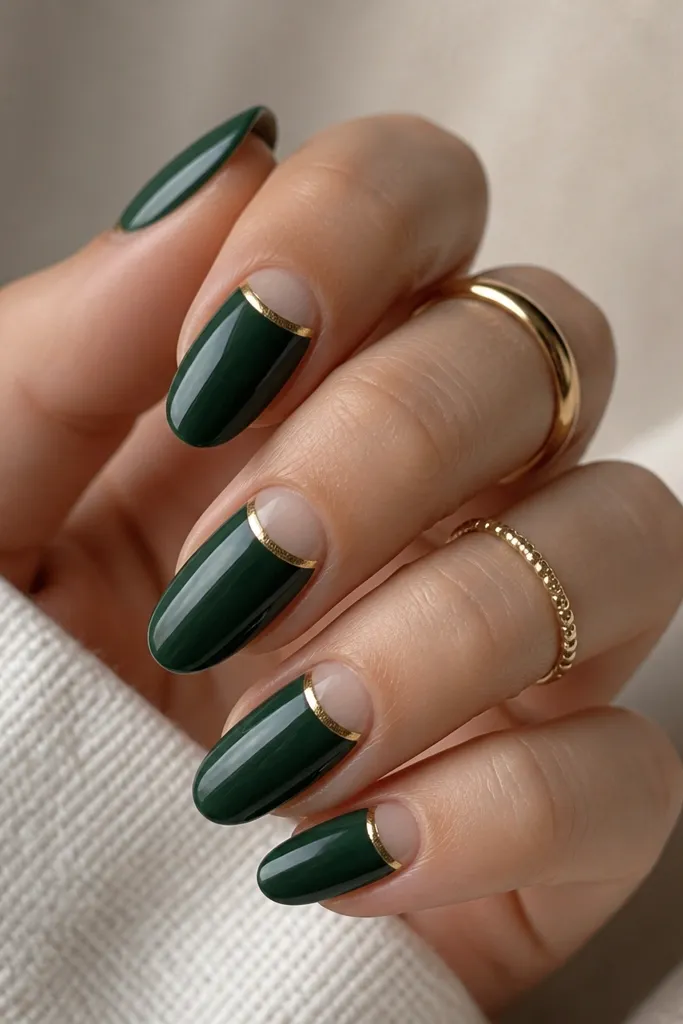
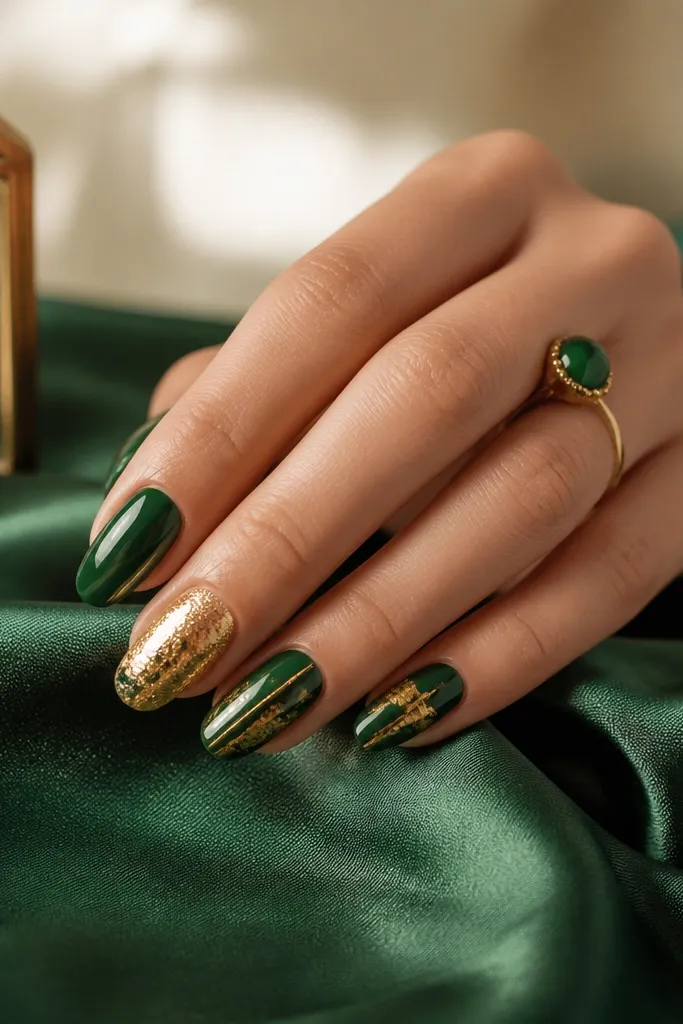
This design makes green feel polished because the emerald sits as a full base while the negative-space curve gives the gold room to shine. The thin gold smile line reads like jewelry, not decoration, because it's narrow and follows the natural nail curve. I like emerald here because it stays lush in shade and doesn't go gray when it chips. It looks great with rings because the gold line echoes metal tones.
Paint a solid emerald base (gel or regular) and cure fully if using gel. Place a gold striping line (tape or a fine brush) just above the natural cuticle curve, leaving a small negative area below it. Finish with a high-gloss top coat so the gold stays glassy and the emerald looks smooth.
Pro tipUse a striping tape that's 1.5 mm wide or thinner; wide tape makes the smile look heavy fast.
Watch outAvoid thick gold at the cuticle - it drags the eye and makes the set look clunky.
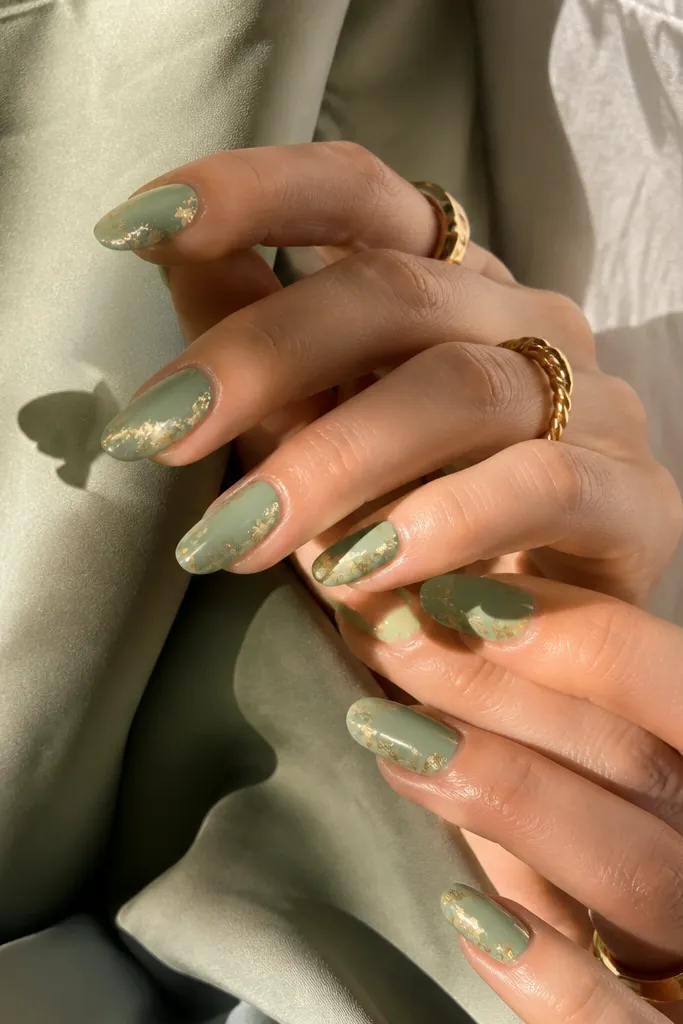
2. Sage Marble Swirl with Gold Leaf Corners
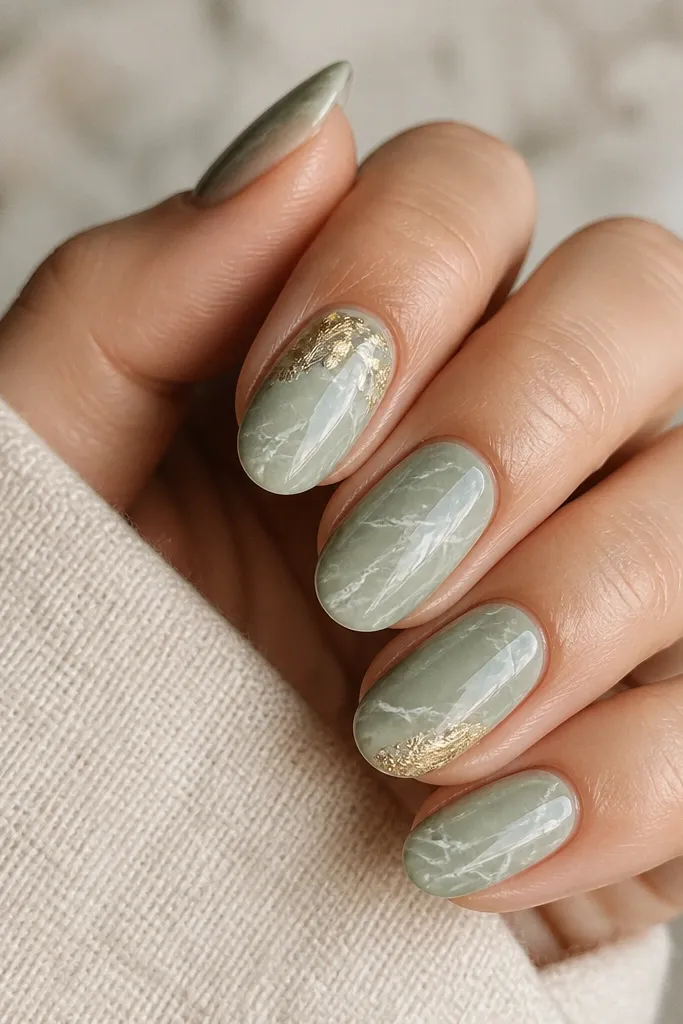
Sage marble looks soft and expensive because the green is muted, and the white veining gives motion. Gold leaf corners add the "seasonless" magic - it reads like sun on stone. This set works year round because it isn't tied to one holiday color palette; it's stone-like. The gold leaf is also forgiving since it's irregular by nature.
Start with sage as your base. Use a thin nail art brush or a marbling tool with white/cream polish to drag wisps through the sage, then gently blend the edges with a makeup sponge dab. Press small pieces of gold leaf into the corners on top of tacky gel (or use a leaf adhesive) and seal with two coats of top coat.
Pro tipKeep the white veining sparse; marble looks best when you can still see the green through it.
Watch outDon't flood the nail with white - marble that's too opaque turns chalky.
3. Chrome Green Tips with Micro Gold Foil
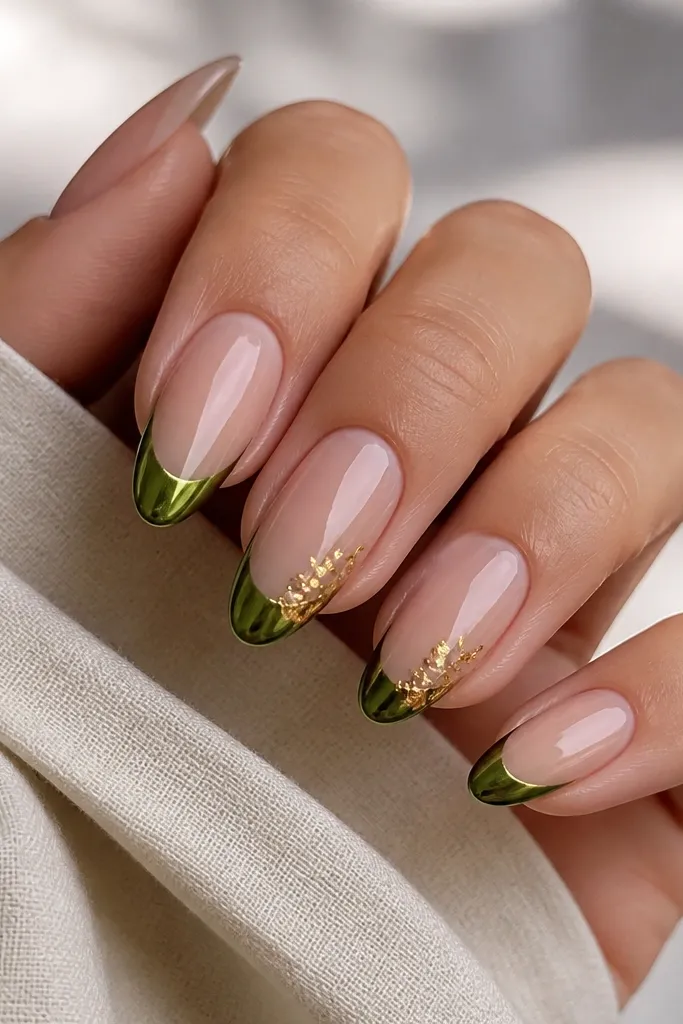
Chrome green tips look sharp without being loud because the nude base keeps it clean. The micro gold foil adds sparkle in the exact places your hand catches light - tip edges and sides. I like this combo when you want green and gold but not "holiday glitter." Chrome also makes the green look deeper even if your polish is slightly sheer.
Use a nude base gel and cure. Sponge or brush the chrome green only on the tip area, leaving a crisp boundary. Add micro gold foil with tweezers on the tacky chrome or over a small layer of clear gel, then cap with top coat so foil stays locked.
Pro tipAngle your finger under a lamp while applying foil - you'll see where it sticks before curing.
Watch outAvoid heavy foil on the center - it wrinkles under top coat and can look textured.
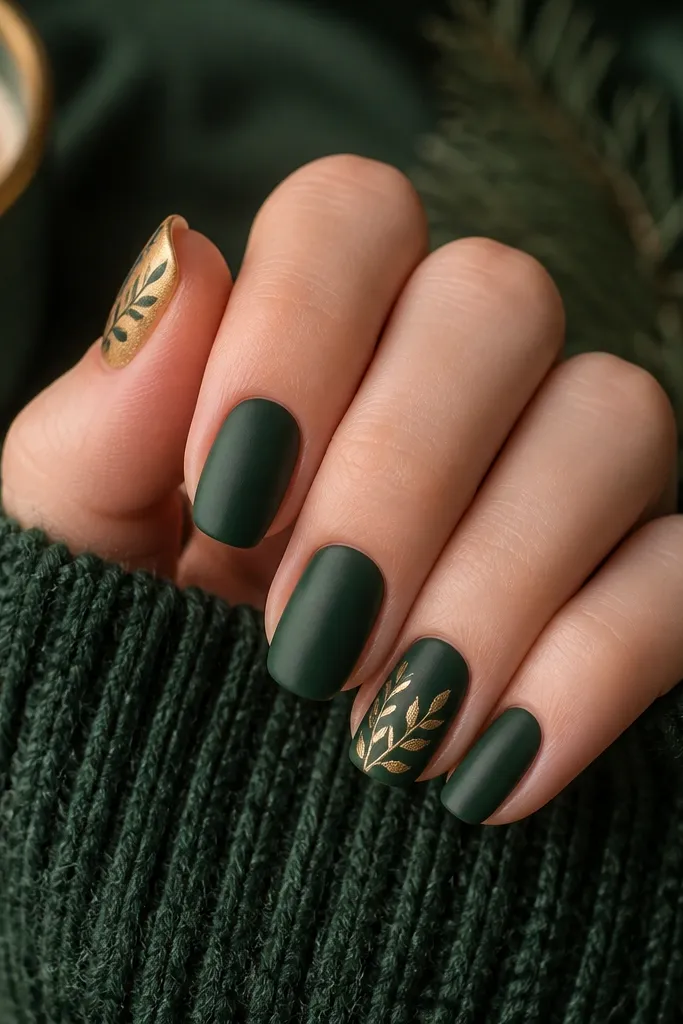
4. Gold-Stamped Leaf Veins over Deep Emerald
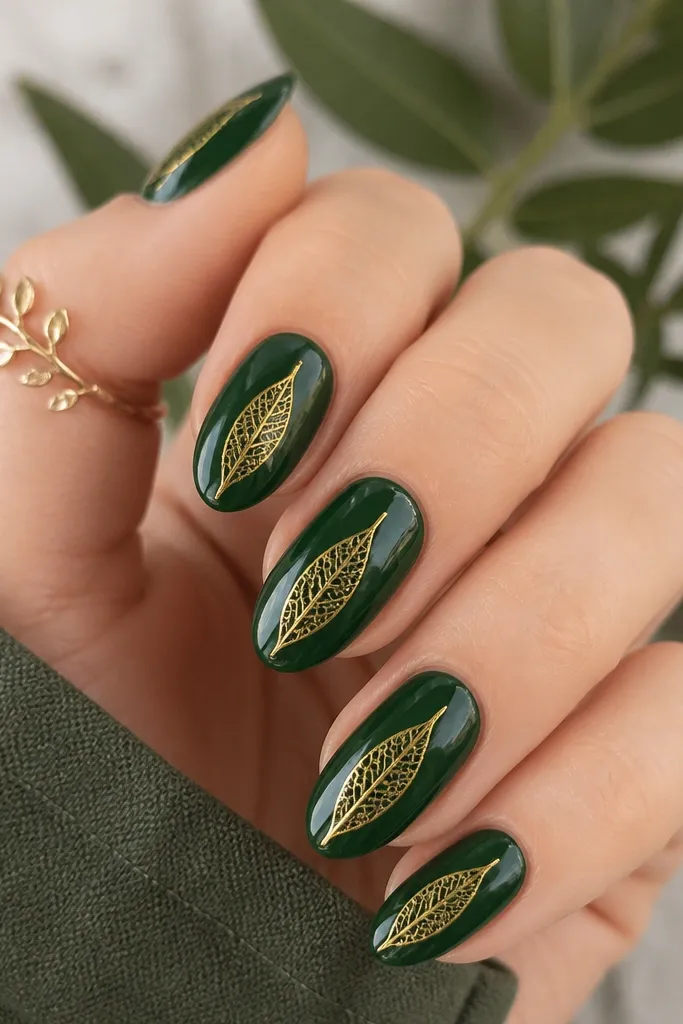
Stamped leaf veins make the set look intentional because the pattern is consistent across nails. Deep emerald is the perfect background because it makes gold look warm instead of yellowish-green. This design reads "botanical" without being messy, and it hides small imperfections because the pattern gives the eye something to follow. It also works with short nails since the art sits in the center.
Paint deep emerald and cure. Use a stamping plate with leaf or fern vein designs and a gold stamping polish. Press firmly once, then clean the stamper edge so the lines transfer sharply. Seal with a smooth top coat and cure fully.
Pro tipPractice stamping on a fake nail first - leaf patterns need firm pressure for clean edges.
Watch outAvoid using thick top coat right after stamping; it can smear the gold lines before they set.
5. Sage Ombré Fade with Gold Half-Moons
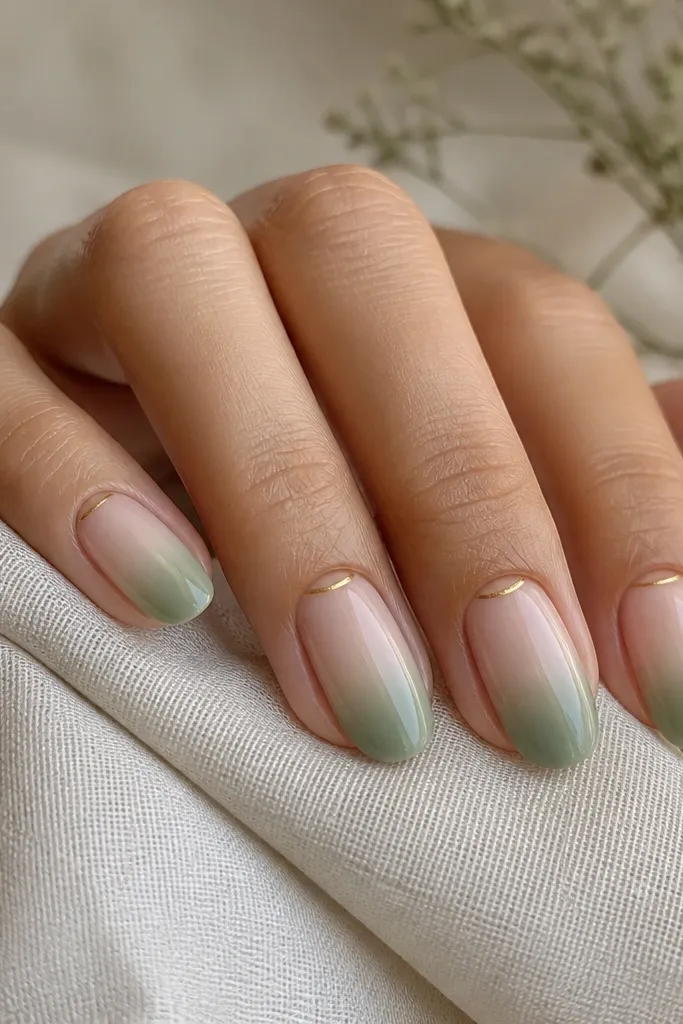
This is the "wear it to everything" green-and-gold set because the ombré is soft and the half-moons are restrained. The gold half-moons give you that jewelry look without covering the whole nail. Sage ombré also forgives growth because the fade blends when your nail grows out. It's one of my favorite designs for work weeks.
Start nude or sheer pink at the base. Sponge sage polish from mid-nail to tip, then feather the edges with a clean sponge so the fade looks smooth. Add gold half-moons by painting a thin arc right at the cuticle line and keeping it symmetrical on each nail. Finish with a thick, self-leveling top coat.
Pro tipUse a makeup sponge with a medium texture; super dense sponges create harsh dots.
Watch outDon't make the half-moons too wide - wide arcs look like cheap stickers.
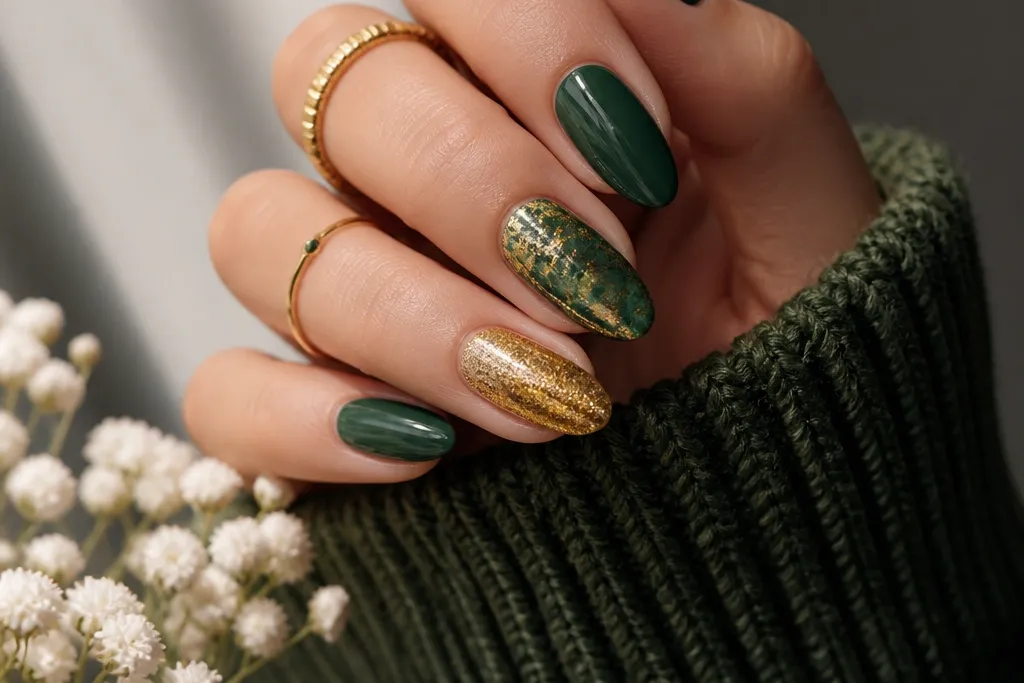
6. Green Glitter Gel with Gold Striped Side Accent
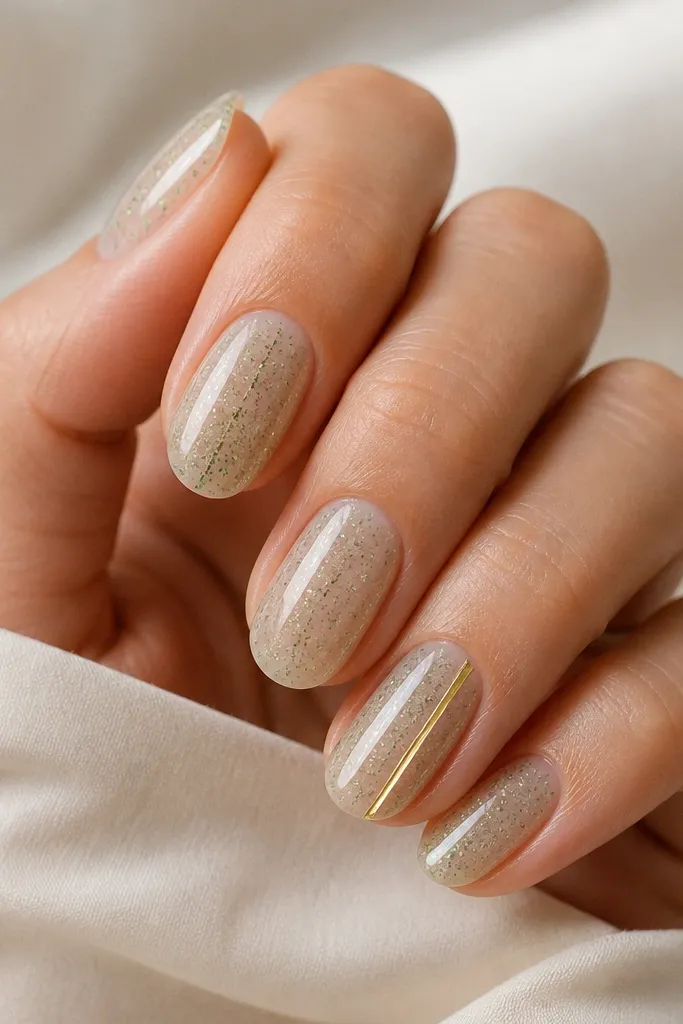
Green glitter gel keeps the set festive without needing a full foil look. The jelly base makes the green glow, and the gold side stripe adds structure so the glitter doesn't look chaotic. I love this for evenings because the glitter catches light while the gold stripe frames it. The side placement also hides chips better since the stripe sits slightly off-center.
Apply green glitter jelly in two thin layers for even sparkle, cure each layer. Use striping tape or a fine brush to draw one narrow gold line down the side on your accent nails. Keep the line about a third of the nail's width from the center, then cap with top coat.
Pro tipIf your glitter feels gritty, add a thin clear gel layer before top coat to smooth the texture.
Watch outAvoid thick glitter layers - they look bumpy and can lift at the edges.
7. Deep Emerald Solid Nails with Gold Cuticle Dot Cluster
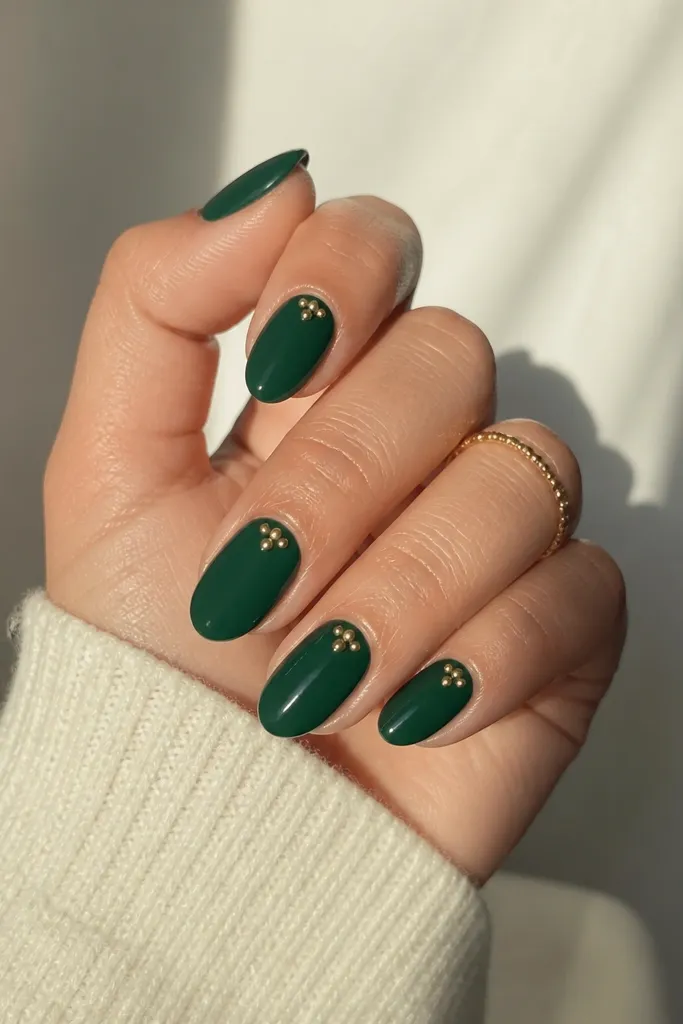
This one looks luxe because it's mostly one color with a controlled gold detail. The gold dot cluster at the cuticle mimics tiny ornaments and makes the nails look handcrafted. Deep emerald stays flattering against skin and doesn't wash out. It's also the fastest design on this list: you can finish it in under 30 minutes once you get your dot sizes consistent.
Paint and cure deep emerald. Using a dotting tool or a toothpick, place 3-5 tiny gold gel dots right at the cuticle line, keeping the cluster slightly toward one side so it looks natural. Cure, then seal with top coat to lock the dots smooth.
Pro tipMatch dot sizes across nails: I do one larger dot in the center and smaller ones around it.
Watch outDon't place dots too far from the cuticle - it turns into random specks instead of a planned accent.
8. Gold Foil Burst on Sage Base with Matte Top Coat
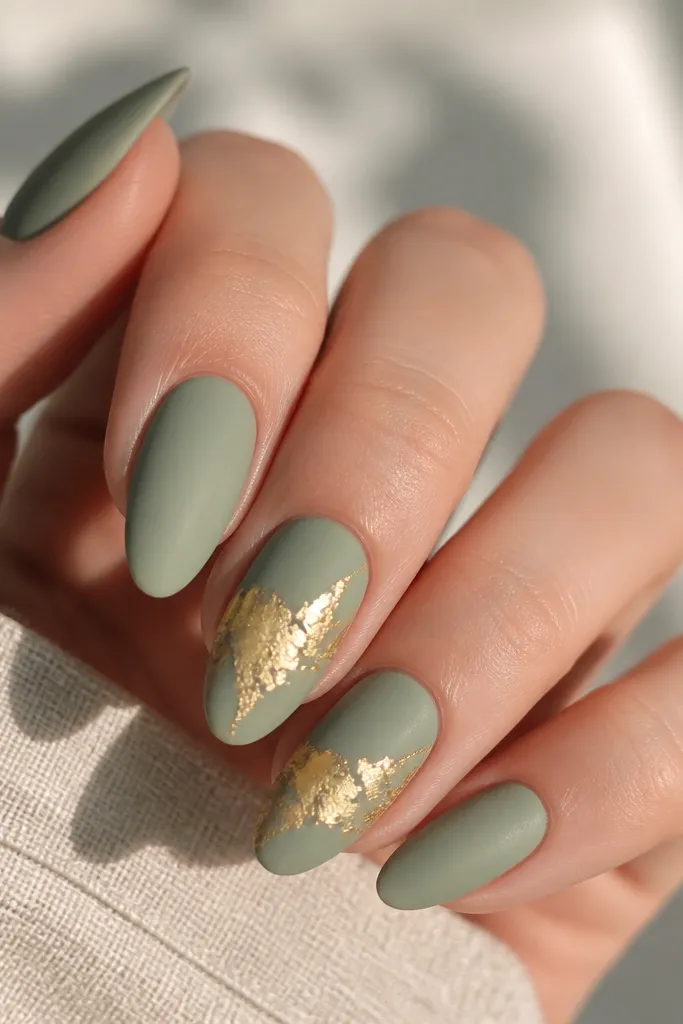
Matte sage plus a gold foil burst is one of my favorite combos because the gold pops hard against the muted green. The foil burst looks like you placed a small piece of metallic paper and sealed it - it's dramatic but still wearable. Matte also helps hide minor brush strokes in the green base. This is a great "date night" set that still works during the day.
Apply sage base and cure. Add gold foil by pressing it into tacky gel in a burst shape, then gently pat it so it grips. Seal with a matte top coat, but keep the foil area sealed with an extra thin layer so it doesn't lift.
Pro tipUse matte top coat only after foil is fully cured and capped; otherwise foil edges can look ragged.
Watch outAvoid glossy top coat over foil bursts - it flattens the look and can make foil look like a sticker.
9. Green and Gold Half-and-Half Vertical Panels
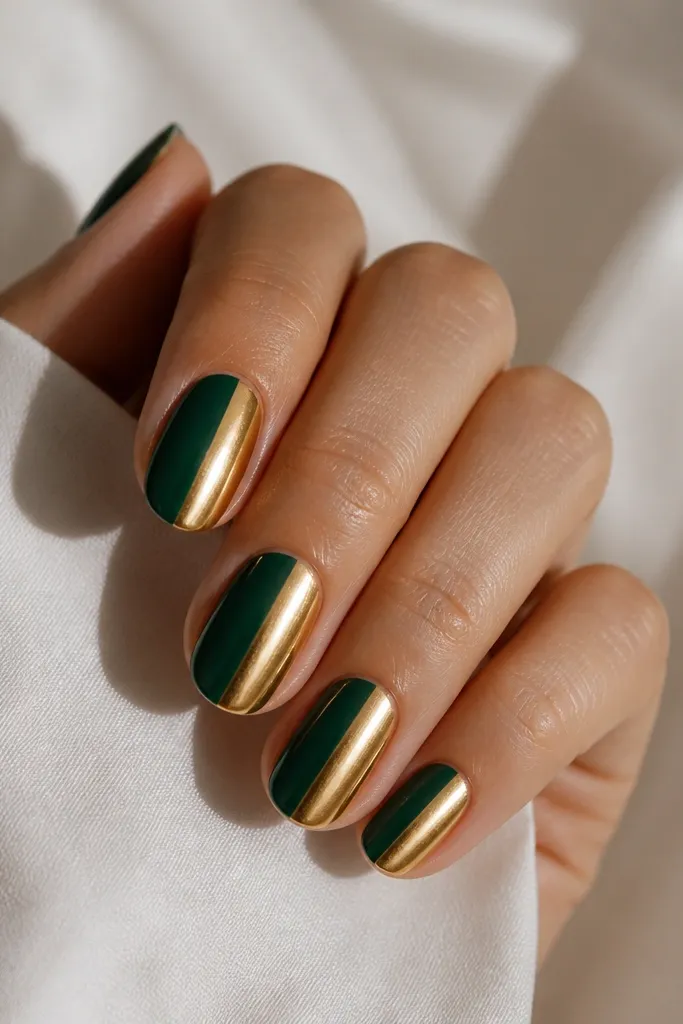
Vertical panels look graphic and modern, and they're surprisingly flattering on short nails. The split also makes the design feel balanced even if your green application isn't perfect edge-to-edge. I like emerald with a true metallic gold here because it keeps the contrast clean. This set also hides growth better since the color block line stays visible.
Paint a clear base, then tape a vertical guide line down the center using striping tape. Fill one side with emerald green and the other with metallic gold gel polish. Cure, remove tape carefully, then tidy the edge with a micro brush and top coat.
Pro tipUse thin striping tape and burnish the edges with a fingernail so paint doesn't bleed.
Watch outAvoid freehand splitting - wobbly lines make it look like a craft project.
10. Sage Micro-French with Gold Outline
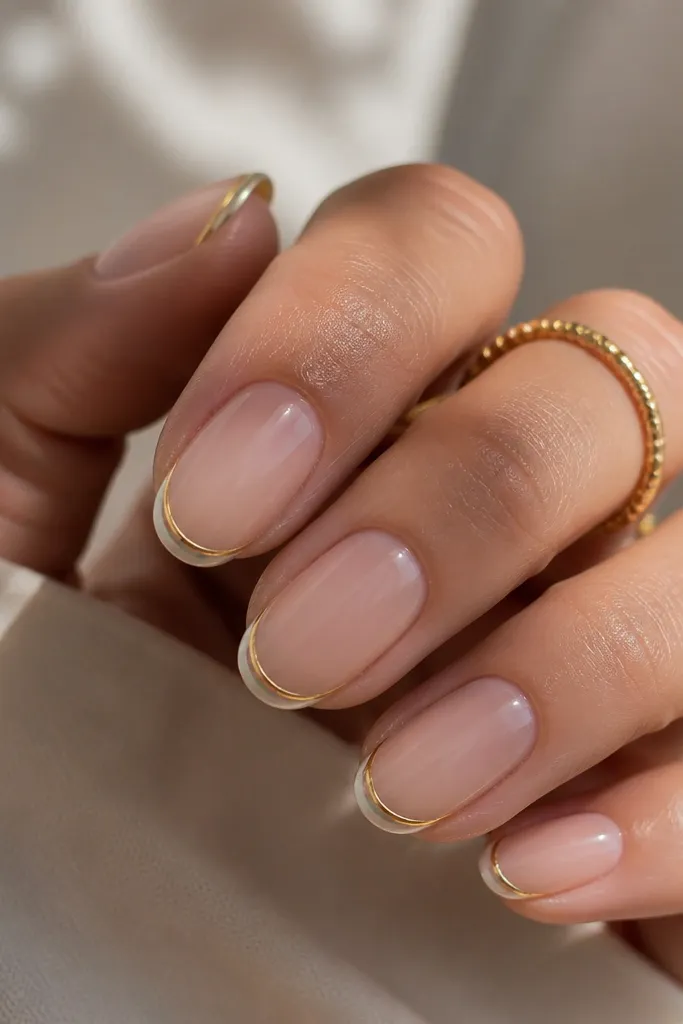
Micro French makes green and gold feel neat and grown-up. The thin sage line gives color without taking over, and the gold outline makes the tips look finished. This works year round because it looks like "polish done" rather than seasonal artwork. It's also perfect if you hate big glitter or wide gradients.
Start with sheer nude and cure. Paint a thin micro French in sage, staying just inside the free edge. Add a gold outline around the sage line using a fine brush or tape, then top coat.
Pro tipKeep the micro French line the same thickness on every nail - that consistency makes it look salon-level.
Watch outAvoid thick outlines; they make the tips look rounded and cheap.
11. Emerald Cat-Eye with Gold Halo Ring
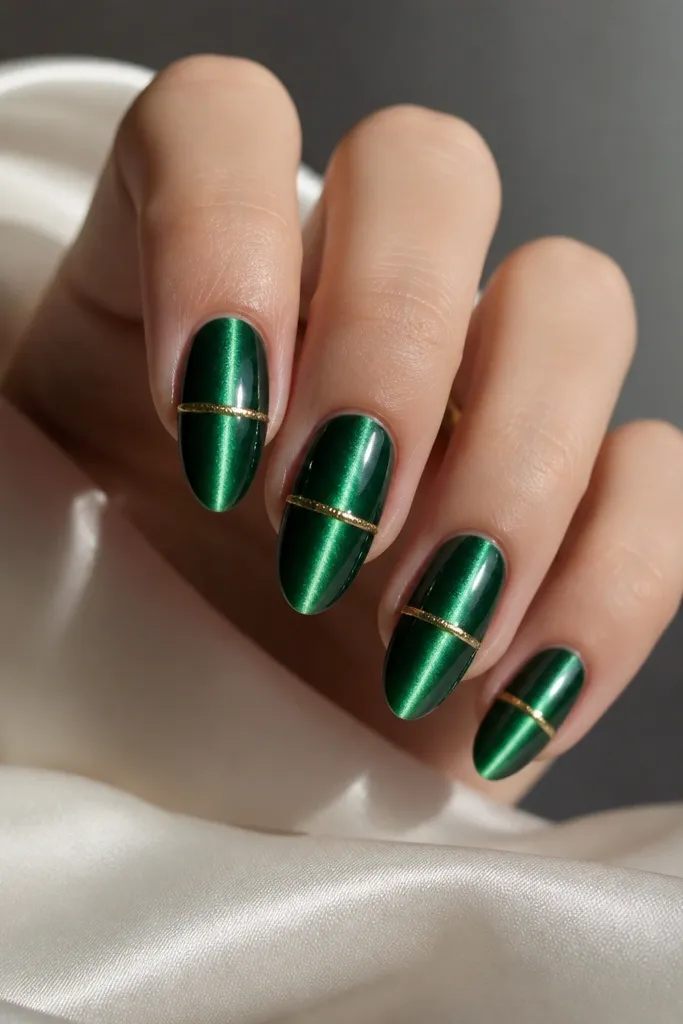
Cat-eye green already looks like metal, so gold becomes the finishing jewelry piece. The gold halo ring adds a focal point in the middle, making the cat-eye streak look intentional rather than accidental. I love this for winter because emerald reads deep and the gold halo gives warmth. It also looks good in photos since the cat-eye streak moves with your hand.
Apply emerald cat-eye gel and use the magnet to pull the streak in the direction you like, then cure. Add a thin gold ring with a liner brush in a loose circle shape around the middle, then cure again. Seal with a glassy top coat.
Pro tipMagnet after the gel is spread but before it levels - that gives you a sharper streak.
Watch outDon't smudge the halo while the gel is wet - it drags into the cat-eye streak.
12. Gold Foil Frame Around Sage Negative Space
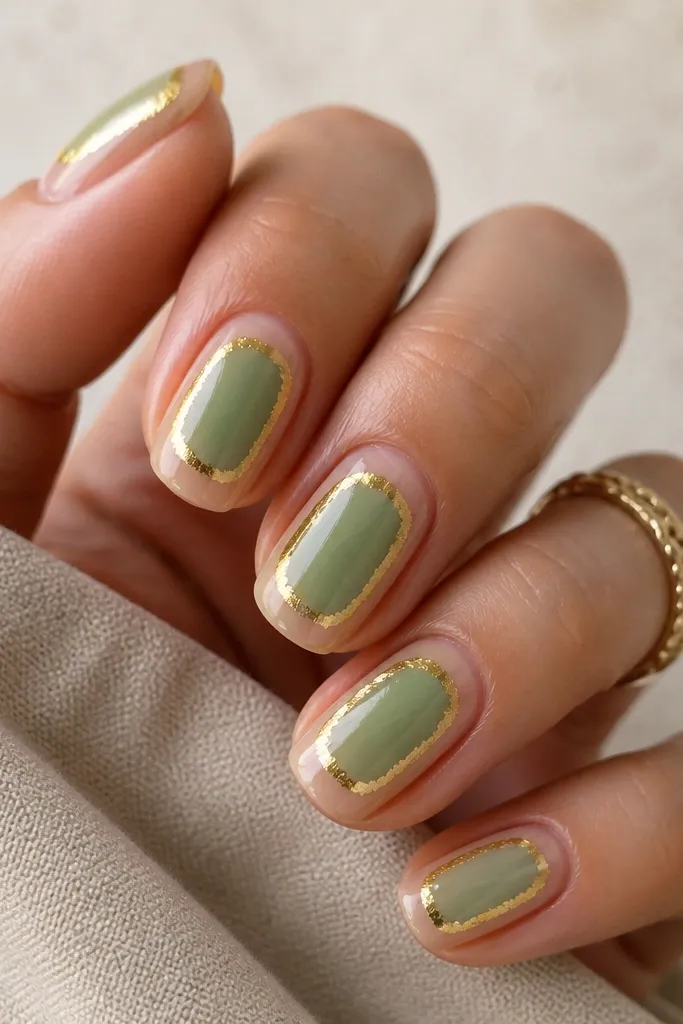
This design looks like stained glass because you're framing a sage panel with gold. The negative space keeps it light, and the foil frame adds that metallic edge without covering everything. It's one of the best green-and-gold looks for people who chip easily because the art is centered and not dependent on the tip. The gold frame also hides small imperfections at the panel edges.
Use nail tape or a stencil to create a centered sage panel shape on a nude base. Paint sage inside the panel and cure. Apply gold foil along the panel edges using foil adhesive or tacky gel, then cap with top coat carefully around the frame.
Pro tipMake the sage panel slightly taller than wide; it flatters short nails and looks intentional.
Watch outAvoid a fully opaque gold frame - you want foil edges, not a thick painted border.