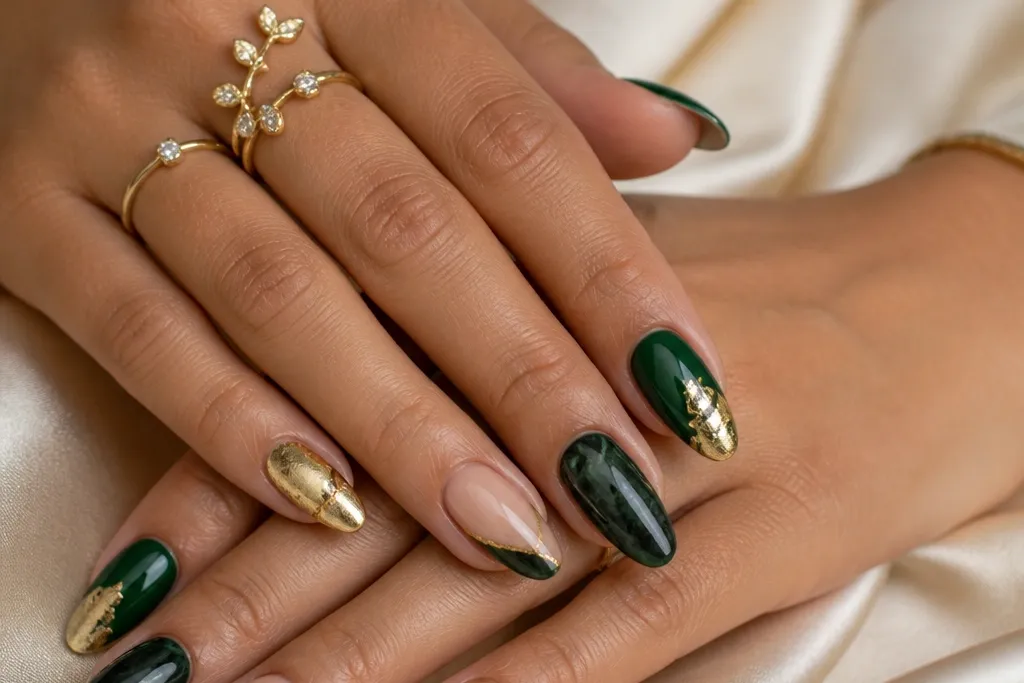
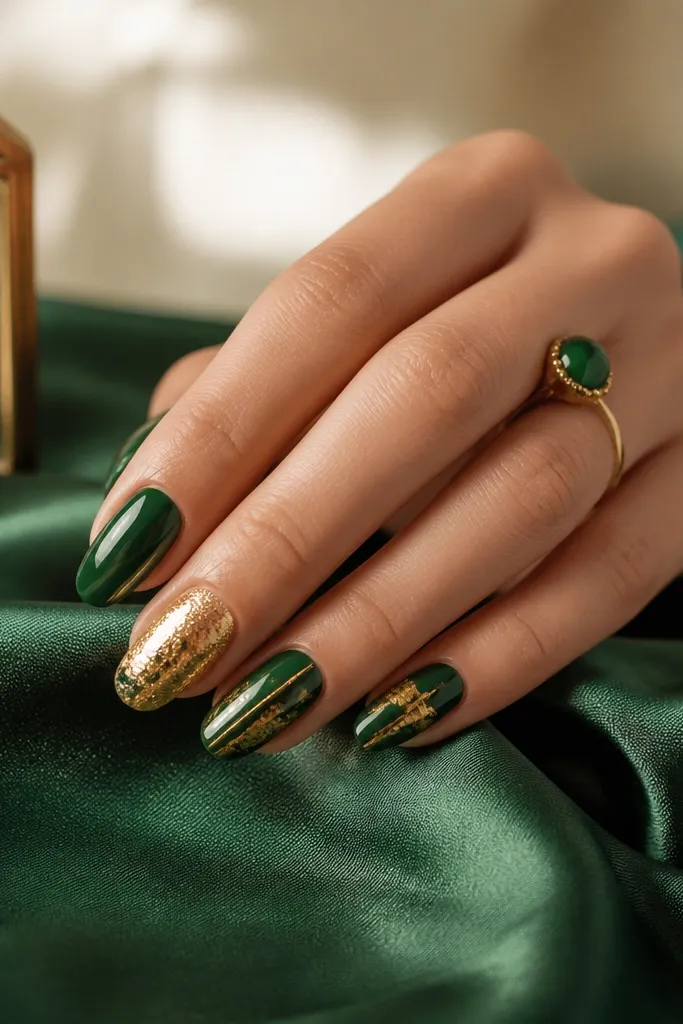
1. Jewel Half-Moon with Mirror Gold
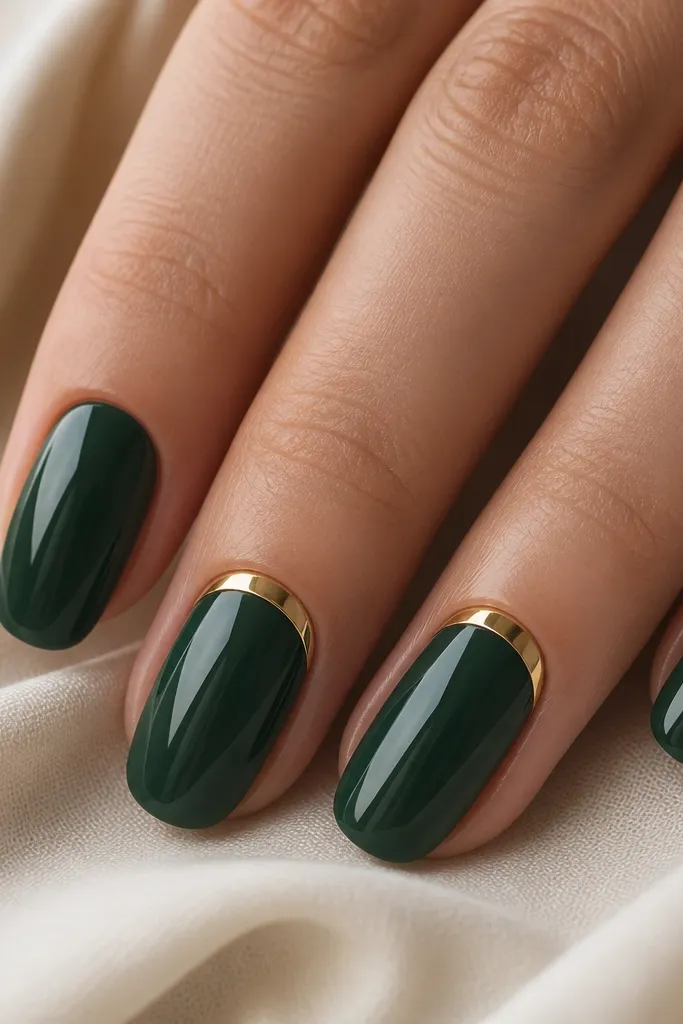
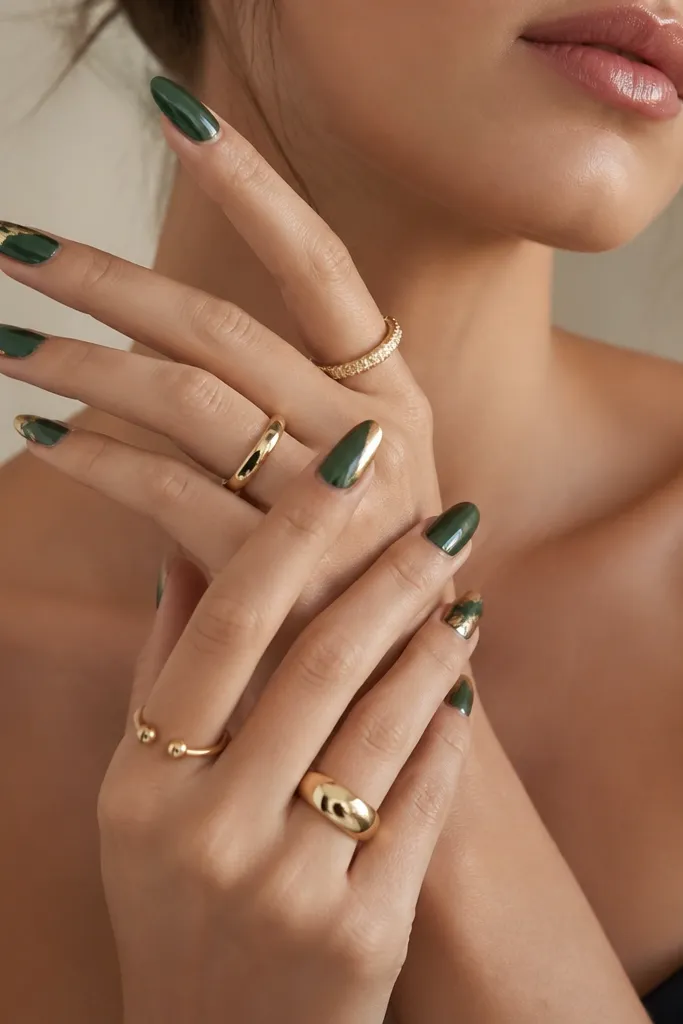
This design works because the gold sits exactly where light naturally hits - near the cuticle - while emerald stays deep and uninterrupted. The mirror finish makes the gold look like metal, not glitter, so it pairs cleanly with emerald's cool tone. Keep the gold arc thin for a luxe look; thick arcs can swallow the nail.
Paint emerald first on all nails. On two accent nails, place a half-moon of mirror chrome or mirror gel at the cuticle using a curved stencil or a steady gel brush, leaving a tiny gap between gold and skin line. Seal with a high-gloss top coat that cures fully so the chrome stays smooth.
Pro tipIf you're doing this at home, use a small piece of striping tape as a guide for the gold curve. It keeps the line crisp even if your freehand isn't perfect.
Watch outDon't blob the gold into the cuticle - it lifts faster and looks messy in close-up photos.
2. Diagonal Emerald Blade with Gold Stripe
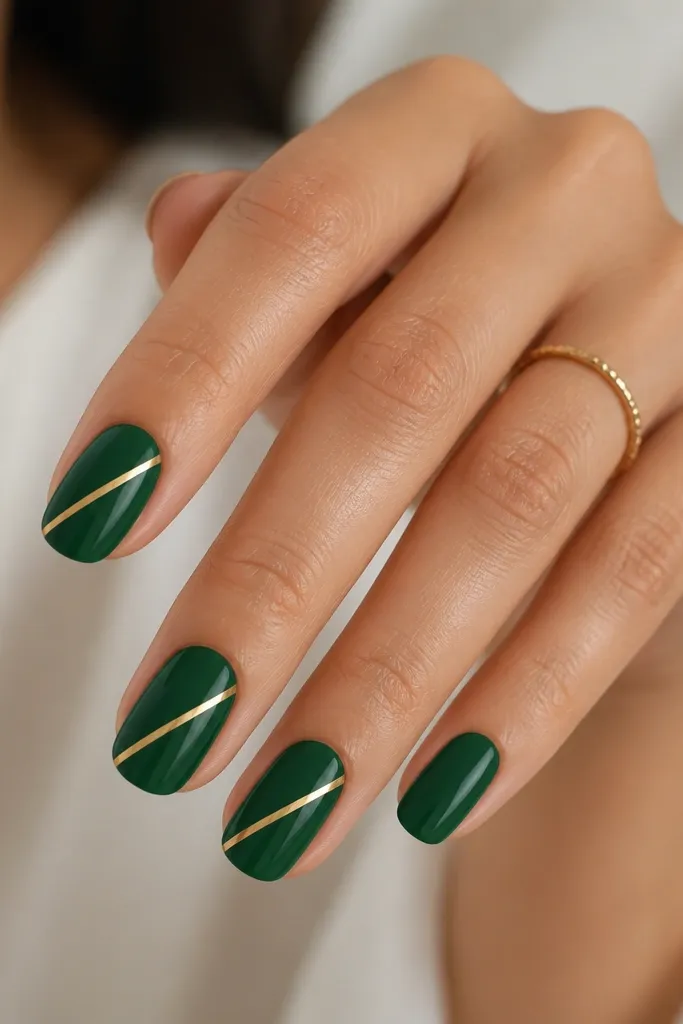
A diagonal stripe creates instant length because it pulls the eye across the nail. Emerald stays the main color, and the gold stripe acts like a frame. The "blade" look is luxe because the line is narrow and straight - no chunky glitter.
Do a full emerald gel coat and cure. Apply a thin strip of gold striping tape at a diagonal angle, press it down firmly, then paint over with emerald or a clear gel to lock it in. Remove tape after curing if your system supports it, or use a gel top coat over the stripe for a smooth finish.
Pro tipAngle the stripe so it starts just above the sidewall and ends near the tip center. That placement looks balanced on both short and long nails.
Watch outSkip thick tape widths. Wide stripes make the design look like costume nail art.
3. Foil Leaf Accent on Emerald Gloss
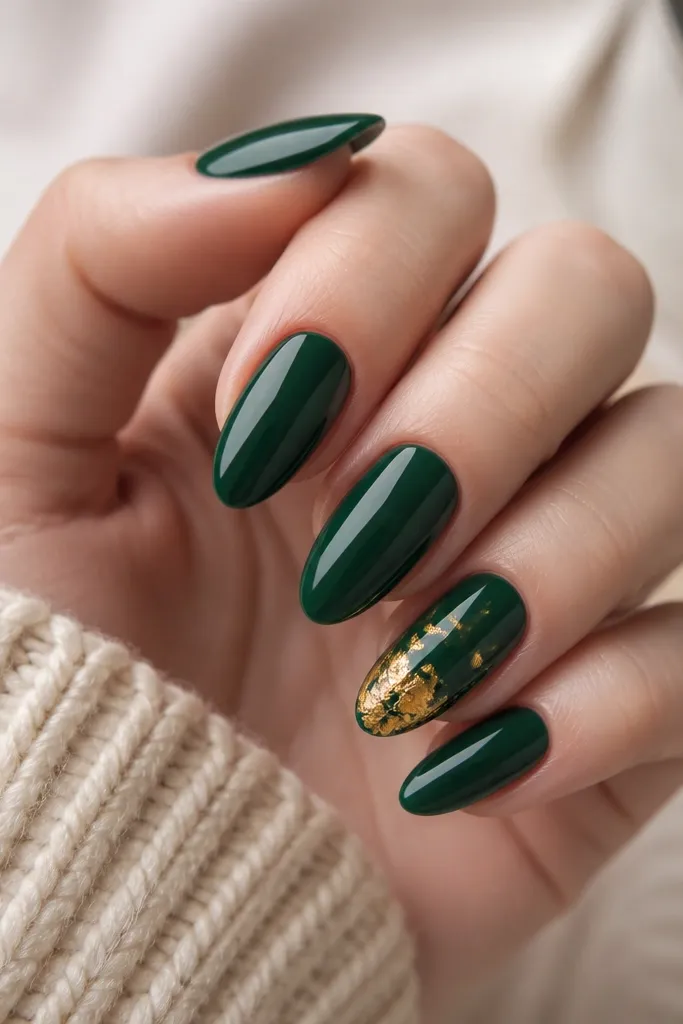
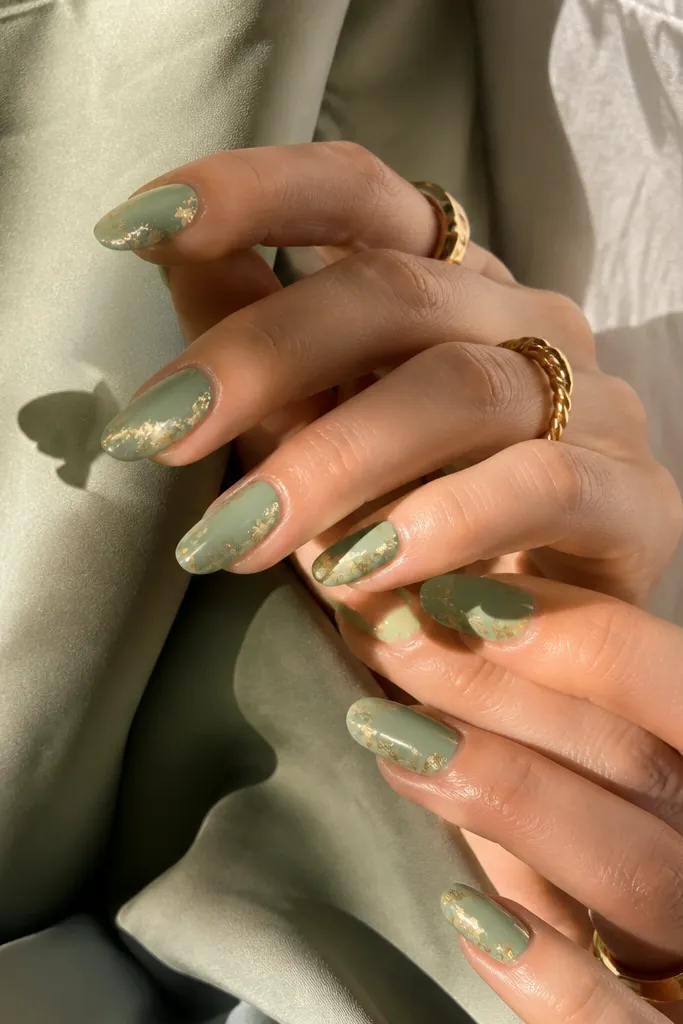
Gold leaf foil gives you that real jewelry sparkle because the foil catches light in tiny flashes. Keeping it clustered near the tip keeps the rest of the nail sleek and prevents the design from looking busy. Emerald's depth makes the gold look warmer and more dimensional.
Paint emerald on all nails and cure. Apply foil adhesive or tacky gel only on the tip area of the accent nail, then press foil pieces in small sections. Seal with two thin layers of top coat, curing between layers, so foil doesn't lift.
Pro tipUse smaller foil bits than you think - tiny pieces look intentional and more "luxe" than big flakes.
Watch outDon't seal foil with one thick coat. Thick top coat can smear foil texture.
4. Emerald Chrome Tips with Thin Gold Lining
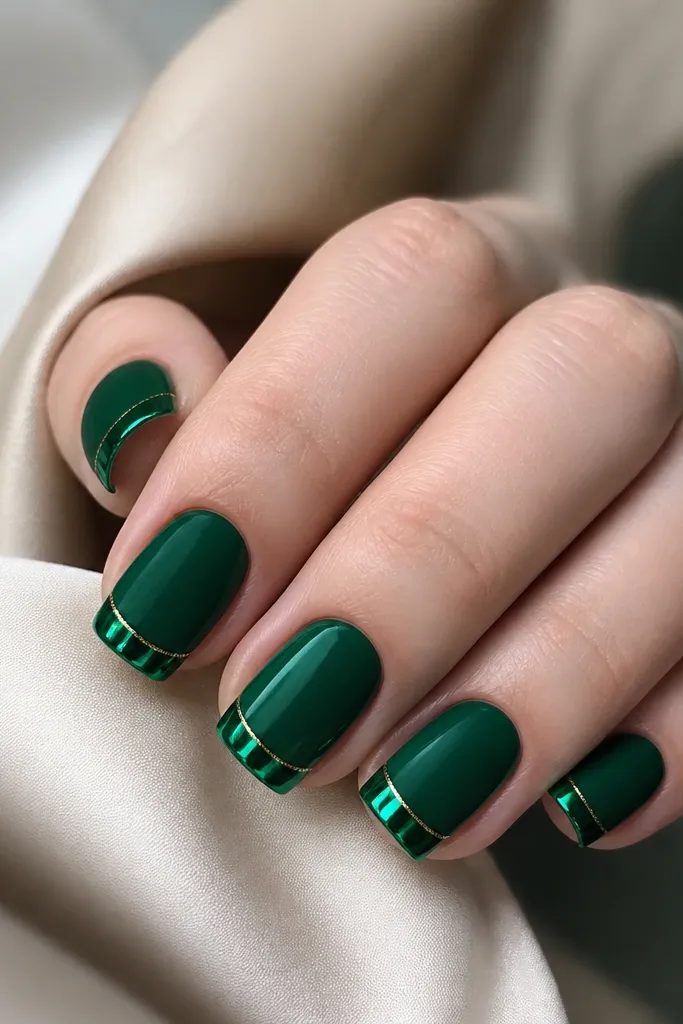
Chrome tips look polished because the surface reflects like metal. Adding a thin gold line along the tip edge frames the chrome and makes the transition look deliberate. This design is especially flattering on short nails because it creates a clean "tip" boundary.
Apply emerald base gel and cure. Use an emerald chrome powder or chrome gel for the tips, then buff lightly for a smooth reflective finish. Add a thin gold stripe just under the chrome boundary using a liner brush.
Pro tipKeep the gold line off the very edge by about 1 mm so it doesn't catch on fabric and peel.
Watch outAvoid chunky chrome application. Lumpy chrome makes the tip look uneven.
5. Gold Confetti Dot on Emerald Negative Space
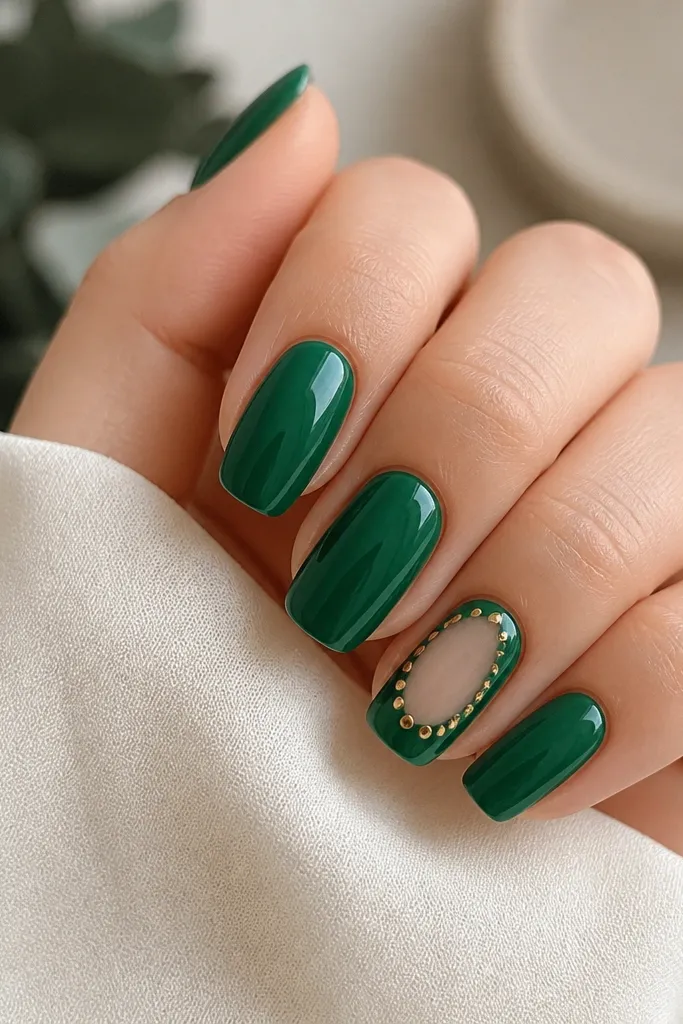
Negative space makes emerald look lighter and more modern. Tiny gold dots mimic jewelry settings without taking over the nail. The contrast between clear and jewel green reads luxe in daylight and in flash photos.
On the accent nail, leave a small oval or teardrop window unpainted by using a nail stencil or liquid latex barrier. Paint emerald around it, cure, then add gold dots using a dotting tool with metallic gold gel. Seal with top coat to lock the dots.
Pro tipUse dot sizes that get smaller as they approach the window edge. That taper looks designed, not random.
Watch outDon't fill the whole nail with dots. Too many dots turn it into a glitter pattern.
6. Stained Glass Emerald with Gold Outline
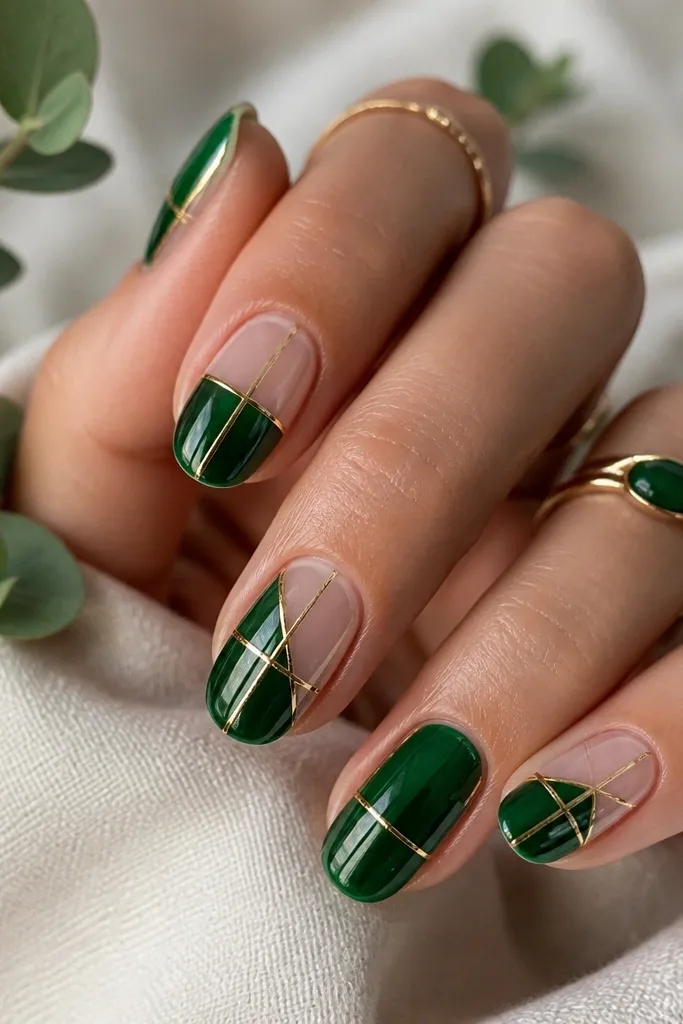
Stained glass looks expensive because it has crisp boundaries and a glassy depth. The gold outline makes the emerald feel like it's behind glass, not painted on top. Use a jelly emerald so you get that luminous, layered effect.
Start with a clear base or nude-jelly base. Paint emerald jelly in sections with a thin brush, leaving clear gaps. Add gold liner gel to outline the shapes, then cure and top coat with a thick, glossy layer.
Pro tipMake your gold lines slightly thicker at corners. Corners catch light and look more dimensional.
Watch outDon't use opaque emerald for this. Opaque paint kills the glass effect.
7. Emerald Swirl French with Micro Gold
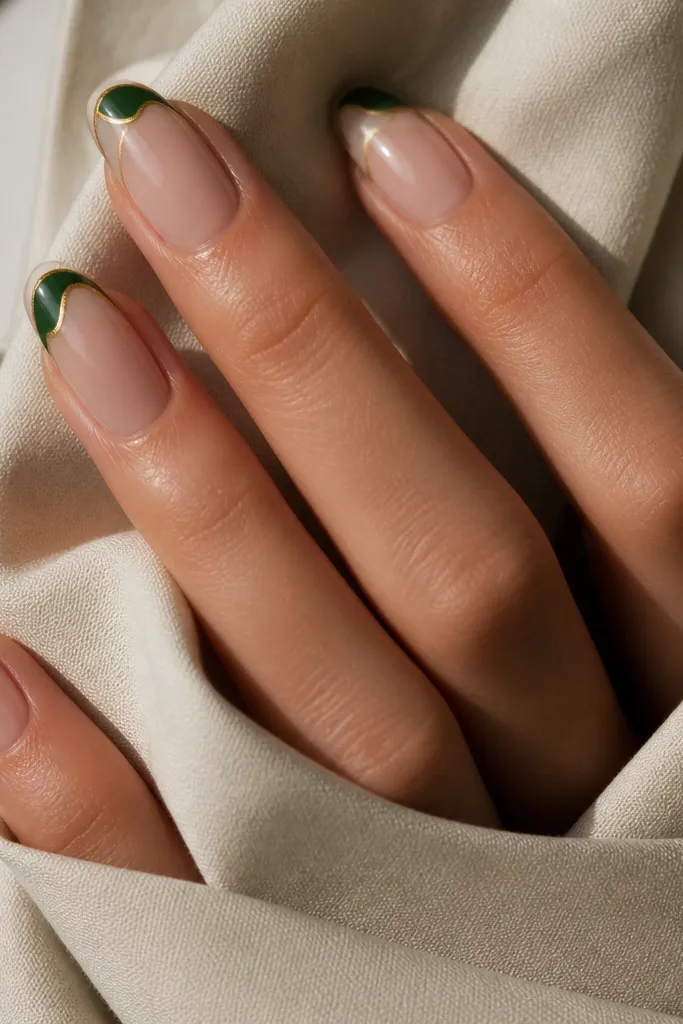
French tips look neat, but the swirl makes it feel custom. The micro gold line acts like a border, so the green and nude separate cleanly. This design is great for offices and events because it reads "done" without screaming glitter.
Base with a sheer nude or milky pink gel. Create a curved French tip shape in emerald, then draw a simple swirl line inside the tip using a liner brush. Add a hairline gold strip between the nude and emerald area, then top coat.
Pro tipKeep the French curve shallow on short nails. Deep curves can shorten the nail visually.
Watch outDon't make the gold line wider than a thread. Thick gold turns it into a block.
8. Gold Bar Over Emerald Matte (Soft Luxe)
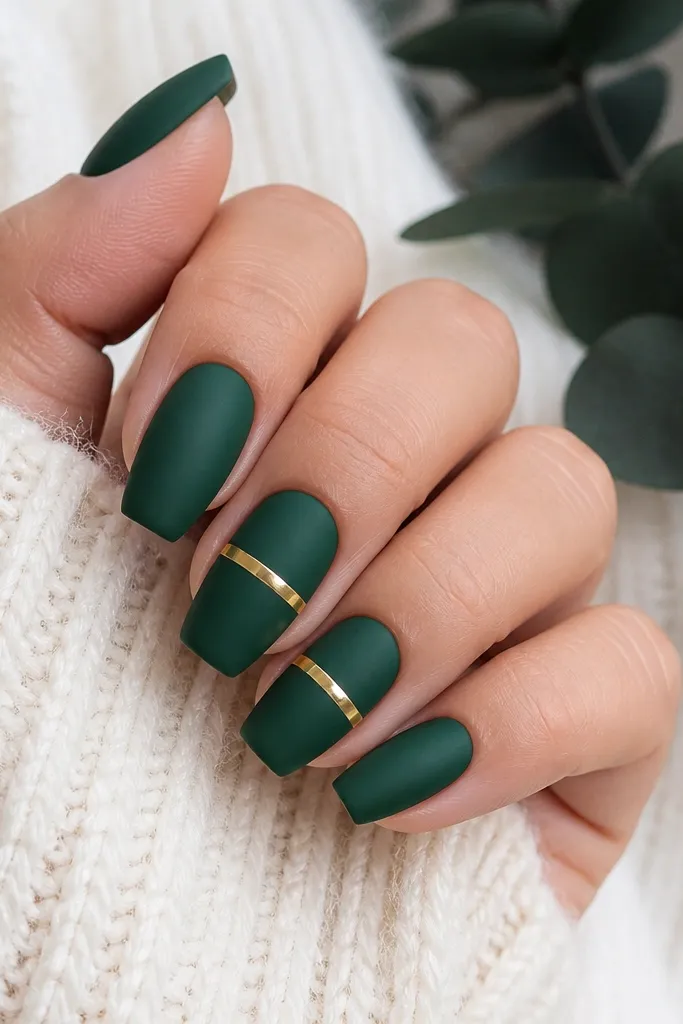
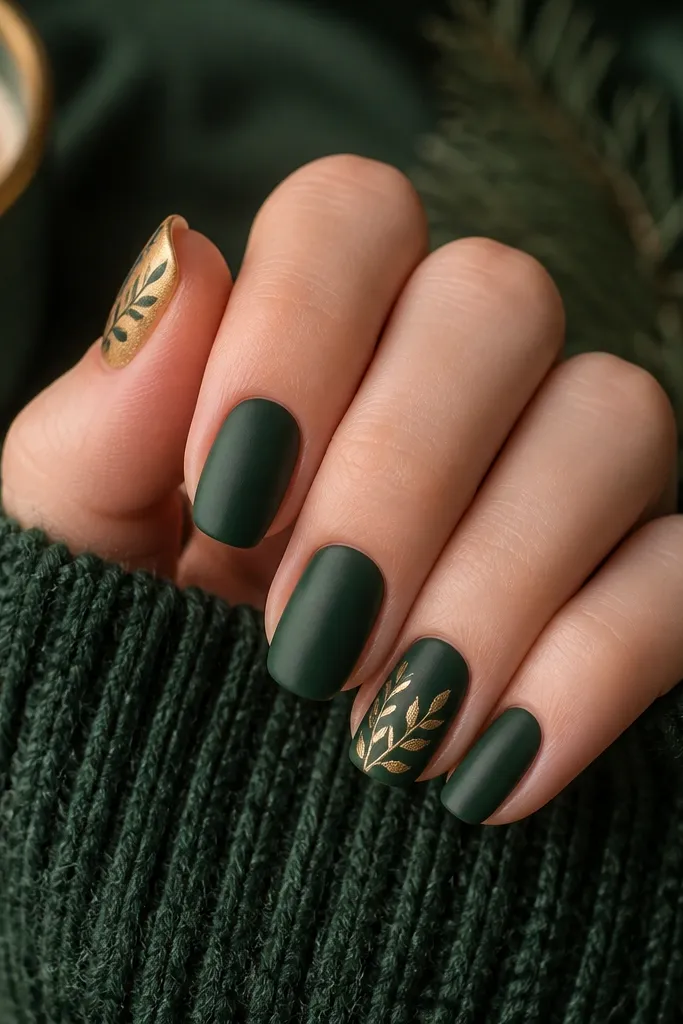
Matte emerald gives a velvety look, and the single glossy gold bar brings the shine back. This works because you're only using one gold element - not multiple - so it looks intentional. The horizontal bar also makes nails look broader and more balanced.
Paint emerald and cure. Apply matte top coat to all nails. On accents, place a narrow strip of gold chrome gel or gold striping tape across the center, cure, then seal with glossy top coat only over the bar area.
Pro tipUse a matte top coat sparingly on the area near the cuticle so it doesn't look chalky.
Watch outAvoid matte over the whole gold bar. Matte gold reads flat and less luxe.
9. Emerald Marble with Gold Vein
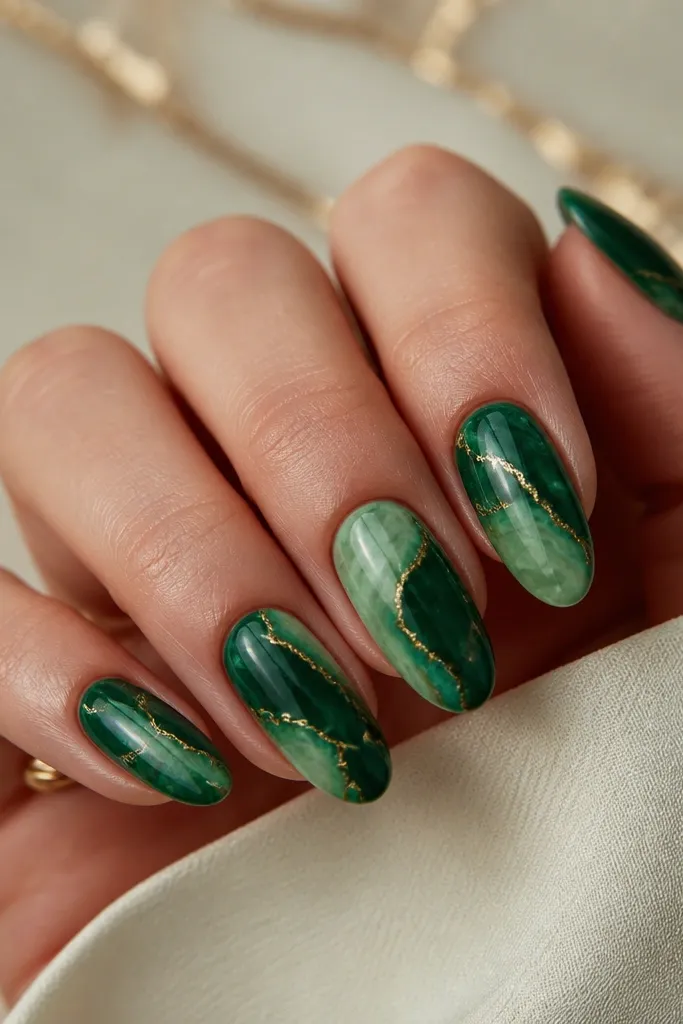
Marble looks complex, but you can keep it controlled. Use a gold vein line to pull the design together so it looks like one cohesive pattern, not random swirls. Emerald marble also looks great in both short and long shapes.
Use a marbling tool or a thin brush with a few shades of emerald: deep emerald, slightly lighter emerald, and a hint of olive. Drag the colors through a wet base so they blend. Add a single gold vein line with metallic gel and cure, then seal with a glossy top coat.
Pro tipKeep your marble swirls thicker at the center and thinner near the edges. It looks more natural and less like brush strokes.
Watch outDon't over-blend. If everything turns one green, you lose the marble definition.
10. Gold Ring Finger Halo with Emerald Gradient
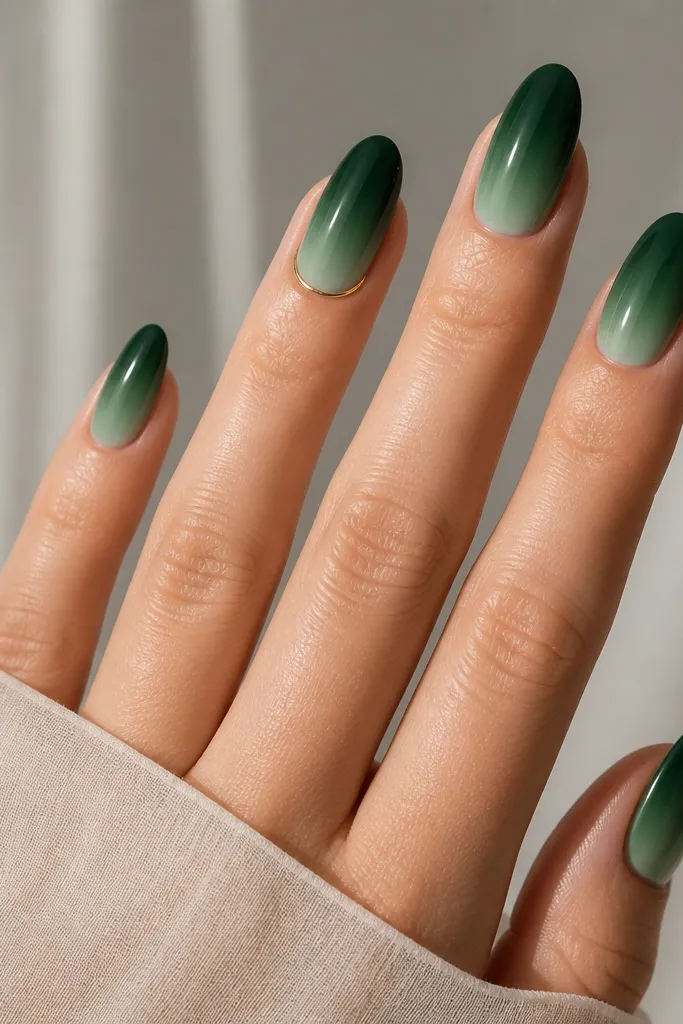
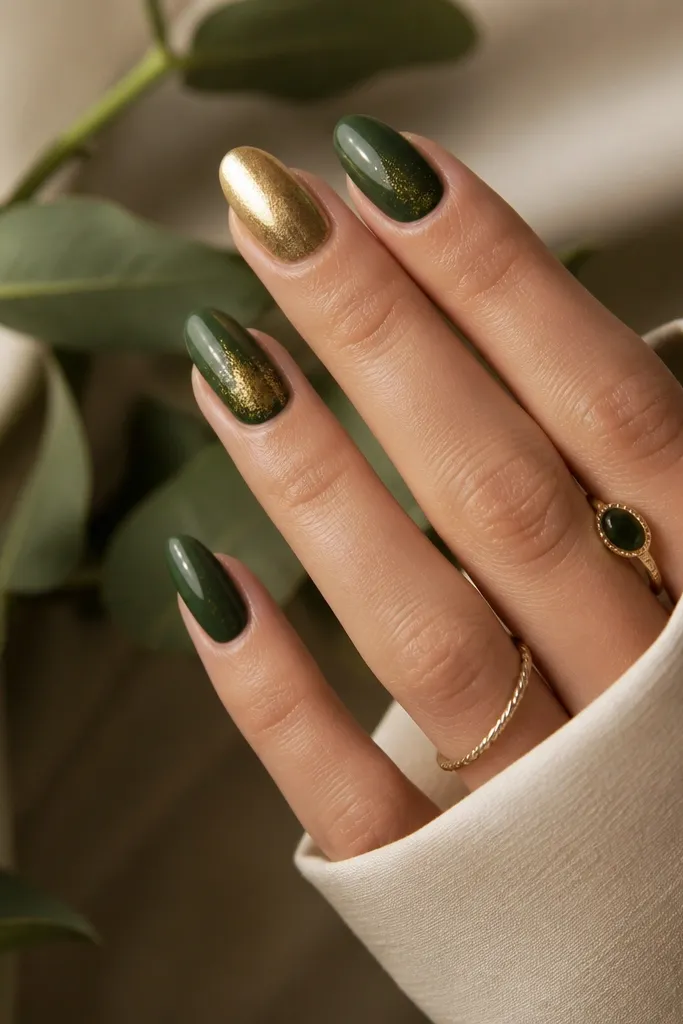
A gradient makes emerald feel silky, not flat. The halo on the ring finger adds a "ring" effect that looks made for photos. The gold works best as a smooth chrome or a gel outline, not chunky foil.
Blend emerald shades from tip to base using a makeup sponge or airbrush tool (even a small sponge works). For the halo, use a thin liner brush to draw a partial circle around the cuticle on the ring finger. Fill the halo with gold gel, cure, then top coat.
Pro tipStart the halo at one sidewall and stop slightly before the other. Full circles can look too graphic on nails.
Watch outSkip heavy gradient lines. Harsh bands kill the luxe look.
11. Emerald Cuticle Sparkle with Gold Micro Frame
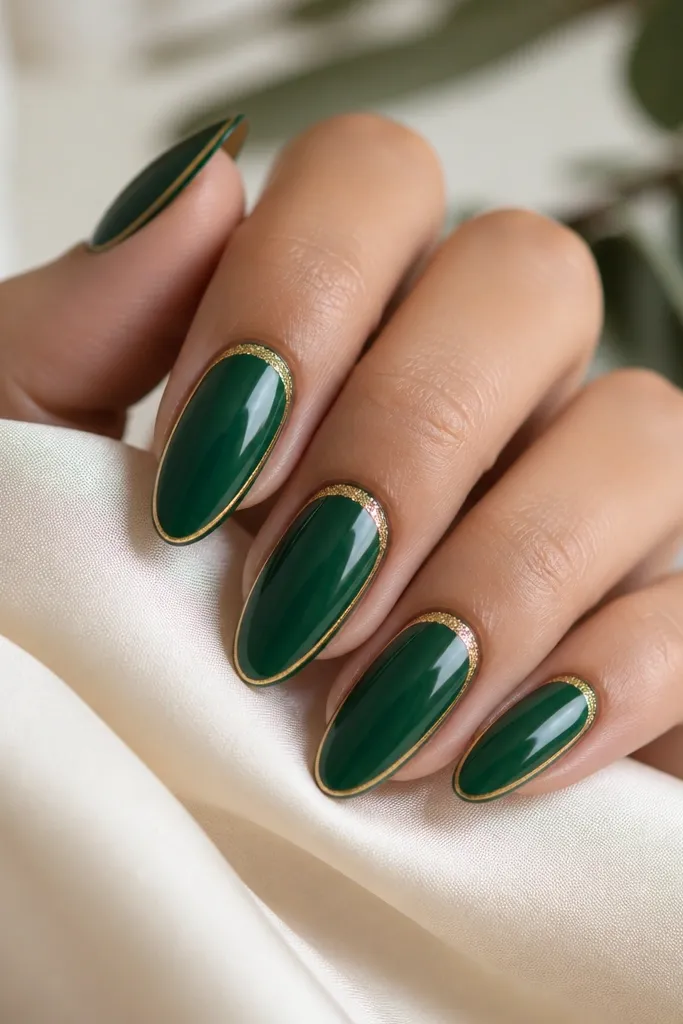
This is the design I do when I want sparkle but still want the nails to look clean. The cuticle arc catches light without spreading glitter across the nail. The micro frame makes the nail look "finished" even when you're not wearing heavy gold jewelry.
Paint emerald and cure. Add a tiny crescent of gold glitter gel at the cuticle using a liner brush. Then draw thin gold lines down each side of the nail for a short distance (about 1/3 of the nail length). Seal with a glossy top coat.
Pro tipUse a liner brush dipped lightly in gold so the lines stay hair-thin.
Watch outDon't drag glitter down the nail. It creates fallout and looks cheap fast.
12. Gold Foil French Tip with Emerald Base
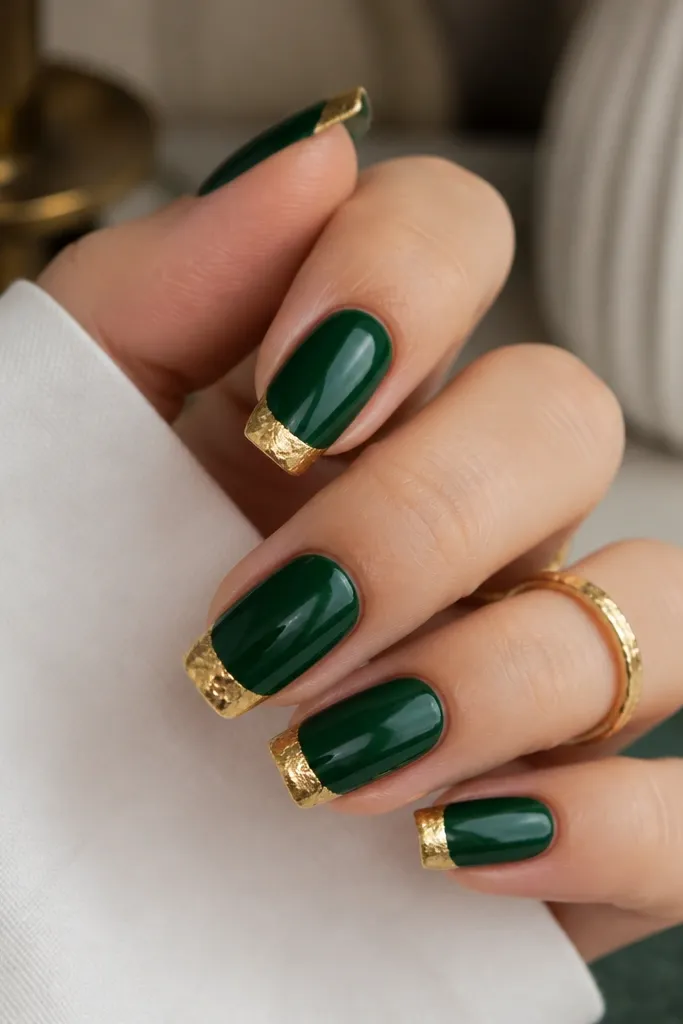
French tips look crisp, and foil at the tip keeps them interesting. Emerald anchors the look so the gold stays classy, not party. This one reads luxe because the foil texture is concentrated where your hands naturally show it.
Paint emerald base and cure. Apply a French tip guide (tape) and leave the tip area bare. Add foil adhesive on the tip area and press gold foil in place. Remove tape carefully and seal with two top coat layers.
Pro tipKeep the French tip width at about 2 to 3 mm on short nails. Wider tips look chunky.
Watch outAvoid foil over uncured gel. It will lift and smear.