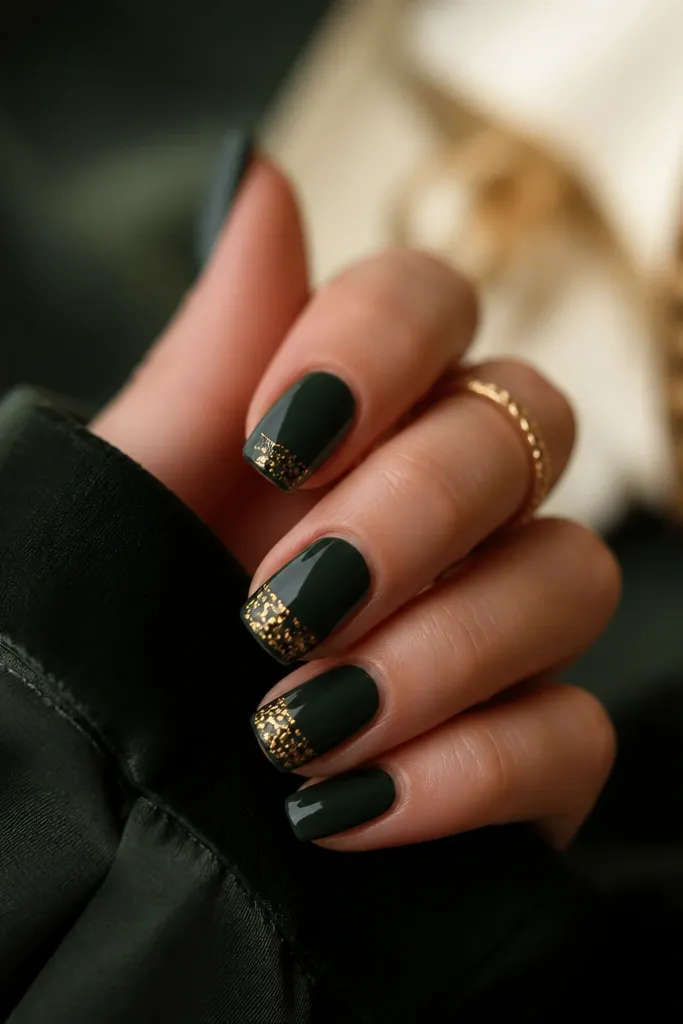
1. Micro French with Shimmer Green + Thin Gold Line
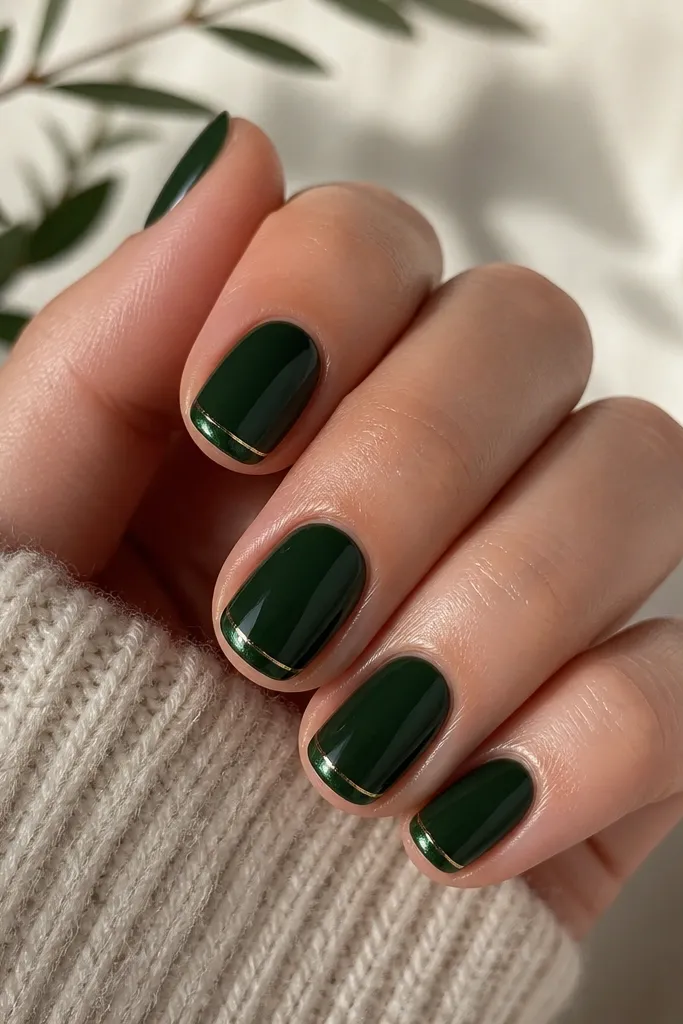
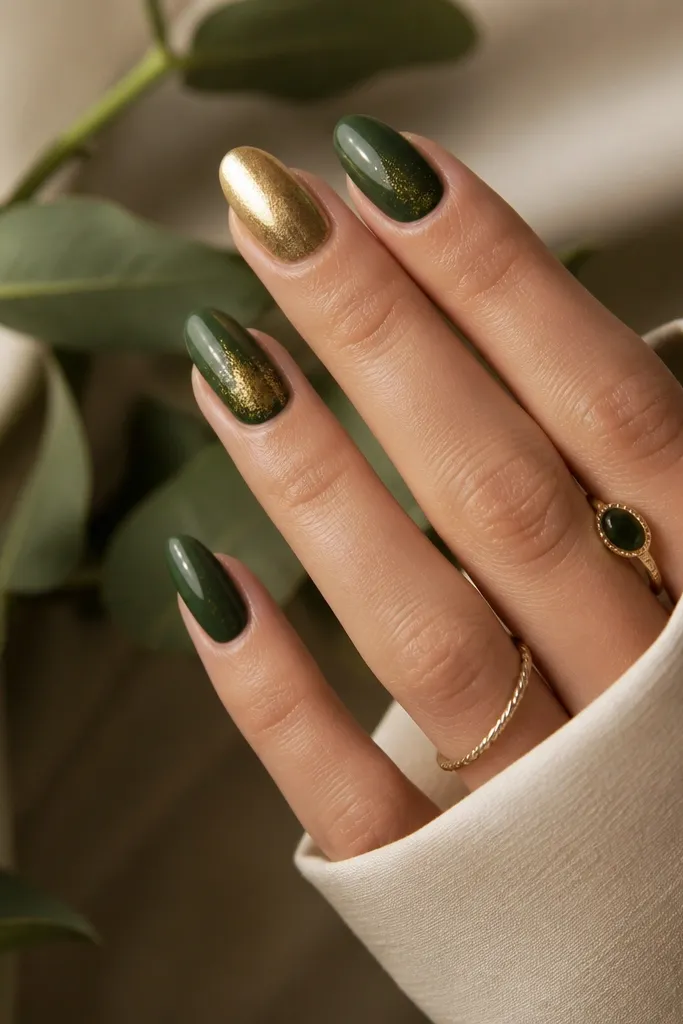
This look works because the green stays the main color, and the gold only traces the lightest edge. The micro French tip gives you a clean "lift" on small nails without expanding the design too far up the plate. I like using a shimmer-leaning green at the tip because it catches light when you move your hands, while the base stays deep and solid.
Paint your base coat, then do two coats of dark forest green. For the tip, use a slightly more luminous green (or the same green with a fine shimmer topper) and keep the tip width to about 1 mm. Place nail art tape right at the tip line, paint the gold line with a gel gold polish, then remove tape before curing.
Pro tipIf your tape pulls up polish, press it lightly on your skin first, then apply - it reduces tack.
Watch outAvoid thick gold at the tip; on short nails it makes the nail look shorter.
2. Cuticle Half-Moon in Gold Leaf Gel
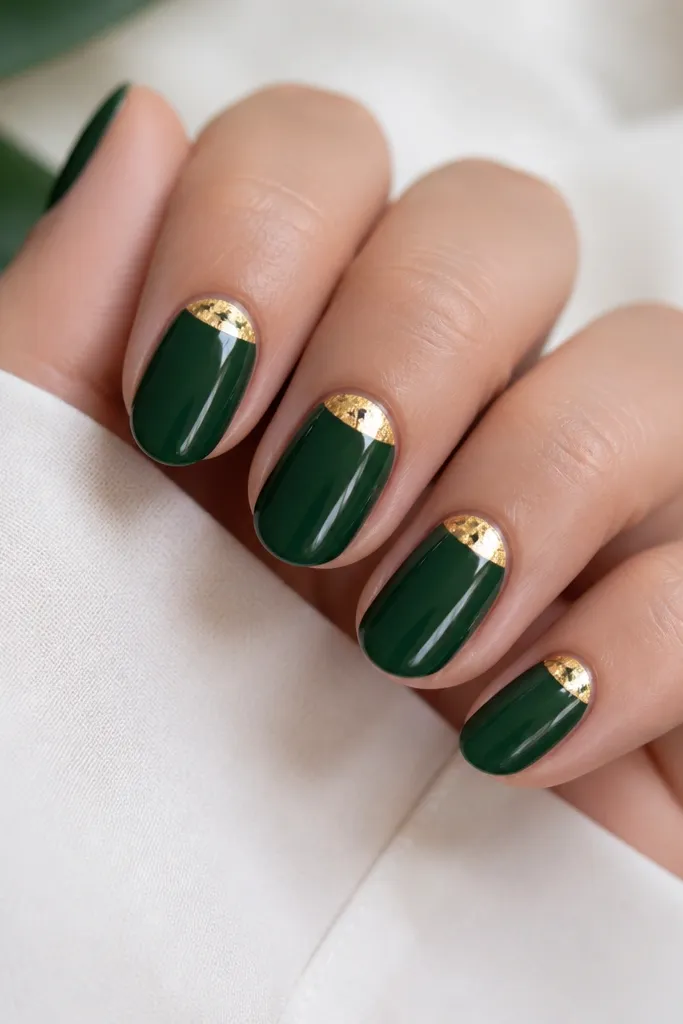
A cuticle half-moon gives you gold right where the nail naturally starts to reflect light. It frames the green without adding width across the middle, which is exactly what small space dark green and gold nails need. Gold leaf gel also looks dimensional, so even a small amount reads luxurious.
After two coats of dark green, apply a thin layer of gold leaf gel around the cuticle curve. Use a small flat brush to keep the half-moon shape tight - about 2-3 mm tall. Press gold leaf onto the tacky gel, cure, then seal with two coats of glossy top coat.
Pro tipDo the half-moon on every nail, but vary the gold density - one nail with lighter foil looks more natural.
Watch outDon't drag gold leaf down the sidewalls; it floods the cuticle area and looks messy.
3. Diagonal Emerald Slash with Chrome Gold
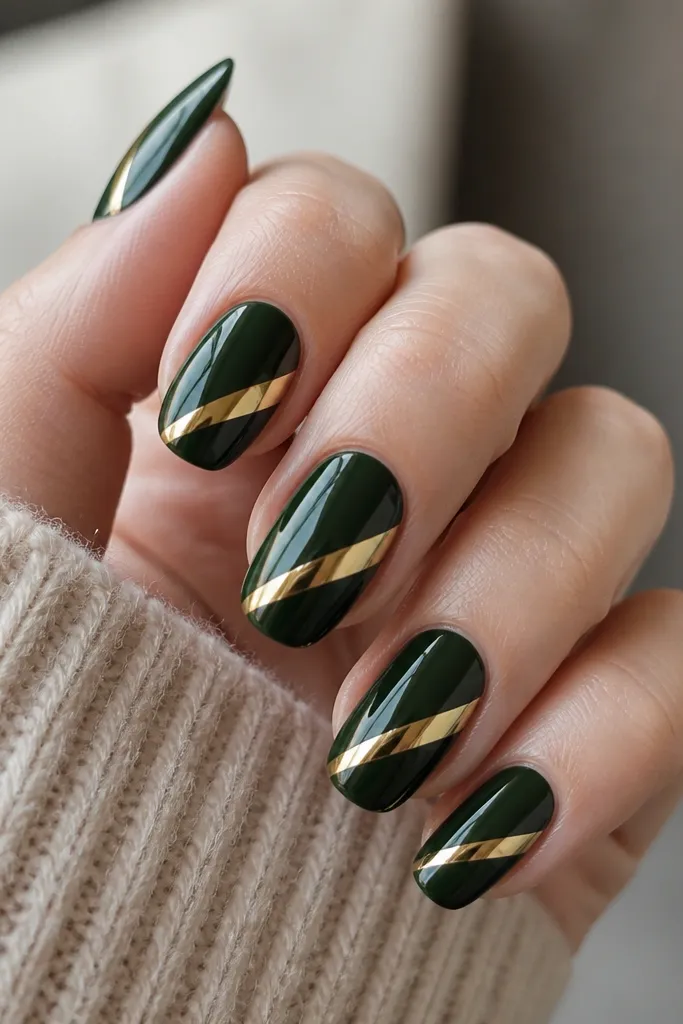
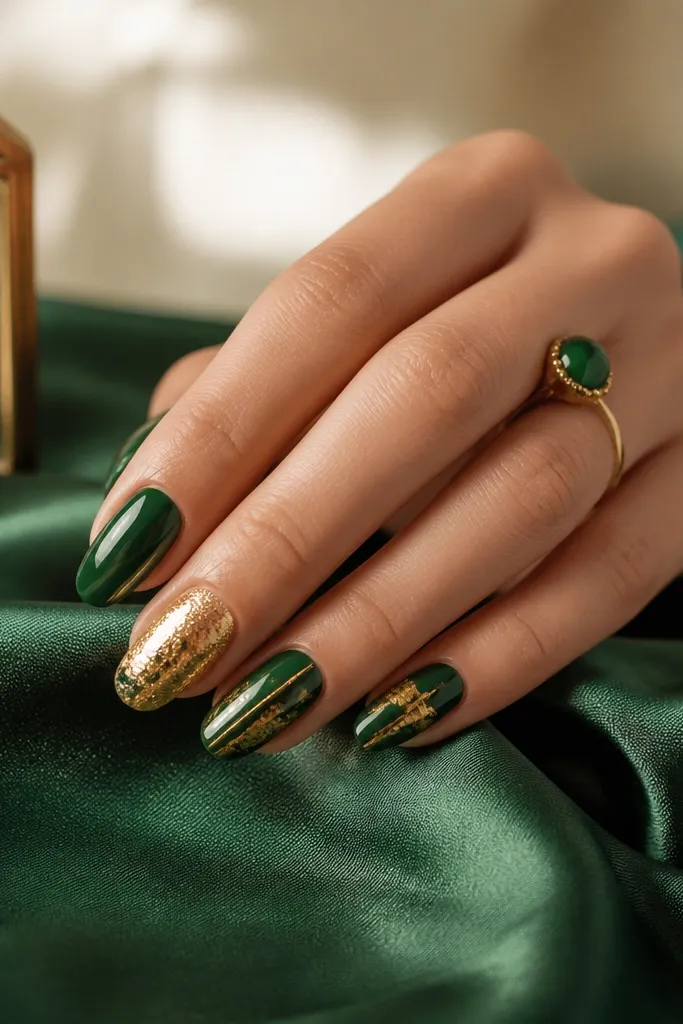
The diagonal line creates an optical tilt, which makes short nails look longer. Chrome gold is bright and reflective, so it stands out against deep green without needing a big patch of gold. Because the slash is narrow, it keeps the look airy instead of heavy.
Use nail art tape to mask a diagonal stripe about 1.5-2 mm wide. Paint dark green first, cure, then remove tape for a clean edge. Apply chrome gold gel on the stripe, cure, then buff lightly with a lint-free wipe to remove excess before top coat.
Pro tipTo keep the diagonal straight, align the stripe with the center of your cuticle, not the nail tip.
Watch outAvoid chunky gold stripes; they catch on sleeves and chip sooner.
4. Green Velvet Base with Micro Gold Dots
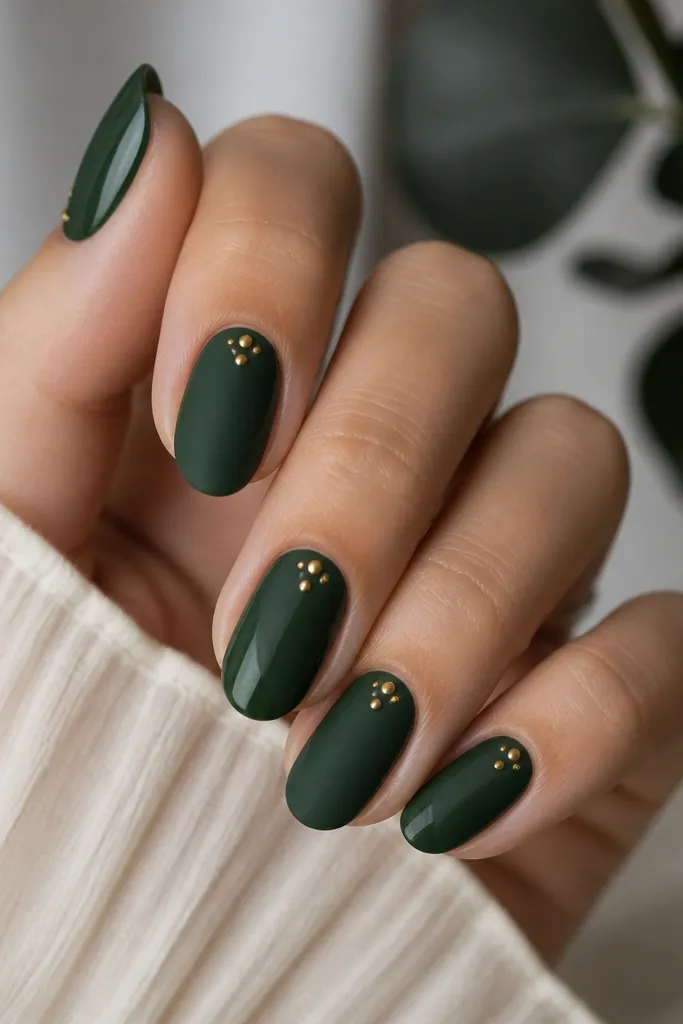
This one plays with texture. A velvet or matte-leaning green makes the gold dots look sharper and more "sparkly" even though the dots are small. You get a high-end jewelry vibe without covering the whole nail in gold. I use a tiny dot cluster so the design feels balanced on a small nail bed.
Paint a velvet-matte dark green (or use a matte top coat after gloss) and cure. With a dotting tool, place 3-5 micro gold dots in a tight arc just above the cuticle - keep the cluster under 3 mm wide. Finish with glossy top coat only on the dots if you want extra flash, or keep it matte for a softer look.
Pro tipGold dots look best when they're all the same size - use fresh polish on the dotting tool.
Watch outDon't put dots in the center of the nail; it spreads the design and makes the nail look wider.
5. Gold Outline Around a Dark Green Oval
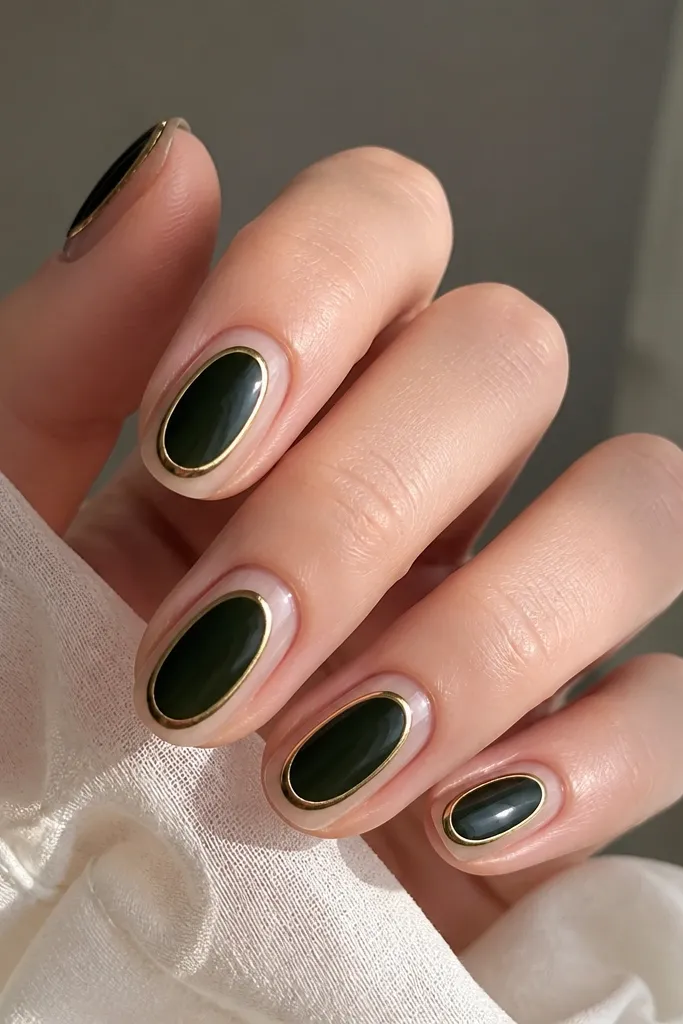
This gives you a negative space look that makes short nails feel longer. The gold outline is doing the heavy lifting for "design," while the green oval stays compact. It also helps if you have uneven nail beds - the oval shape hides minor dips and keeps everything symmetrical.
Start with a sheer nude or clear base, then paint a centered oval of dark green. Use a small liner brush to outline the oval with thin gold gel - keep the border about 0.5 mm. Cure and seal with glossy top coat so the gold looks smooth, not rough.
Pro tipIf your oval edges wobble, add the gold outline first as a guide, then fill the green inside it.
Watch outAvoid thick outlines; they overpower small nails and make the oval look like a sticker.
6. Forest Green Gloss with Gold Foil Speckle Accent
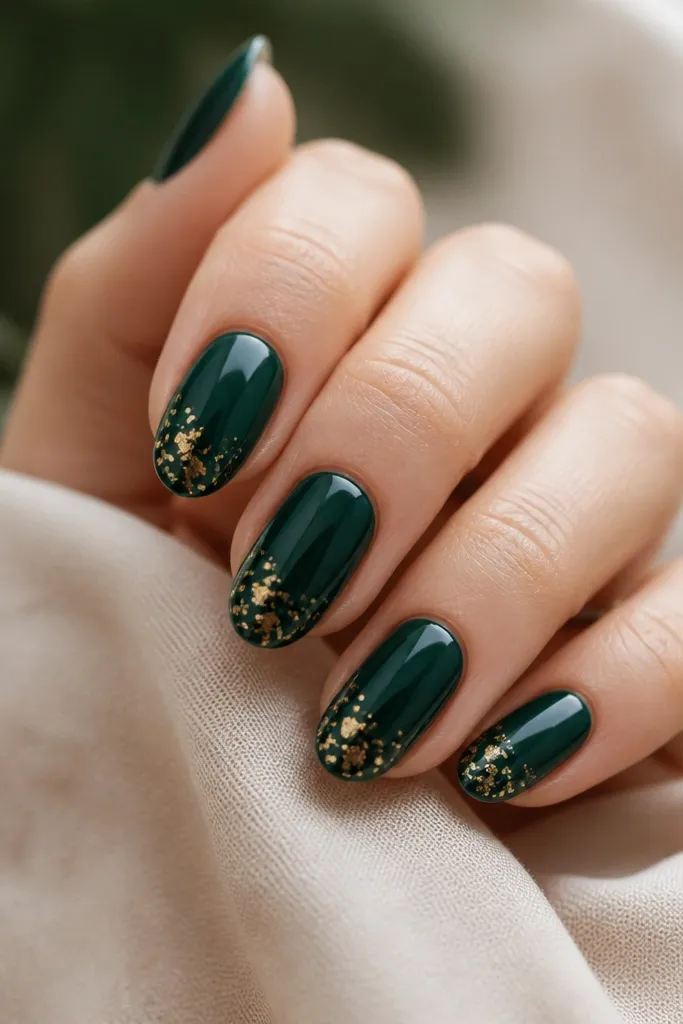
Speckle accents look expensive because they mimic fine jewelry flecks. Keeping them to one side prevents the design from swallowing the whole nail. Gold foil specks also hide tiny imperfections in application because the foil texture distracts the eye.
Use two coats of deep forest green and cure fully. Apply a small amount of foil gel near the outer edge and toward the upper half of the nail, then press tiny bits of gold foil onto it. Seal with top coat carefully - use thin layers so the foil doesn't wrinkle.
Pro tipWork with small foil pieces. Big sheets make the accent look like a patch instead of speckle.
Watch outDon't place speckles directly over the free edge; they lift faster there.
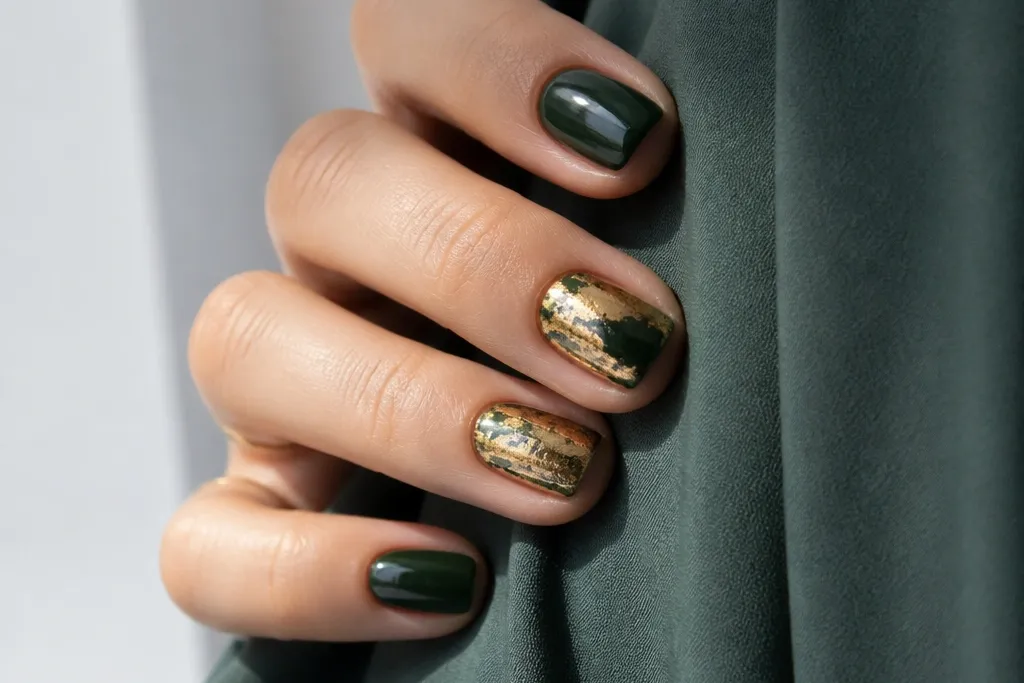
7. Half-and-Half: Dark Green Base with Gold Foil Tip
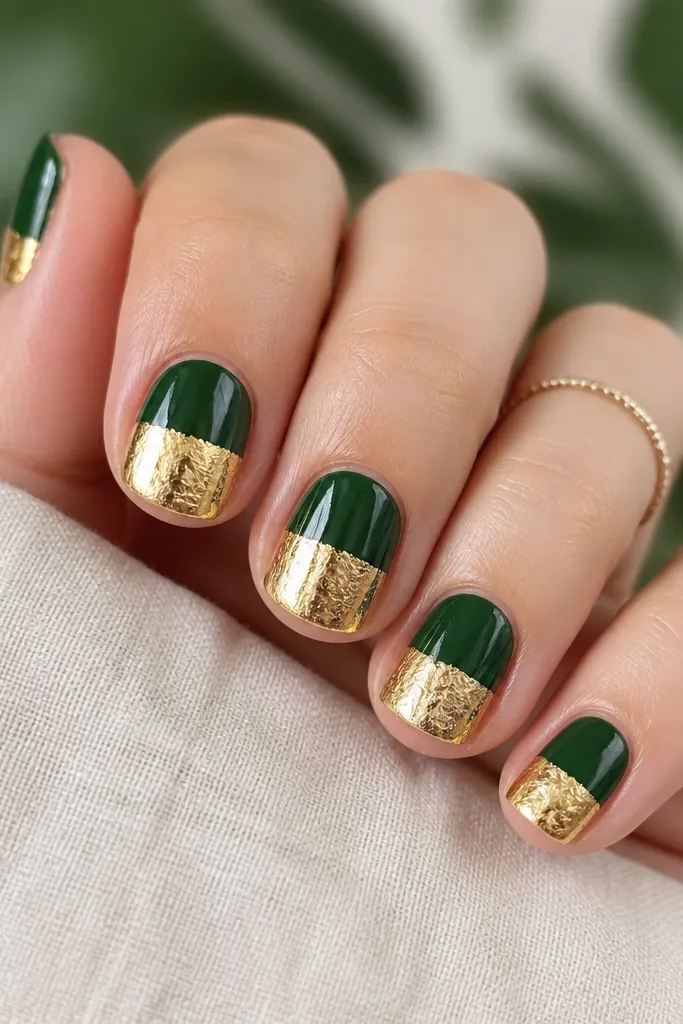
A foil tip reads bold without requiring long length. The foil catches light in a way solid gold polish can't, and it makes the dark green feel richer. This design also hides minor growth-line unevenness because foil texture covers small variations.
Paint the base in dark green and cure. Use tape to create a straight line where the green ends - for short nails, keep the foil area small, about 2-3 mm. Press foil onto foil gel at the taped section, cure, remove tape, and top coat with a thinner first layer to smooth.
Pro tipIf your foil looks too sparse, add a second tiny foil press only at the center - it prevents overloading the edges.
Watch outAvoid a foil tip that goes too high; it makes small nails look top-heavy.
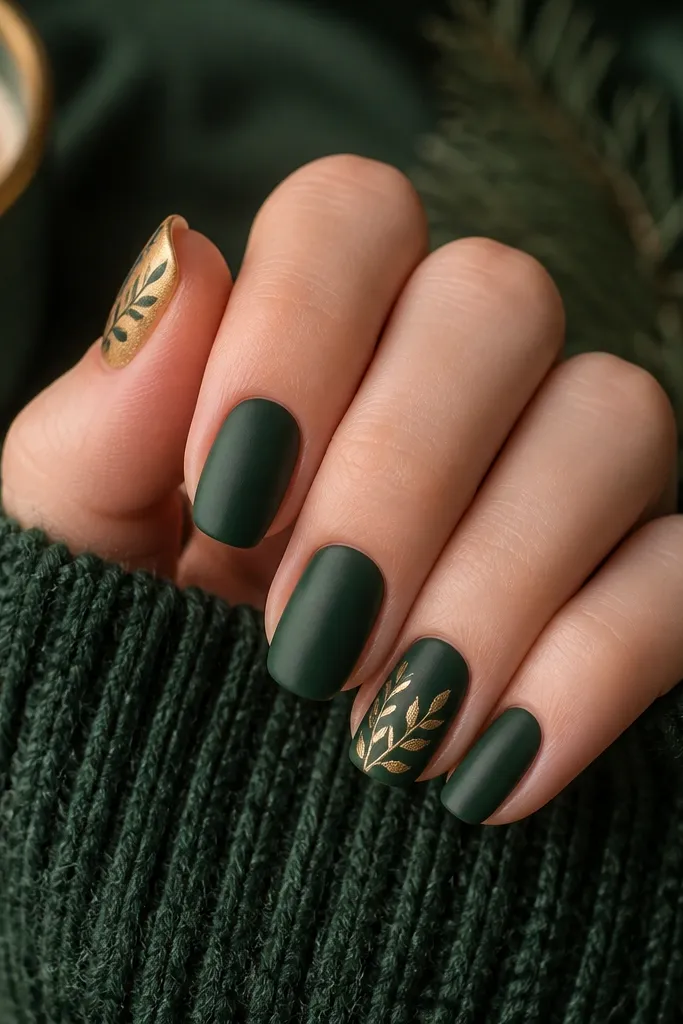
8. Gold Vine Linework on Dark Green (One Nail Accent)
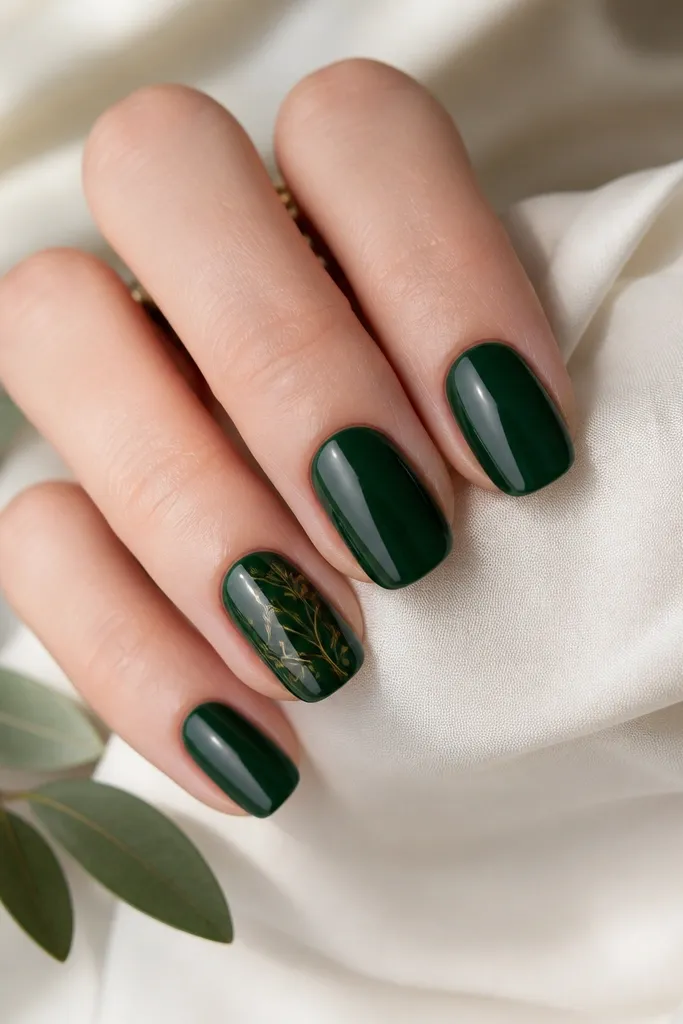
One accent nail keeps the look classy and wearable. The gold vine linework adds movement without taking up space, and fine lines don't crowd narrow nail beds. On dark green, the gold lines look like metal filigree - crisp, not chunky.
Do solid dark green on all nails. On the accent nail, use a striping brush and gold gel to draw a sweeping curve from the cuticle area up toward the side. Add 2 small leaf shapes along the curve, then cure and top coat over the design.
Pro tipPractice the vine on a paper swatch first. The curve looks better when you control the stroke speed.
Watch outDon't add vine details to every nail; it turns into decoration overload on short nails.
9. Gold Chain Link Over Dark Green
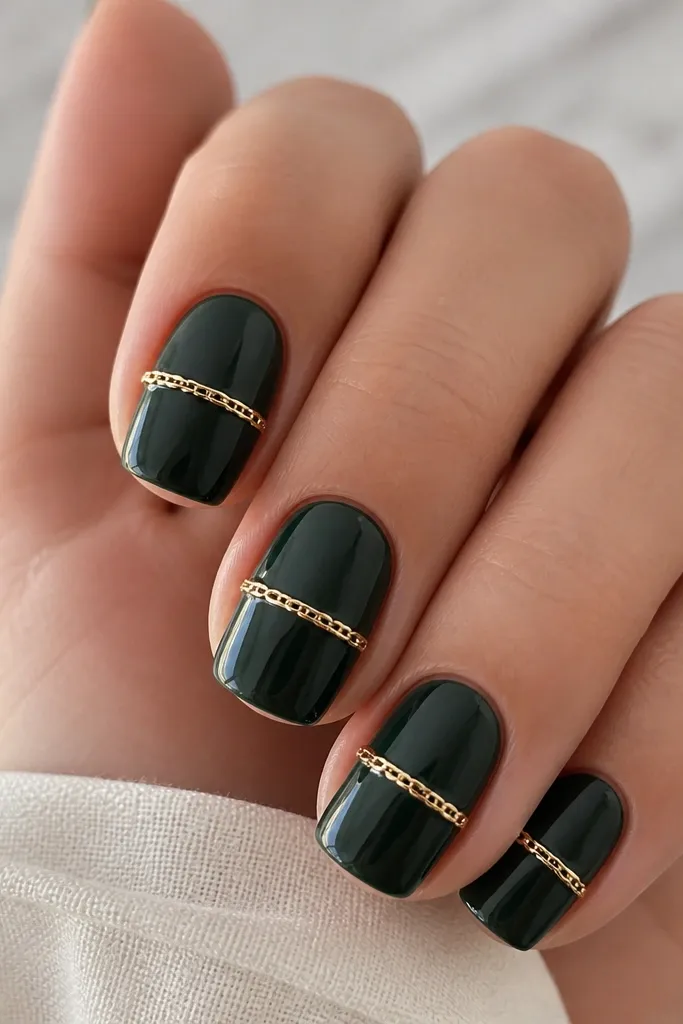
Chain link designs look like jewelry because the motif is structured. The key for small space dark green and gold nails is scale - tiny links keep it from looking like a wide stripe. The shine of gold chain polish also contrasts nicely with the depth of the green.
Paint dark green and cure. Use a nail art stamping plate or a thin brush to place a short chain across the center - keep it about 3-4 mm long on short nails. Seal with a thick top coat only after the motif is cured, so the chain doesn't snag on fabric.
Pro tipIf you're freehanding, draw two anchor points first, then connect them with short strokes.
Watch outAvoid oversized chain links; they make short nails look cluttered.
10. Gold Marble Vein with Deep Green Base
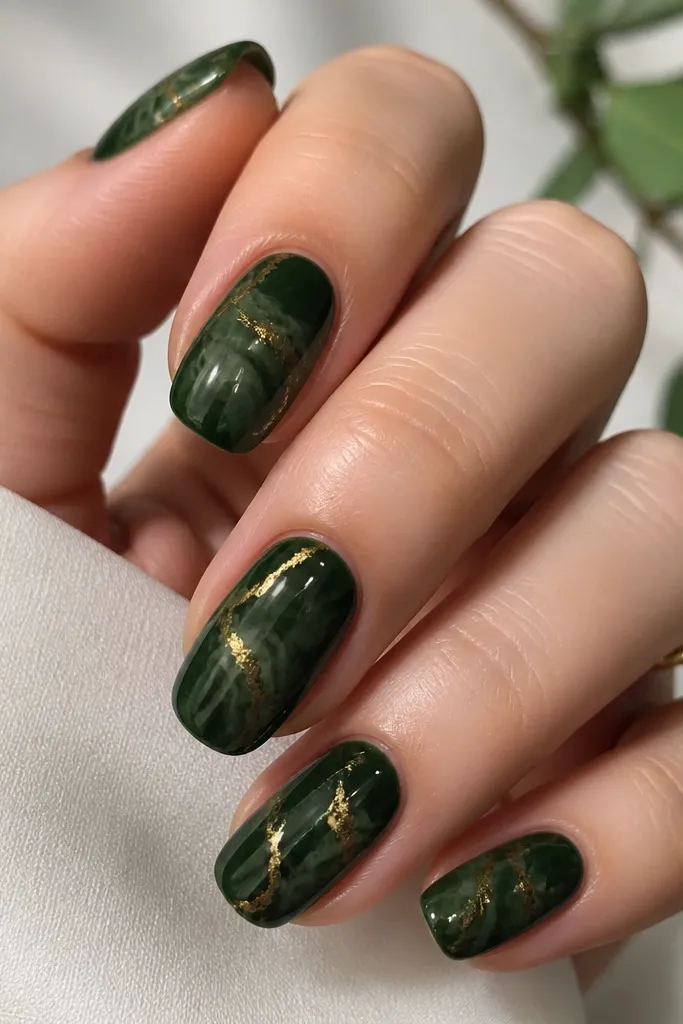
Marble effect works because it looks layered without needing big shapes. The gold veins stay thin, so you get the metallic pop but you don't lose the dark green depth. I like a smoky, wispy gold vein because it reads like mineral streaks, not like tape.
Start with a deep green base. Add a few swirls with a slightly lighter green gel using a small brush or sponge, then drag gold pigment gel lightly through the swirls. Cure, then apply top coat in two thin coats to keep the gold lines smooth.
Pro tipUse gold pigment gel sparingly. You can always add more, but you can't un-mix gold once it spreads.
Watch outAvoid heavy gold marble chunks; they look like paint blobs on small nails.