1. Emerald base with a gold crescent cuticle
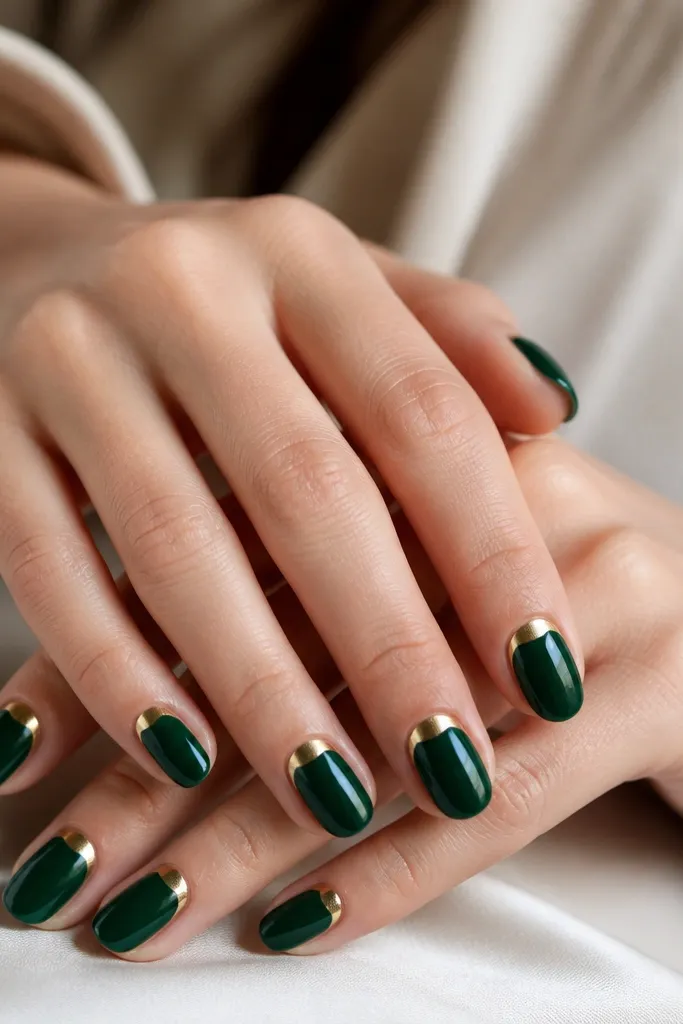
This design works because the gold crescent sits where your nails naturally curve. Emerald gives depth, and the gold shape frames your cuticle without needing detailed nail art. The contrast looks intentional even if your crescent isn't perfectly symmetrical across all nails. I like it because it's flattering on both short and medium lengths.
Paint two coats of emerald, then use a small striping brush or a dotter to place a thin gold arc right under the cuticle line. Keep the arc about 1/8 inch wide - thicker arcs start to look heavy. Cure or dry, then top coat two thin layers.
Pro tipUse a thin piece of striping tape as a mask for the crescent. Press the tape gently, paint gold, then peel while the gold is still tacky.
Watch outDon't drag gold across the green while it's wet - it pulls and makes the crescent look messy.
2. Forest green French tips with thin gold lines
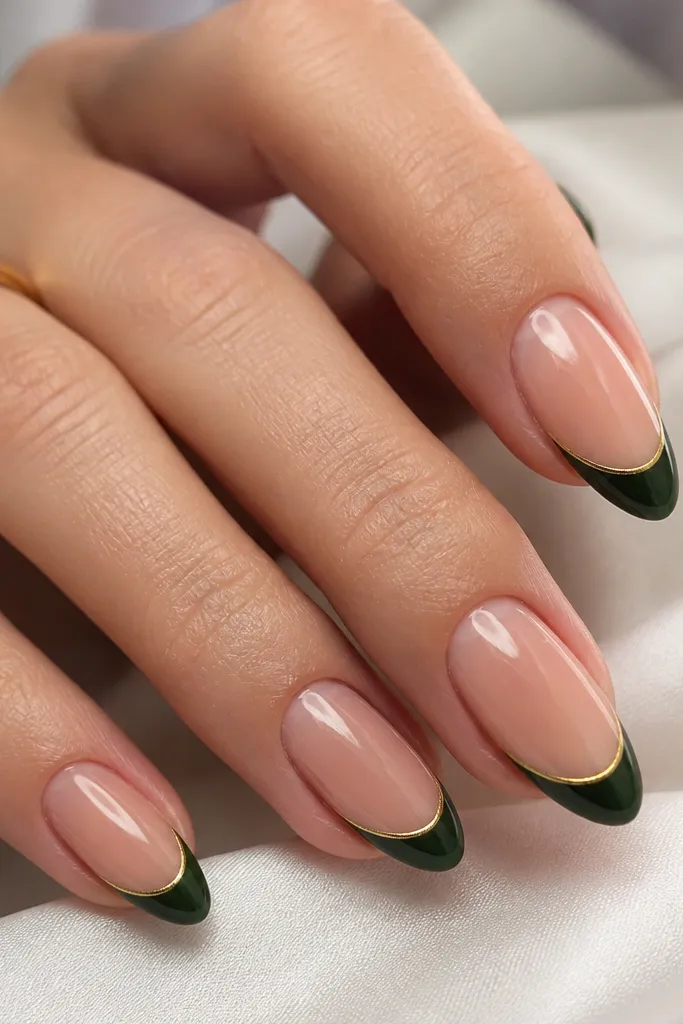
French tips look clean instantly, and adding a single gold line makes it feel dressed up. Forest green stays rich next to metallic gold, and the thin stripe keeps the look airy. This is one of the fastest designs to repeat with consistent results because you only need to nail the smile line once.
Use French tip guides or tape to define the tip. Paint the tips forest green in two coats, then add a micro gold stripe with striping tape or a fine brush. Finish with a glossy top coat that covers the tip edge so it resists chips.
Pro tipIf your smile line wobbles, hide it by placing the gold line slightly lower than the edge so it visually anchors the shape.
Watch outSkip chunky gold paint - thick lines make the French edge look uneven.
3. Gold foil splatter over emerald jelly
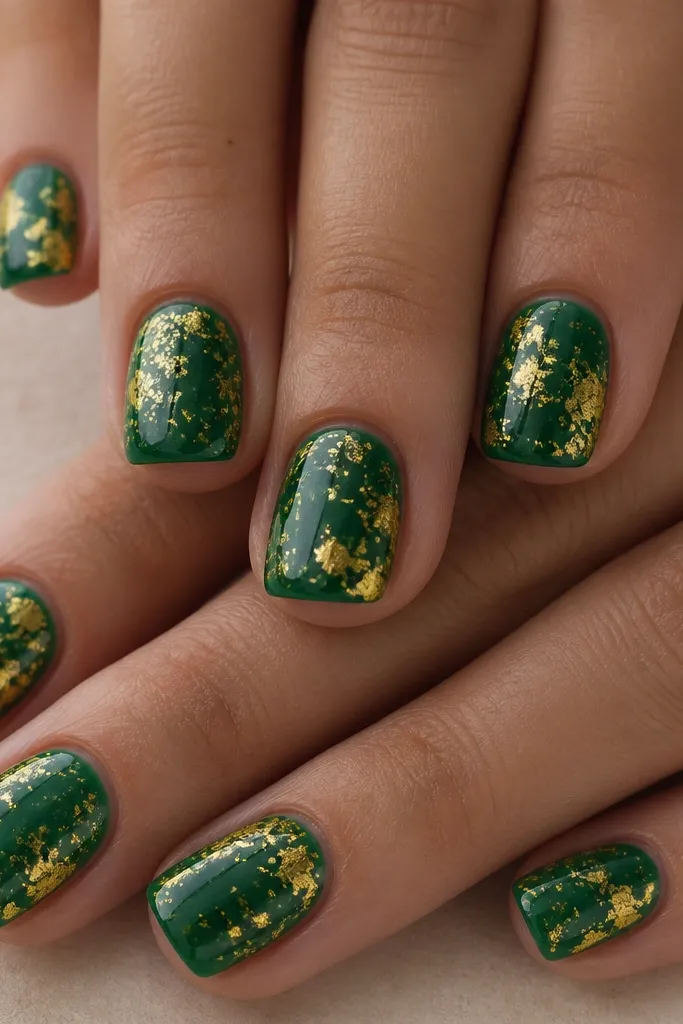
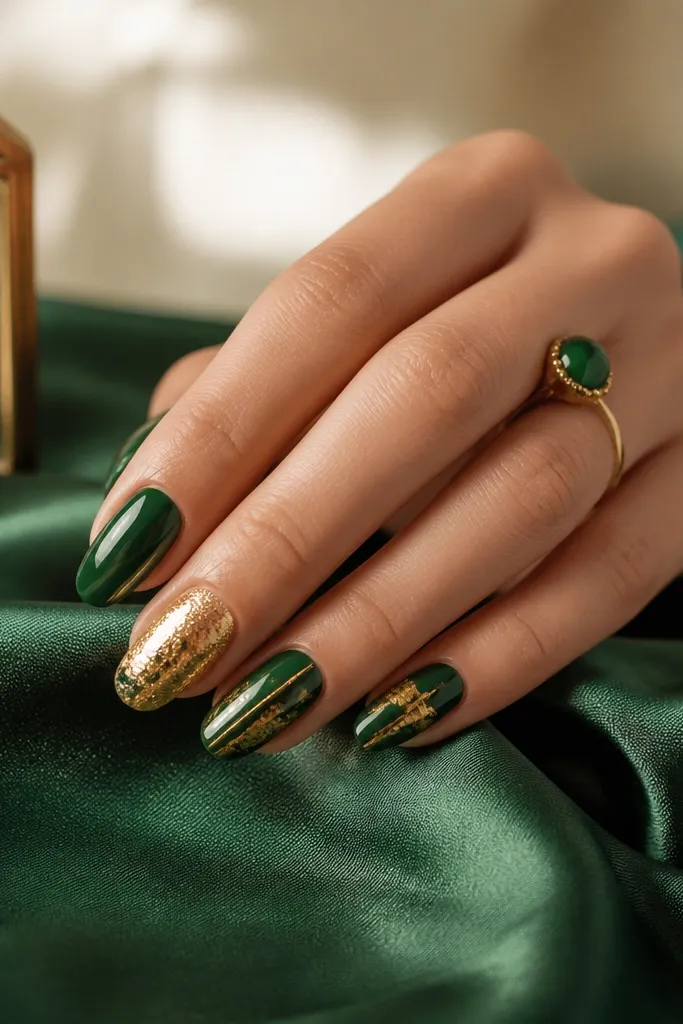
Foil splatter looks high-end because the texture catches light differently as you move your hand. The emerald jelly base is forgiving - even if the foil coverage varies, it still looks intentional. This one hides minor brush streaks because the foil breaks up the surface.
Start with a jelly green that's semi-sheer, then build it to an even tone with 2 coats. Press gold foil flakes in small clusters using foil glue or sticky gel top. Seal with 1-2 layers of top coat, but use a slightly thicker layer over the foil so it smooths down.
Pro tipPress foil with a silicone tool or tweezers wrapped in tape so you don't leave fingerprints in the glue.
Watch outDon't over-saturate foil glue - too much liquid lifts foil and creates bald spots.
4. Olive green half-moon with mirror gold corners
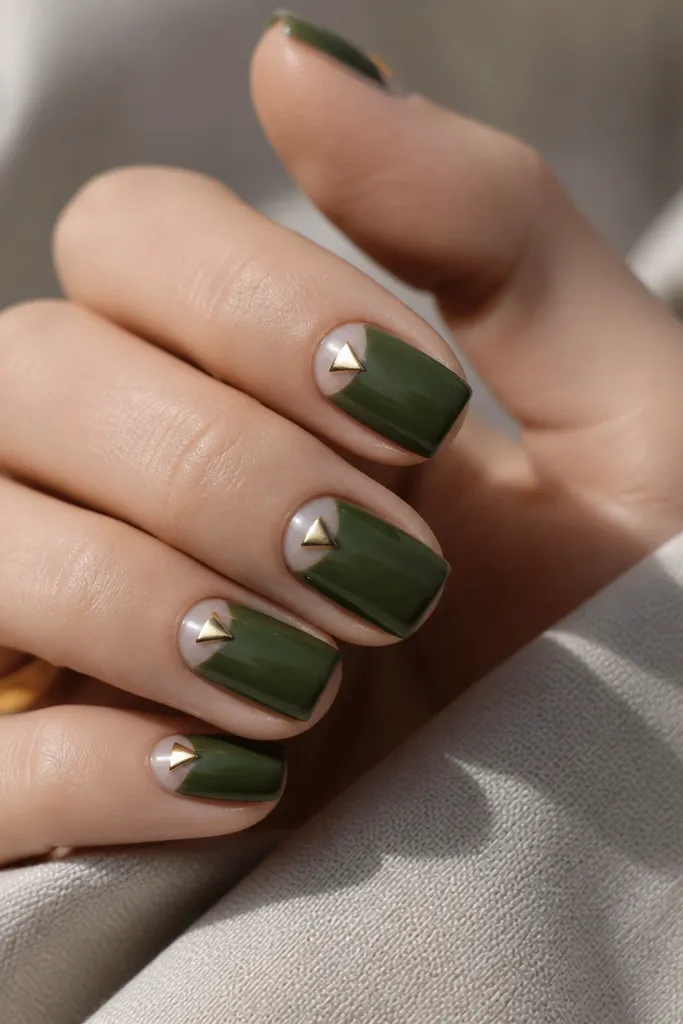
Half-moons look clean because they create a negative space shape that elongates the nail. Olive green is warm and works beautifully with mirror gold, which reflects the green tones back at you. The gold corner triangles add a geometric punch without clutter.
Apply olive green in two coats. Use a small half-moon stencil or cut a tiny circle template from nail tape to mask the negative space. For the gold corners, use chrome powder with a tacky base gel or use a metallic gold liner gel and keep the triangles small.
Pro tipIf you're using chrome powder, rub gently and stop early. Overworking can make it look dusty instead of mirror.
Watch outDon't cover the negative space with top coat - it turns the half-moon cloudy.
5. Gold leaf accent nail over deep green velvet polish
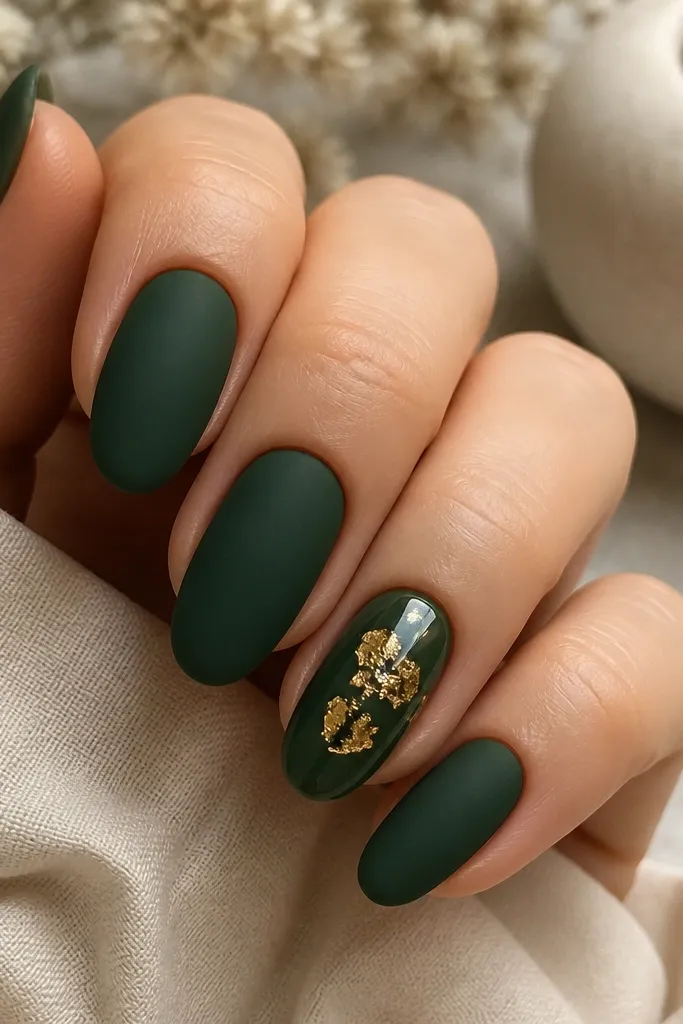
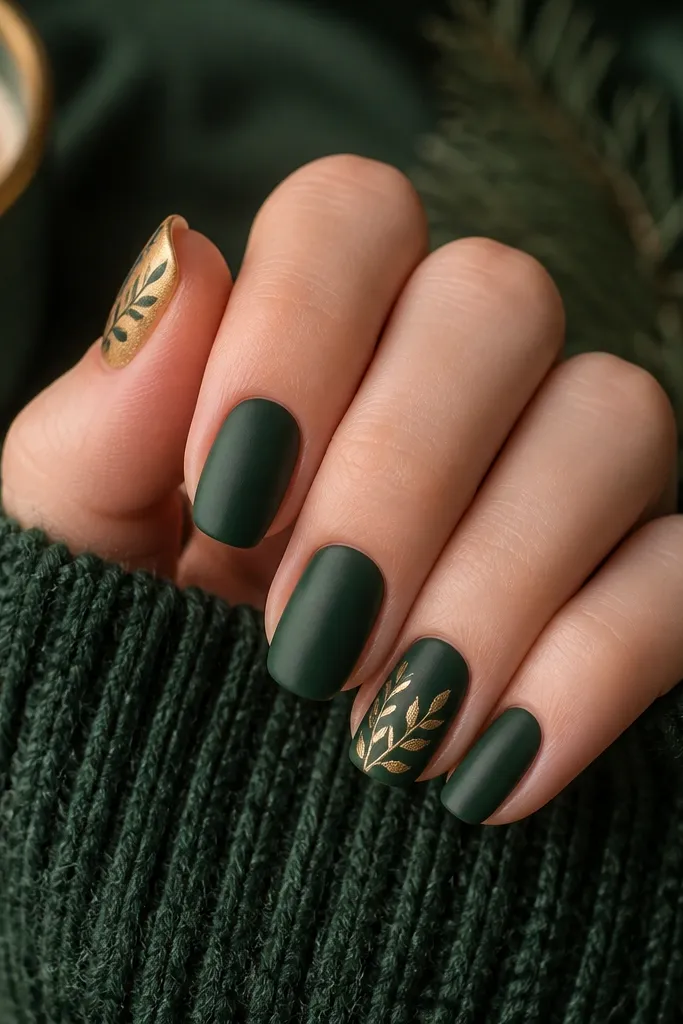
Matte green plus gold leaf looks like a luxe holiday manicure. The matte finish absorbs light, so the gold leaf pops hard when it catches reflections. Making just one accent nail keeps it from looking busy, and it's easier to do neatly than full sets of art.
Paint four nails with deep green velvet-matte polish (or matte top coat). Keep the accent nail glossy with a standard top coat, then press gold leaf flakes into tack gel. Seal with top coat carefully around the leaf so it doesn't lift.
Pro tipUse a matte top coat on the non-accent nails only. If you matte the gold leaf, it loses that reflective sparkle.
Watch outSkip thick layers over leaf - it can look like a raised sticker.
6. Moss green marble with gold thread lines
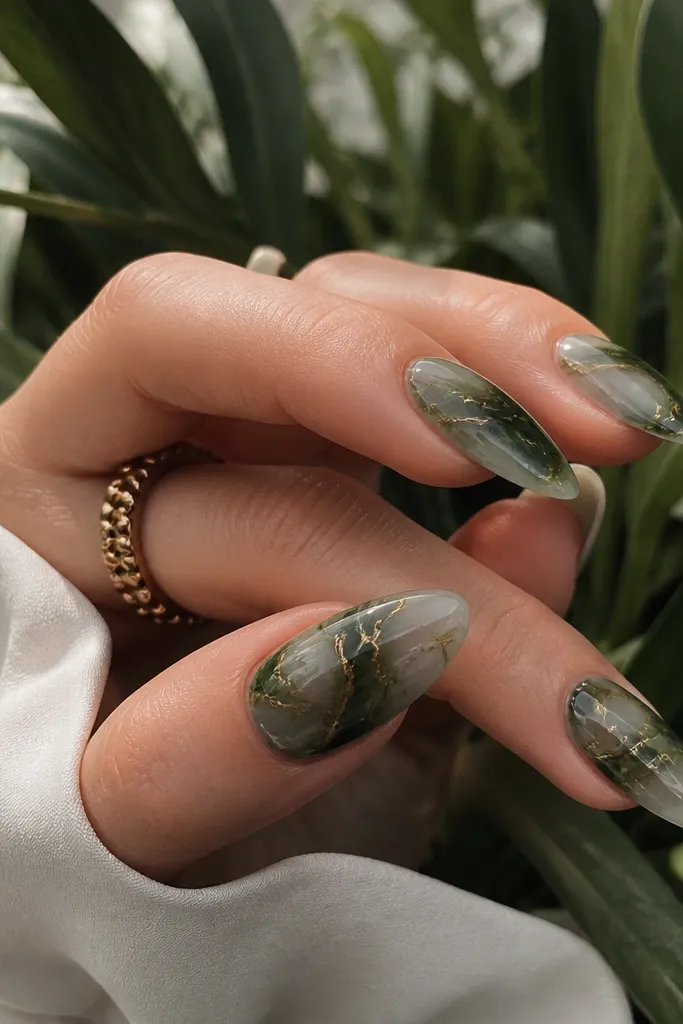
Marble looks amazing in green because it gives movement, and gold thread lines make the pattern look stitched together. You don't need true "water marble" perfection; a quick marbling technique with a sponge gives a convincing cloud effect. The gold thread adds elegance without covering the whole nail.
For marbling, sponge on moss green shades (one darker, one lighter) using a makeup sponge, then drag a darker shade with a thin brush in 2-3 swoops. Add gold striping tape laid lightly in thread-thin lines, then remove the tape edge-clean if you want crisp lines. Top coat smooths everything out.
Pro tipKeep gold lines thin. If they're thicker than your striping tape width, the marble gets lost.
Watch outDon't try to marble with only one green - you need at least two tones to see the swirl.
7. Jewel green ombre to gold at the tips
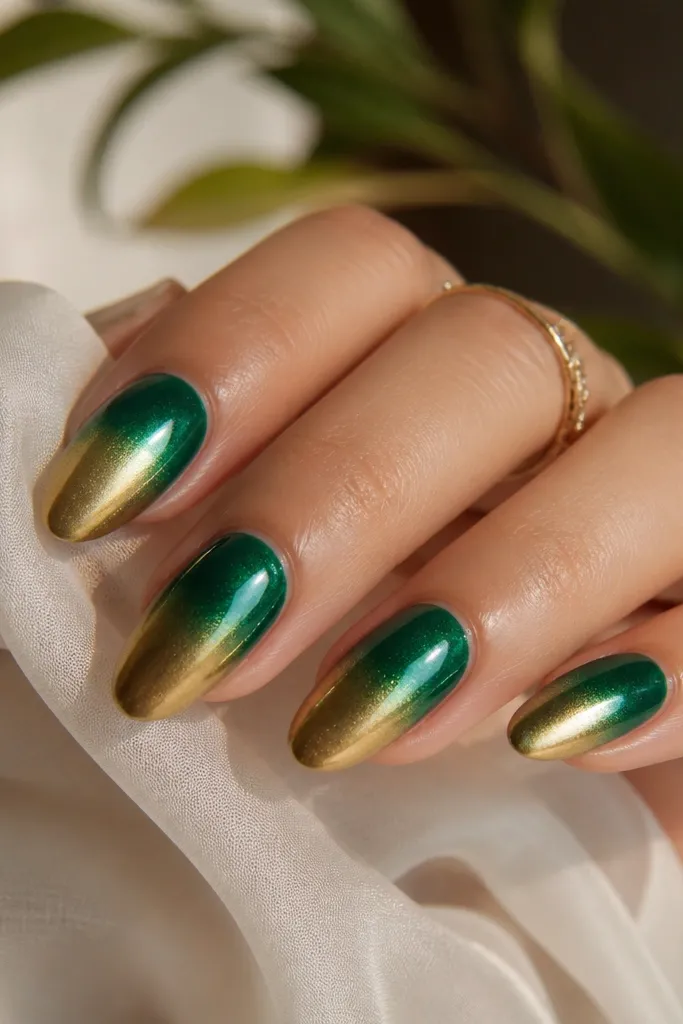
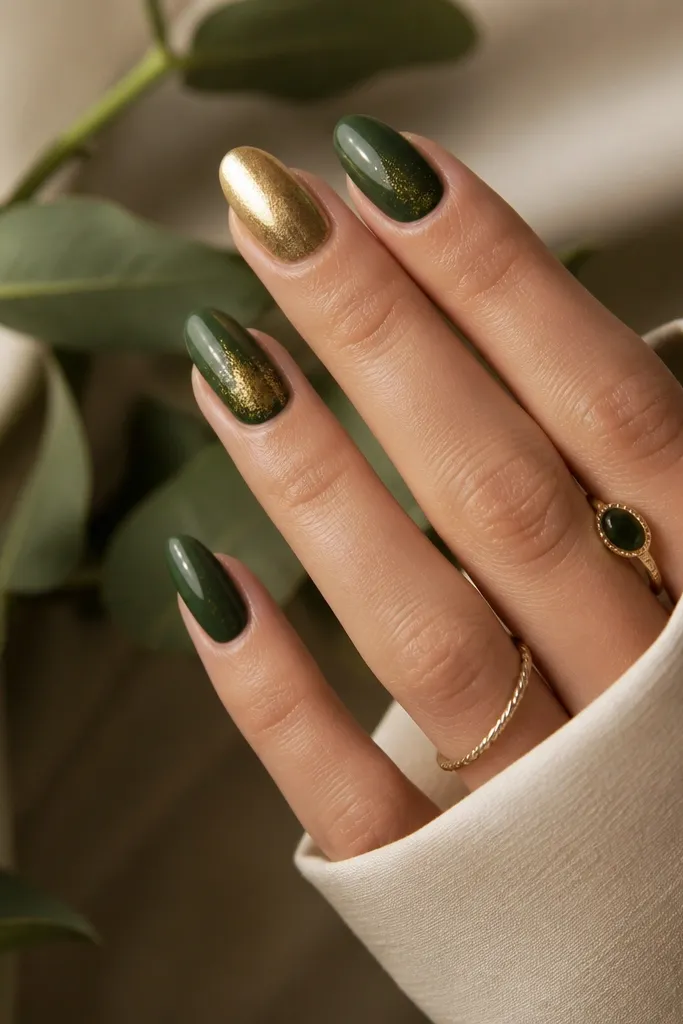
Ombre makes green and gold feel smooth instead of blocky. The trick is placing gold only at the very tips so it looks like light hitting the nail. Jewel green is dense enough that the gradient doesn't look washed out next to gold.
Apply jewel green base in one coat. Sponge a darker green at the cuticle and blend downward with a second sponge layer. For the tips, tap metallic gold polish or gold chrome powder onto only the last third, then blend edges with a clean sponge. Seal with glossy top coat.
Pro tipBlend in small taps, not swipes. Swiping pulls the polish into streaks.
Watch outDon't paint gold all the way up the nail - it makes the ombre look like a mistake.
8. Shimmer green base with micro gold dots
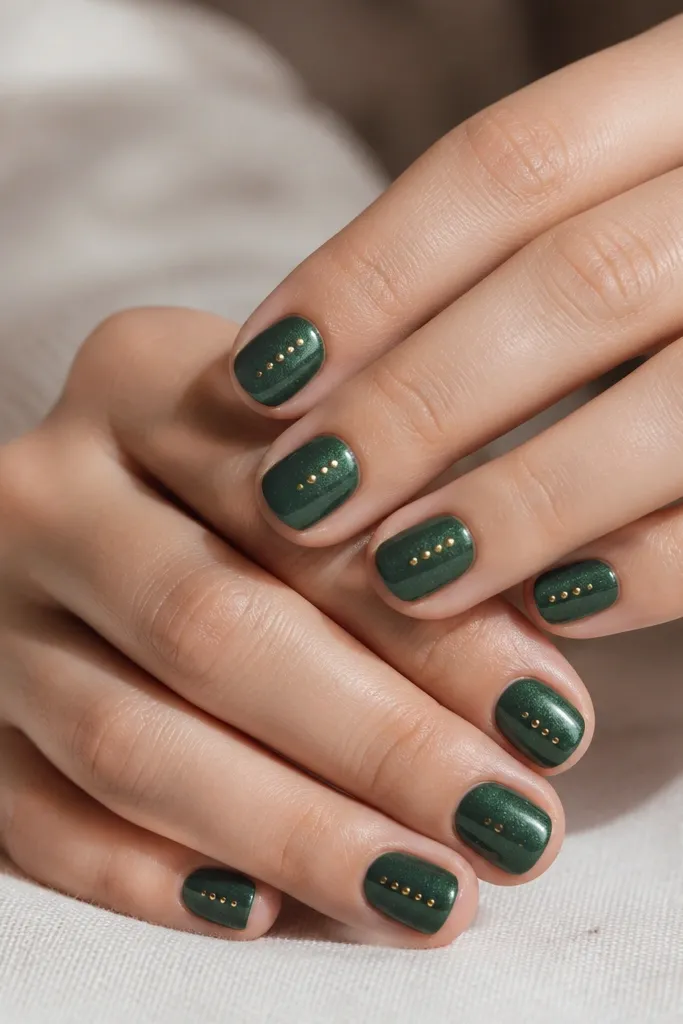
Micro dots are the fastest way to make green look festive without heavy art. A shimmer green base already has movement, and the dots add a "star" effect. This is also the easiest to fix - if one dot is off, you can place one more to balance it.
Use a green shimmer polish in 2 coats. With a dotting tool and metallic gold polish, place 4-6 dots starting slightly above the center. Keep the dots about the size of the dotting tool tip and space them evenly. Finish with top coat.
Pro tipDip the dotting tool lightly and wipe excess polish on the bottle edge so you get clean, round dots.
Watch outDon't overload the dots - thick blobs look like candy.
9. Green checker accent with gold side stripe
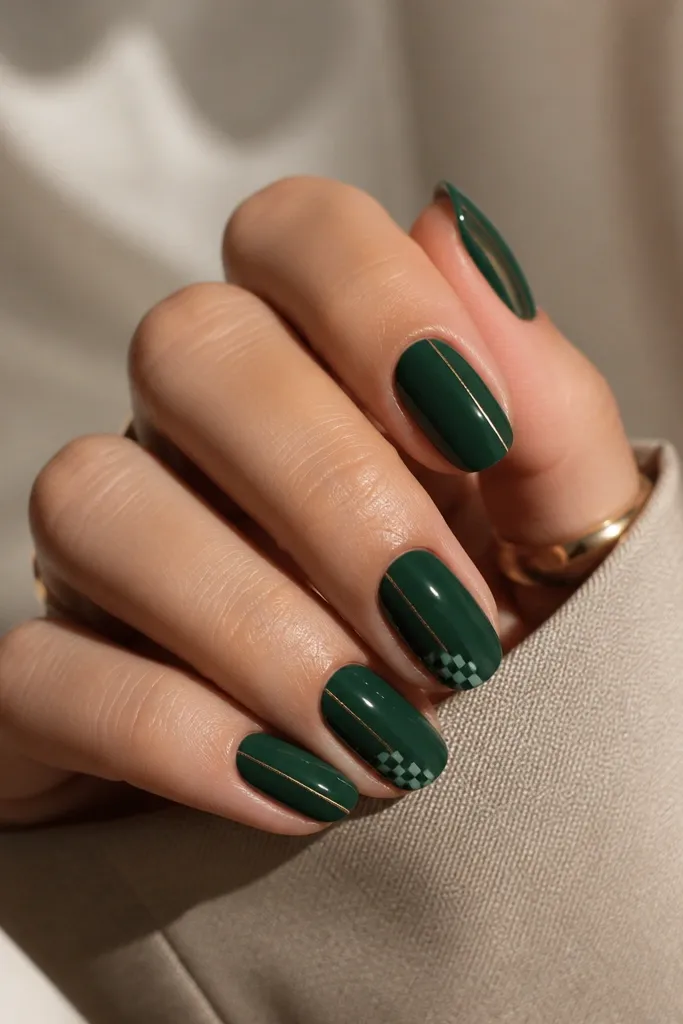
A checker accent gives you pattern without covering the whole nail, so it stays wearable. The gold side stripe adds a vertical line that makes nails look longer. I love this combo because it looks graphic in photos but still calm in daylight.
Paint all nails deep green. On two accent nails, tape off a small section near the tip and paint alternating squares in a lighter green. Remove tape after each square color dries enough to prevent bleeding. Add a gold side stripe using striping tape along one lateral edge, then top coat.
Pro tipIf your squares blur, let each green layer dry fully before adding the next taped section.
Watch outSkip wide stripes - thick gold side lines overpower the checker.
10. Sage green with gold geometric V tip
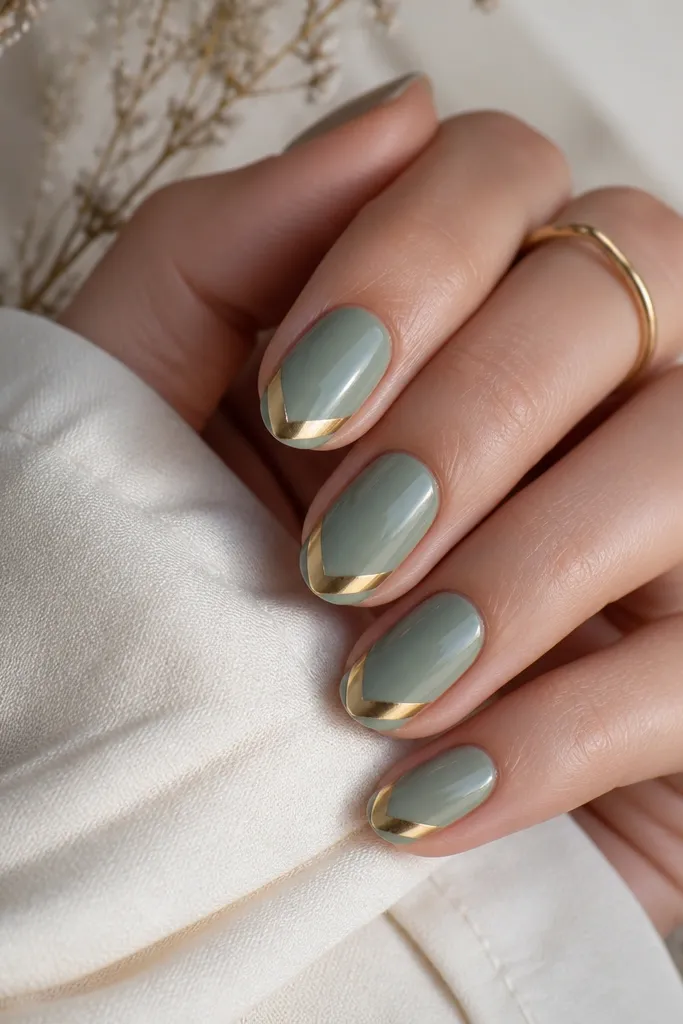
The V tip is a simple geometry trick that makes nails look sharper. Sage green is soft, so gold reads as the main event without feeling loud. Because the gold shape is symmetrical, even if your hand shakes, the final look still feels intentional.
Paint sage green in two coats. Use striping tape to create a V: place two tape strips that meet at the center of the tip, leaving a gap for gold. Paint metallic gold liner gel or gold polish in the gap, then remove tape once tacky or fully set depending on your gel system. Seal with top coat.
Pro tipMake the V narrow. A thin V looks clean; a wide V turns into a chunky triangle.
Watch outDon't freestyle the V freehand - tape makes it look professional.