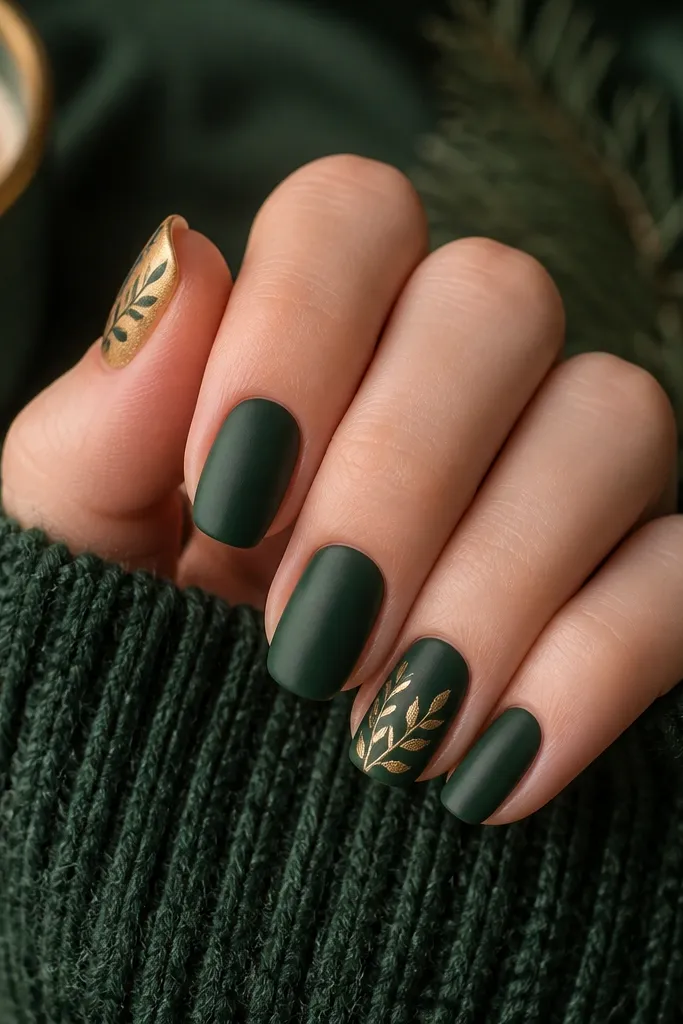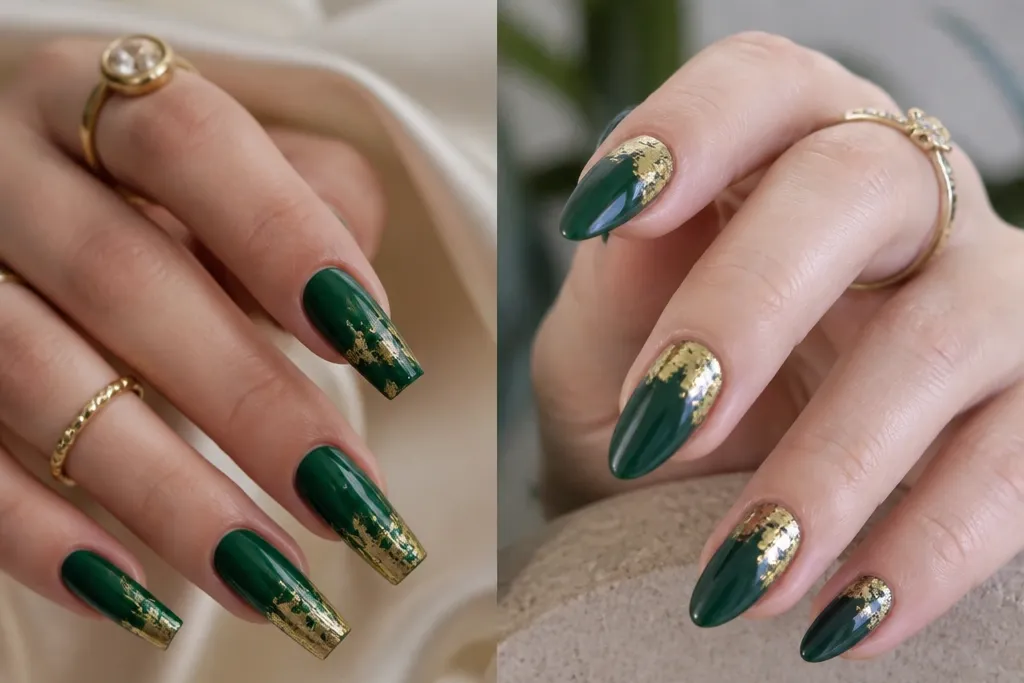
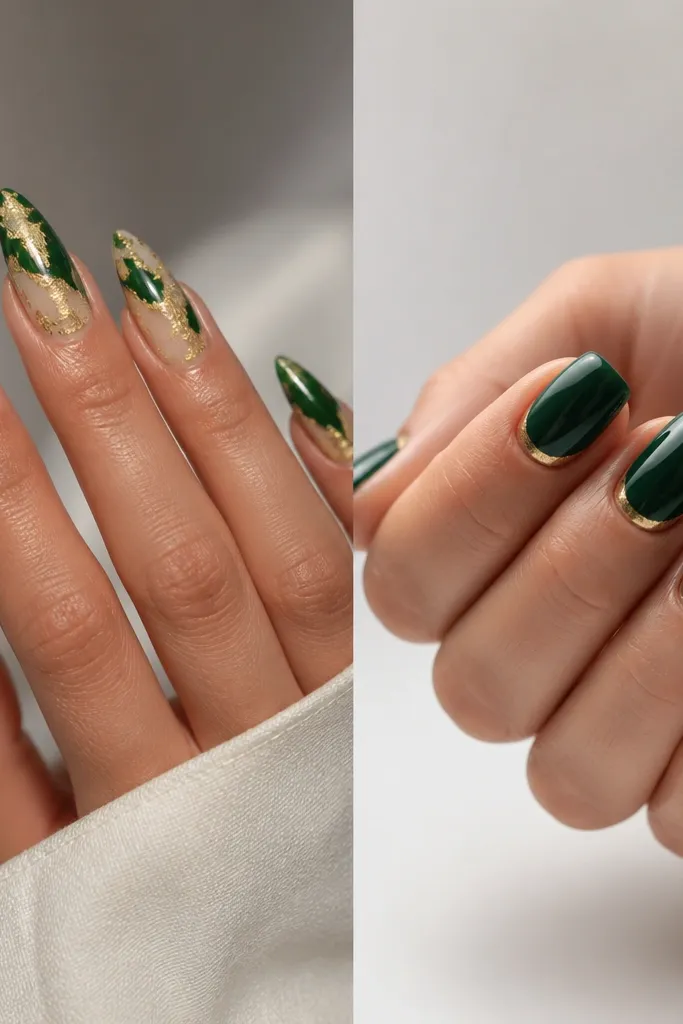
1. Emerald matte base with gold foil half-moon
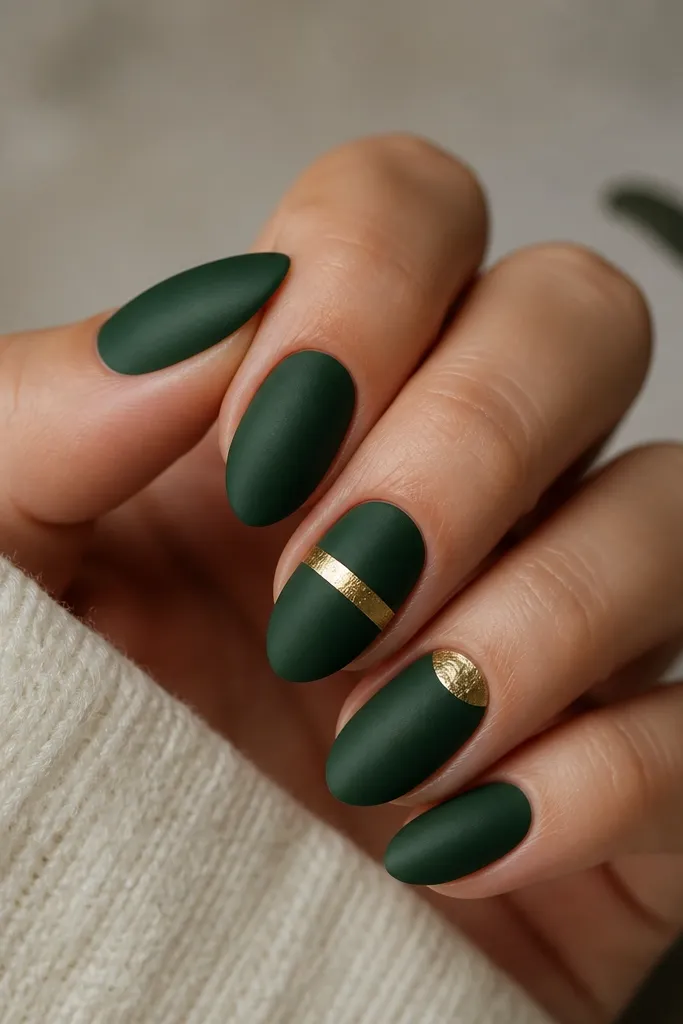
This look works because the emerald is muted and the gold has texture. Matte green hides tiny prep imperfections, and the half-moon placement makes your nail bed look longer. The gold foil has irregular edges, which keeps it from looking painted-on. It also photographs well in daylight without turning neon.
Do a matte emerald on all nails first. For each nail, place a small gold foil crescent at the cuticle - roughly 1/8 inch tall, not full-width. Seal with a medium-viscosity top coat so the foil doesn't lift but the matte stays matte on the green.
Pro tipPress the foil with a silicone tool for 2-3 seconds per section, then seal right away with top coat.
Watch outAvoid putting matte top coat over gold foil - it kills the shine and makes the foil look dusty.
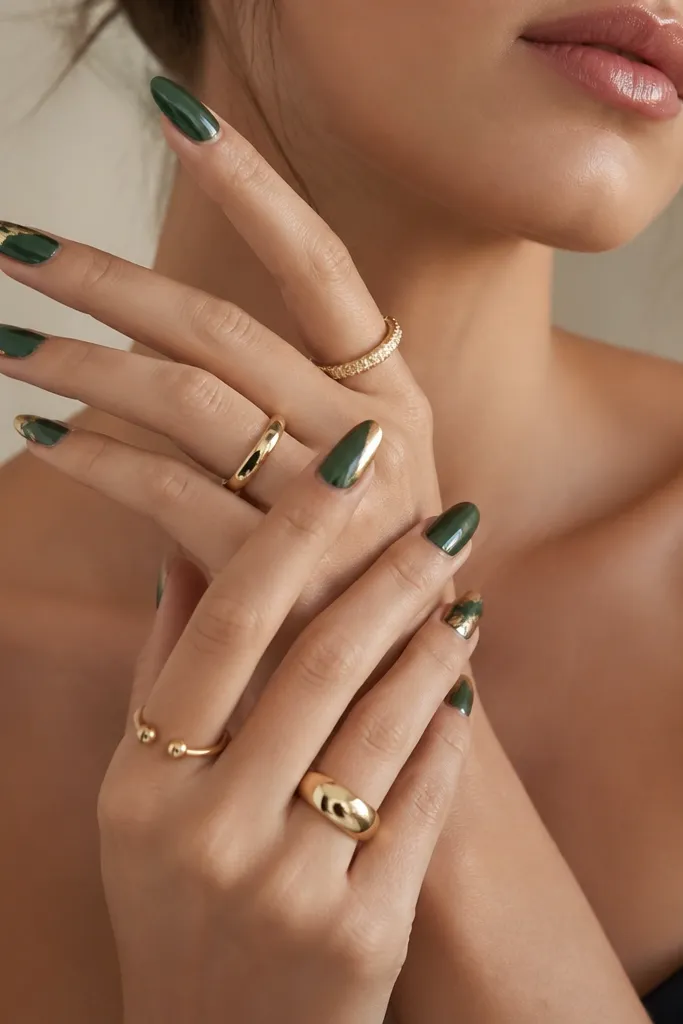
2. Gold chrome French tips on forest green squoval
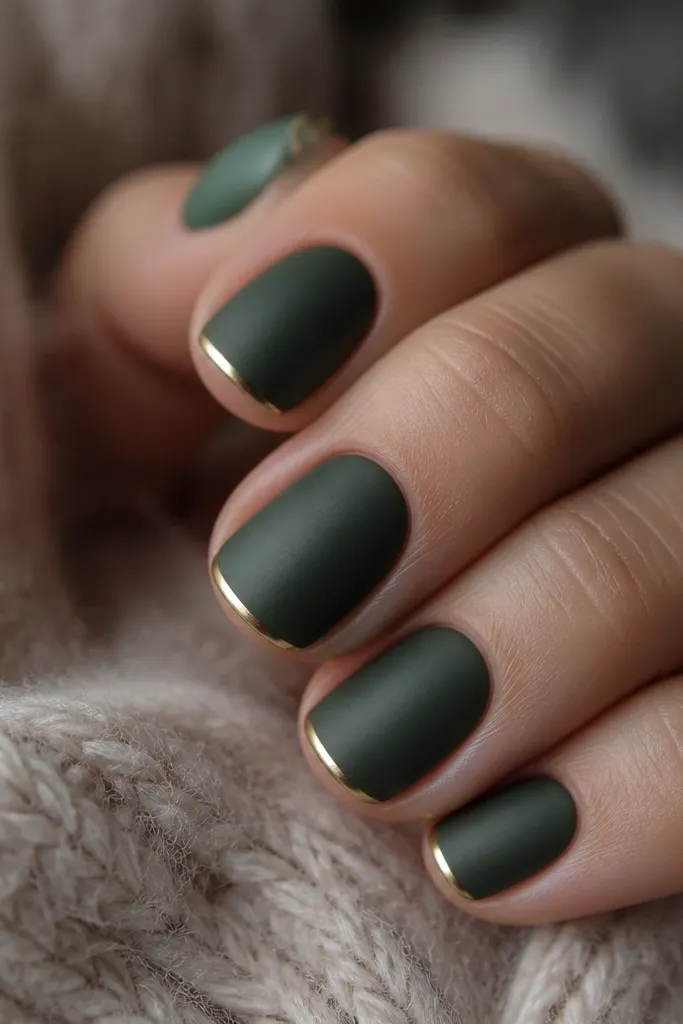
A thin gold chrome French tip makes green look richer instead of darker. Chrome reflects light in a crisp line, which flatters squoval shapes. The satin base keeps the set from looking like pure glitter. I like this one for work because it looks polished even when your hands are busy.
Shape your nails to squoval so the tip line can stay narrow. Apply forest green in two coats, then cure fully. Use chrome powder over a sticky gel layer only on the tip line, keeping the gold width around 1 mm. Finish with a high-gloss top coat that doesn't cloud the chrome.
Pro tipMask the sidewalls with a small strip of tape when you apply the French line so the gold stays razor-clean.
Watch outSkip a thick gold layer - it looks chunky at the tip and catches on fabric.
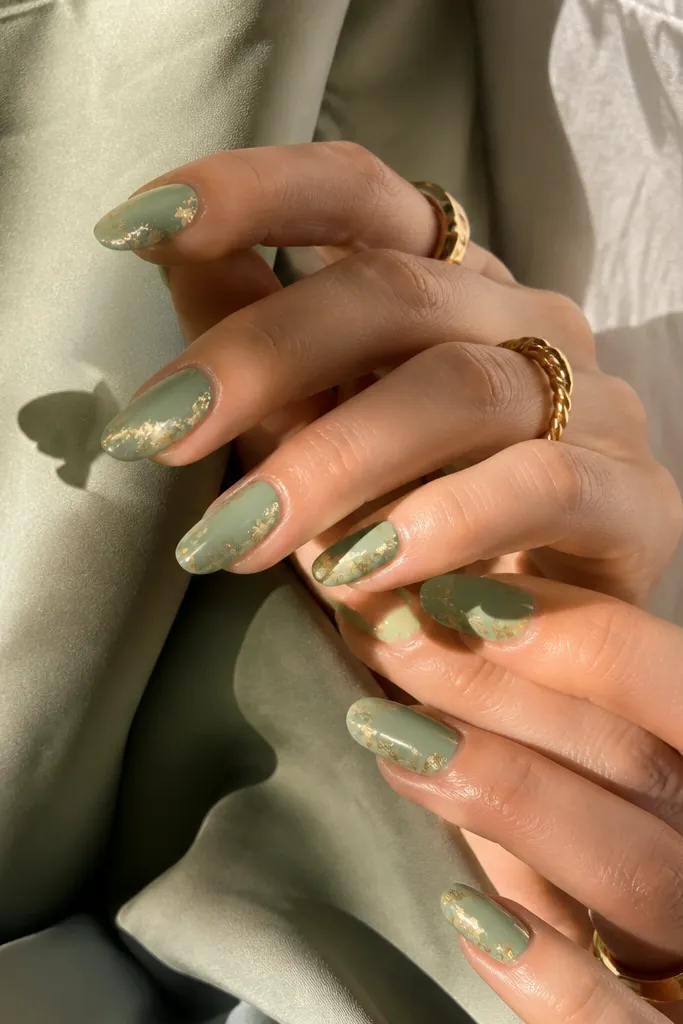
3. Olive green glossy with diagonal gold leaf swipe
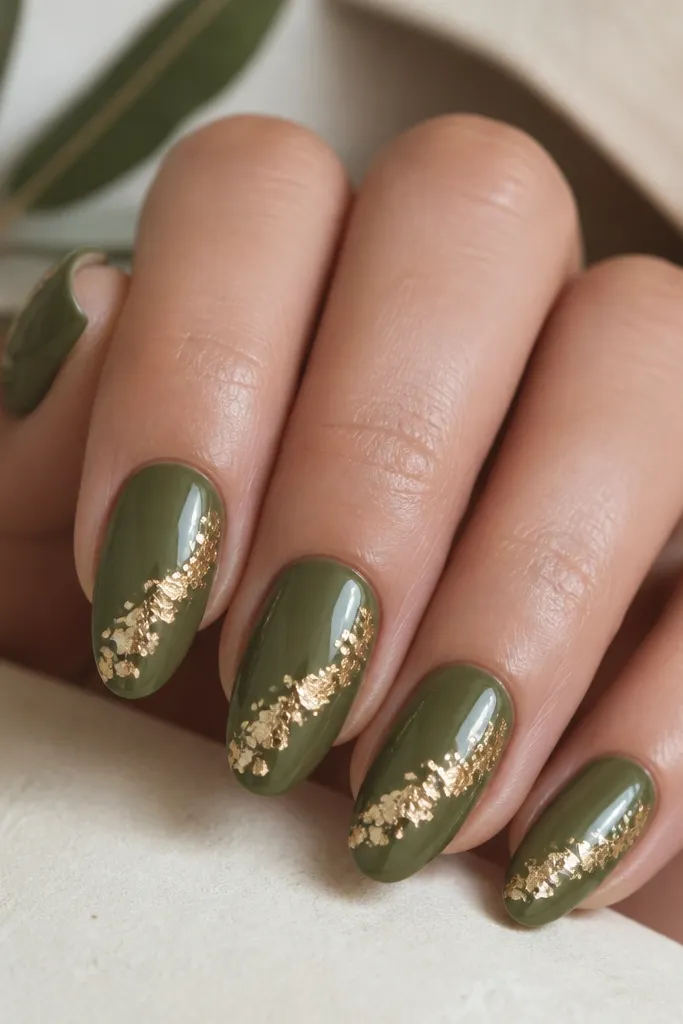
Diagonal placement adds movement. Olive green is forgiving, and the glossy finish makes it look healthy and smooth. Gold leaf has natural gaps, so it looks layered without needing 3D bulk. This style looks modern and a little edgy, especially on medium almond.
Use olive green gel polish or acrylic color base in two thin coats. Place gold leaf with tweezers along a diagonal path - about a third of the nail width. Leave small negative gaps so your green shows through. Seal with two thin coats to stop leaf from lifting at the edges.
Pro tipUse a dotting tool to push leaf pieces into the gel layer before curing so they don't float.
Watch outDon't cover the whole nail in leaf - it turns into a gold-speckled mess instead of a swipe.
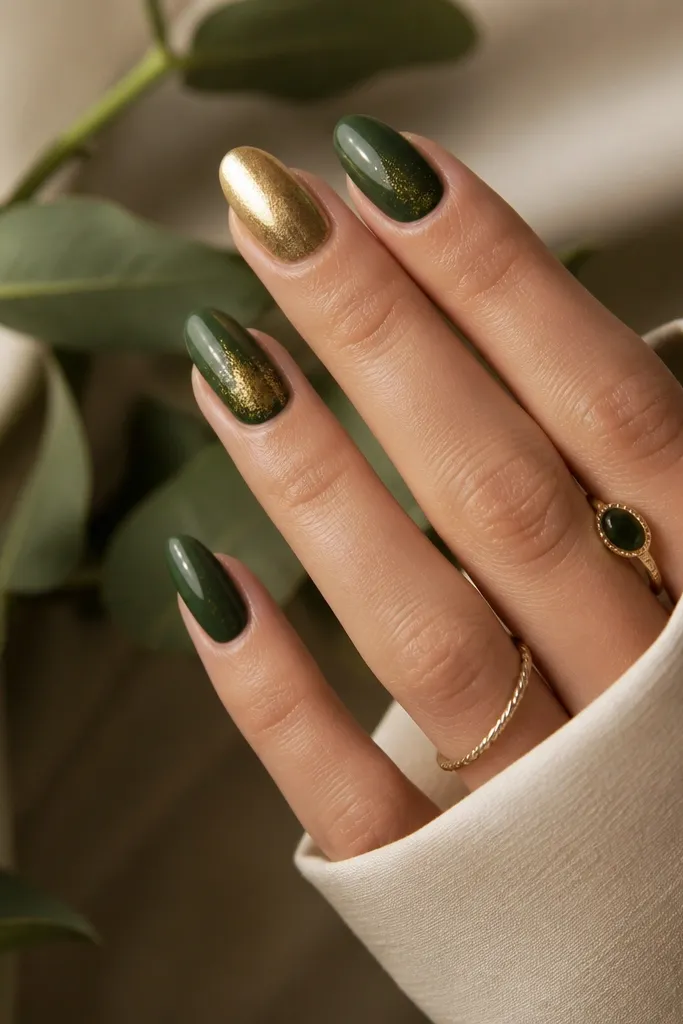
4. Jewel-toned green gradient with micro gold dots
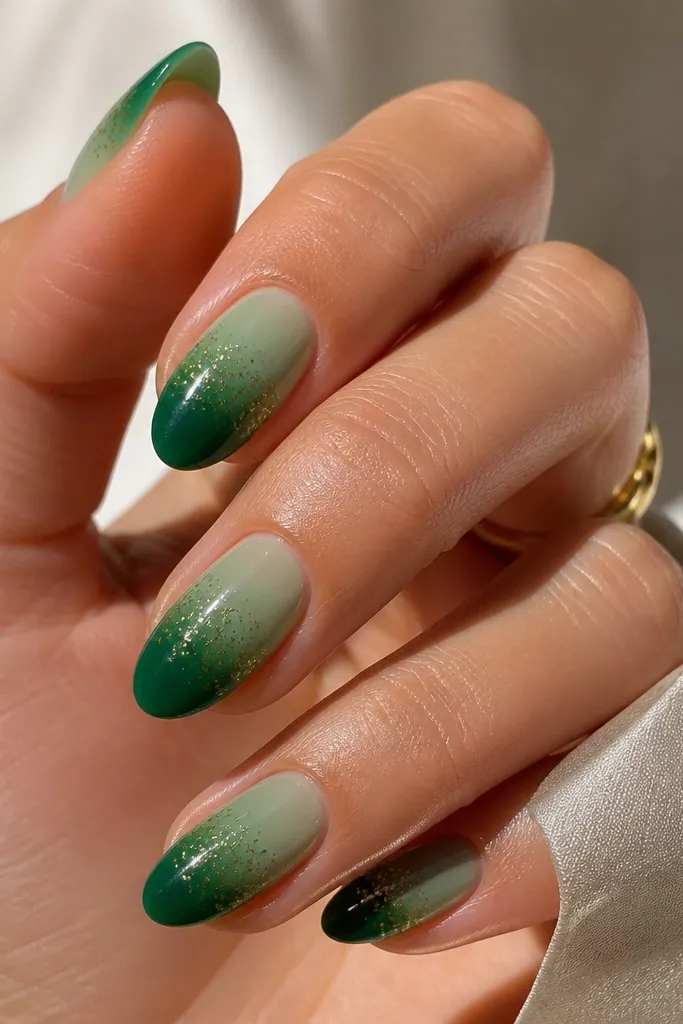
Gradients look high-end when the transition is smooth and the accents are tiny. The micro gold dots act like jewelry settings, making the gradient read intentional. Deep-to-light green also flatters the nail shape by pulling attention toward the cuticle. This one is perfect for nights out because it catches light without big rhinestones.
Blend emerald and jade with an airbrush or a sponge technique using gel. Keep the gradient confined to the nail center so it doesn't go streaky at the sides. Add micro gold dots (using gold acrylic paint or gel dots) in a single curved line. Cure between steps if your product requires it.
Pro tipUse a toothpick for dot placement - it gives you smaller dots than a brush tip.
Watch outDon't smear the gold dots into the gradient - keep them on top so they stay crisp.
5. Green marble with thin metallic gold veins
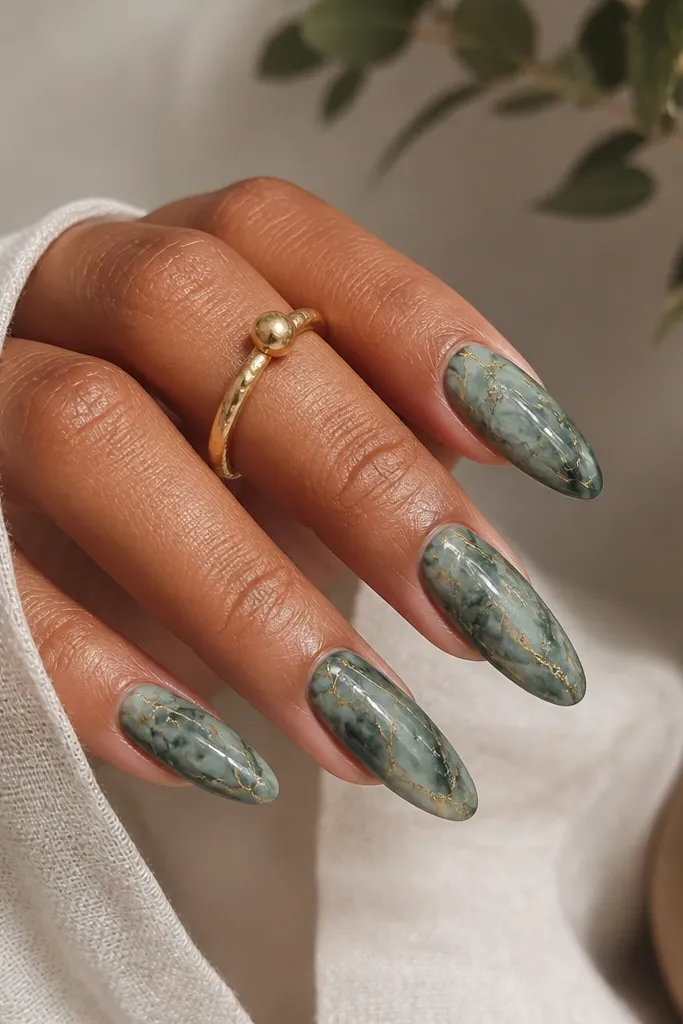
Marble looks expensive when the veins are thin and consistent. The gold veins add contrast without turning the nails into glitter. Use different greens (sage, forest, and a muted teal) so the marble has depth. It gives a spa-luxe vibe that still feels bold.
For marble, paint a base green, then add darker swirls with a thin liner brush. Drag a clear gel layer through the swirls if you want a softer, cloudy look. Add metallic gold lines only where the darker veins are - keep them under 1 mm thick. Seal twice so the marbling doesn't snag on sleeves.
Pro tipTake a photo under a lamp before top coat. If the gold veins look too thick, fix them before sealing.
Watch outAvoid using chunky glitter in marble - it breaks the stone illusion.
6. Deep green velvet look with gold line art corners
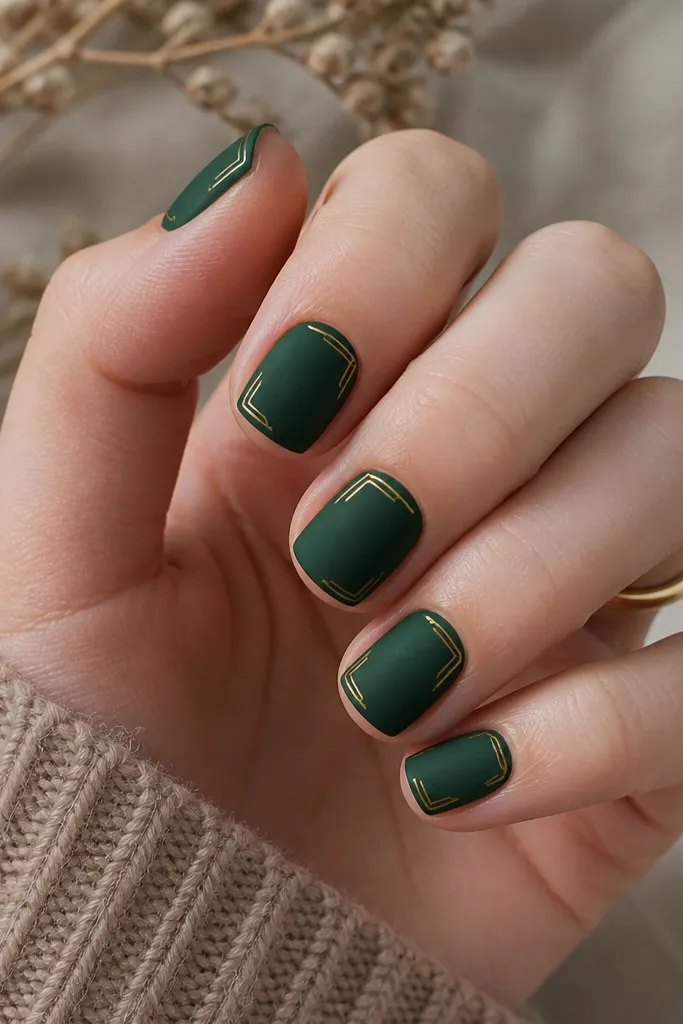
Velvet texture makes green look richer and hides minor surface bumps. Gold corner line art gives structure and keeps the design modern. It's a great choice if you want green-and-gold without foil or chrome. The corner frames make the nail edges look crisp and intentional.
Apply deep green and use a velvet effect top coat or velvet powder system. Let it fully set before painting gold lines. Use a 00 liner brush for corner details - keep lines thin and leave a small gap from the sidewalls. Seal with a top coat that doesn't flatten the velvet effect unless the velvet system says it can.
Pro tipUse painter's tape to mark the corner guides, then remove it right after you paint the lines.
Watch outDon't add rhinestones on velvet - the texture lifts around them and looks uneven.
7. Acrylic 3D leaf cluster with gold foil accents
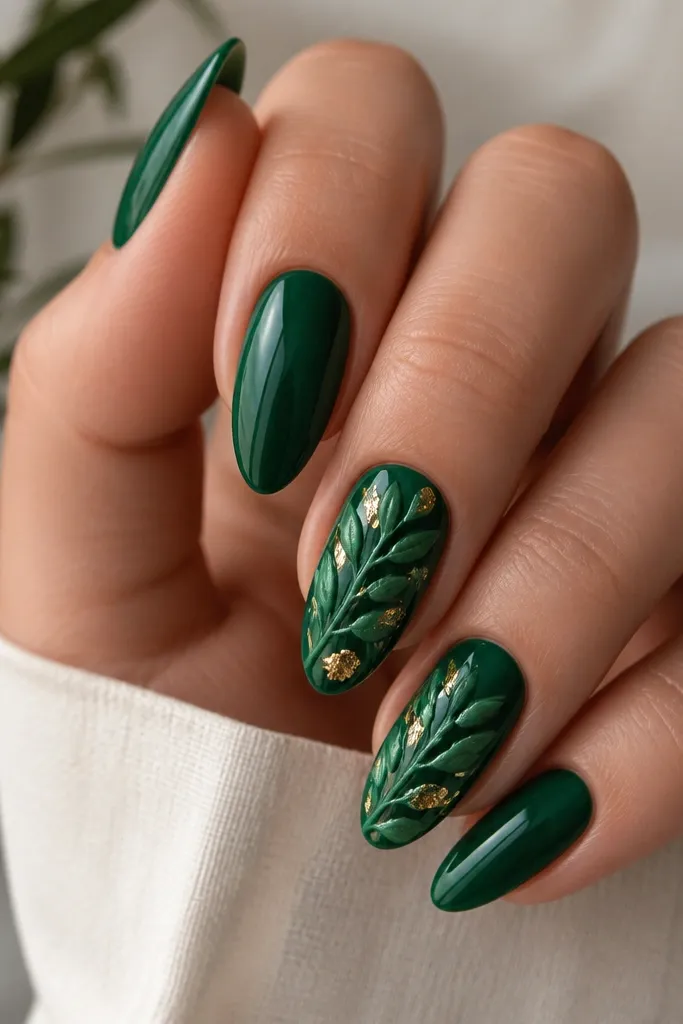
3D leaf clusters need structure, and acrylic is the base I trust. The raised leaves cast tiny shadows, which makes the gold foil look even brighter. Green-and-gold here reads like wearable decor, not just nail art. It's also the most forgiving for photos because the texture shows depth.
Build the 3D leaves with acrylic sculpting - layer thin petals and pinch the edges. Place them off-center so the cluster points toward the tip. Tuck micro bits of gold foil under the leaf edges so it peeks through. Use a thick-enough top coat to smooth the surface but avoid flooding the leaf details.
Pro tipFile the 3D area with a gentle e-file at low speed so the surface stays smooth without shrinking the design.
Watch outAvoid placing 3D art too close to the cuticle - it lifts faster with growth.
8. Jade chrome swirl with green tint overlay
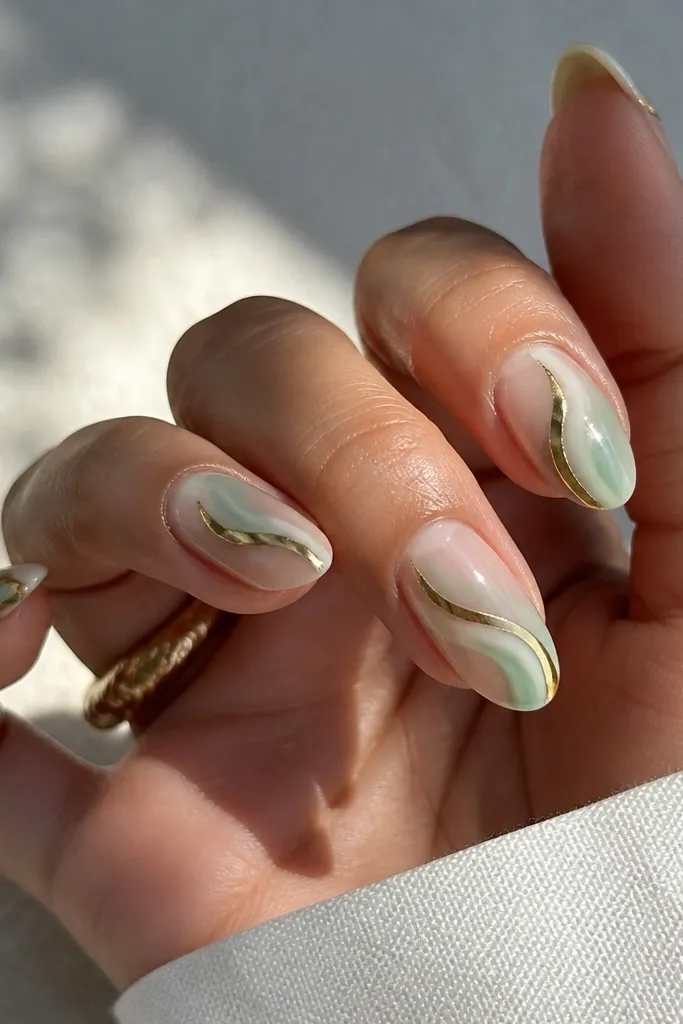
This is a clean, glossy look that still feels artsy. The translucent jade tint keeps your nails from looking flat, while the gold chrome swirl gives a sharp highlight. Because the green tint is see-through, your nail bed still looks natural. It works especially well on shorter lengths.
Use a clear or nude base, then add a thin translucent jade overlay. Create the gold swirl on top of a sticky layer - keep it narrow and consistent across fingers. Seal with a glossy top coat that doesn't dull chrome. For best results, do one swirl per nail rather than multiple squiggles.
Pro tipPractice the swirl on a silicone nail tip first so your curve matches every finger.
Watch outSkip heavy jade coverage - if the tint is opaque, the look stops feeling airy.
9. Sage green base with gold rhinestone chain at the cuticle
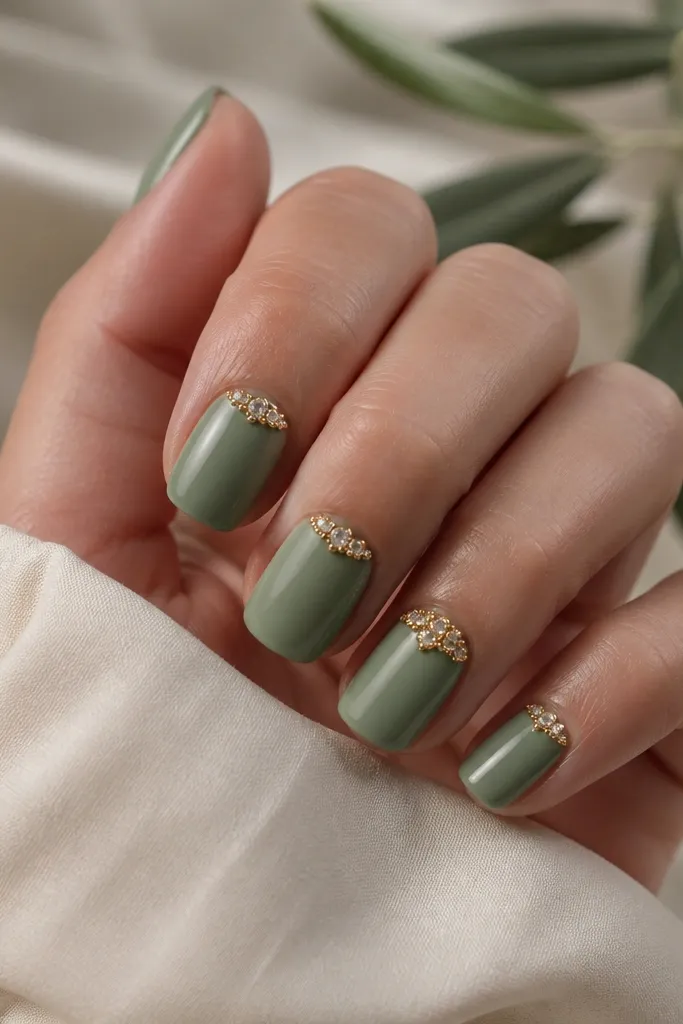
Rhinestone chains look best when they hug the cuticle and stay tight. Sage green is soft and makes the gold sparkle feel refined. The cuticle placement visually elongates the nail bed, and the chain effect feels like jewelry. This is the set I pick for weddings or holiday parties.
Apply sage green in two coats, then add a thin strip of gel along the cuticle. Place rhinestones in a straight line with a dotting tool, leaving tiny gaps for light reflection. Add micro gold beads between stones if you want a chain look. Cure, then cap the stones with a thin top coat so it won't snag.
Pro tipCap the stones with top coat using a brush, not a dip - you want controlled coverage.
Watch outDon't leave stones uncapped - they snag and pop loose fast.
10. Glitter gel green fade with gold flakes at the tip
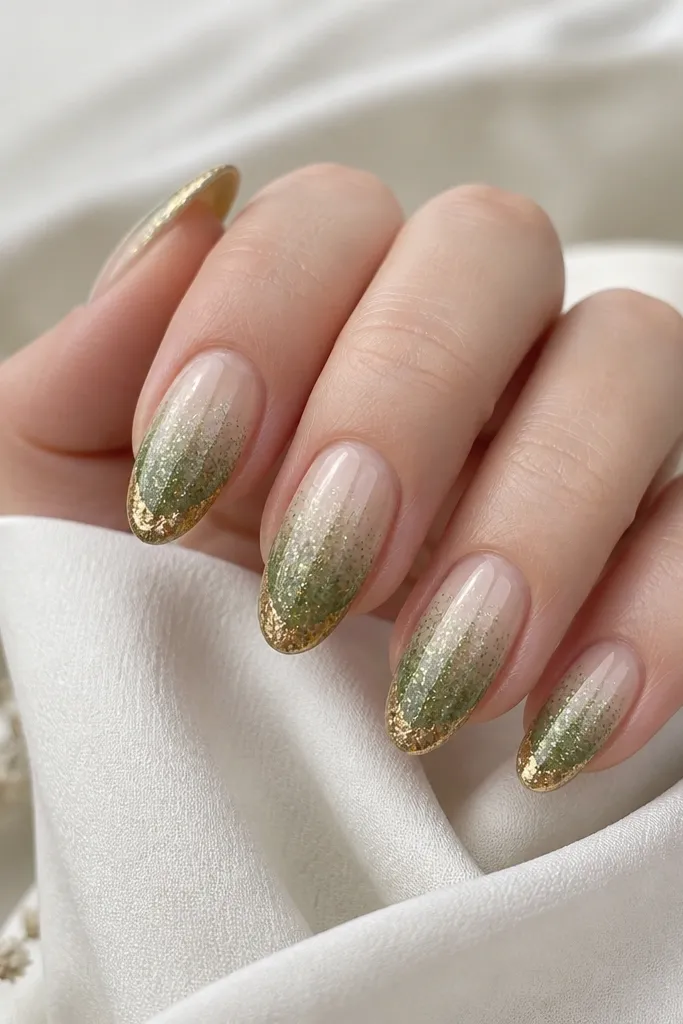
A fade glitter base looks smoother than chunky glitter. The gold flakes at the tip create a halo that makes your nails look longer. This set is fun but still classy because the gold is placed only where it matters. It also hides small wear because glitter texture blurs imperfections.
Use a sheer nude or pale green base, then sponge on glitter gel so it gets heavier toward the tip. Add gold flakes only at the last 2-3 mm of the nail. Press flakes in gently and seal with two top coats. Keep the glitter fade centered so it doesn't look messy at the sides.
Pro tipWipe the brush on a lint-free pad before top coat so you don't drag glitter into streaks.
Watch outDon't overload the top coat - too much thickness makes the glitter look cloudy.
11. Classic green French with gold micro studs on the smile line
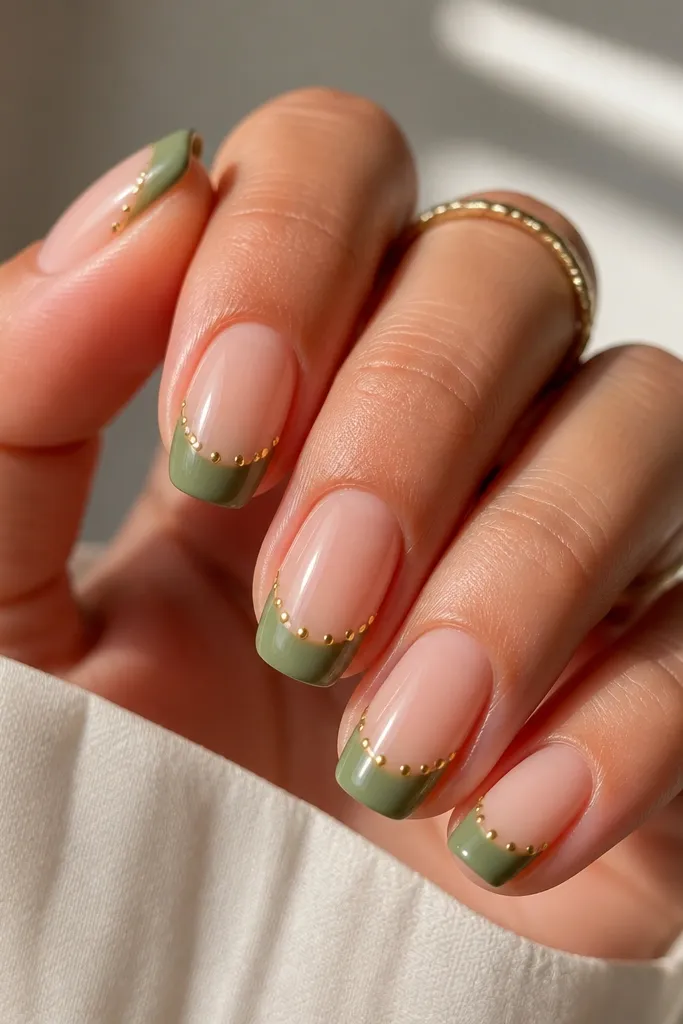
This is the cleanest way to do green-and-gold without chrome or foil. The nude base keeps everything wearable, and the green French gives you a defined shape. Micro studs add sparkle exactly where the nail curves, so it looks intentional. It's also great if you want something that grows out without looking chaotic.
Paint a nude base, then apply green French tips with a guide line. Place 3-5 micro studs on the smile line, not on the tip edge. Use a gel adhesive or acrylic dab to anchor studs, then cap with top coat. Keep studs small - think pinhead - so they don't look like added chunks.
Pro tipUse a makeup sponge to remove any stray gel from the smile line before stud placement.
Watch outAvoid large studs - they lift sooner and look heavy on short nails.