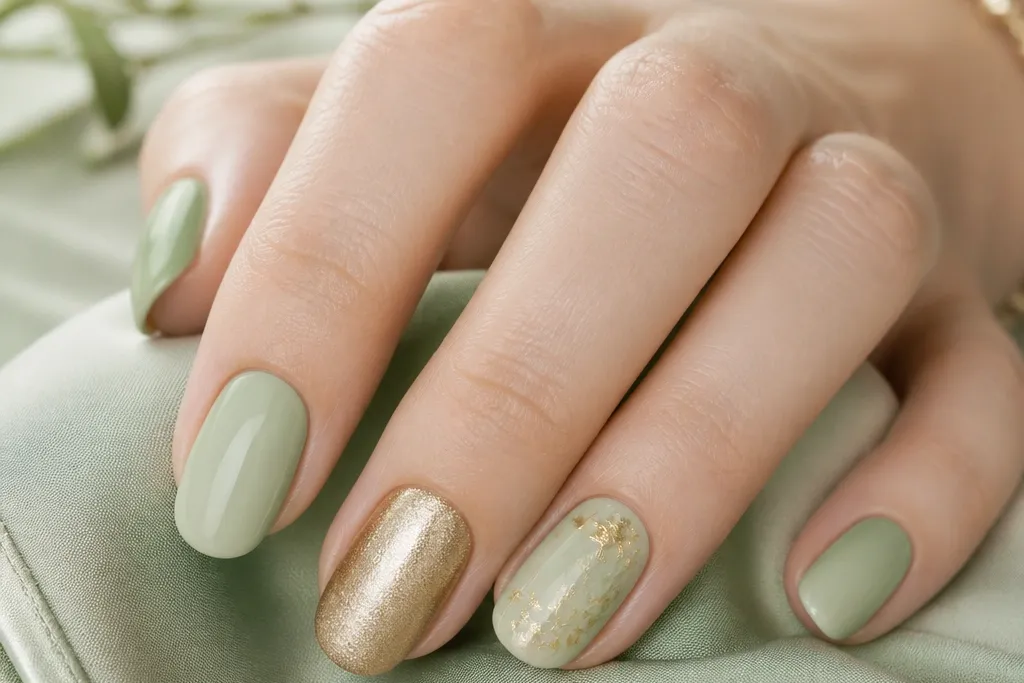
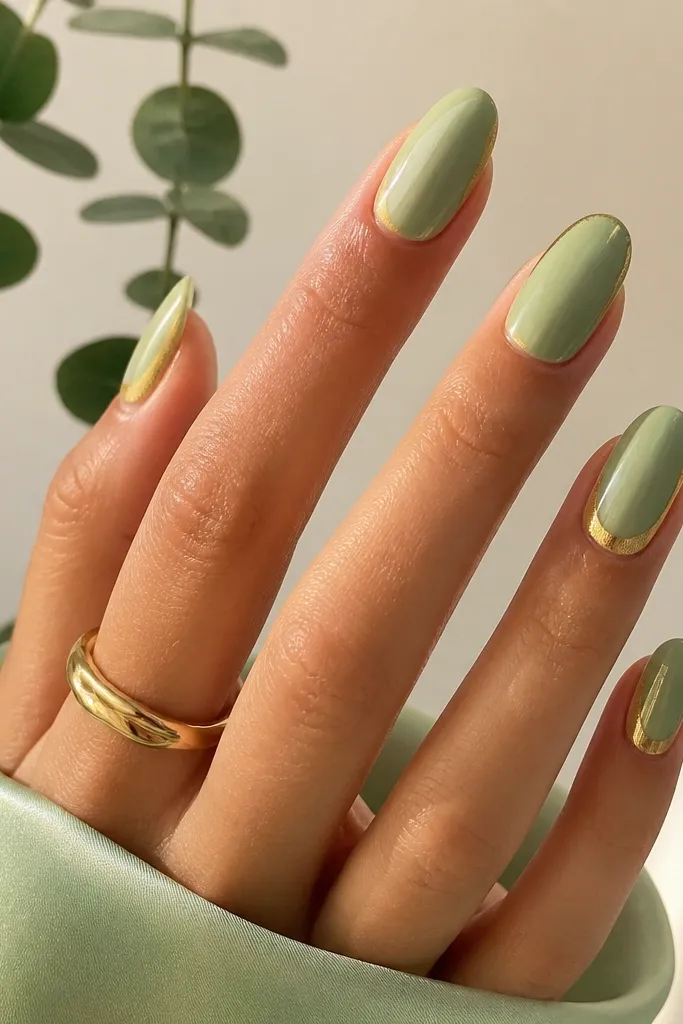
1. Mint Jelly Base with Foil Gold Tip
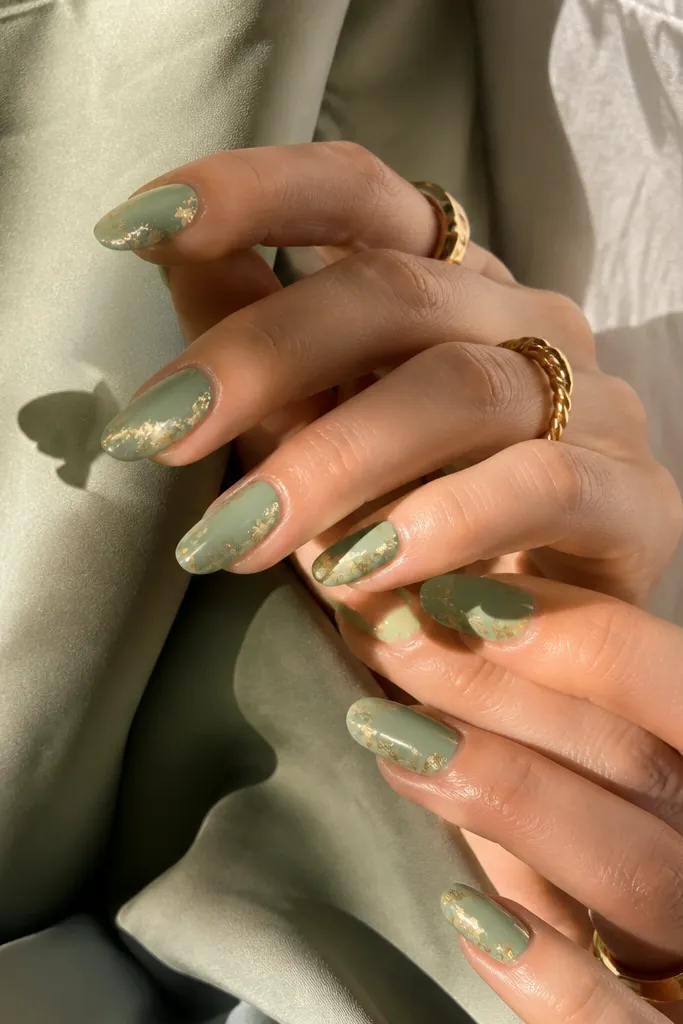
This is the "sunlit mint" look. The light green reads fresh because it's see-through enough to glow, but you still get coverage by layering. Foil gold at the tip gives texture and shine without making the whole nail heavy. Placement stays airy since the gold only lives at the outer edge.
Start with a gel base coat. Paint 2 thin coats of mint jelly (not a thick coat) and cure fully between coats. Add foil gold at the free edge, then lightly press and seal with top coat. Keep the gold band under 2 mm from the nail edge so it doesn't creep toward the center.
Pro tipIf your jelly mint looks streaky, do a third ultra-thin coat only on the center, then cure and top coat.
Watch outAvoid flat gold paint across the entire tip - it turns grayish and looks like tape residue.
2. Cuticle Crescent in Chrome Gold on Pale Mint
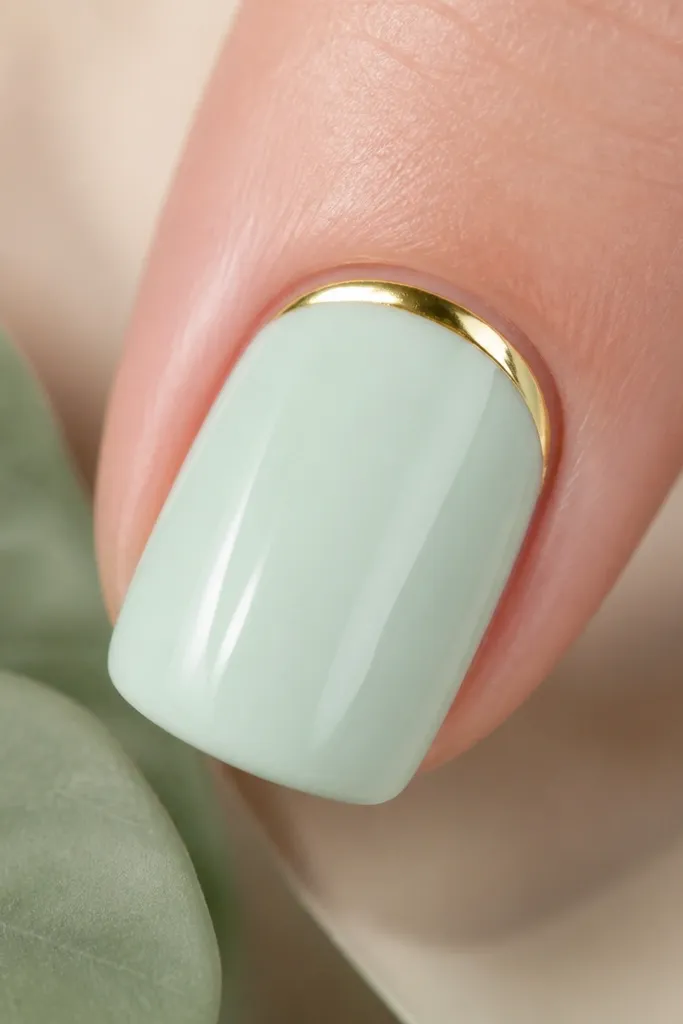
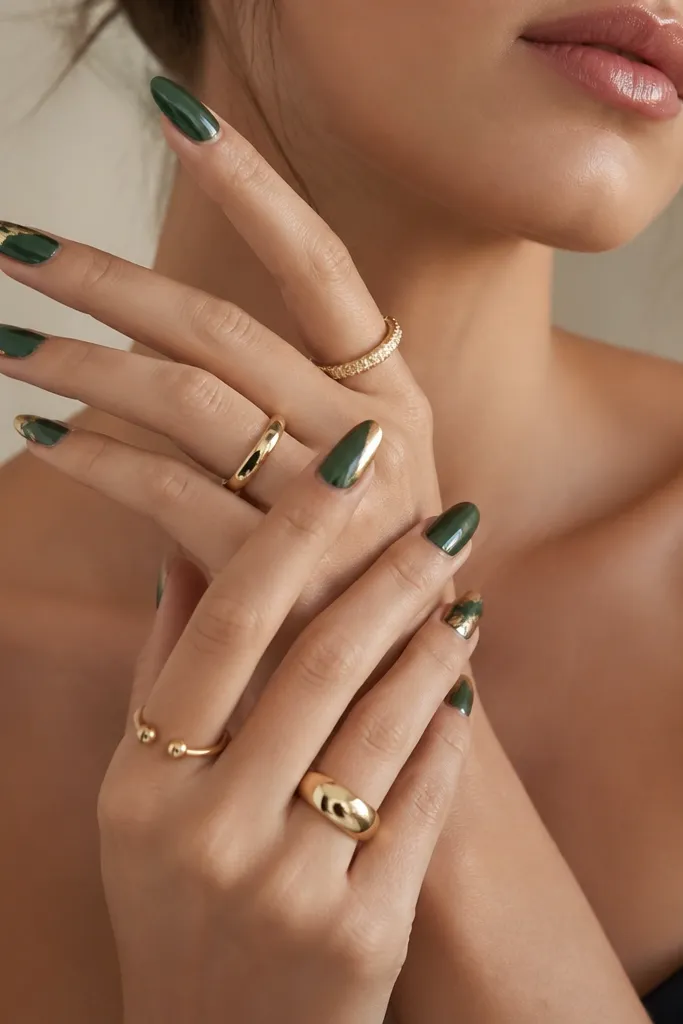
Cuticle placement mimics jewelry and makes the nail look longer. Chrome gold is brighter than foil, so it pairs well with pale mint that can look washed out in indoor light. The crescent shape also keeps the design minimal and fresh.
Use 2 coats of pale mint cream or milky mint for full opacity. For the gold, apply chrome powder over a tacky gel adhesive striping zone shaped like a half-moon. Use a small flat brush to keep the crescent tight - about 1/3 of the nail width. Seal with a high-gloss top coat.
Pro tipFor a perfect curve, paint a tiny dot of adhesive at each side of the cuticle, then connect with your brush.
Watch outDon't let chrome powder spill onto the mint - it makes the whole nail look dirty.
3. Two-Tone Mint and Pistachio Half-Moons
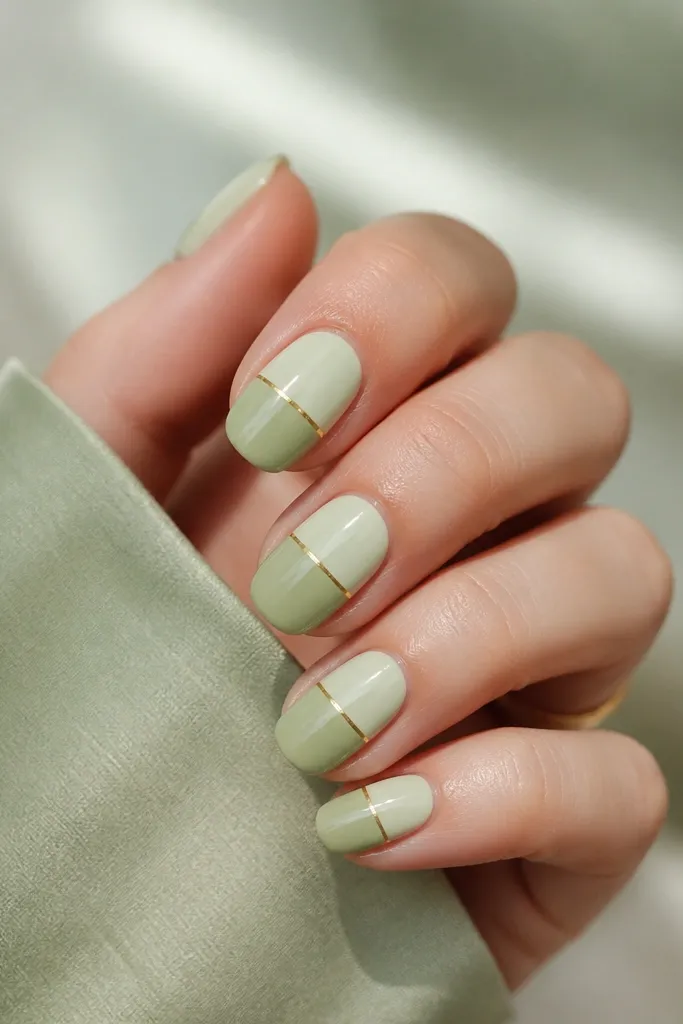
This one is fresh because the greens are related but not identical. Pistachio adds warmth, mint adds brightness, and the gold line acts like a frame. The result looks designed, not accidental. It also works on short nails because the split gives structure.
Paint the base mint first, cure, then tape a straight line across the middle and paint pistachio underneath. Use striping tape for a sharp edge. Add a thin gold strip on the border using gel striping gel or a gold liner. Top coat twice if you want the border to feel smooth.
Pro tipKeep your split line slightly above the true center if your nails are short - it visually lifts the nail.
Watch outAvoid freehand splits without tape - the edge will look wobbly and cheap.
4. Sage Green Marble with Gold Vein
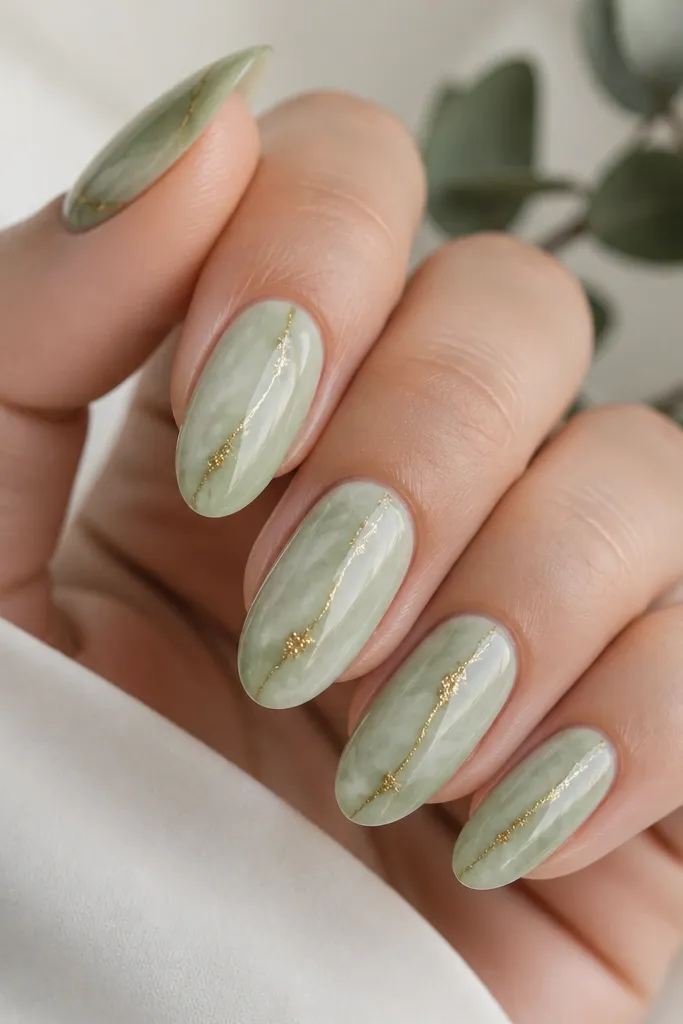
Sage marble looks expensive without needing tiny details. The marble keeps the light green from looking flat, and the gold vein adds that "watch face" shine. This design is great if you want something more artsy but still in the light green and gold family.
Use 2 coats of sage as your base. For marble, swirl a slightly lighter and slightly darker green on a sponge, then drag a few lines with a liner brush. Lay a thin gold striping line diagonally, then dab a micro amount of gold foil at intersections. Cure and top coat with a gel that stays glossy.
Pro tipUse a damp wipe to control marble edges - too much blending makes it look like one flat blob.
Watch outDon't put chunky gold glitter into the marble - it kills the marble softness.
5. Mint French with Thin Gold Micro-Tip
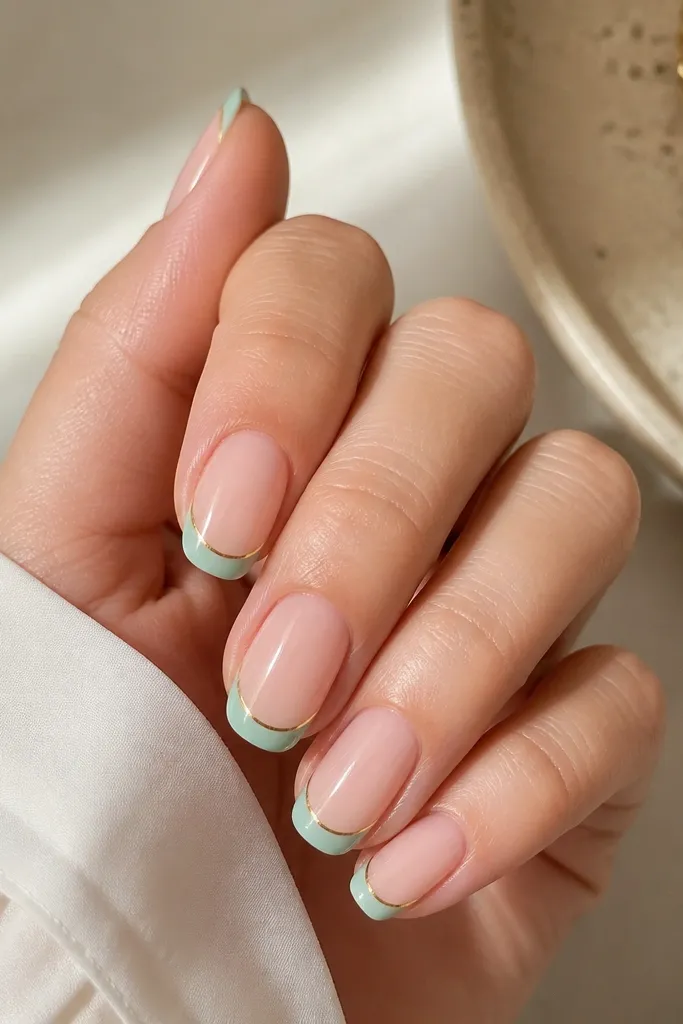
This is the cleanest "fresh" version because it keeps the nail looking neat and adds color only where it counts. The gold micro-tip makes the mint feel intentional and luxe without covering the nail. On photos, the micro line reads like a highlight.
Start with a sheer nude base (or sheer pink) in 2 thin coats. Paint the mint French tip using a French guide sticker, keeping the tip width narrow. After curing, add a gold line along the very edge of the mint arc with a liner brush. Finish with glossy top coat so the gold line doesn't look raised.
Pro tipIf your mint French tip looks too thick, redo it thinner - this design looks best when the mint arc is about 2 mm wide.
Watch outAvoid a wide gold border - it turns into a block and loses that crisp French look.
6. Pale Mint Skittle with Gold Accent Nail
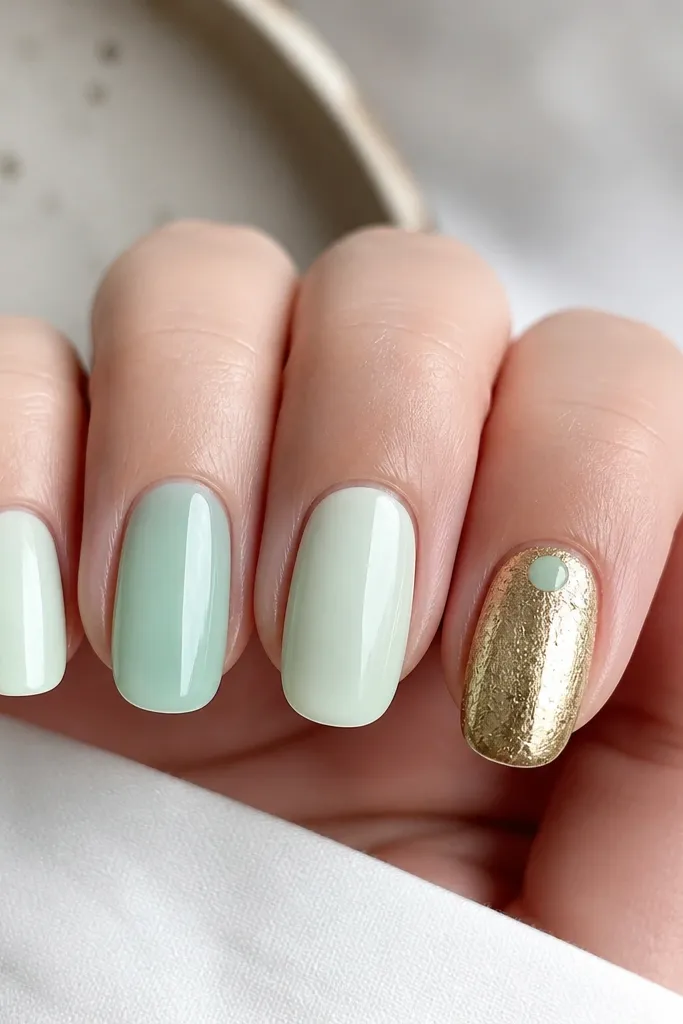
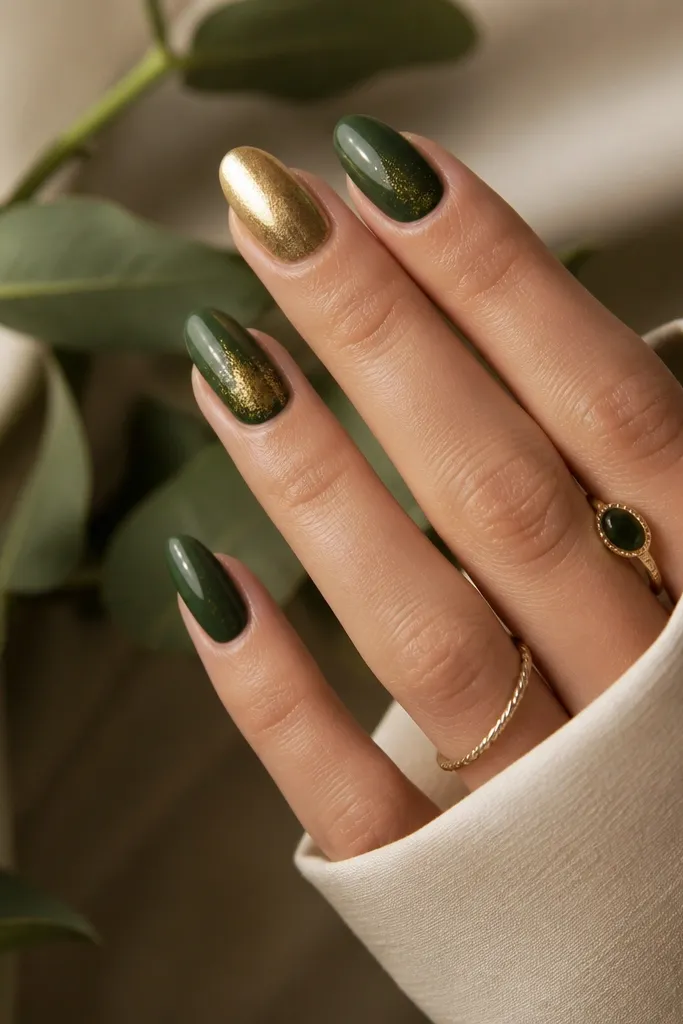
Skittles are fresh when the colors are related, and the gold accent keeps the set cohesive. The gold foil on one nail is your focal point, so you don't need art on every finger. This is also a good choice if you get bored with repeating the same design.
Choose four light green shades from mint to sage and paint each nail one shade. On the accent nail, apply gold foil first, then add a tiny mint dot with a dotting tool near the cuticle. Keep the dot under 1 mm so it reads cute, not messy. Top coat over everything carefully to keep foil shiny.
Pro tipUse the same top coat brand across shades so your greens don't dry with different levels of gloss.
Watch outAvoid mixing matte and glossy finishes in the same hand - it looks patchy.
7. Light Green Diagonal Stripe with Gold Outline
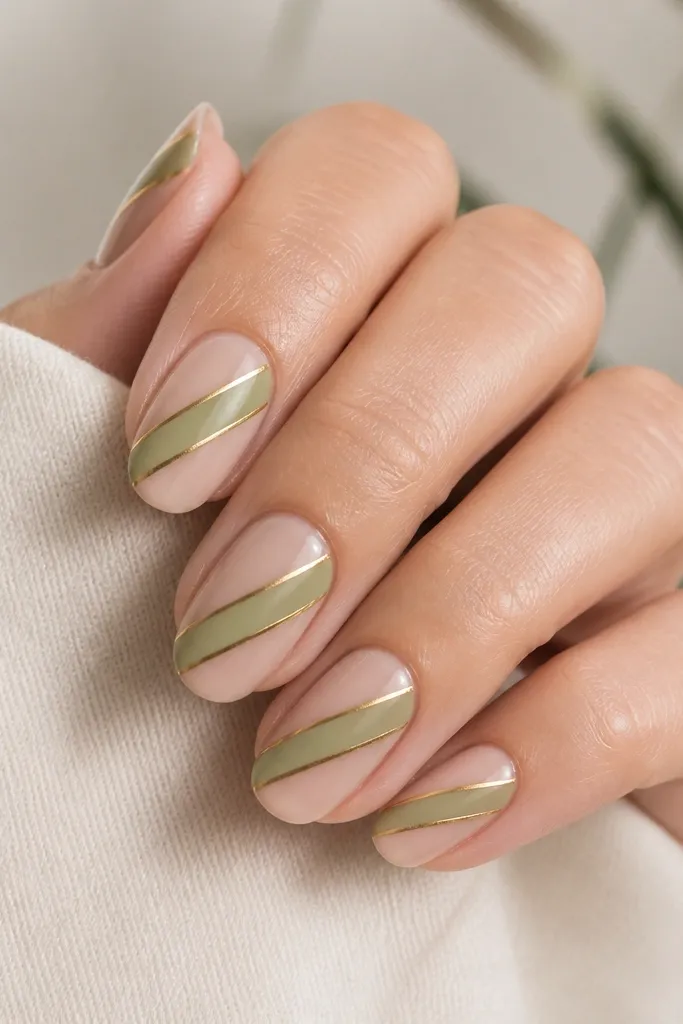
Diagonal lines make nails look longer, and the gold outline gives that clean, graphic finish. The nude base keeps it wearable, and the light green stripe stays fresh because it's saturated and straight. Gold outlines also hide minor brush imperfections because the border defines the edges.
Paint a sheer nude base. Use striping tape to mask the diagonal stripe so it stays straight. Fill the stripe with opaque light green in 2 thin coats, cure, then remove tape. Add gold outline on both edges with gel liner and cure, then seal with glossy top coat.
Pro tipPress the tape down with a cuticle pusher so paint doesn't creep under it.
Watch outAvoid thick gold lines - outlines should be hair-thin for a modern look.
8. Mint Aura Glow with Gold Center Dot
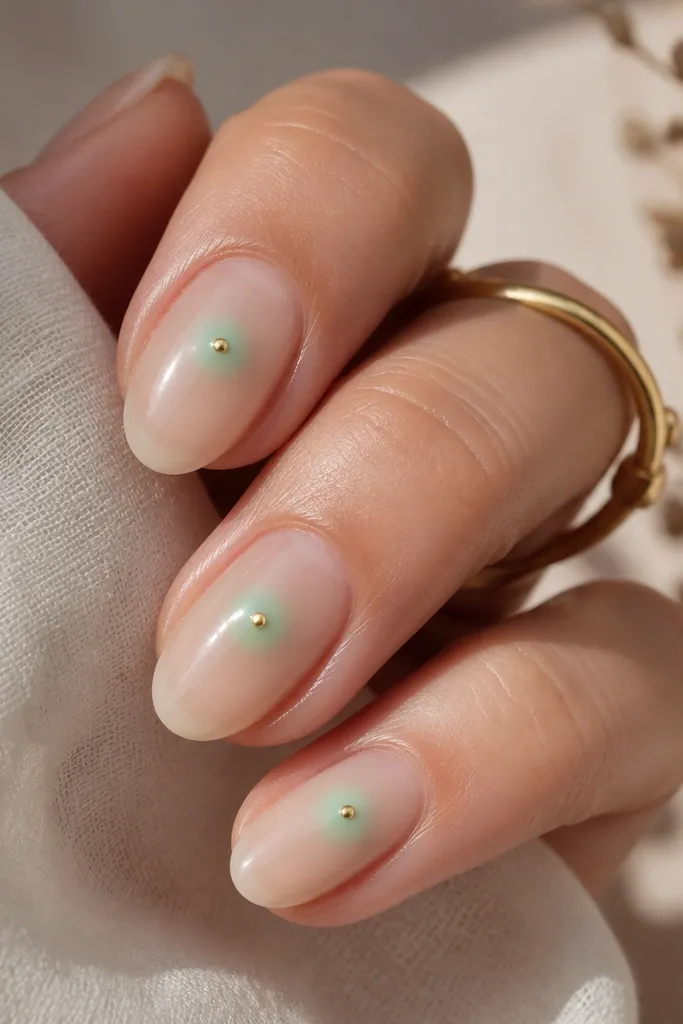
Aura nails look fresh because they're airy and soft, not flat color blocks. The gold center dot acts like a "focus point" and makes the mint glow pop in photos. This design is forgiving if your green application isn't perfectly even.
Use a sheer base and sponge-paint mint aura using a makeup sponge. Tap the mint near the center, then blend outward with light pressure and fewer taps. Cure. Add a small gold dot in the center using gold gel or loose gold leaf sealed over a tiny adhesive spot. Top coat gently so the aura stays soft.
Pro tipKeep the gold dot tiny - around the size of a grain of rice - or it overwhelms the glow.
Watch outAvoid heavy aura blending into the tip - it turns into a muddy gradient.
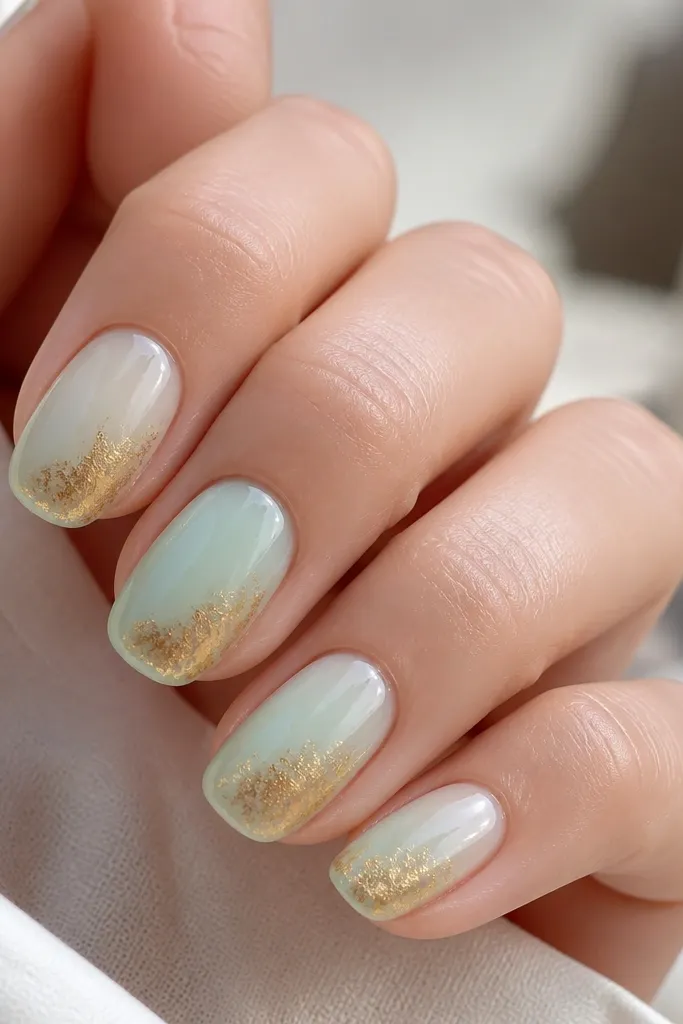
9. Milky Mint with Gold Foil Confetti
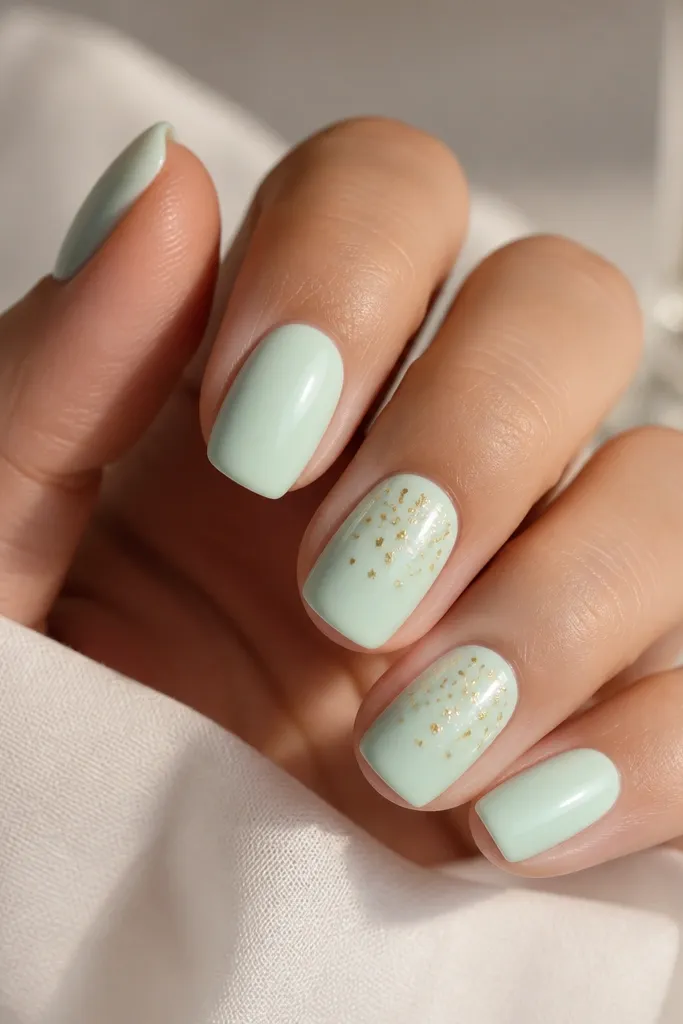
Milky mint makes your nails look fresh even on days you don't want art. Gold confetti gives sparkle without the "full glitter" look that can feel loud. The scattered placement also makes each nail look slightly different, which reads intentional.
Paint milky mint in 2-3 coats until it's opaque and smooth. Press tiny pieces of gold foil using tweezers or a foil applicator, concentrating near the center. Seal with top coat in 2 layers - foil sometimes needs extra sealing to stop snagging. Cure fully between top coat layers if you use gel.
Pro tipIf your foil pieces lift, add a thin coat of clear gel over just that area and cure again.
Watch outAvoid large foil chunks - they catch on everything and look rough.
10. Soft Sage Half-Outline with Gold Corner
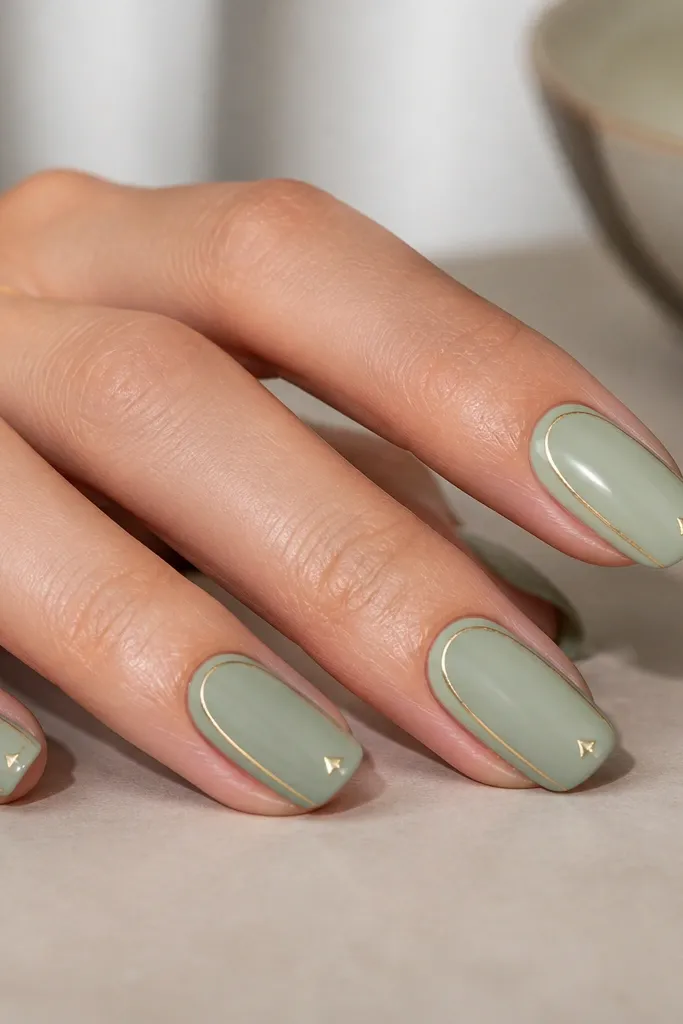
This is a minimalist design that still looks styled. The sage base gives a calm, modern green, and the half-outline adds structure. The gold corner near the tip catches light when you move your hand, so it feels fresh without being busy.
Paint 2 coats of soft sage. For the gold outline, use a liner brush to draw a thin line along one side of the nail, stopping before the midpoint. Add a small gold corner near the tip - think of it like a tiny right-angle marker. Clean edges with a brush dipped in alcohol before curing, then top coat.
Pro tipKeep your gold line slightly off-center if you want it to look more natural - a perfectly centered outline can look too stiff.
Watch outAvoid outlining the entire nail - it turns into a heavy frame.
11. Mint Leaves with Gold Stem (Minimal Botanic)
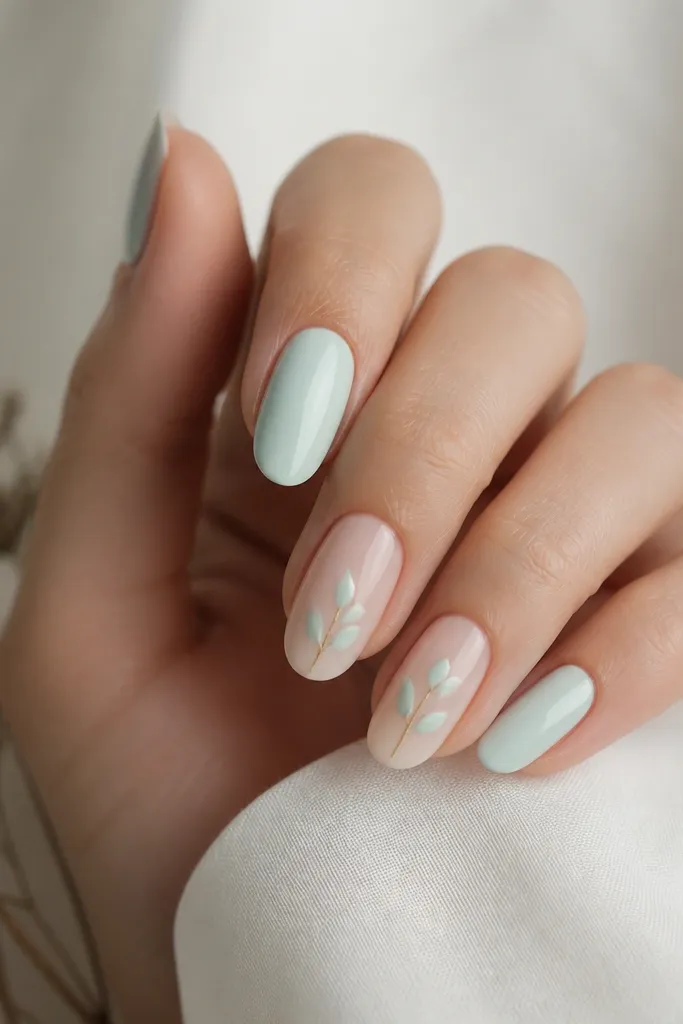
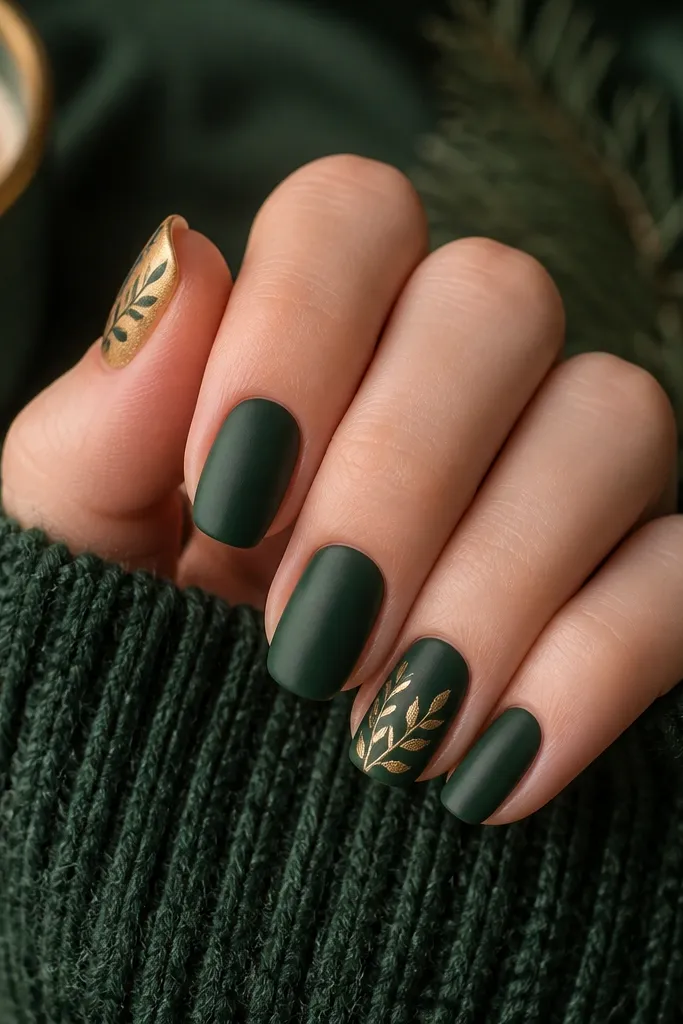
Botanic art can look fresh when it stays minimal and uses the right spacing. The mint leaves give movement, and the gold stem keeps the design clean instead of scattered. This set looks cute for spring events but still wears well to a regular workday.
Paint all nails pale mint except two accent nails. On the accents, do a nude base, then paint two tiny leaves on each nail with a light green and a fine detail brush. Draw one thin gold stem line from near the cuticle toward the leaf cluster. Cure and top coat, then avoid thickening the art with extra gel.
Pro tipUse the brush tip for leaf veins - one tiny line in the center makes the leaves look real.
Watch outAvoid filling leaves completely opaque if your green is thin - it makes the leaf edges look fuzzy.