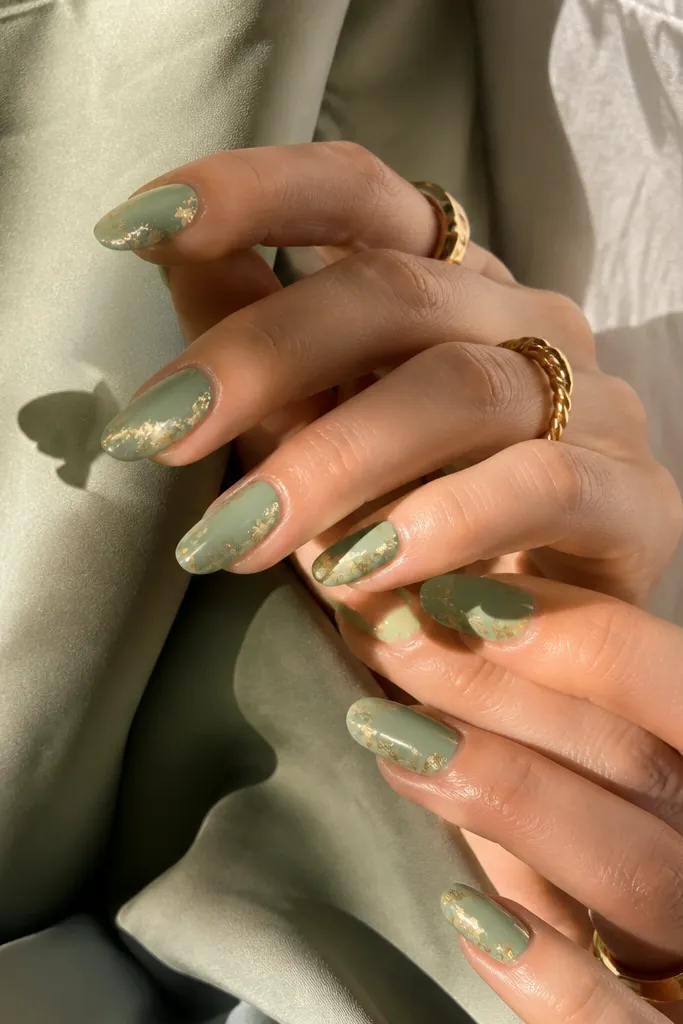
1. Khaki Olive Base with Gold Foil Half-Moons
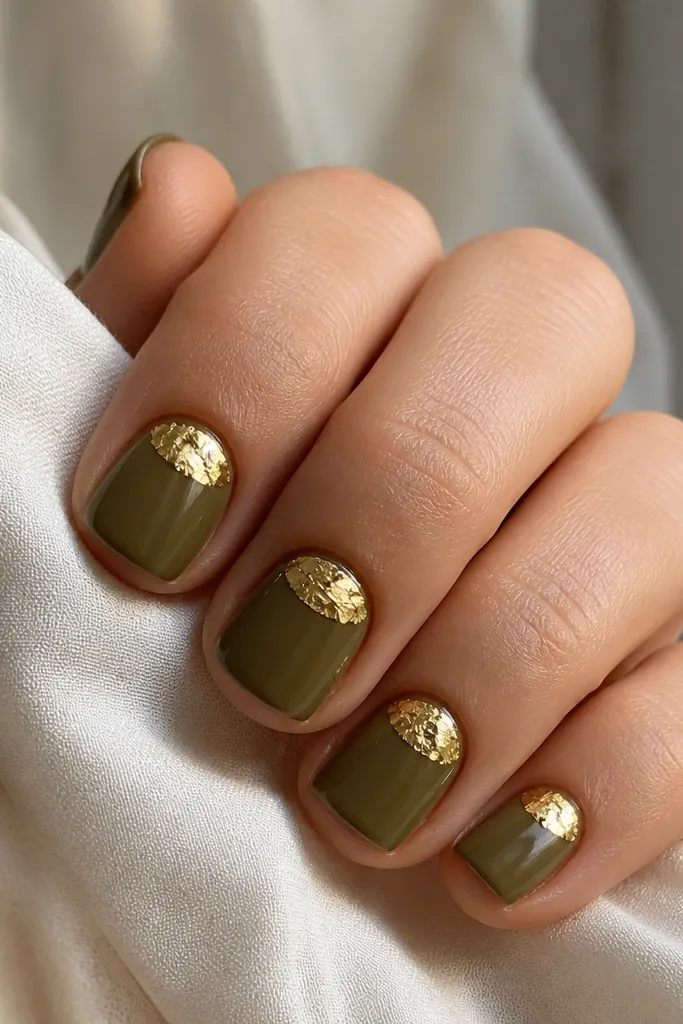
This look works because the olive base stays calm while the gold half-moon catches light every time your hand moves. The foil texture adds dimension without needing extra drawings. I like it most with short-to-medium nails because the half-moon makes the nail bed look longer. The gold should look slightly imperfect, like leaf foil, not like a flat mirror sticker.
Start with two thin coats of khaki-olive. Press small foil fragments at the cuticle line using a foil adhesive or a tacky layer, then seal with a thick gel top coat. Keep the foil shape roughly 1/3 of the nail height so it doesn't overpower your olive.
Pro tipAfter sealing, cap the free edge with extra top coat so the foil doesn't lift at the corners.
Watch outDon't cover the whole nail in foil - it turns the set into a chunky gold block.
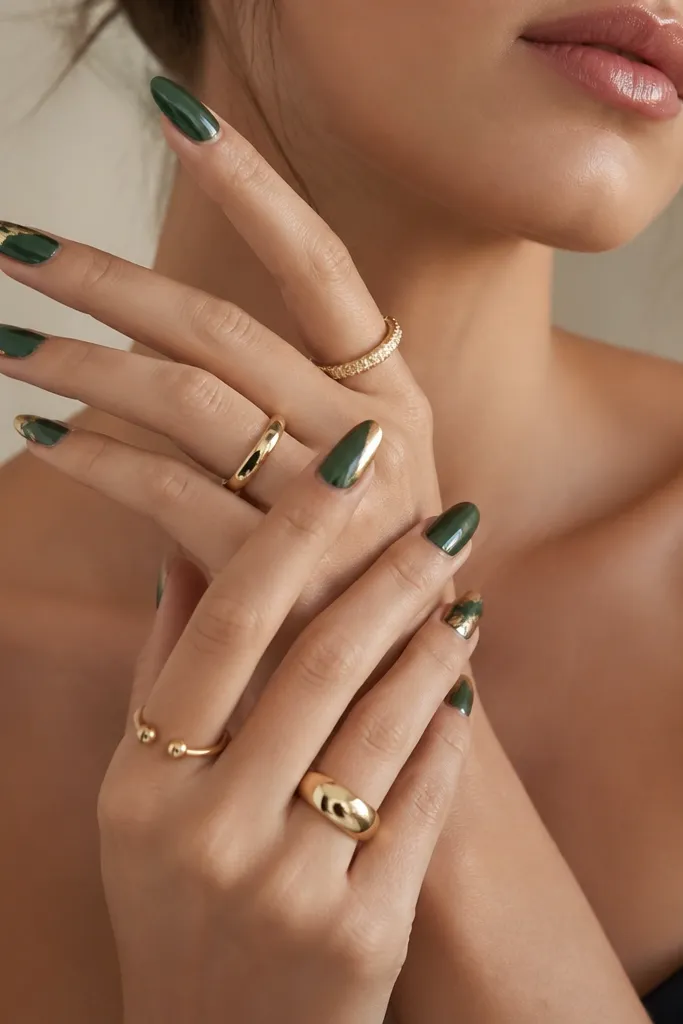
2. Gray-Olive French Tips with Thin Gold Stripes
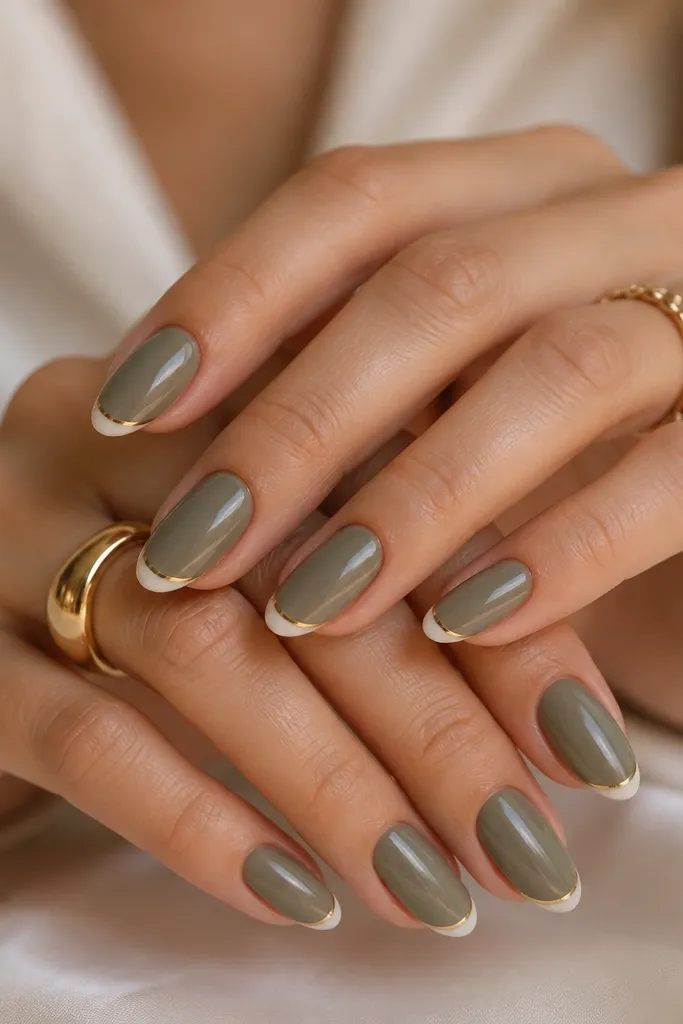
French tips already elongate, and the gold stripe makes the tip look like a designer nail. The stripe is thin enough to feel intentional, not flashy. Gray-olive keeps the look modern and wearable. This is the option I reach for when you want "olive and gold" but still want it office-friendly.
Use a French guide or tape to paint the tips with gray-olive, leaving the rest as a sheer nude or a very soft olive nude if you prefer. Let it dry fully, then apply a thin gold striping tape where you want the line. Press it down hard, remove the tape edge carefully, and seal with glossy top coat.
Pro tipIf you don't have striping tape, use a fine detail brush and metallic gold gel, then wipe the brush tip on a lint-free pad between nails.
Watch outSkip thick gold lines - they make the French look sloppy.
3. Olive Marble with Gold Vein Accents
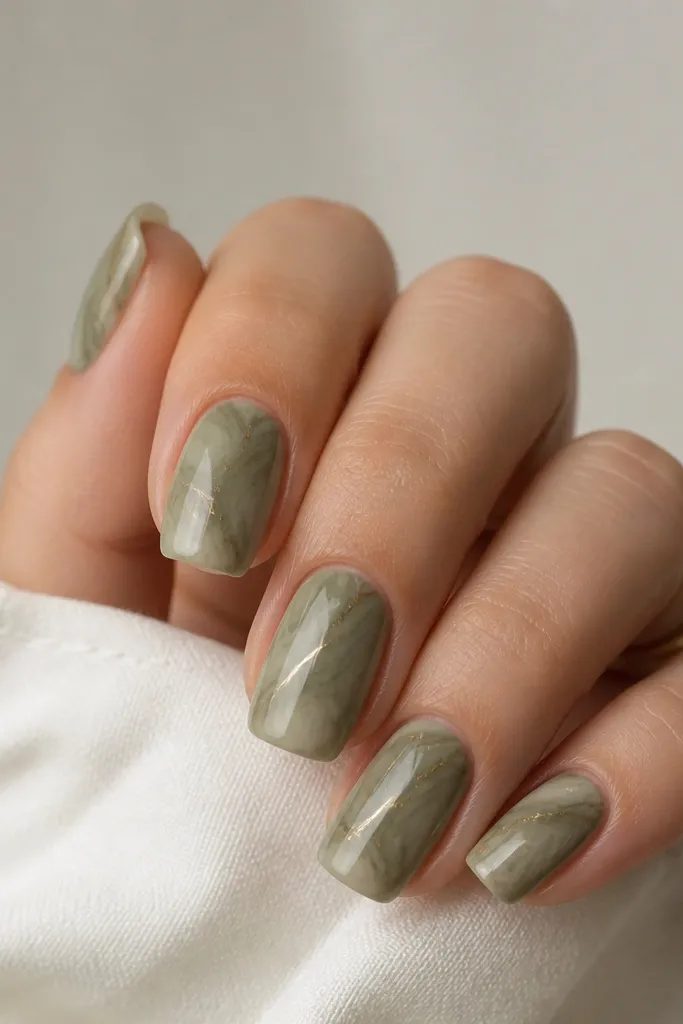
Marble looks fancy because the pattern has natural movement, and gold veins mimic jewelry stone. Keep the gold as a line, not glitter, so the marble stays the main texture. This combo is flattering on both short rounds and longer almond shapes because the veins guide the eye down the nail.
Create marble by sponging two olive shades on a makeup sponge and dragging a toothpick through while still tacky, then top with a thin layer to smooth. Use a striping brush to paint a single gold vein across the highest point of the marble on one or two nails. Finish with a glossy top coat that doesn't texture up.
Pro tipPractice the gold vein on one nail first - it should be slightly uneven like real stone, not perfectly straight.
Watch outDon't over-layer marble with too many shades - it turns muddy.
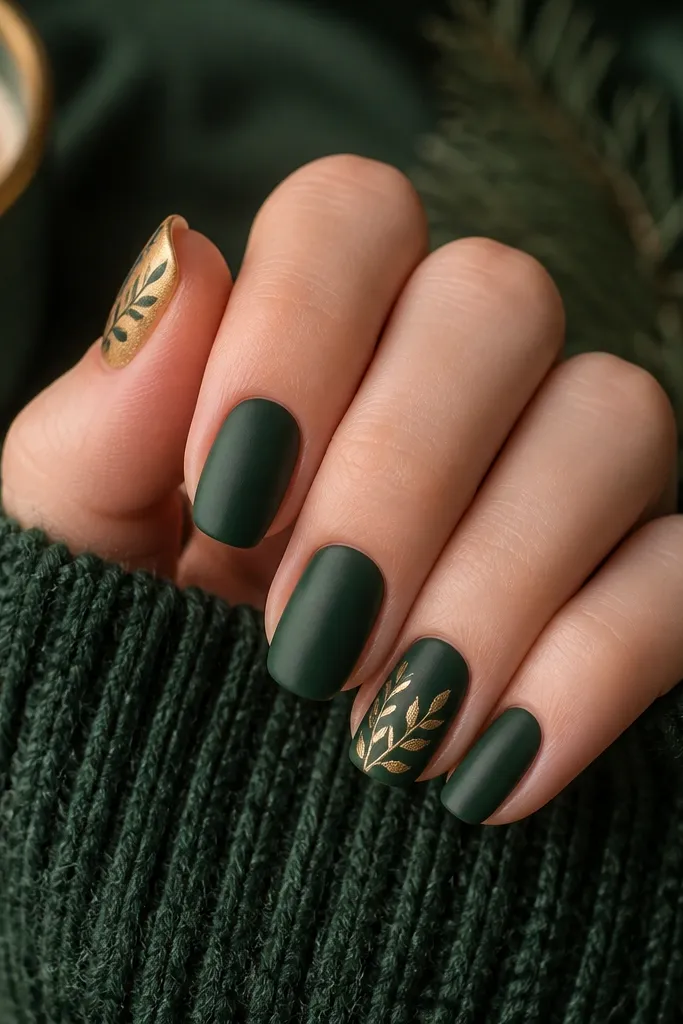
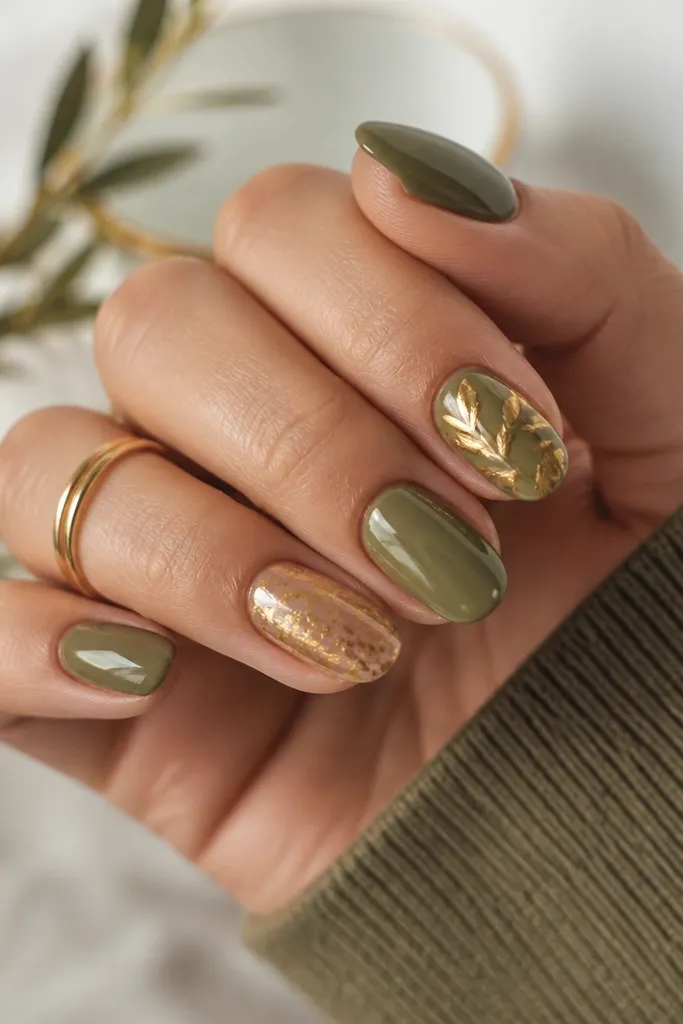
4. Olive Green One-Stripe Leaf on Gold Accent Nails
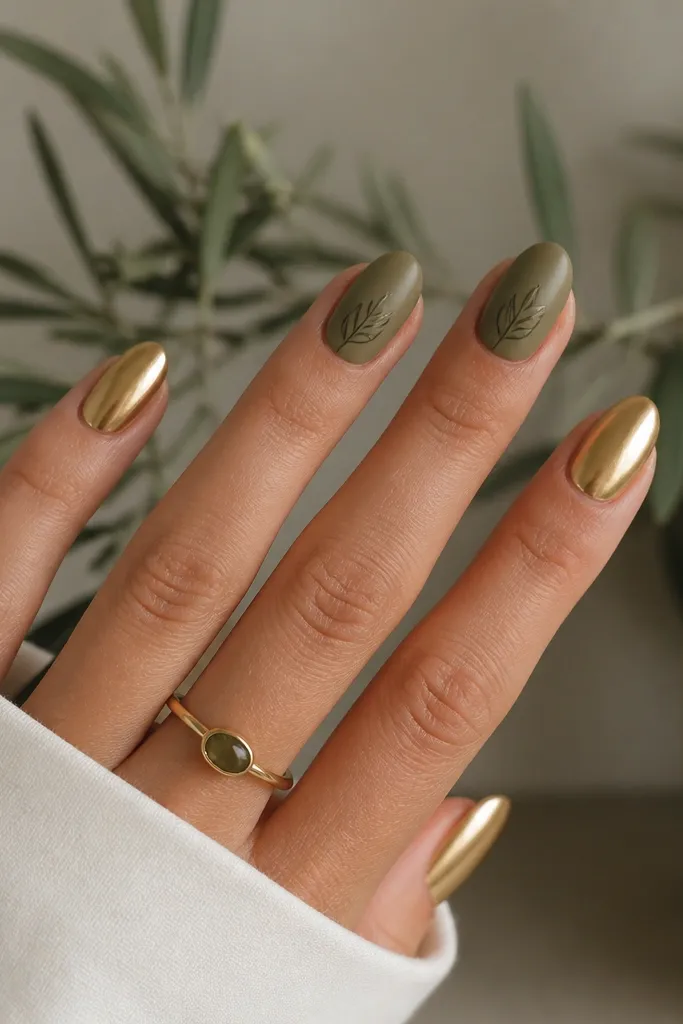
This is clean and graphic. Gold nails act like a background, and the single leaf line gives you the "styled details" without clutter. I like using a darker olive leaf line because it reads crisp against the lighter olive base. It's also a great party set because the gold looks bright in flash photos.
Paint two nails fully metallic gold with a gel metallic or high-coverage polish. On the rest, use an olive base and let it dry. With a 10/0 liner brush, paint a leaf outline: start with a center line, add two angled strokes, then thicken the center slightly. Seal with glossy top coat.
Pro tipKeep the leaf small - about the width of a pencil eraser at the cuticle area.
Watch outDon't add multiple leaves per nail - it looks like nail art sticker overload.
5. Olive Cuticle Frame with Gold Outline
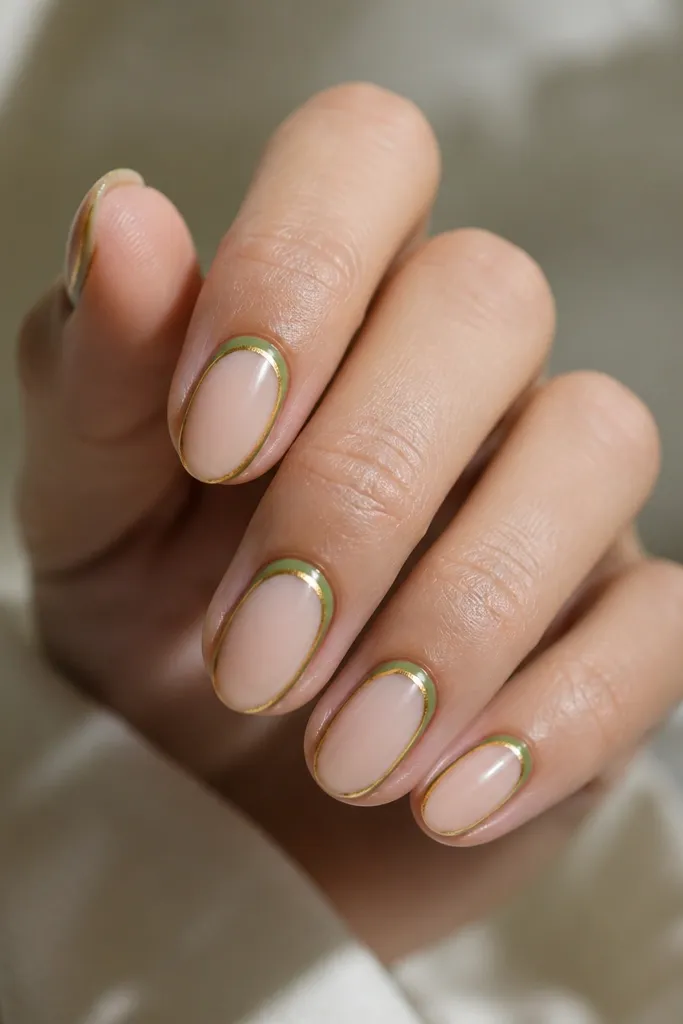
Cuticle framing makes short nails look neat and intentional. The olive frame gives you that green hit, while the gold outline makes it look like custom jewelry. This design is subtle in daylight and still glamorous under warm lighting. It's the kind of set that grows out better because the design lives right near the cuticle.
Start with sheer nude or a milky base. Paint a small olive oval around the cuticle area, staying 1 mm away from the skin. Then outline the oval with a thin gold line using liner gel or a gold acrylic paint. Top coat glossy, and cap the edges.
Pro tipUse a damp brush to clean the gold outline right away - metallic edges get messy fast.
Watch outDon't touch the gold to skin - it lifts and peels around day two.
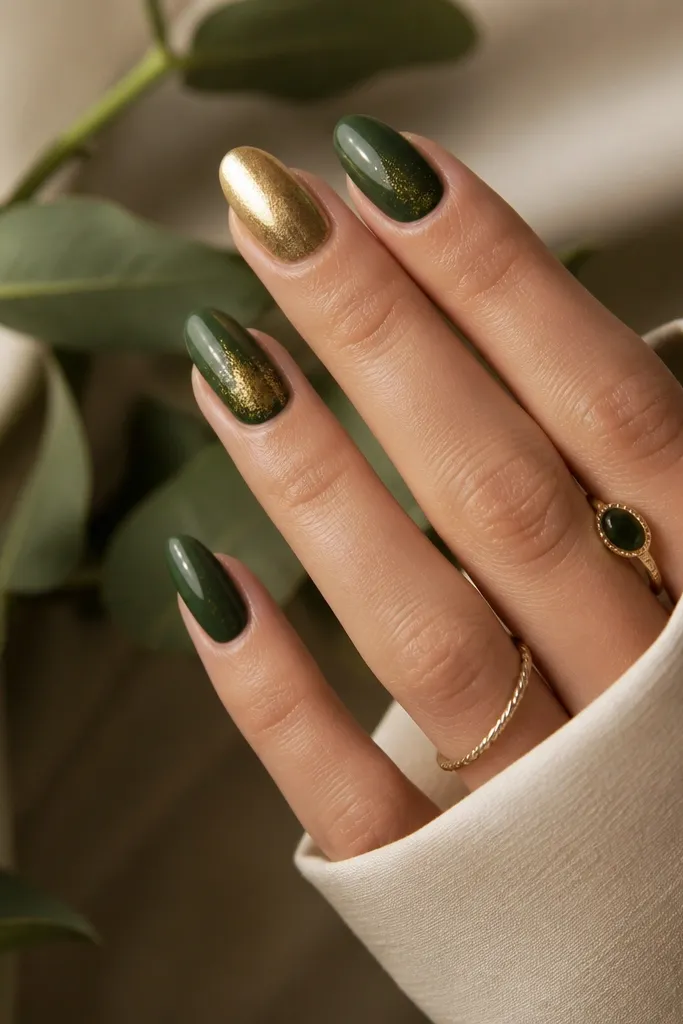
6. Sage Olive Gradient with Gold Glitter Fade
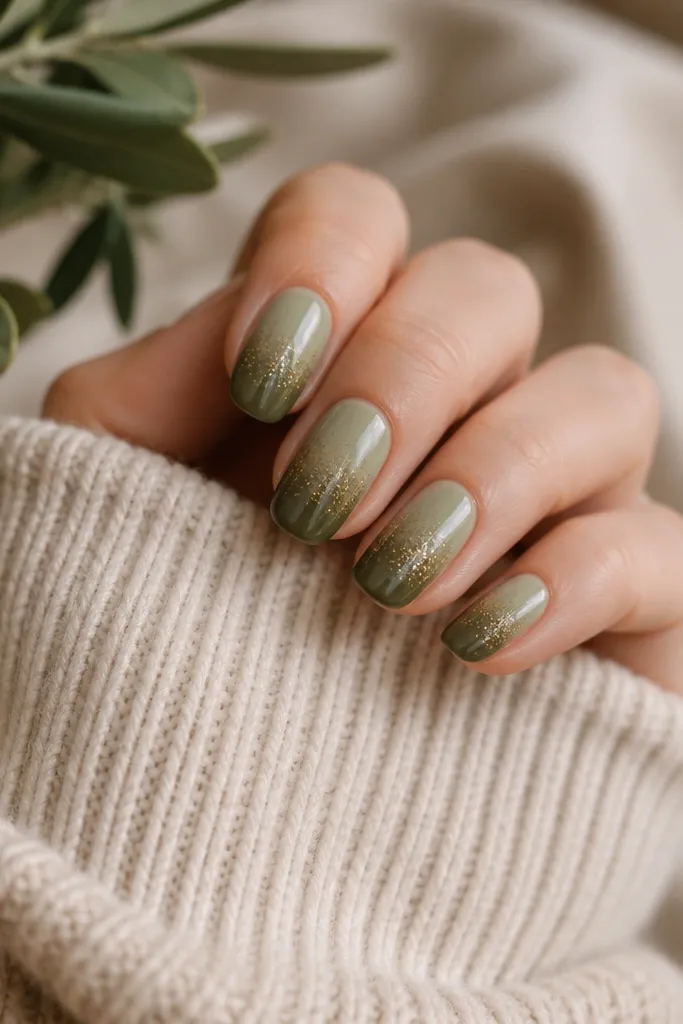
A gradient keeps the set from looking flat, and the gold glitter fade adds sparkle without making it look like straight glitter. I like this when I want something more "evening" but still wearable. The trick is controlling the glitter density so it fades, not blobs. Sage-to-deeper olive gives a smooth look that looks good even when your nails are a bit grown out.
Use a makeup sponge to blend sage olive at the cuticle and deeper olive at the tip. Clean up the sides with a brush dipped in remover. Then dab fine gold glitter on with a sponge or a makeup applicator starting in the middle, fading it out toward the tip. Seal with a thick top coat to lock glitter and smooth texture.
Pro tipIf the glitter catches on fabric, add one extra top coat layer after the first cures.
Watch outDon't use chunky glitter - it looks rough and snags.
7. Olive Swirl Lines over Gold Chrome Base
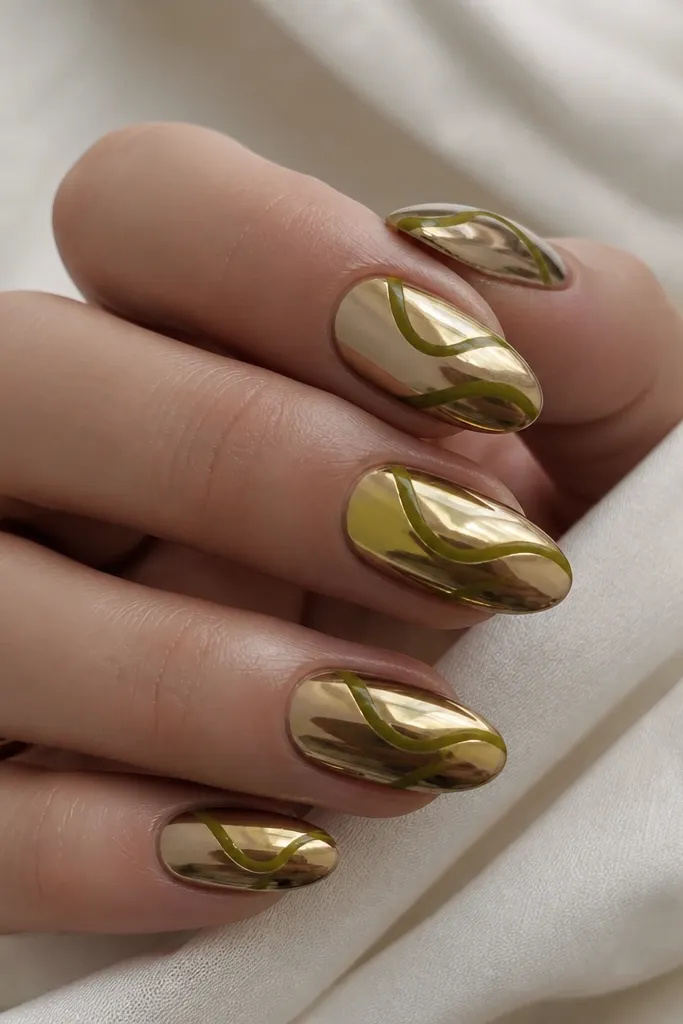
Gold chrome gives you that high-impact base, and olive swirls bring the "stylish" detail with movement. Because the olive is line work, you avoid covering the chrome completely, so it still looks sleek. This set is a head-turner in photos and looks sharp with short almond or medium coffin. The olive should be opaque enough to show through chrome, not translucent.
Apply gold chrome on clean nails, then cure or let it fully dry. Use a thin liner brush with opaque olive gel/polish to draw 2-3 swirls per nail, each swirl about 1-2 mm thick. Leave gold gaps between swirls so the design has breathing room. Finish with a top coat that doesn't dull chrome too much - use a chrome-friendly top coat if you have one.
Pro tipDraw swirls in one direction so they look intentional, not like random scribbles.
Watch outDon't use a matte top coat - chrome turns gray-green and looks dull.
8. Olive Velvet Look with Gold Speckle Topper
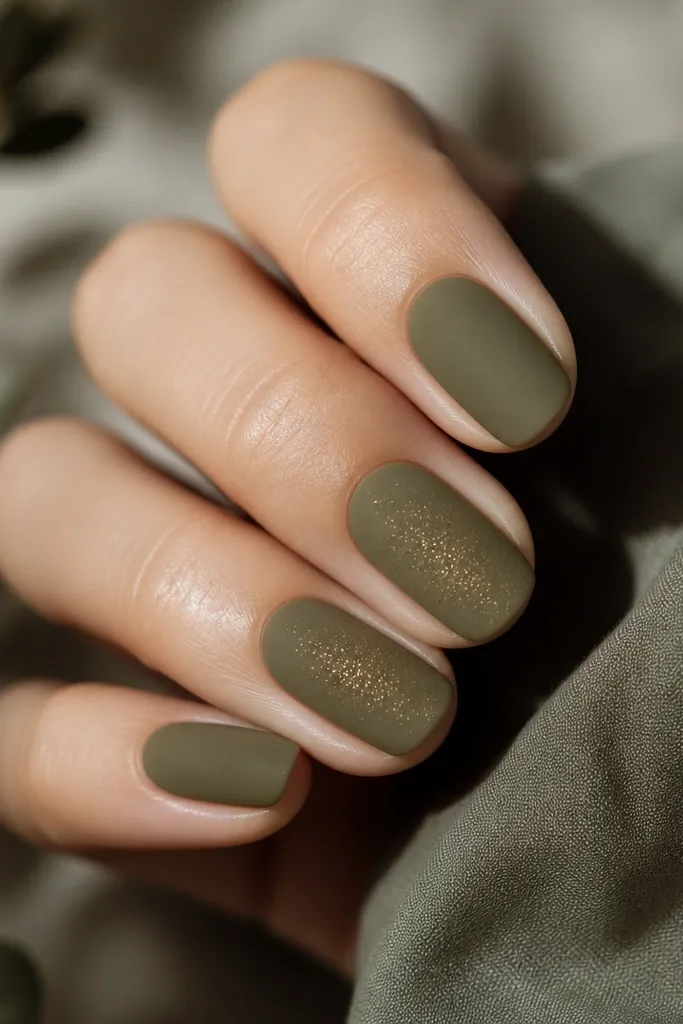
A velvet-matte olive base makes gold speckles feel like holiday jewelry dust. The contrast is the point: matte olive absorbs light while gold specks pop. I like this on medium short nails because the texture reads intentional rather than messy. Keep the speckles fine and sparse - it should look like a light scatter, not glitter confetti.
Use a velvet matte powder or velvet matte top coat over an olive base. After it sets, apply tiny gold speckles using a dotting tool with gold pigment or micro-glitter gel. Concentrate specks on the middle of one or two nails and keep the rest plain velvet olive. Seal carefully with a light top coat only if your velvet system allows it.
Pro tipTest the velvet powder on one nail first - some brands get too rough if you over-apply.
Watch outDon't add big glitter on velvet - it looks grainy.
9. Olive and Gold Checker Accent with Solid Olive Majority
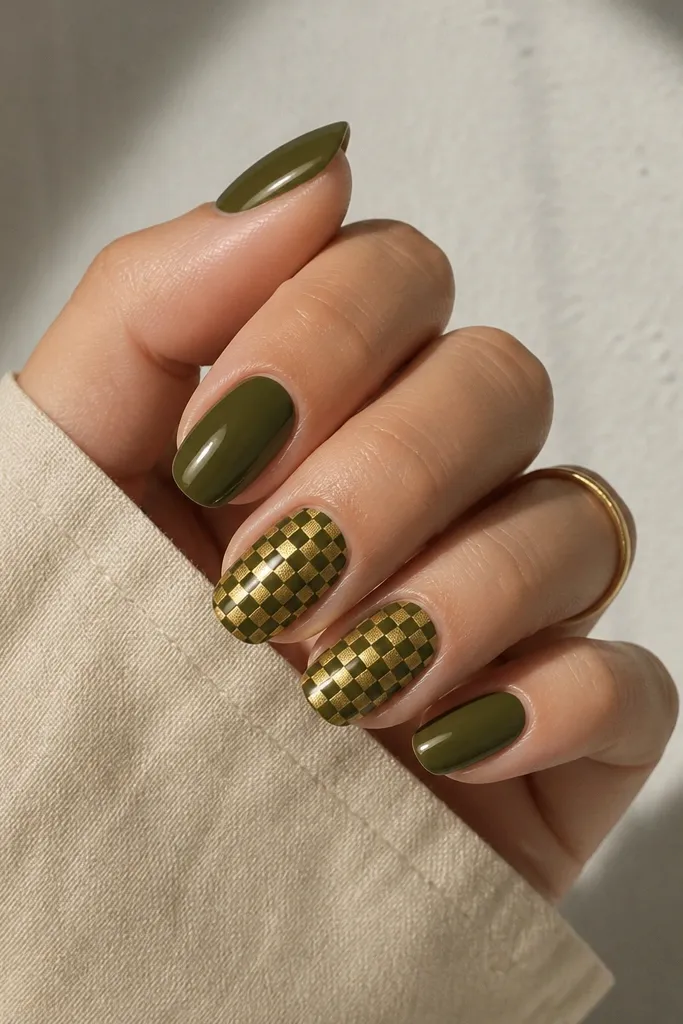
Checker details look graphic and clean, and gold squares give it that styled detail without turning the whole set into metallic overload. Keeping most nails solid olive makes the checker look deliberate. This one is great when you want something playful but still coordinated for work or dinner. Use small squares so it reads "pattern," not "mess."
Paint all nails solid olive first. On two accent nails, add a grid using striping tape or thin brush lines, making squares about 1.5-2 mm wide. Fill alternating squares with gold (gold gel or metallic polish), then remove tape while still tacky for crisp edges. Top coat glossy on all nails.
Pro tipUse a light hand with tape - press flat and remove slowly to avoid pulling polish.
Watch outDon't make the squares too large - big checker blocks look childish.
10. Olive Ombré Tips with Gold Thread Line
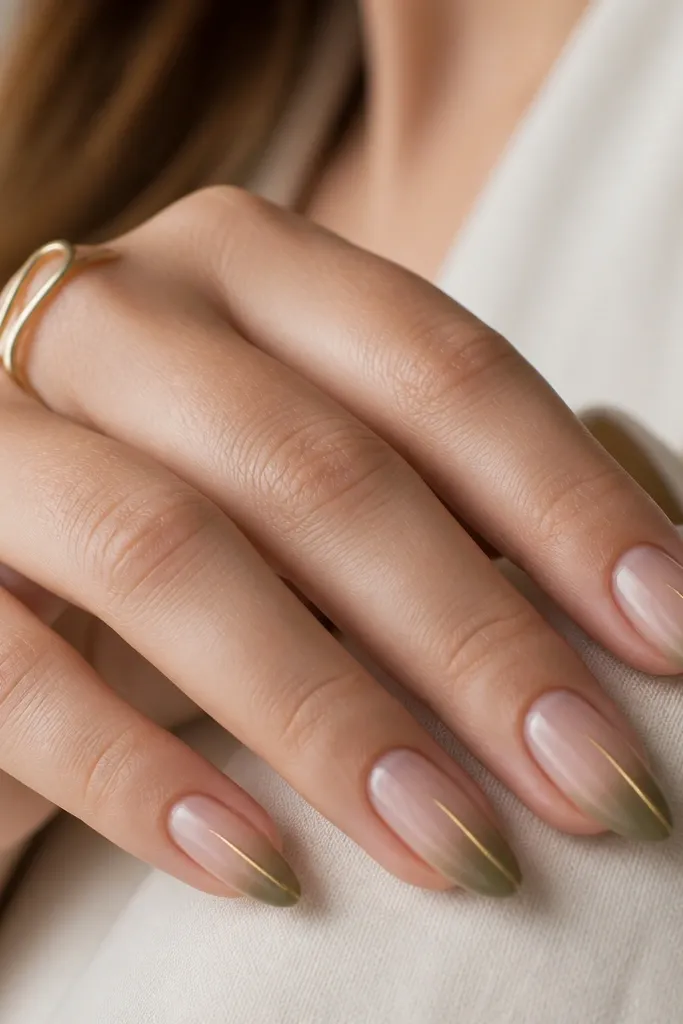
Ombré tips add softness, and a single gold thread line makes it feel tailored. The diagonal line draws the eye and gives movement, so the set doesn't look plain. This is one of my go-to designs for events because it looks polished even if your ombré isn't perfectly blended. The gold thread should be thin and slightly textured, like fine wire.
Create the ombré by sponge-blending olive at the tip down to sheer nude. Clean the sides and cap the free edge. With a liner brush, paint a thin diagonal gold line using gold gel, starting around the center of the nail and tapering slightly as it reaches the tip. Seal with a smooth, glossy top coat.
Pro tipIf your line thickens, wipe the brush and restart before it cures. Repainting a clean line looks better than covering mistakes.
Watch outDon't use thick glitter gold for the thread - it looks chunky against an ombré.