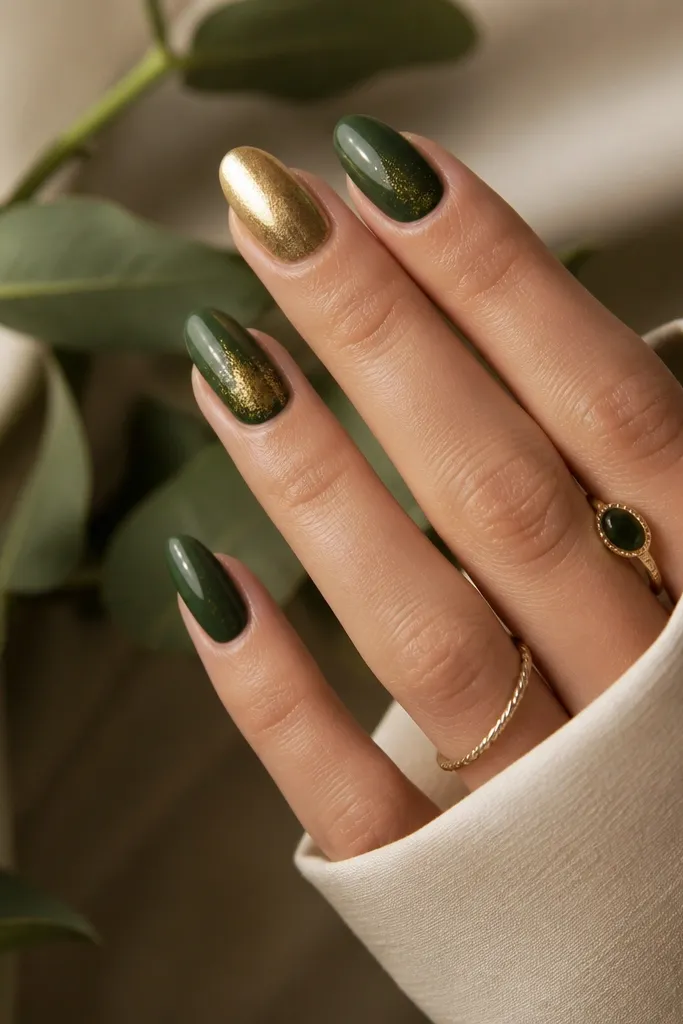
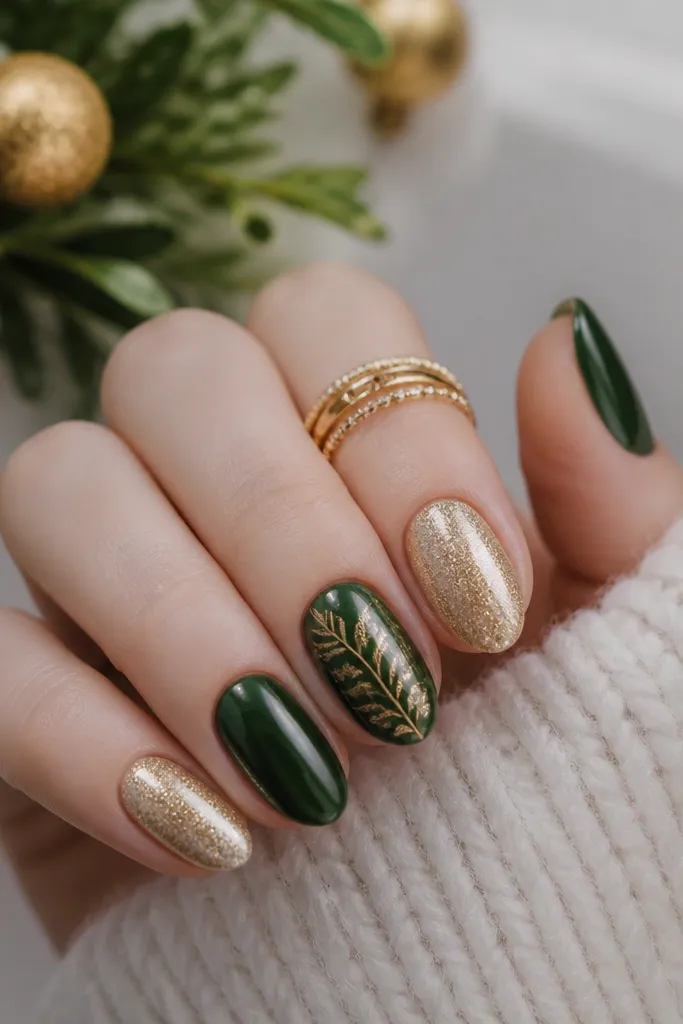
1. Taped Evergreen French with Gold Micro-Glitter Tips
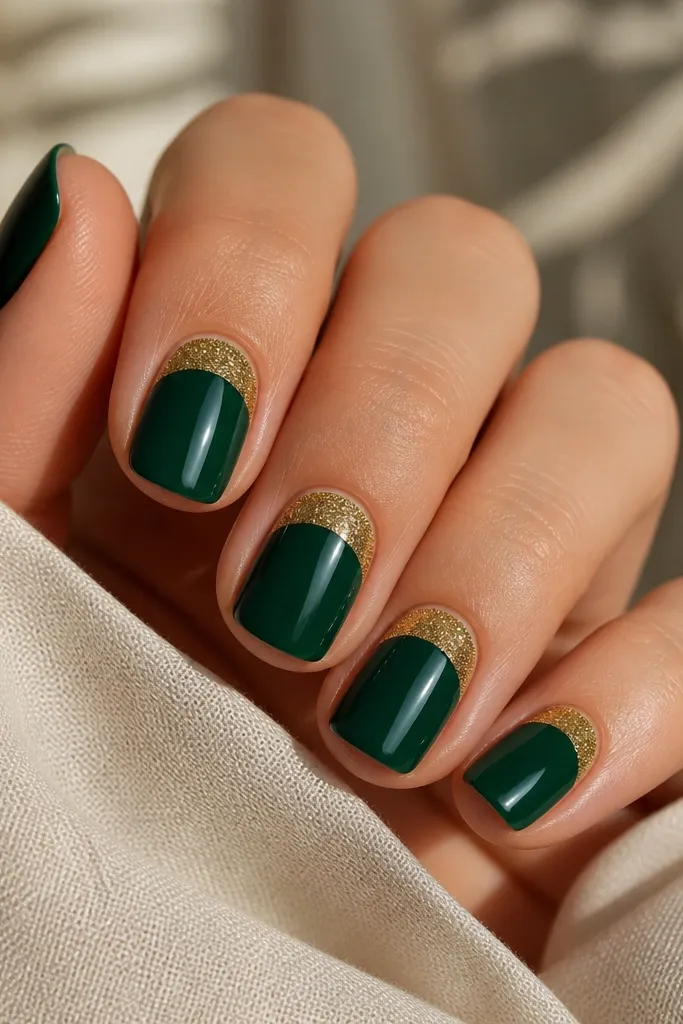
This one looks "expensive" because the French line is perfectly straight, even on a quick manicure. The deep evergreen is matte or soft satin, and the gold micro-glitter is glossy so it pops under indoor lighting. I like it because you only paint two zones: the green base and the gold tip, with tape doing the hard work.
Use a striping tape strip across the nail near the tip, then curve it slightly to match your nail smile line. Paint evergreen in two thin coats. Add gold micro-glitter only on the taped tip area, then pull the tape while the glitter layer is still a little tacky.
Pro tipCap the free edge with top coat - gold glitter can catch and lift if the edge isn't sealed.
Watch outAvoid thick glitter coats; they look bumpy and chip faster.
2. Green Velvet Base with Gold Bow Accent (One Nail Only)
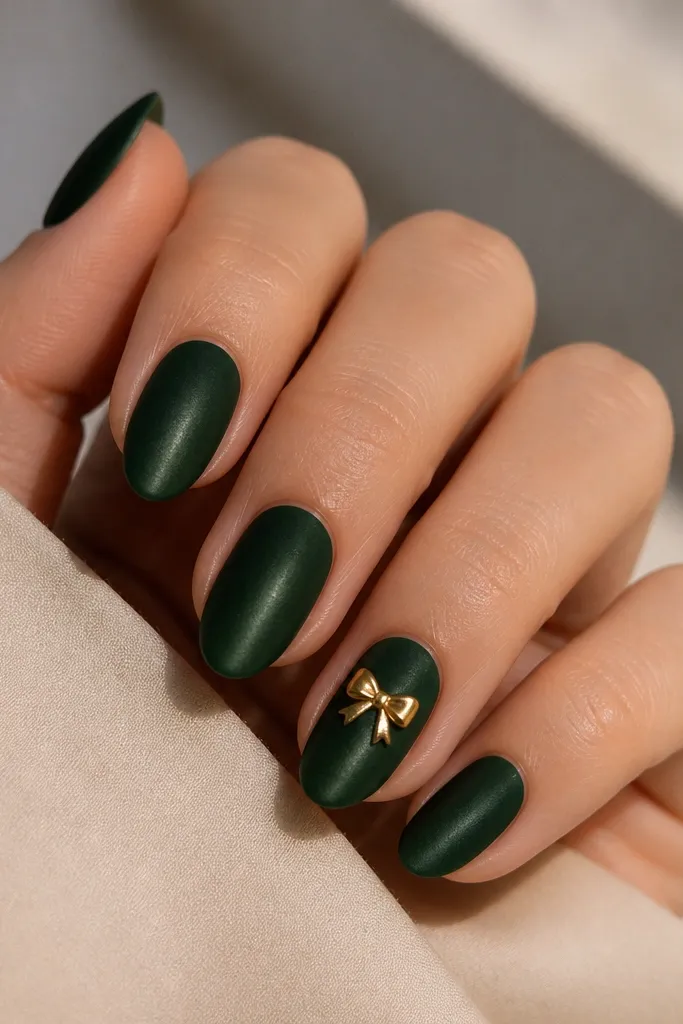
A velvet-satin green makes the gold bow look like it's actually sitting on fabric. This design is fast because you do nail art on one accent nail and leave the rest clean. The contrast between soft green texture and shiny gold is what makes it feel Christmas without trying too hard.
Paint all nails with a dark green satin polish or a regular green topped with a satin top coat. For the bow, use a gold 3D bow nail charm or a thin gold striping brush to create two loops and a small center. Place the bow slightly above the nail's midpoint, not too close to the cuticle.
Pro tipIf using paint instead of a charm, outline the bow first with gold liner polish, then fill in.
Watch outSkip full glitter on every nail - the bow gets lost.
3. Gold Half-Moon Cuticle + Pine Green with Tiny Star Dots
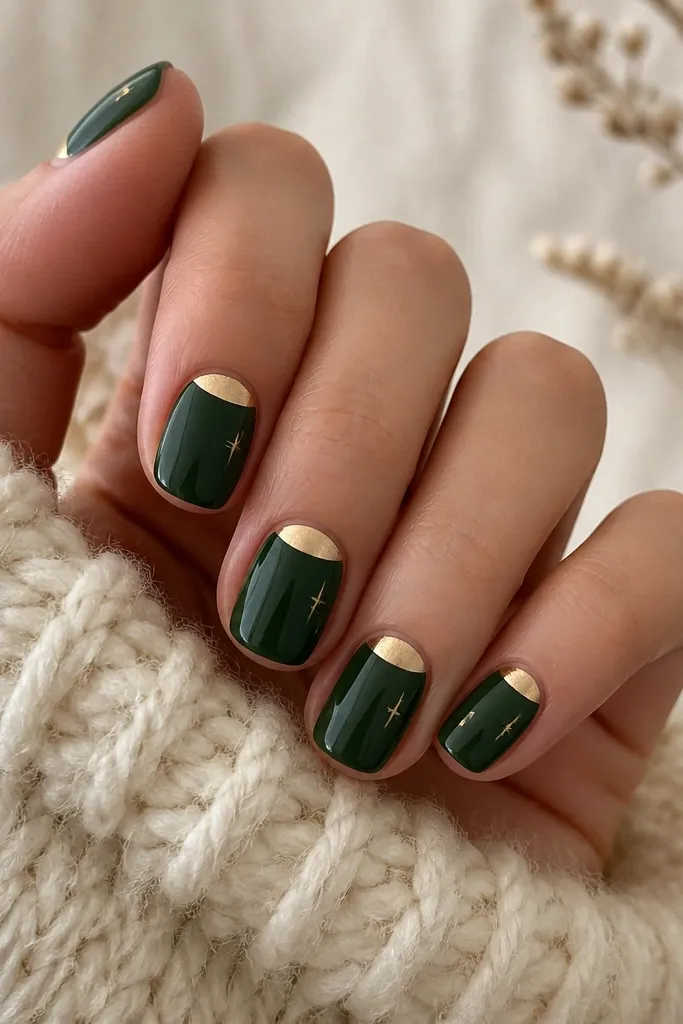
Half-moon cuticles are one of the quickest ways to add gold that still looks neat. Pine green holds the look together and hides any micro-mistakes around the cuticle better than bright emerald. The tiny star dots are small enough to do with a dotting tool, but they read like holiday sparkle in photos.
Paint the nail pine green in two thin coats. Use a small makeup sponge to dab gold polish into a half-moon shape at the cuticle, or use a cuticle half-moon nail stencil. Add star dots at the tip edge with a dotting tool and a gold liner polish.
Pro tipLet the green cure fully before the gold stencil - it prevents smudging at the cuticle.
Watch outDon't drag gold polish across the green; stamp or dab for clean edges.
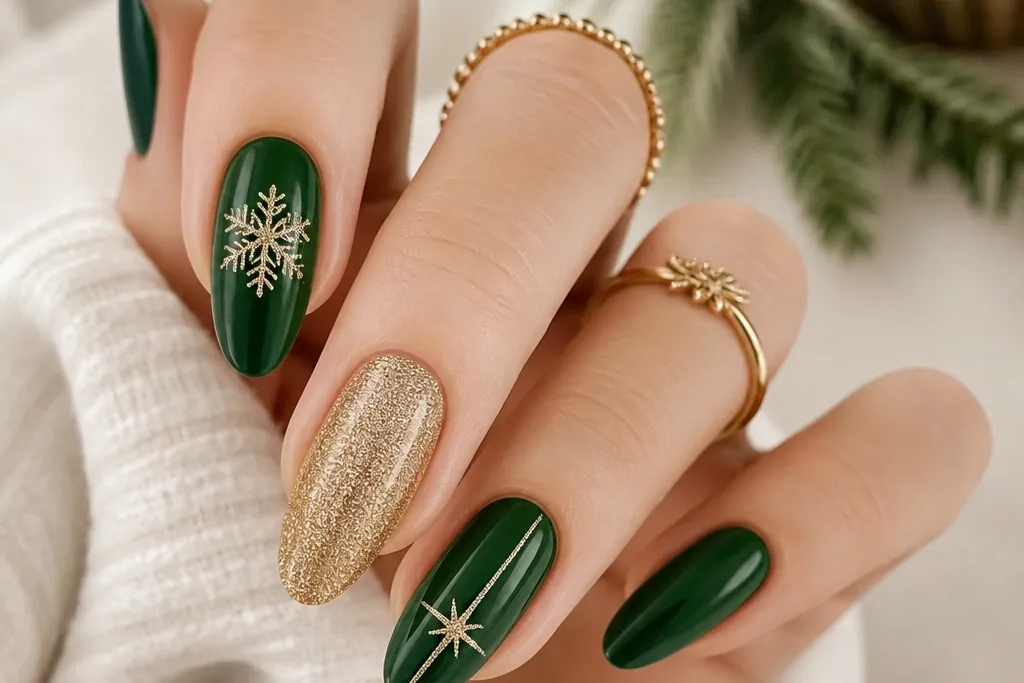
4. Diagonal Tape Stripes: Emerald Green with Gold Lines
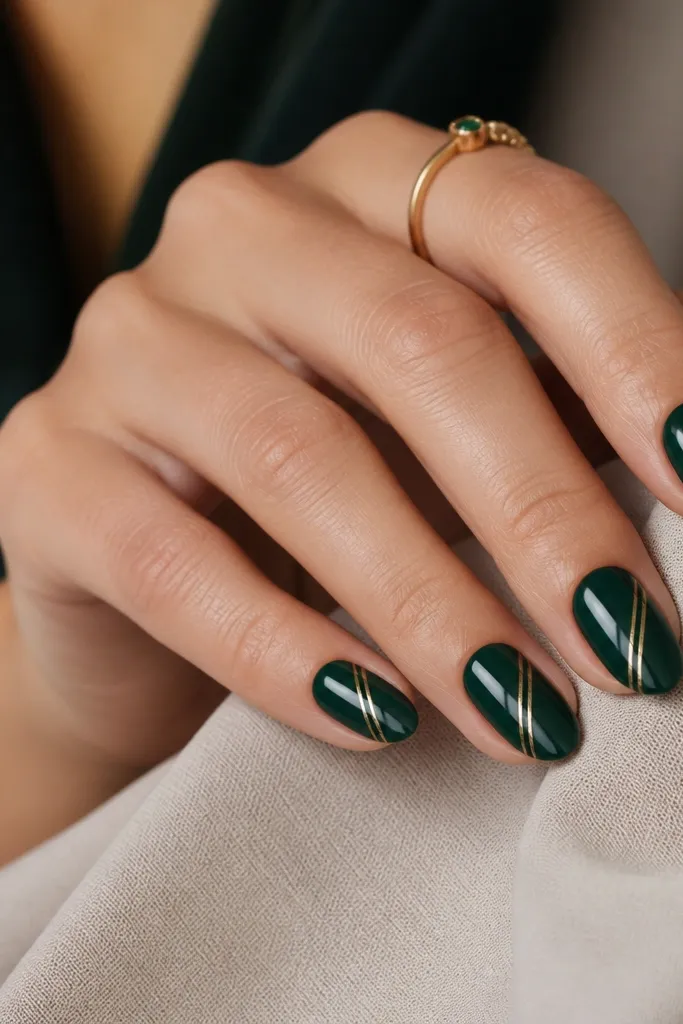
Diagonal tape stripes make nails look designed even when you only do two steps. Emerald green looks glassy and bright, which makes gold lines look like foil. The trick is keeping the gold thin and leaving negative space - thick stripes look heavy and cheap.
Tape two diagonal lines with striping tape, spacing them about 1.5-2 mm apart. Paint gold over the taped lines (foil polish or gold gel liner). Pull the tape immediately after the gold layer is tacky. Leave the rest of the nail emerald glossy.
Pro tipPress the tape down firmly at the sidewalls so the gold doesn't seep under.
Watch outDon't cover the whole nail in gold; the diagonal negative space is the point.
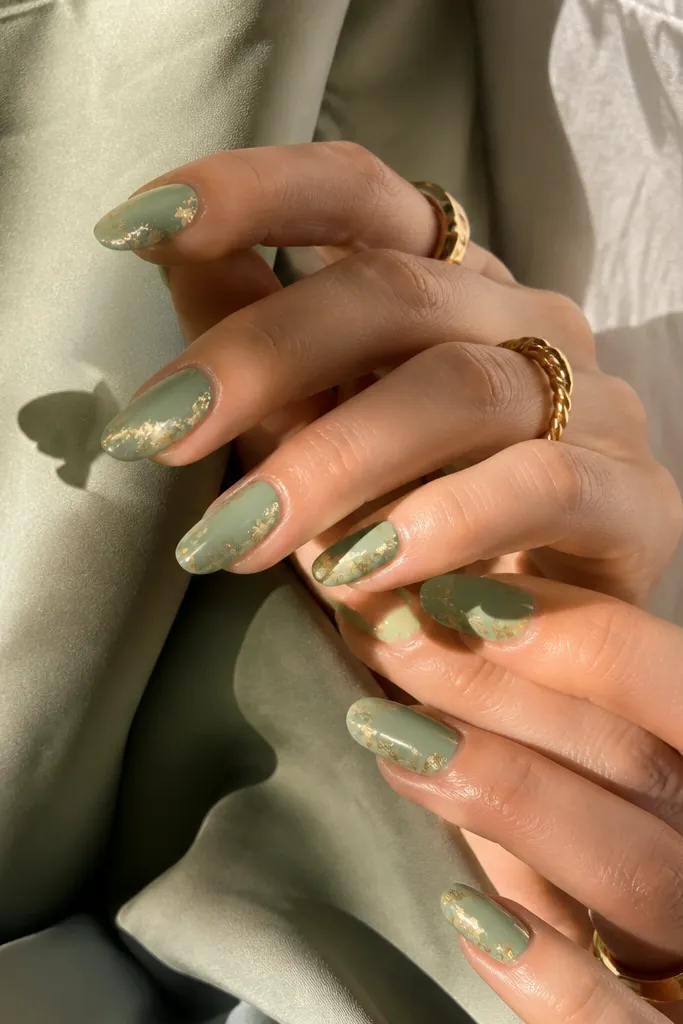
5. Gold Foil Flake Accent over Pine Green (No Glitter Bomb)
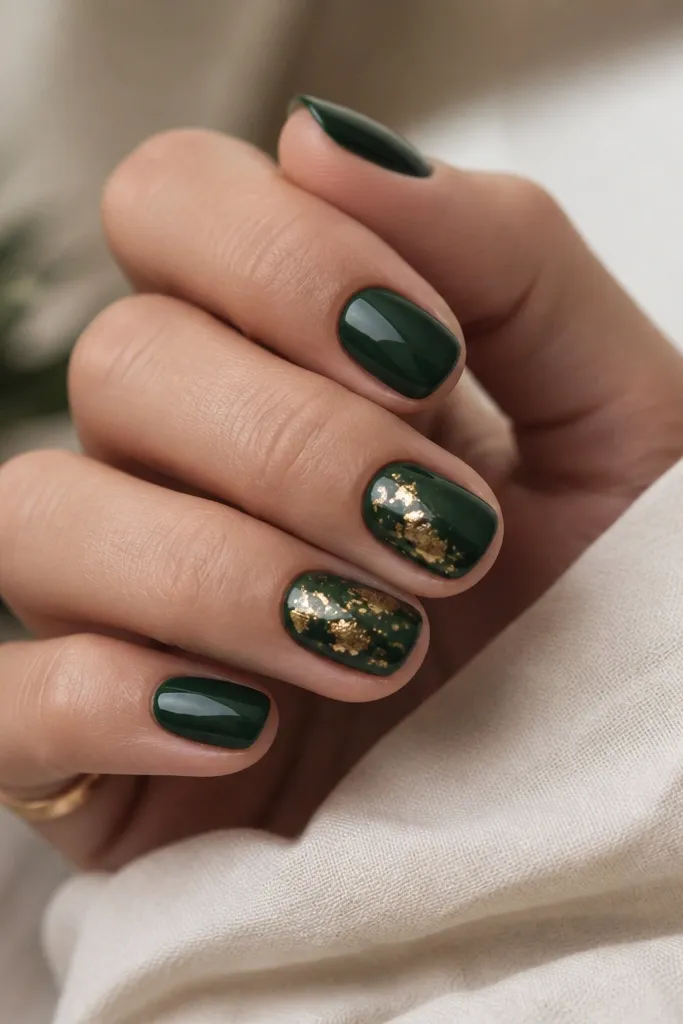
Gold foil flakes look like real holiday light. You get sparkle without the grit of chunky glitter because flakes are thin and irregular. Pine green gives the foil something deep to contrast against, and the placement near the center looks balanced on short nails.
Paint pine green. Add a small area of tacky gel base or foil glue where you want the flakes. Press gold foil flakes lightly into the tack, then seal with two top coat layers. Keep foil to one or two nails so the mani doesn't look messy.
Pro tipUse a small piece of foil, not a big sheet. Small bits stick easier and look more intentional.
Watch outSkip rubbing the foil around; it smears and dulls the shine.
6. Christmas Plaid Lite: Green Lines with Gold Crosshatch
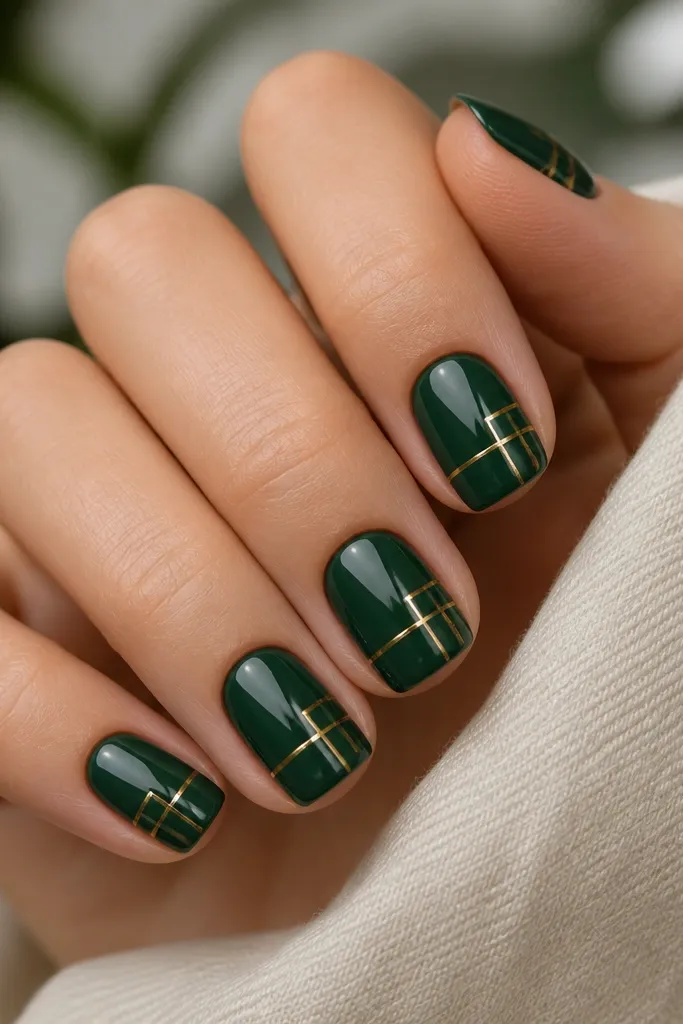
Plaid usually takes time, but "plaid lite" looks like plaid without the full pattern. Gold crosshatch lines read crisp in photos, and the broken grid keeps it from looking like a boring checkerboard. It's also forgiving because the base color matches the line color family.
Paint the nail deep green. With striping tape, lay down one direction first, then paint gold liner polish over the tape. Pull tape while tacky. Repeat for the second direction, but stop the lines short of the cuticle so it feels airy.
Pro tipUse a liner brush to fix tiny gaps - a 10-second touch-up makes lines look perfect.
Watch outDon't make the grid too dense; thick grids look like cheap nail wraps.
7. Gold Glazed Ornament: Green Gradient with Center Foil Dot
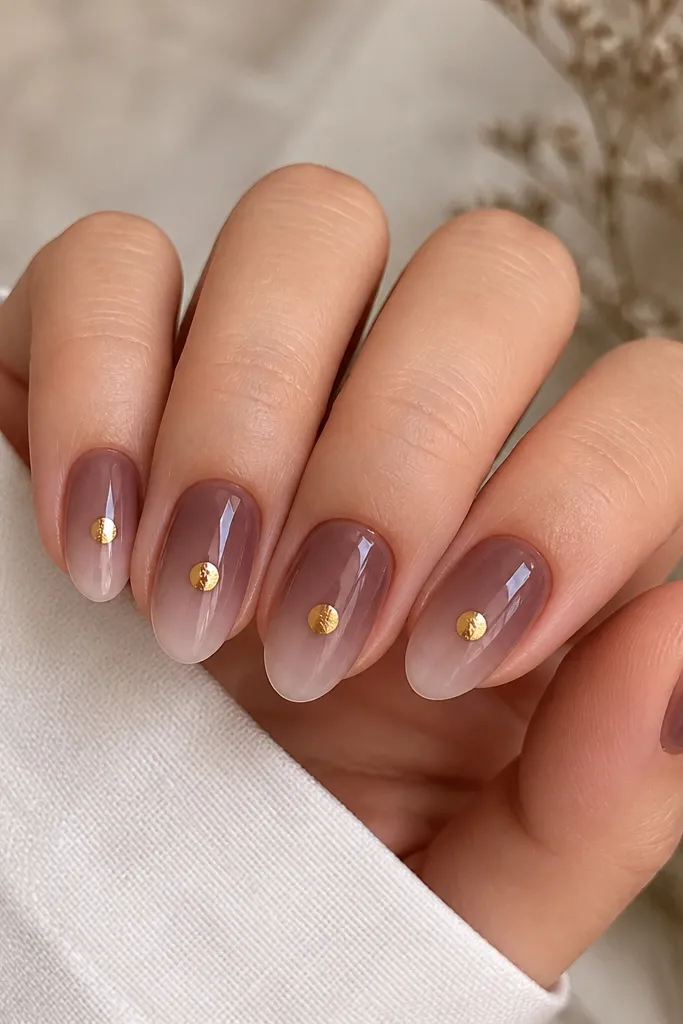
This reads like a glazed ornament because the green gradient gives depth and the gold dot feels like a hanging clasp. The gradient is quick when you use a sponge and keep it subtle - it looks smoother than a hard brush blend. The gold dot anchors the design so the mani still feels Christmas even if the gradient is simple.
Sponge-paint a darker evergreen near the cuticle and a slightly lighter green toward the tip using a makeup sponge. Once dry, place a small gold foil dot in the center with foil glue or a sticky gold gel. Seal with glossy top coat so the center looks domed.
Pro tipKeep the gradient within the first half of the nail - too much fade makes it look like regrowth.
Watch outAvoid harsh sponge edges; blend with very light pressure on the final pass.
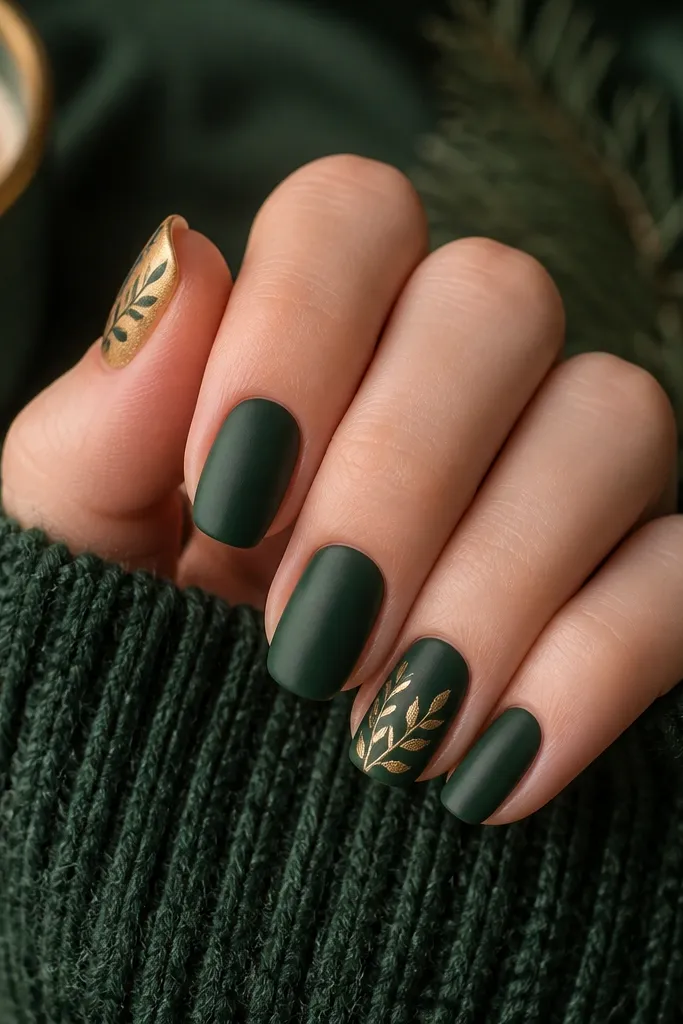
8. Gold Pine Needle Lines: Green Base with Fine Brush Strokes
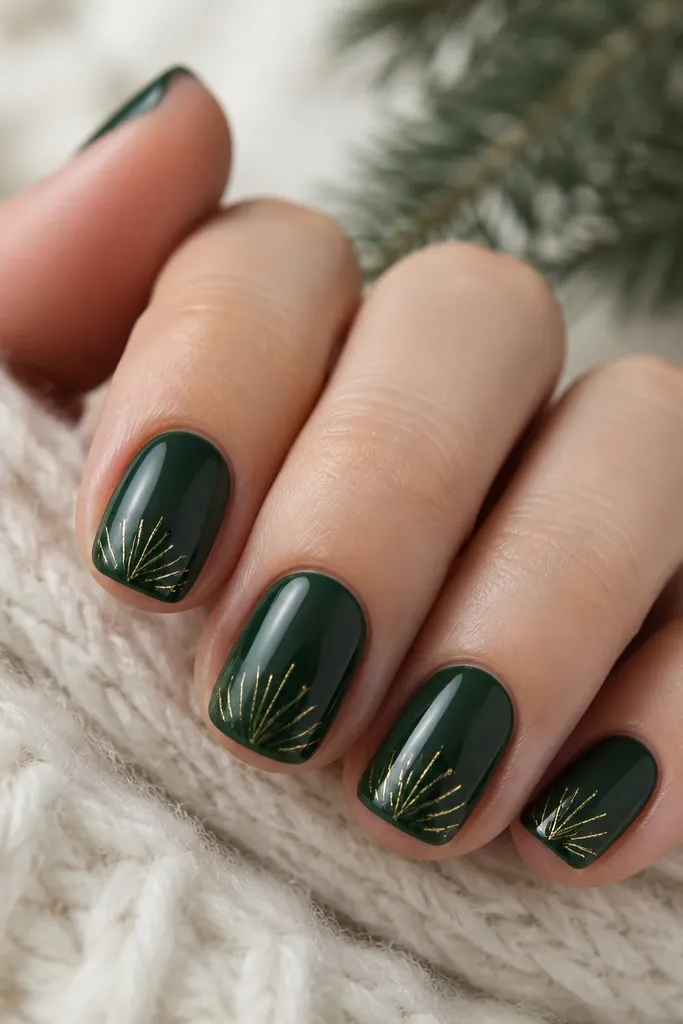
Fine-line nail art is faster than it looks if you use the right brush and limit the drawing area. Pine needle clusters give a Christmas vibe without needing full trees. The gold looks like metallic thread, especially when you use a liner polish and keep the strokes skinny.
Paint all nails dark green glossy. With a fine detail brush, pull 5-7 short gold strokes from one starting point, each stroke angled slightly. Add one tiny dot in the cluster for a "berry" effect if you want. Do this on every nail or just two accent nails if you're short on time.
Pro tipPractice on a paper towel first. Your brush control shows up fast on tiny strokes.
Watch outDon't thicken the lines; wide strokes turn into blobs on short nails.
9. Green + Gold Geode Swipe with Gold Outline
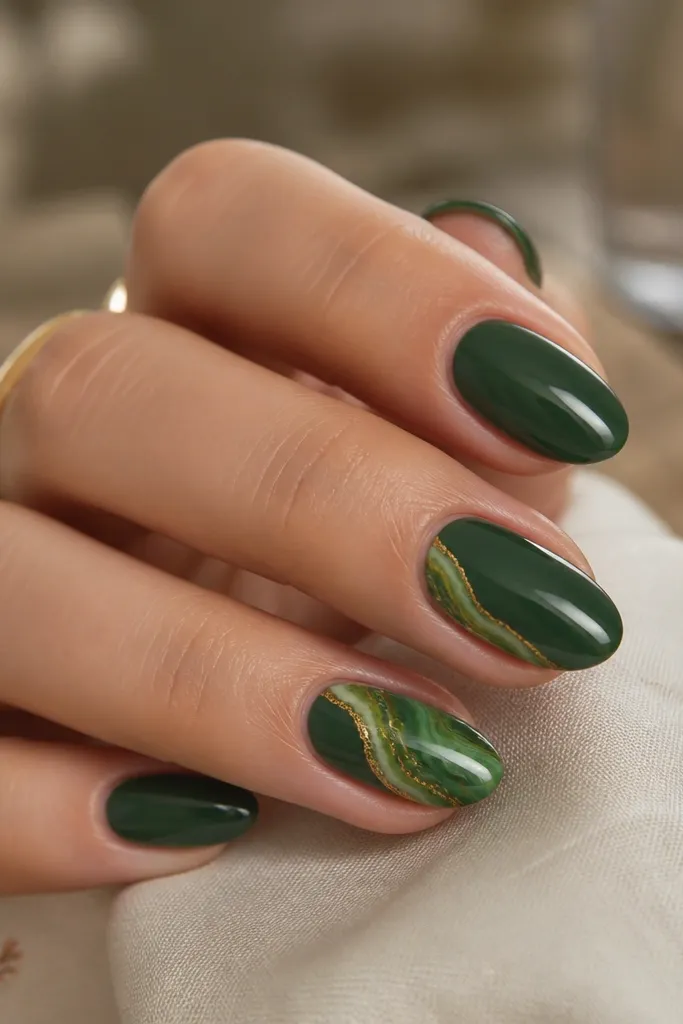
Geode designs look complex, but the fast version is just one swipe of lighter green over a darker base. Gold outline makes it look like real mineral veining. This is a great option if you want something unique that still reads Christmas because the whole palette is green and gold.
Base coat dark green. On accent nails, swipe a lighter green shimmer using a makeup sponge or a small brush, then drag it slightly for marble movement. Outline the marbled area with gold liner polish. Finish with glossy top coat to smooth the surface.
Pro tipKeep the geode area small - about a third of the nail - so it looks intentional instead of messy.
Watch outSkip matte top coat here; geode needs shine to look like stone.
10. Gold Studded Crescent Moon Tips on Evergreen
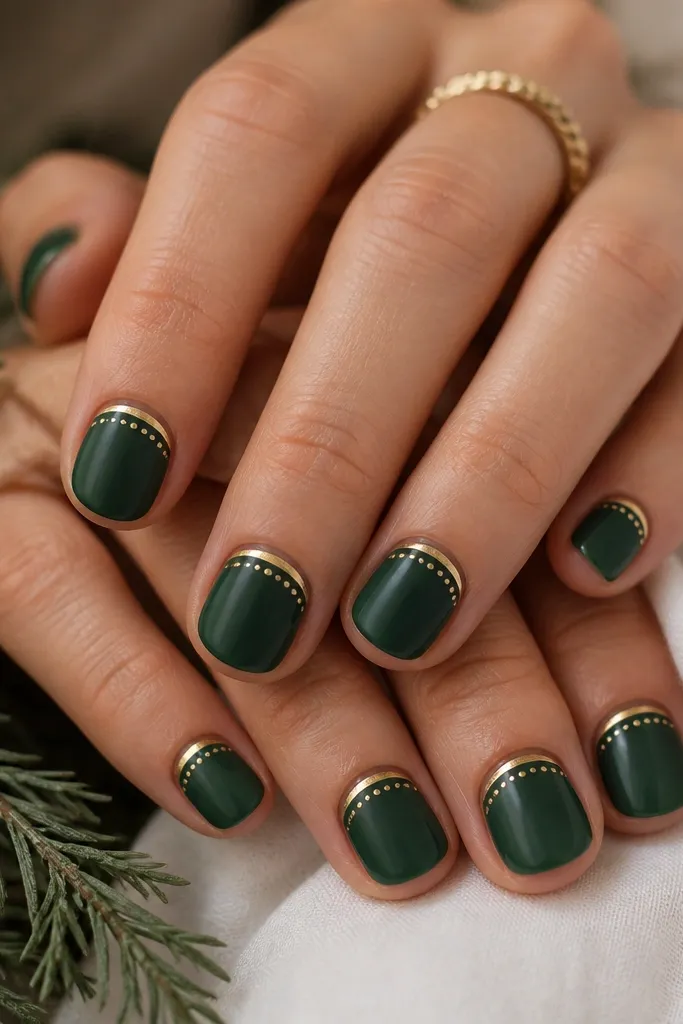
Crescent tips with studs look like ornament hooks. It's also surprisingly fast because you're placing one curved accent, not painting a whole scene. The evergreen base keeps it holiday, and the studs add texture that catches light even in dim rooms.
Paint evergreen green, then draw a thin gold crescent with liner polish where you want the arc. Place tiny gold studs along the crescent using nail glue or a gel dot base. Press gently and seal with top coat, doing a careful brush pass over the studs.
Pro tipUse a toothpick to nudge studs into a straight curve.
Watch outDon't overload studs; too many make the nail feel bulky.
11. Half Matte Pine with Glossy Gold Bow and Ribbon Stripe
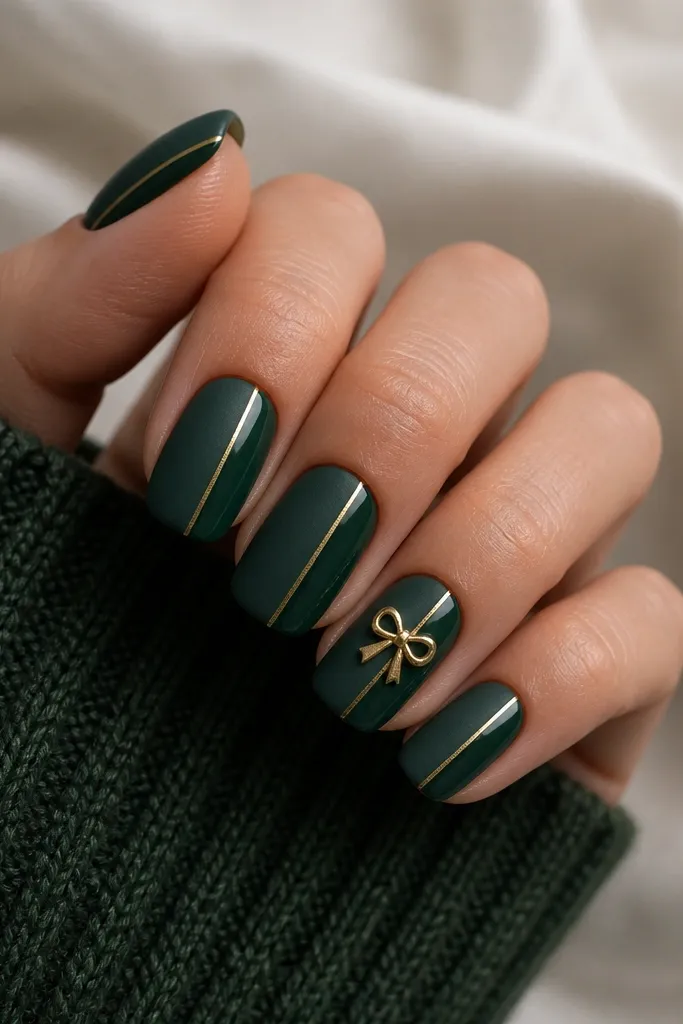
Mixing matte and gloss gives you a "ribbon" effect even without adding extra color. The gold stripe adds the metallic highlight, and the bow makes it unmistakably Christmas. This works because the textures do half the design work for you.
Paint the whole nail pine green glossy first. While wet, mask one side with tape for a clean split, then apply matte top coat only on the masked side. Add a thin gold ribbon stripe on the glossy side with striping tape. Add a small gold bow charm or painted bow on the ring finger.
Pro tipUse thin tape so the split line stays sharp instead of thick.
Watch outAvoid matte top coat over studs; it kills the shine and makes them dull.