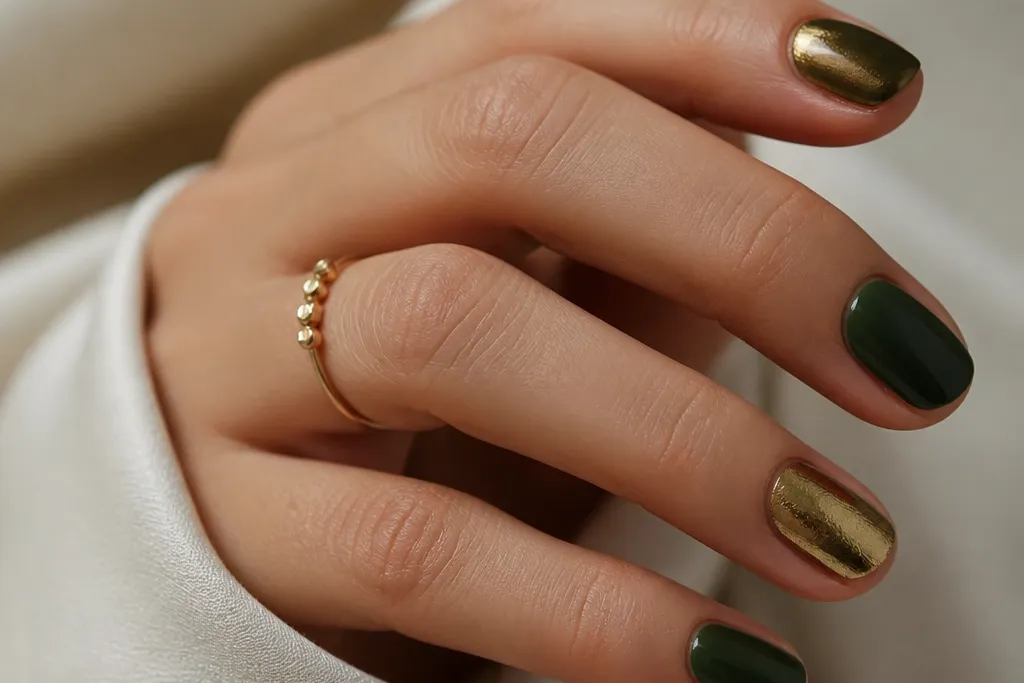
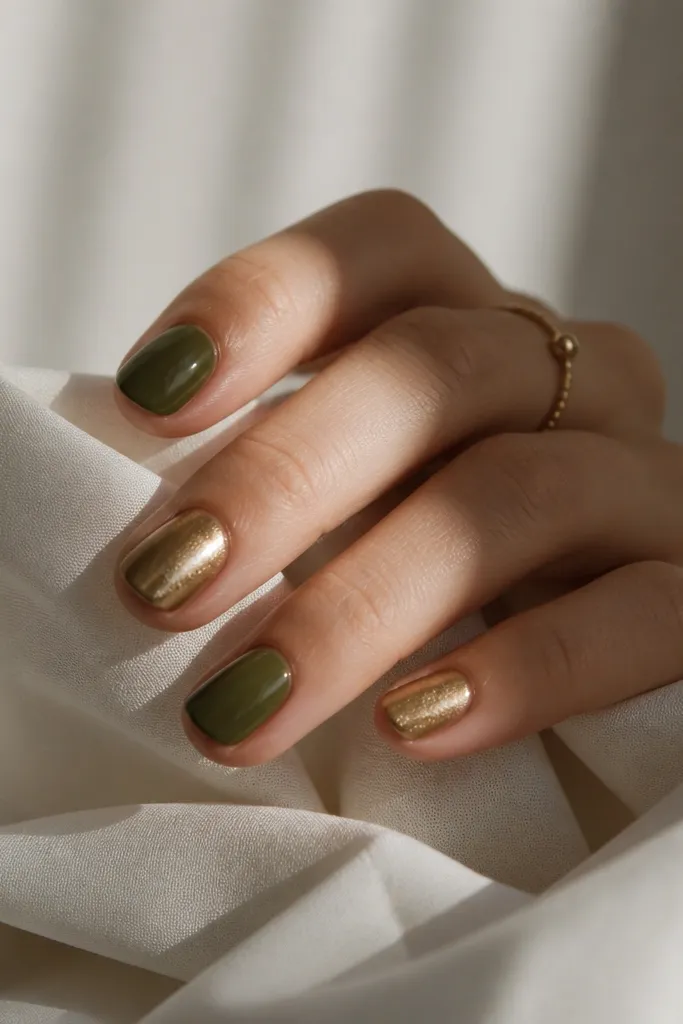
1. Micro French in Emerald + Hairline Gold
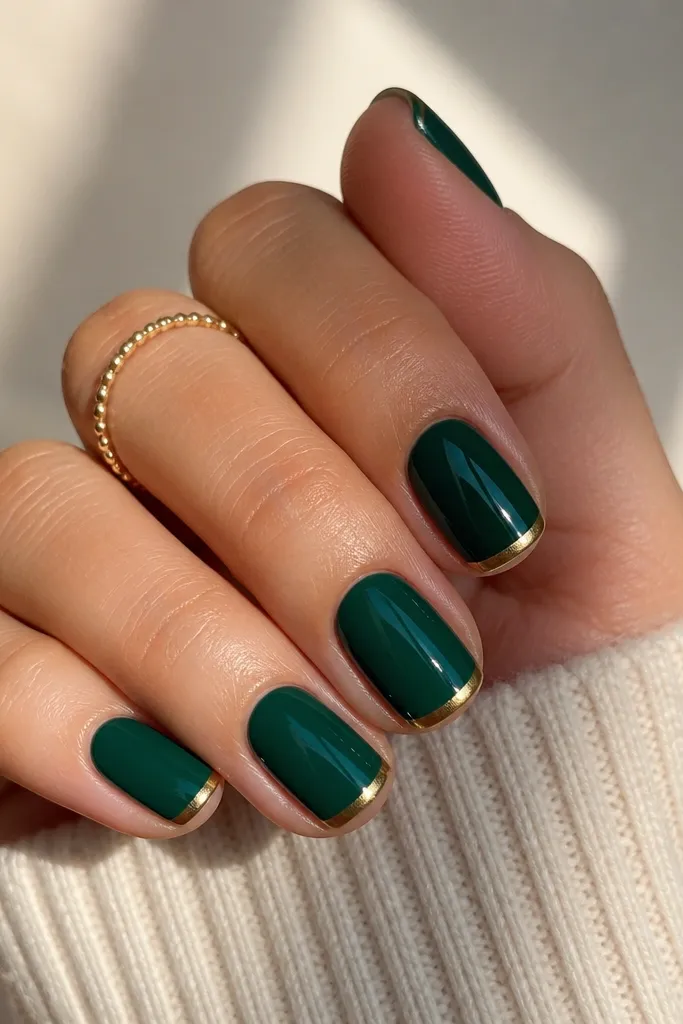
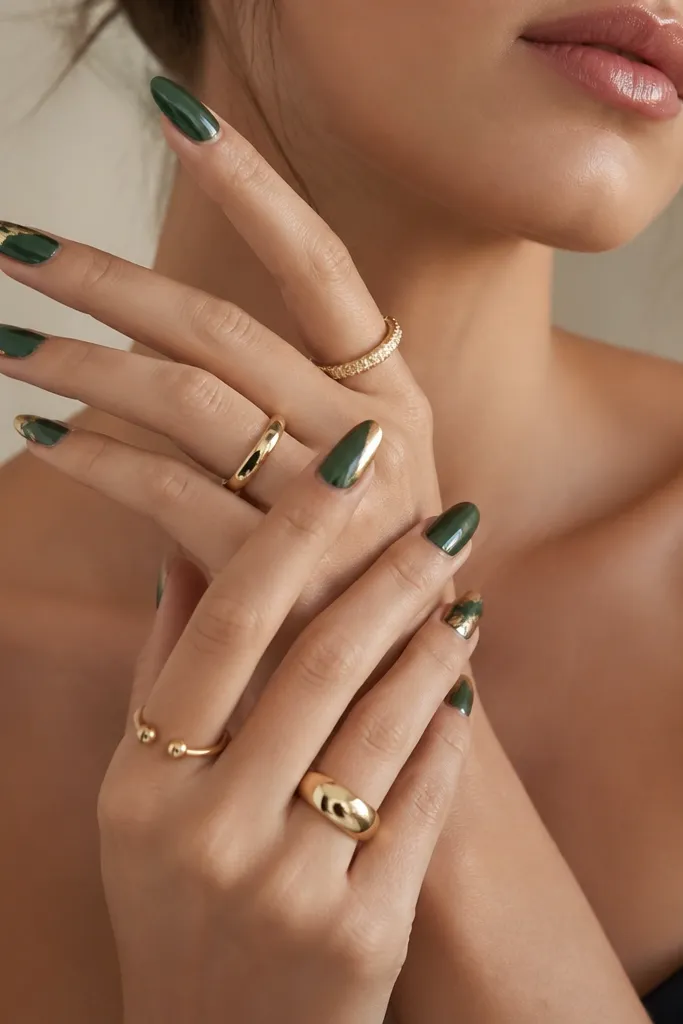
This look works because the French line stays narrow, so the gold reads as polish, not decoration. Emerald is bright enough to look intentional even on short lengths. The gold hairline also makes the nails look longer by tracing the natural tip curve. I like glossy top coat here because it makes the line look sharp and not dusty.
Do two thin coats of emerald gel, cure fully between coats. Use nail tape cut into a curved strip for the tip, then paint gold only within the tape gap at about 0.5mm wide. Remove the tape while the gold is slightly tacky so the edge stays crisp. Finish with a thick glossy top coat across the free edge.
Pro tipIf your tape edges pull, paint the gold first, cure, then add a second micro layer along the center of the line for extra crispness.
Watch outDon't make the gold French thicker than your thumbnail's edge - it turns into a blocky band on short nails.
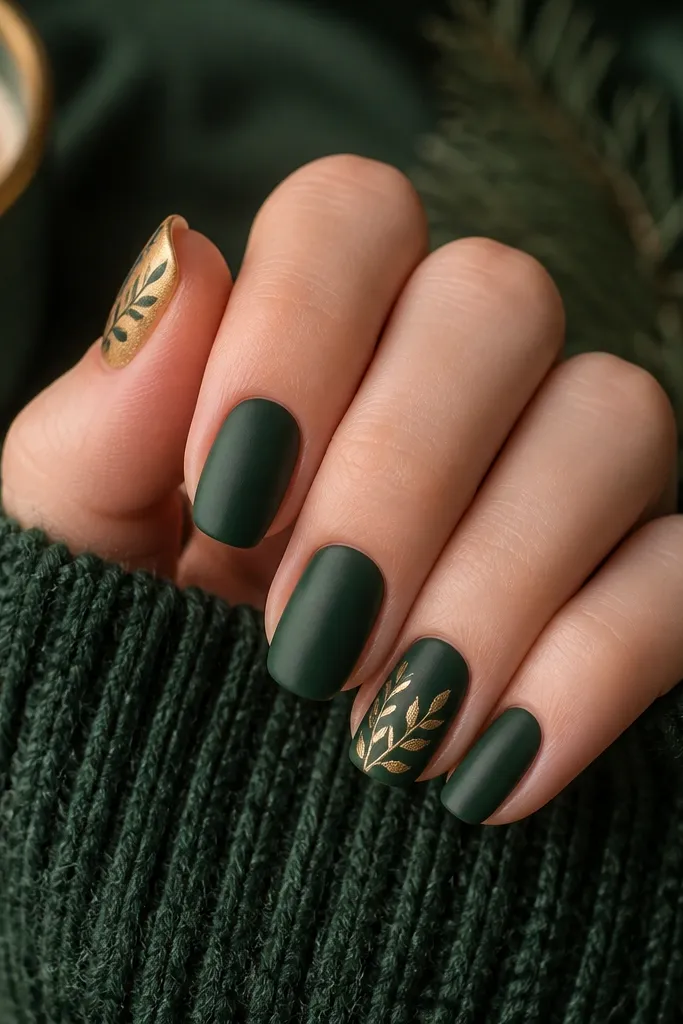
2. Forest Half-Moon with Leafy Gold Accent
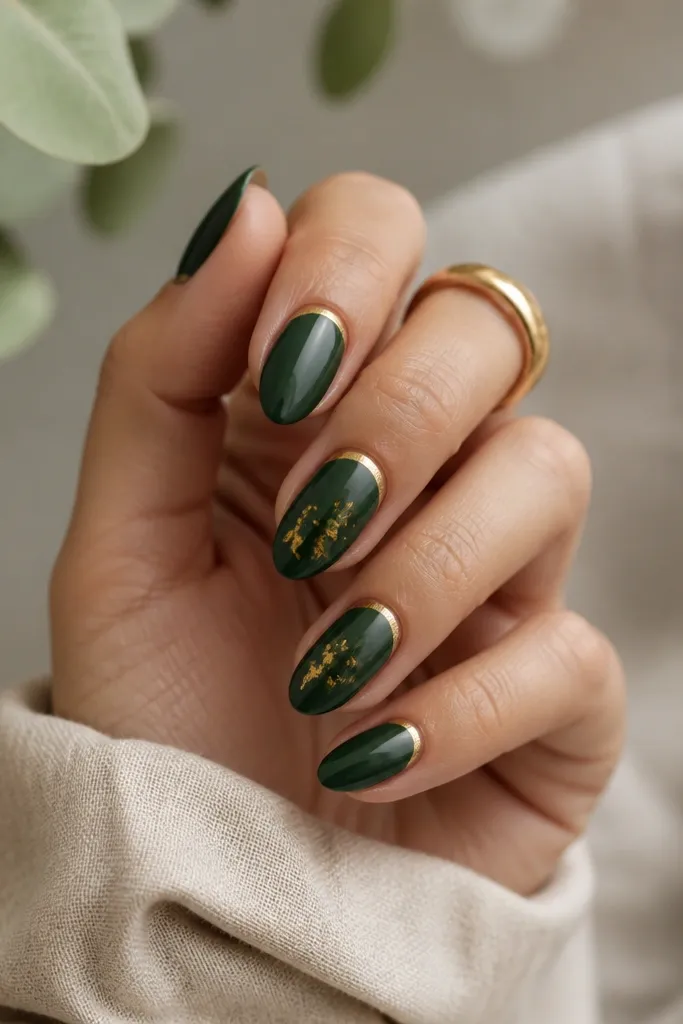
A half-moon is naturally flattering on short nails because it sits at the widest area and doesn't crowd the tip. Forest green keeps the set grounded, and the gold leaf adds movement without needing lots of coverage. The tiny flakes break up the flat color and catch light when you move your hands.
Paint forest green as your base in two thin layers. For the half-moon, use a half-moon stencil or a small brush to keep it to about 20-25% of the nail width. Dab gold leaf with a leaf adhesive or a tacky gel layer, then seal with a gel top coat in two steps so flakes don't lift.
Pro tipUse a matte-top test on one nail first - if your nails have texture, matte will make flakes look rough.
Watch outSkip full gold cuticles; a wide gold crescent looks heavy on short nails.
3. Emerald Marble with Thin Gold Veins
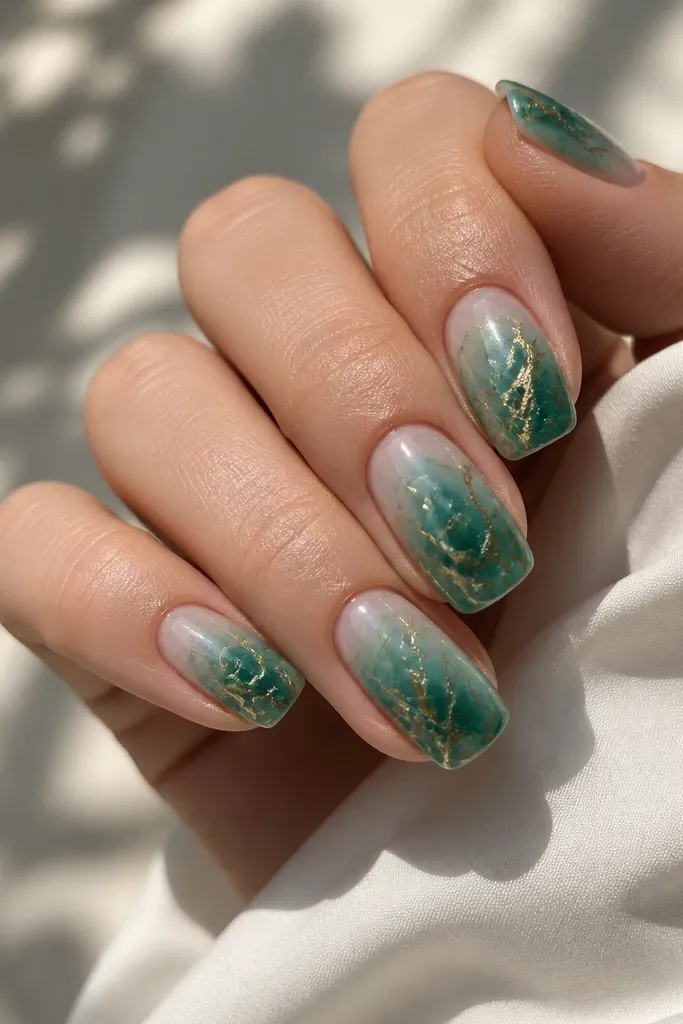
Marble works because it creates depth even on a short nail. Thin gold veining makes it look expensive because the gold has negative space around it. I like this for events because it photographs well - the swirls look different with every angle.
Base coat and cure, then sponge or brush on a lighter emerald shade in patches. Use a thin liner brush to pull swirls through the wet gel, cure, then add gold veins in 2-3 short lines per nail. Keep the gold lines under 1mm wide and don't cover the entire nail - leave the marble visible.
Pro tipWipe your liner brush with gel cleaner between nails so the gold line stays sharp and doesn't smear.
Watch outDon't use thick gold paint for marble; it clogs the swirls and makes the design feel flat.
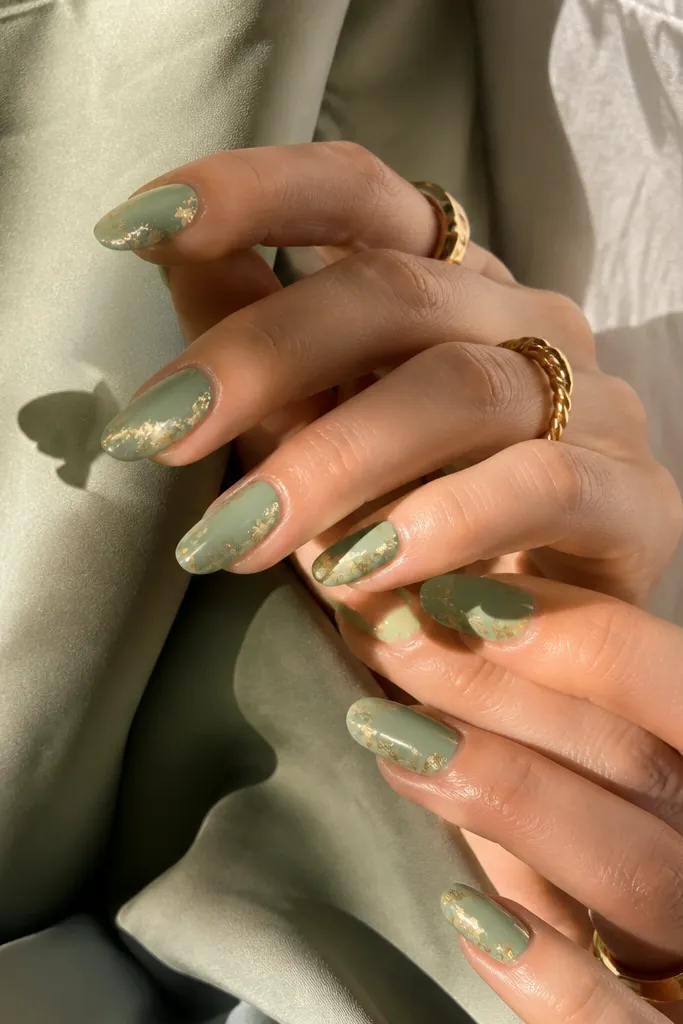
4. Gold Foil Tip Over Sage-Green Glow
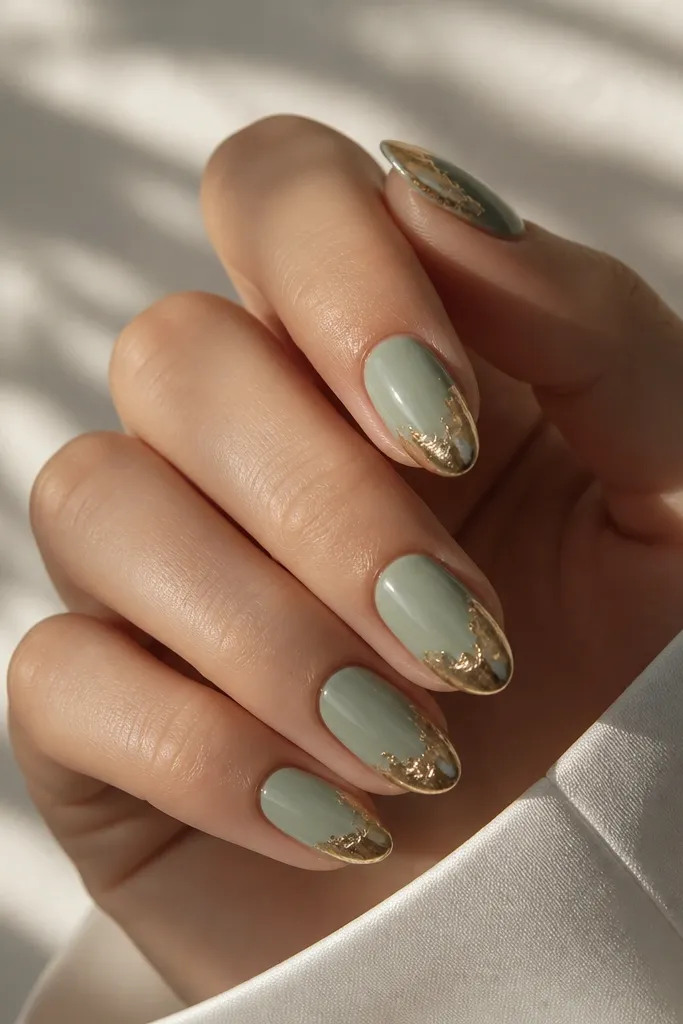
Sage green is calmer than emerald, so the gold foil can be dramatic without looking harsh. Foil tips look chic on short nails because they sit at the narrowest area. The irregular edge mimics natural leaf and keeps the set from looking like a sticker.
Use a sage shade close to #A8C3A5 (a grey-green, not neon). Apply two thin coats, cure. Press gold foil on the free edge only, leaving a 1mm gap from the sides so it stays neat. Seal with a thick top coat and cap the free edge twice.
Pro tipPress foil with a silicone tool, not your fingers - your fingerprints leave shiny dents.
Watch outAvoid full-coverage foil on all nails; short nails look overcrowded quickly.
5. Speckled Forest with Gold Dot Grid
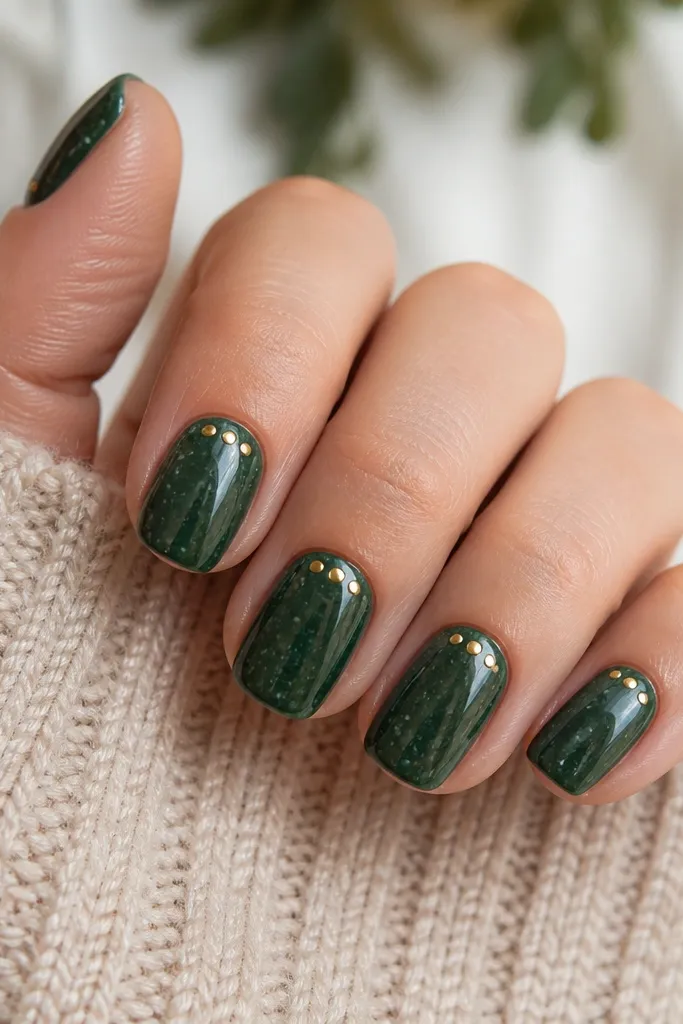
Speckling hides minor imperfections and makes the set look textured and intentional. The gold dot grid gives structure so the design doesn't feel random. When you keep dots small (think pinhead size), the gold looks like jewelry rather than craft paint.
Paint forest green base in two coats. For speckles, use a toothbrush with a lighter green polish and flick lightly from 6-8 inches away. Cure and then add gold dots with a dotting tool - 4-6 dots per nail forming a tiny square near the cuticle. Top coat gloss seals everything.
Pro tipIf speckles look too heavy, do one coat of clear gel over the specks and then add a lighter second pass only where you want more depth.
Watch outDon't use big dots; large gold circles on short nails look like bubbles.
6. Emerald Stained Glass with Gold Outline
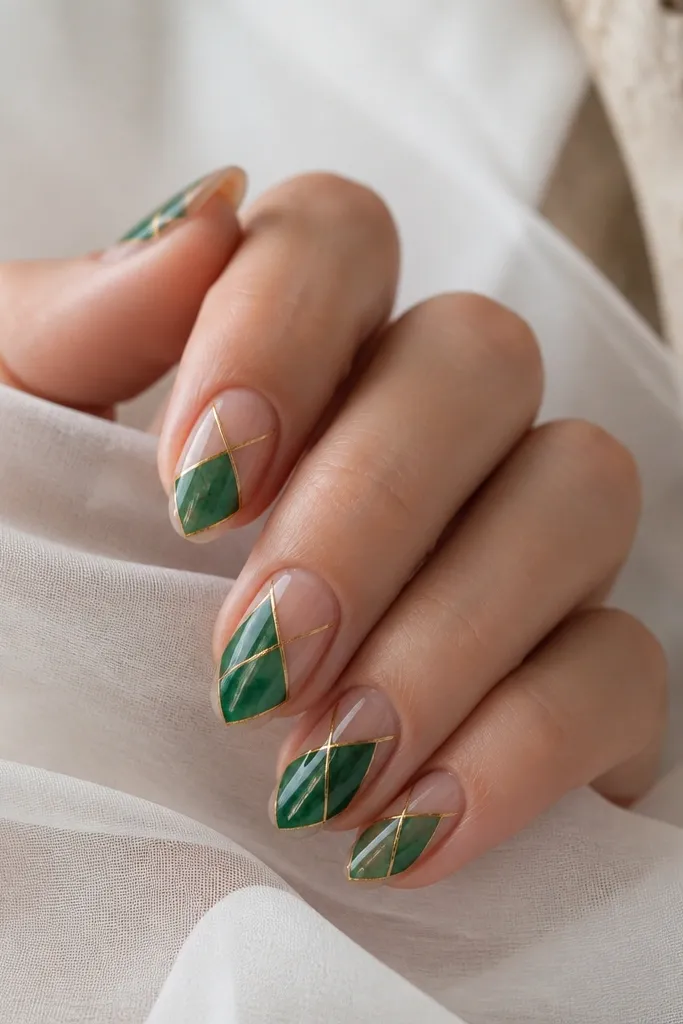
Stained glass looks chic because it relies on negative space. Emerald stays the star, and gold outlines keep it crisp. The translucent look also makes short nails feel lighter than opaque glitter sets.
Use a sheer emerald gel or sheer polish mixed with a clear base so it still shows nail tone through. Outline with a striping brush and metallic gold gel, then fill panels with a thin second layer of sheer emerald. Cure each step so the gold lines don't spread.
Pro tipUse a matte top on one accent nail only - the gold outline reads different and makes the set feel styled.
Watch outSkip thick gold outlines; they bleed and ruin the stained-glass edges.
7. Gold Crosshatch on Deep Green
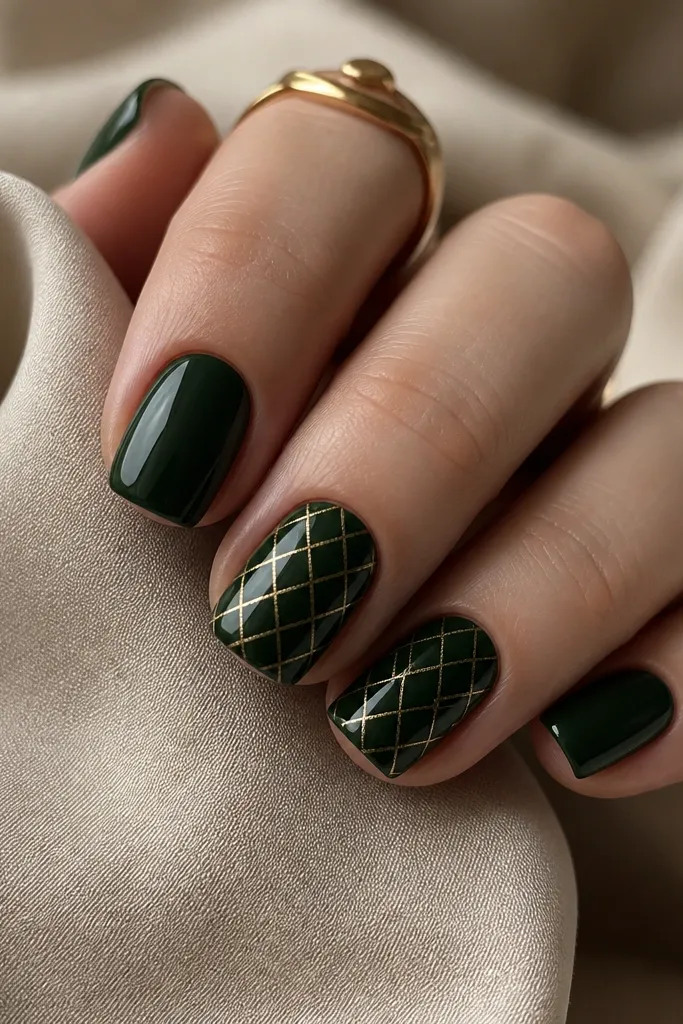
Crosshatch is graphic and looks clean on short nails because it's line-based. Deep green gives the pattern contrast, and fine gold lines stay elegant instead of flashy. I like doing it on two nails and leaving the rest solid green - it keeps your hands from looking busy.
Paint deep green as the base (two thin coats). For crosshatch, use a striping brush to paint diagonal gold lines, cure, then add the second diagonal set. Keep spacing consistent - about 1-2mm between lines. Seal with glossy top coat and cap the edges.
Pro tipIf your lines wobble, place a clear stamper guide strip under the nail for steadier angles.
Watch outDon't cover every nail with crosshatch; it turns into a pattern overload on short length.
8. Green Velvet Matte with Mirror Gold Edge
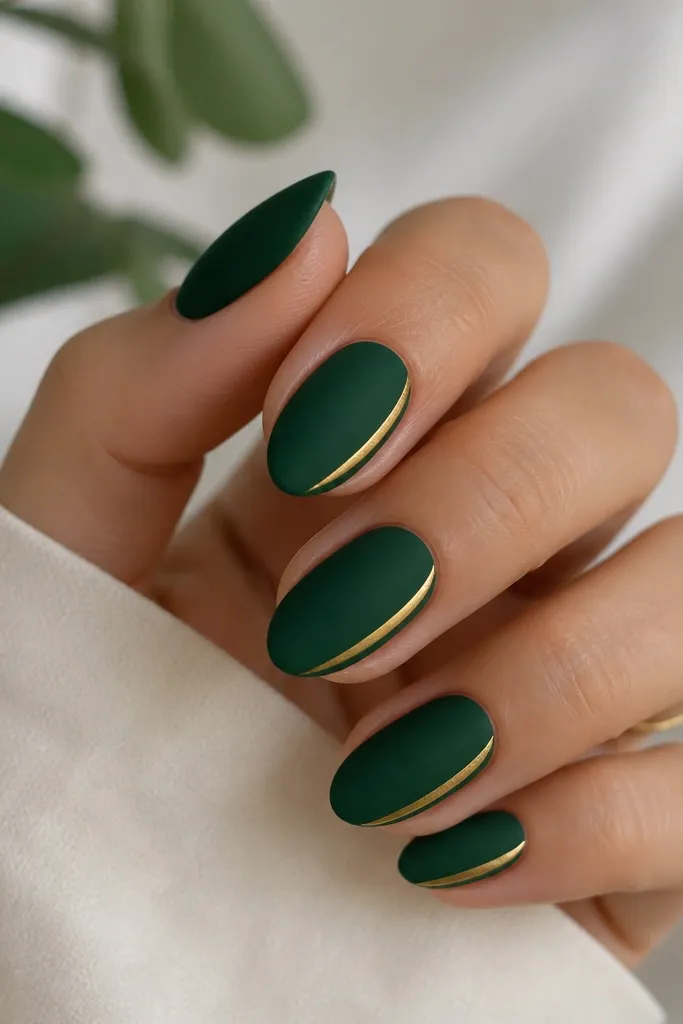
Matte green looks expensive when it's paired with mirror gold because the contrast is sharp. The gold edge line is narrow, so it reads like a design detail rather than a border that chops the nail in half. This set looks especially good on hands with slightly longer fingers.
Use a matte top coat over deep green, but do it after the gold line cures. Apply metallic mirror gold gel in a 0.5mm stripe along one side only. Leave a tiny gap at the tip so the line doesn't look like a ridge. Finish with matte top everywhere except the gold stripe, which stays glossy.
Pro tipKeep your matte top away from the cuticle - it stains if it floods there.
Watch outAvoid mirror gold that's too wide; matte makes thick foil look chalky.
9. Emerald Confetti with Gold Micro Stars
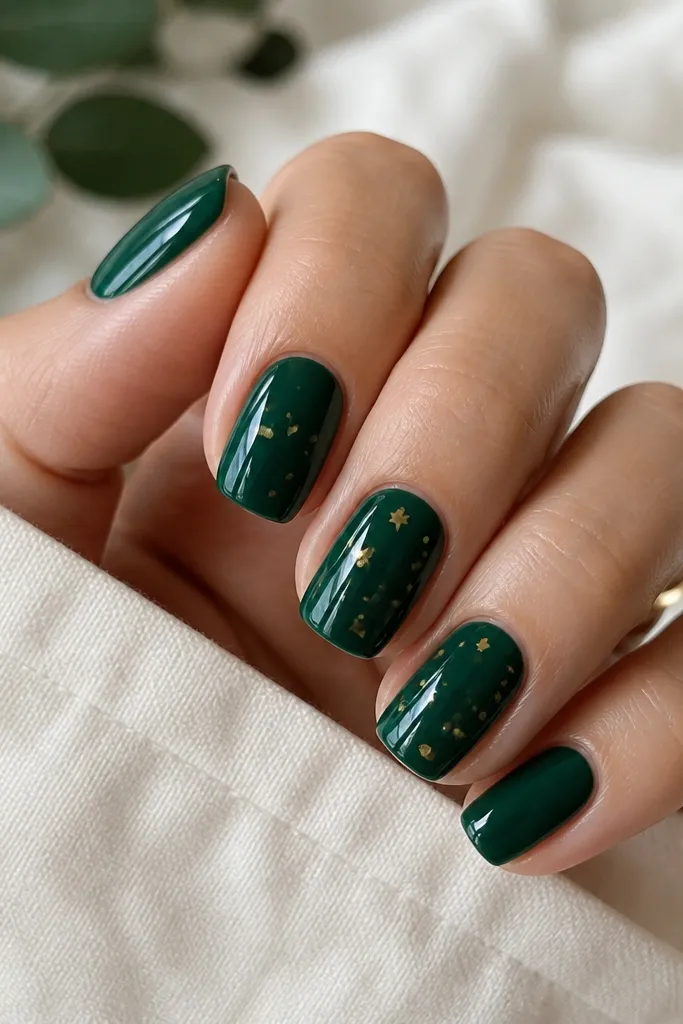
Confetti on a short nail is all about scale. Tiny dots and micro stars keep it playful without turning into glitter overload. Emerald gives the background color strength, and gold stars give the "chic" hit because they're shaped, not just shiny.
Base coat emerald in two thin layers. Add confetti pieces with tweezers on a tacky gel layer, keep them in the center and near the tip. Seal with a gel top coat in two thin pours so you don't trap bubbles.
Pro tipUse a small amount of confetti per nail - if you can see the base clearly through the pieces, you did it right.
Watch outDon't use chunky star charms on short nails; they catch on fabric and lift.
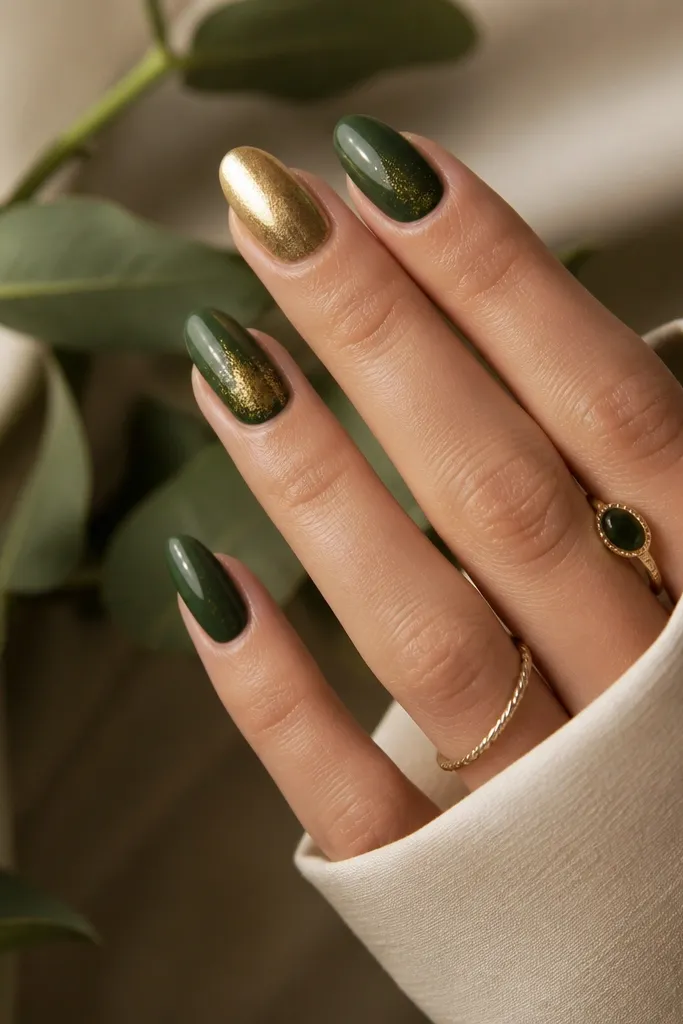
10. Gold Foil Dots on Sage Green Gradient
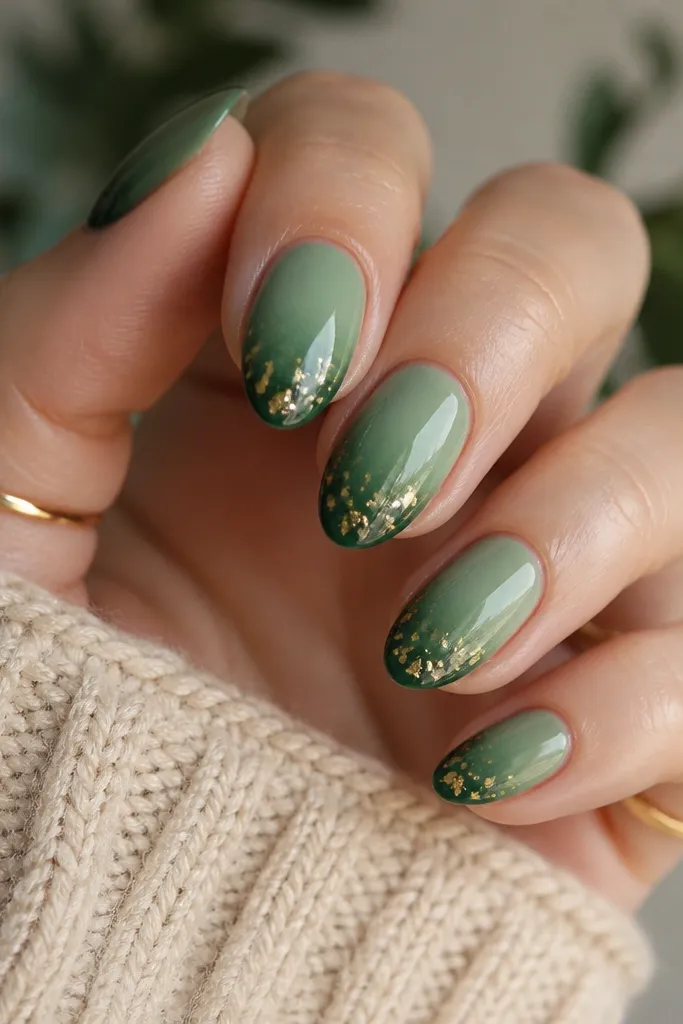
Gradients make short nails look longer because the color shifts downward. Sage at the cuticle reads delicate, and emerald toward the tip adds weight where the nail is strongest. Gold foil dots at the tip mimic light reflections on jewelry.
Start with a sheer sage base at the cuticle, then sponge emerald onto the lower half. Blend with a clean sponge so there's no hard line. Add gold foil dots only on the last third of the nail and seal well. Cure and top coat glossy.
Pro tipIf your gradient looks streaky, do one more thin blend layer with clear gel, then cure.
Watch outDon't place foil dots too close to the cuticle; it can look like a stain.
11. Forest Green One-Stripe Accent Nail
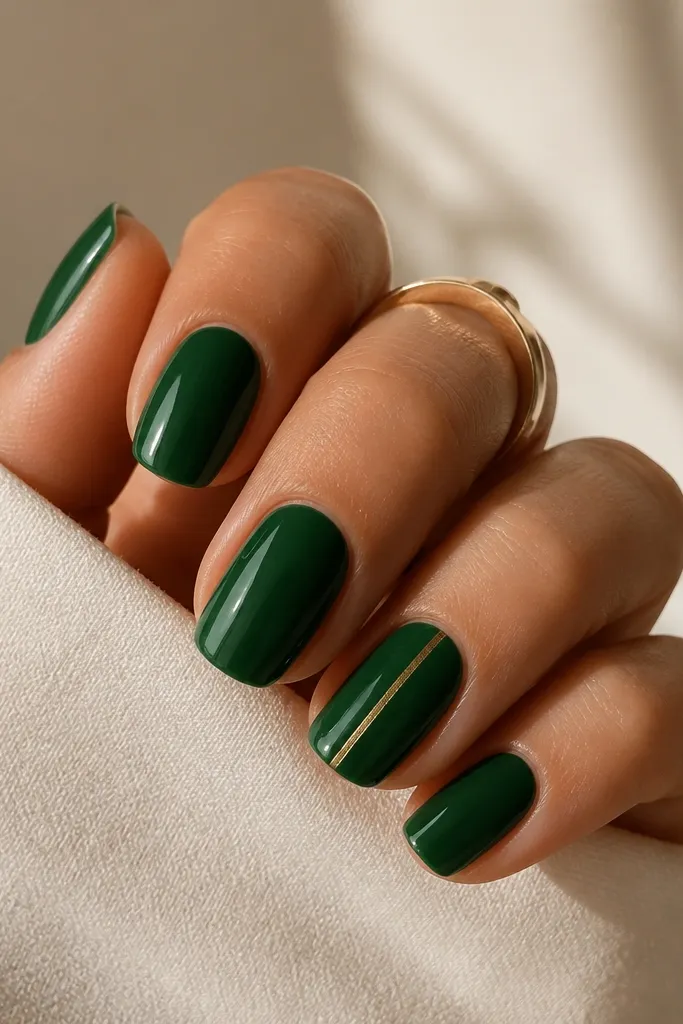
This is the simplest version of short green and gold nails chic, and it works because it gives your eye one focal point. A center stripe makes the nail look slightly longer. Keeping only one accent nail prevents the set from feeling busy.
Paint all nails forest green with two thin coats. Choose one nail per hand for the stripe. Use a striping brush to paint a 0.5-0.7mm gold line centered from mid-nail to the tip, cure, then top coat.
Pro tipAngle the stripe slightly toward the free edge if your nails curve; it looks more natural than perfectly straight lines.
Watch outDon't line every nail with stripes; short nails look striped and shorter.
12. Emerald Reverse French with Gold Crescent
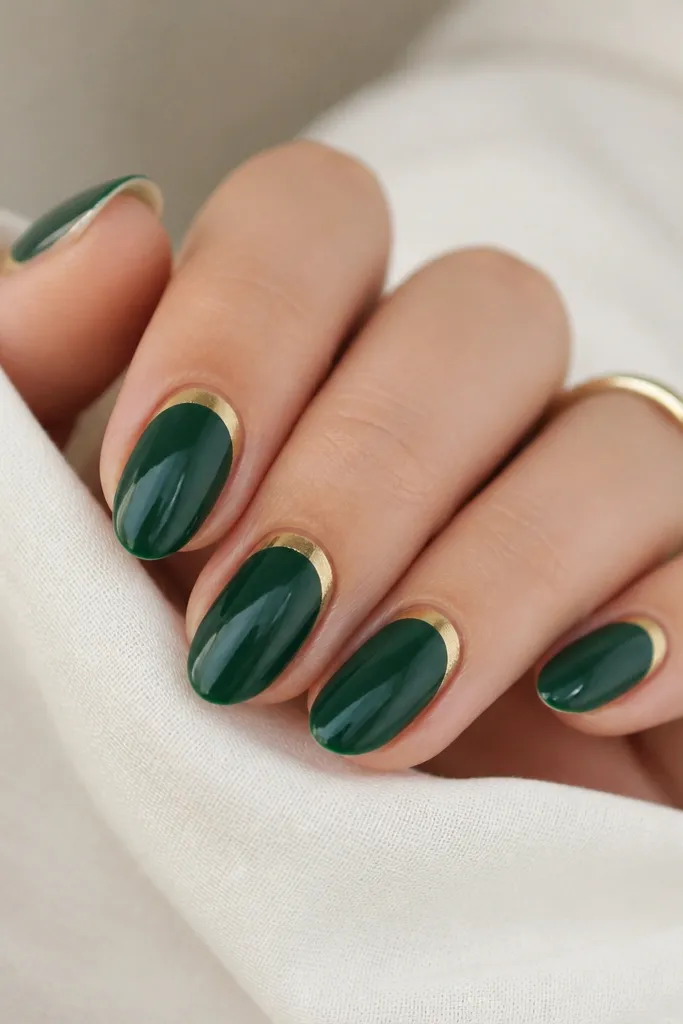
Reverse French is flattering on short nails because it frames the cuticle area without extending the design beyond the tip. Gold crescent at the base looks like a ring. Emerald keeps it modern instead of vintage.
Apply emerald base in two coats. Use a half-moon stencil (or carefully paint freehand) to outline a crescent at the cuticle - keep it about 3mm tall on a short nail. Fill the crescent with gold gel, cure, then seal with glossy top coat.
Pro tipIf your crescent looks uneven, cover one side with a tiny gold dot to visually correct the curve.
Watch outSkip a full cuticle border; a thick band makes short nails look stubby.