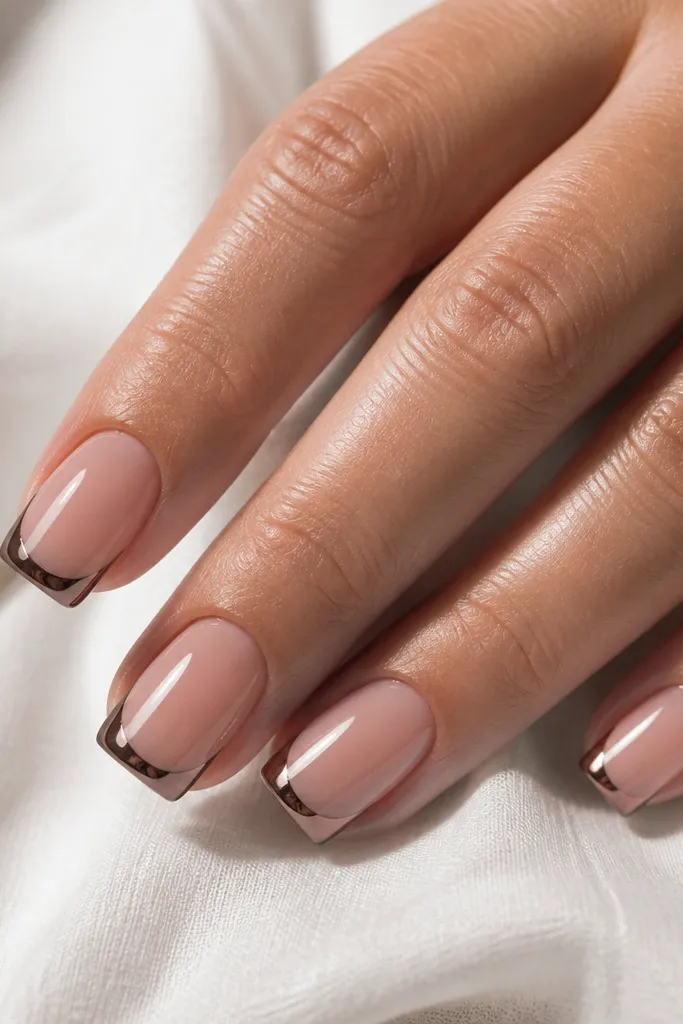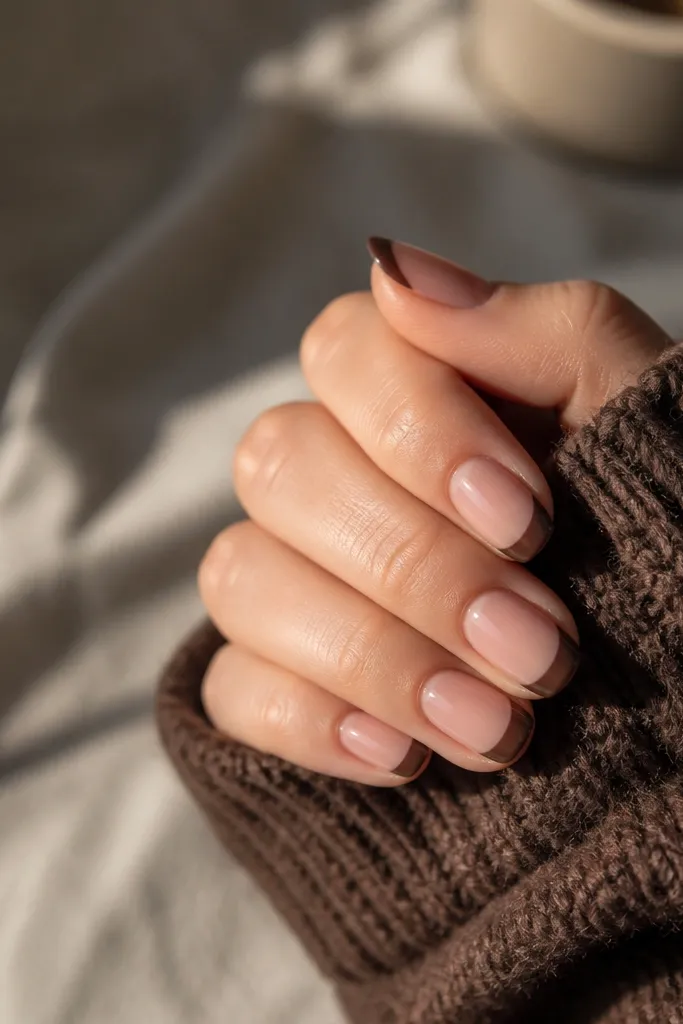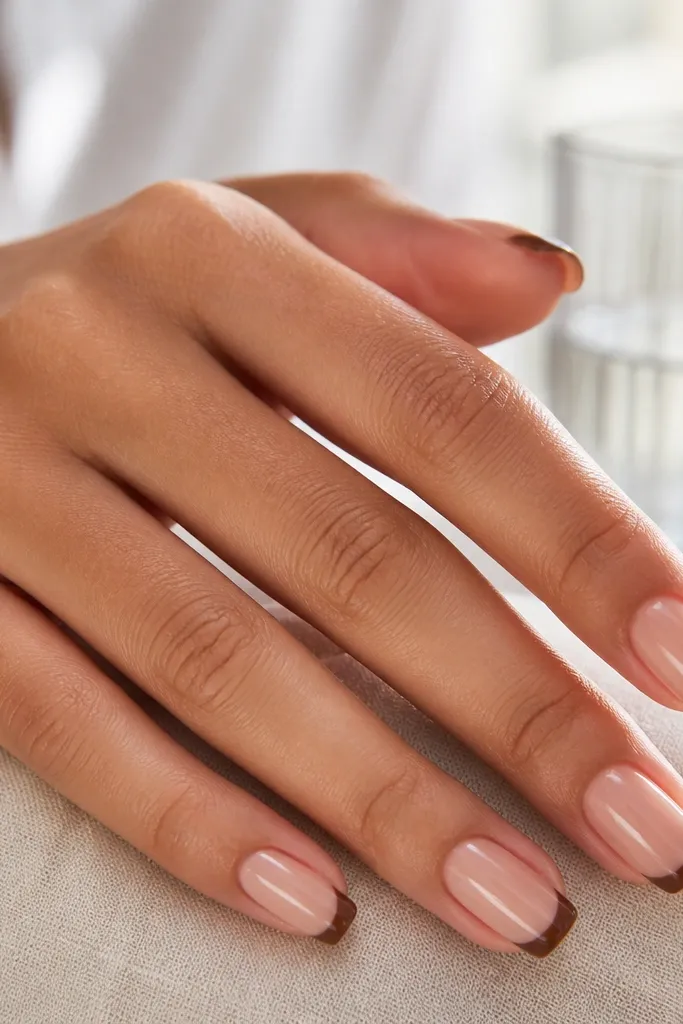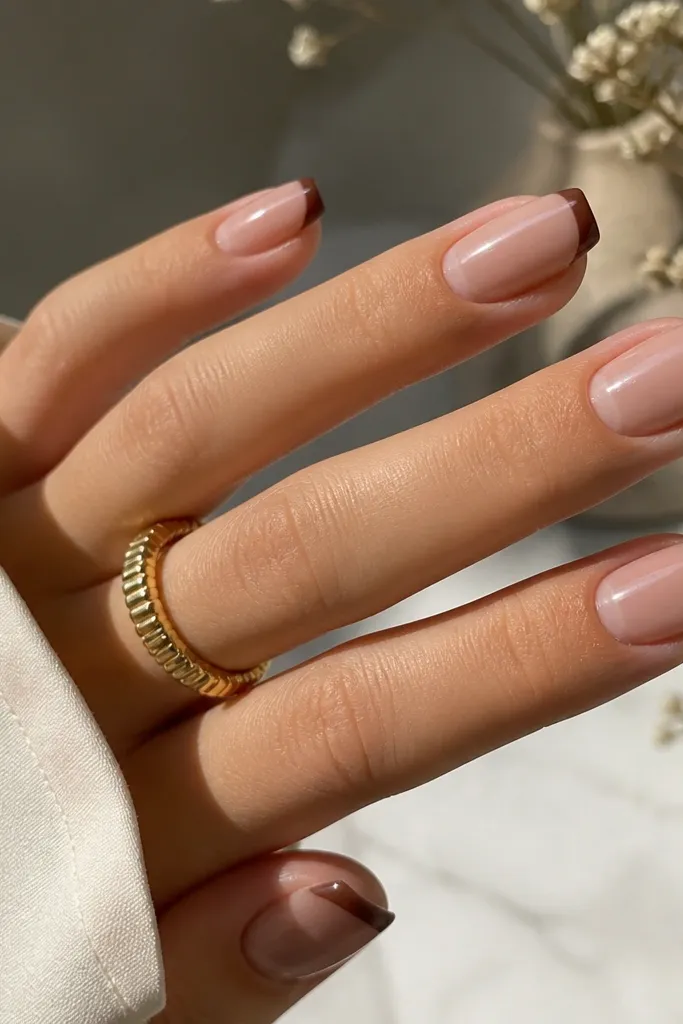
1. Caramel Micro French on Milky Nude
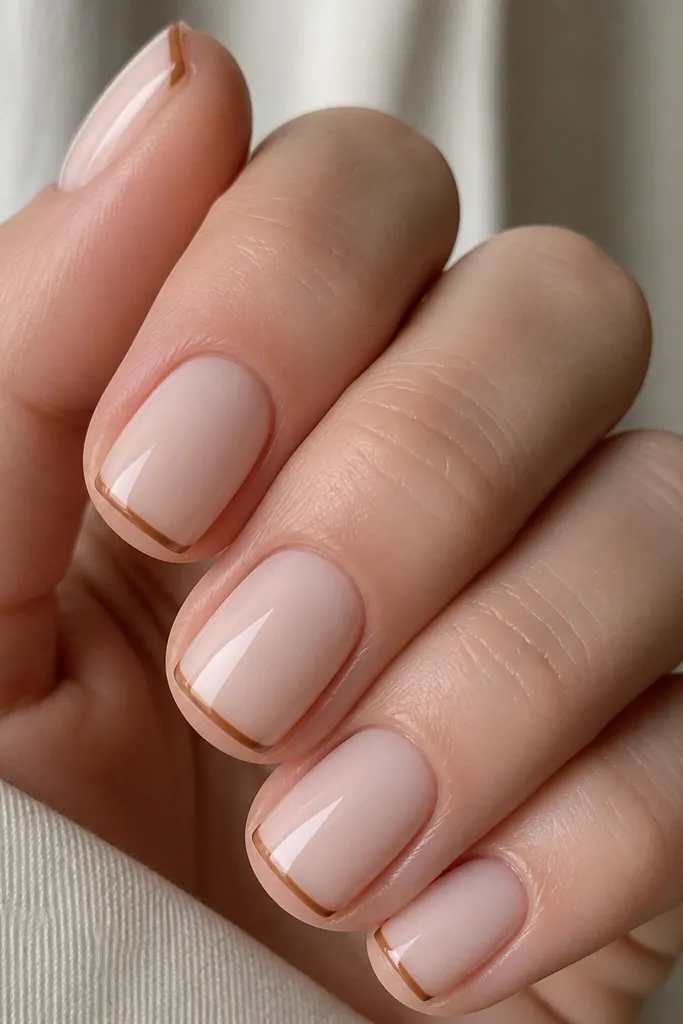
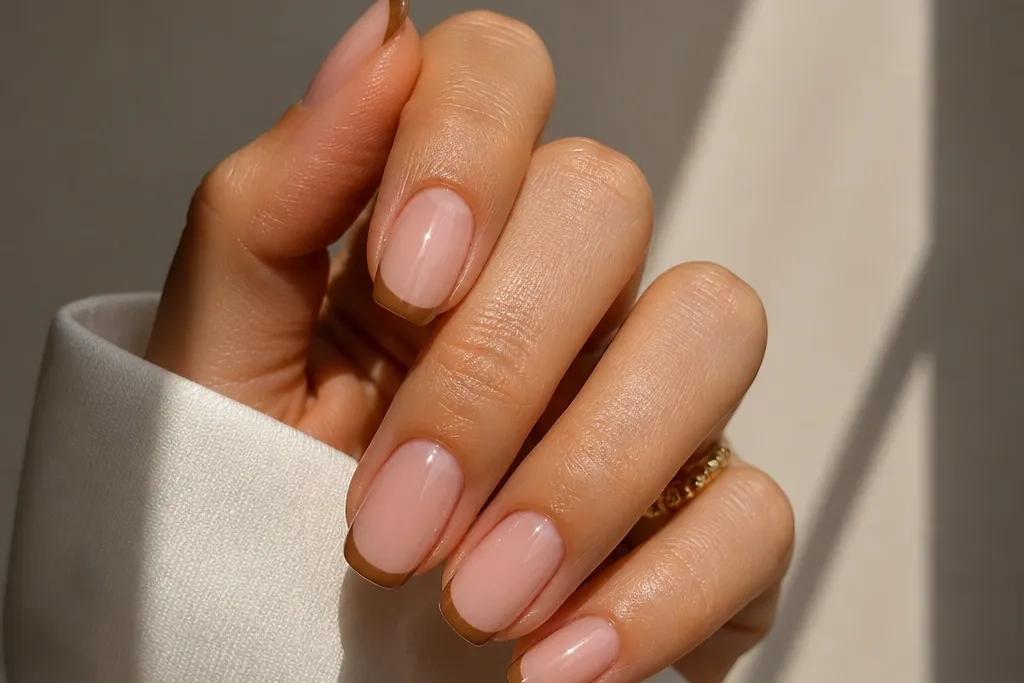
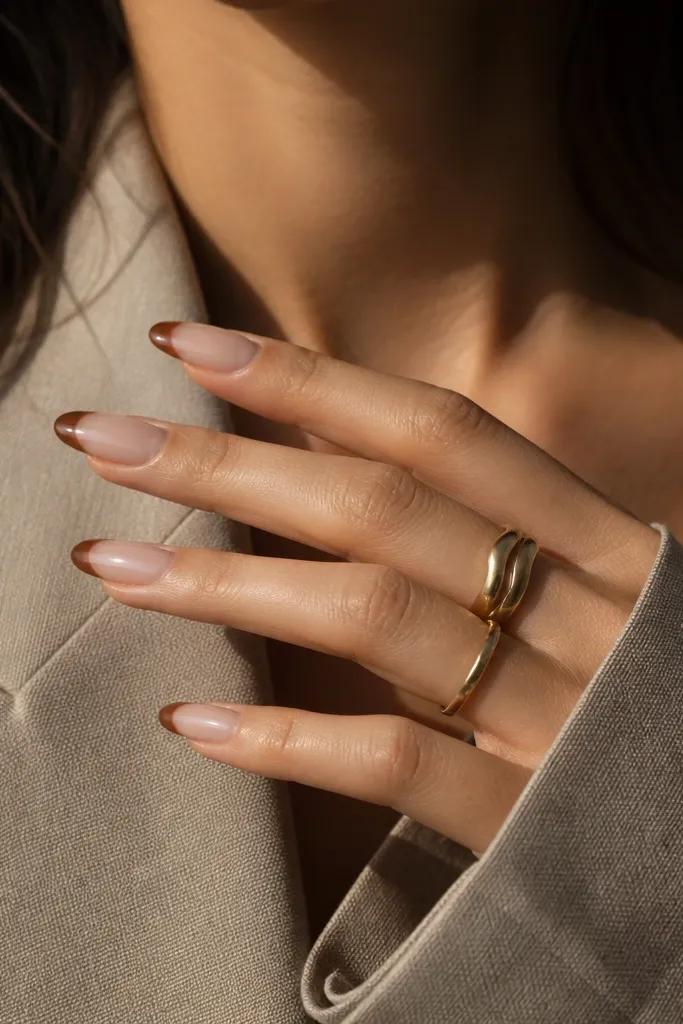
This look stays chic because the tip is narrow - your eye reads "French" instead of "browsing a nail art kit." The milky nude base makes the brown look softer and cleaner, not like a dark stripe. I like caramel light browns because they reflect warm light on the nail and don't pull ashy.
Shape: short squoval or short almond. Paint the base in two coats, then do the tip with gel polish or a brush-on line polish. Keep the tip width around 1.5-2 mm and let the smile line follow your nail curve.
Pro tipUse striping tape as a guide for the first pass. Remove it while polish is still tacky so the edge stays crisp.
Watch outDon't make the tip too thick - thick brown French tips read heavy and cheap on short nails.
2. Latte Half-Moon French (Negative Space)
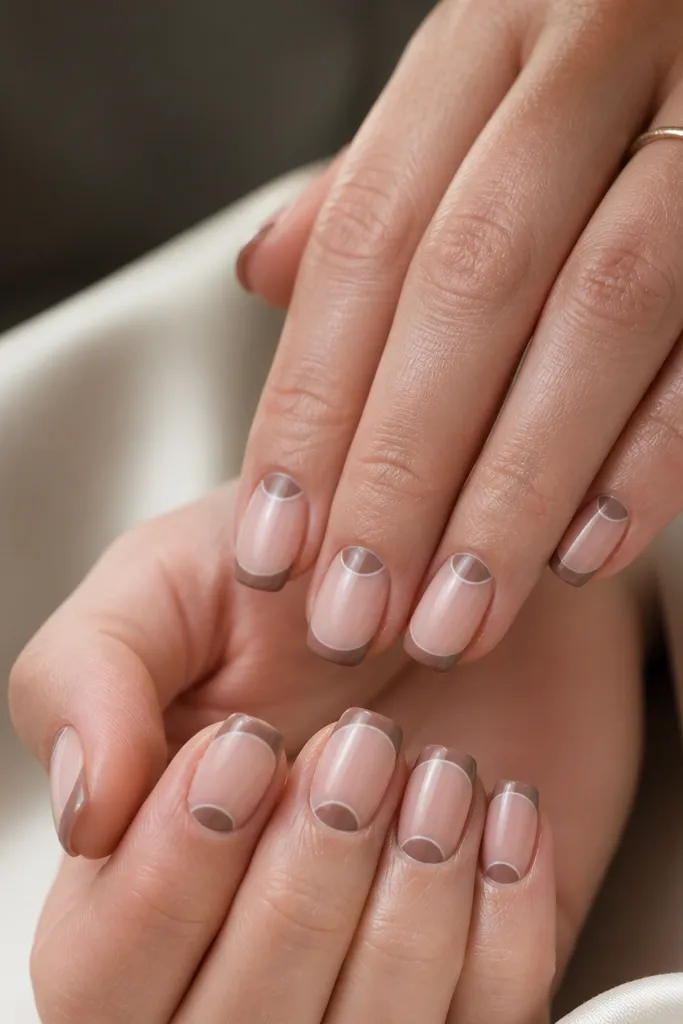
Negative space keeps it airy and modern. The half-moon accent near the cuticle echoes classic French placement, but the light brown makes it feel warm instead of stark. This one looks expensive because there are fewer painted areas and the brown lines stay sharp.
Start with a sheer nude gel or clear builder with a milky tint. For the half-moon, use a tiny liner brush and paint a curved arc about 2 mm wide. Then paint the free-edge tip in a thin layer, keeping the smile line smooth.
Pro tipAfter curing, clean up edges with a detail brush dipped in isopropyl alcohol. Clean edges make negative space look intentional.
Watch outSkip chunky half-moons - a thick arc blocks the negative space and ruins the airy effect.
3. Brown French + Nude Gloss Top
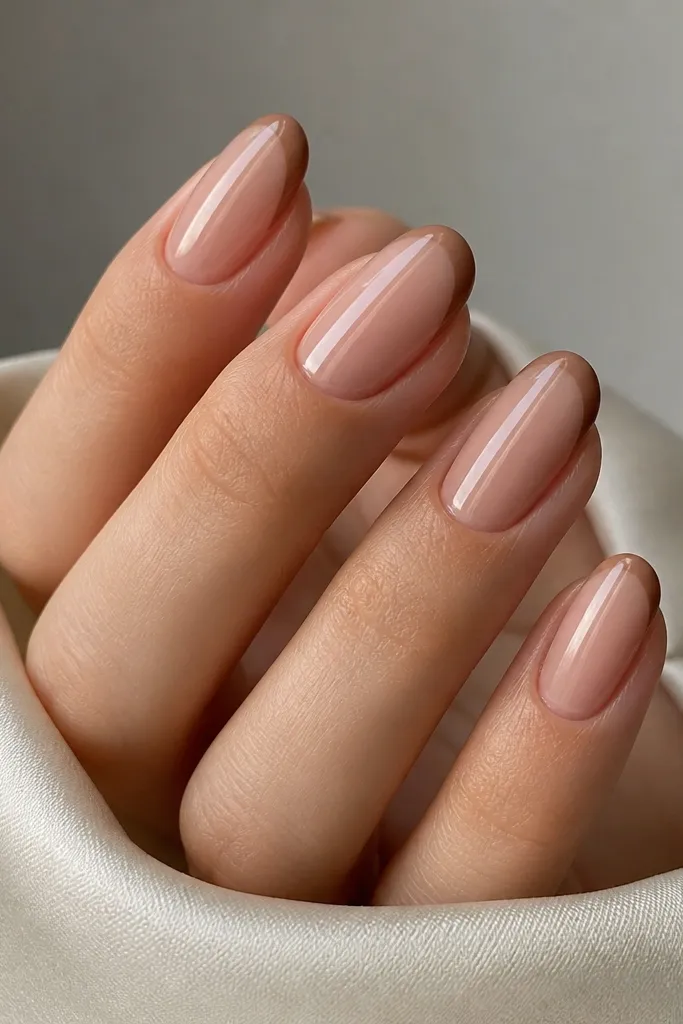
Gloss makes this combo look smooth and salon-clean. The light brown tip stays readable without needing extra art because the finish reflects light evenly. I've used this for events where you want your nails to look polished from across the room.
Prep the nail surface with a light buff so the gel grips. Paint base nude in two thin coats. For the tip, do two thin brown coats and cap the free edge. Cure each coat fully before top coat.
Pro tipIf your brown looks slightly streaky, do a second thin coat instead of one heavy coat. Thin layers self-level better.
Watch outDon't rush top coat over uneven tips - it magnifies bumps.
4. Matte Milky Nude with Gloss Brown Tips
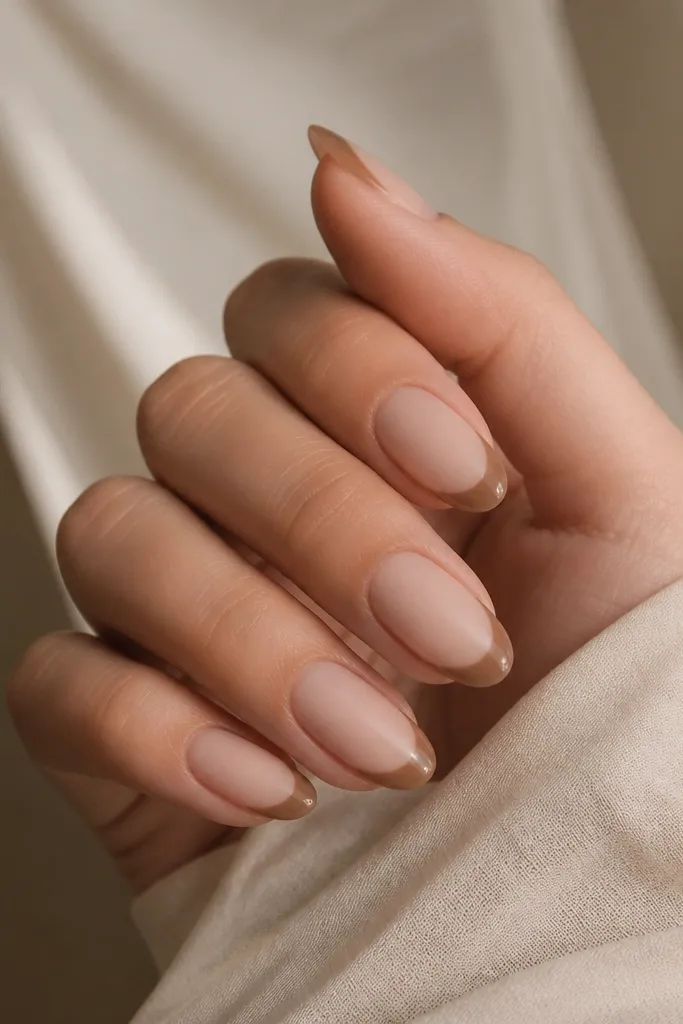
The contrast is the whole point. Matte nude makes the nails look soft and plush, while glossy brown tips catch the light like a clean frame. This style reads "chic" fast because it adds dimension without extra gems.
Do your base and brown tips glossy first, then apply matte top coat only over the nude areas. You can also do the opposite: matte everything, then brush a thin glossy top over the tips. I prefer the first method so the smile line stays extra crisp.
Pro tipUse a small flat brush to apply matte top coat around the smile line without flooding it.
Watch outDon't matte the brown tips - matte-brown can look dusty and flatten the look.
5. Caramel Swirl French Tips
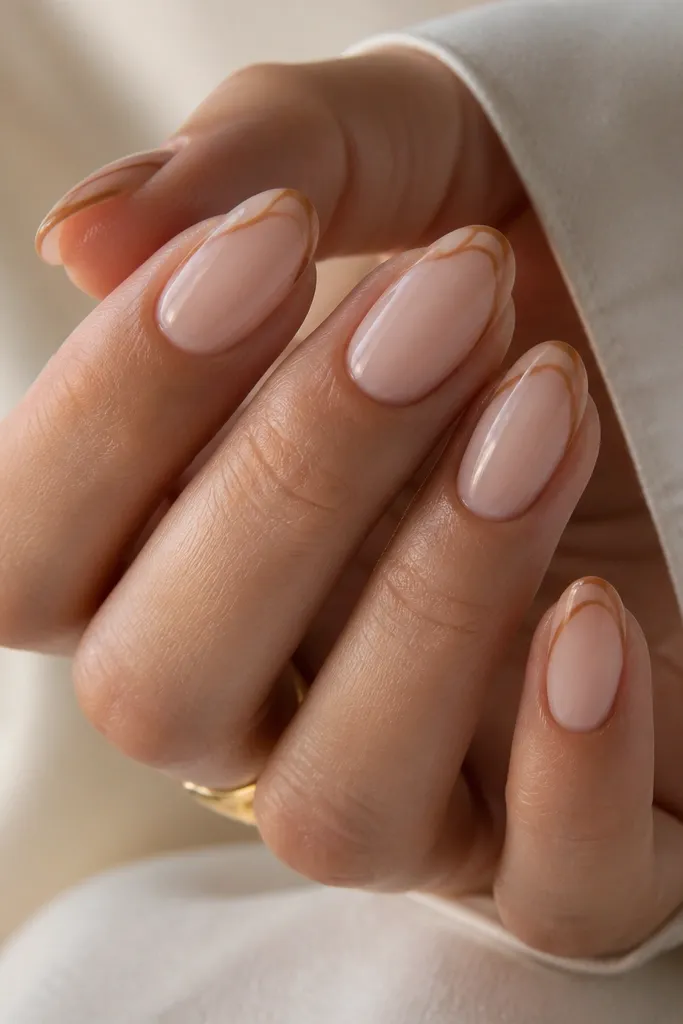
This keeps the French shape but adds motion. The swirl line is darker caramel, so it looks like a design detail rather than random doodling. It's subtle enough for everyday, but you still get compliments because each nail has a tiny signature.
Paint a standard light brown tip. Cure. Then with a liner brush, draw a single curved swirl that runs from the smile line toward the tip center. Keep the swirl line under 0.5 mm so it doesn't thicken the tip.
Pro tipPractice the swirl on a paper towel first. You want one smooth curve, not a scribble.
Watch outAvoid multiple swirls - two or three lines make it look busy instead of chic.
6. Sheer Brown Jelly French (No Opaque Block)
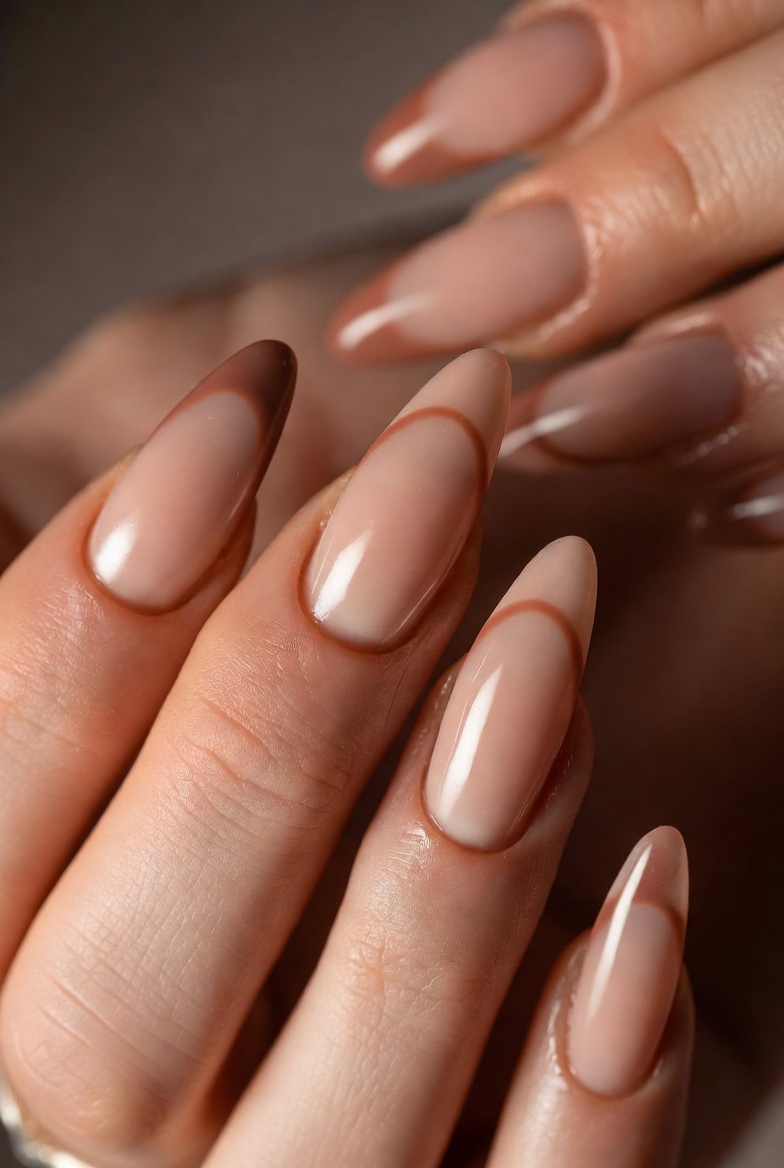
Jelly polish makes the tip look "glazed," not painted on top. Because it's semi-transparent, it blends with the nail and avoids that hard edge that can look like nail glue. The look is airy, and it grows out more gracefully.
Use a sheer nude base or natural nail builder with a milky tint. Apply jelly light brown in two to three thin layers until you see coverage at the free edge. Don't try to get full opacity in one coat.
Pro tipIf the jelly pools at the smile line, wipe the brush on the bottle edge and apply in thinner stripes.
Watch outDon't use a very opaque brown with a jelly base - the contrast turns harsh.
7. Brown French with Micro Speckle Accent
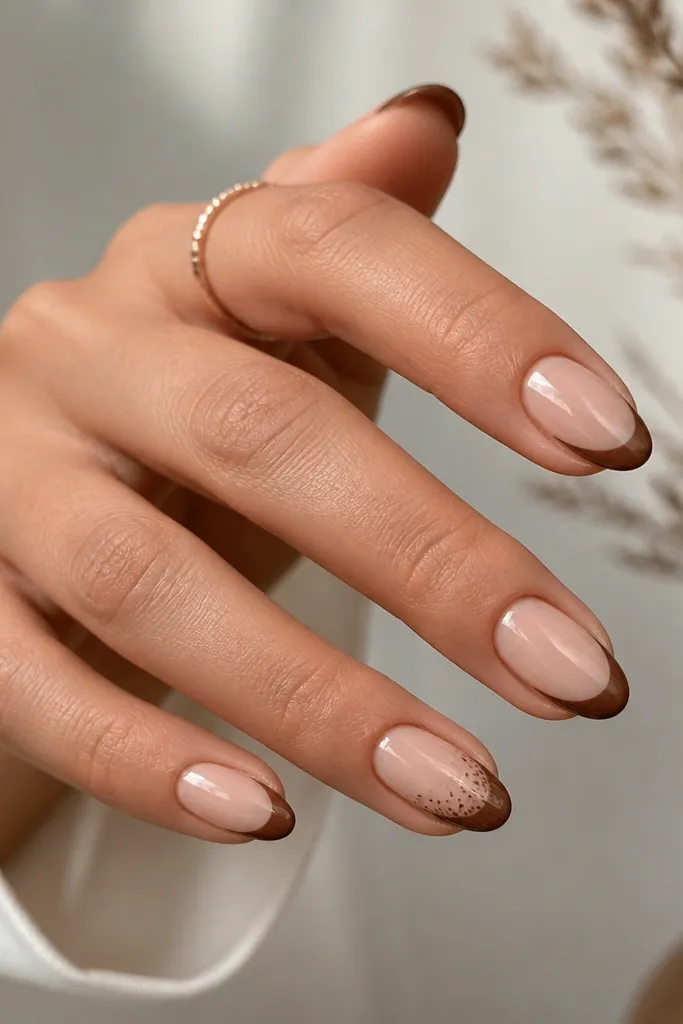
Speckles read cute without looking like "holiday nails." I like using a darker caramel speckle over the tip so it stays concentrated where the eye already goes. It also hides tiny imperfections on the tip edge.
Paint all nails with your standard light brown French tip. Pick one or two accent nails and add micro speckles with a dotting tool or a speckle brush. Keep them sparse - you want a dusting, not a full pattern.
Pro tipTap off excess pigment on a palette before dotting. Too much ink makes big dots that look messy.
Watch outSkip big dots - they turn the look into chunky nail art.
8. French Tip with Thin Gold Line Over Brown
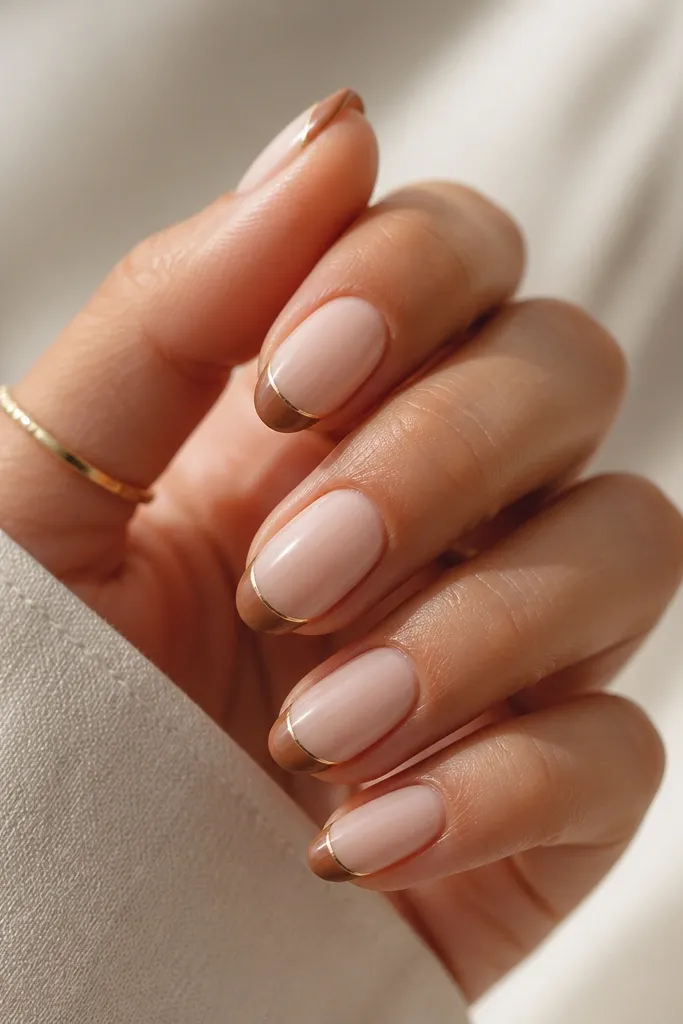
The gold line makes the brown tip look intentional and polished, like a frame. Because the gold is thin, it doesn't overpower the neutral vibe. This is the one I wear when I want "nice but not flashy" for dinner plans.
Paint the light brown tip first and cure. Then apply a striping gel or a thin gold foil strip right along the smile line. Cure again and seal with top coat. Use a striping gel if you want the line to stay perfectly straight.
Pro tipIf your line wobbles, wipe the striping gel off with a brush before curing. You have a small window to fix it.
Watch outDon't use a thick gold bar - it makes the tips look bulky.
9. Coffee Cream Gradient French
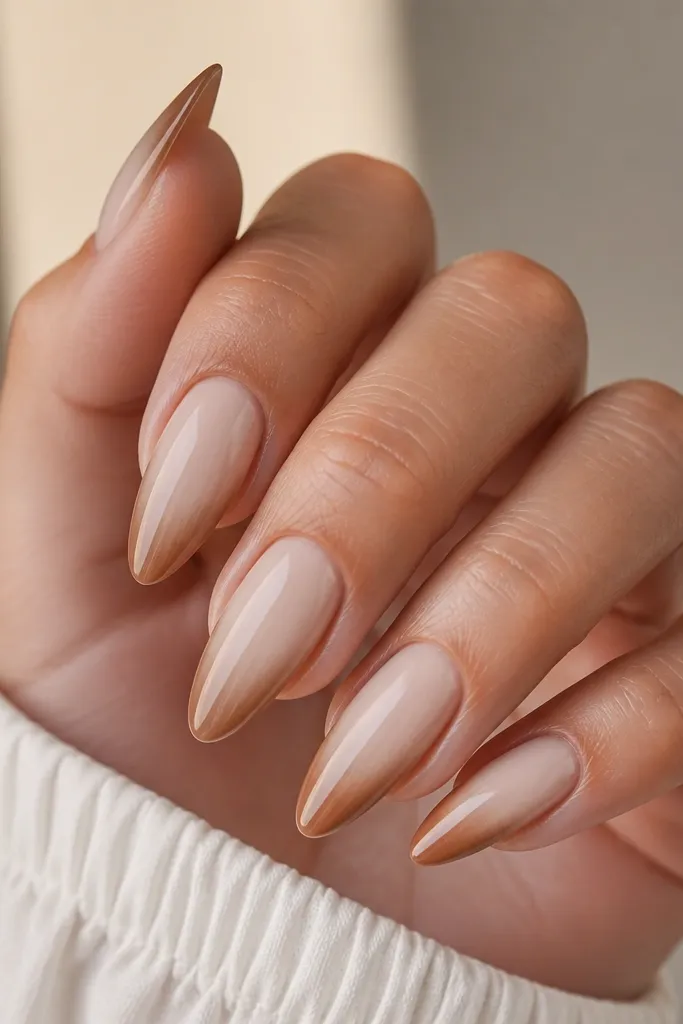
Gradient tips look more expensive than flat tips because you get depth at the free edge. The warm brown fades into the nude, so it never looks like a hard sticker line. This is the prettiest option if you hate crisp lines but still want a French vibe.
Base: creamy nude, two coats. For the gradient, sponge a small amount of light brown starting at the outer tip edge and blend inward toward the smile. Work in thin layers and cure between steps. Finish glossy so the gradient looks smooth.
Pro tipUse a makeup sponge corner and press lightly. Too much pressure lifts pigment and creates streaks.
Watch outDon't blend too far down - if the brown reaches the middle of the nail, it stops reading French.
10. Reverse French with Light Brown Outline
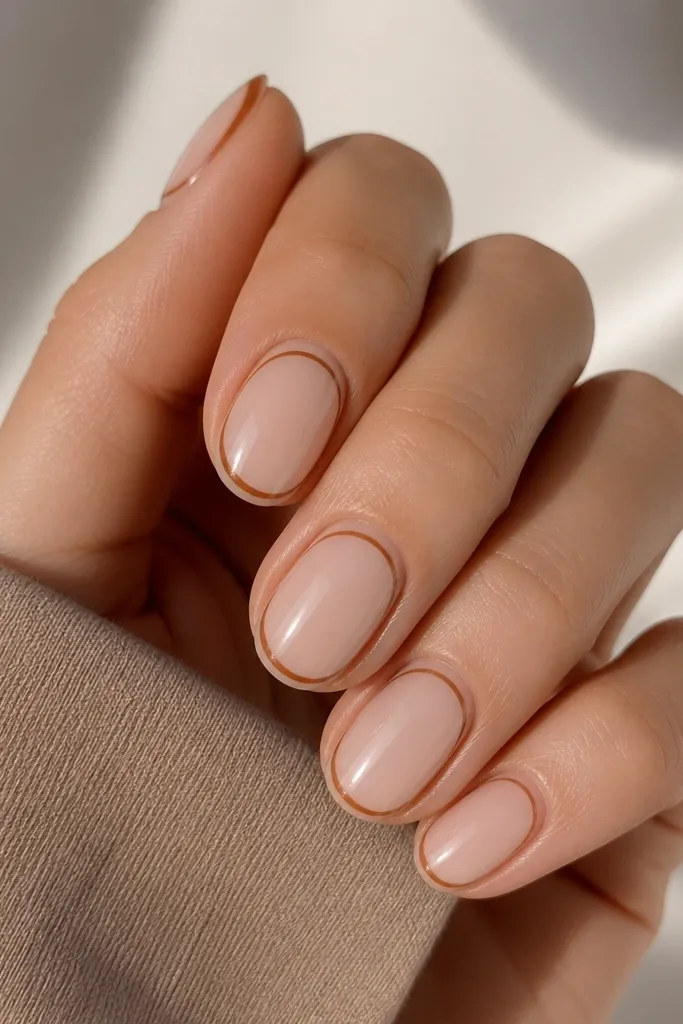
Reverse French flips the placement and makes light brown feel fresh again. The outline gives structure, while the nude fill keeps it soft. I like this for my hands when regular French tips start to feel too expected.
Paint a milky nude base. Then draw a thin light brown line following the tip curve on the free edge - just the outline. Add a second thin line near the cuticle if you want symmetry, keeping the lower line smaller.
Pro tipUse a French guide sticker to place the outline, then paint over it and remove the guide right away.
Watch outAvoid thick outlines - they turn reverse French into a boxed shape.
11. Light Brown French with Tiny Cuticle Dot
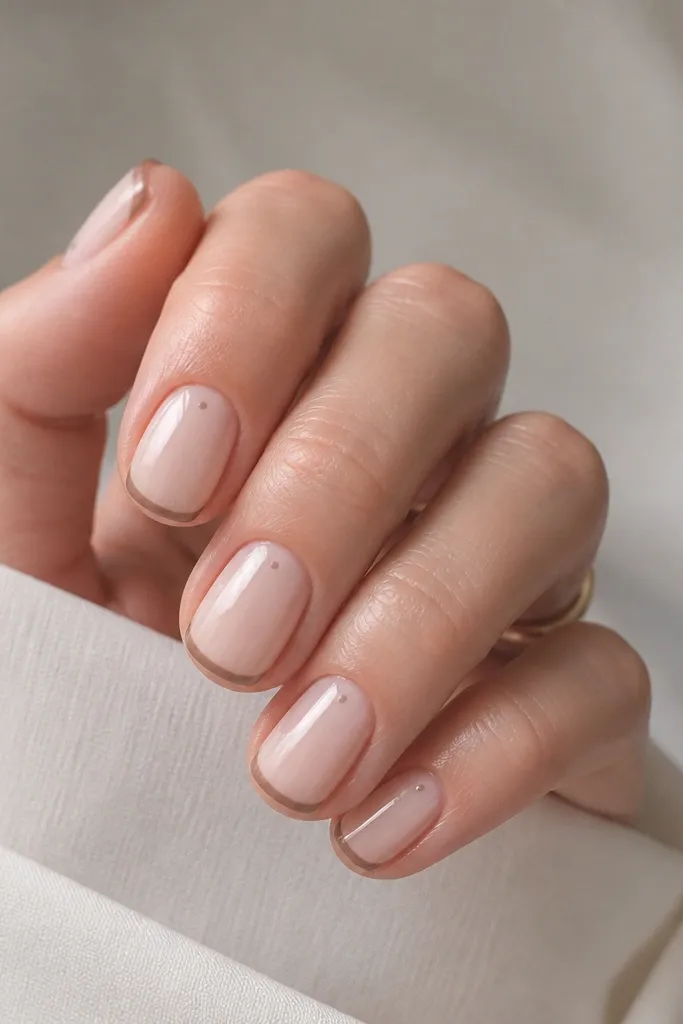
The dot is small, but it makes the set look designed. It draws the eye to the center of the nail and balances the tip so the look doesn't feel top-heavy. I use a slightly deeper brown for the dot so it pops without turning into a contrasting color.
Do your base and thin light brown tip first. Then place one dot centered on the cuticle area, about 0.5 mm wide. Cure and seal with top coat.
Pro tipDip your dotting tool in a tiny amount of gel. If gel gathers, the dot spreads and looks like a blob.
Watch outDon't put the dot too low - it can look like a stain instead of a design.
12. Chocolate Latte French with Negative Side Lines
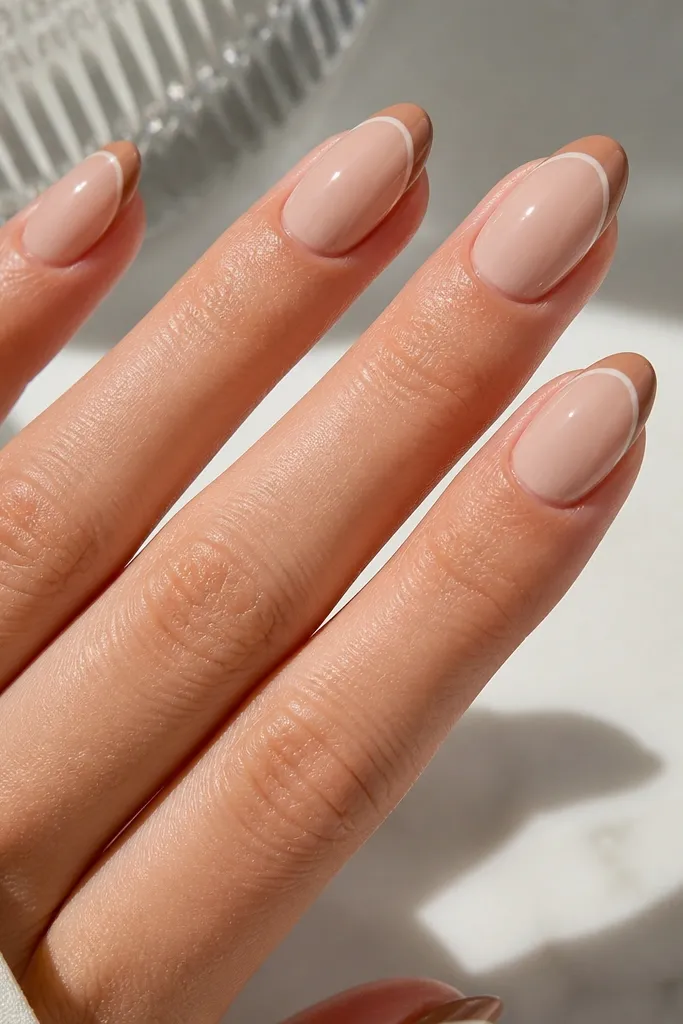
Negative side lines make the nail look longer and slimmer. The light brown tip stays the main event, while the side gaps add shape control. This is a great option if your nail beds are shorter and you want extra visual length.
Base: milky nude. Paint the light brown tip normally. Then use striping tape to create two narrow gaps on each side from just below the smile line down a few millimeters. Paint over the remaining side areas and remove tape after curing.
Pro tipKeep the side gaps consistent width across nails - your eye catches uneven lines fast.
Watch outDon't widen the gaps - too much negative space looks incomplete.