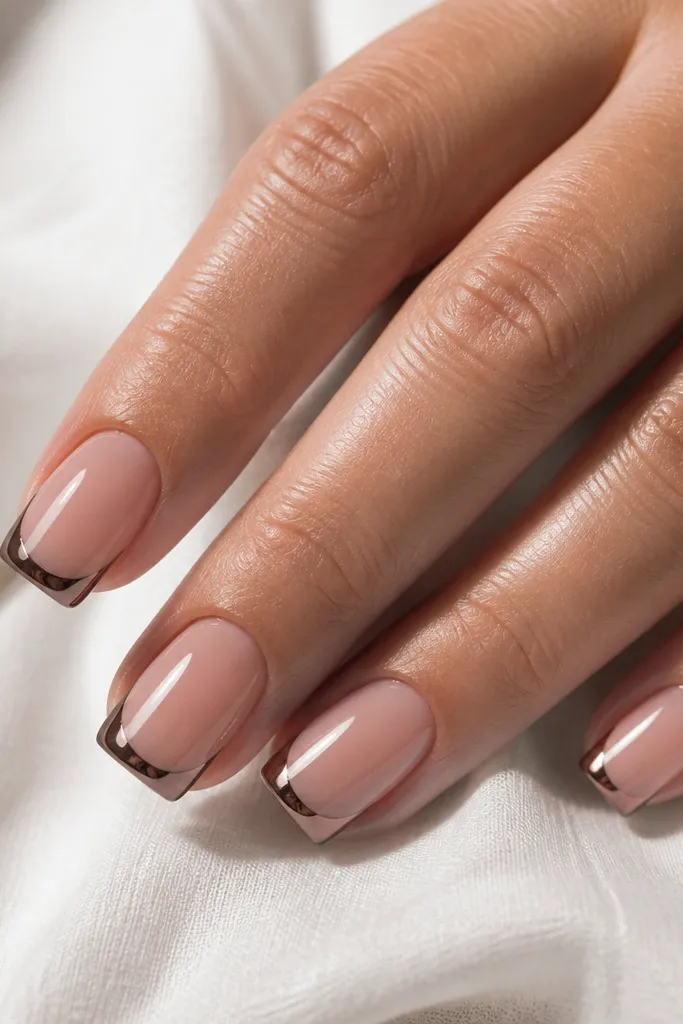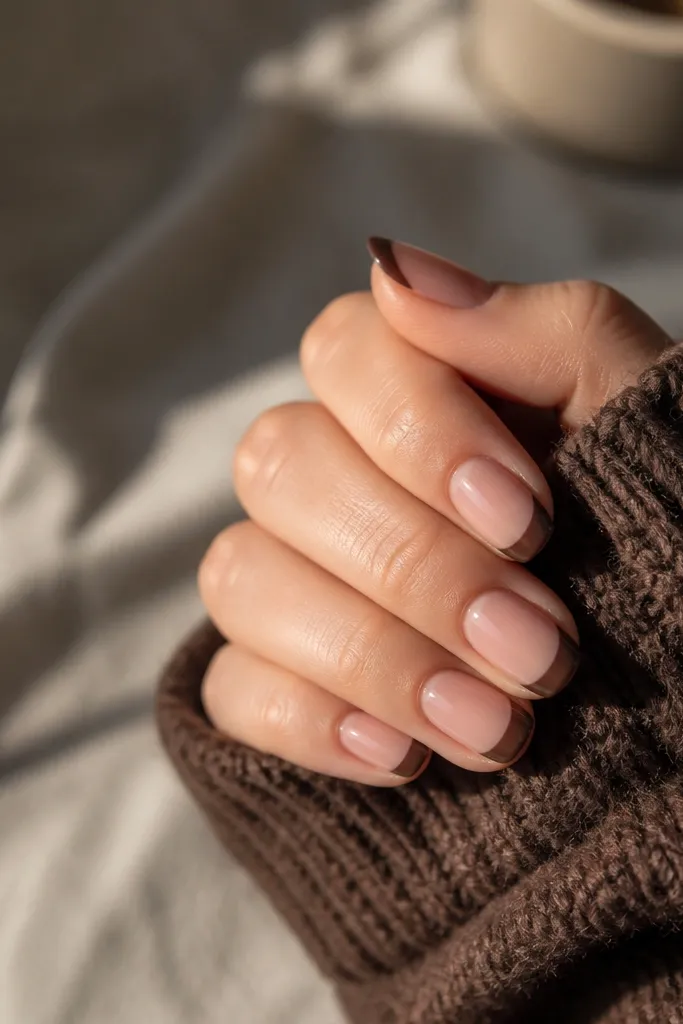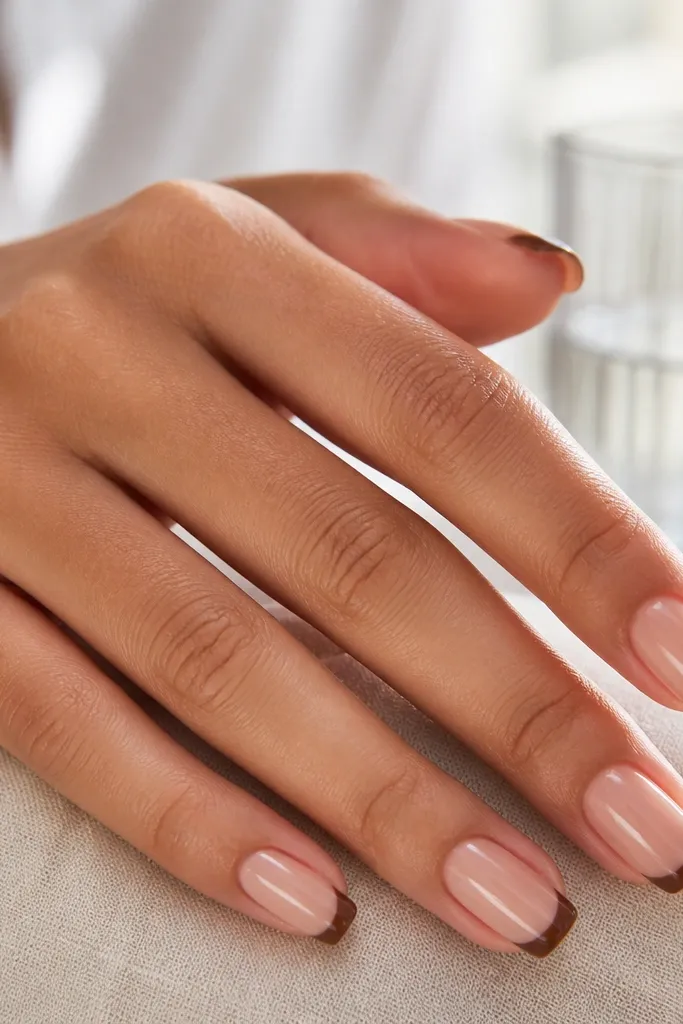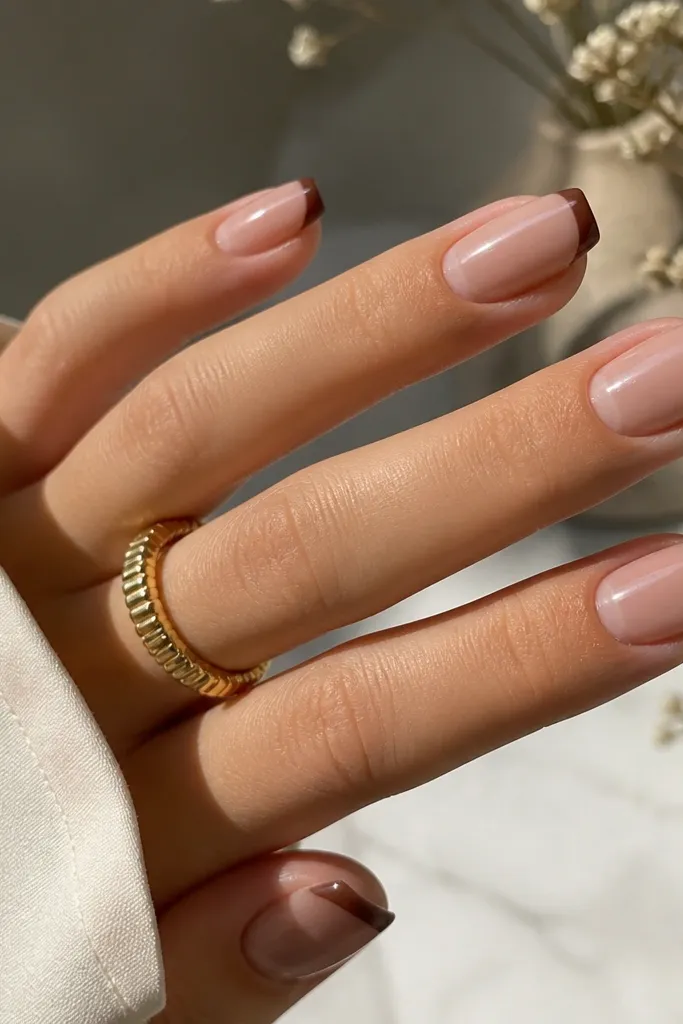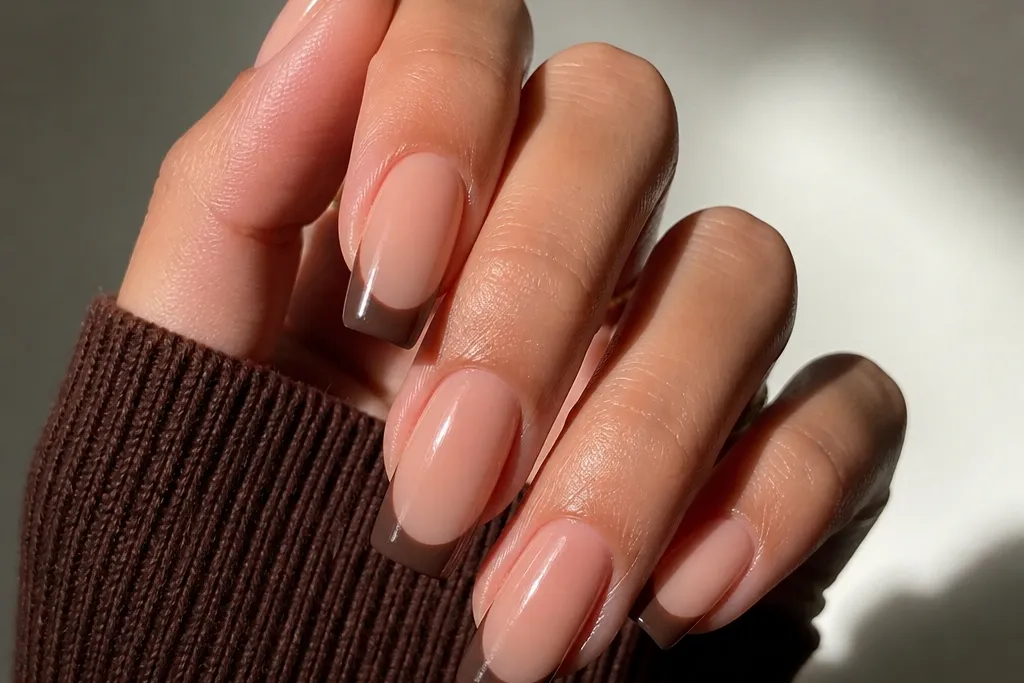
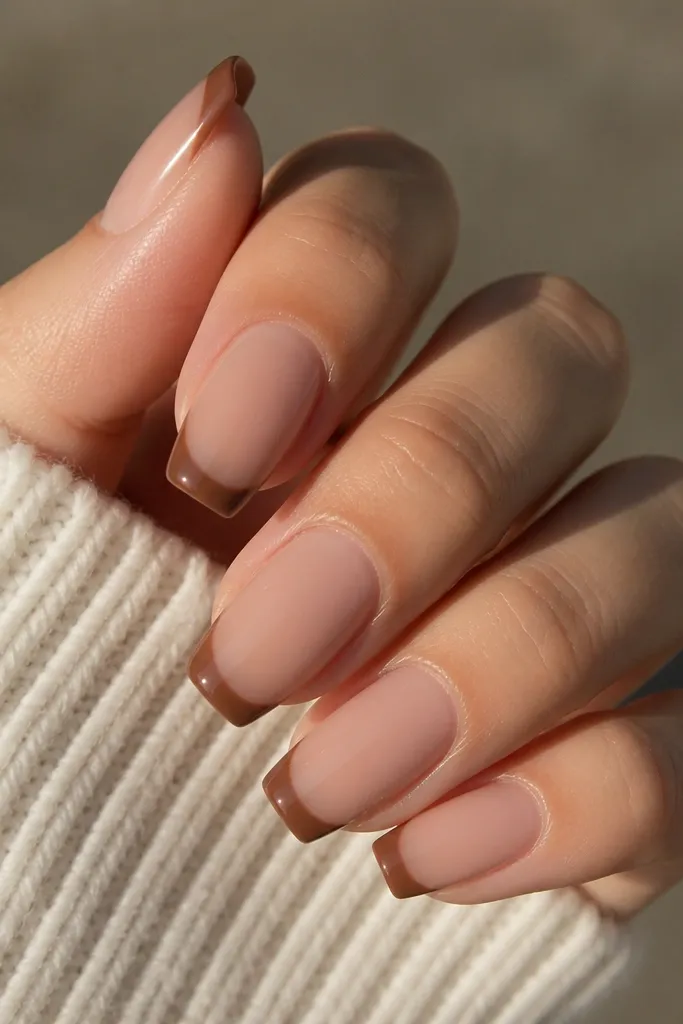
1. Caramel Latte French Tips on Nude Base
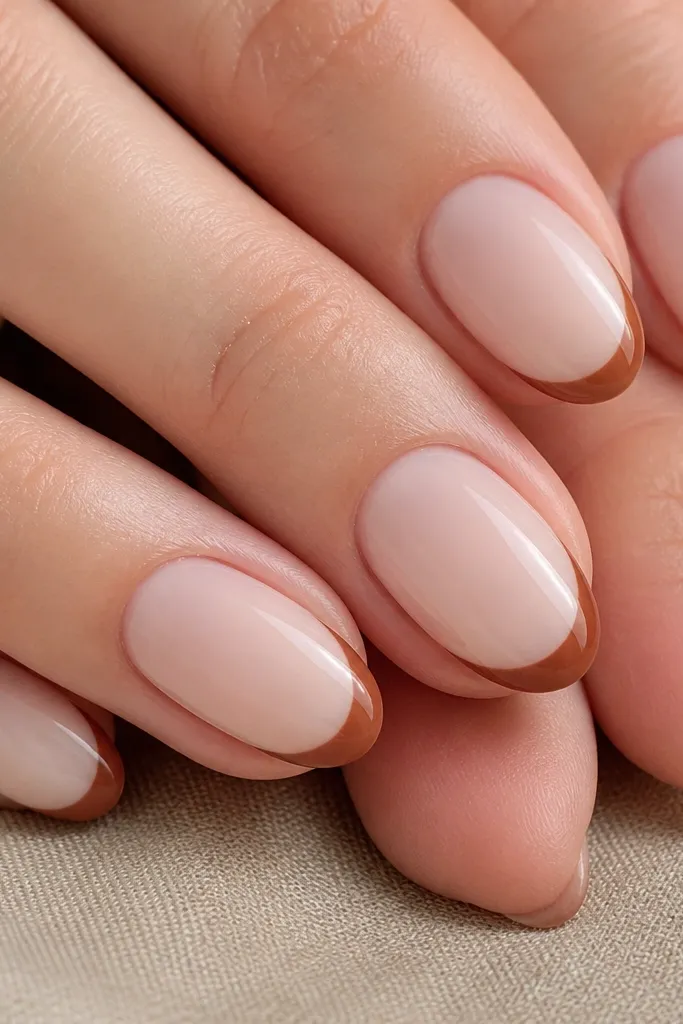
This look uses a warm caramel brown that reads creamy instead of flat. The nude base is milky and opaque, so the brown line stays bright and doesn't sink into the nail. Keeping the tips thin makes the nails look longer and more expensive, especially on shorter lengths.
Use a nude acrylic or builder gel in a creamy beige-milk tone, then paint a caramel-brown tip with a striping brush. Shape the tips so they follow the natural smile line, not a thick arc. This is perfect for everyday wear and office outfits.
Pro tipAfter you paint the brown, run a tiny brush dipped in clear top coat along the edge to "lock" the line.
Watch outDon't use a dark brown on a sheer nude base - it turns streaky fast.
2. Toasted Tan French Tips with Micro-Gloss Border
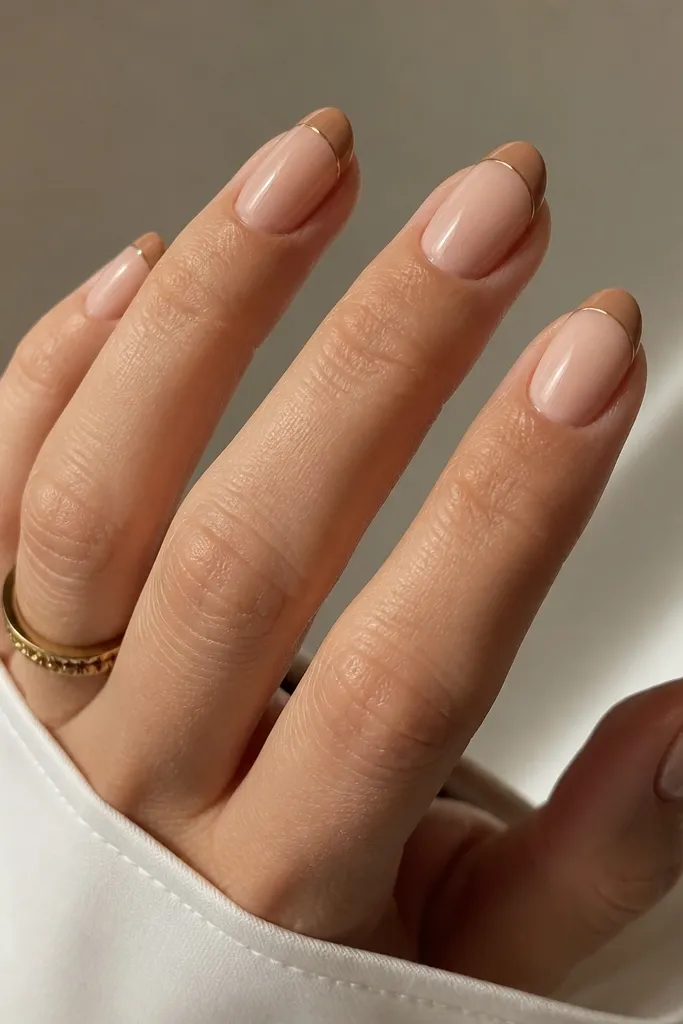
The toasted tan is lighter than you think, so it stays wearable and doesn't overpower your whole hand. The micro-gloss border gives the tip a finished, pro look without adding glitter. You get dimension from finish contrast: matte or satin brown plus a clean glossy edge.
Start with a nude base in a satin finish (or apply top coat then lightly buff). Paint the French tip in toasted tan, then add a super thin line of clear gel/top coat right at the tip boundary. Cure and seal all edges thoroughly.
Pro tipUse a nail art tape strip to mark the boundary for the brown, then remove it right after painting.
Watch outSkipping edge sealing makes the border lift and look messy after a few days.
3. Classic Chocolate French Tips on Sheer Pink Nude
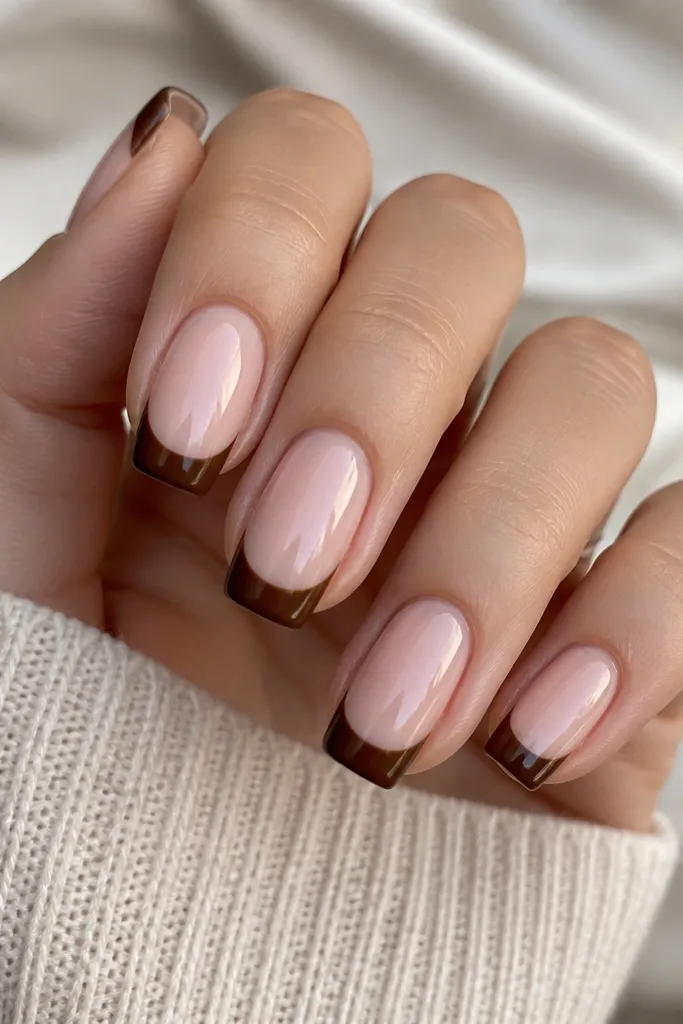
Chocolate brown on a sheer pink nude gives that timeless, "real French manicure" vibe - just warmer. The key is opacity: the brown should be one smooth layer, not watery. Squoval shape helps the thicker tips look balanced instead of chunky.
Apply a sheer pink nude acrylic or gel base, then build the tip in chocolate brown with a fine brush. Keep the tip centered and slightly rounded at the sides. This one looks great with gold rings and knit sweaters.
Pro tipIf your brown looks too streaky, do two thin coats instead of one thick coat.
Watch outDon't paint the tip too close to the cuticle - it can look like a halo ring.
4. Espresso French Tips with a Thin Nude Gap
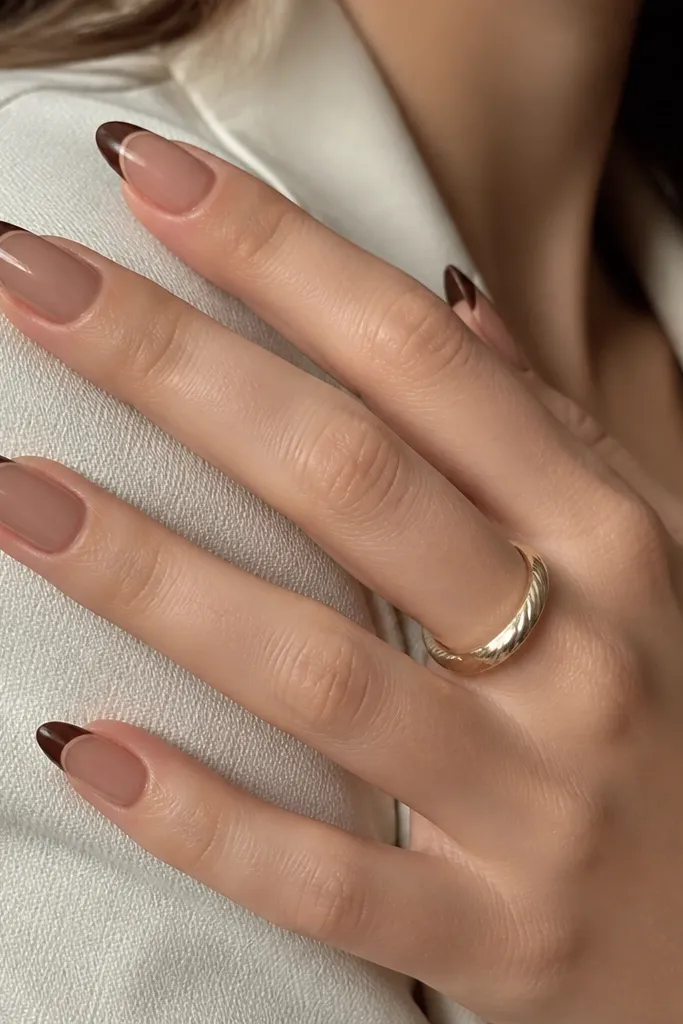
That tiny nude gap makes the French line look crisp and intentional, like a negative-space manicure. Espresso is deeper and a bit cooler, so it needs the gap to prevent it from looking heavy. This style looks sharp on almond and long squoval because the line has room.
Use an opaque nude base, then place a small strip of nail tape along where you want the gap. Paint the espresso tip up to the tape edge, remove tape while the polish is still tacky, then top coat. Keep the gap about 0.5-1 mm.
Pro tipUse a striping brush to clean both tip corners after the tape comes off.
Watch outDon't eyeball the gap on each nail - measure once with your tape width.
5. Mocha French Tips with Half-Moon Cuticle Accent
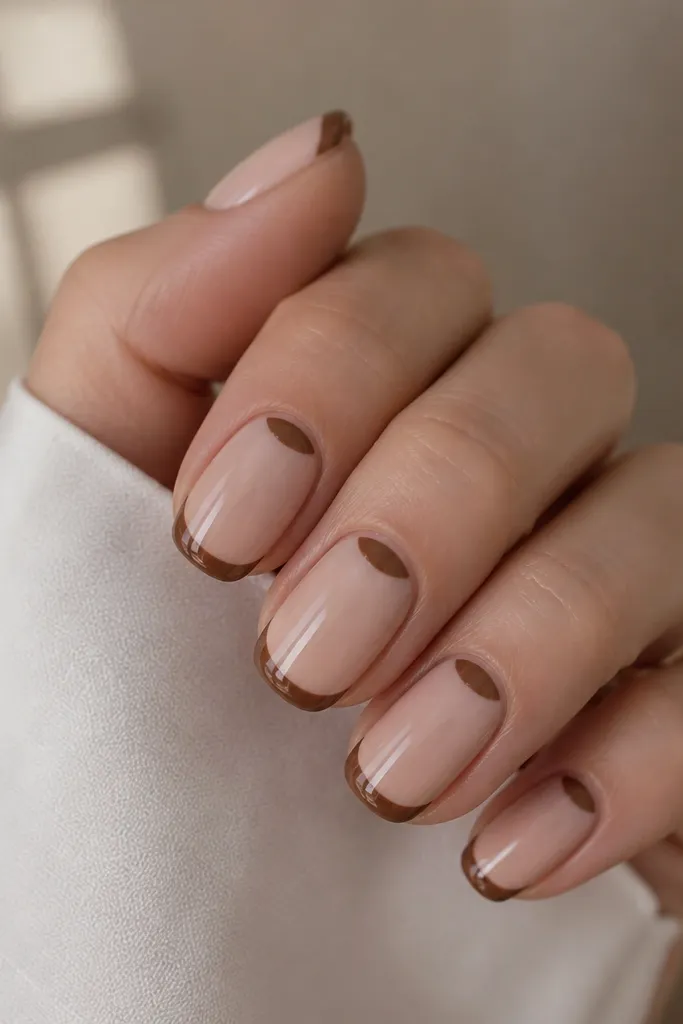
This is the easiest way to make brown French tips feel "designed" without adding a bunch of extras. The half-moon accent mirrors the tip shape and makes the manicure look cohesive. Mocha is a mix of beige and brown, so it flatters skin tones and doesn't look harsh.
Paint the French tip in mocha brown, then use a dotting tool to place a small half-moon at the cuticle center only. Keep the half-moon small - about the size of a sesame seed. Seal with a glossy top coat for a clean finish.
Pro tipDo the cuticle half-moon first on a practice nail so you get the size right before you commit.
Watch outSkipping a small size check makes the half-moon look like a stain.
6. Caramel Swirl Outline French Tips
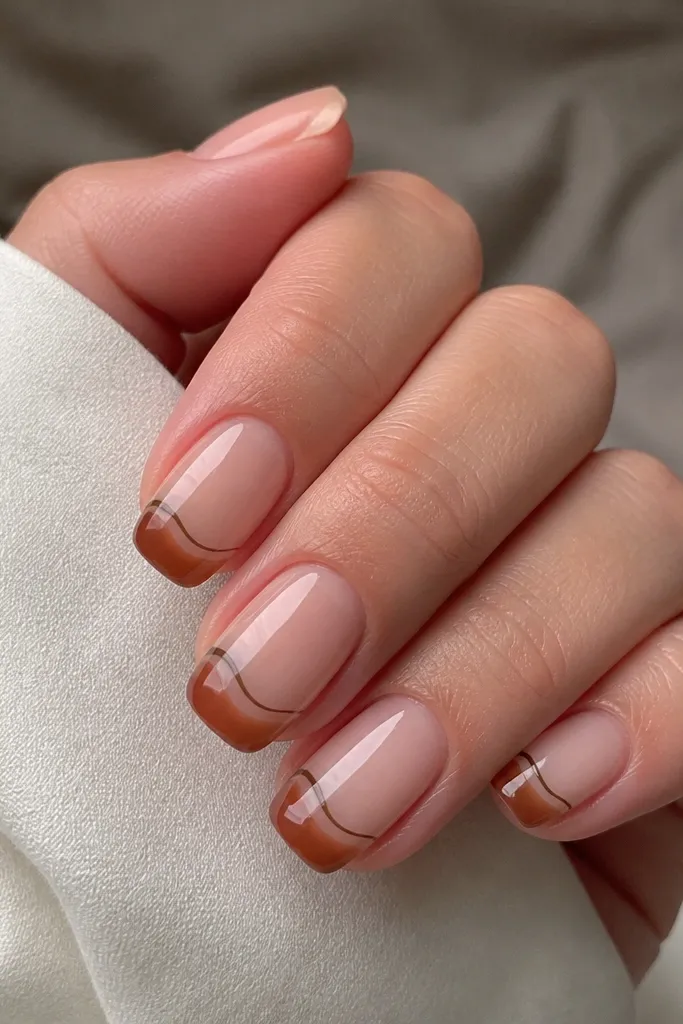
Instead of filling the tip solid, you outline it with a caramel swirl line. That gives movement and keeps the manicure light, even with brown. The nude base does the heavy lifting, so your hands look fresh rather than heavy.
Paint a thin caramel outline along the tip boundary with a liner brush. Add a tiny swirl at the center of each tip, then top coat. Keep the outline about 1 mm thick so it doesn't look like a thick marker line.
Pro tipUse a brush with a sharp point - if the bristles flare, the line will look uneven.
Watch outDon't fill the entire tip with outline - it defeats the airy look.
7. Matte Cocoa French Tips with Gloss Smile Line
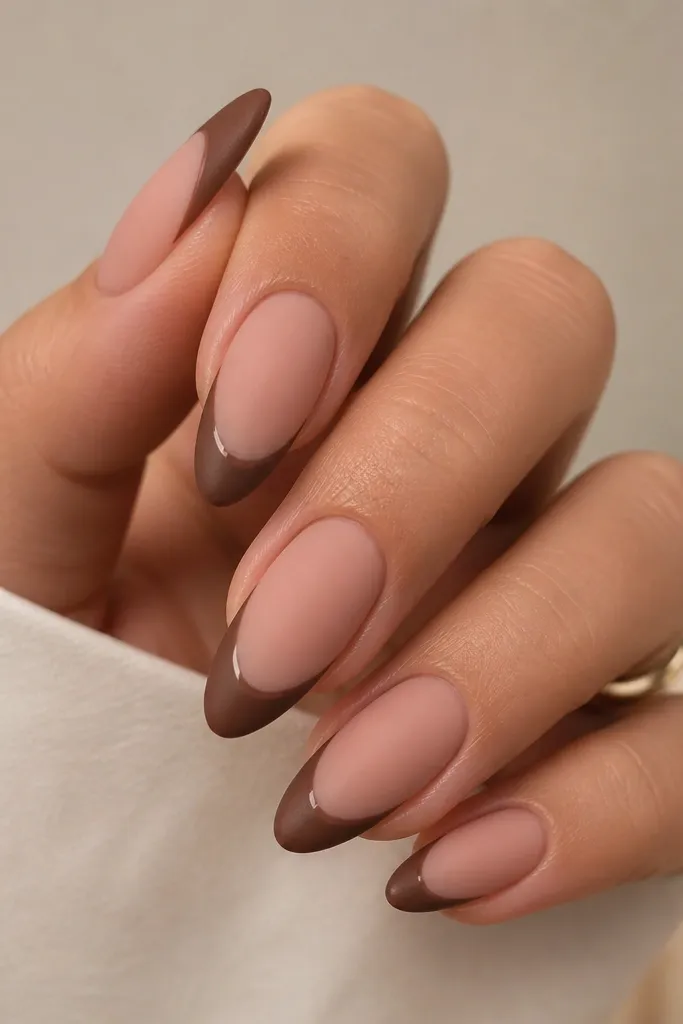
This finish combo looks expensive because it creates a highlight exactly where your eyes land. Matte cocoa hides small imperfections in the tip edge, while the glossy smile line makes it look intentional. I like this for winter because matte brown looks warmer than glossy.
Build your nude base and apply matte top coat to the base only. Paint cocoa French tips and keep them matte, then add a thin glossy smile line with clear gel. Cure, then seal everything with matte-friendly top coat on the tip surface.
Pro tipIf you only have one top coat, do glossy first, then matte only on the tip face - keep the smile line glossy.
Watch outDon't make the whole nail glossy and matte - it looks patchy if your top coat layers aren't controlled.
8. Shiny Cinnamon Brown French Tips on Clear Nude
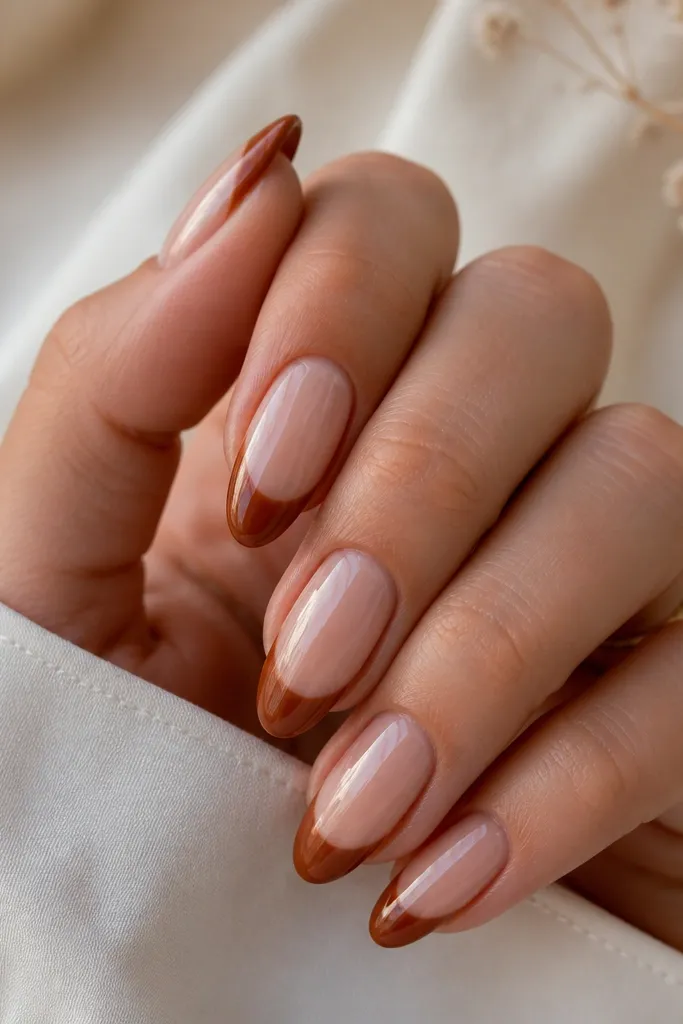
Cinnamon brown has a reddish warmth that looks great when the nails are glossy. Clear nude makes the brown pop because the tip is the main color. This is the best option if your skin tone leans warm or golden.
Use a clear pink or builder gel that looks like "soft glass," then paint the cinnamon tips. Keep the tips slightly thicker than a classic French - around 2-2.5 mm - so the cinnamon stays opaque. Seal with a high-shine top coat.
Pro tipAfter top coat, wipe nails with alcohol wipe to remove tacky residue so the shine stays mirror-like.
Watch outDon't use a flat top coat - cinnamon can look dull and chalky.
9. Brown French Tips with Tiny Gold Foil Flecks
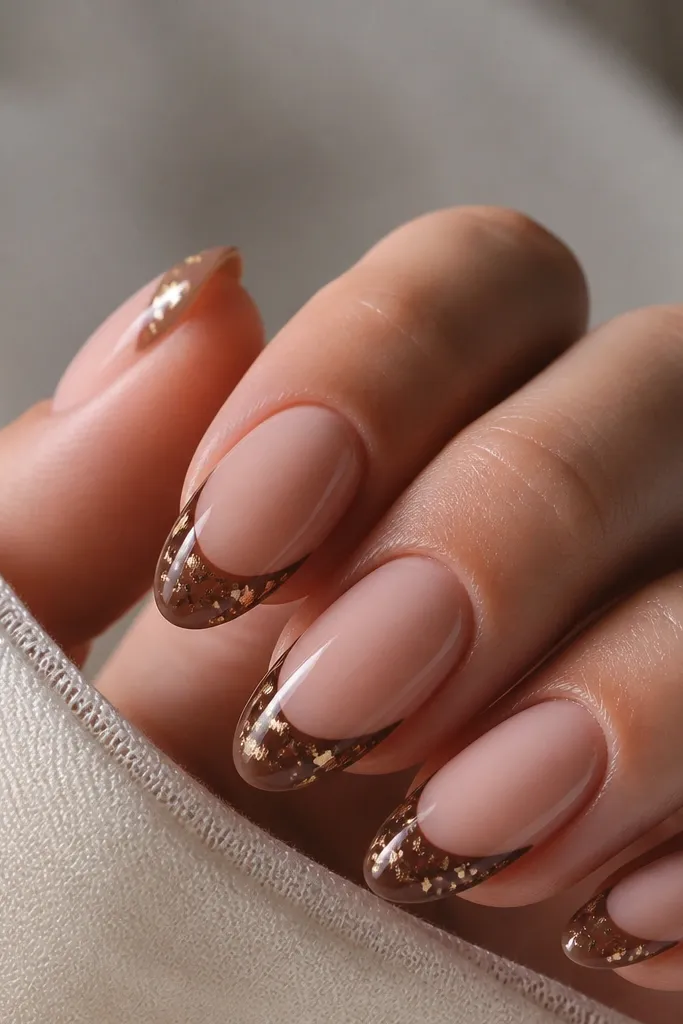
A few foil flecks keep the manicure from looking plain without turning it into chunky glitter. Chocolate brown is the perfect background color for gold, so the flecks look like natural highlights. The trick is placement - keep flecks mostly near the tip center.
Paint the brown tip first and let it set. Dab tiny pieces of gold foil into the tacky brown area, then add a thin top coat over the foils so they don't snag. Keep foils sparse on short nails.
Pro tipPress foil in with a silicone tool or the back of a spoon so it lays flat.
Watch outDon't cover the whole tip in foil - it reads messy at this length.
10. Taupe Brown French Tips with Micro Glitter Fade
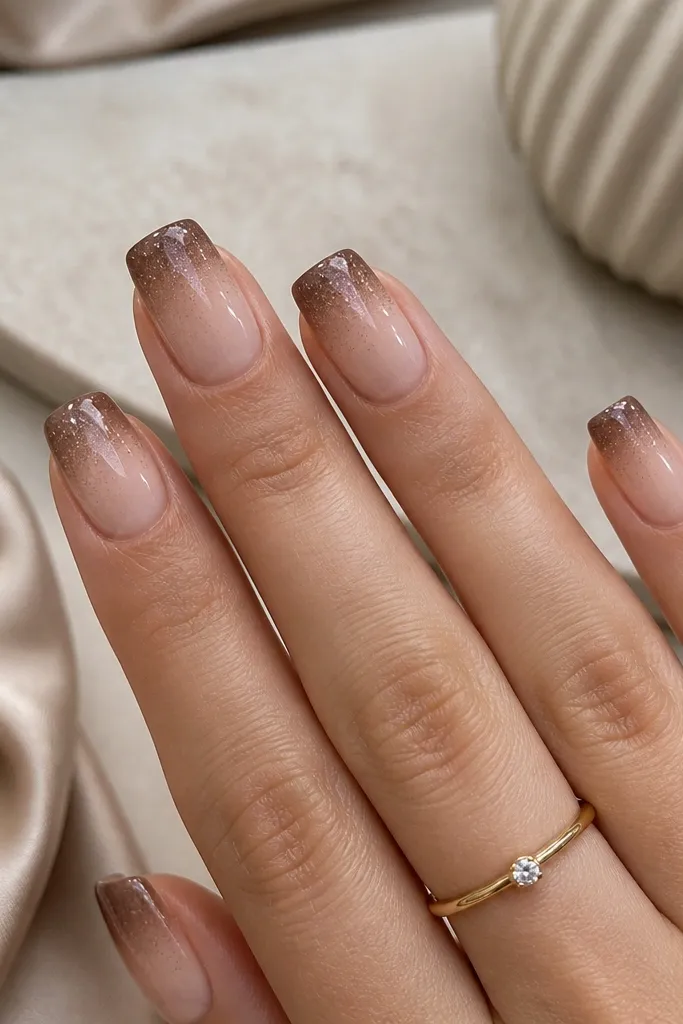
Taupe is the "safe brown" when you don't want anything too warm or too dark. The micro glitter fade adds sparkle right at the tip so the rest stays clean. This is flattering for photos because the glitter catches light without looking chunky.
Use a taupe acrylic or gel for the tip, then sponge a tiny amount of fine brown-tan micro glitter at the inner edge of the tip. Blend it with a small brush so it fades, then top coat. Keep glitter only on 10-15% of the nail surface.
Pro tipUse a makeup sponge cut into a small triangle - it gives a soft fade instead of a glitter line.
Watch outDon't use chunky glitter; it makes the fade look like a mistake.
11. Two-Tone Brown French Tips (Caramel + Espresso)
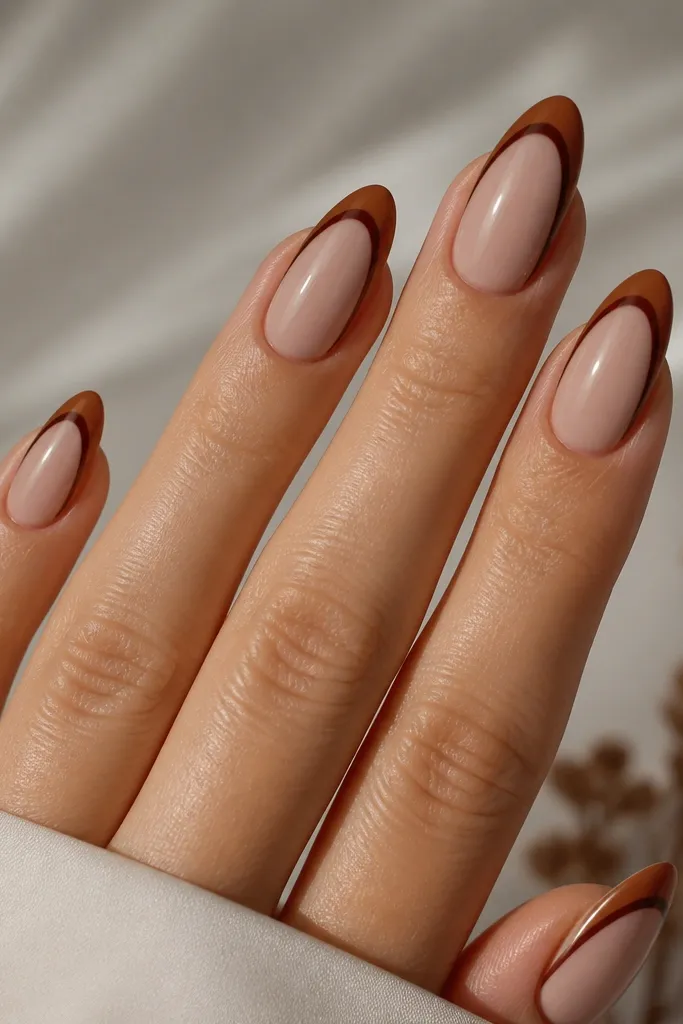
Two-tone tips look high-end because your eye sees layers, not one flat color. Caramel as the outer color keeps it warm and friendly, while espresso as the inner line adds structure. This works especially well if you're doing longer nails and want extra definition.
Paint the full tip in caramel brown. Then add a thinner inner line in espresso starting from the center and pulling to the sides. Keep the inner line about half the width of the outer tip.
Pro tipLet caramel fully cure before adding espresso so the colors don't smear together.
Watch outDon't make the two tones the same thickness - the effect disappears.
12. Reverse French Tips with Brown Smile Underneath
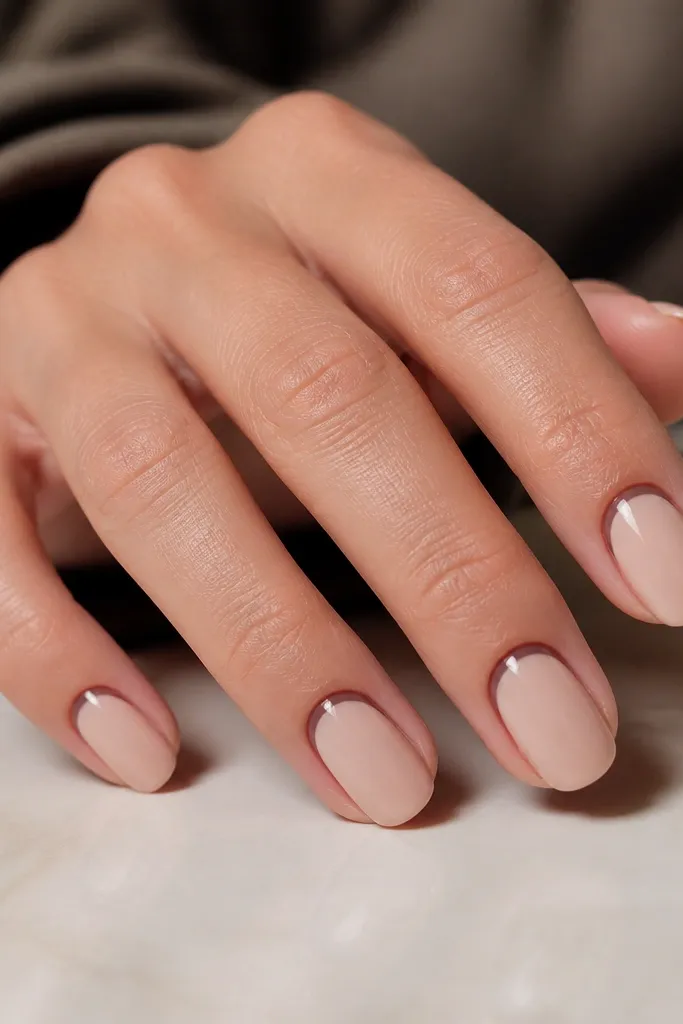
Reverse French flips the look so the brown sits at the cuticle instead of the tip. It's a great choice when you don't want to paint a perfect tip line on every nail. Brown at the cuticle also makes the nail look longer by framing the nail bed.
Apply a nude base, then paint a curved brown smile line right above the cuticle - about 1-2 mm tall. Keep the smile thin and centered. Finish with glossy top coat to smooth the curve.
Pro tipUse a thin strip of tape to guide the curve - remove it before the gel fully sets.
Watch outDon't press the line too close to the cuticle edge or it will lift first.