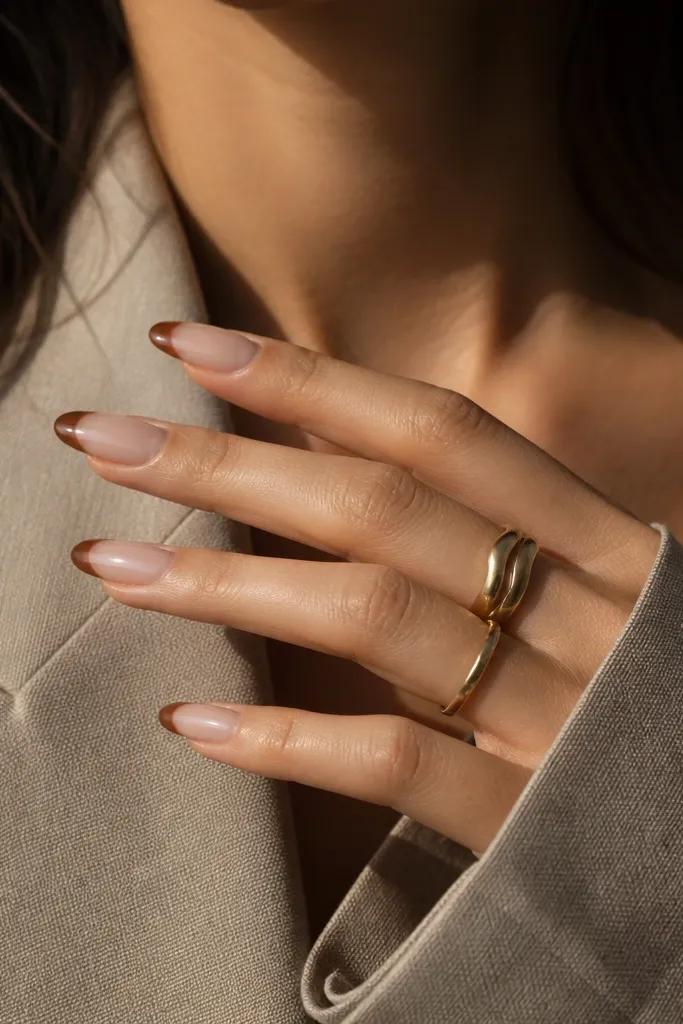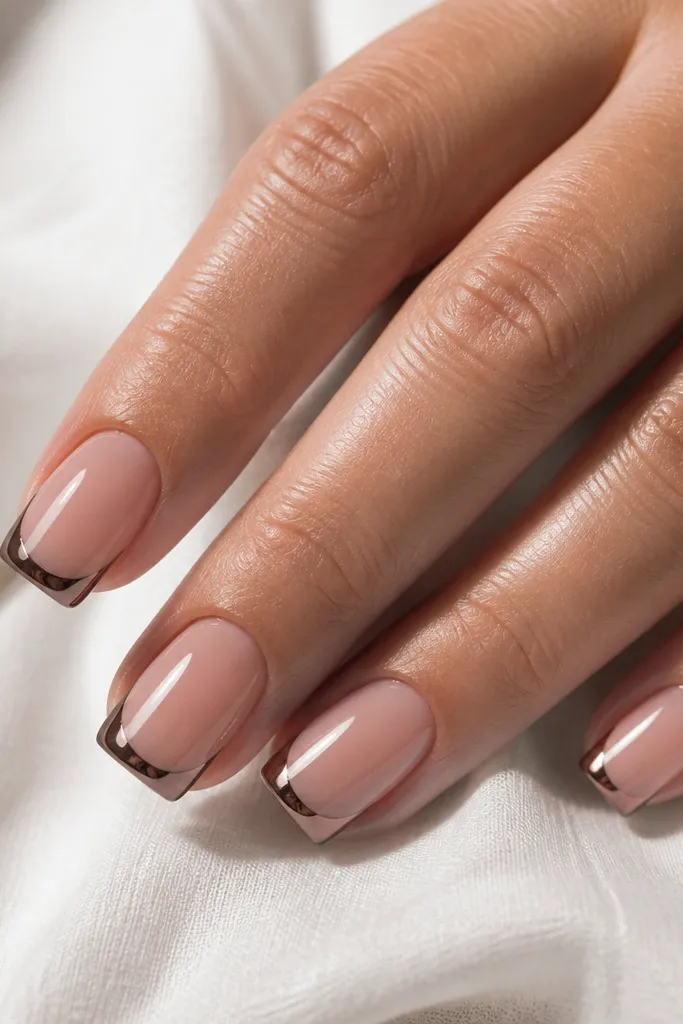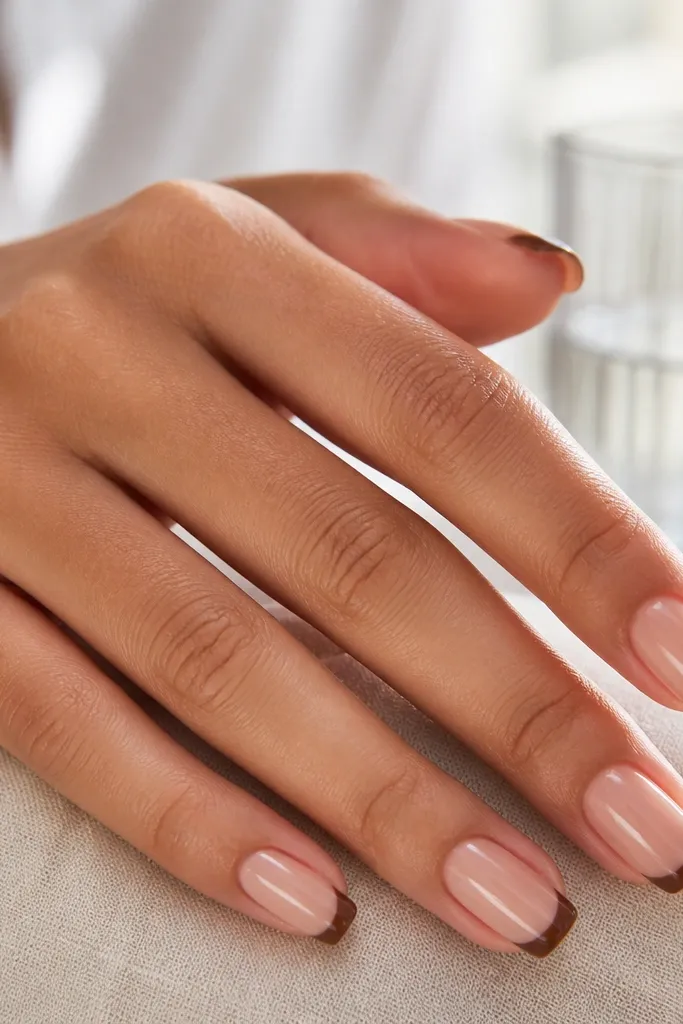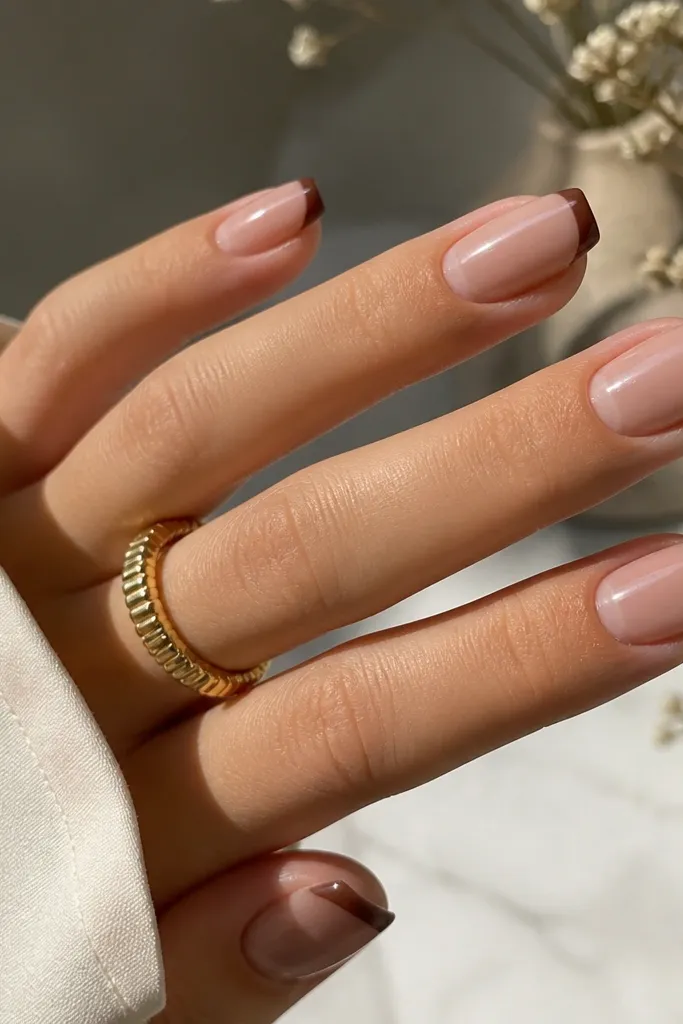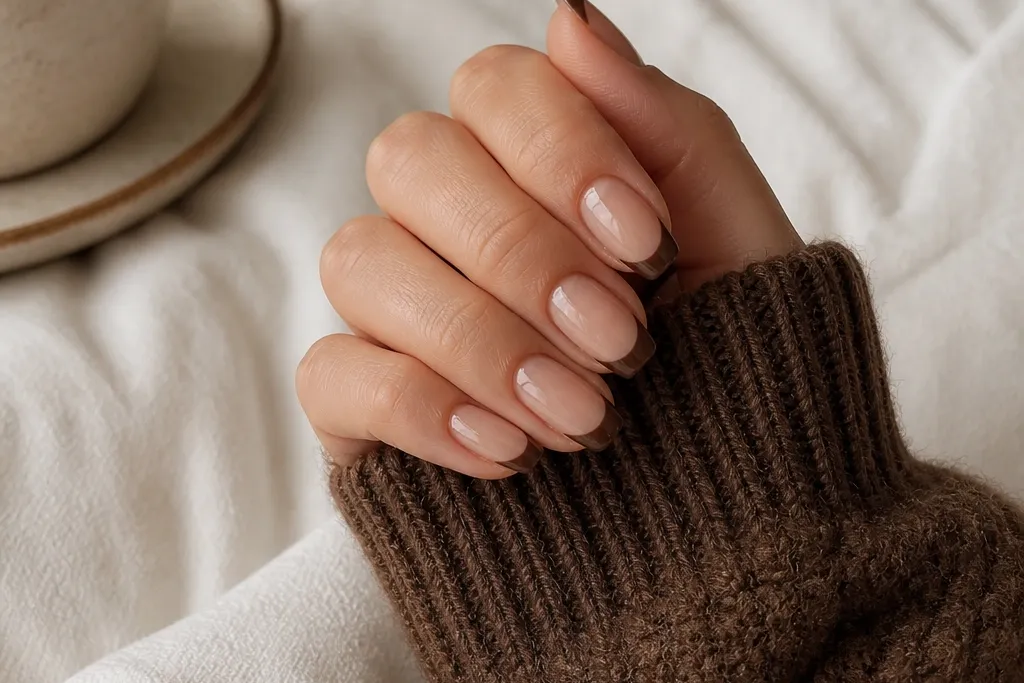
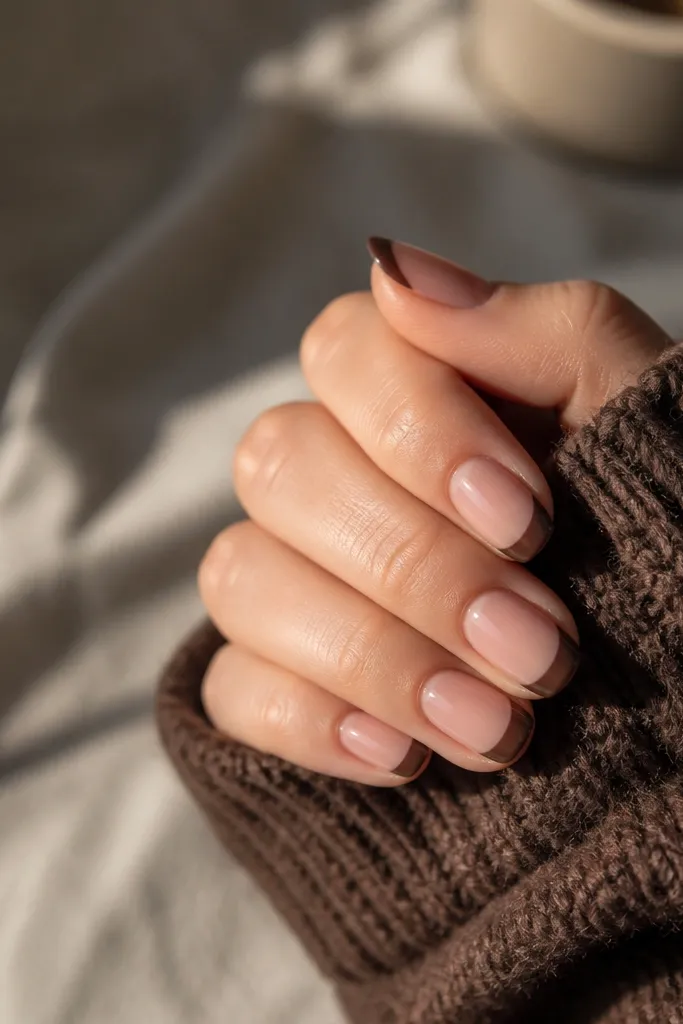
1. Latte Sheer Almond with Classic Chocolate French
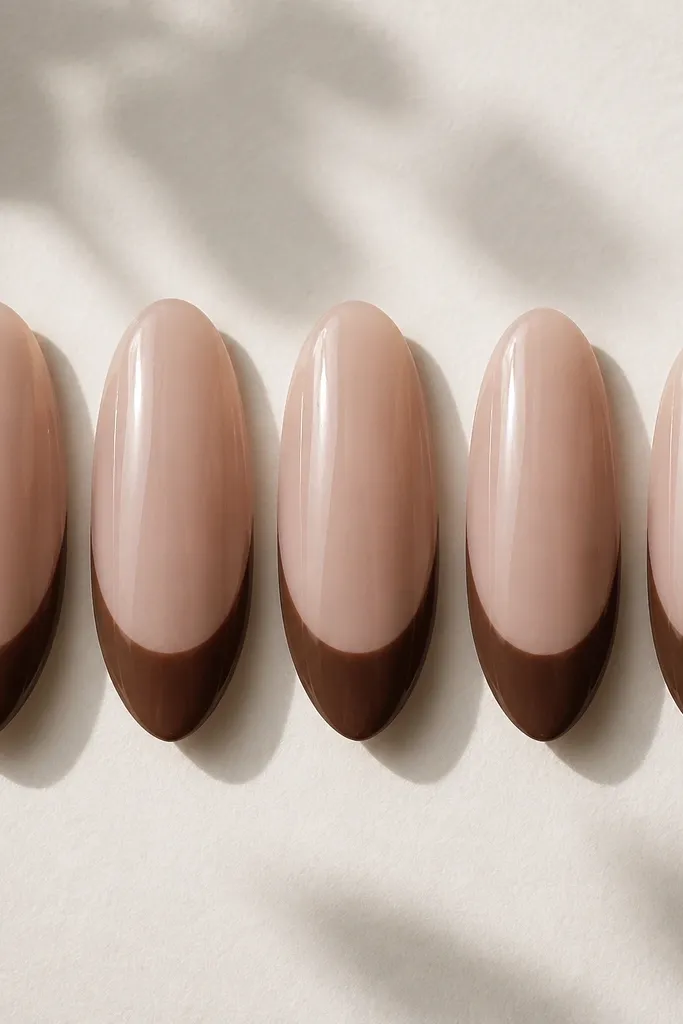
This is the version I reach for when I want "cozy but polished" without extra art. The sheer latte base lets your nail show through just enough, and the chocolate french reads warm against it. I keep the tip arc crisp so it looks intentional even when the nails are short. Gloss makes the brown look like it has depth, not flat paint.
Shape is almond with a soft taper, not pointy. Tip width lands around 2 mm at the widest point. Use a gel brown that leans red-brown, then apply two thin coats for opacity. Finish with regular high-shine topcoat for that café-mirror look.
Pro tipWhen you paint the tip, start with the center line first, then drag left and right to meet it - it keeps the arc symmetrical.
Watch outDon't paint the brown too thick on the first pass or the line will look bumpy and amateur.
2. Velvet Matte Chocolate French with Nude Blush Base
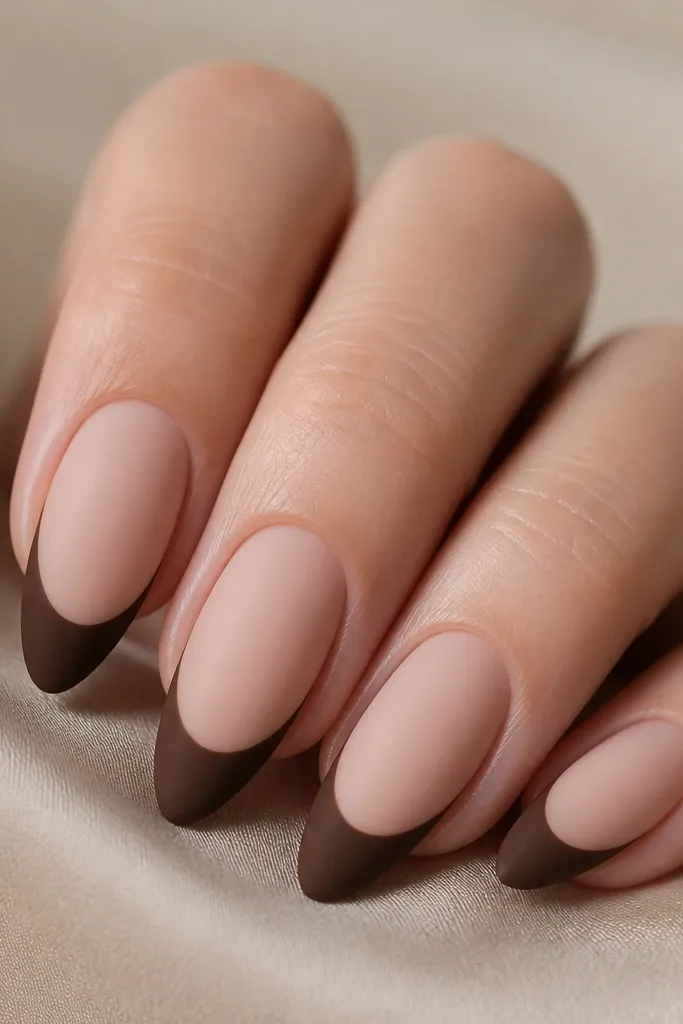
Matte is the fastest way to make french tips feel cozy instead of formal. The blush base stays light so the brown reads warm, not gloomy. Matte also hides tiny imperfections along the tip edge, which matters if you're doing this at home. This look feels like a warm sweater for your hands.
Keep the tip width a touch narrower, around 1.5-2 mm, so matte doesn't look heavy. Apply the brown in two thin layers, then topcoat with a true matte topcoat. If your matte topcoat dries patchy, do fewer brush strokes and let it level.
Pro tipAfter curing your matte topcoat, wipe with alcohol and re-check the tip edge under a lamp - matte shows streaks more clearly than gloss.
Watch outSkip glossy topcoat over matte tips or the cozy look turns into shiny "regular french."
3. Chocolate French with Micro-Glitter Edge
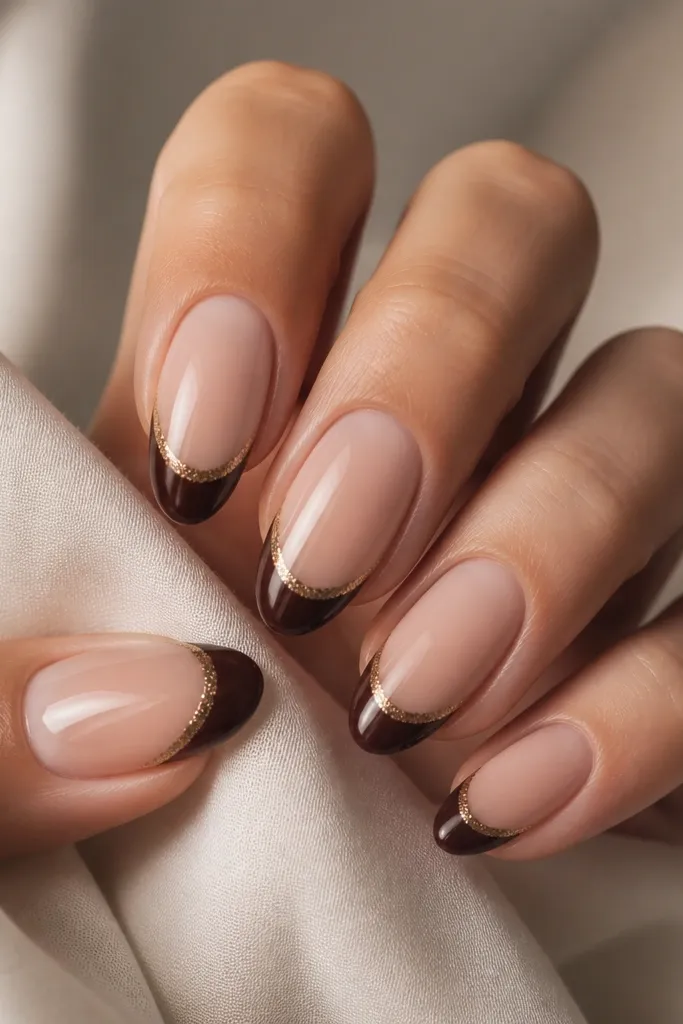
This is the easiest way to dress up french tips without turning them into full-on nail art. The chocolate brown gives the cozy foundation, and the micro-glitter only sits on the edge so it catches light when you move. It looks expensive because the glitter is controlled - no chunky scatter. Works great for holiday parties and date nights.
Paint a normal chocolate french first. Before topcoat, place a thin line of fine brown-gold glitter along the outer curve using a striping brush. Seal with glossy topcoat so the glitter looks smooth, not gritty.
Pro tipUse a flat detail brush and press lightly - glitter lines look cleanest when you don't drag through the wet gel.
Watch outDon't put glitter all the way to the inner edge or it blurs the french line.
4. Reverse French Outline in Cocoa Brown
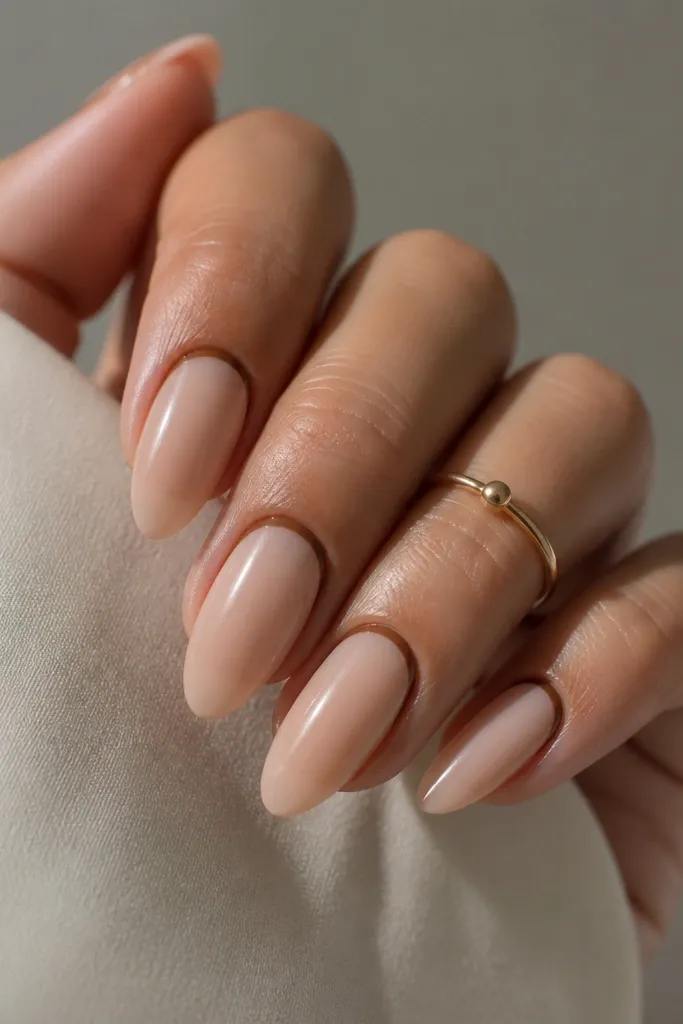
Reverse french makes the almond shape look sharper while keeping the nail mostly clean. The cocoa outline frames your cuticle and gives structure even if your tip application isn't perfect. It also looks very flattering on short almonds because the design uses the top half less. The contrast is subtle, not loud.
Start with a sheer nude base, then outline the cuticle curve with a thin chocolate-brown stripe. Keep the outline about 0.5-1 mm thick. Finish with glossy topcoat so the line stays crisp.
Pro tipUse a small dotting tool to place three guide points around the cuticle curve, then connect them with the striping brush.
Watch outDon't extend the outline too far down the sides or it can make your cuticle look messy.
5. Ombre Fade into Chocolate Tips
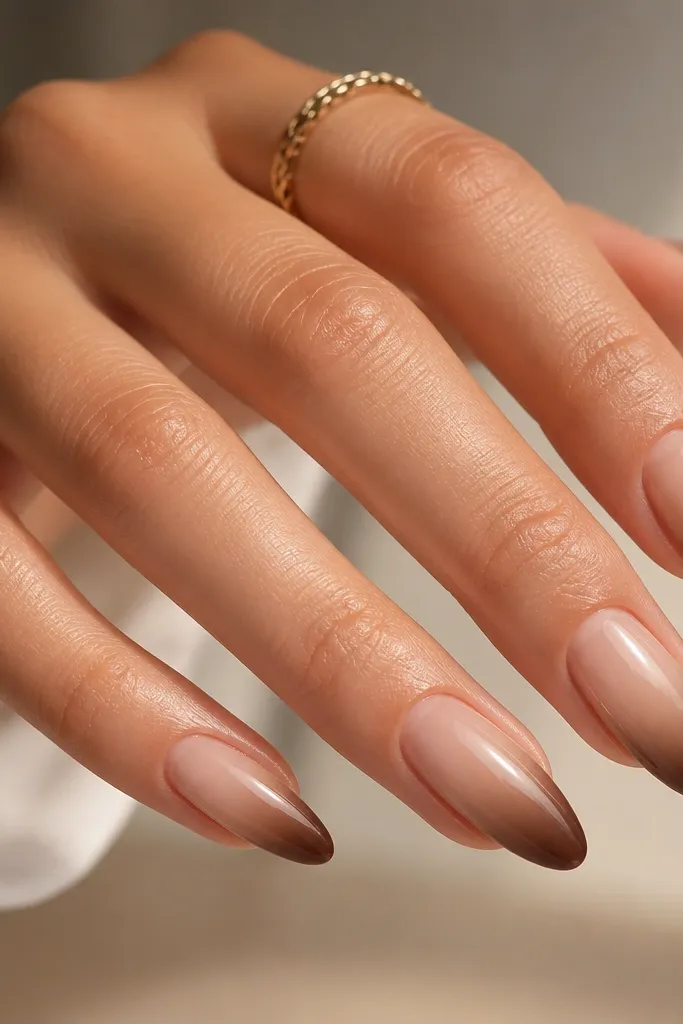
A soft ombre french feels cozy because it looks like melted chocolate, not a hard painted line. You still get that french silhouette, but the gradient makes it more forgiving if your arc isn't perfectly even. This one looks amazing when your nails have slight ridges because the gradient draws the eye away. It reads warm and smooth in photos.
Use a sponge to blend: first apply a sheer nude base, then dab chocolate brown at the tip edge and blend upward 1-2 mm. Cure between steps if your gel system needs it. Seal with glossy topcoat to even out the surface.
Pro tipTap the sponge off on a paper towel first so you don't get a harsh blob at the tip.
Watch outSkip blending too high - if the ombre climbs past the middle, it stops looking like french.
6. Caramel Chrome French on Almond
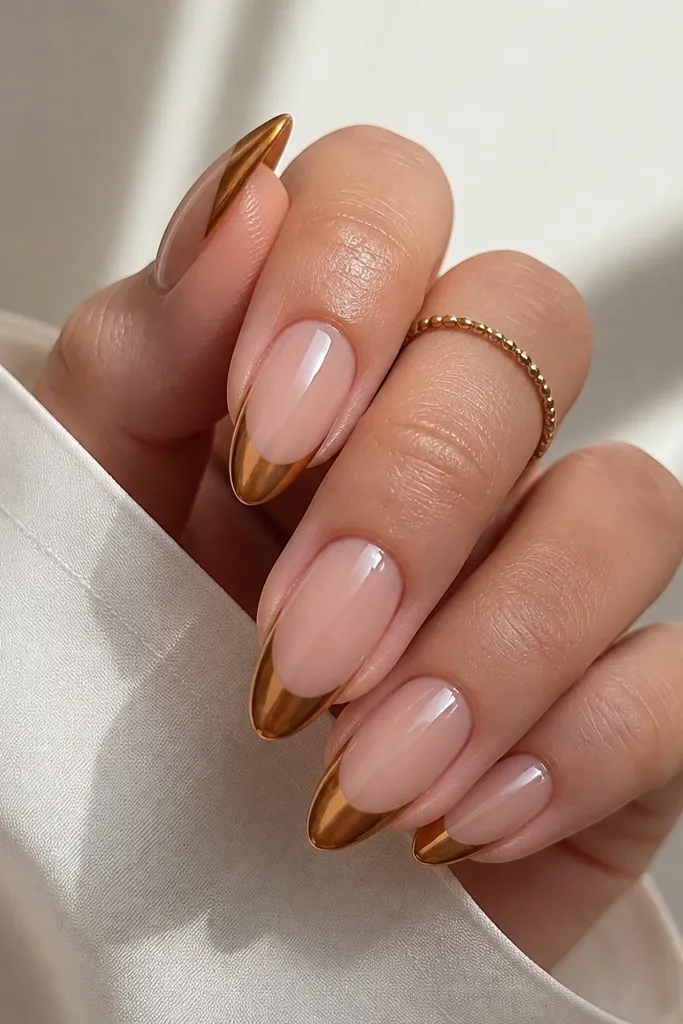
Chrome turns chocolate french into something that looks styled, not basic. Because it's caramel-brown (not pure brown), it flashes warm highlights instead of looking flat. The crisp arc keeps it french, and the chrome finish does the "wow" work for you. Perfect for nights out when you want your nails to look like jewelry.
Paint the french tip with a chocolate gel base, cure, then apply a caramel-brown chrome powder over it. Burnish lightly so the surface is smooth. Use glossy topcoat carefully - some chrome systems hate topcoat, so pick a chrome-friendly brand and follow its rules.
Pro tipPractice the arc on one nail first - chrome shows every wobble because it reflects light.
Watch outDon't use gray-brown chrome or it will look muddy against your skin.
7. Chocolate French with Thin Gold "Smile Line"
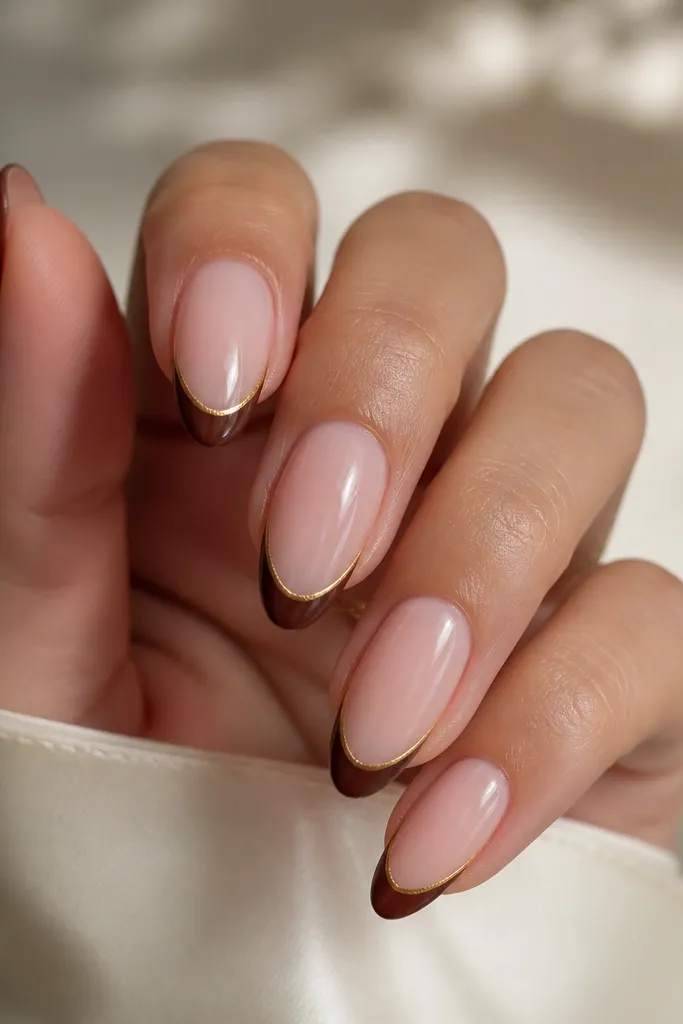
This is my go-to when I want a little glam but still want the nails to feel cozy. The gold line makes the brown look richer and adds a crisp highlight that shows up in daylight. Because it's thin, it doesn't overpower the french arc. The result looks clean and intentional.
Paint the french tips in chocolate brown, then cure. With a striping brush, draw a thin gold line along the very outer curve. Keep it about 0.25-0.5 mm thick. Finish with glossy topcoat to lock it in.
Pro tipLet the brown fully cure before gold - if it's even slightly soft, the gold line smears and looks thick.
Watch outDon't double the gold line or it turns into chunky striping.
8. Matte Brown French with Glossy Center Stripe
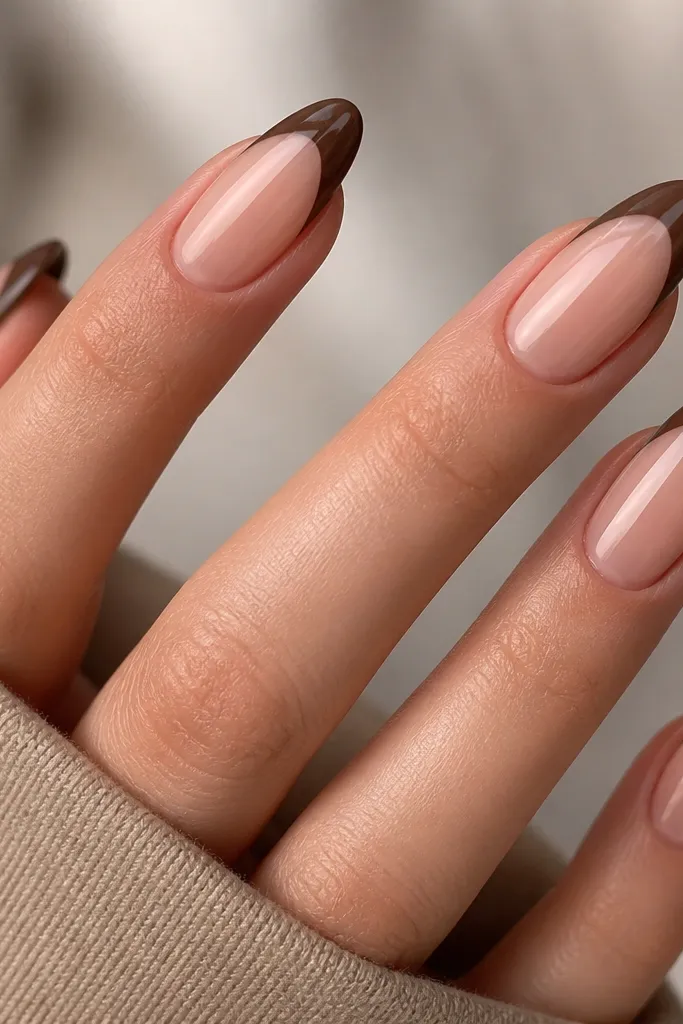
This combo gives you texture contrast, which is exactly what makes french tips look more expensive. Matte on the outside makes it cozy, and a glossy center stripe adds polish. The stripe also visually lengthens the almond because it pulls the eye to the tip center. It's subtle but it looks intentional from across the room.
Paint and cure chocolate french tips. Topcoat the whole tip area with matte topcoat. Then use a thin brush to paint a glossy topcoat stripe down the center and cure again. Keep the stripe narrow - around 0.5 mm.
Pro tipUse a gel topcoat for the stripe, not regular nail polish, so it levels and stays smooth.
Watch outDon't put glossy stripe over matte while both are uncured - it will create smears.
9. Chocolate French with Tiny Rhinestone at the Sidewall
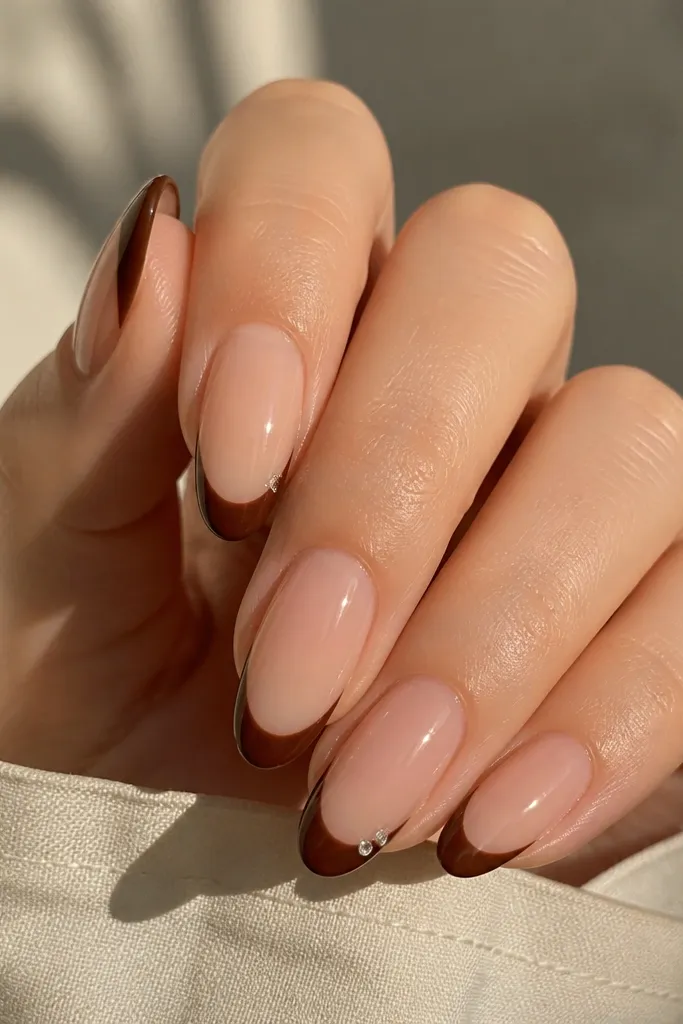
One stone is enough to make french tips feel special without looking like you tried too hard. Placing it at the outer corner makes your almond look extra sharp and gives a sparkle that doesn't cover your whole nail. The stone sits on the chocolate so it blends, not pops in a harsh way. Great for weddings, birthdays, and holiday weekends.
Apply your chocolate french tips and cure. Place one micro rhinestone on the outer corner near the smile line, then topcoat around it carefully. If you're using gel, cure long enough so the stone doesn't lift at the edges. Keep it to two nails max for the clean look.
Pro tipPress the rhinestone with a silicone-tipped tool so it sinks slightly into the gel for a flatter top.
Watch outDon't put stones on every nail - it turns the look from cozy glam into costume fast.
10. Half-Moon Negative Space with Chocolate French Tips
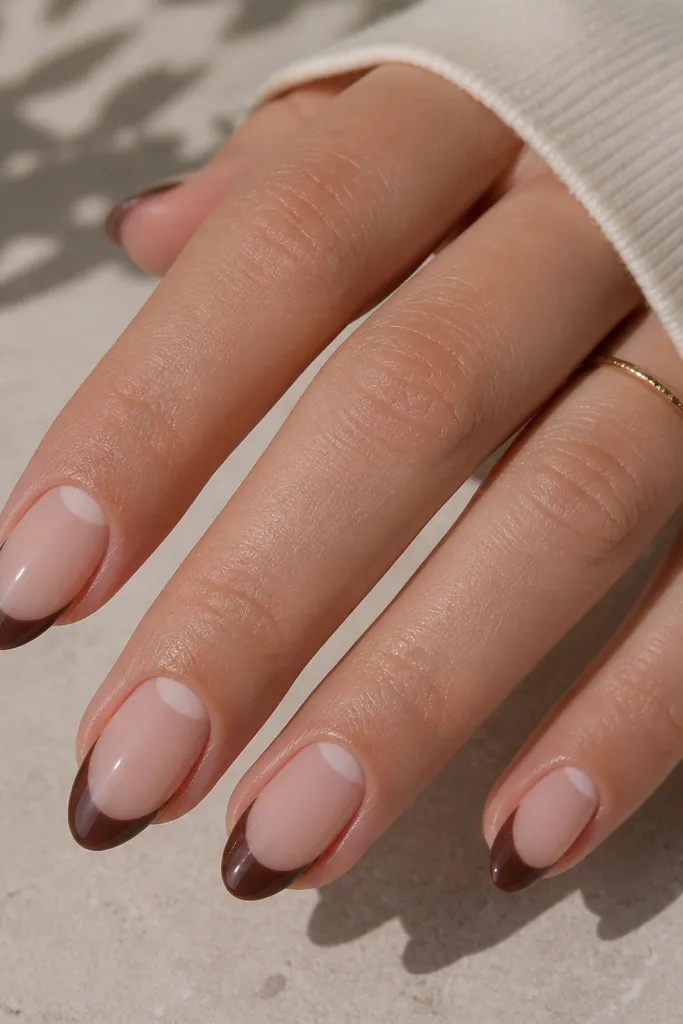
Negative space makes the french feel modern, not old-school. The little half-moon breaks up the brown and makes the nail look lighter. Chocolate brown stays warm, and the unpainted crescent makes the cuticle area look tidy. This one is flattering on shorter almonds because it creates a focal point near the base.
Use a sheer nude base. When painting the french tips, leave a crescent gap near the cuticle by masking with a tiny piece of tape or using a small gel barrier. Paint two thin chocolate coats. Clean up edges with a brush dipped in remover.
Pro tipUse a thin liner brush to define the crescent edge right after the first coat - it's easier before the second coat goes on.
Watch outDon't overfill the crescent with brown or the negative space disappears.
11. Chocolate Brown French with Sheer Latte Fade Base
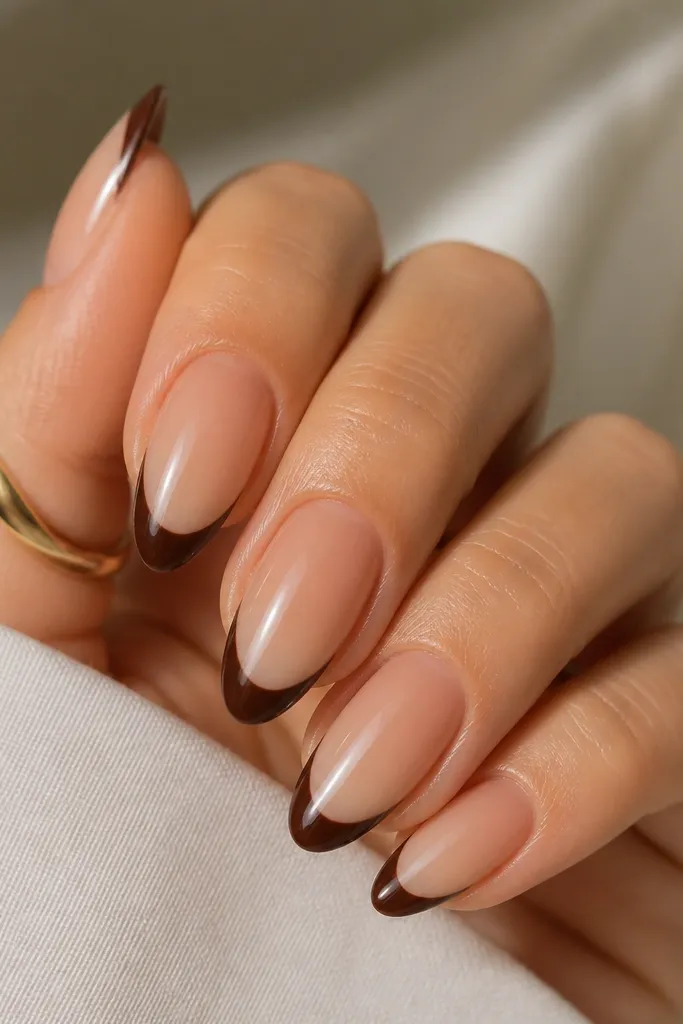
This version adds depth without adding extra lines. The base fade makes your skin tone look smoother because it mimics natural nail variation. Then the chocolate french tip stays the star. It looks best under direct light because you can see the base gradient glow. Cozy, but still neat.
Apply a sheer latte base. Sponge a lighter beige near the free edge and blend toward the cuticle so it looks like a soft natural fade. Cure fully. Then paint the chocolate french tips on top with two thin coats.
Pro tipKeep the base fade within 30-40% of the nail length so it doesn't compete with the tip.
Watch outDon't blend too dark at the cuticle or it can look like a stain.
12. Chocolate French Tips with Micro Dots on the Ring Finger
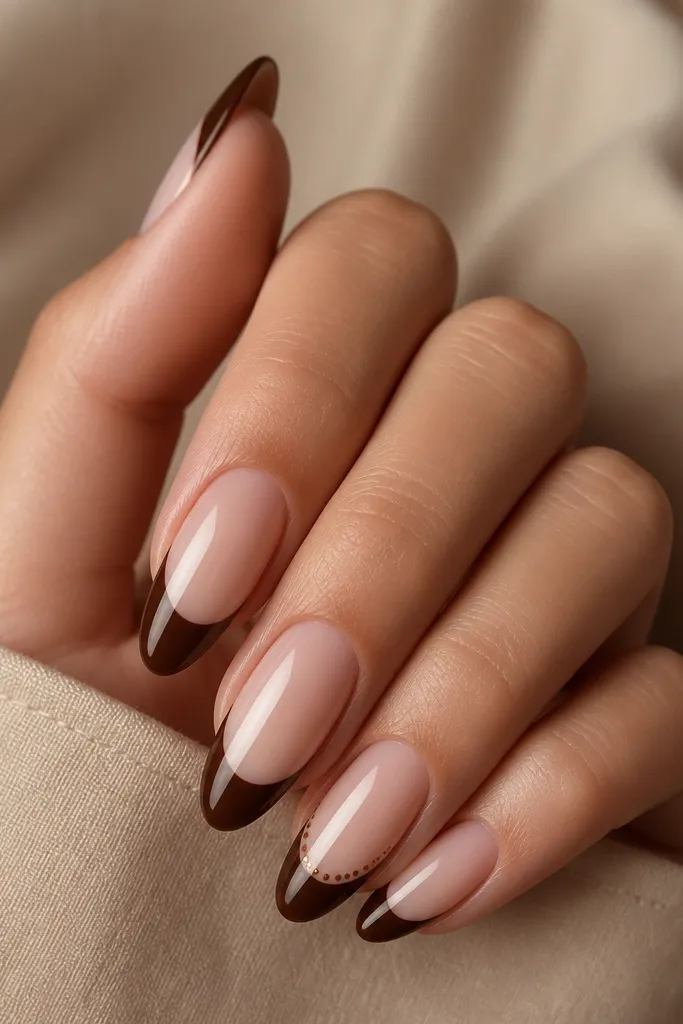
Micro dots are the easiest nail art that still looks intentional. Keeping them on one finger keeps the set from looking busy. The caramel dot color works because it's warmer than gold and it pairs with chocolate without clashing. It reads cozy and a little playful.
Paint the french tips on all nails. On the ring finger, add tiny dots (like 1-2 mm spaced) along the inner edge of the tip arc using a dotting tool. Cure, then seal with glossy topcoat.
Pro tipUse a dotting tool with a slightly smaller head than you think - big dots make it look cartoonish.
Watch outDon't add dots across the entire tip or it stops being a french design.