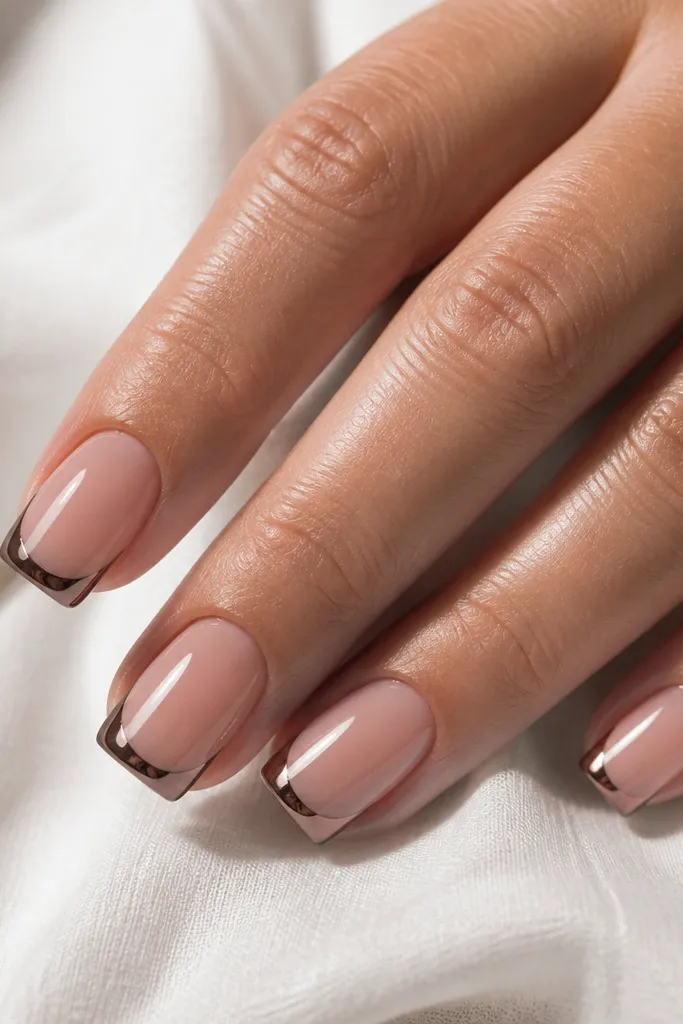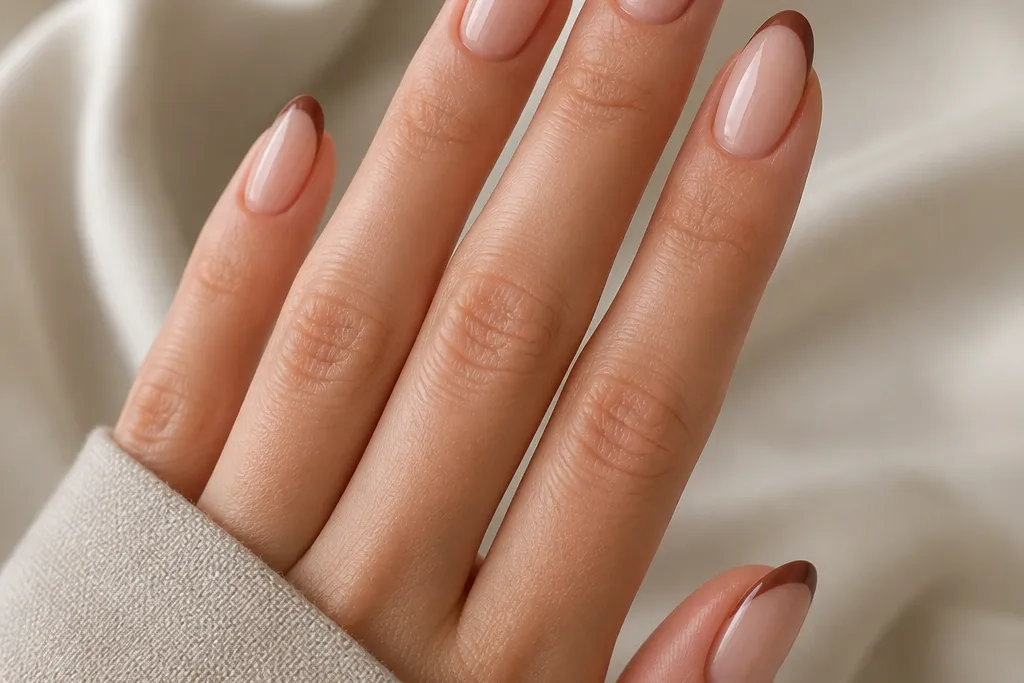
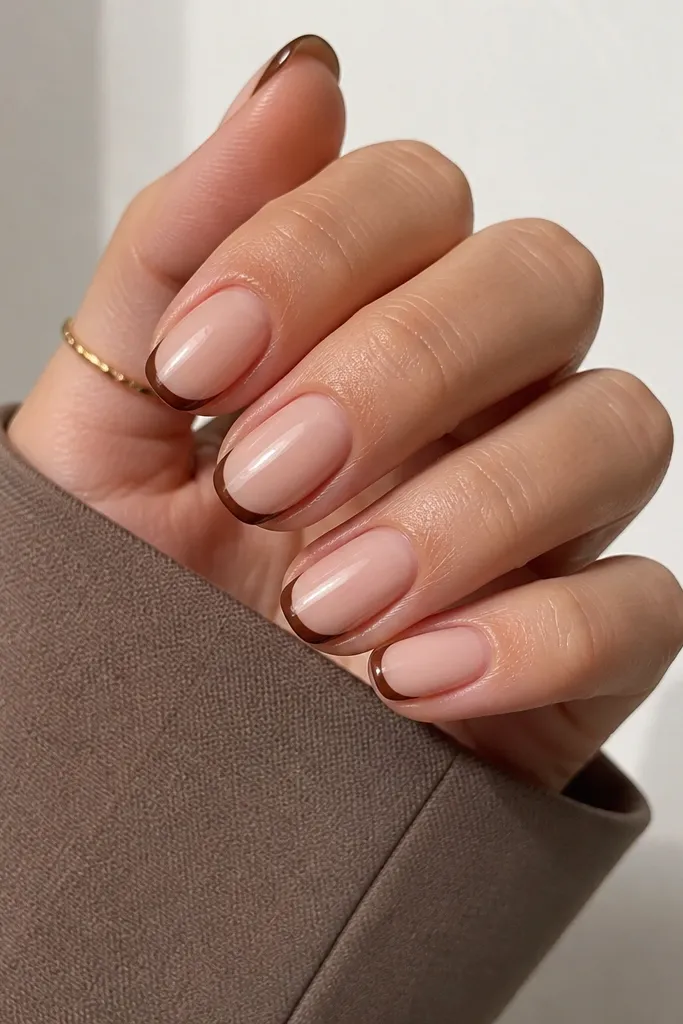
1. Cocoa Micro French on Milky Nude
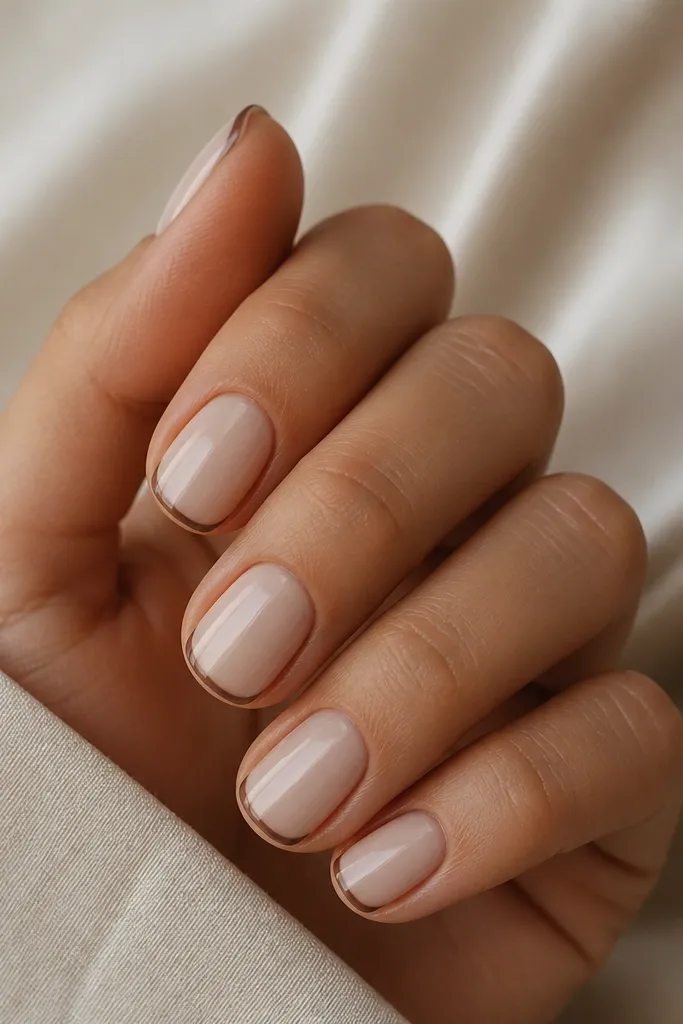
This is the "I can't mess up" French. The base is milky nude so it stays bright, and the dark brown micro line stays small enough that a little unevenness reads as charm. The key is thin placement right at the free edge, which makes the nails look longer without needing a thick tip band. It's also flattering in winter because brown looks cozy next to the creamy base.
Paint two coats of milky nude, letting the second coat self-level. Apply striping tape to define the tip, then paint cocoa brown in one smooth swipe. Pull the tape while the polish is still tacky (or after curing if you're using gel and you remove the guide before top coat).
Pro tipAfter the brown cures, add a glossy top coat and cap the free edge with a thin layer.
Watch outDon't make the micro line too wide - thick brown on a short nail can look like a stripe instead of French.
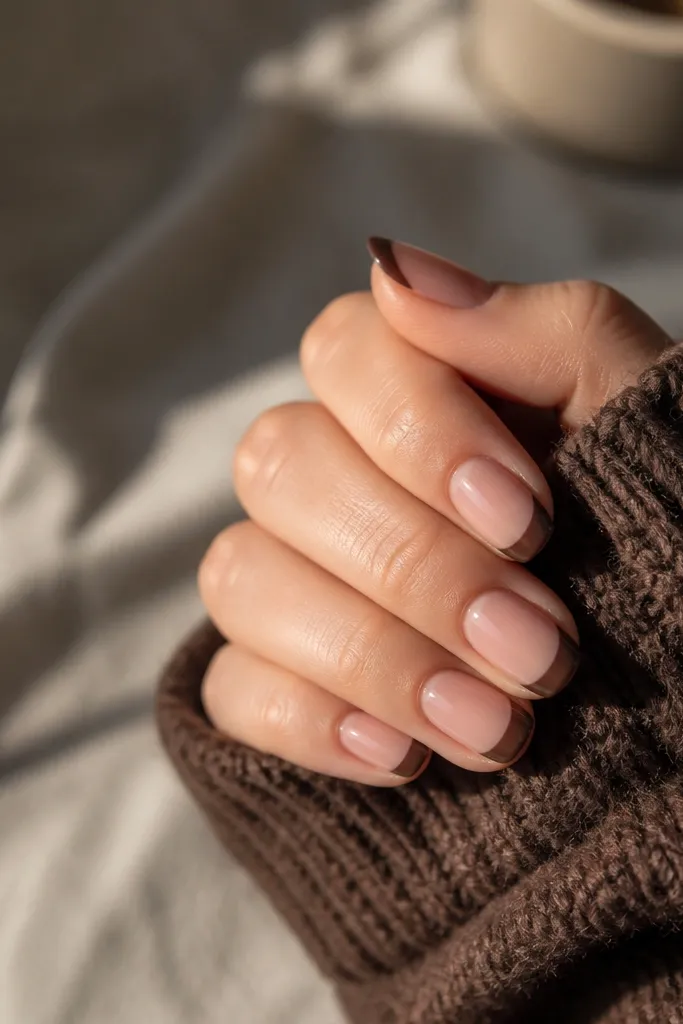
2. Caramel Brown Classic French with Rounded Smile
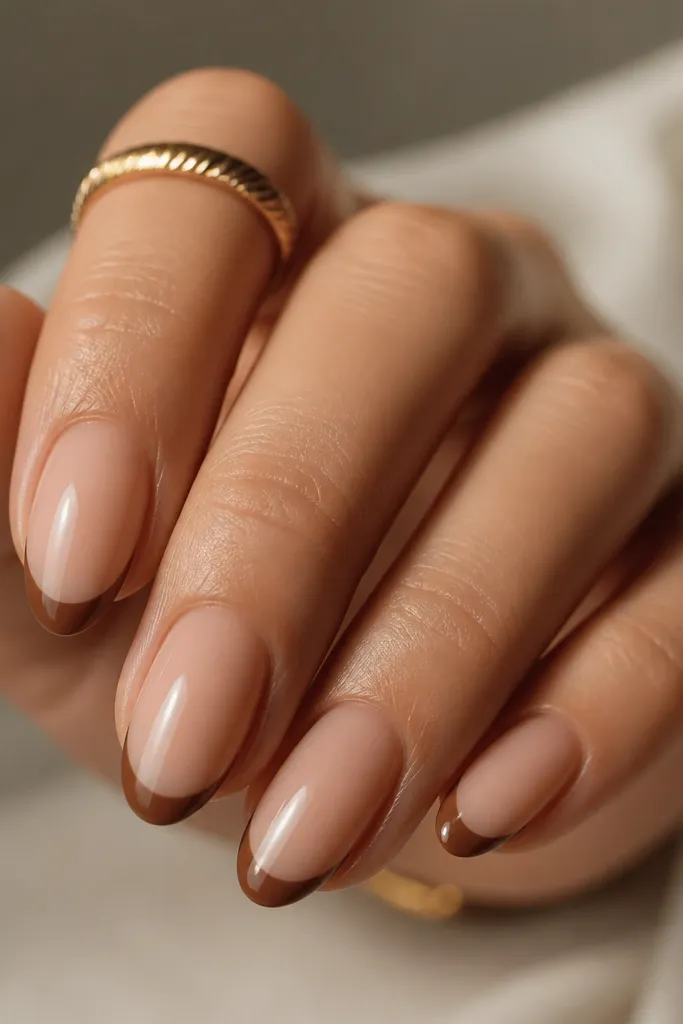
This one flatters hands because the smile curve is rounded, not angular. Caramel brown has warmth that looks expensive over nude without turning gray. The tip band is medium thickness, so even if your brush wobbles, the shape still reads as intentional French. I like it for fall because it matches warm knits and coffee tones.
Start with a sheer caramel nude in two thin coats. Use a fine nail art brush to paint the tip band, keeping the ends slightly lower than the center for a natural curve. Let it dry fully before top coat, or cure each nail if you're using gel.
Pro tipIf your brush runs, wipe it on a lint-free pad first so the brown goes on opaque in one pass.
Watch outSkip a streaky first coat. Brown French should be solid at the edges.
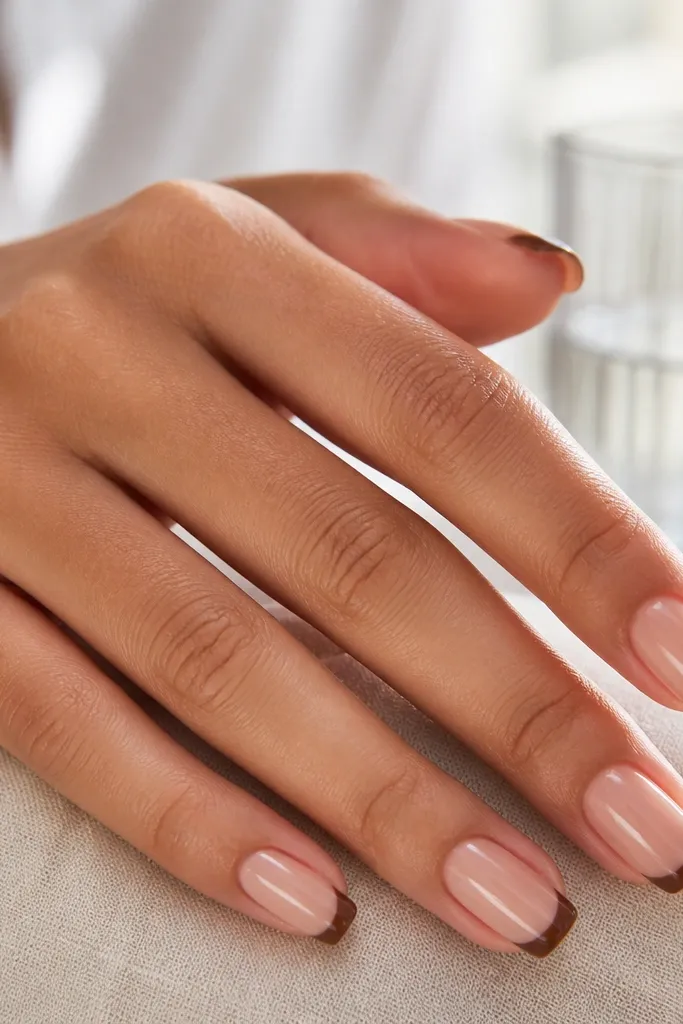
3. Mocha Brown French with Inner Thin Line
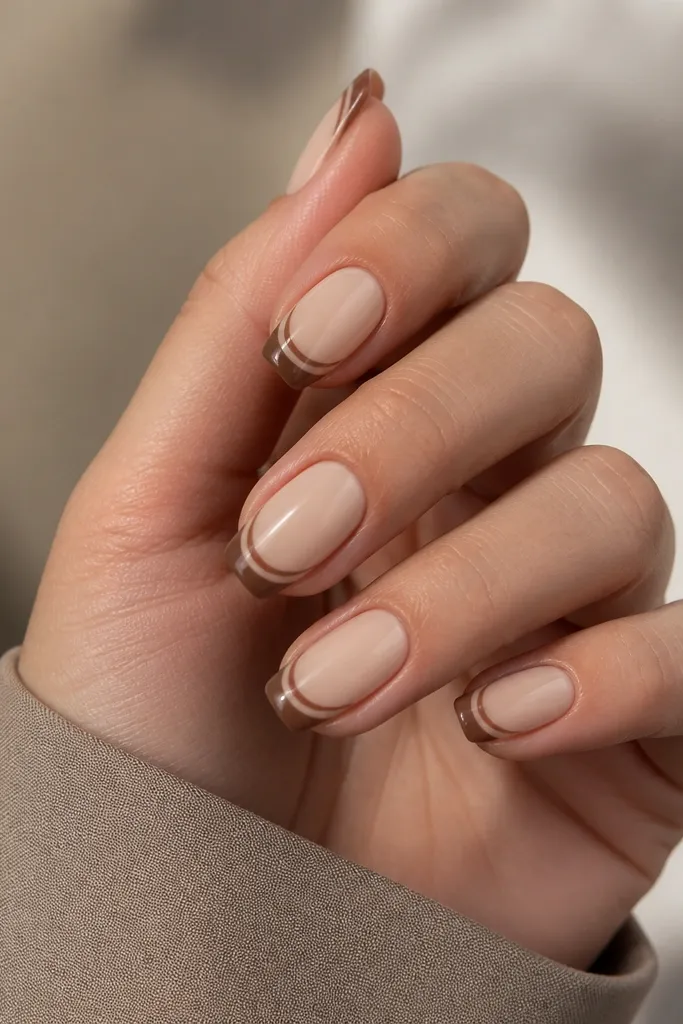
Adding a thin inner line makes the French look "designed," not copied from a sticker. The outer mocha brown gives depth; the inner line gives definition and makes the tip look sharper. This works especially well on short nails because it visually separates the tip from the nail bed. It also hides tiny gaps because your eye tracks the inner detail.
Paint your beige nude base, then tape off the tip band. Fill the tip with mocha brown and cure or dry. Use a dotting tool or striping brush to draw the inner line, about 0.5-1 mm from the top edge of the brown band.
Pro tipUse the same brown bottle or gel shade for both lines so the color doesn't shift.
Watch outDon't make the inner line too close to the outer edge or it can look like a messy outline.
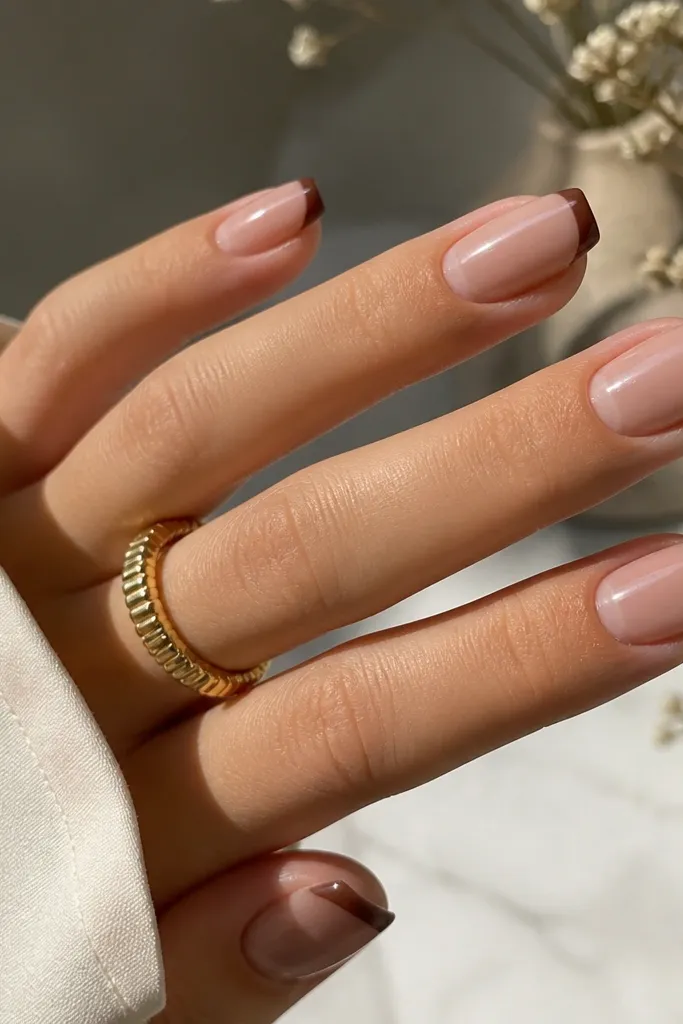
4. Espresso Brown French with Glossy Negative Space
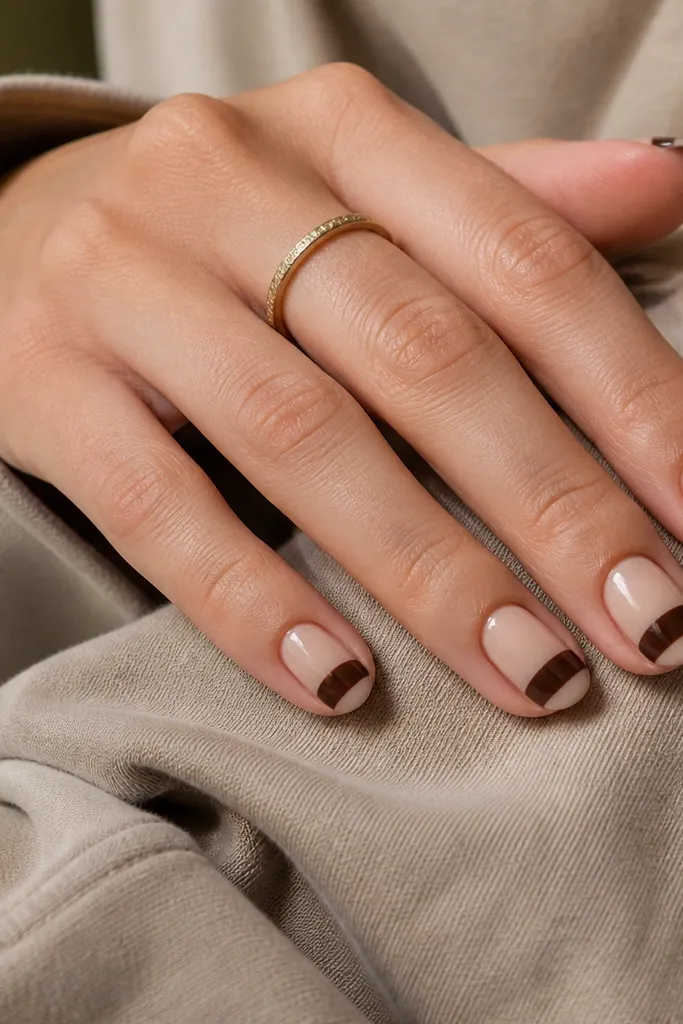
This is French with a twist: the brown sits higher, and you keep a glossy nude crescent showing. That negative space makes the nails look clean and modern, and it also forgiving if your line isn't perfectly straight across the tip. Espresso brown is deep, so the contrast pops without needing glitter or gems.
Use a sheer nude base in two coats so it looks even. With tape, define the top band of the tip, then paint espresso brown only within that top zone. After it dries/cures, remove the tape and apply top coat over both brown and the negative crescent.
Pro tipIf you want the crescent to look extra shiny, apply top coat right after the brown is dry to the touch.
Watch outDon't cover the entire free edge - the negative crescent is the whole point.
5. Dark Chocolate French with Micro Glitter Fade
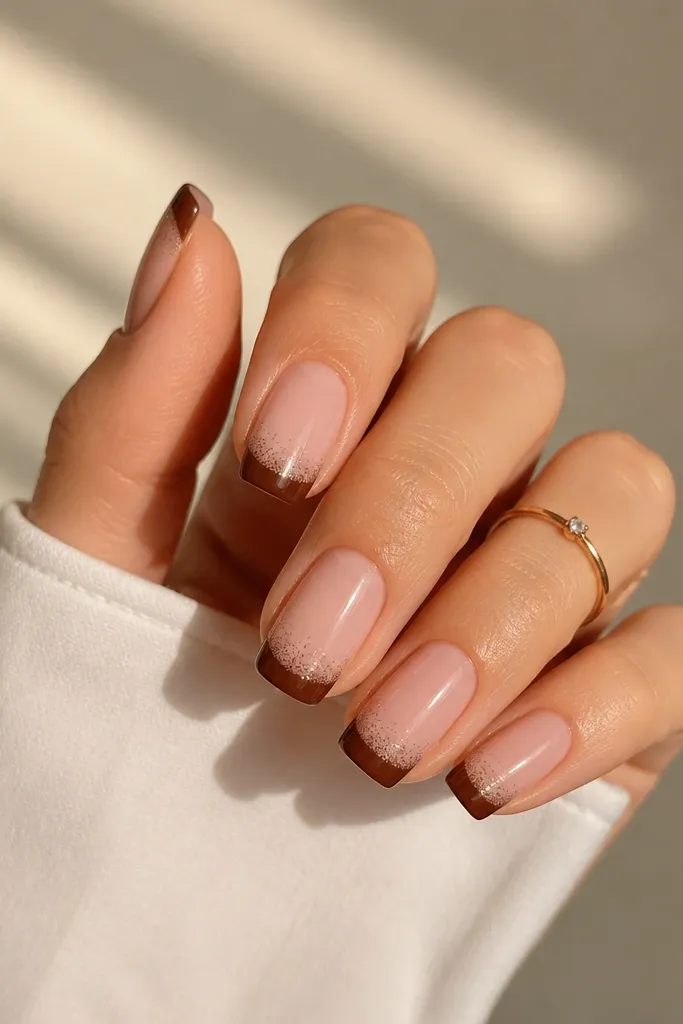
Micro glitter makes brown look festive without turning it into full "party nails." The fade placement keeps it classy: you're not putting glitter across the whole tip, just catching the inner edge. This looks stunning under daylight because the glitter flashes only where the light hits. It's also a great stepping stone if you're new to nail art and want something that doesn't require perfect symmetry.
Paint nude pink base. Tape the tip band and paint dark chocolate brown. Before the brown dries completely, dab a fine micro glitter (brown-tinted if possible) at the inner edge and blend with the brush tip or sponge for a soft fade.
Pro tipUse less glitter than you think. One light dab looks more expensive than heavy sparkle.
Watch outDon't press the glitter down hard - it can leave texture bumps.
6. Vintage Brown French with Matte Top Only on Tips
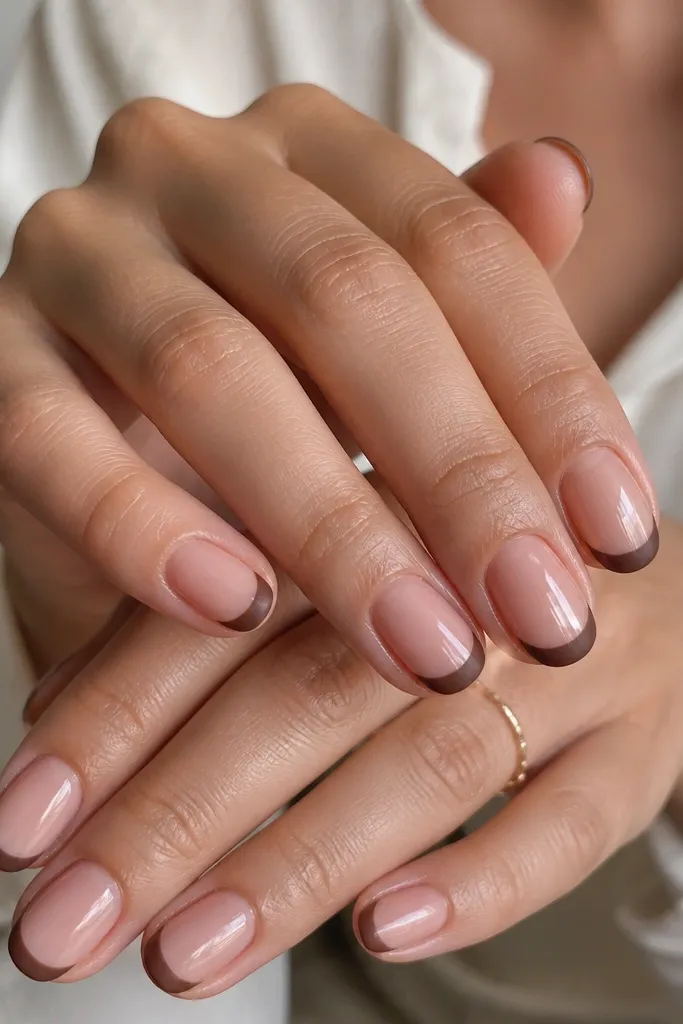
The contrast between glossy nail bed and matte brown tips looks like you planned it. Brown reads richer when it's matte, and the glossy nude keeps it from looking too heavy. I've done this on both gel and regular polish: the matte top makes the brown look velvety without adding any art tools. It's perfect for fall outfits and cozy neutral looks.
Paint your sheer nude base with two coats and top coat it glossy. Apply brown French tips and cure/dry. Then brush matte top coat only on the brown tip area, avoiding the nude base so you keep the shine contrast.
Pro tipCap the matte area with a thin matte layer right at the tip edge to prevent chipping.
Watch outDon't matte the whole nail. The full matte look can make brown tips look flat.
7. Umber Brown Half-Moon French
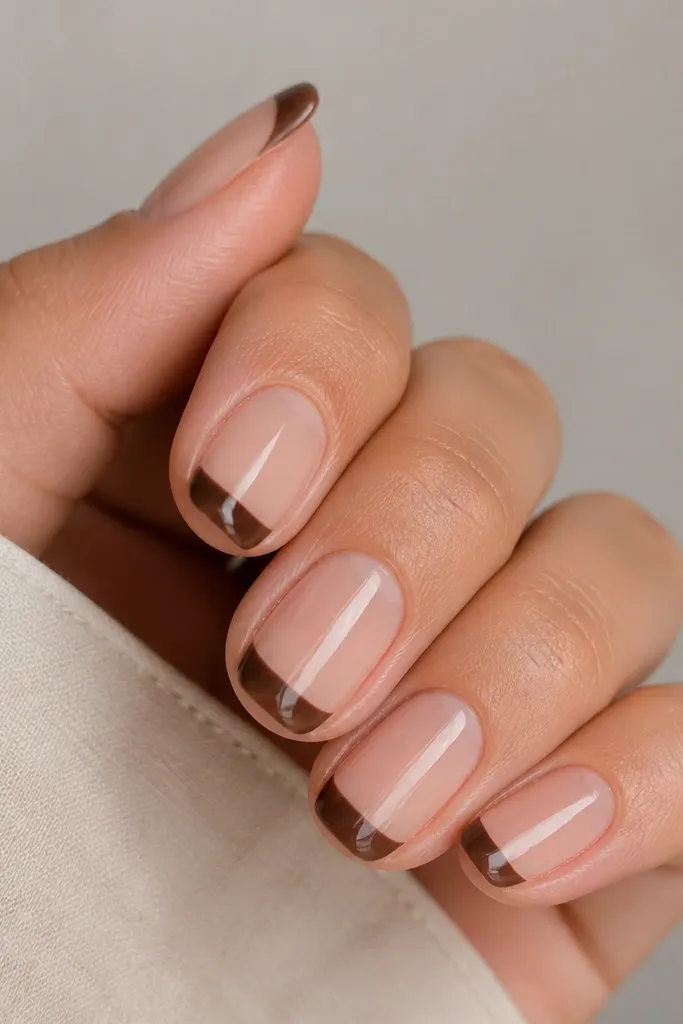
This is dramatic but still beginner-friendly. Because you're only painting the upper half of the tip, small mistakes are less noticeable. Umber brown is slightly lighter than espresso, so it stays wearable. The half-moon effect makes nails look like they have a crisp border even if your line isn't perfectly even.
Use a clear nude base. Tape a horizontal line across the tip area, leaving the lower portion open. Paint umber brown within the taped zone, then remove tape after the paint is set enough not to pull.
Pro tipIf you're freehanding, follow the curve of your smile and stop your brush halfway down the tip instead of trying to fill to the very bottom.
Watch outDon't go too dark. Half-moon shapes need a brown that still shows depth over nude.
8. Chestnut French with Tiny Gold Foil Flick
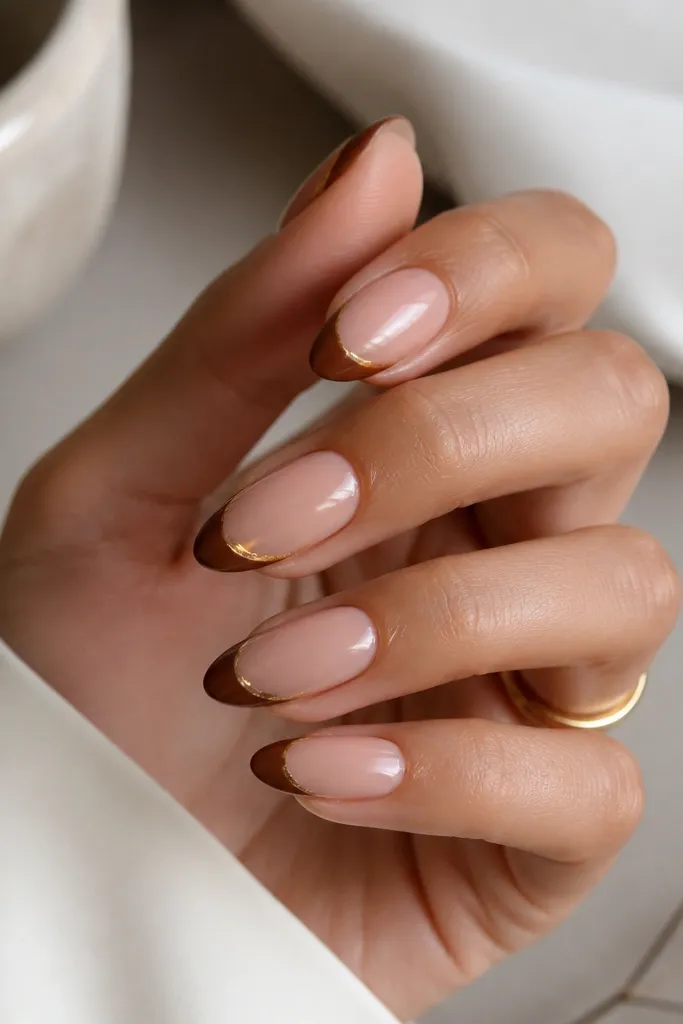
Gold foil on a brown French tip looks like jewelry, not decoration. The flick placement near the center keeps it balanced and makes your tips look like they're lit from above. Chestnut brown is warm and slightly reddish, so gold matches naturally. This is a great "special occasion" version that still keeps the French tip as the main design.
Paint your nude base, then do the French tips in chestnut brown. Use a tiny amount of foil glue or gel tack on the center of each tip, then press a small piece of gold foil and lift. Seal with a thick top coat so the foil doesn't catch on fabric.
Pro tipUse a smaller foil piece than you think. A tiny flick looks intentional; big chunks look messy.
Watch outAvoid putting foil at the sidewalls - it lifts and snags.
9. Walnut Brown French with Diagonal Corner Accent
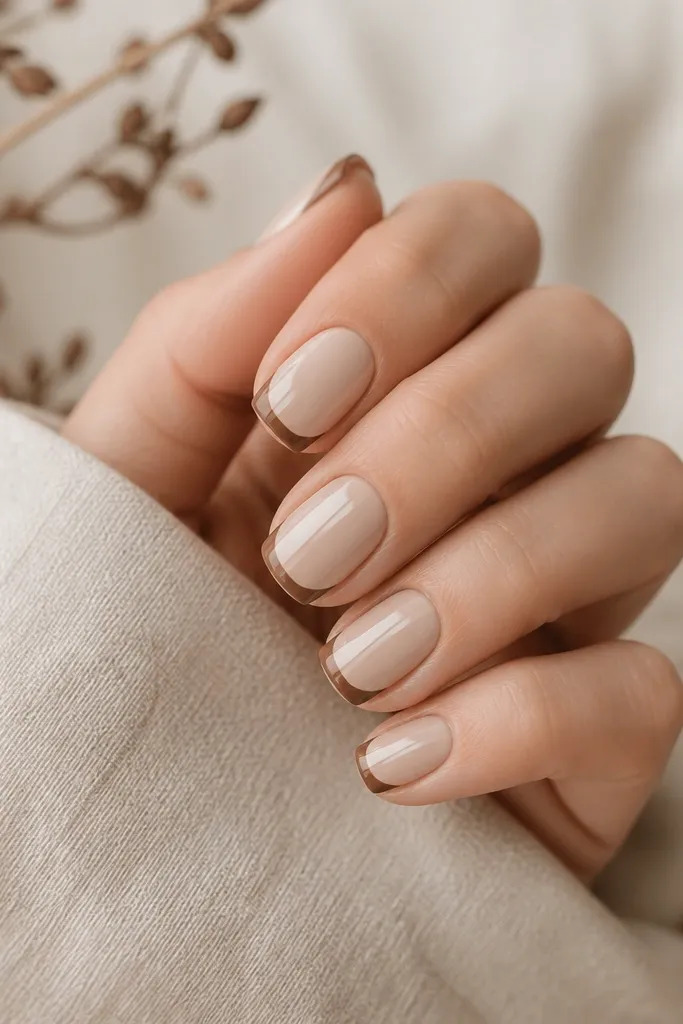
The diagonal corner accent tricks your eye into seeing clean angles, even when the rest of the French is simple. Walnut brown gives depth, and the lighter taupe corner lines create a "frame" effect. This looks cool for office wear and also pairs well with denim. It's one of my favorites when I want a design that feels modern but doesn't require gems.
Do your walnut French tips with tape. Then, using a thin brush, paint a small diagonal taupe triangle at each corner where the tip meets the nail side. Keep the triangles small - about 1 mm wide at the base - so it stays delicate.
Pro tipPaint the corner accents after the brown is fully dry so you don't smear the edges.
Watch outDon't extend the corner triangles too far inward or the tip stops looking like French.
10. Chocolate Brown French with Dried Flower Speckle
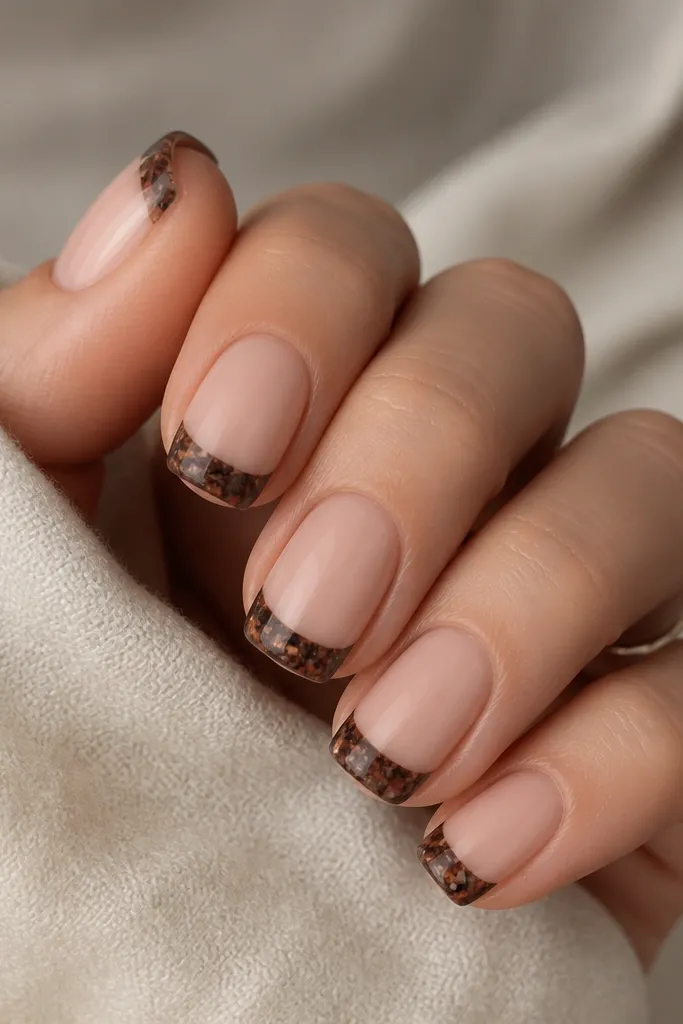
Speckle details make dark brown look artsy without heavy work. Muted tan and rust flecks sit nicely against chocolate brown and feel seasonal. This looks best when the specks are sparse - like you accidentally brushed a little pigment onto the tip. It's also forgiving if you're not steady with a brush, because you're placing dots rather than drawing lines.
Paint the French tip in chocolate brown. While still tacky, dab a tiny makeup sponge with a mix of tan and rust micro pigment (or use a small amount of loose eyeshadow for non-gel polish) and tap lightly over the tip. Seal with top coat and check for texture - add one more top coat if it feels bumpy.
Pro tipUse a sponge, not a brush, for speckle. Brush strokes look streaky fast.
Watch outDon't pack on lots of specks. Sparse looks intentional; heavy looks dirty.
11. Brown French with Sketched Outline (One-Line Look)
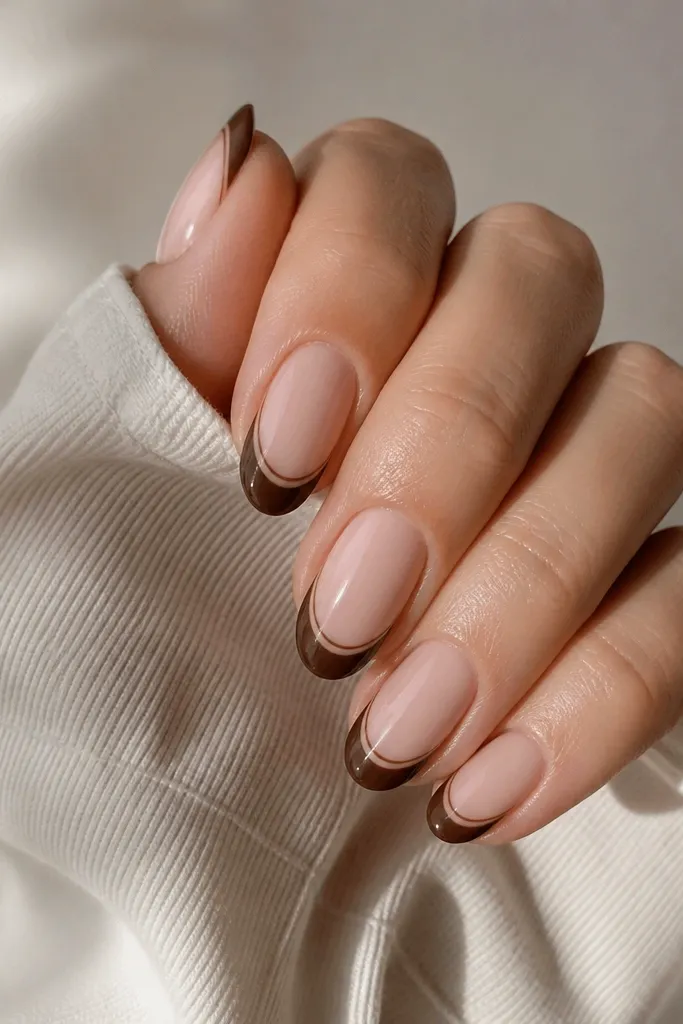
This design makes your French tip look like it was drawn, not painted. The outline adds dimension, especially on almond and oval shapes. A slightly lighter brown outline keeps it warm and cohesive. If your French tip edge is a little uneven, the sketch line hides it by giving the eye a second reference point.
Do a clean filled French tip in dark brown. After it dries/cures, use a fine liner brush to draw a thin outline along the top edge of the tip band. Keep the outline line about half as thick as the filled band.
Pro tipIf the liner brush is too wet, wipe it once on a paper towel before you start.
Watch outSkip a black outline. Black makes brown tips look harsh and cheap.
12. Deep Brown French with Pearl Center Dot
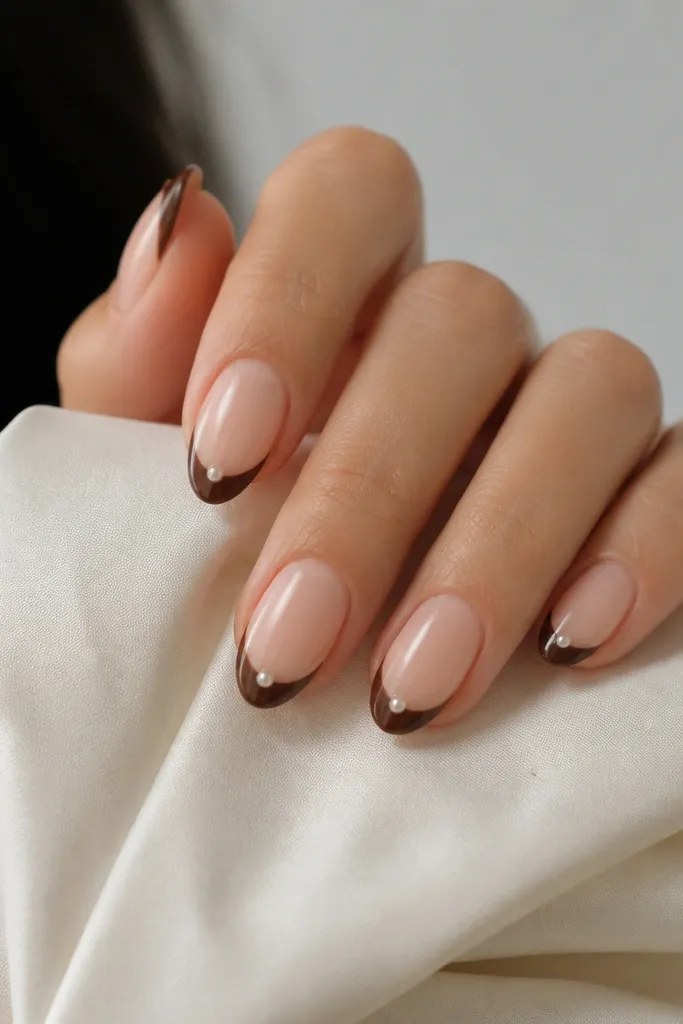
A single pearl dot makes the whole set look like you planned a manicure for an event. Deep brown gives the pearl a strong background so it stands out without looking busy. It's also easy: you only place one piece per nail. I like it for dinners, weddings, and nights out when you want something that catches light.
Paint nude base and dark brown French tips. Add a small amount of gel tack or nail glue at the center of each tip. Place a flat-back pearl (small, like 1.5-2 mm) and cure or let glue set, then cap with top coat.
Pro tipChoose a pearl that's slightly flatter. Round pearls lift more easily on French tips.
Watch outDon't put the pearl too close to the edge - it chips around the stone.