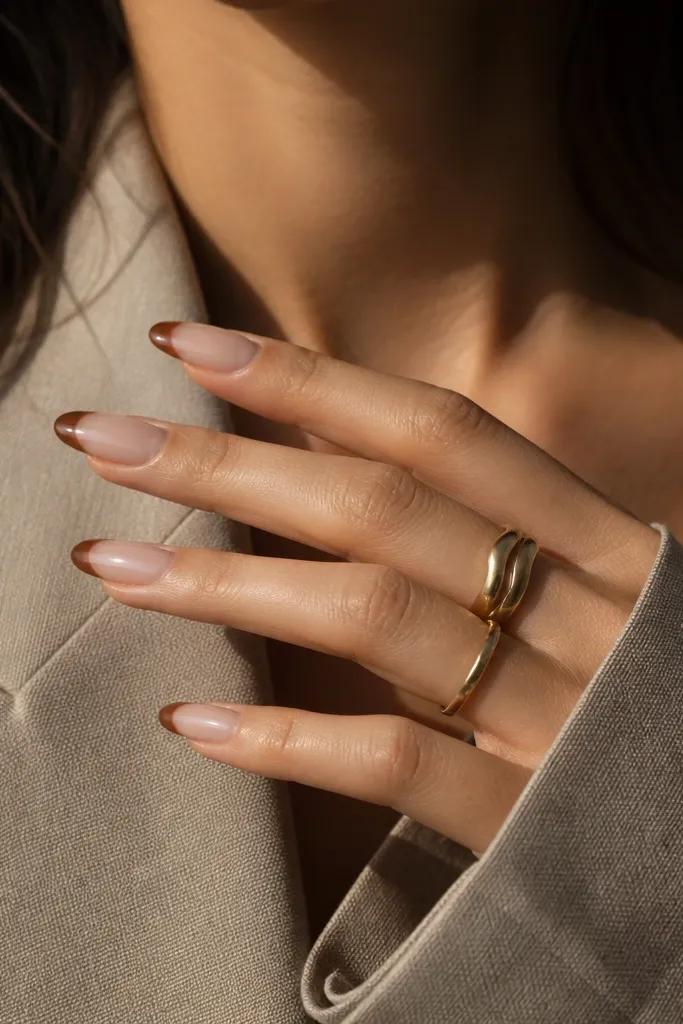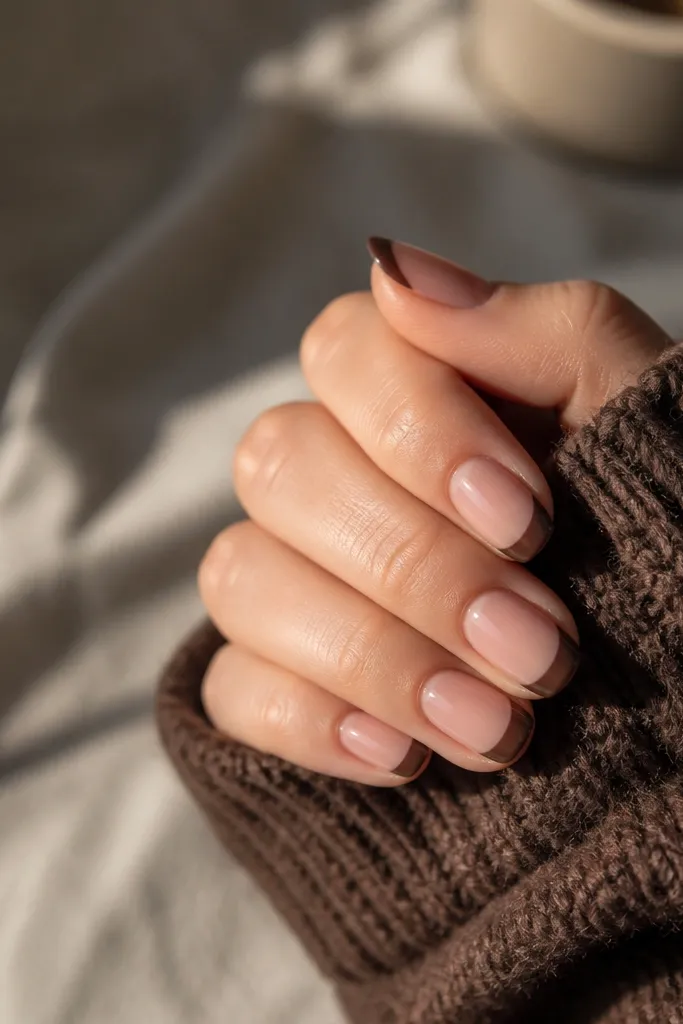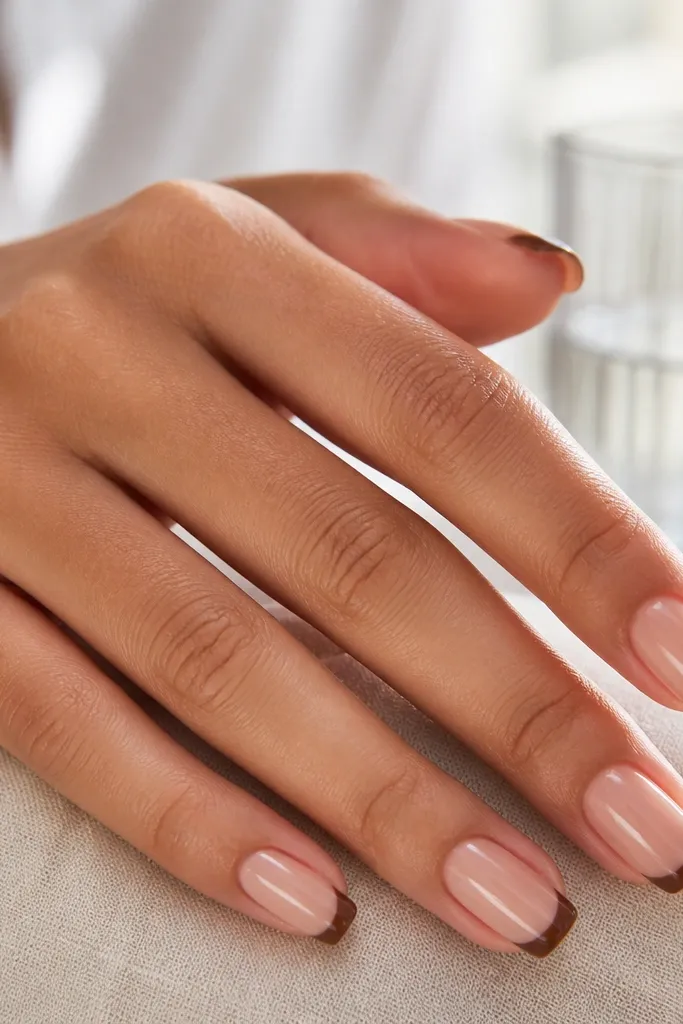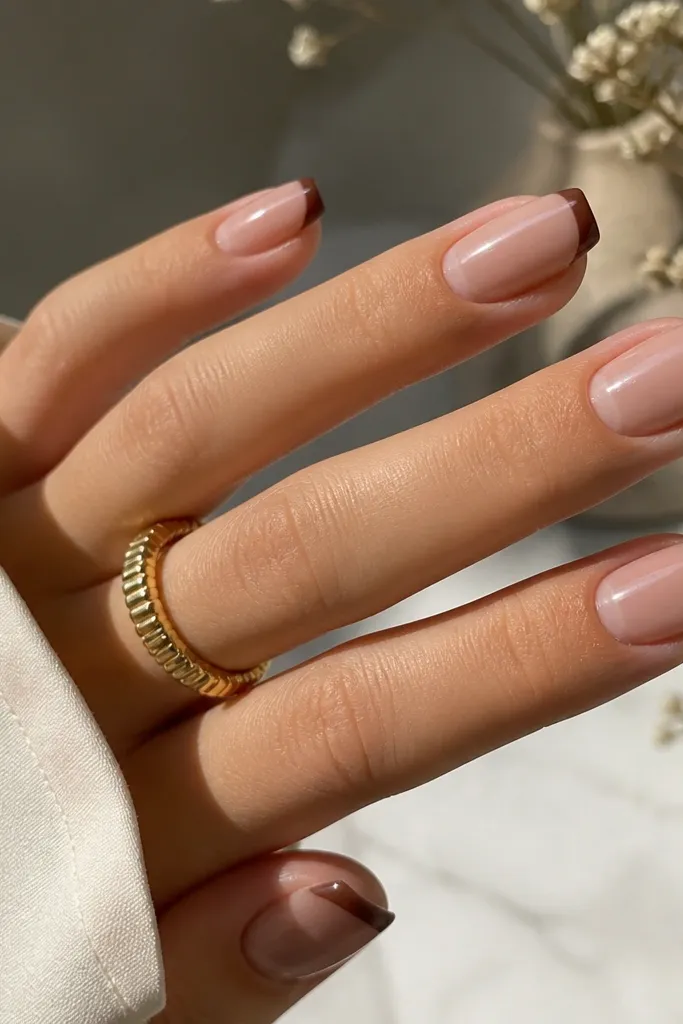
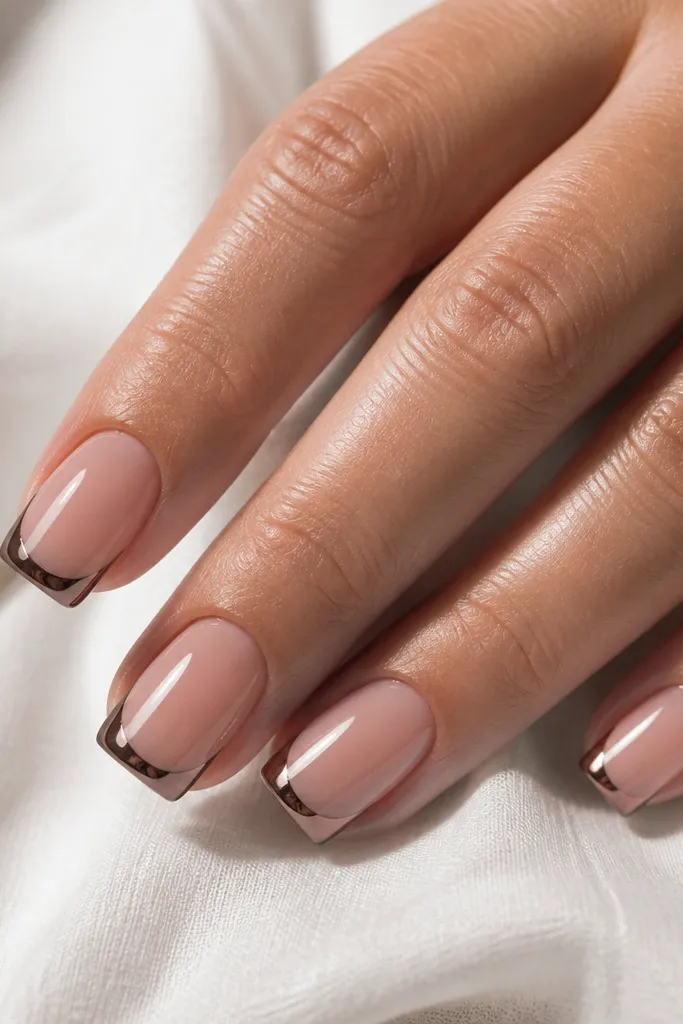
1. Cappuccino Micro French with Mirror Chrome Edge
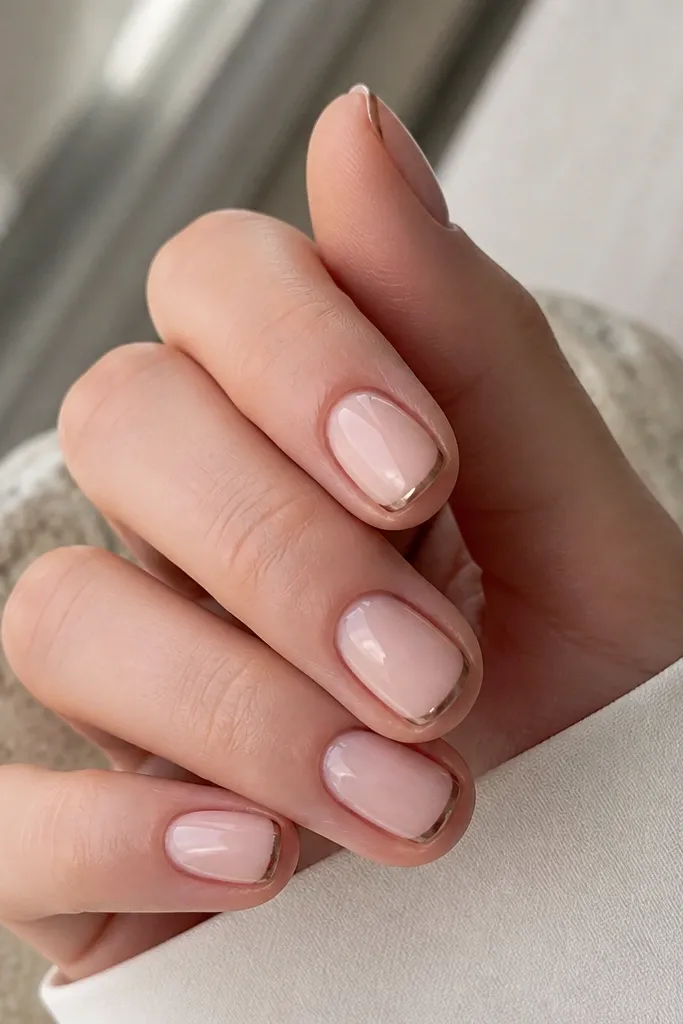
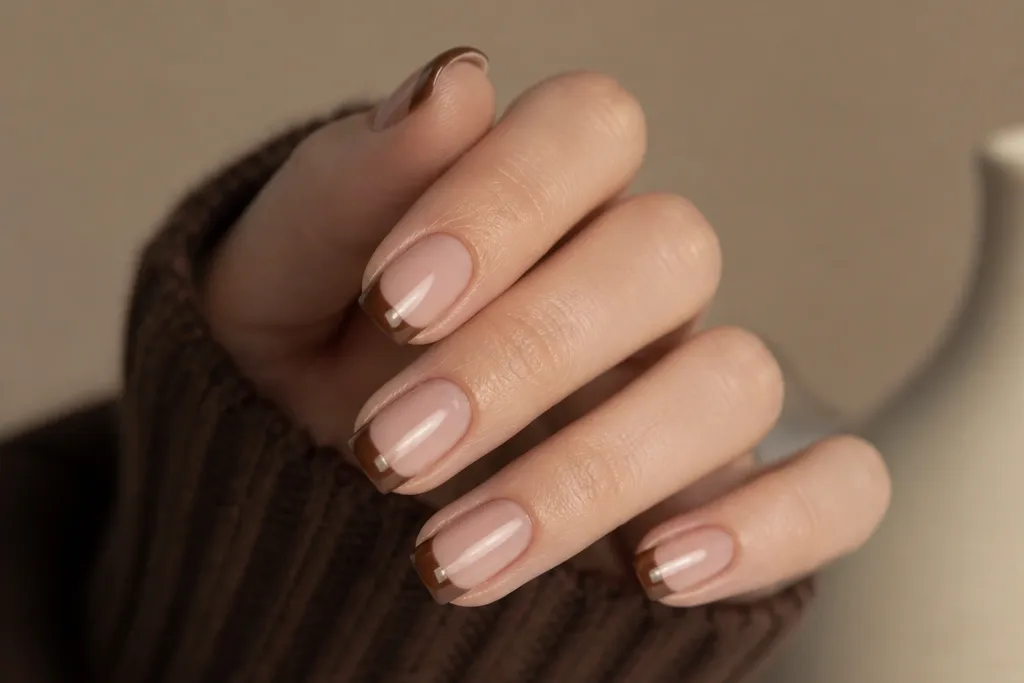
This one is clean and sharp because the french is micro-thin, so the brown stays refined. The chrome sits only on the tip edge, which makes the nails look longer without covering the whole tip. I love it for everyday because it reads "polished" even when your hands are busy.
Use sheer milky nude gel as the base. Paint a narrow cappuccino brown french line (around 1mm wide on short nails), then apply chrome pigment on top of the tip edge only. Seal with a high-gloss topcoat that's thick enough to smooth the chrome surface.
Pro tipPress a small amount of chrome onto the very center of the tip edge, then wipe off excess - you want a crisp highlight, not a full chrome blob.
Watch outDon't flood the entire tip with chrome if your brown is already dark - it turns muddy instead of mirror-sharp.
2. Espresso French with Coffee-Chip Chrome Fade
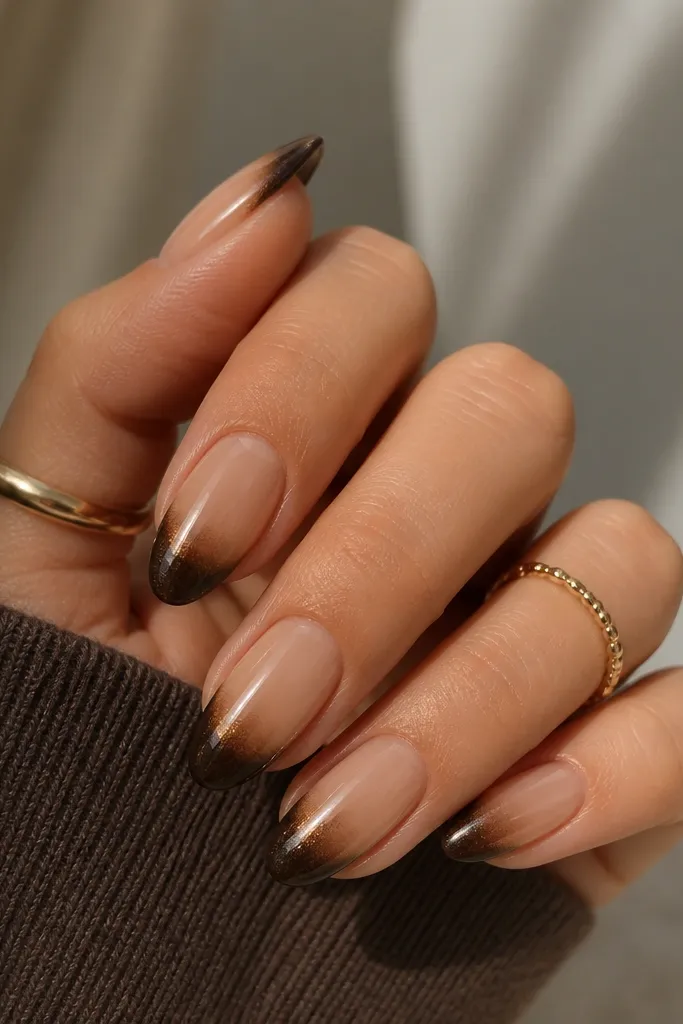
The fade makes the manicure look dimensional, not flat. Espresso gives you that grounding warmth, and the chrome gradient creates a soft glow that moves when you turn your hand. This layout looks expensive because the chrome placement follows the french shape.
Paint a deep brown french first and let it cure fully. Apply chrome pigment with a sponge or dry brush in a light-to-heavy direction from the outer edge inward. Add a second pass only where you want the brightest reflection, then topcoat.
Pro tipUse a small makeup sponge and dab, don't swipe. Swiping smears the pigment and kills the gradient.
Watch outAvoid putting chrome on top of wet gel or uncured brown - it lifts and turns patchy.
3. Mocha Half-Moon French with Champagne Chrome
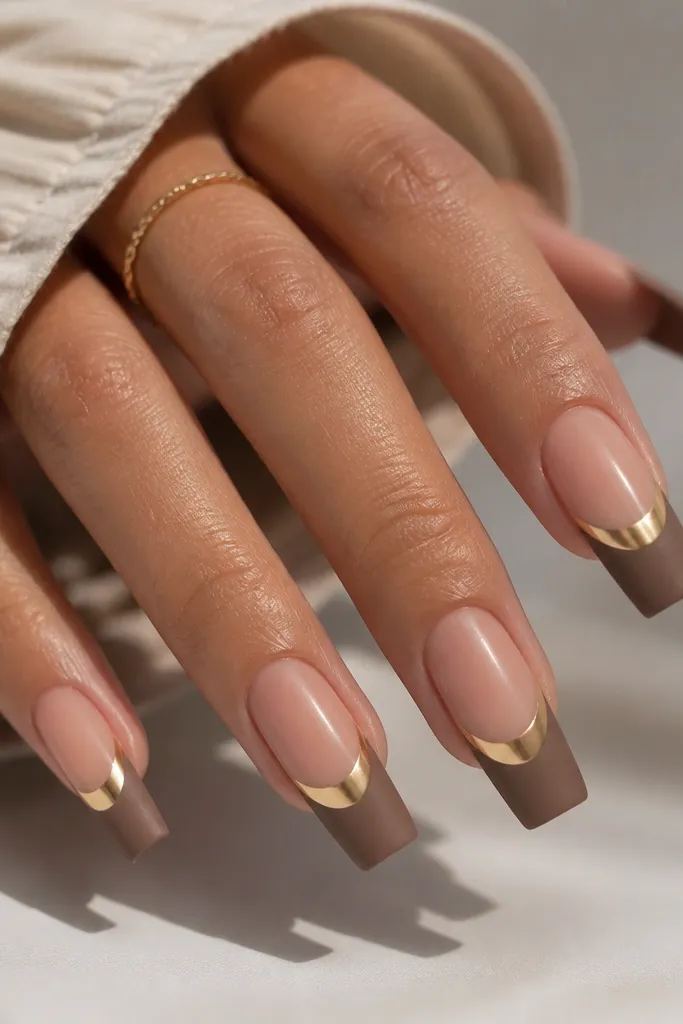
This design adds a negative-space moment while keeping the french recognizable. Champagne chrome in the half-moon area looks softer than silver mirror and flatters warm undertones. The matte brown keeps it modern and prevents the chrome from overpowering.
Do a regular brown french across the tip, then leave a crescent-shaped gap in the middle of the tip area. Fill the crescent with champagne chrome pigment and cure. Topcoat the whole nail, but keep the matte effect by using matte topcoat on the brown section and gloss only over the chrome.
Pro tipUse a thin nail art striping brush to map the crescent gap before you commit with pigment.
Watch outDon't make the half-moon too wide on short nails - it breaks the french line and shortens the look.
4. Brown French with Micro Pearl Dot at the Corner
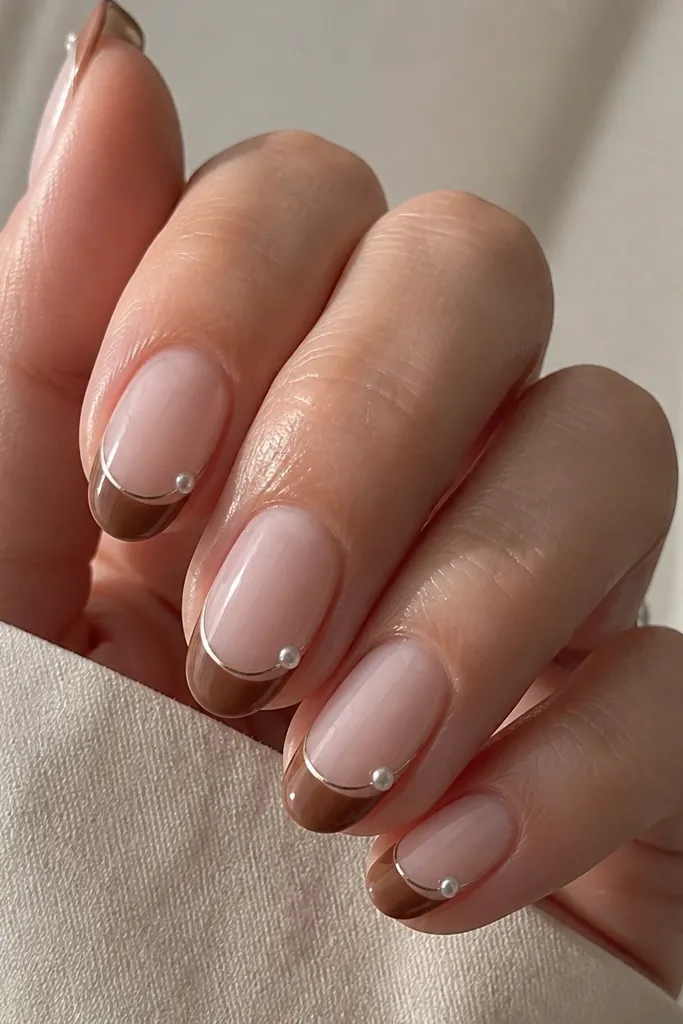
A single pearl dot makes the french feel intentional and seasonal without turning into a full 3D nail. The chrome line underneath adds the "modern" shine, while the brown keeps it grounded. The dot placement at the outer corner makes the nail look lifted.
Paint a crisp medium brown french, then add a thin chrome strip along the underside of the tip (about 0.5mm). Place one micro pearl on the outer corner using gel adhesive, cure, then cap over with topcoat so it feels smooth.
Pro tipPress the pearl lightly into the adhesive so it sits flat. A tall pearl catches on hair and chips faster.
Watch outAvoid random pearl placement on every nail. One consistent corner dot looks designed, not accidental.
5. Chocolate Brown French with Rose-Gold Chrome Vein
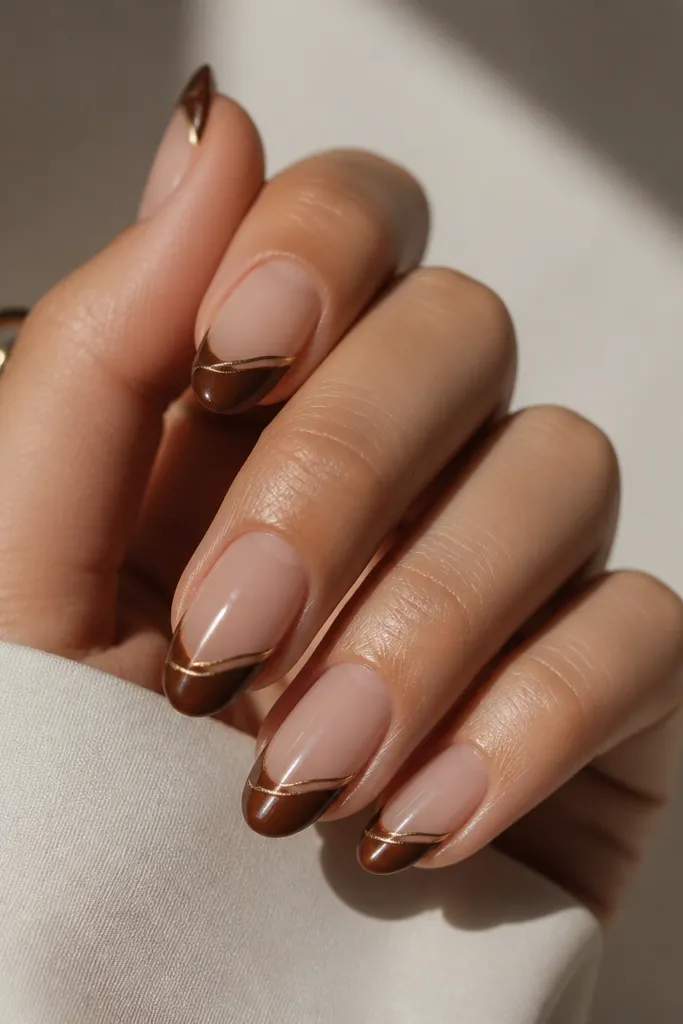
The vein effect looks like jewelry because it follows the nail's curve. Rose-gold chrome warms up the brown and makes it look less flat. This is my go-to when someone asks for 'something classy' but still wants shine.
Apply chocolate brown french with a clean smile line. Add a thin chrome line using chrome gel or a dense chrome powder on a fine liner brush. Cure, then topcoat fully.
Pro tipPull the vein line from the inner tip toward the outer edge in one smooth arc so the shape stays sleek.
Watch outDon't use thick chrome for a vein. Thick lines look like blobs on brown.
6. Matte Cocoa French with Silver Chrome Tips
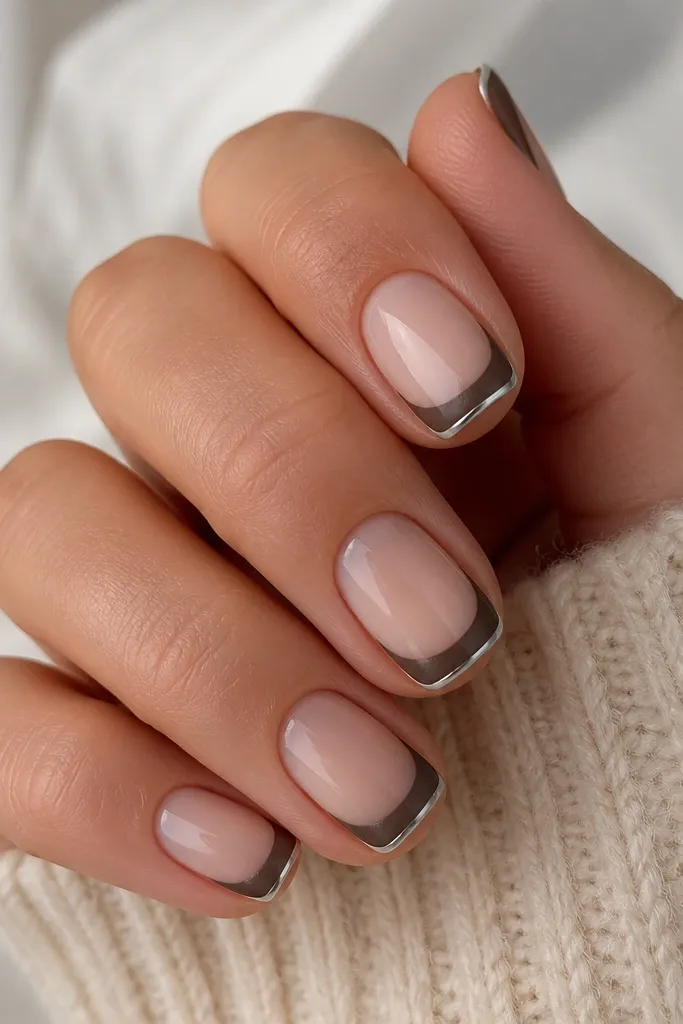
Matte brown gives you that soft, velvety look, and the silver chrome outline adds a sharp highlight. The contrast is what makes it feel modern rather than vintage. It also hides tiny imperfections because matte covers unevenness better than glossy.
Paint glossy nude base and cure. Apply matte cocoa brown for the french, then outline the outer edge with silver chrome powder on chrome gel. Finish with a topcoat plan: matte topcoat on the cocoa area, glossy topcoat over the base and chrome.
Pro tipOutline after the matte is cured. If you outline too early, you'll smear the matte and lift the edge.
Watch outAvoid full matte topcoat over chrome - it kills the mirror finish.
7. Brown French with Chrome Confetti Underlayer
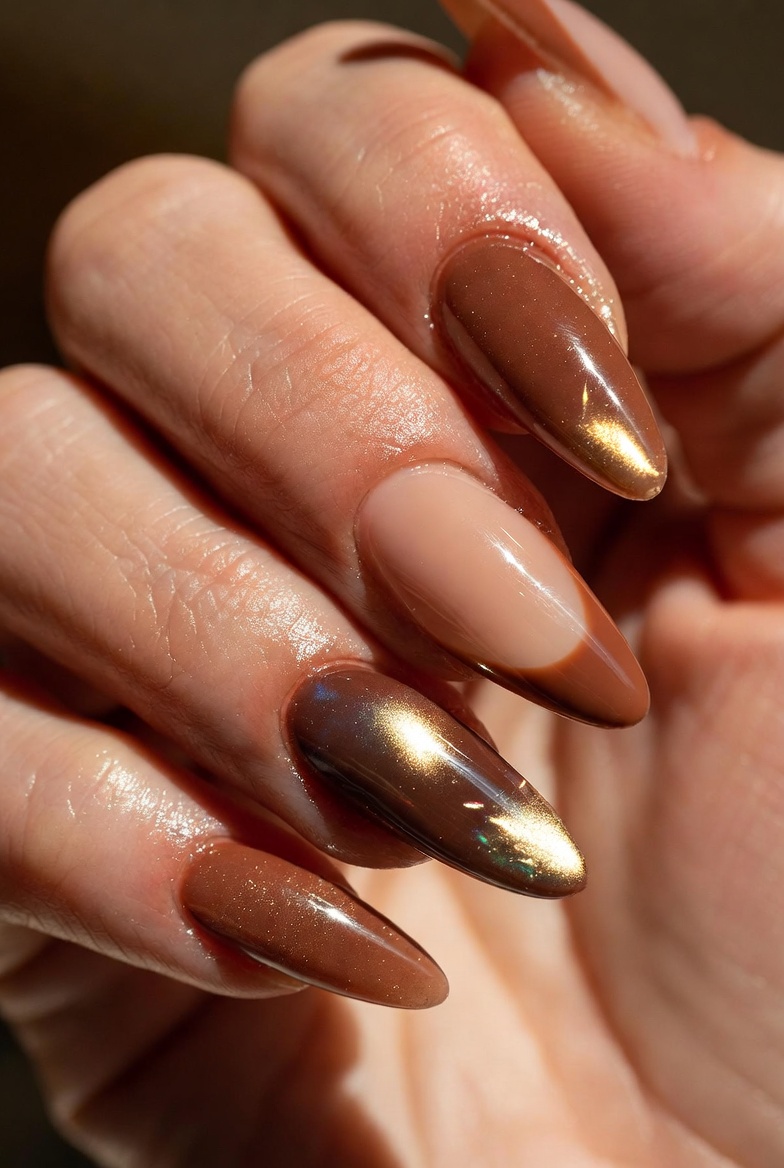
This one looks like stained glass. The translucent brown keeps the chrome visible, so you get sparkle without chunky glitter. It's also forgiving if your smile line is slightly uneven because the confetti texture breaks the straight-line look.
Start with sheer nude base. Create a translucent brown french using a thin layer of brown gel, then sprinkle fine chrome flakes on the wet brown layer and cure. Add one more thin brown layer to smooth it out, then seal with glossy topcoat.
Pro tipUse fine chrome flakes, not big foil chunks, so the confetti stays delicate.
Watch outDon't overbuild the brown - thick layers bury the chrome and turn it flat.
8. Caramel Brown French with Toasted Bronze Chrome Gradient
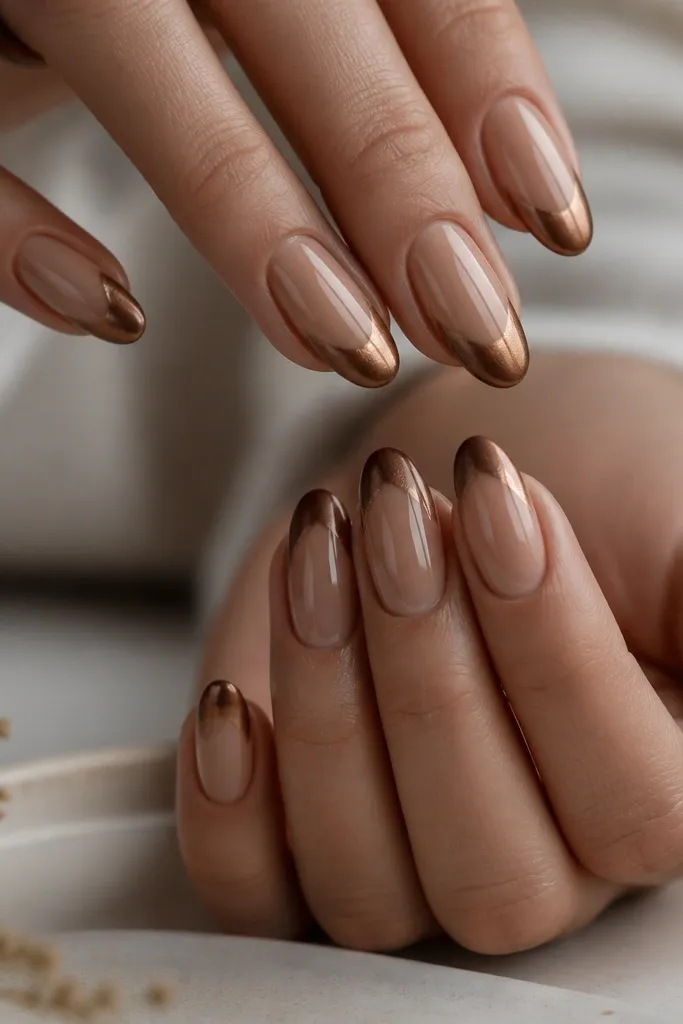
Caramel brown is softer than espresso, so it reads summery even with chrome. The toasted bronze matches warm undertones and looks like sun on metal. The corner-heavy gradient lengthens the nail visually because the brightest point sits where your eye already focuses.
Paint caramel brown french and cure. Apply toasted bronze chrome pigment with a small sponge at the outer corners, then blend inward lightly. Cap with glossy topcoat.
Pro tipBlend with a dry brush after the sponge dab. It smooths the gradient and removes harsh edges.
Watch outAvoid applying chrome all the way to the inner french line - it makes the tip look bulky.
9. Brown French with Horizontal Chrome Stripe Across the Tip
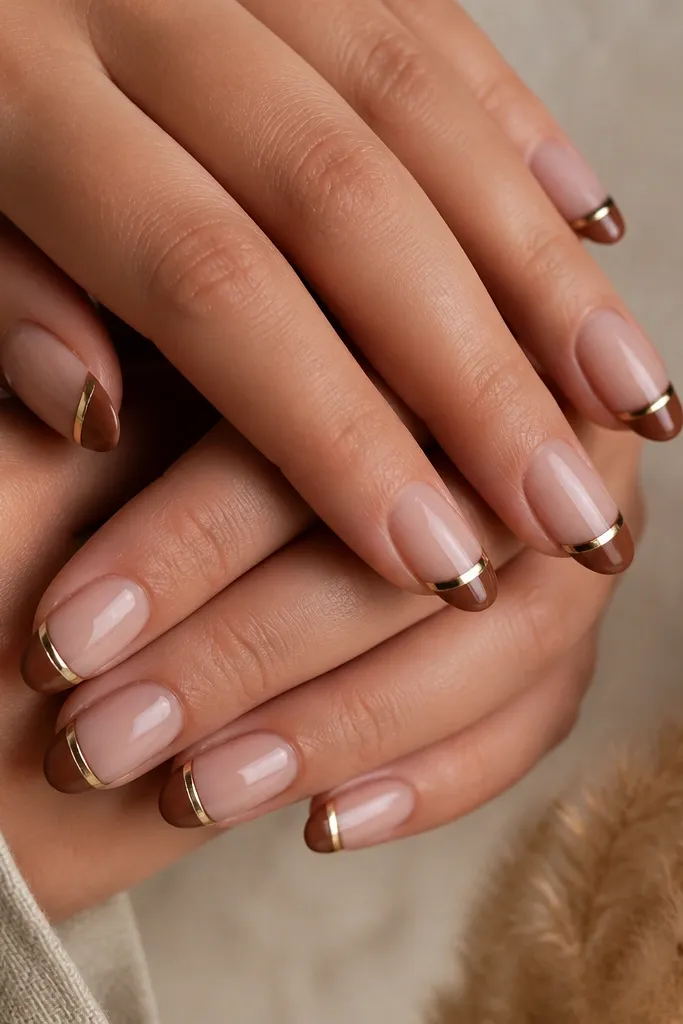
A horizontal stripe tricks the eye into reading width and shine together. Because the stripe sits mid-tip, it looks like a highlight ribbon. This design is playful but still clean, and it works on both short and medium lengths.
Create your brown french first. Apply chrome stripe using chrome gel and a striping brush, then cure. Topcoat over everything carefully so the stripe stays crisp.
Pro tipMark the stripe position with a tiny dot using liner gel before you pull the line.
Watch outDon't curve the stripe too much. A straight-ish stripe looks intentional; a wonky curve looks messy.
10. Deep Brown French with Smoky Taupe Chrome Marble Edge
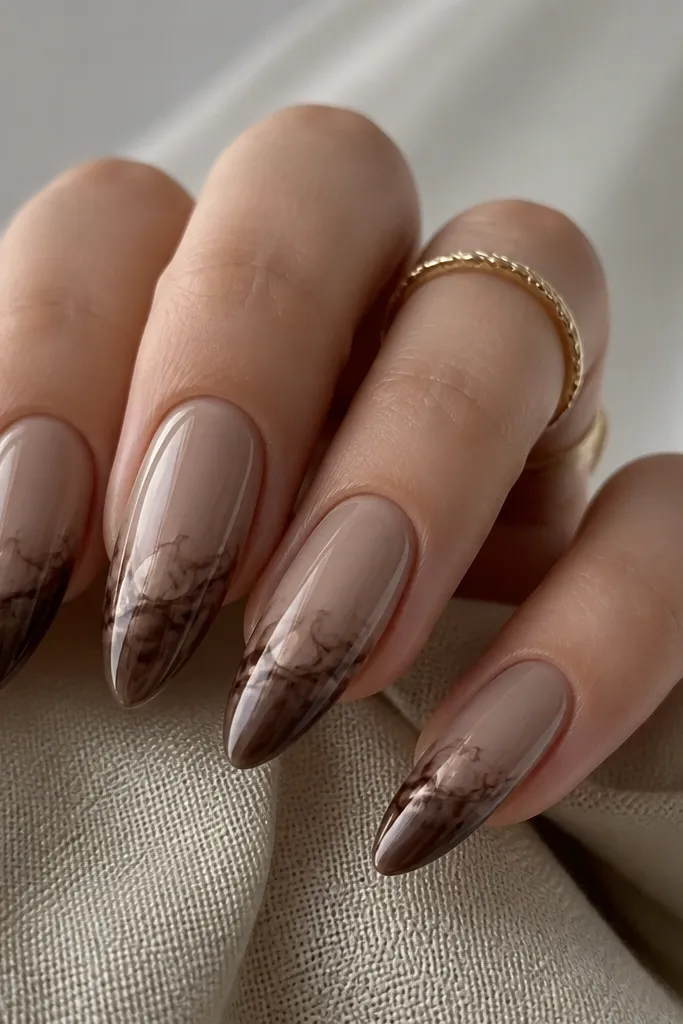
Marble edges look high-end because the light breaks across micro swirls. Taupe chrome keeps it subtle and smoky, so it's not too loud for work. The edge placement keeps the design from covering the whole tip.
Paint deep brown french, cure. Dab taupe chrome pigment with a small sponge in irregular patches along the outer edge, then lightly drag one direction with a dry brush to mimic marble. Seal with glossy topcoat.
Pro tipKeep your marble swirls larger than you think. Tiny swirls disappear once you topcoat.
Watch outAvoid heavy chrome coverage. Too much chrome turns marble into a flat shine sheet.
11. Brown French with Gold-Brown Chrome Outline and Tiny Dot
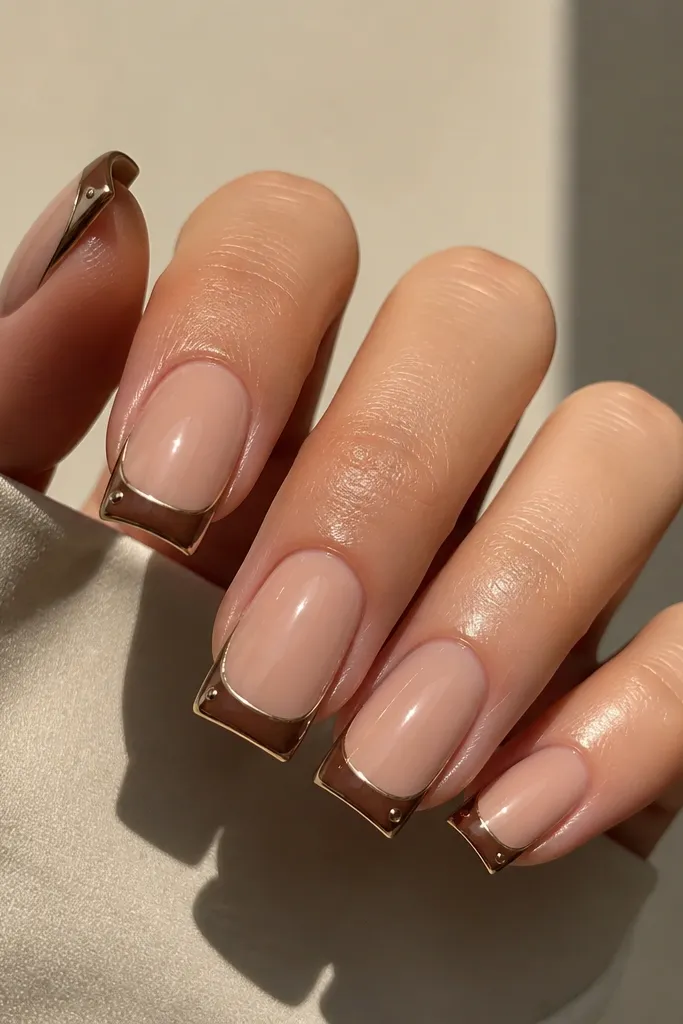
This layout is basically a frame. The thin outline makes the french look crisp, and the tiny dot adds a focal point without adding bulk. Gold-brown chrome looks softer than silver and pairs beautifully with warm browns.
Paint brown french and cure. Apply chrome outline around the outer perimeter using a liner brush and chrome gel, then place one tiny chrome dot closer to the inner corner. Cure and topcoat.
Pro tipUse a dotting tool with a barely loaded tip, so the dot stays the size of a match head.
Watch outDon't put the dot in the center of the tip. Corner placement looks more modern.
12. Sheer Brown French with Mirror Chrome Half-Tip
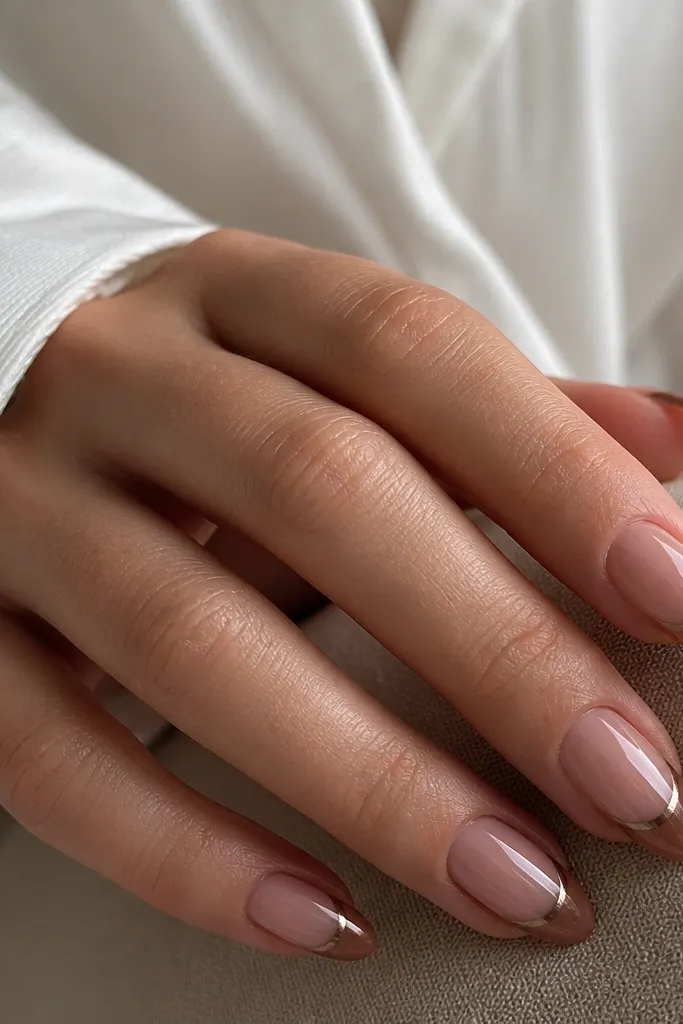
Half-tip chrome is bold but still clean because the brown stays see-through. It gives you a strong contrast line that reads graphic in photos. This is a great choice if you want chrome that doesn't cover the entire nail surface.
Build a translucent brown french with a thin gel coat and cure. Tape or use a straight nail art guide to define the half line, then apply mirror chrome to the upper half only. Remove the guide, cure, then topcoat.
Pro tipChill the tape for 10 seconds in cool air before applying. It sticks without dragging your base gel.
Watch outAvoid uneven half-line edges - use tape and keep pressure light.