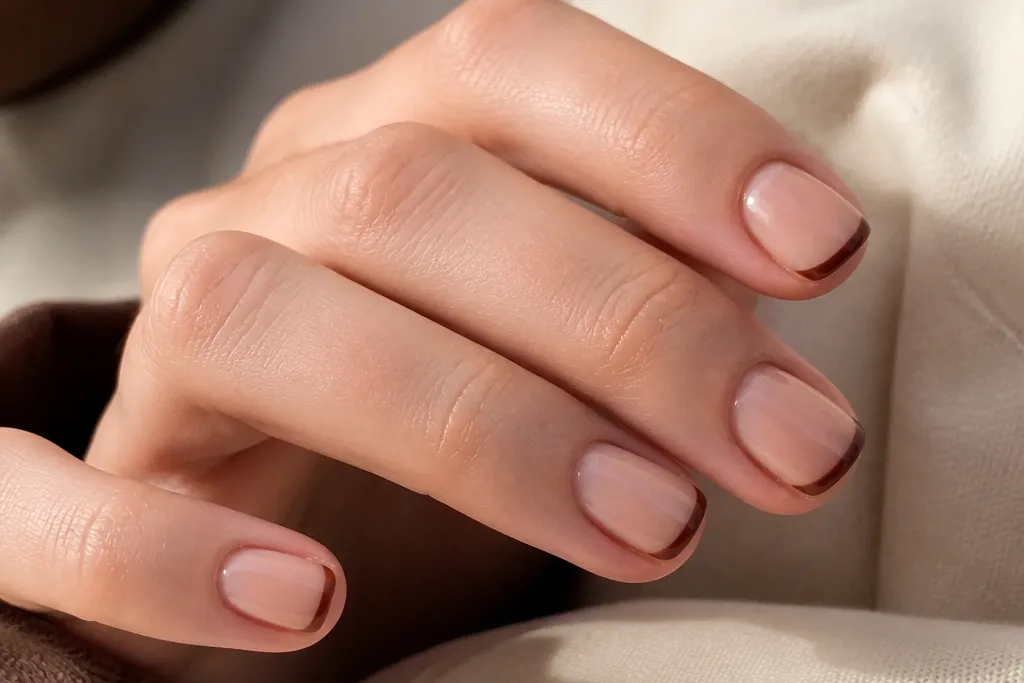
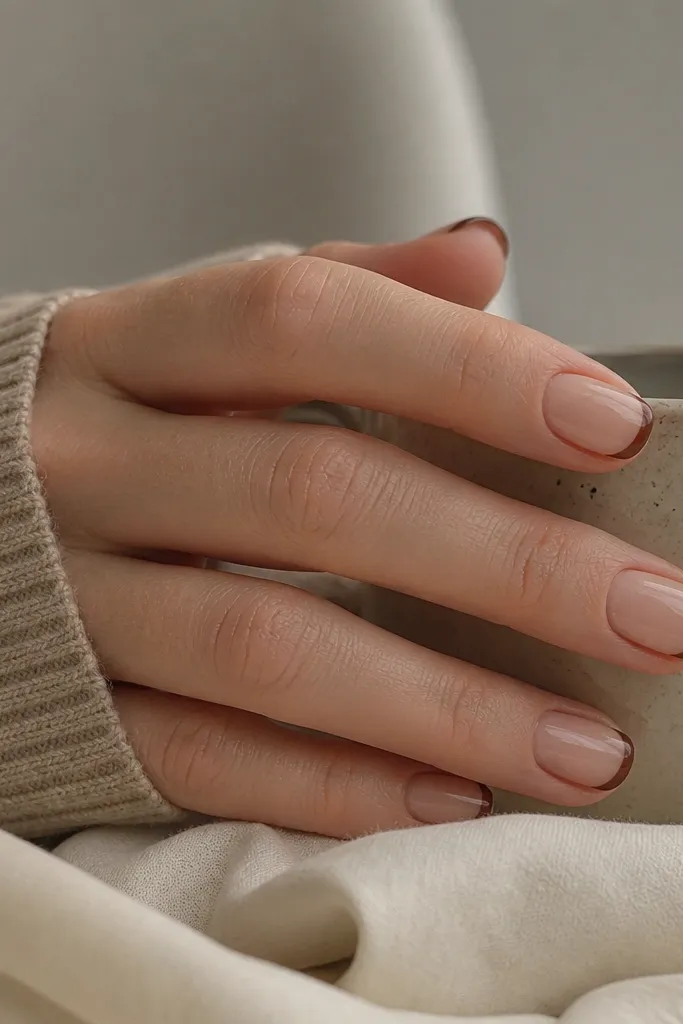
1. Espresso Micro French with Sheer Nude Base
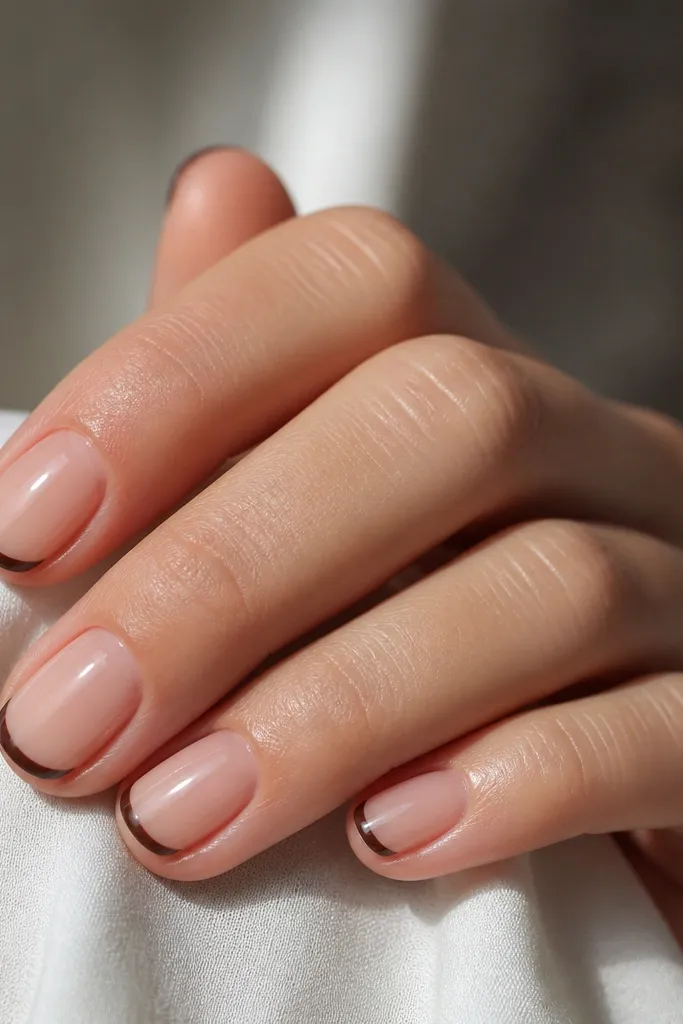
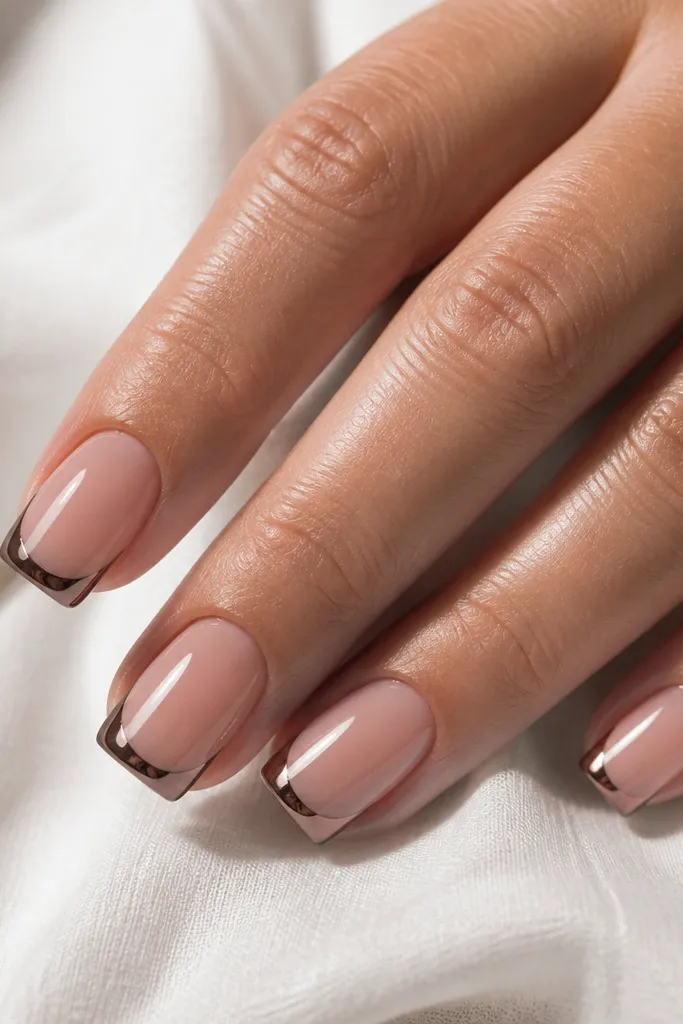
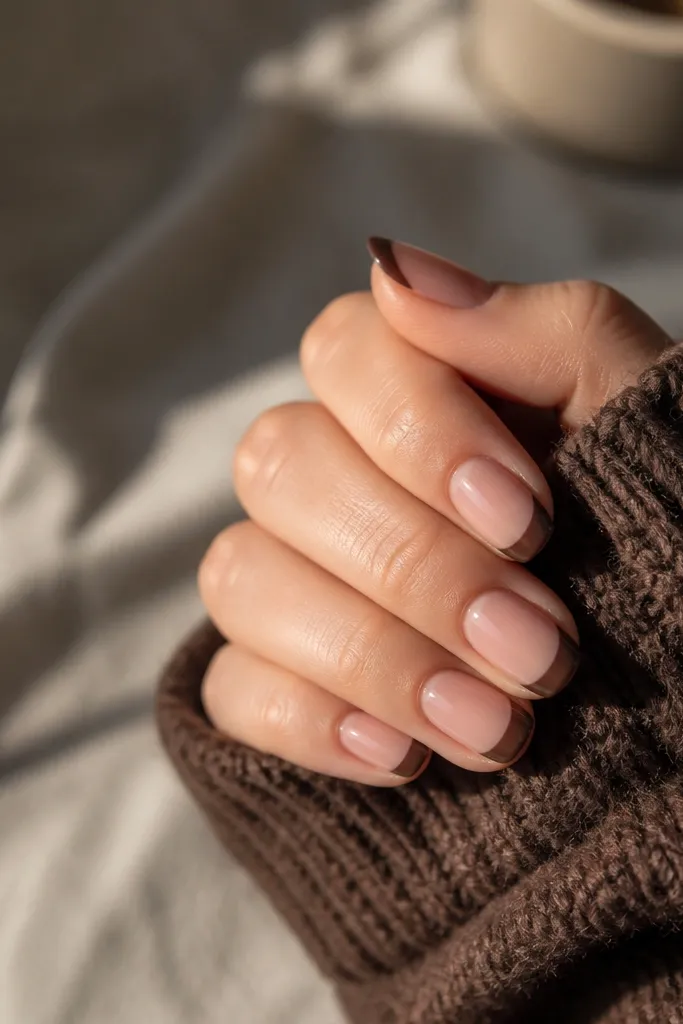
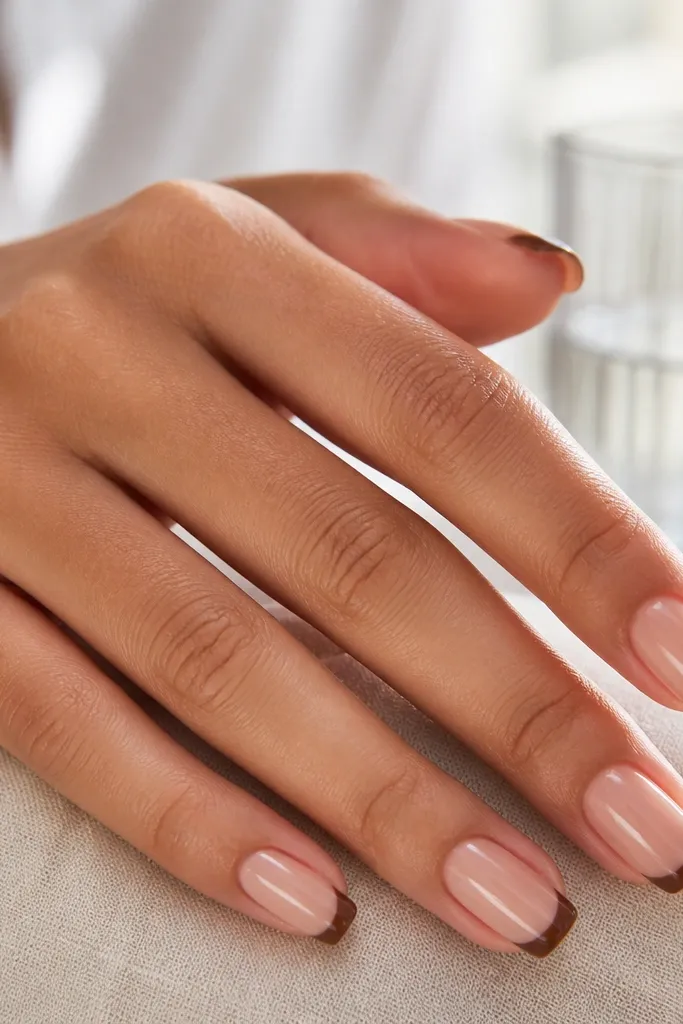
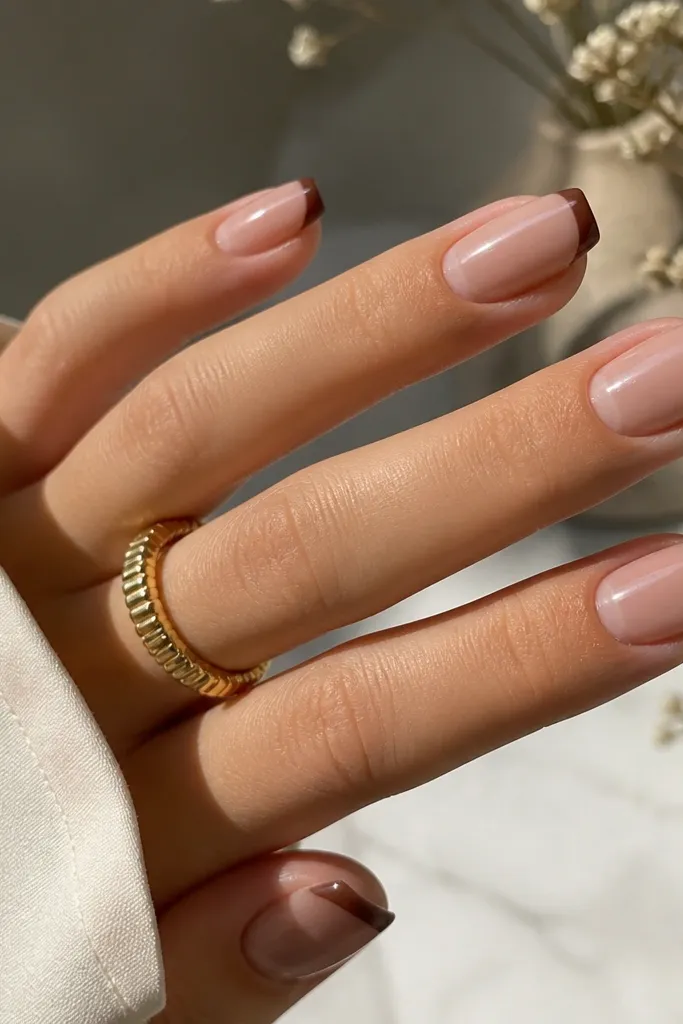
This is the first look I reach for when my nails are short and I don't want them to look stubby. Espresso brown stays crisp and doesn't go muddy, and the micro line leaves breathing room at the sides. The sheer nude base keeps it airy, so your nail still looks like it has length. Glossy top coat makes the brown line reflect light cleanly.
Shape: square-rounded or soft oval. Paint nude base in two thin coats, then let it dry 60-90 seconds. Use a striping brush to draw a thin arc across the tip, then fill only the line area - not the whole tip. Finish with one glossy top coat layer.
Pro tipUse the brush tip like a pen - press lightly so you get one controlled pass instead of multiple thick ones.
Watch outDon't paint the brown tip like a full cap; on short nails it makes the nail look shorter.
2. Milk Chocolate French with Half-Moon Cuticle Edge
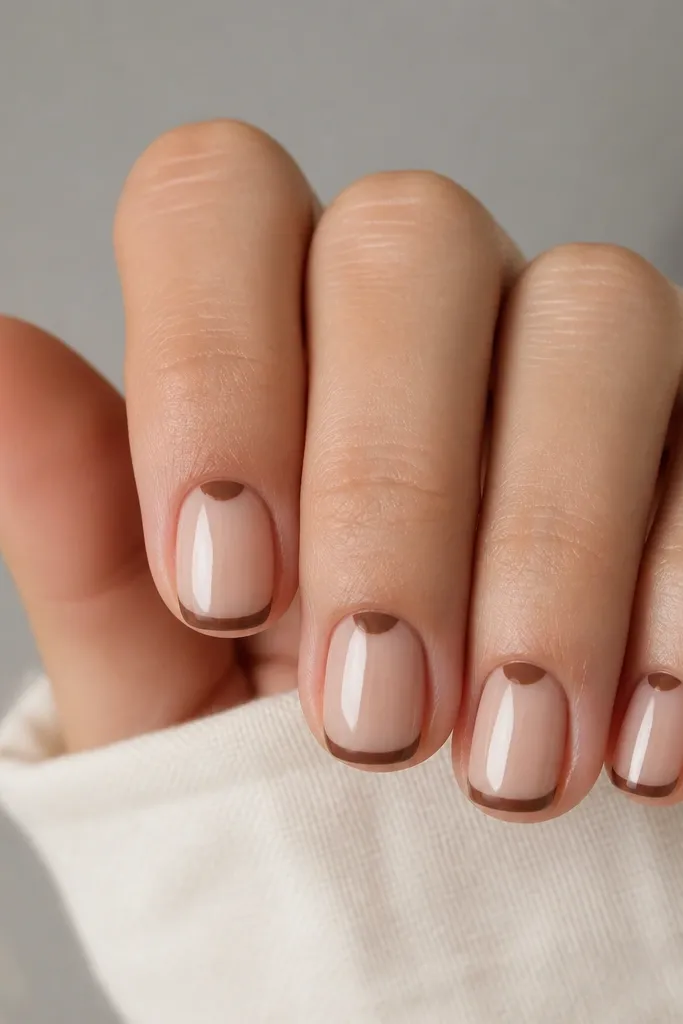
Adding a tiny half-moon near the cuticle balances the French line so it looks designed, not random. Milk chocolate is warm and flattering, especially on hands that show a bit of dryness in colder months. The half-moon draws the eye upward, which helps short nails look longer. Keep both shapes the same brown so the set feels cohesive.
Base: sheer beige nude. French tip: draw a thin arc at the tip edge. Half-moon: with the same brown, place a small crescent at the cuticle center only - about 1 mm wide. Seal everything with glossy top coat.
Pro tipIf your half-moon smears, let the base cure longer before you add the brown - tacky nude makes brown bleed.
Watch outAvoid a half-moon that touches the sidewalls; it looks heavy on short nails.
3. Taupe-Brown French with Negative Space Side Slits
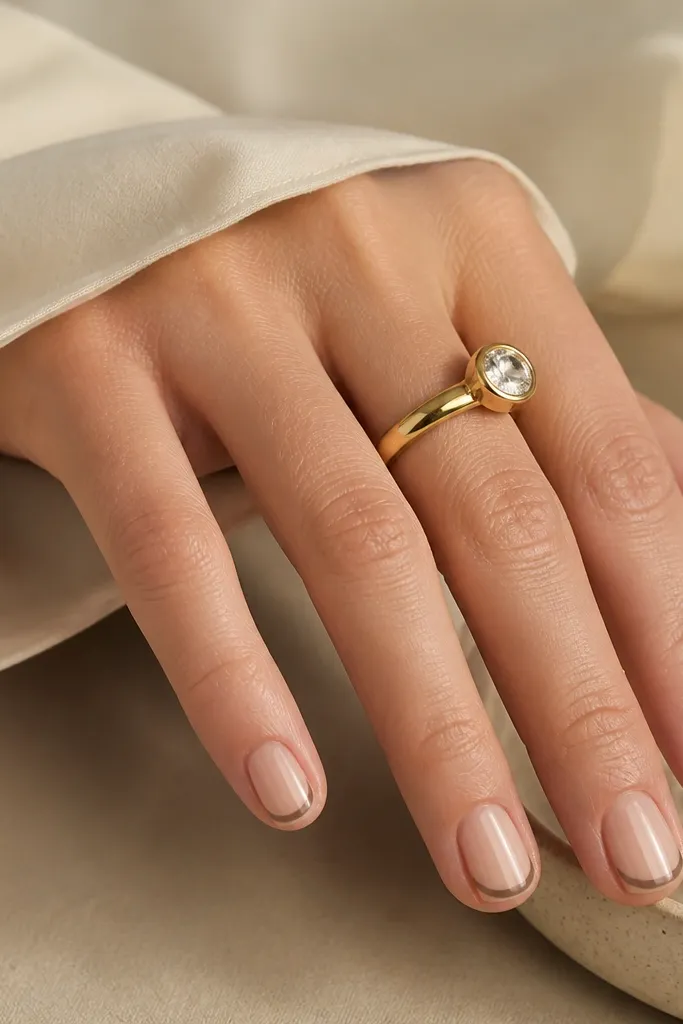
Negative space makes small space short brown french tip nails look intentional because you're using the nail plate as part of the design. Taupe-brown reads modern and soft, and the side slits add a little "architecture" without needing gems. This one looks good on shorter lengths because it doesn't cover much surface area. It also photographs cleanly because the edges are crisp.
Start with a sheer nude base. Paint a thin taupe-brown French line across the tip. Then, using a toothpick, carve two tiny vertical gaps on each side under the line (leave the nude showing). Top coat lightly at first, then full top coat after it levels.
Pro tipUse painter's tape as a guide for the French line, then remove immediately while the polish is still slightly wet.
Watch outDon't make the slits too wide; wide gaps turn the design into a chip-looking accident.
4. Chocolate Gloss Tips with Gold Foil Dot Accent
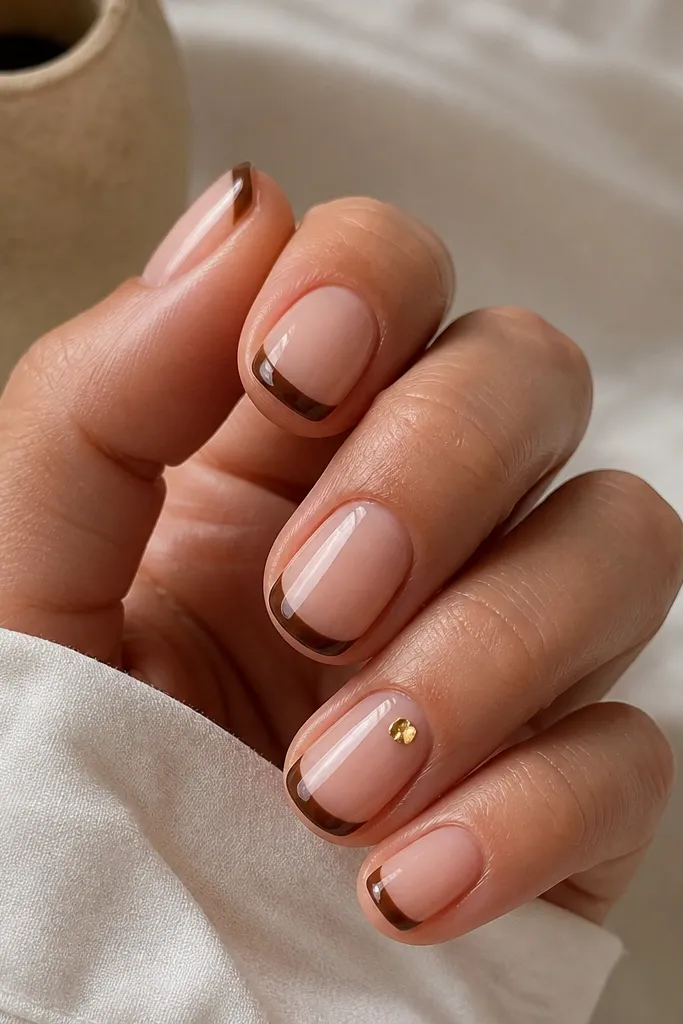
This is a "wear it to dinner" version that still works on short nails. Chocolate brown keeps it warm, and one tiny gold foil dot adds sparkle without overpowering the French line. Gold foil looks best when it's irregular and small - like a fleck, not a big circle. Glossy finish makes the brown look thick and smooth.
Paint nude base, then do chocolate French tips with a thin stripe brush. Choose one accent nail and press a tiny gold foil piece near the cuticle center with tweezers. Seal with top coat, pressing gently over the foil so it doesn't lift.
Pro tipIf foil won't stick, dab a micro dot of clear gel or tacky top coat where the foil sits.
Watch outDon't add foil on every nail; it crowds short French tips fast.
5. Burnt Umber French with Matte Top Coat Base
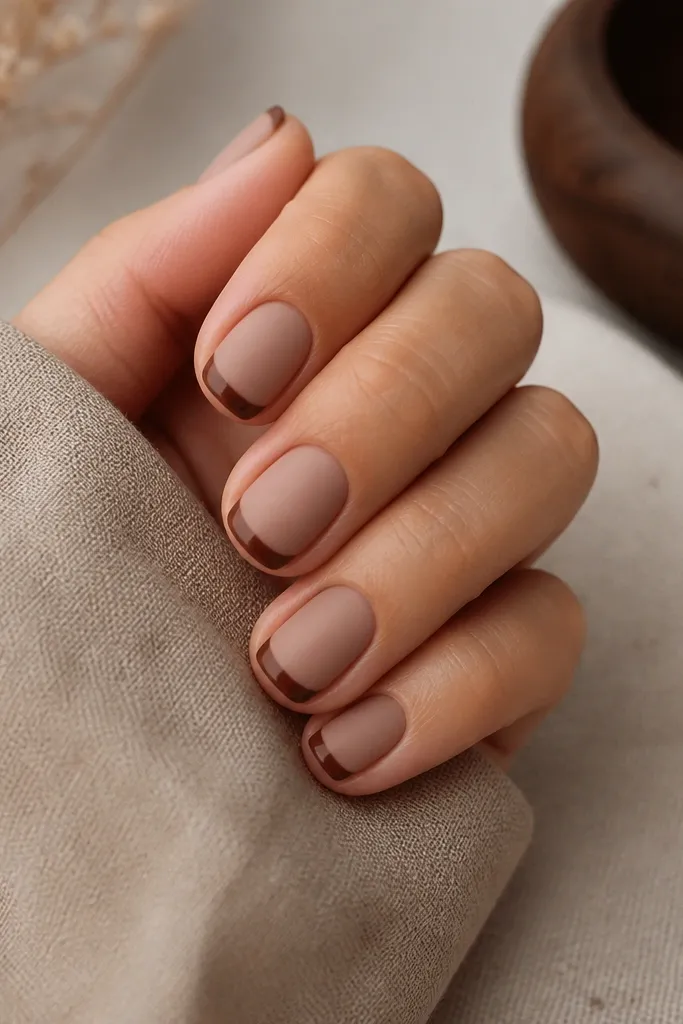
Matte base + glossy brown tip is one of the cleanest ways to make short nails look styled. Burnt umber has that earthy warmth that reads fall without looking like glitter or candy. The contrast makes the French line pop even when it's thin. It also hides tiny base imperfections because matte levels the look.
Base: warm beige nude, then apply matte top coat to the whole nail. French tips: paint burnt umber thinly and keep it glossy by using regular gloss top coat only over the tip area. If you're using gel, cure the matte first, then cure the glossy tip.
Pro tipUse a small flat brush to mask the area while top coat sets so the matte doesn't spread onto the French line.
Watch outAvoid matte on the brown line - matte brown looks dusty and less defined.
6. Caramel French with Thin White Outline
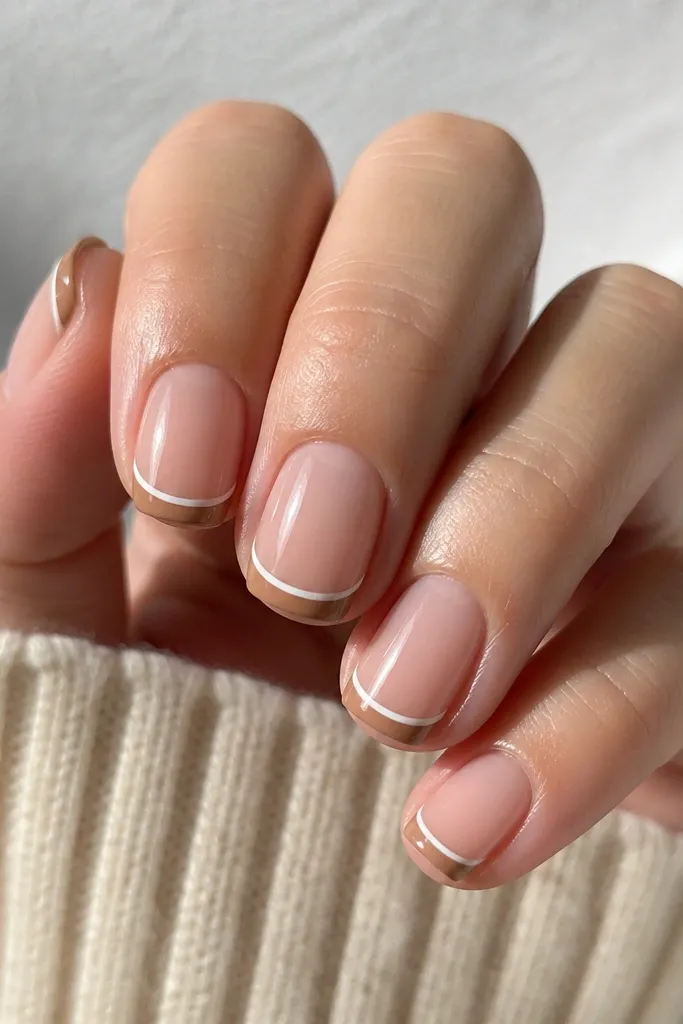
A thin white outline makes caramel French tips look sharper and more graphic. Caramel is light enough to feel springy, but the outline keeps it from looking like a smudge. This one is great if you think brown tips look too plain on your skin tone. The white border also makes the line look crisp even if you're working with a shaky hand.
Paint nude base. Do a caramel brown French tip first, then let it dry fully. Use a striper brush with white to add a hairline along the top edge only - not the bottom. Finish with glossy top coat.
Pro tipPractice the outline on one nail first; once your hand remembers the pressure, the rest are fast.
Watch outDon't outline the sides too thick; thick white on short nails looks like nail art tape.
7. Dark Brown French with Clear Jelly Center
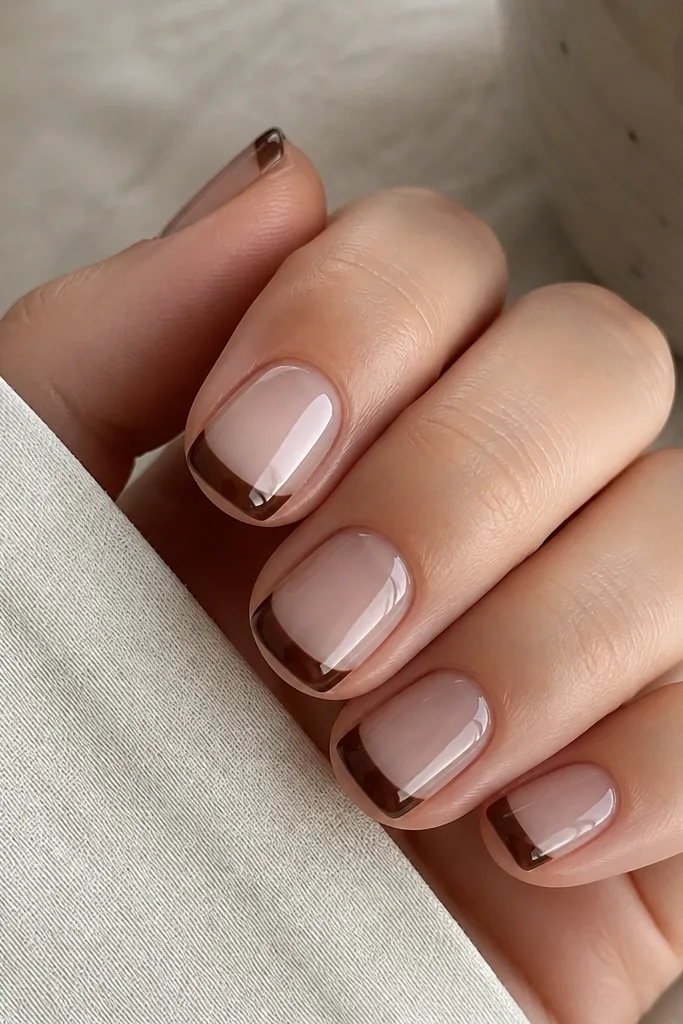
This look uses the nail like a design canvas. The clear jelly center keeps the nail light and gives your French tips a "floating" effect. Dark brown is the anchor color, and because the center is see-through, you get length and brightness. It feels modern and looks especially good on short nails because it doesn't cover the plate.
If you're using gel: apply a thin clear jelly layer to the nail center area, leaving the sides mostly clear. Add dark brown to the tip edge only, then cap with top coat. If you're using regular polish, use a clear top coat layer thick enough to act like a jelly before adding brown to the tips.
Pro tipKeep the jelly center smooth; any bumps show up fast on a see-through look.
Watch outDon't make the brown tip too tall; jelly centers need a low French line to stay airy.
8. Soft Brown Ombre Tip into Nude
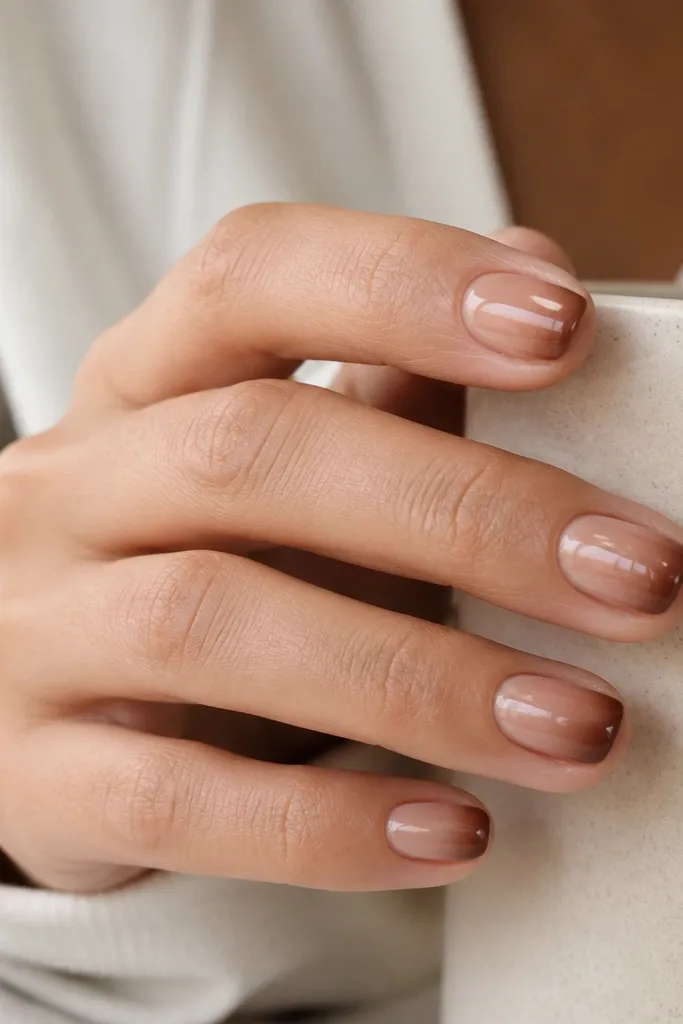
Ombre French is forgiving when your nail line isn't perfectly symmetrical. Soft brown fades look natural on short nails because they mimic a gradient of depth rather than a hard edge. This is a good pick if you want brown but hate the look of a strict line. Glossy finish makes the fade look smooth, like a salon job.
Base: sheer nude. Tip: sponge a small amount of soft brown on a makeup sponge, then tap only the tip area and blend upward 1-2 mm. Clean edges with a cotton swab dipped in remover around the sides while still slightly wet. Top coat to smooth it out.
Pro tipUse a very small sponge amount; too much color makes the ombre look like a stain.
Watch outAvoid a harsh line between nude and brown; that defeats the ombre effect.
9. Espresso French + Micro Beads Cuticle Stripe
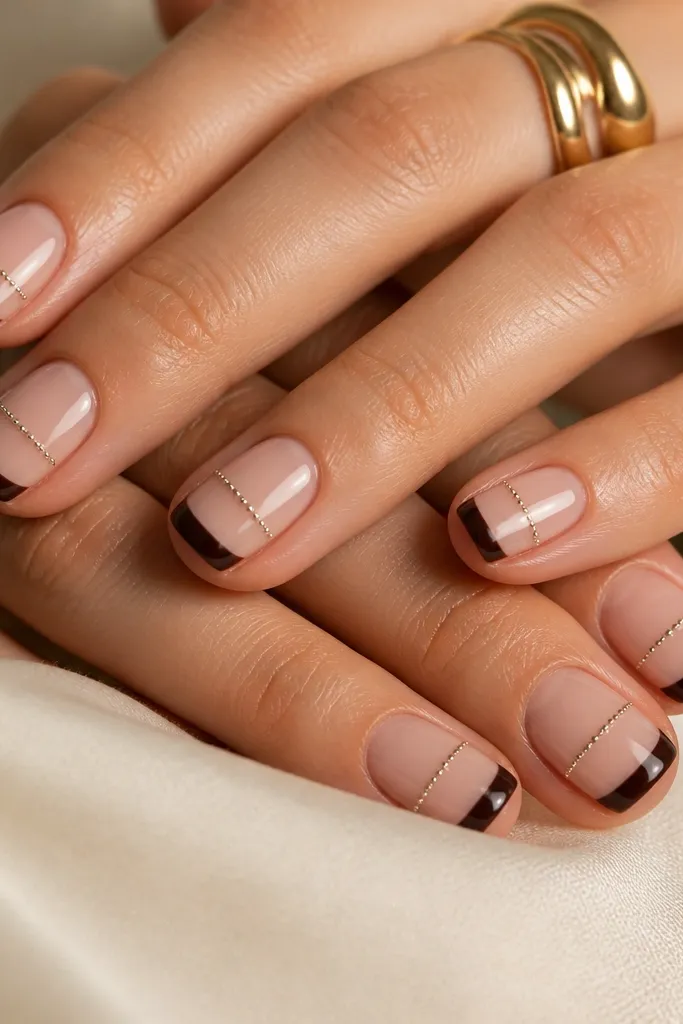
This one is for when you want texture but still keep the French tip the star. Espresso brown stays clean, and micro beads at the cuticle add a subtle sparkle that doesn't spread across the tip. Because the beads sit near the cuticle, they don't interfere with the small space at the nail edge. It looks best with a glossy top coat over the bead line only lightly so the beads don't sink.
Base nude, then espresso French tip. Add a thin clear gel line across the cuticle center (about 2 mm wide). Press micro beads into the line and cure. Seal with a thin layer of top coat that covers the beads without flooding them.
Pro tipUse a bead applicator or tweezers so you place 8-12 beads total, not a thick strip.
Watch outDon't put beads on the French line; texture on the tip catches on hair and chips faster.
10. Warm Chestnut French with Rose-Pink Base
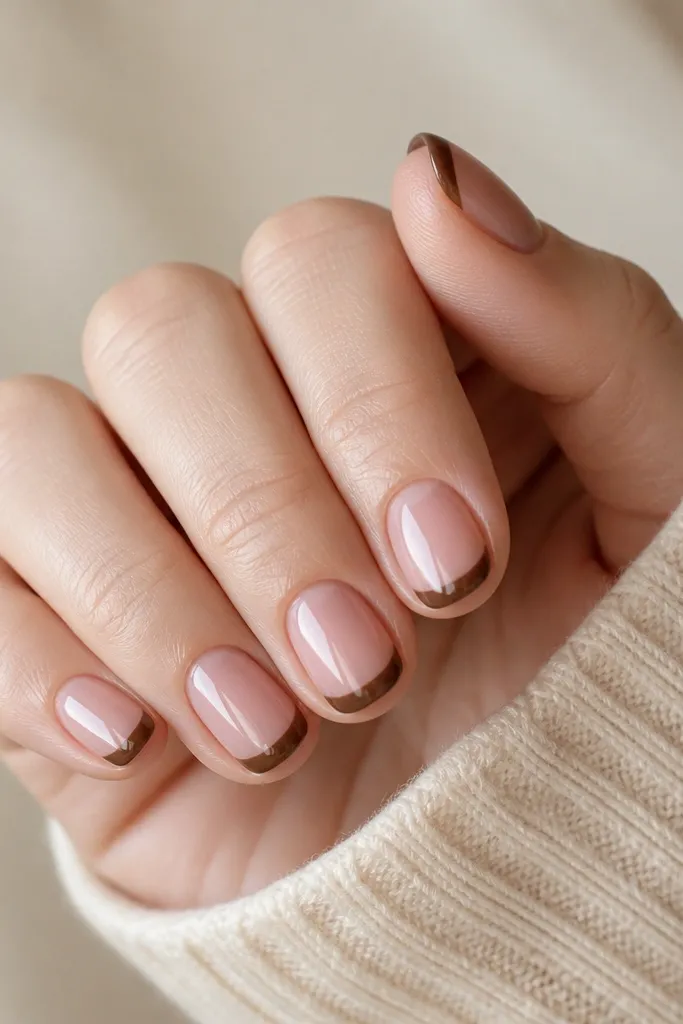
Warm chestnut brown looks like it belongs with spring skin - rosy undertones make it feel fresh. The rose-pink base keeps the set from looking too heavy or fall-only. This is a clean, everyday design that still looks intentional because the brown is rich and the line is centered. Glossy finish keeps the chestnut looking smooth.
Base: rosy nude (not fully pink, not fully beige). French tips: use a warm chestnut brown and keep the line thin at 2 mm. Cure or dry fully before top coat so the brown doesn't smear. Shape stays short oval for the most flattering curve.
Pro tipIf your brown pulls too orange, switch to a cooler chestnut with a hint of gray - it fixes the tone instantly.
Watch outDon't use a fully opaque beige base; it makes the rosy chestnut look muddy.
11. Olive-Brown French with Tiny Leaf Accent
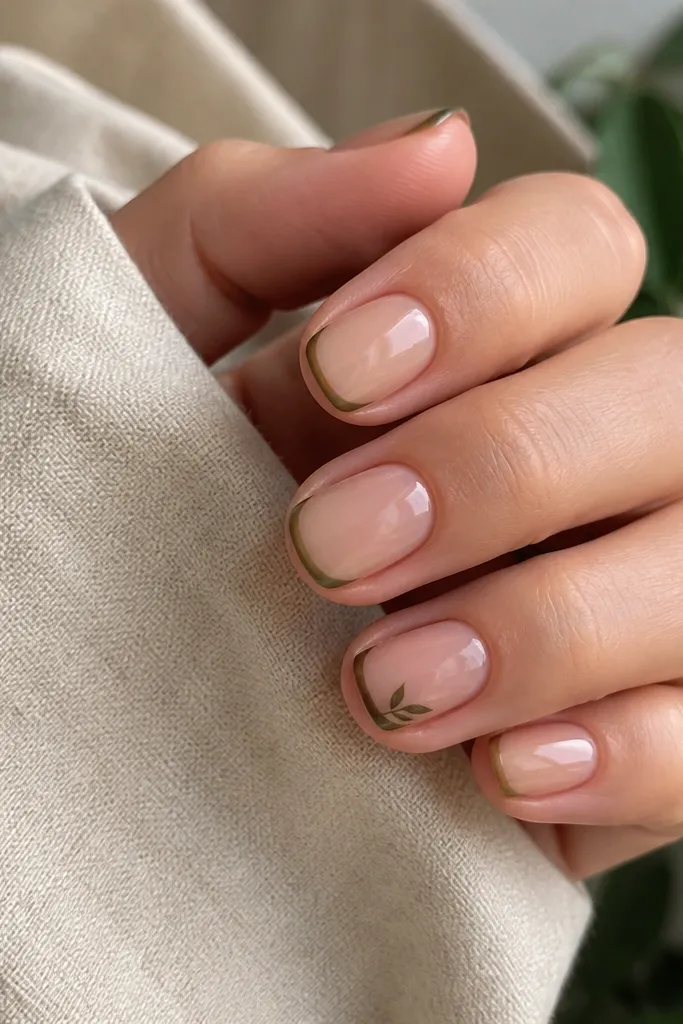
Olive-brown is the seasonal cheat code for late summer and early fall. The green leaf gives you the seasonal signal without turning the nails into a theme park. French tips keep it neat, and the leaf accent stays small enough for short lengths. This one looks best with glossy top coat because it makes the leaf line crisp.
Base nude. Paint olive-brown French tips thinly. On one accent nail, use a striping brush to draw a tiny leaf shape (about 3 mm long) near the outer side of the tip. Add a dot highlight in lighter green if you want it to look dimensional.
Pro tipMake the leaf only one color if you're rushed; two-tone leaf paint looks easier than it is.
Watch outAvoid big leaf placements; anything bigger than 3-4 mm starts to look like a sticker.
12. Carob Brown French with Clear Rhinestone Corner
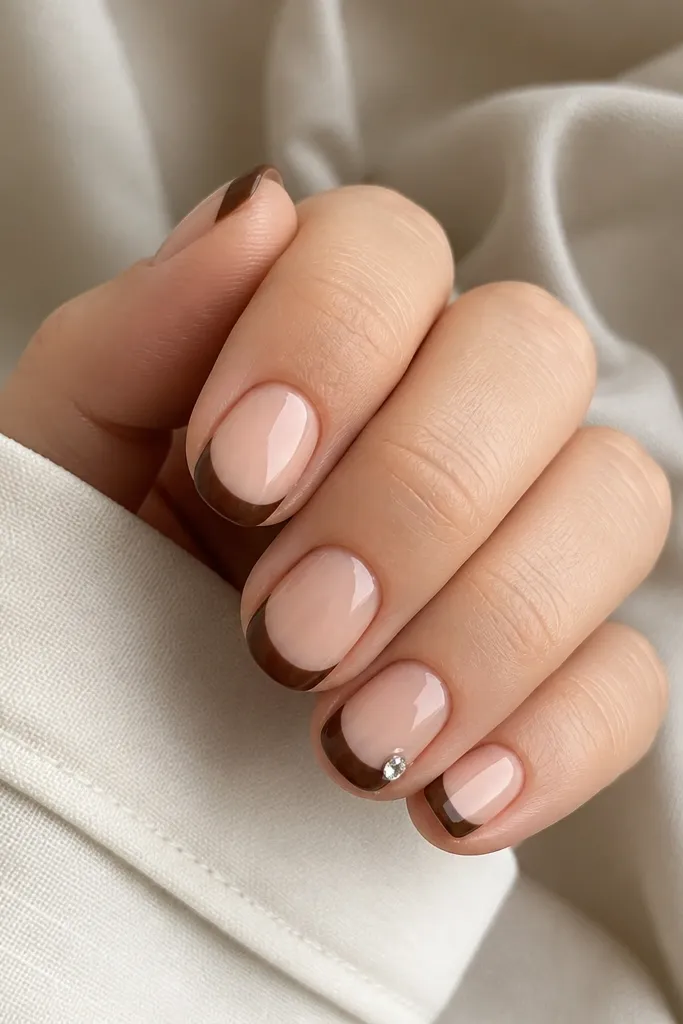
One rhinestone at the corner makes short French tips look dressed up without turning them into full-on bling. Carob brown is slightly lighter and more neutral than espresso, so the rhinestone doesn't look harsh. The corner placement follows the natural arc of the nail and looks tidy. Glossy top coat makes the stone look like it's set into gel.
Base nude, then carob brown French tip with a thin line. Place one clear rhinestone on an accent nail at the top outer corner of the French arc, then cure or set with gel glue. Cap the stone with top coat so it doesn't snag.
Pro tipPress the rhinestone down with a silicone tool for 5-10 seconds so it locks flat.
Watch outDon't place the stone in the middle of the tip; it looks like a mistake on short nails.