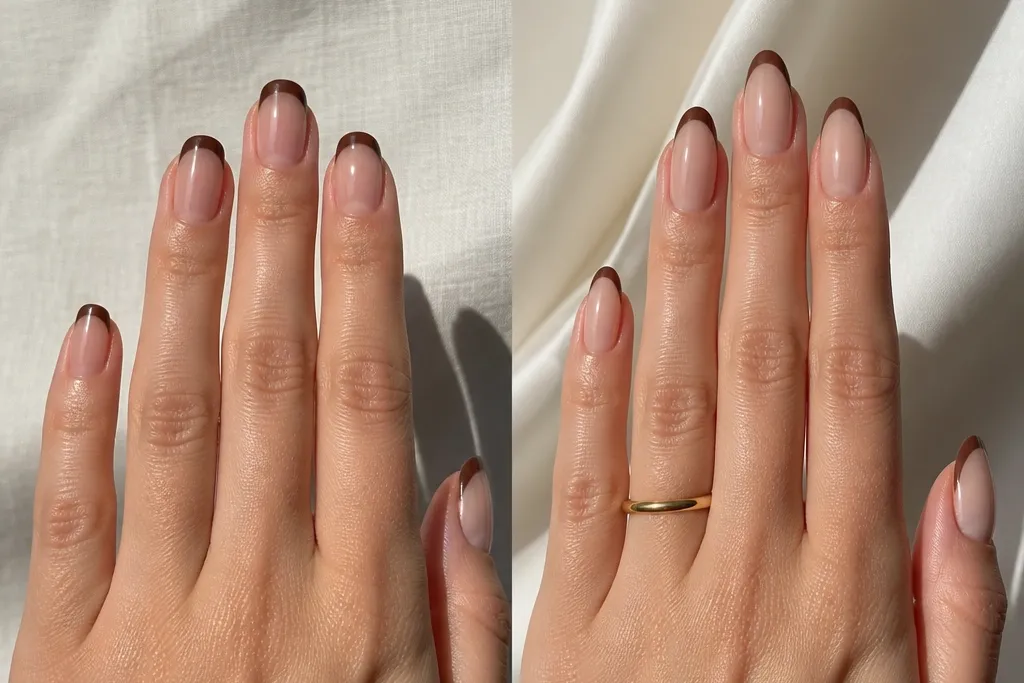
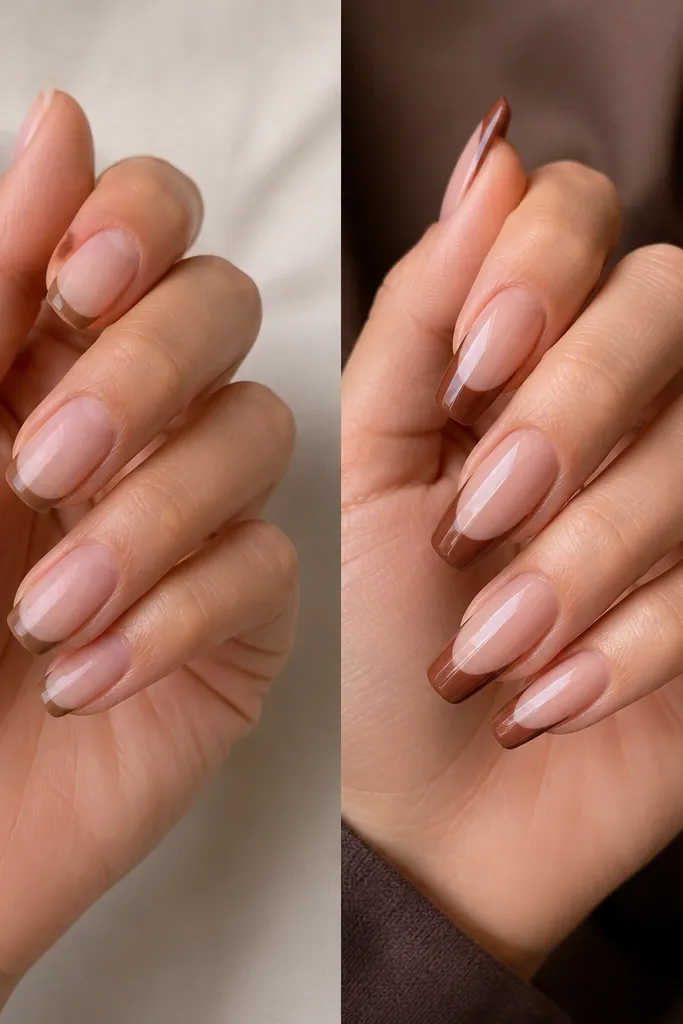
1. Latte Micro-Line Coffin Tips
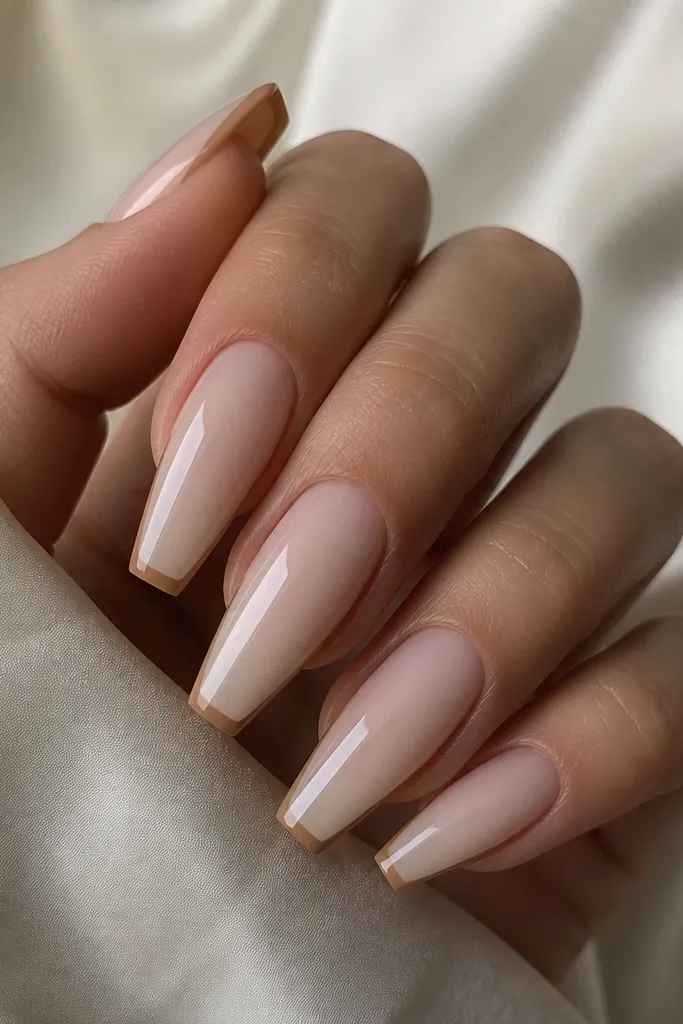
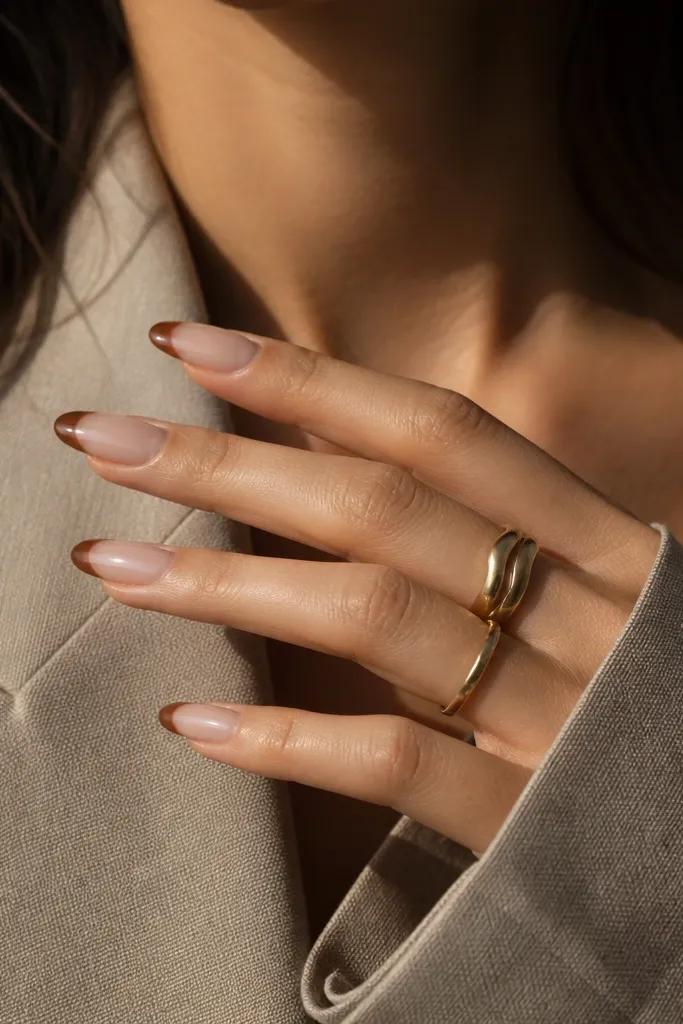
This is the "make my hands look tidy" option. The brown is a light warm tone so it reads soft, not harsh, and the micro-line keeps your coffin shape visually long. I like it with a milky nude because the contrast is subtle - you still get that French structure, just calmer. On my nails, it looks clean even after a week of growth because the line is narrow.
Use a light warm brown gel or polish (think latte or caramel). Keep the French line thickness around 1/16 inch, then extend the tip to a smooth arc that follows the coffin edge. Base should be sheer milky nude, not opaque beige, so the nail bed still shows through.
Pro tipPaint the line in two passes: one light guide stroke, then a second pass to even out the color after you cure or let it set.
Watch outSkip a thick line on a light brown - it turns into a blob and looks like a painted sticker.
2. Espresso Classic French (Medium Width)
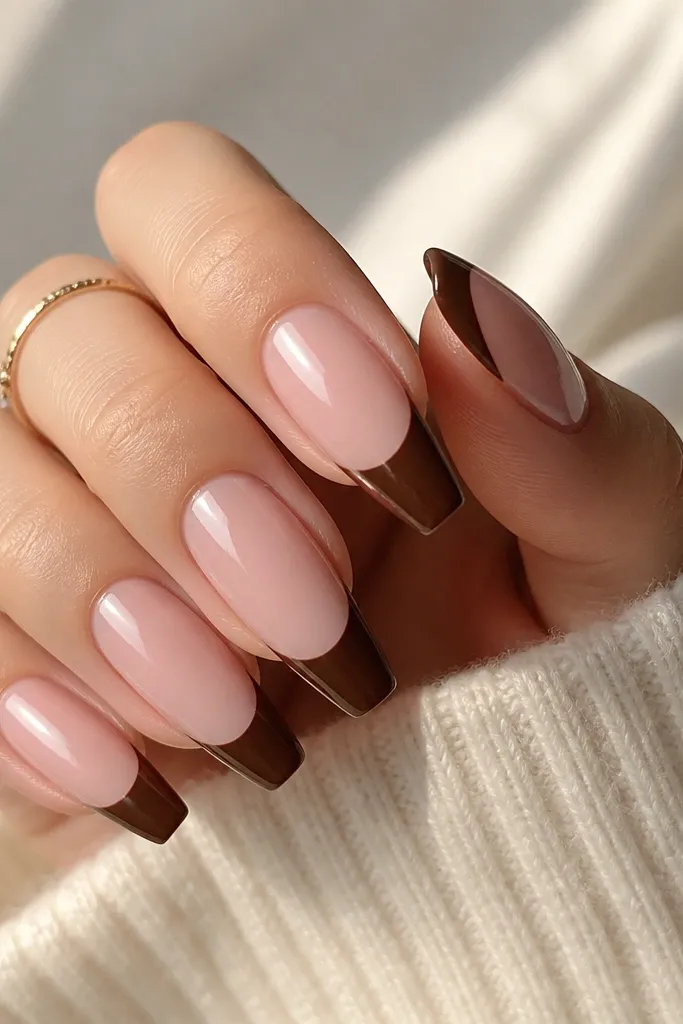
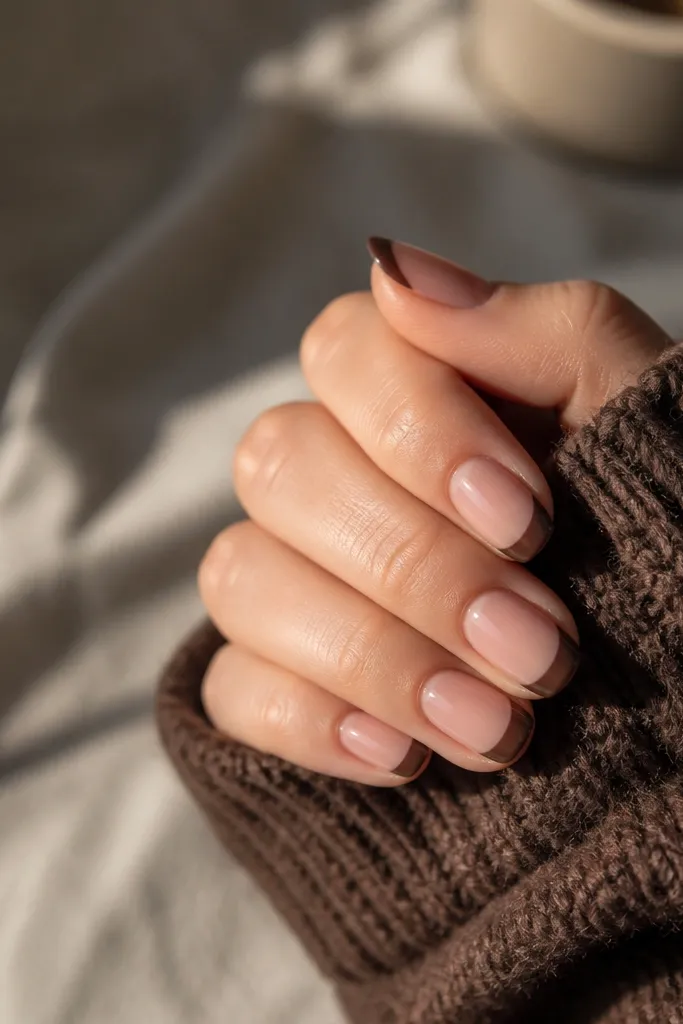
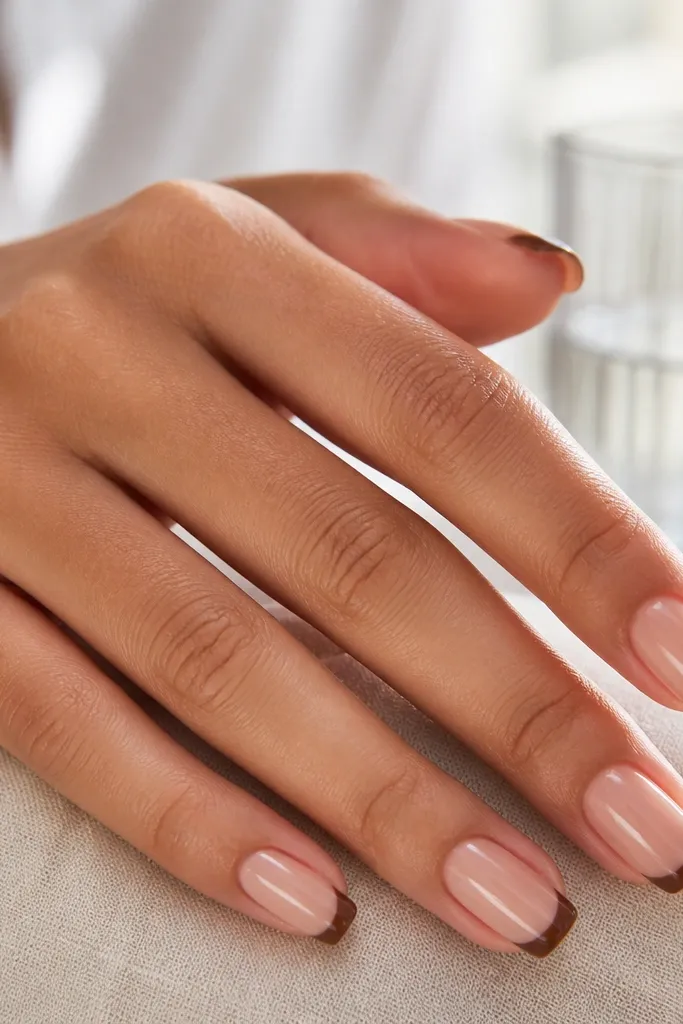
Espresso brown gives you depth without needing glitter. The medium width is the sweet spot for before and after transformation brown french tip nails because it reads intentional from across the room. Glossy top coat makes the brown look like polished coffee, not flat pigment. This style also hides minor unevenness better than micro-lines because the band is wider.
Pick a deep neutral brown (not red-brown). Apply base sheer pink, then paint the French band leaving a tiny margin near the sidewalls. Keep the top edge straight and the bottom edge slightly curved to match the coffin tip.
Pro tipAfter curing the brown, clean the line edges with a lint-free wipe and a brush dipped in acetone or gel cleanser.
Watch outDon't let brown touch the cuticle - it makes the whole set look grown-out and messy.
3. Warm Caramel Reverse French Outline
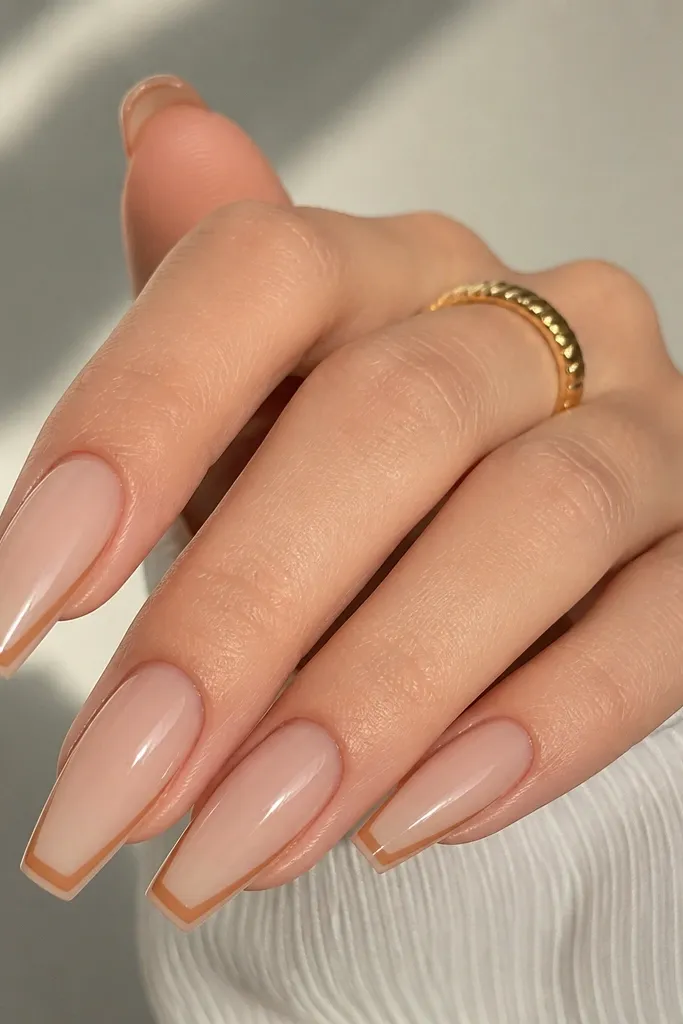
Reverse French is where the "wow" happens even with minimal art. You paint a caramel outline that frames the tip area, so your nails still look light while the brown adds structure. I like warm caramel here because it flatters most skin tones and doesn't look too gray. The glossy top coat keeps the outline crisp and reflective.
Use a nude jelly base for the main nail. With a thin striping brush, draw a U-shape around the free edge area, then add two thin side strokes to connect. Cure, then seal with top coat and cap the free edge lightly.
Pro tipOutline first, fill second. Doing both at once makes the line bleed, especially on coffin tips.
Watch outAvoid a reverse French that's too close to the nail bed - it will look like a shadow instead of a design.
4. Mocha Matte French with Soft Edge
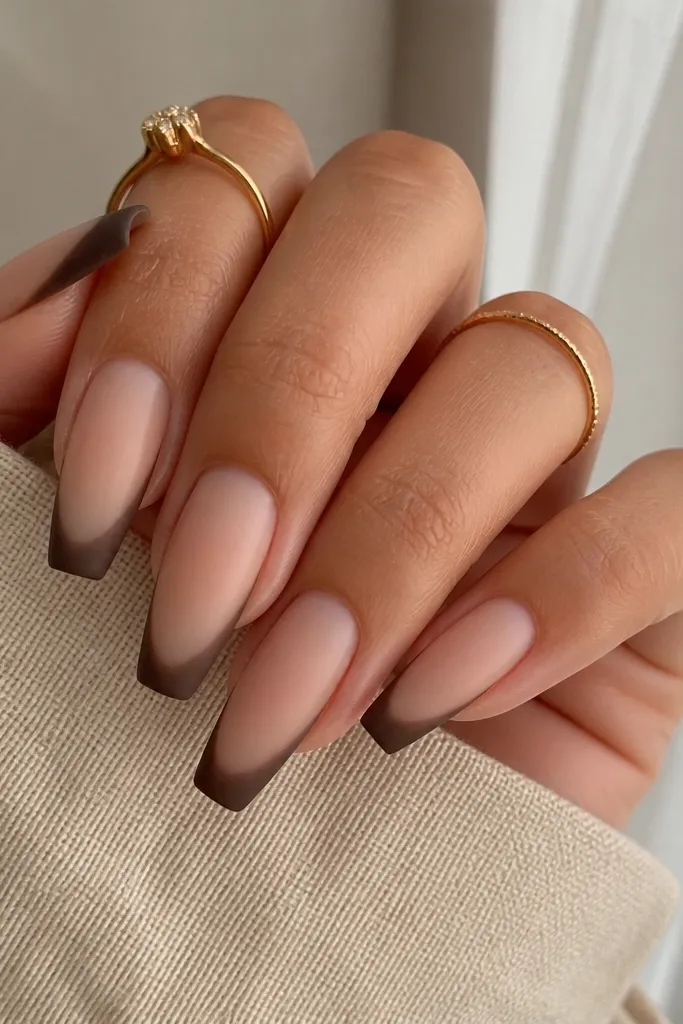
Matte mocha looks expensive because it stops the brown from looking "painted." The soft edge is still defined, but it blends a touch into the base so the set feels cozy. This is my go-to for fall and for anyone who hates high-gloss on their hands. Matte also hides tiny brush marks better than glossy.
Choose a mocha brown with a neutral undertone. Paint the French tip with a slightly wider brush than you'd use for classic French, then lightly drag the edge once before curing so it softens. Finish with a true matte top coat, not a flat matte powder - matte top coat gives more even texture.
Pro tipAfter matte top coat cures, don't over-wipe with gel cleanser - it can scuff the surface.
Watch outSkip glossy gel under a matte top coat if the brown is too thin; the thin pigment shows streaks under matte.
5. Chocolate Gloss French + Half-Moon Cuticle Pop
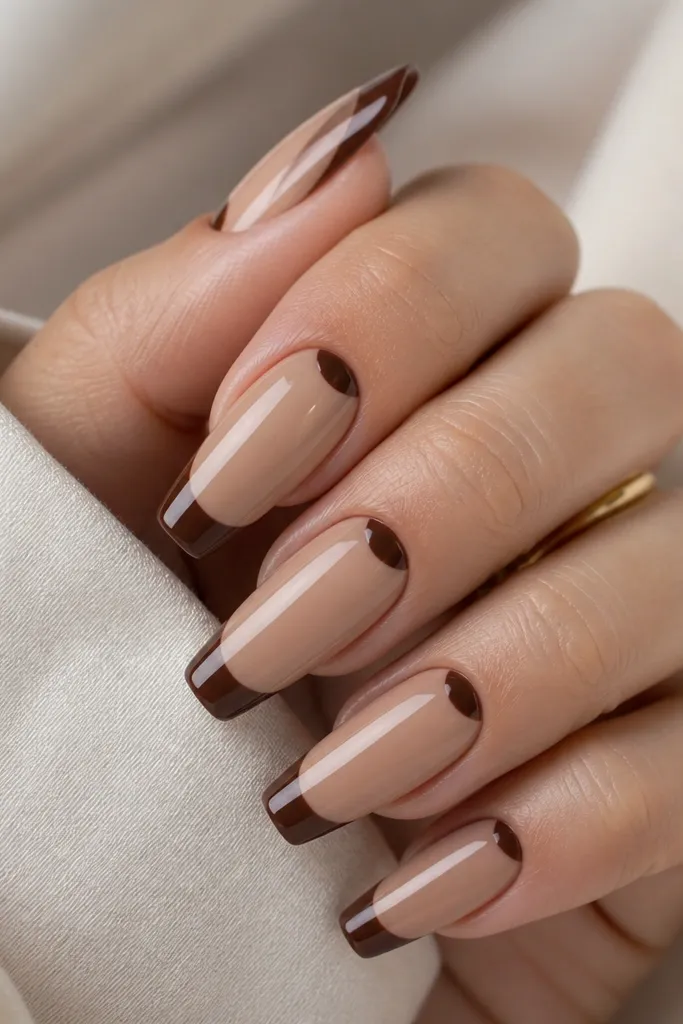
This one gives you a balanced design: the French tip does the length trick, and the cuticle half-moon makes it look styled instead of basic. The chocolate brown is deep enough that the half-moon reads intentional. I love glossy here because it makes both the tip and half-moon look like a single polished layer.
Base: sheer nude jelly. Tip: glossy chocolate French with medium width. Cuticle: stamp or freehand a tiny half-moon centered on the nail, about 1.5-2 mm tall. Seal with glossy top coat and cap the free edge.
Pro tipUse a dotting tool for the half-moon - place it, then drag the edges inward with a flat brush.
Watch outAvoid a half-moon that's too big - it turns into a reverse French and crowds the nail bed.
6. Terracotta Brown French with Thin Gold Edge
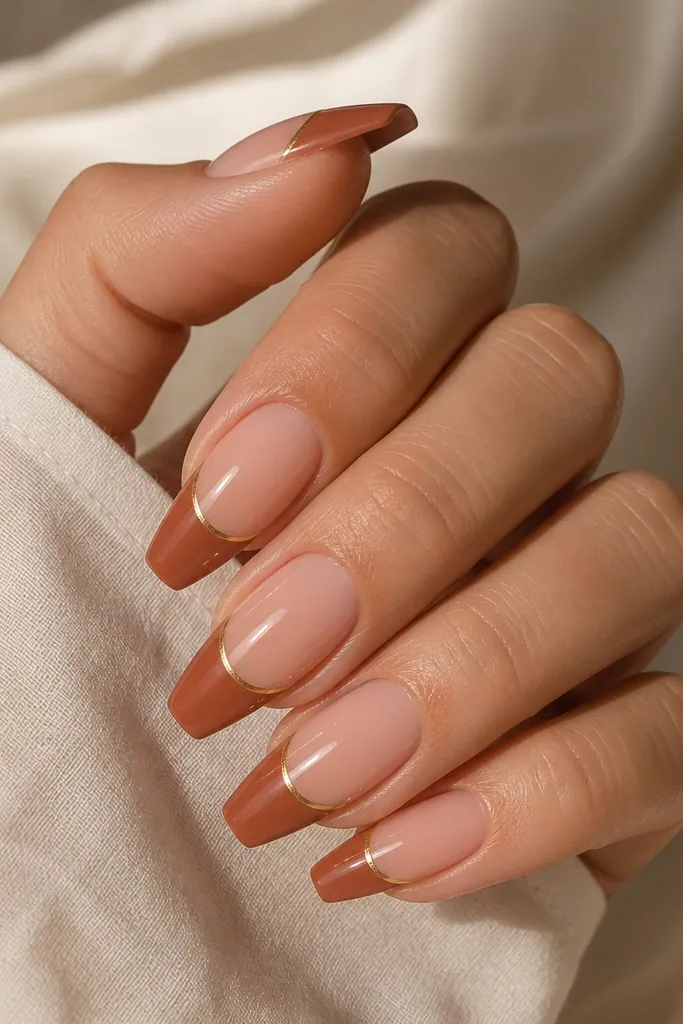
Terracotta brown adds warmth that looks great with gold jewelry. The thin gold edge makes the tip look sharper and more "finished" than plain French. This style also photographs well because the gold catches light at an angle. Keep it minimal - one gold line is enough to make the set feel custom.
Use a terracotta brown gel or polish (slightly orange-brown). Paint a medium-thin French band, cure, then apply a gold striping tape or paint a gold line with a liner brush. The gold line should sit right at the top edge of the brown, not inside the band.
Pro tipIf tape lifts, press it with a clean silicone nail tool and cure immediately before removing the tape backing.
Watch outSkip thick gold borders - they look like cheap nail art stickers.
7. Brown French Ombré Fade (Coffin Edge)
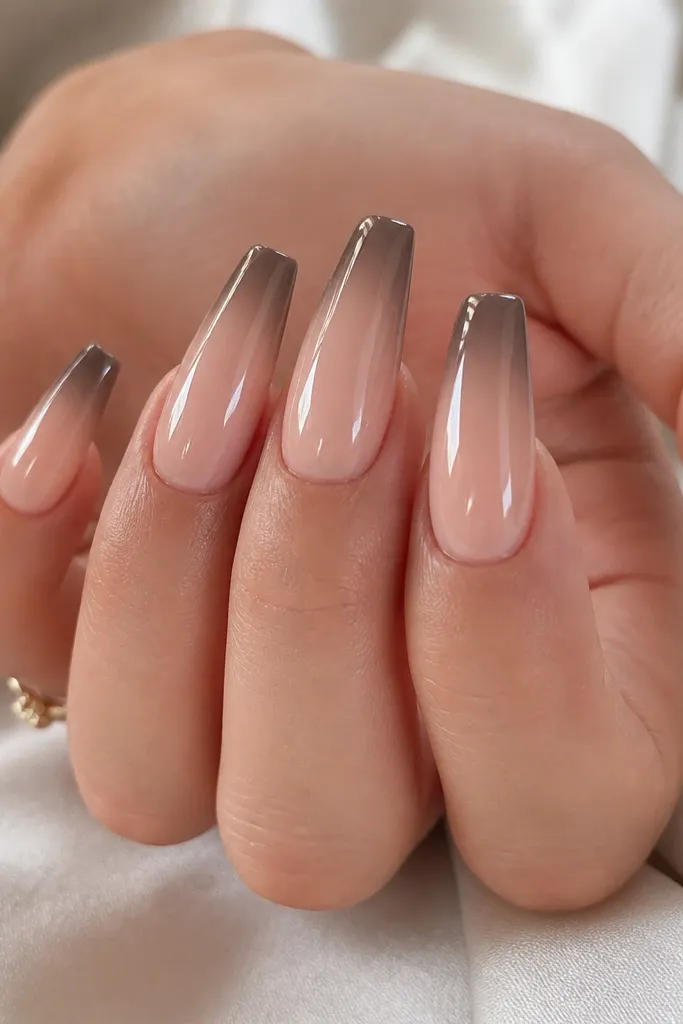
An ombré French tip looks smooth and expensive because there's no hard boundary. The deeper brown at the edge anchors the coffin shape, while the fade keeps it wearable. I like this when you want brown but don't want a stripe that can look too graphic. A glossy finish makes the gradient look buttery.
Base: sheer nude or light pink nude. Use two browns: a deep taupe-brown and a lighter warm taupe. Apply deep brown at the free edge, then blend upward with a sponge or ombré brush using small dabs. Clean the sidewalls with a brush after the first layer.
Pro tipBlend with a sponge that's been lightly pressed on a paper towel first. Too-wet sponge = muddy fade.
Watch outDon't over-blend into the center - you want the fade to start in the last third of the nail.
8. Milk Tea Brown French with Negative Space Triangle
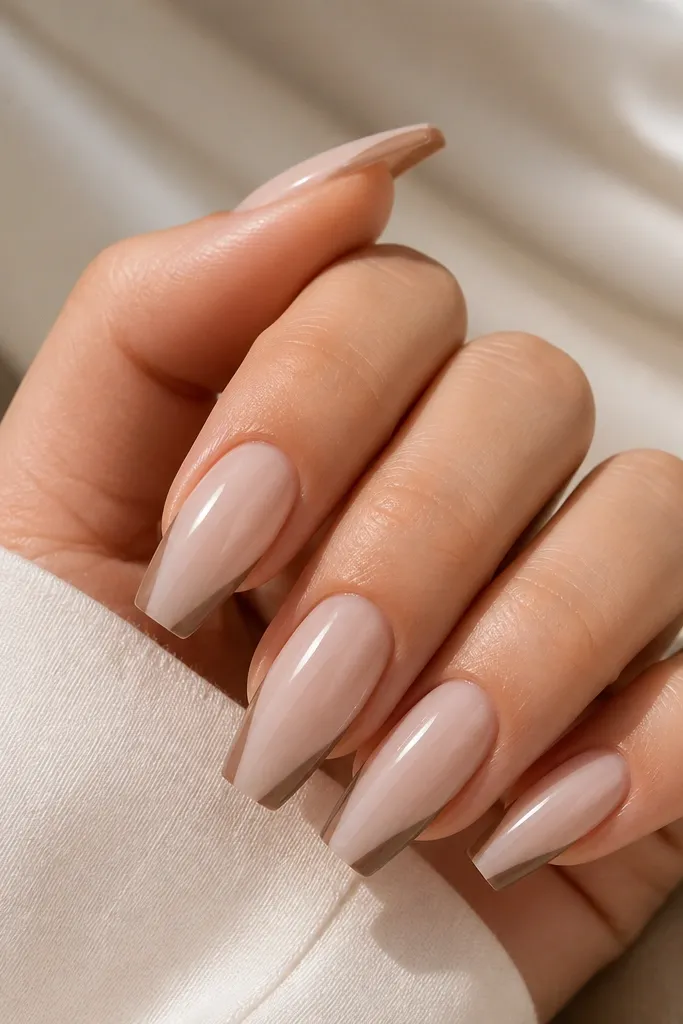
Negative space makes this look designer without adding bulk. The small central triangle keeps the French from becoming a solid block, which is what makes it feel lighter on coffin nails. Milk tea brown stays soft and neutral, so the design works for both day and night. Glossy top coat makes the triangle edge look crisp.
Paint a milky nude base, then mask the center triangle with a tiny piece of striping tape or a nail art stencil. Fill the side zones with milk tea brown, cure, then remove the tape carefully. Seal with top coat and cap the edges so the triangle stays clean.
Pro tipUse tape no wider than 2 mm for that center triangle so it doesn't overpower the nail.
Watch outSkip freehand triangles unless you're already steady - wonky triangles read sloppy fast.
9. Cocoa Chrome French Tips
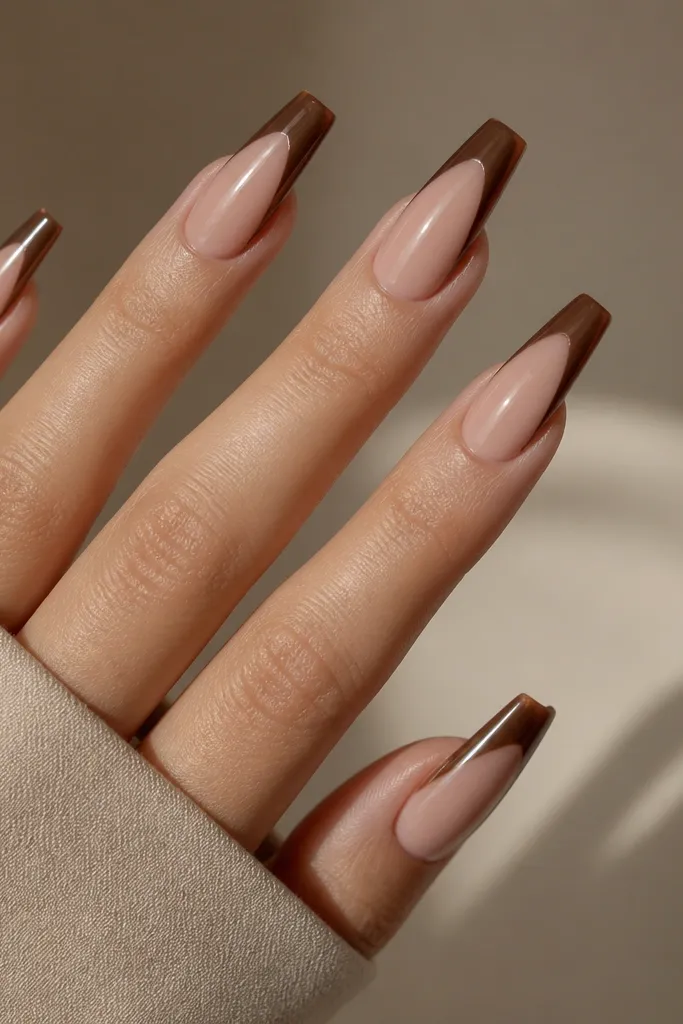
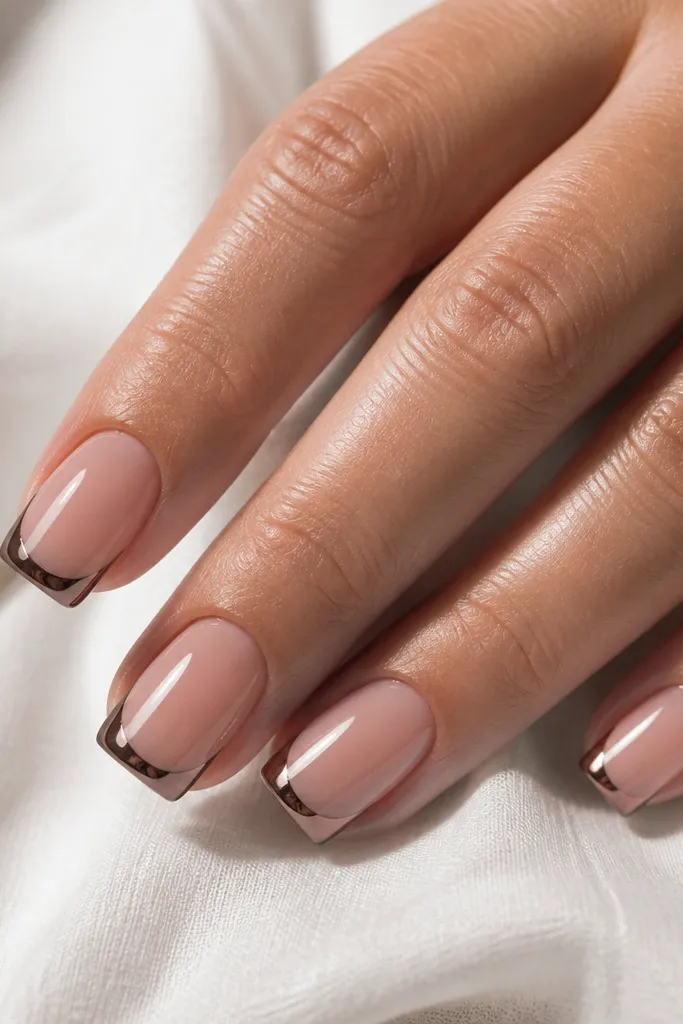
Chrome over brown is the quickest way to get a before and after transformation brown french tip nails moment. The brown underlayer controls the tone, so the chrome looks warm and smoky instead of silver. It's attention-grabbing without needing gemstones. On my hands, it looks best when the French line is medium-thin and super clean.
Base nude jelly. Paint French tips with deep cocoa brown and cure fully. Apply brown chrome powder over the tacky layer (or use a chrome gel if you have it), then buff lightly. Finish with a glossy or chrome-safe top coat so you don't dull the shine.
Pro tipDo chrome after you've cleaned the tip line edges. Chrome shows every edge mistake.
Watch outDon't use silver chrome directly - it turns the French tip into a cool-toned look that clashes with brown.
10. Caramel Marble French Over Sheer Nude
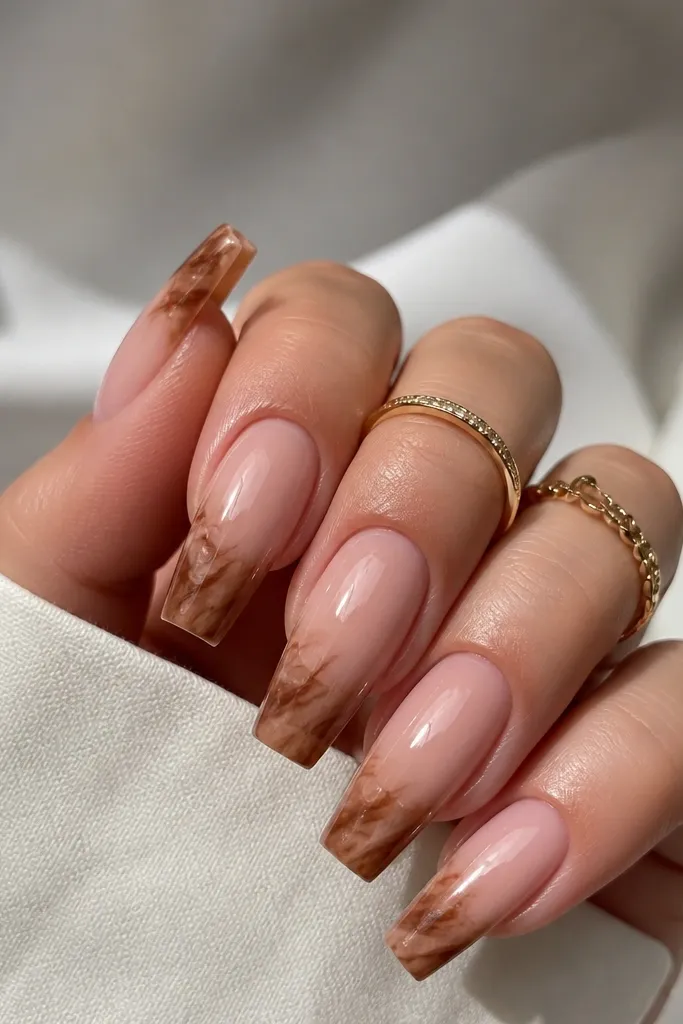
Marble French tips give you dimension without chunky art. The base brown keeps it cohesive, and the thin marbling lines add movement. I like caramel marble because it stays warm and flattering, and it doesn't look too heavy on coffin shape. Glossy finish makes the marble look like glass.
Base: sheer nude. Paint the French tip area in caramel brown, cure. Then drag a marbling tool or thin brush through a slightly darker caramel/tan gel to create wisps. Keep the marbling concentrated in the last third so the tip still reads as a French design.
Pro tipWipe your marbling brush after each nail. One contaminated swipe turns the marble into blobs.
Watch outAvoid thick marbling lines - they look like smudges, not marble.
11. Dark Taupe French with Rhinestone Dot Row
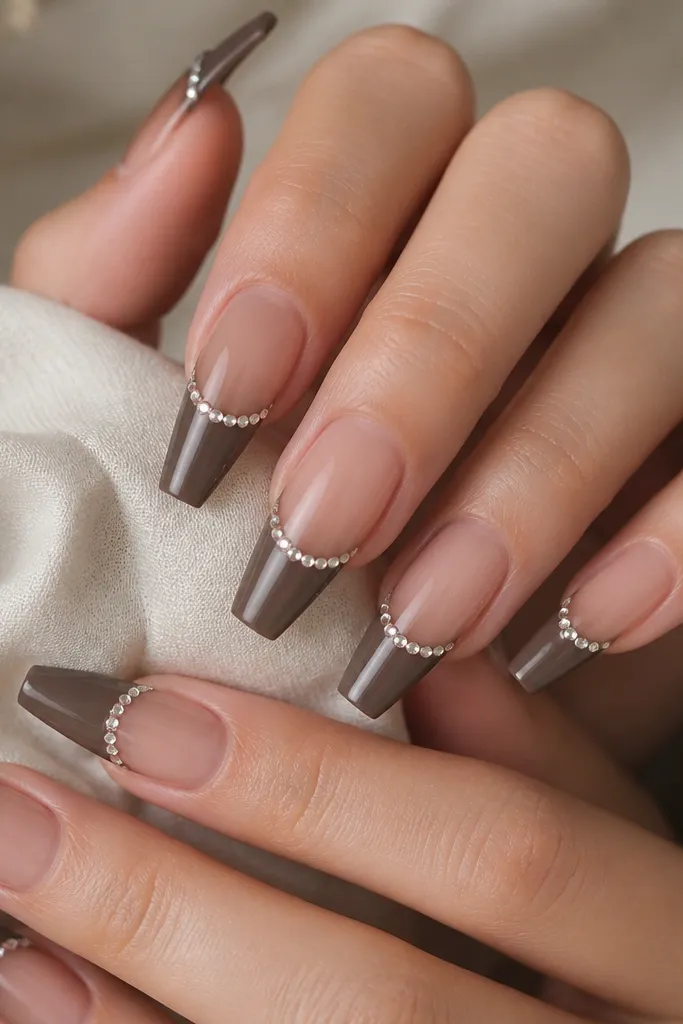
A rhinestone dot row makes brown French tip nails feel special without covering the whole nail. Dark taupe keeps it classy, and the stones act like punctuation at the tip edge. I like small stones (SS3 or similar) because they look like sparkle, not decoration overload. The glossy brown underneath helps the stones stand out.
Base: sheer nude. Tip: dark taupe brown, medium width. Place 2-4 tiny stones spaced evenly across the top edge of the French line, staying centered. Set with gel glue or rhinestone gel, cure, then seal with a careful top coat around the stones.
Pro tipUse tweezers with a good grip and set stones by pressing once - repeated poking moves them.
Watch outSkip big stones - they tilt the nail art into "party" territory and can catch on sleeves.
12. Smoked Brown French with Micro Glitter Fade
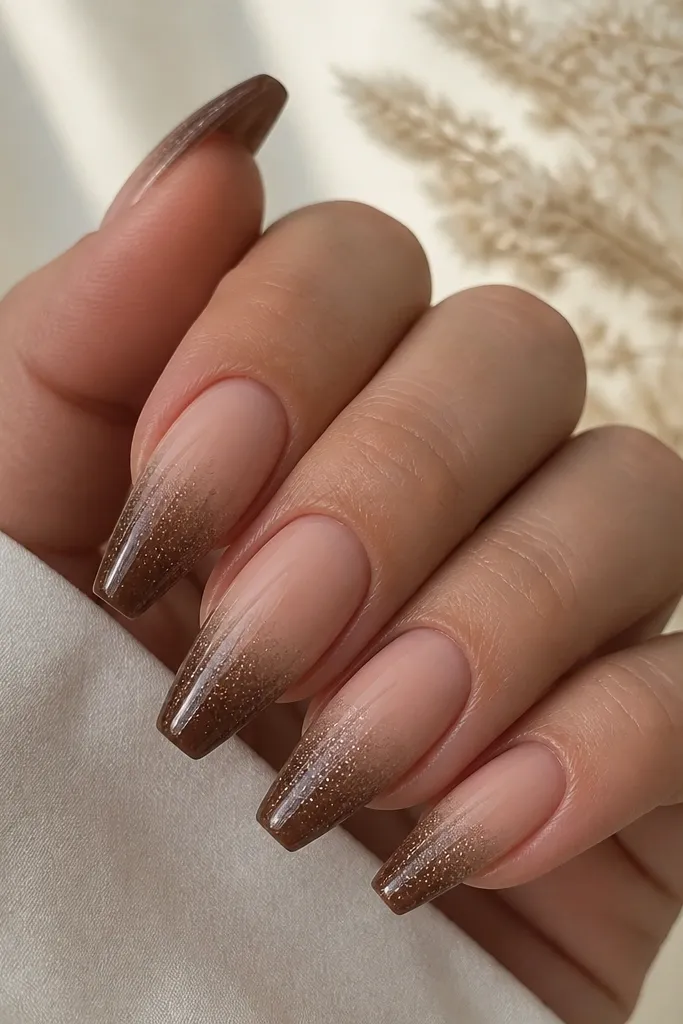
This is for the person who wants French tips but also wants light. The smoked brown gives structure, and the micro glitter adds a subtle shimmer that doesn't look chunky. I've used fine holographic or champagne micro glitter so it reads "soft sparkle," not disco. The gradient keeps it from looking like an add-on.
Paint the French tip in smoked brown, cure. While the surface is tacky, dab micro glitter at the very edge and blend slightly upward with a clean sponge tip. Seal with glossy top coat so the glitter looks suspended, not gritty.
Pro tipIf glitter feels rough, add one extra thin layer of top coat and cure longer to smooth it.
Watch outDon't use chunky glitter - it makes the coffin tip feel thick and uneven.