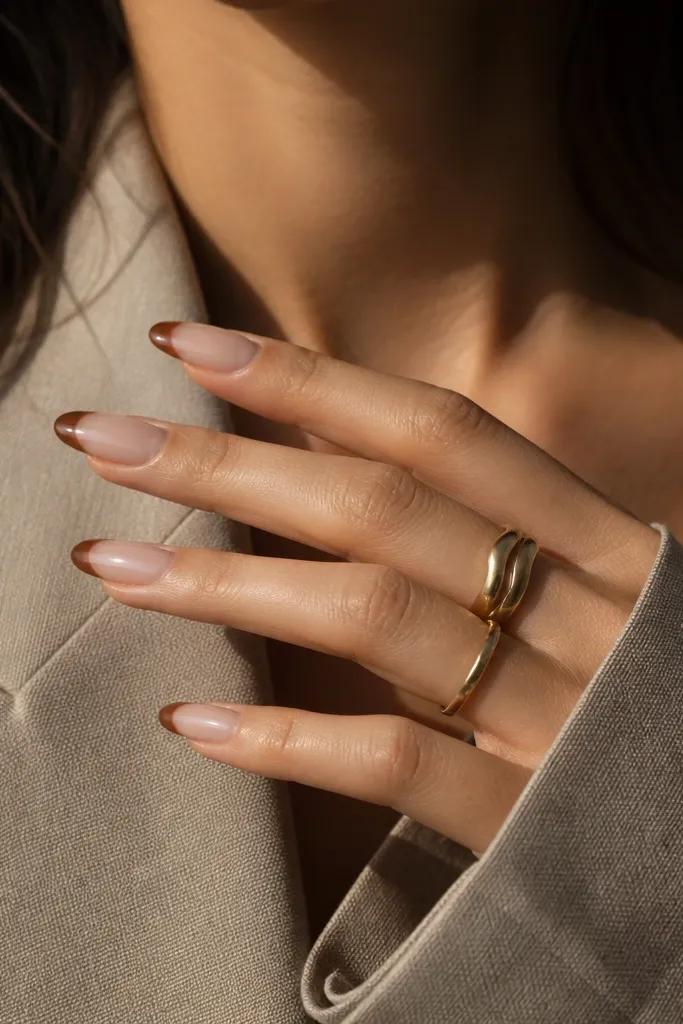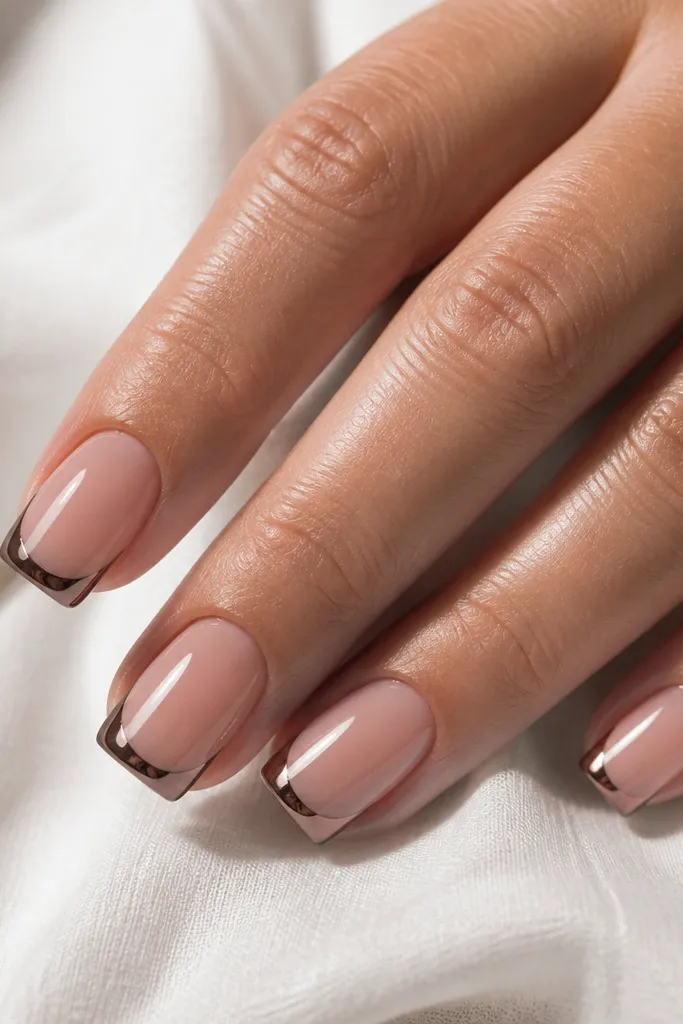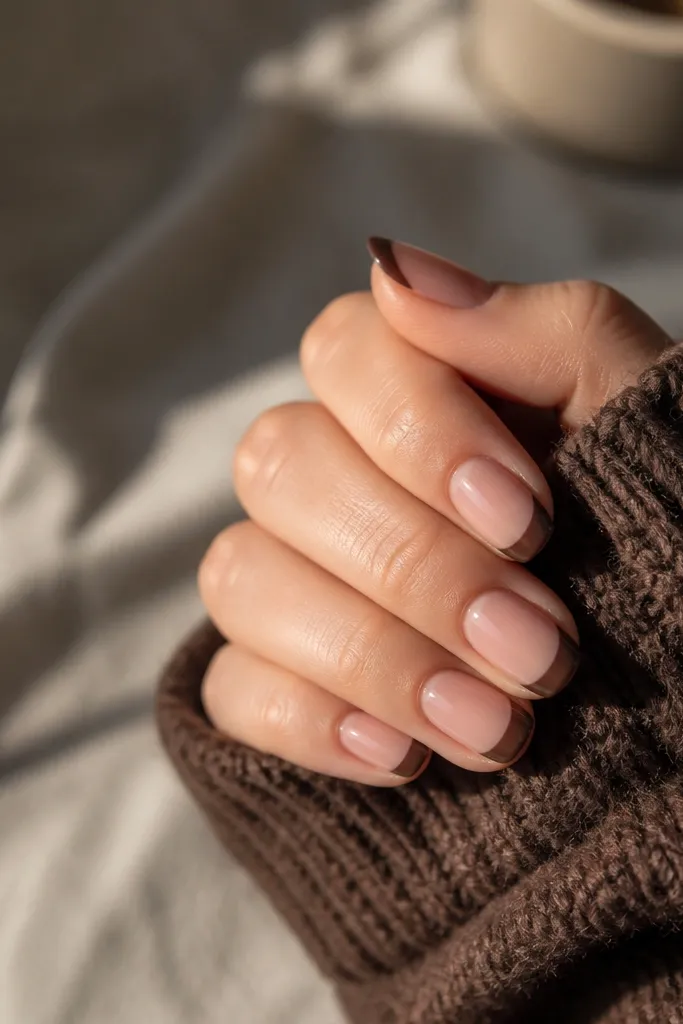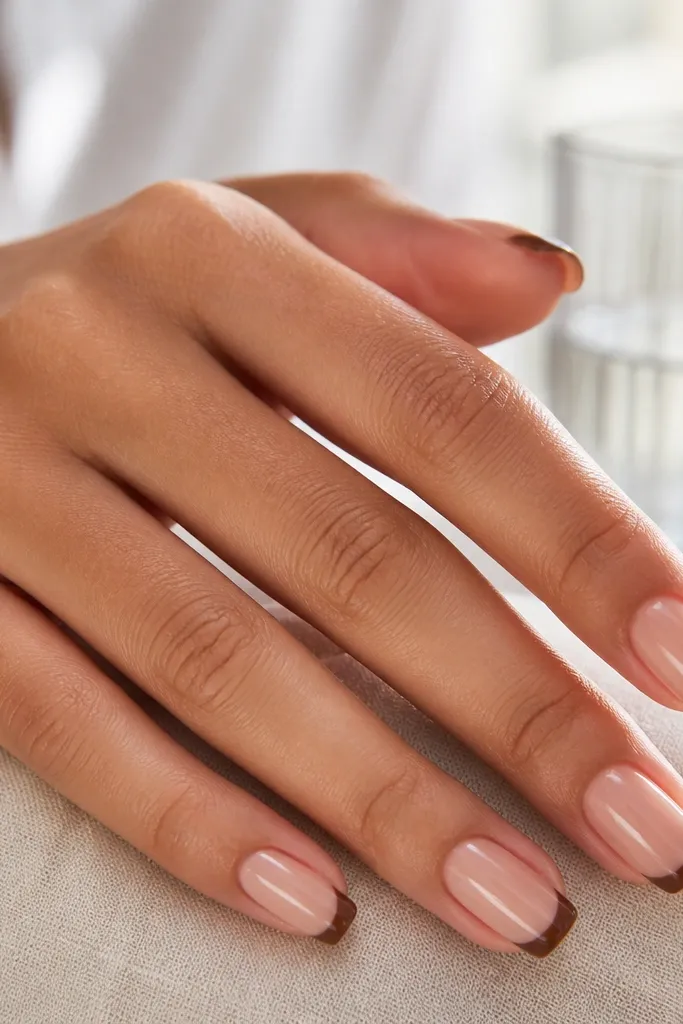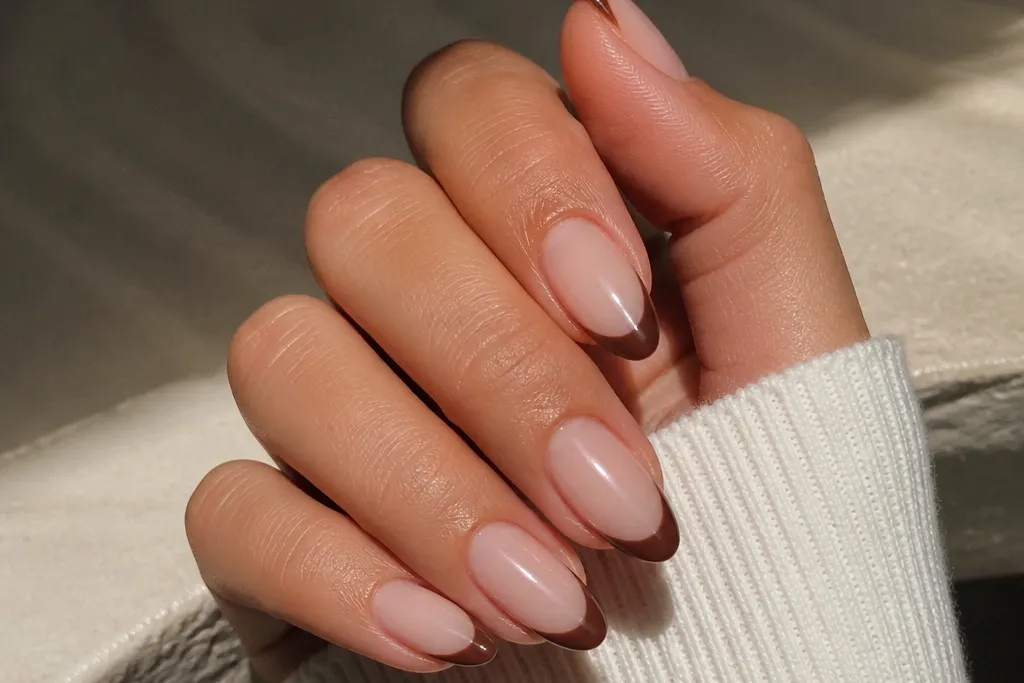
1. Milk Chocolate French with Nude Almond Base
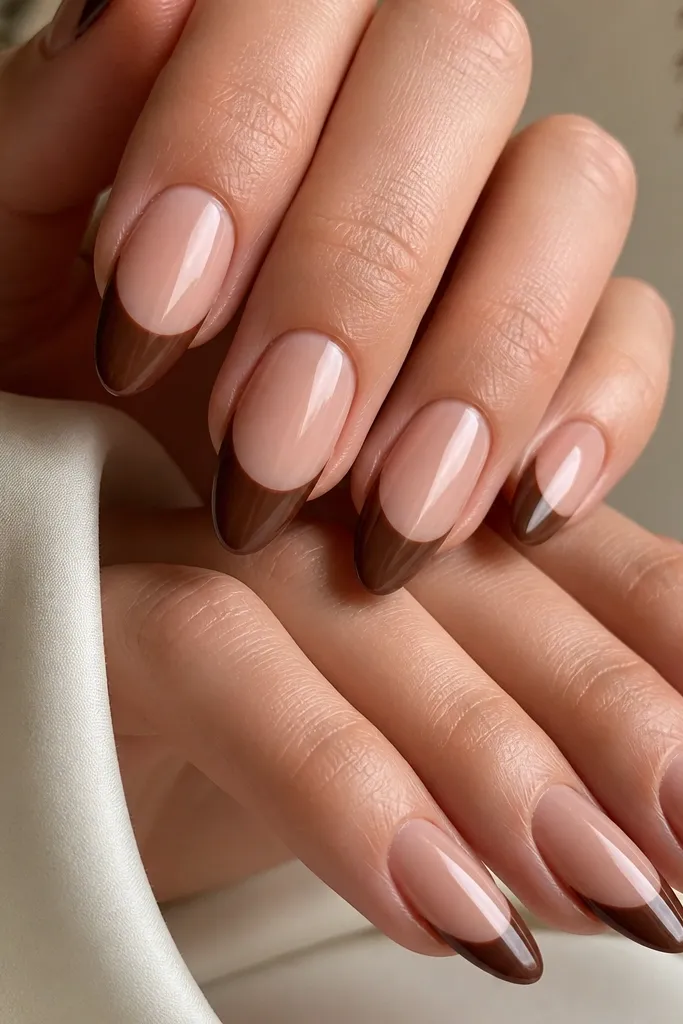
This look is the one I reach for when I want brown tips that look expensive but still wearable. The base is a true nude pink that matches your nail bed, not a pale beige. Milk chocolate stays warm on the nail and makes the almond shape look longer. The glossy top coat keeps the French edge looking crisp instead of dusty.
Use a nude gel polish that's slightly rosy, then paint a thin arc of milk chocolate brown at about 1/3 of the nail length. Keep the tip width narrow on small nails and slightly wider on longer ones. Finish with a high-gloss top coat and cap the free edge.
Pro tipAfter you draw the smile line, let it set for 30-60 seconds before filling - your arc stays cleaner.
Watch outAvoid using a brown that's too dark and muddy - it can swallow the nude base and make the nail look shorter.
2. Taupe Mocha French with Sheer Rosy Base
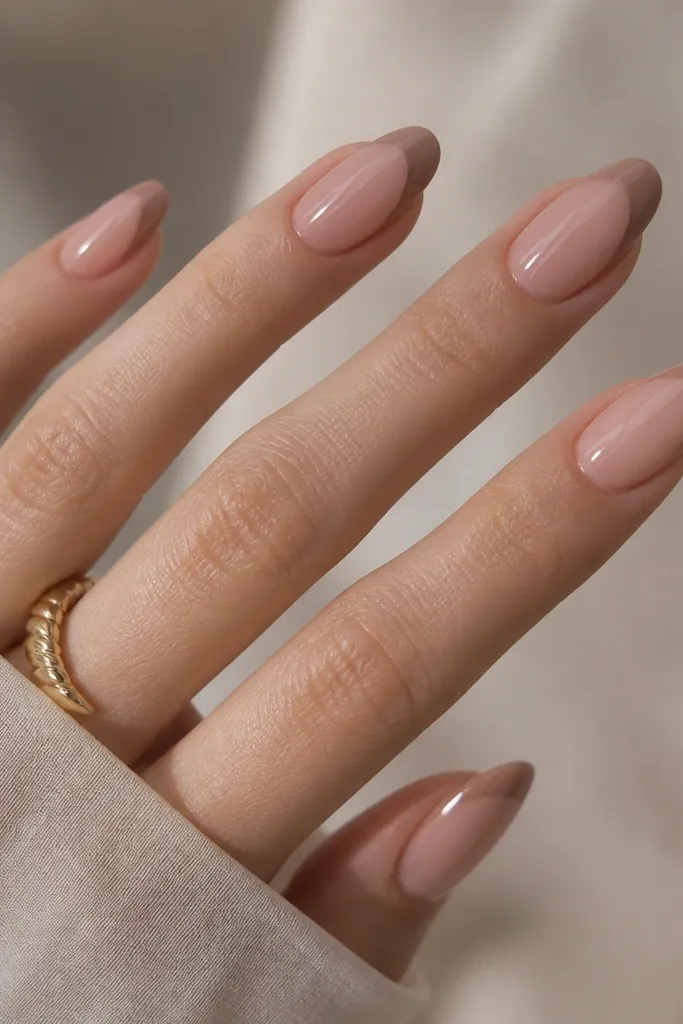
Taupe-brown reads cooler and modern, especially if you've ever felt white French tips look too stark. A sheer rosy base lets your natural nail show through just enough, so the French line looks like it belongs there. The inner edge is lightly feathered for a "smoked" effect without losing the smile line. It looks good with sweaters, coats, and any everyday makeup.
Apply a sheer rosy base in 2 thin coats. For the French, draw the outer curve first, then lightly blend the inner edge with a tiny sponge or a dry brush. Keep the tip thin - this style looks best when it's not bulky.
Pro tipUse window light to check the tone - taupe can swing warm or cool depending on the room lighting.
Watch outDon't over-blend - if the outer smile line gets fuzzy, the look turns patchy.
3. Espresso Brown French with Clear Jelly Base
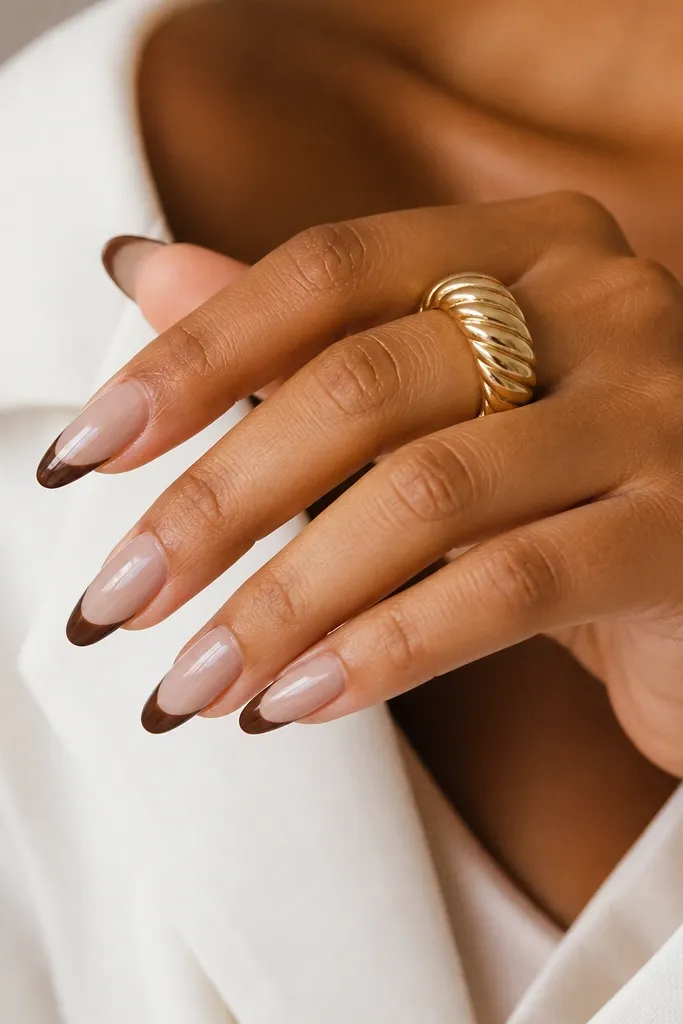
Clear jelly bases make brown French tips look like they're floating under a glass top coat. Espresso-brown adds drama but still looks classy because the line stays narrow. This is the best option when you want a manicure that grows out without looking messy - the jelly base hides minor regrowth. The glossy finish makes the French edge look smooth and salon-perfect.
Use a clear jelly nude or clear builder gel with a hint of pink. Paint the espresso tip thin and opaque, staying consistent across nails. Seal the edges with top coat and cure fully if you're using gel.
Pro tipThin espresso coats - 2 buildable layers look cleaner than one thick pour.
Watch outDon't use a chalky brown; it can look grainy under a jelly base.
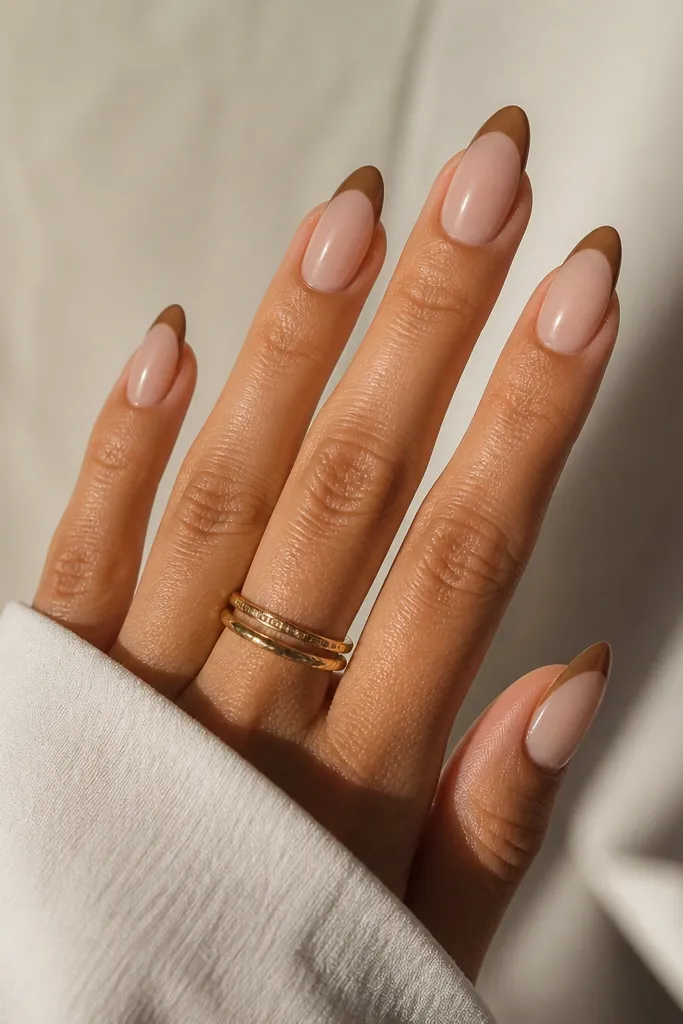
4. Caramel French with Warm Beige "Nail Bed" Base
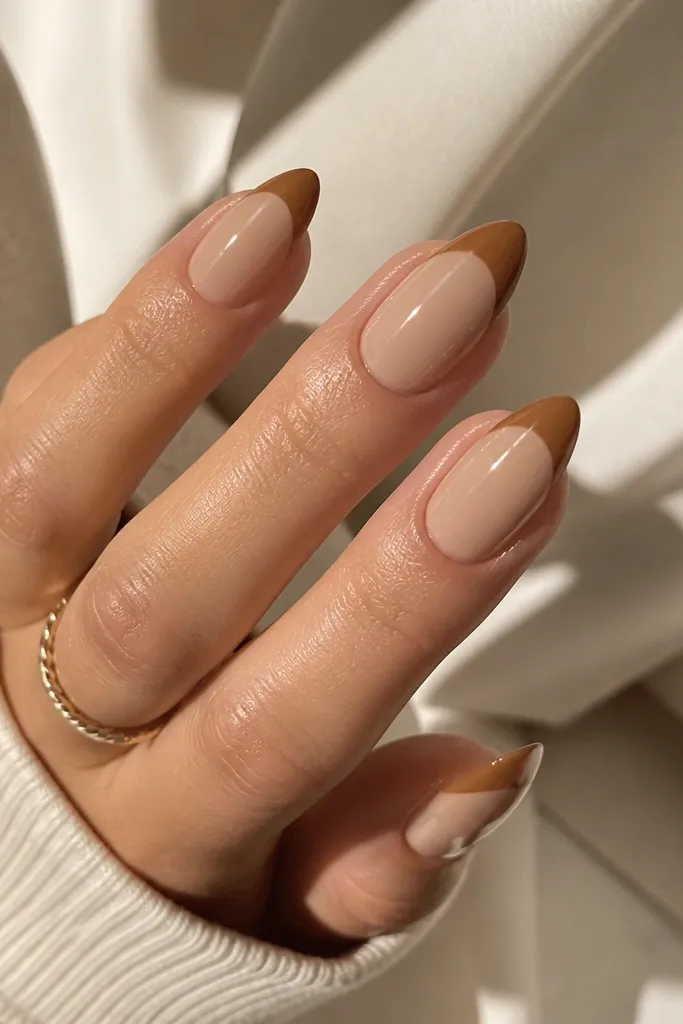
Caramel is warm, friendly, and it flatters almost every outfit because it sits between nude and brown. The warm beige base makes the French tip look like it's fading naturally into your nail bed. This combination is a lifesaver if you hate super-pale nudes. It looks especially good with gold jewelry and warm-toned makeup.
Choose a warm beige base that matches your nail bed - not a pinky nude. Paint caramel tips in a narrow arc, then keep the tip height consistent from index to pinky. Top coat with a thicker layer so the French line looks rounded, not flat.
Pro tipIf your smile line is uneven, use a dotting tool to nudge the inner edge into place while it's still slightly wet.
Watch outSkip icy nudes here - the contrast can make the brown look harsher.
5. Chocolate Brown French with Micro-Gloss Outline
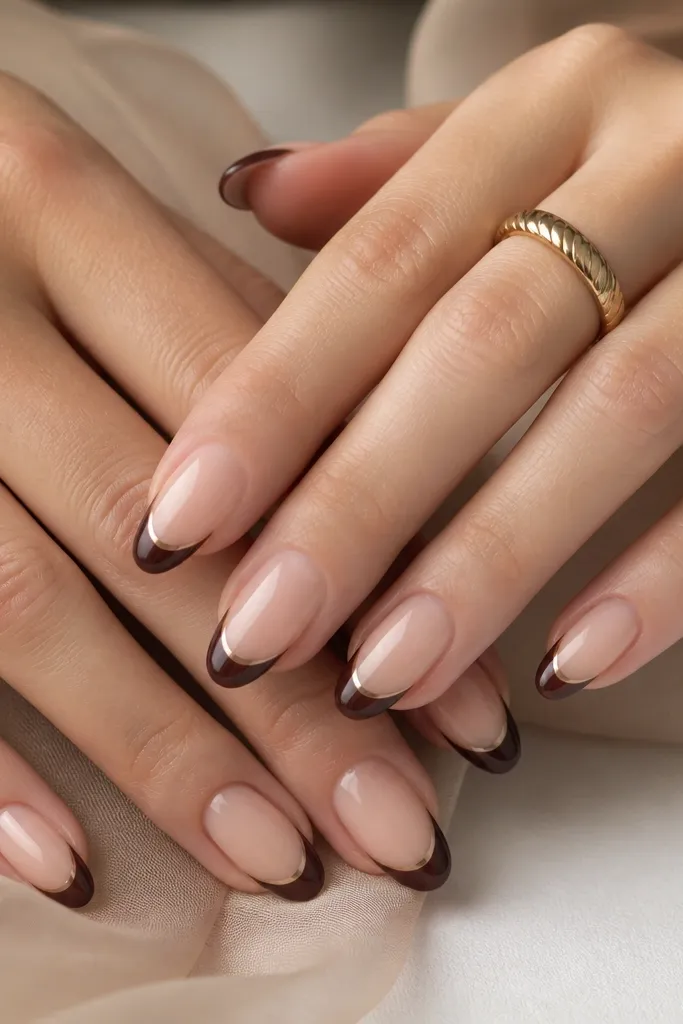
This is a subtle "detail" look that still reads like a French manicure. The micro-gloss outline makes the tip edge catch light without adding glitter everywhere. I use it when I want the manicure to look sharper in photos. Brown stays the focus, and the outline keeps the smile line crisp even if your free edge isn't perfectly symmetrical.
Paint your French tip in chocolate brown. After it cures, use a clear gel or glossy top coat and drag a tiny amount along the outer smile line with a fine detail brush. Cure again and finish with top coat across the whole nail.
Pro tipPractice the outline on one nail first - the brush pressure matters more than the color.
Watch outDon't flood the outline or it can blur the smile line.
6. Mocha French Fade Tip (Ombre at the Smile)
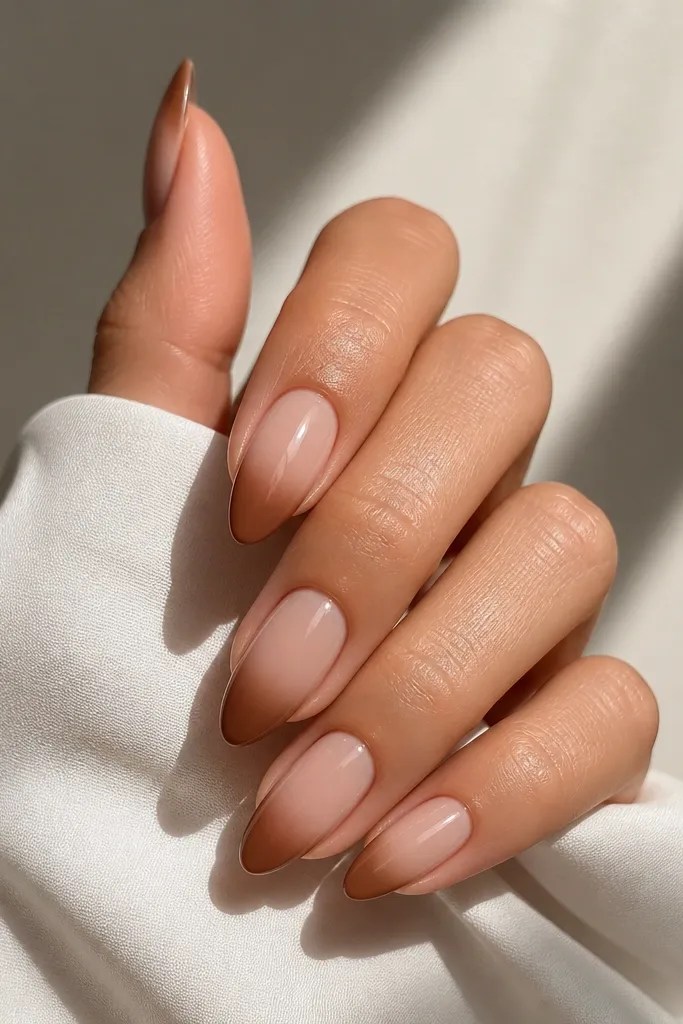
A French fade looks softer than a hard French line, and it hides tiny mistakes. Mocha brown fades beautifully because it has enough pigment to show at the outer edge but still blends cleanly. This style looks great if you're growing your nails out - the fade makes the regrowth line less obvious. The result feels modern, not "grown out by accident."
Use a nude base, then paint the outer curve with mocha brown. Sponge in lighter brown toward the inner edge, stopping before it hits the cuticle. Keep the outer line crisp enough that it still reads as a French tip.
Pro tipUse a makeup sponge cut into a small wedge so you get a controlled fade.
Watch outAvoid going too close to the cuticle - keep the fade only inside the tip area.
7. Cinnamon Brown French with Matte Top Coat
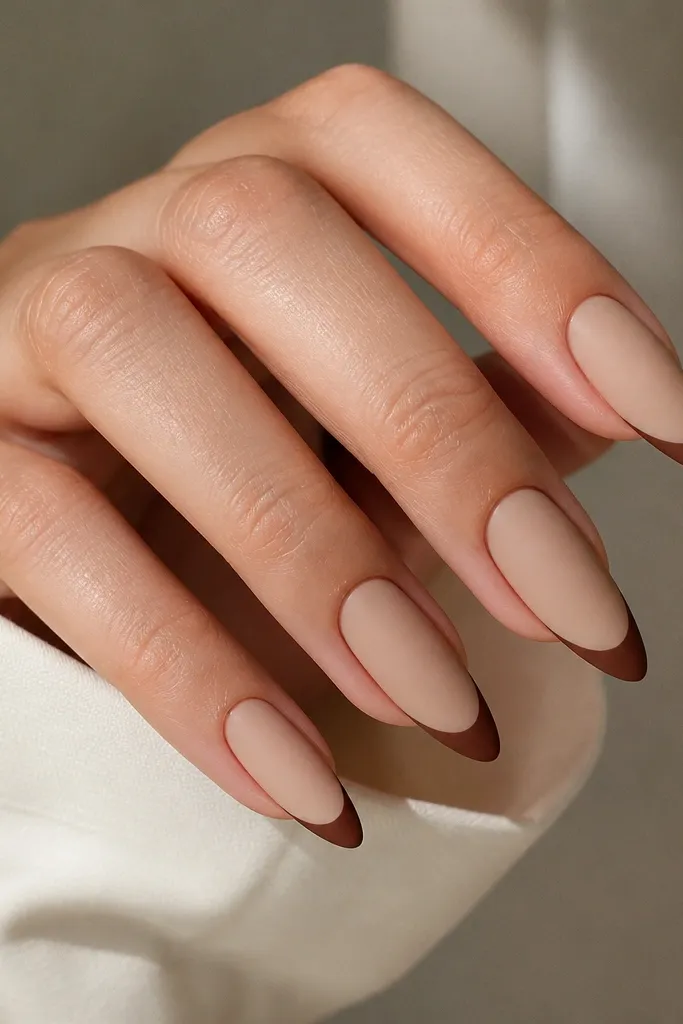
Matte makes brown French tips look cozy and expensive, especially in fall. Cinnamon brown has warmth and it looks like suede when matte hits. I prefer matte when I'm wearing knitwear and neutral outfits because it doesn't reflect light the same way gloss does. The key is a truly opaque cinnamon so it doesn't look patchy.
Do your usual nude base and cinnamon French tips with opaque coverage. Seal with a matte top coat, and cure fully. Keep the tip line clean because matte shows brush marks more than gloss.
Pro tipAfter curing, wipe with alcohol and check under bright light for any streaks before going matte.
Watch outDon't use a thin, see-through cinnamon - matte amplifies uneven coverage.
8. Glossy Brown French with Tiny Gold Dot at the Corner
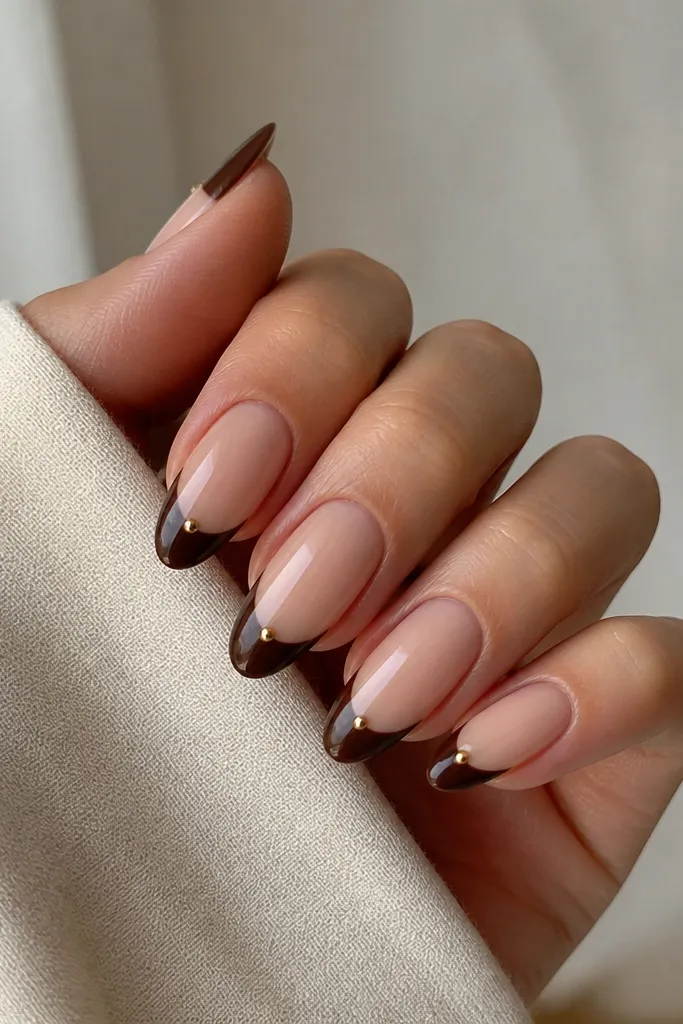
This is my "date night" French tip: simple brown, then one micro accent dot. The gold dot sits at the corner so it draws the eye along the almond shape. It also looks clean because it's placed where your eye expects detail. The glossy top coat keeps the dot looking like it's embedded.
Paint a classic milk chocolate or espresso French tip. Add one tiny gold dot using a dotting tool or a metallic gel pen right at the outer corner of the smile line. Top coat over it carefully so you don't smear the edges.
Pro tipUse a dotting tool with a smaller tip than you think you need. Tiny dots look intentional; big dots look chunky.
Watch outSkip placing dots in the center - it shortens the nail visually.
9. Dark Brown French with Nude Pink "Center Stripe"
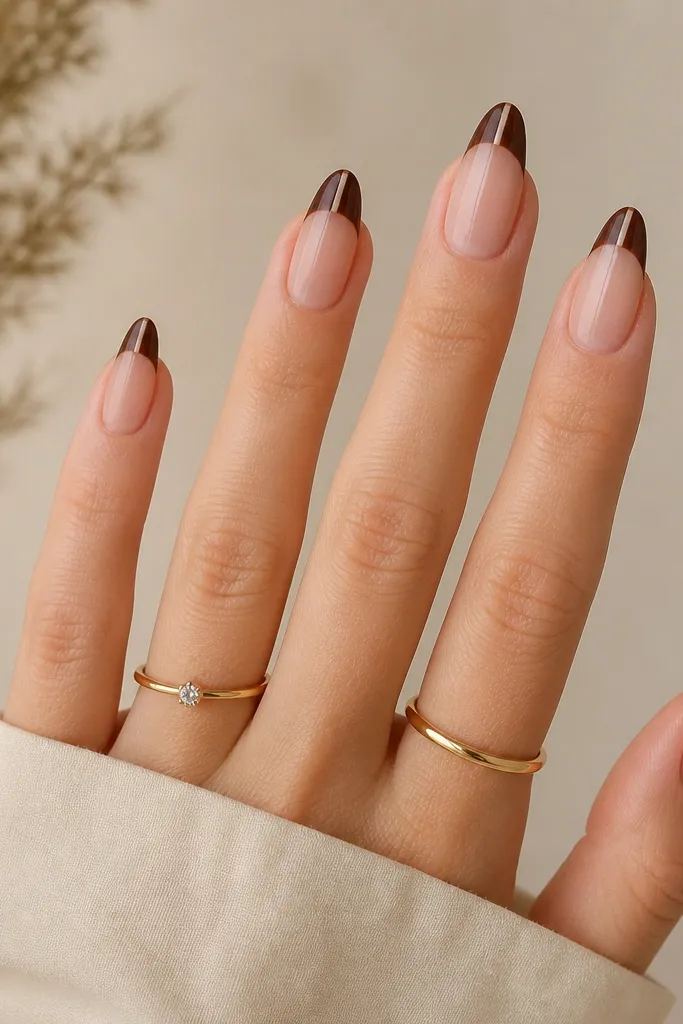
This design is a trick to make the tip look more sculpted. The thin nude pink stripe inside the dark French gives a vertical line that elongates the nail. Dark brown reads sleek, and the nude stripe prevents the tip from feeling heavy. It looks great when your nails are short-to-medium length because it guides the eye upward.
Paint your base nude pink. Do a dark brown French tip, then after it's set, add a thin nude pink stripe down the center of the tip. Keep the stripe width consistent across nails and seal with glossy top coat.
Pro tipUse striping tape for one nail to get the stripe straight, then freehand once you see the angle.
Watch outDon't make the stripe too wide; it turns into a split-tip instead of a French enhancement.
10. Brown French with Clear Negative Space Arc
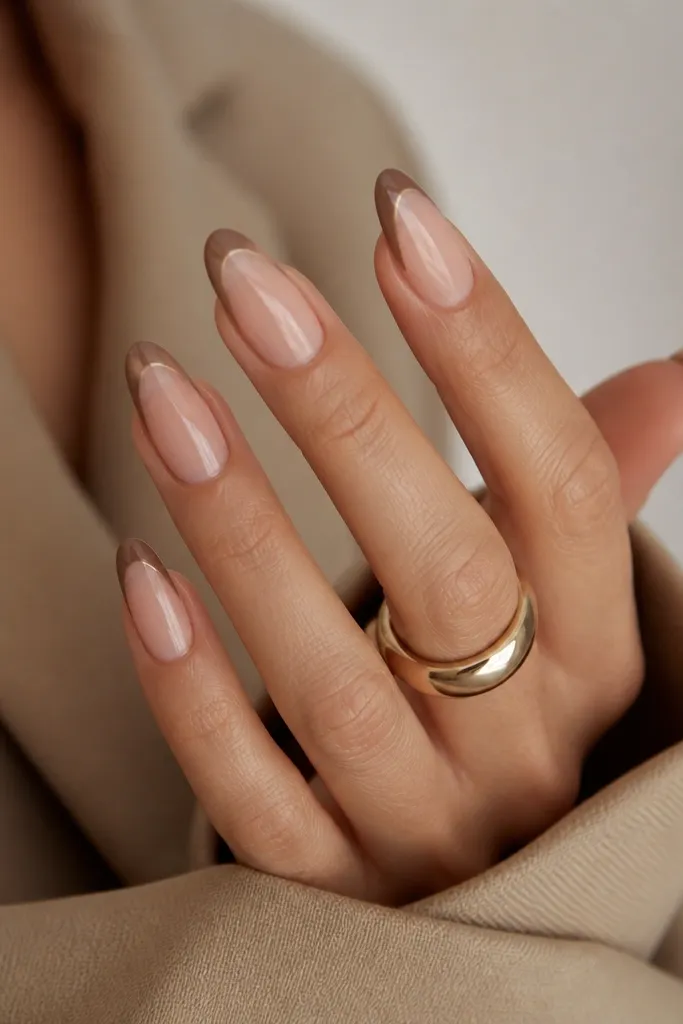
Negative space makes French tips feel lighter and more modern. This works because the clear arc keeps the nail from looking "filled in" like a solid block of color. Brown on just the outer curve still reads as French, but it looks less heavy. It also hides small unevenness because the negative space creates a built-in design line.
Start with a sheer nude base. Use a thin brush to paint brown only along the outer smile arc, leaving the center of the tip clear. Top coat lightly at first so you don't flood into the negative space.
Pro tipKeep the negative space slightly wider on the thumb and index so it stays visible as nails vary in shape.
Watch outAvoid thick top coat over the negative space right away - it can fill the gap.
11. Caramel Swirl French on One Accent Nail
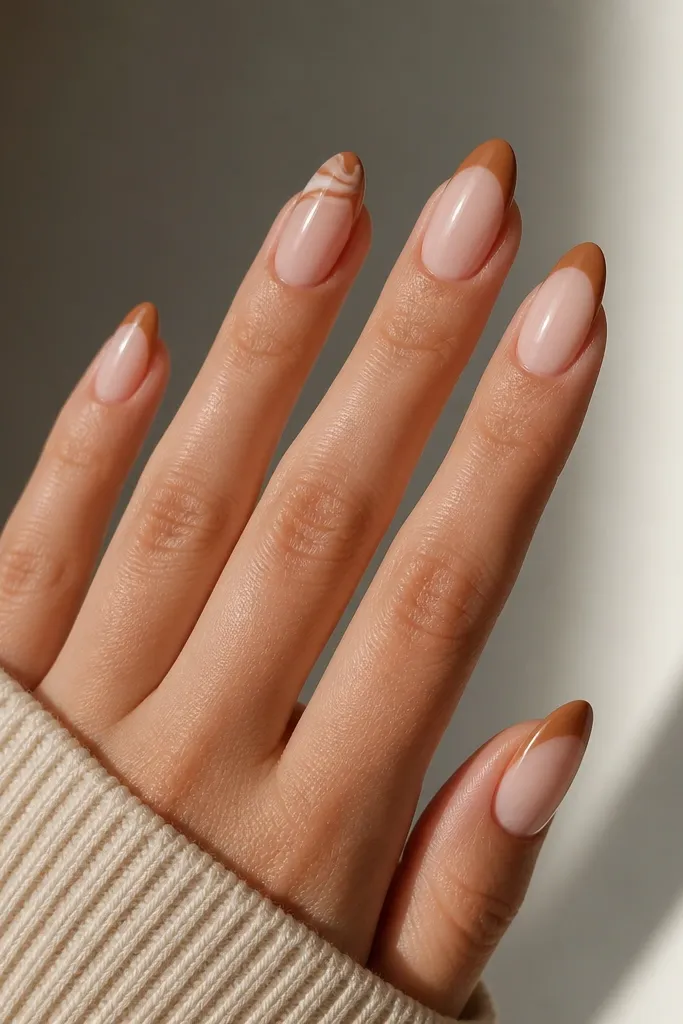
Plain French tips get boring fast, so I add a swirl on one nail and leave the rest clean. The swirl gives movement without turning the manicure into full-on nail art. Use caramel swirls because they blend with the French color and look like a design detail, not a sticker. This is a great compromise when you want "something" but you still want the classic French shape.
Paint the French tips evenly across all nails. On the ring finger (or middle finger), add a small swirl using a thin striping brush - keep it inside the tip area and don't let it touch the base. Seal with glossy top coat in 2 thin layers.
Pro tipDraw the swirl with gel in lines, then fill the center lightly so it stays crisp and not muddy.
Watch outDon't add swirls on multiple nails - it stops looking intentional.
12. Chocolate Brown French with Fine Line "Liner"
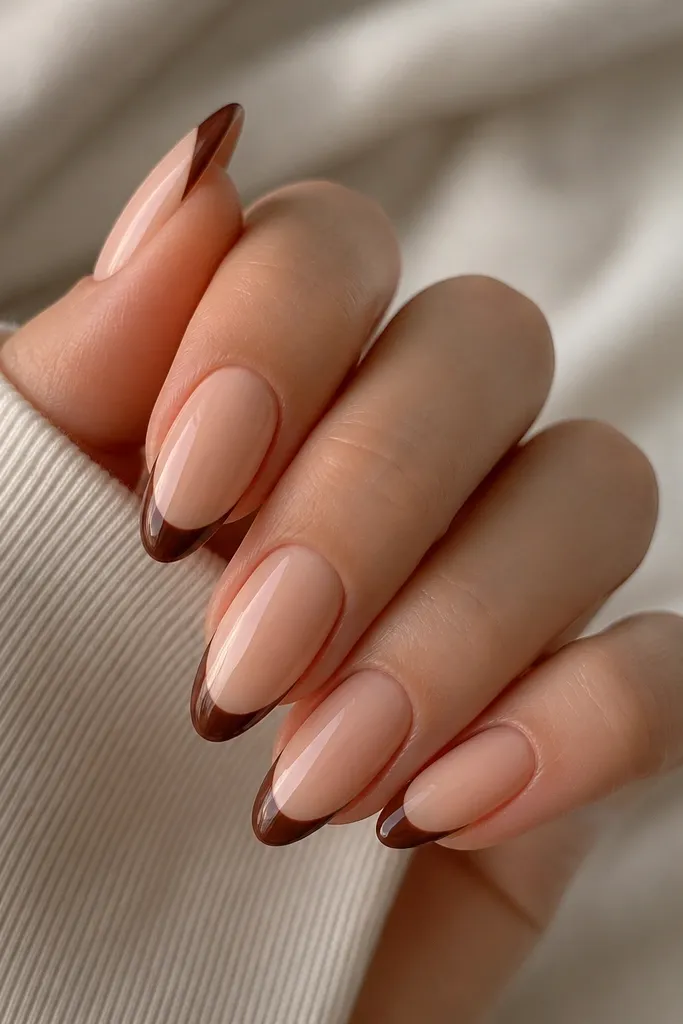
A fine liner makes the French tip look professionally separated from the base. I like this when I'm using a slightly deeper brown because the liner softens the contrast. The liner is close to the tip color, not a stark different shade, so it looks cohesive. It also helps if your French edge isn't perfect - the liner disguises it.
Paint the chocolate French tip. Then use a lighter nude-brown gel as a thin line along the inner edge of the smile line. Cure, then apply top coat across the whole nail and cap the edge.
Pro tipUse a liner brush that's meant for nail art - the cheap wide brushes make lines look shaky.
Watch outAvoid bright white liner - it makes brown French look like Halloween.