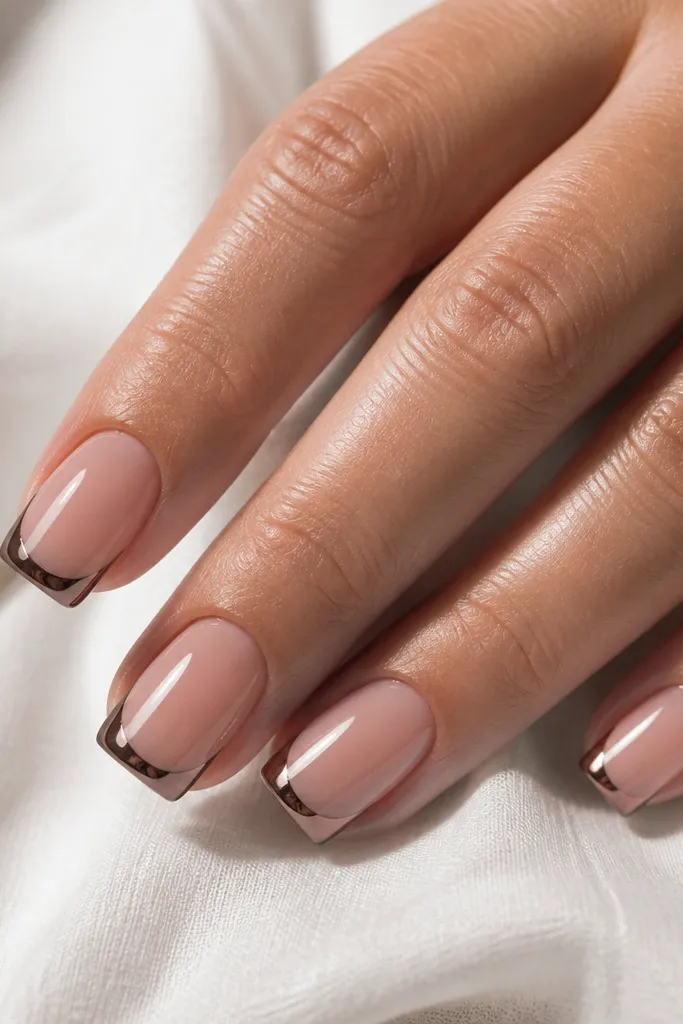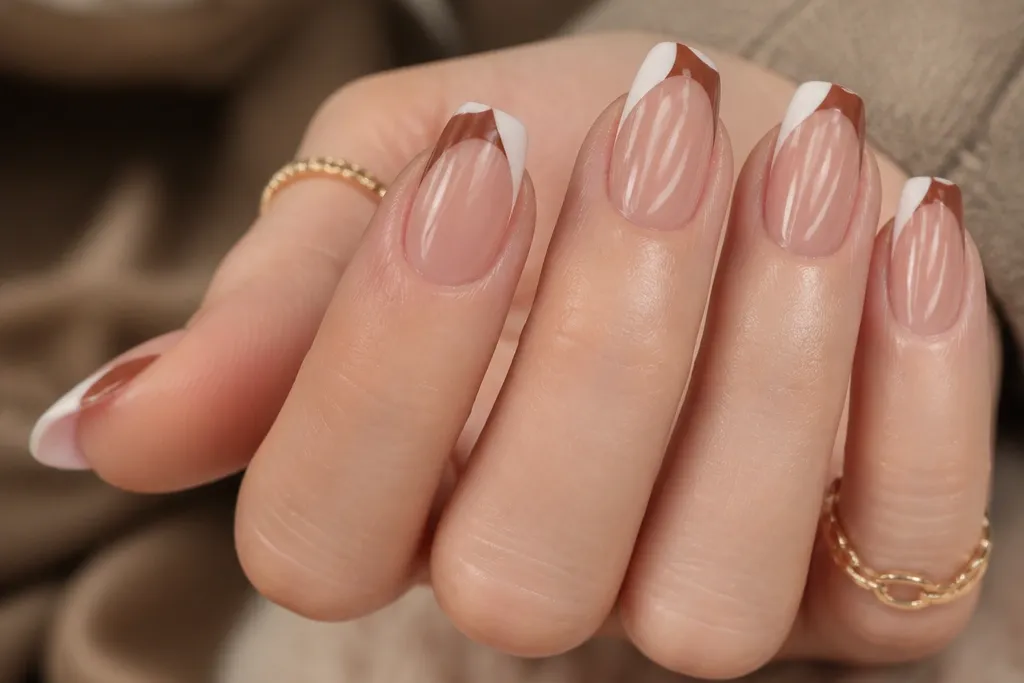
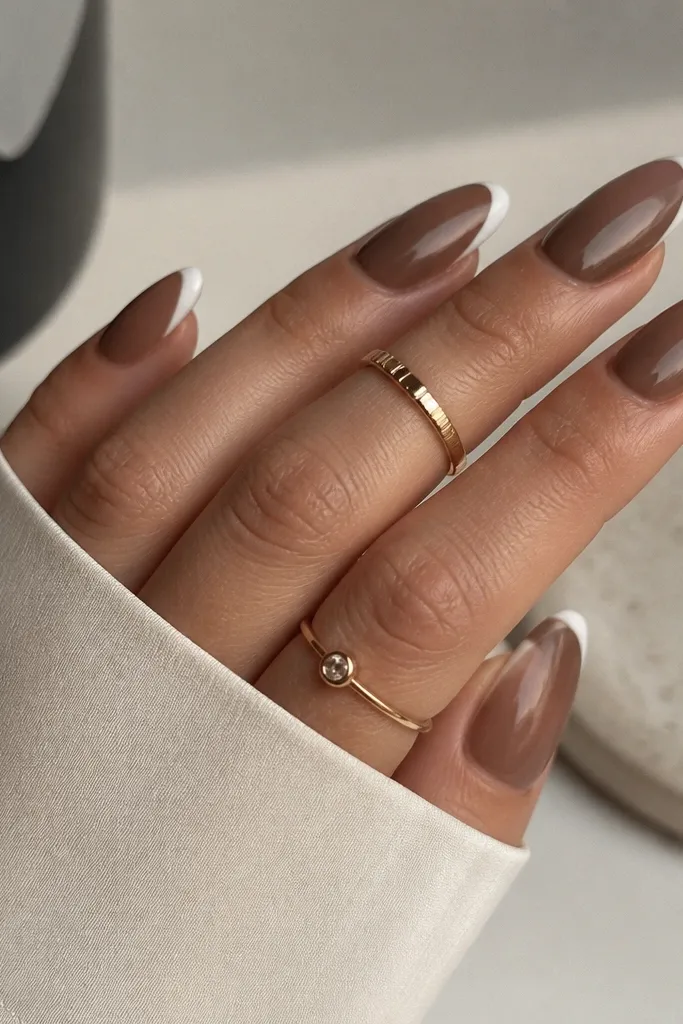
1. Cocoa French with Milky White Micro Tips
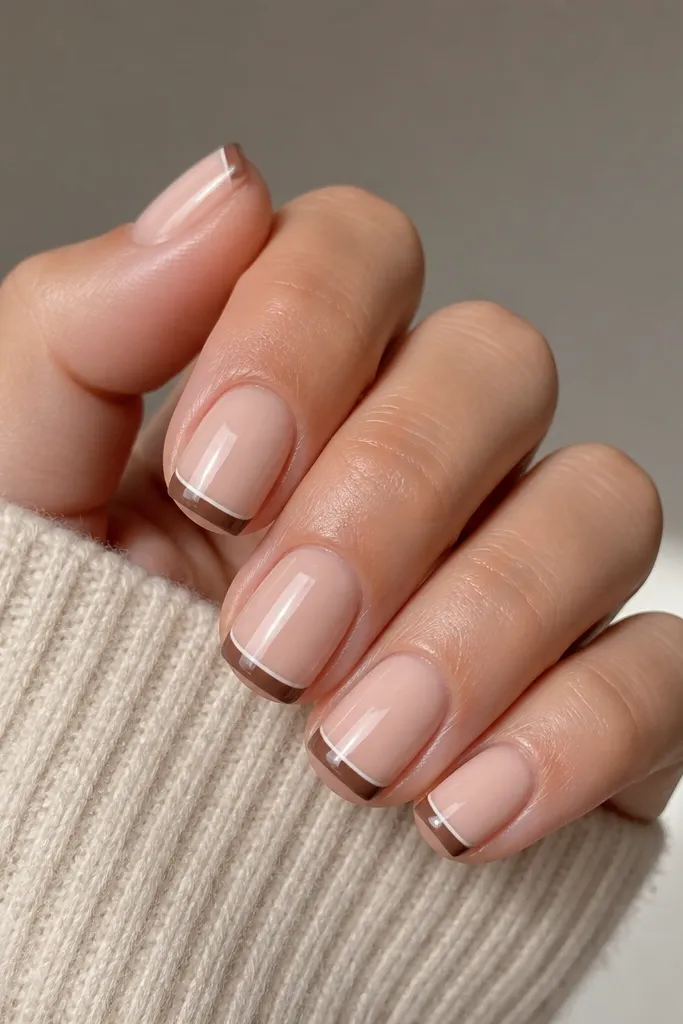
This one is all about contrast control. The cocoa French reads warm and grounded, while the milky white micro line adds a clean highlight without making the tips feel thick. Because the white is only a thin inner stripe, it looks sharp even on small nails.
Ask for square-short or short squoval. Paint the cocoa tip first, then add the milky white line about 0.5 mm inside the edge so it doesn't bleed past the brown curve. Keep the brown band consistent thickness across all nails.
Pro tipUse a striping brush and steady your hand on your cuticle area so the micro line stays even from nail to nail.
Watch outAvoid using a gray-brown - it makes the white look dirty.
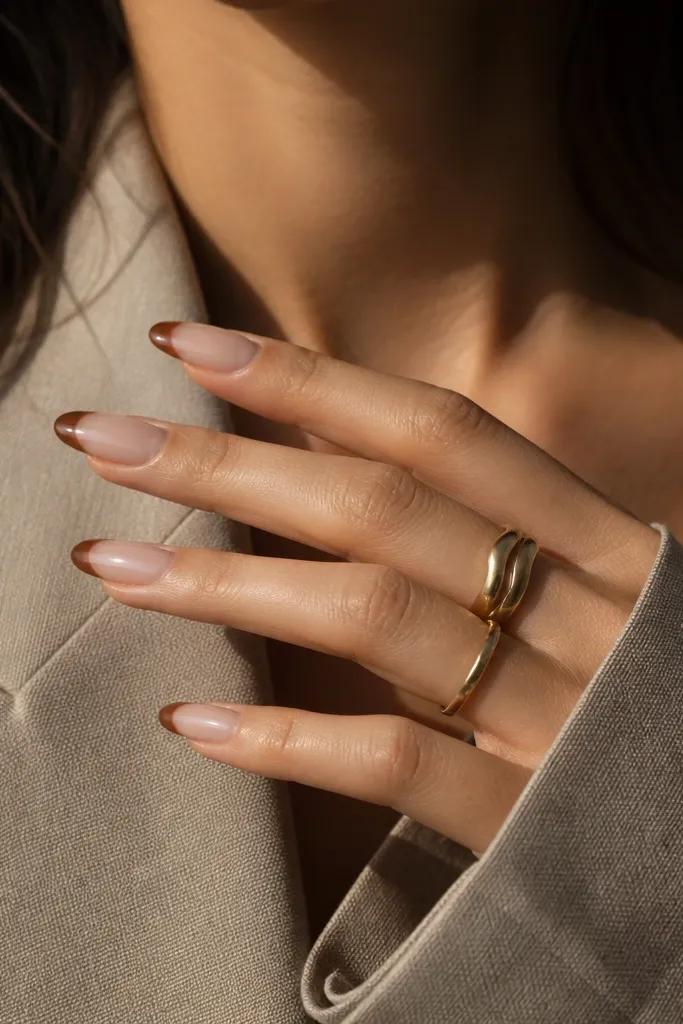
2. Caramel Creamy Base with Classic French Tips
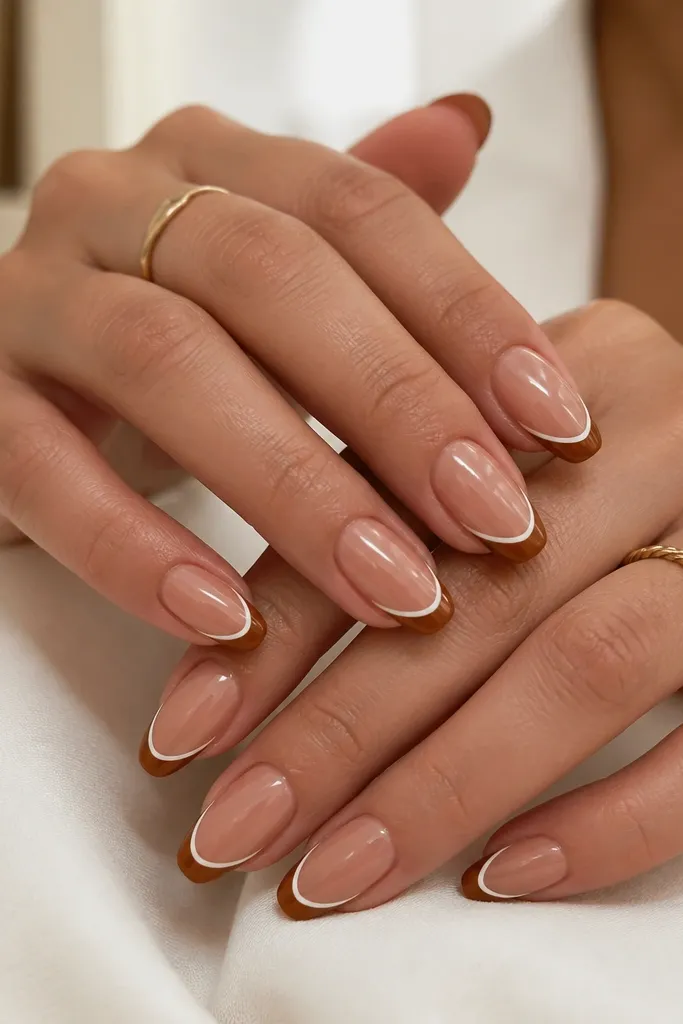
This set looks "soft expensive" because the base is part of the design. The caramel nude blends into the brown tips, and the white outline gives crisp definition where the brown meets the nail. It's a French tip version that still feels wearable for everyday.
Go almond or soft squoval so the tips have room to curve. Paint the brown French tip in one smooth sweep, then use a fine liner brush to add a thin white border on the outer edge only.
Pro tipIf your outline starts to look wobbly, fix it by cleaning the border with a tiny brush dipped in acetone before curing.
Watch outDon't outline both inner and outer edges - it gets busy fast.
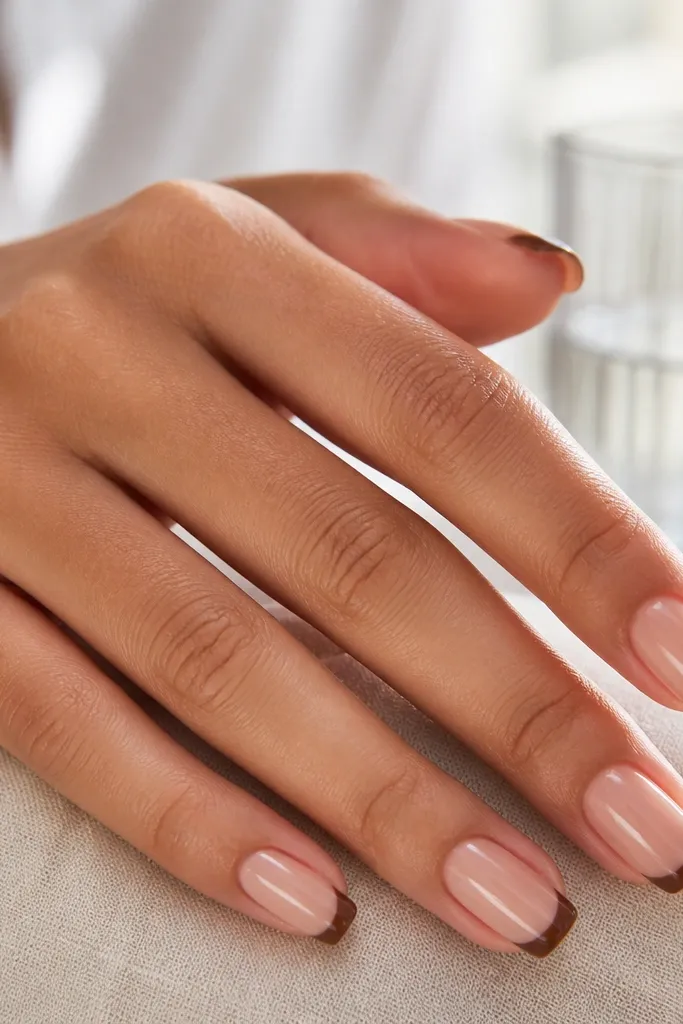
3. Chocolate Brown Reverse French with White Half-Moons
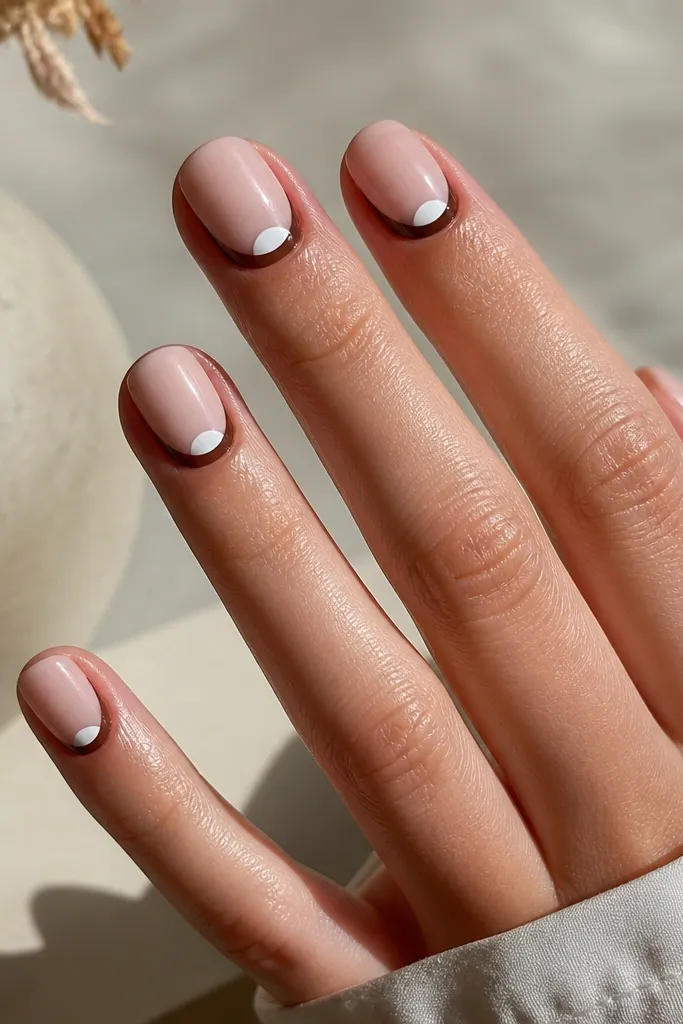
Reverse French flips the focus to the cuticle, which makes the brown-and-white pairing feel modern. The chocolate brown frames your nail bed, and the white half-moon in the center brightens the whole look. It also hides minor growth lines because the design grows from the cuticle.
Use oval or short oval so the half-moon shape matches the nail curve. Paint the reverse French first with chocolate brown, then fill the center with opaque white using a small dome brush.
Pro tipLet the brown cure fully before adding white so the half-moon stays clean and doesn't smear.
Watch outSkip sheer bases here - the reverse French needs enough contrast to read.
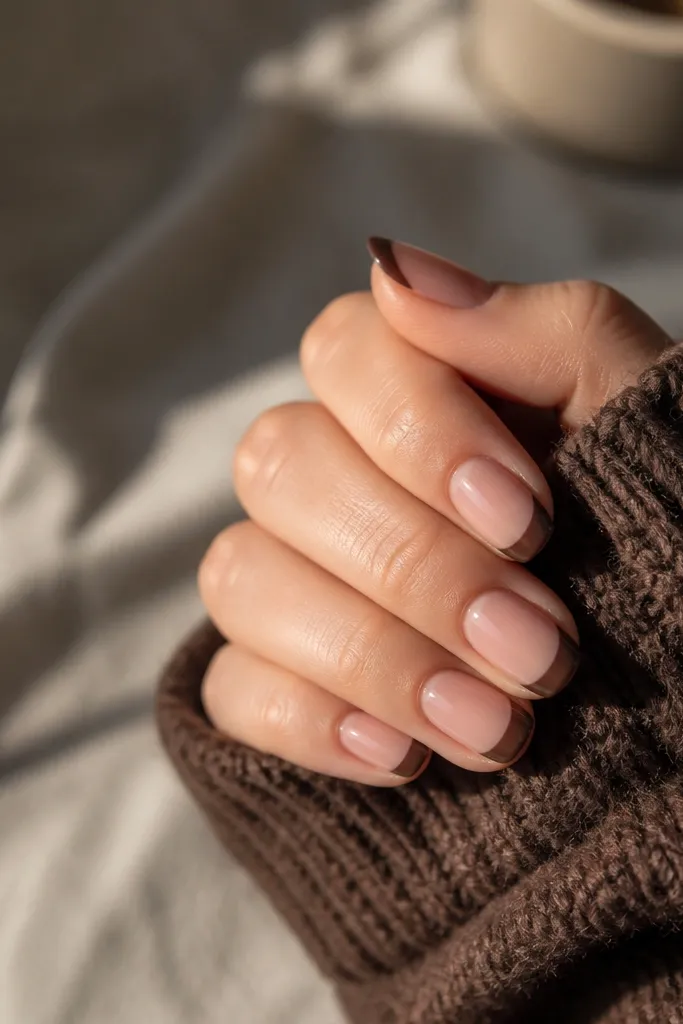
4. Warm Taupe Base with Thick White Tips and Brown Outline
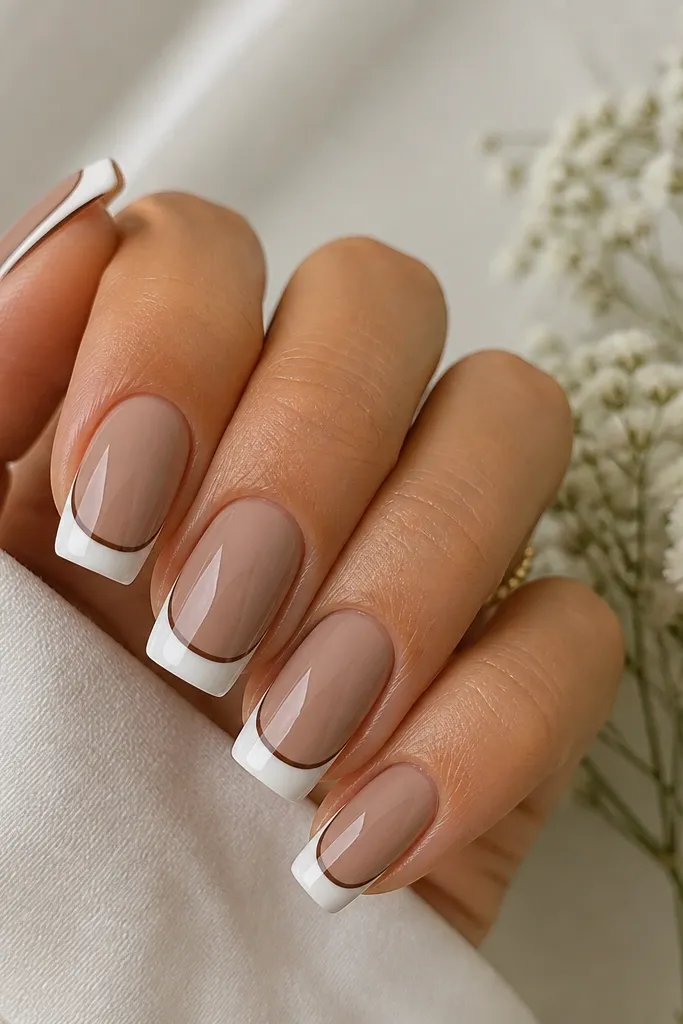
When the white tip is thick, it needs a boundary or it looks flat. The thin brown outline acts like a frame, giving the white depth and making the tips look crisp. This is one of my favorite "statement but clean" combos.
Choose medium square or short squoval. Apply white as a solid block to the tip area, then trace a slim brown line along the outer edge only. Keep the outline thickness under 0.5 mm so it doesn't turn chunky.
Pro tipIf your white looks streaky, apply two thin coats instead of one thick coat.
Watch outDon't overfill the outline - thick brown borders make the set look heavy.
5. Matte Cocoa French with Glossy White Smile Line
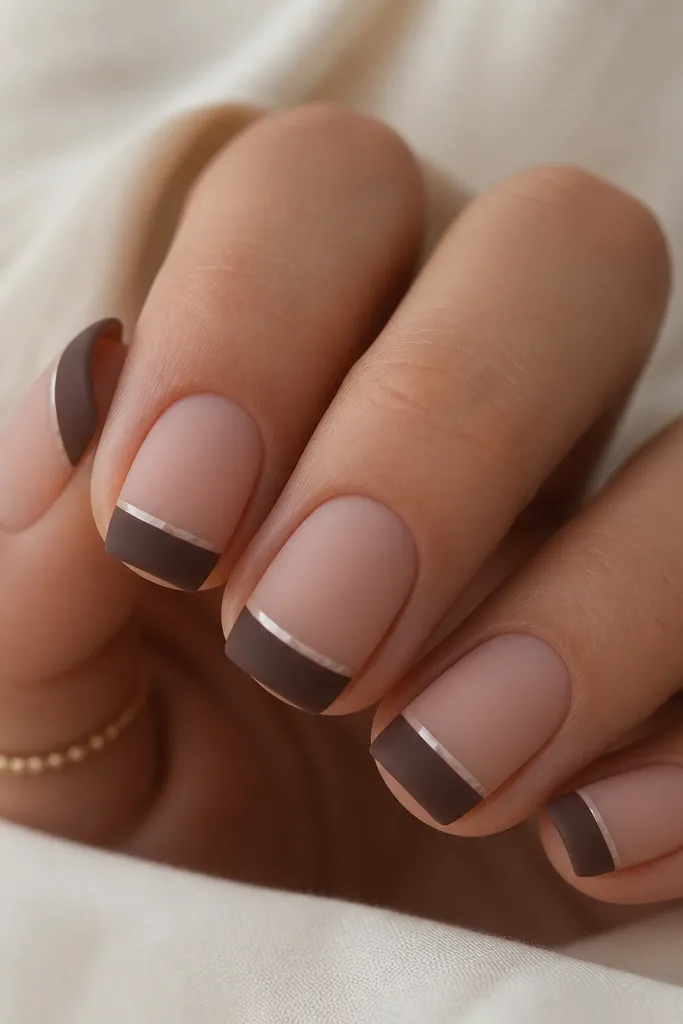
Matte makes cocoa brown look extra cozy, but it can also mute the white. By keeping the white smile line glossy, you get a crisp detail that catches light when your hands move. It looks like a salon set without needing extra gems.
Paint the French tip in cocoa brown, cure, then apply matte top coat to the whole nail. After matte cures, add a glossy top coat only on the white smile line so it stays shiny.
Pro tipUse a striping brush to paint the smile line with a single clean pass - matte shows every wobble.
Watch outAvoid matte top coat over the white detail - it kills the contrast.
6. Brown and White French with Gold Fleck Accent
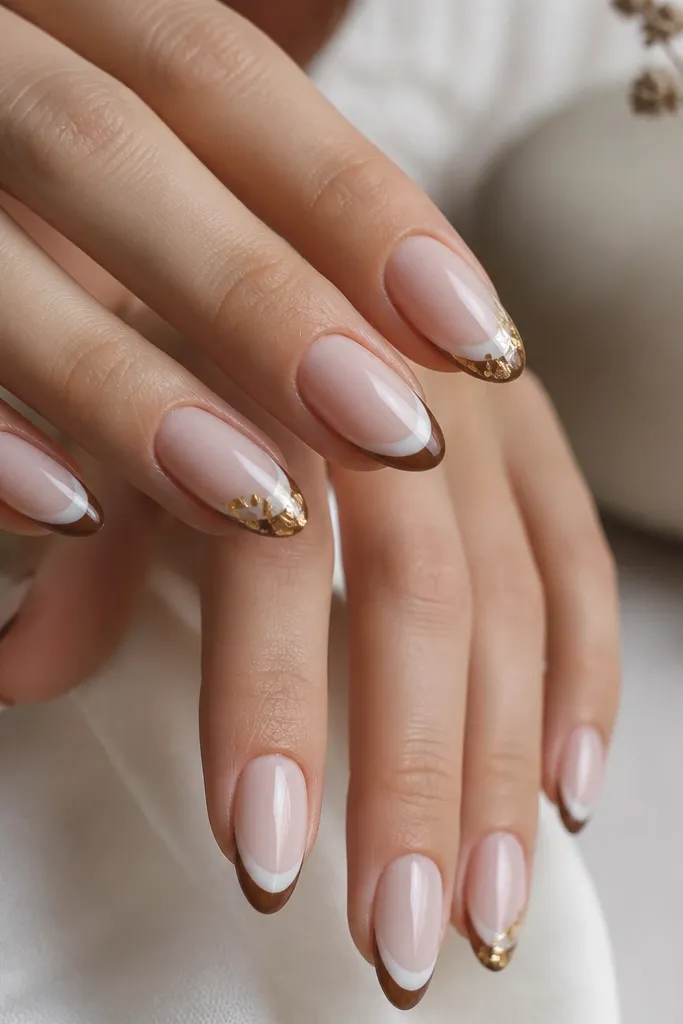
This version adds celebration without taking over. The brown-and-white French gives structure, and the gold flecks act like tiny punctuation near the tip where light hits. It's especially good for holidays or birthday dinners.
Do the standard brown French plus inner white stripe. On the ring finger and index finger, place gold foil flecks with a dot of clear gel near the outer corner of the tip.
Pro tipPress the foil gently and cap with clear gel so it doesn't snag on sweaters or towels.
Watch outDon't put flecks across the whole tip - it turns into glitter soup.
7. Caramel Ombre Base with French Tip Reverse Border
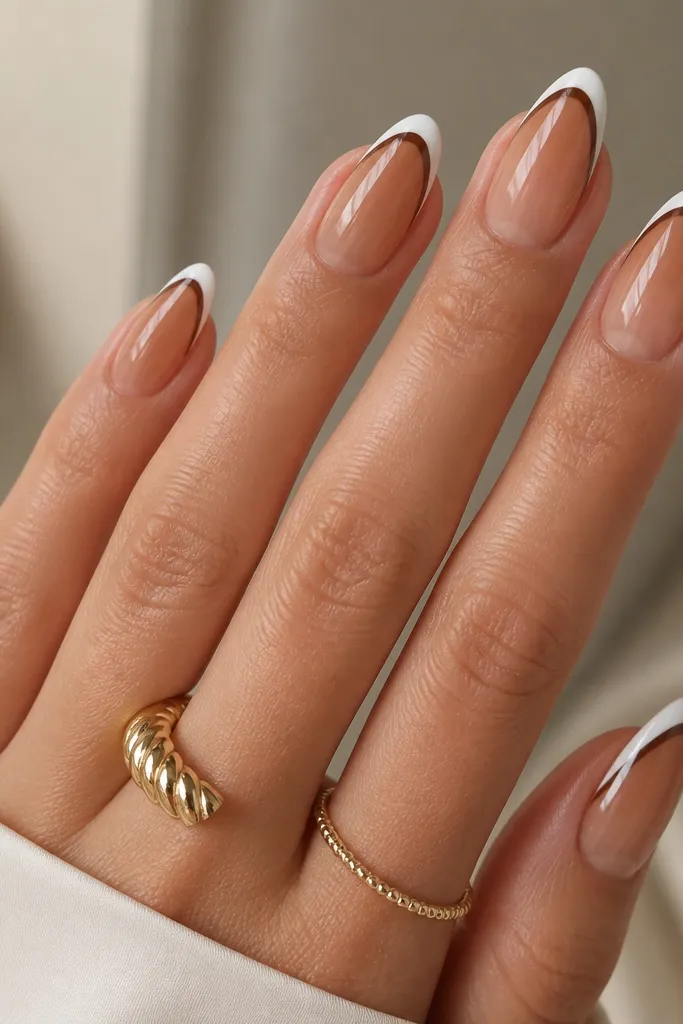
This is the "grown-out nails still look cute" option. The caramel ombre softens the base, while the white tip stays clean and bright. The brown reverse border inside the white gives dimension that looks great in photos.
Use a sponge to blend caramel into nude near the cuticle, then fade toward the tip. Paint a standard white French tip, then add a thin brown line just inside the white edge.
Pro tipWipe the sponge edge on a paper towel first so the ombre stays smooth instead of speckled.
Watch outAvoid harsh ombre lines - blend until there's no obvious band.
8. Espresso Brown Bar Tips with White Side Stripes
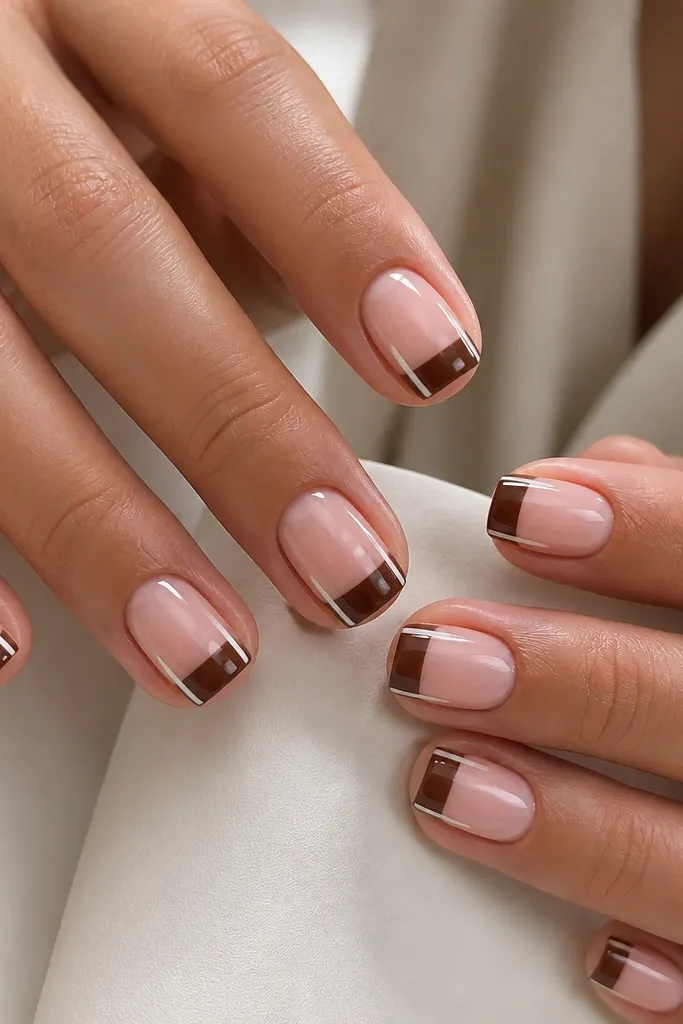
Bar tips look graphic and modern, and they pair well with white side stripes that create a slimming effect. Espresso brown is deep enough to anchor the design, while the white stripes add crisp geometry. This is a fun choice when you want something different from classic French curves.
Use short square so the bar tip edges look straight. Paint a straight espresso bar across the tip, then add vertical white stripes on both sides starting at the top of the bar.
Pro tipKeep the white stripes the same width on every nail - use the same brush and count strokes.
Watch outDon't angle the bar too steep - it can make nails look uneven.
9. Browns-and-Whites Diagonal French on One Accent Nail
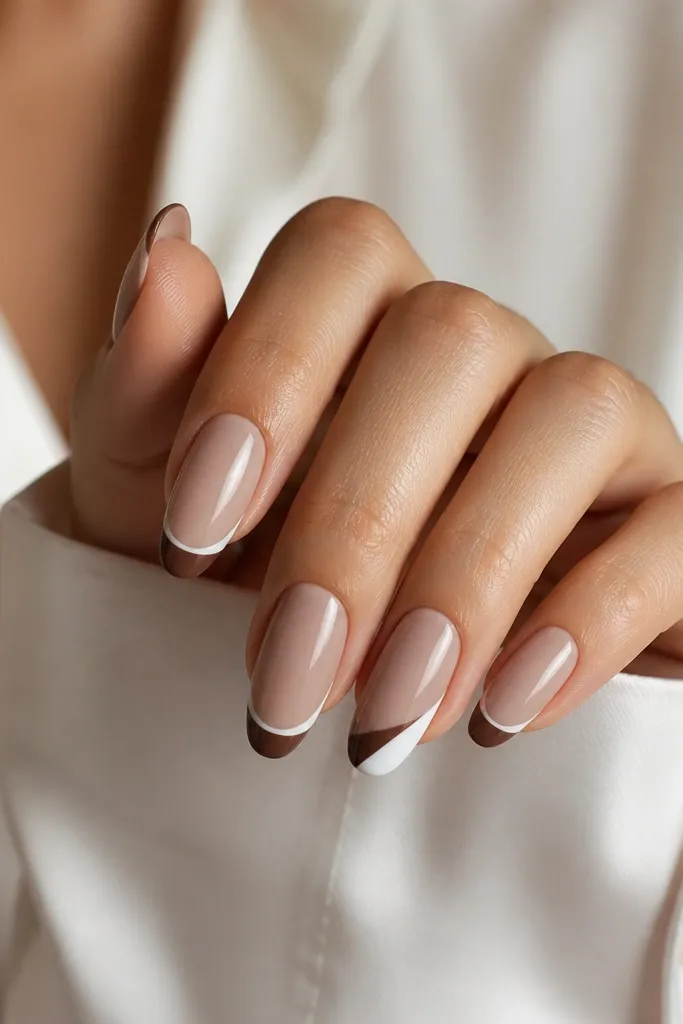
This works because most nails stay classic, and the accent nail adds motion. The diagonal split makes the brown and white look intentional and stylized instead of mismatched. It's a simple way to make the set feel custom without doing complicated art on every nail.
Do the classic brown French plus inner white stripe on four nails. On the accent nail, paint a diagonal tip where one half is brown and the other half is opaque white, then clean the diagonal line with a small liner brush.
Pro tipTurn your hand slightly while painting the diagonal so the line stays consistent with the nail curve.
Watch outAvoid diagonal tips on every nail - it gets visually loud fast.
10. Milky White French with Thin Brown Pinstripe Smile
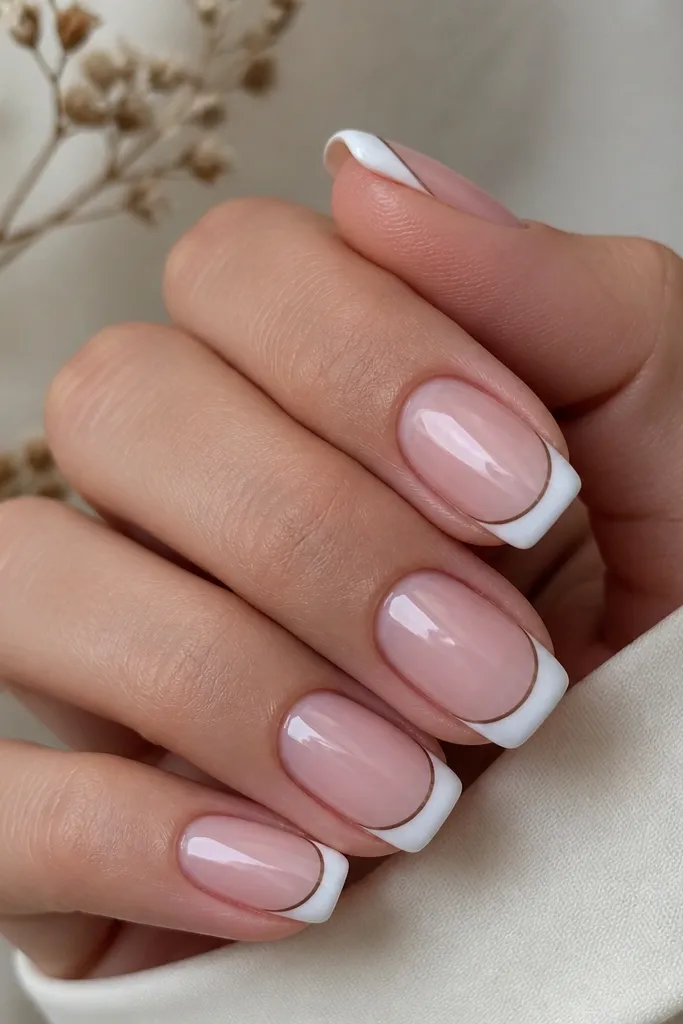
If you want the cleanest look, this is it. The white tip is the star, and the brown pinstripe adds a subtle boundary so the tip doesn't look like paint slapped on. It's also great if your brown color application is easier than your white - you only need the white as the main fill.
Paint the white French tip first. Add the brown pinstripe with a fine liner brush, keeping it 1 mm inside the outer edge of the white. Cure fully, then cap with top coat.
Pro tipUse a fresh brush for the pinstripe so the line stays sharp and doesn't drag.
Watch outSkip thick brown lines - they ruin the airy feel.
11. Taupe French with White 'Half-Crescent' Corners
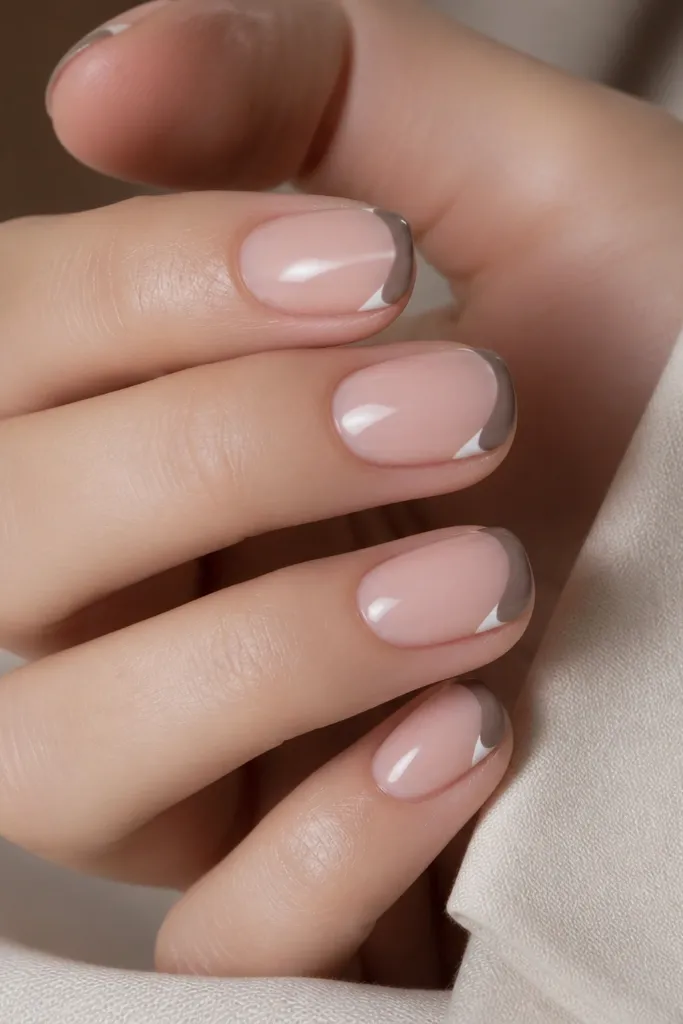
This is a cute detail that still reads as French. The taupe French gives you the base structure, and the white half-crescents at the corners lift the look without shrinking the tip area. It's especially flattering on short nails because it doesn't require a lot of white coverage.
Paint taupe French tips first. Then place small white half-crescents at each outer corner, aligned to the smile curve. Cap carefully so the crescents don't lift at the edges.
Pro tipUse a dotting tool for the crescent, then drag the edge slightly with a liner brush for a clean curve.
Watch outDon't make the crescents too big - they start to look like accidental chips.
12. Brown French with White Watercolor Wash Tip
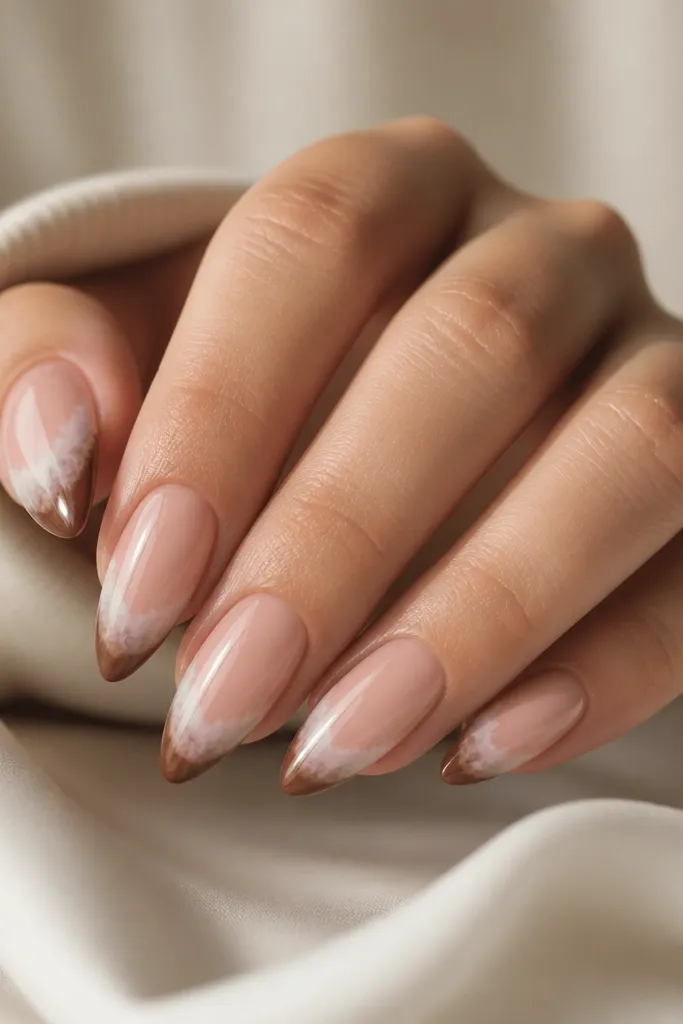
This one looks artistic but still wearable. The brown stays solid, and the white is intentionally blended so it feels like a watercolor highlight. It's a great choice if you want softness instead of crisp lines.
Paint a solid brown French tip. While the brown is tacky (or after a thin clear gel layer), apply white using a sponge or soft brush and blend outward so the center is more opaque and the edges fade.
Pro tipPractice on one nail first - watercolor fades are easier to control with light pressure.
Watch outAvoid overworking the wash - repeated passes make it muddy.