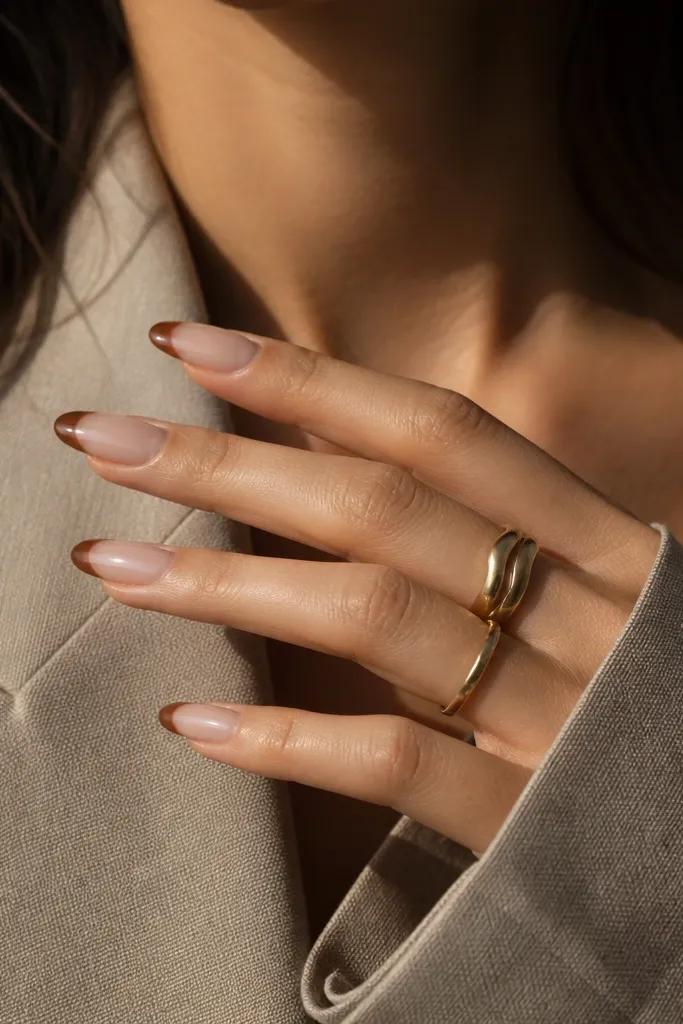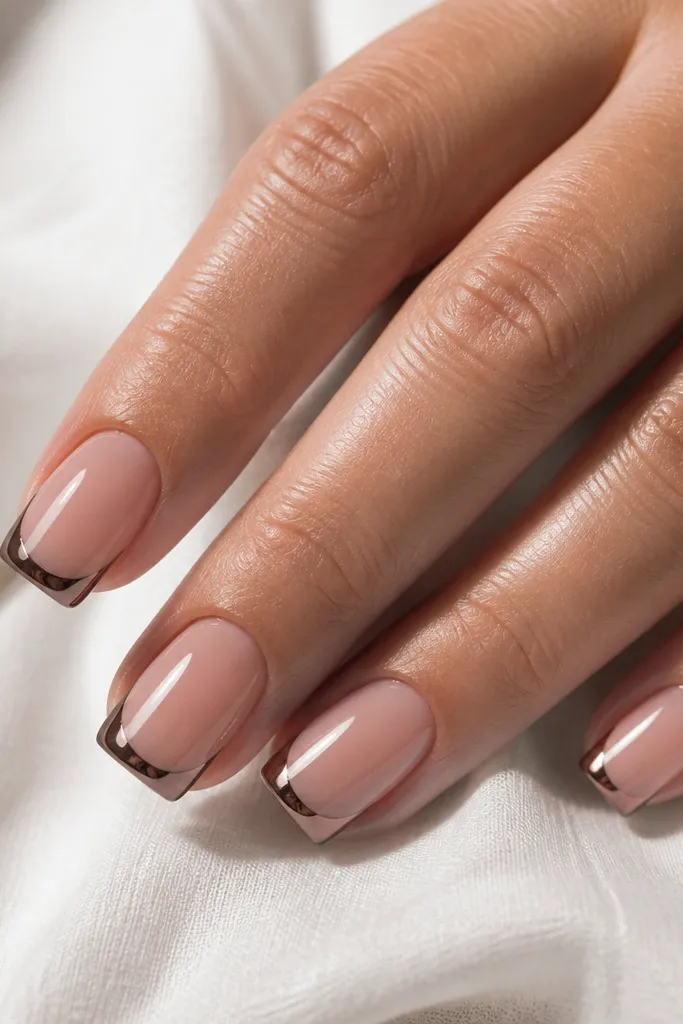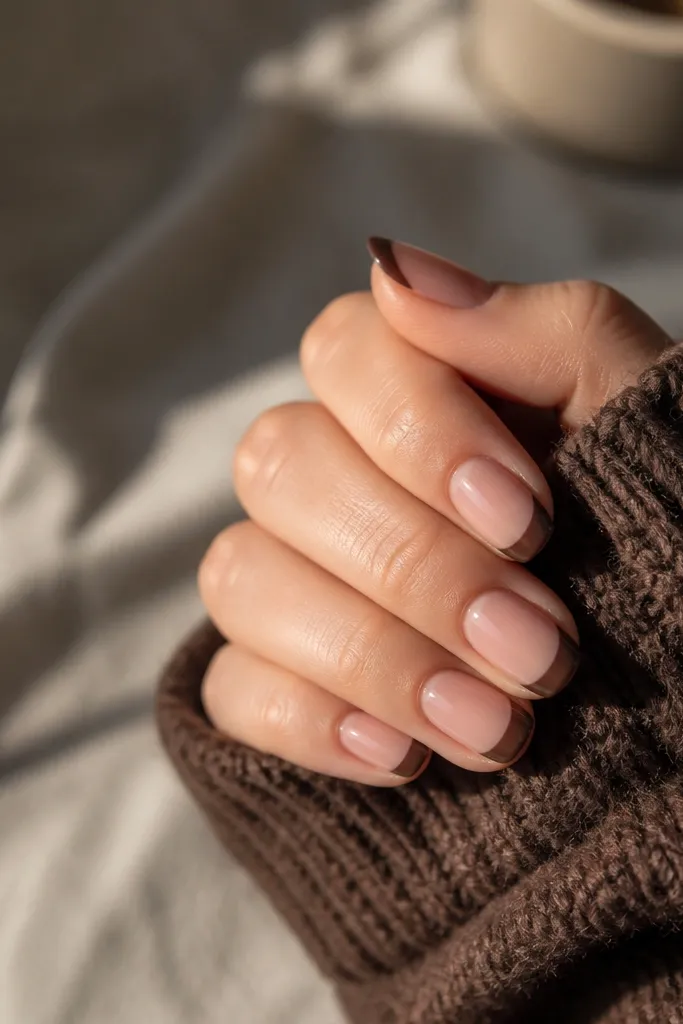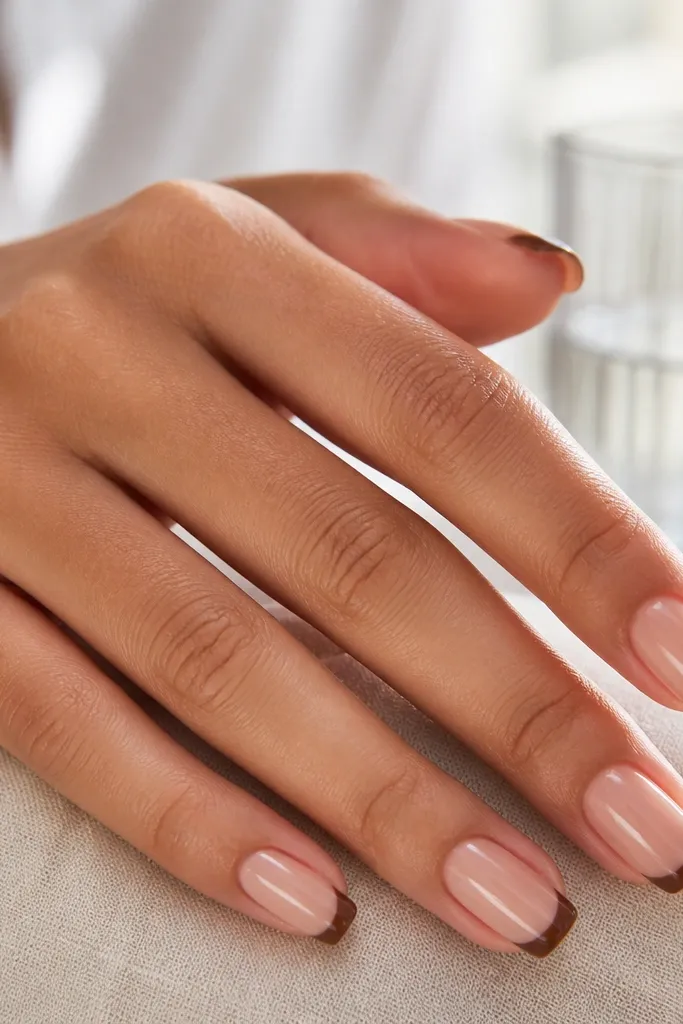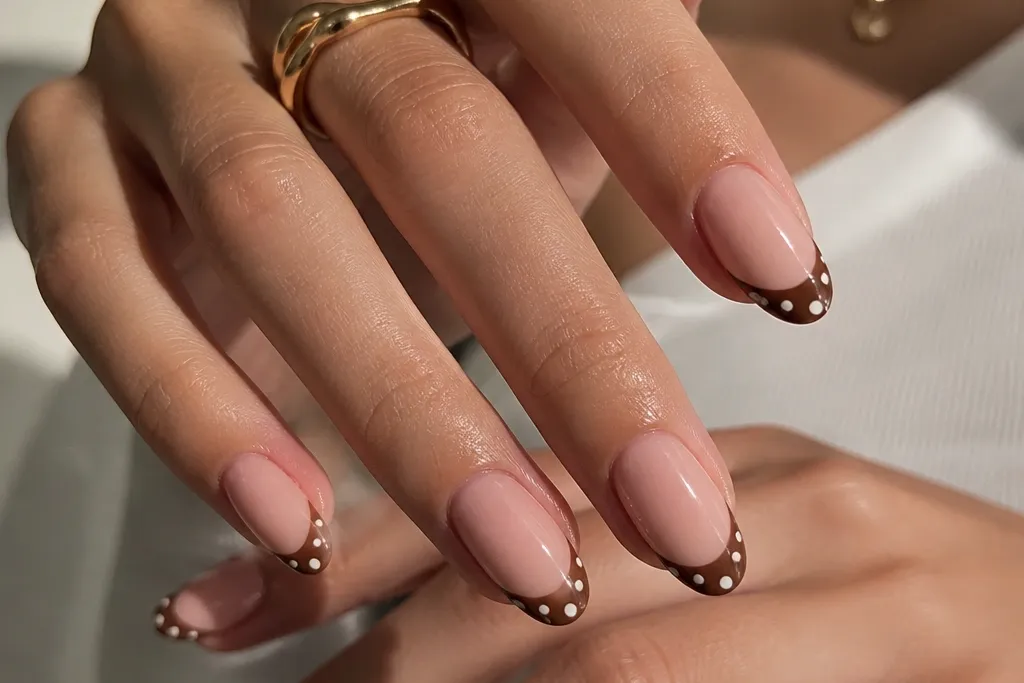
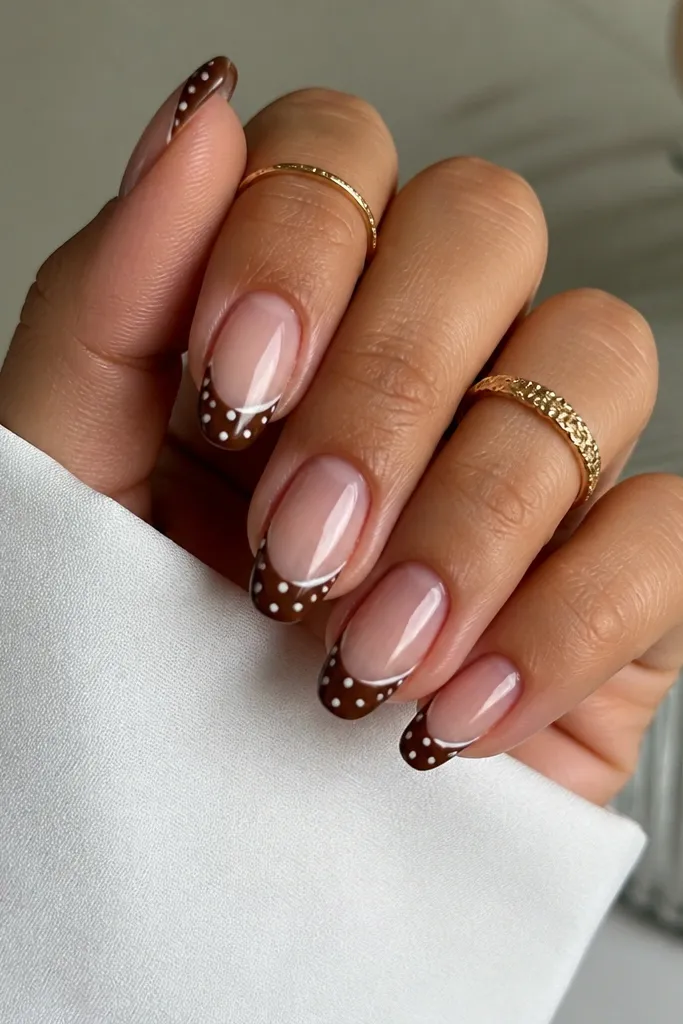
1. Micro dot line brown French with one tiny side dot
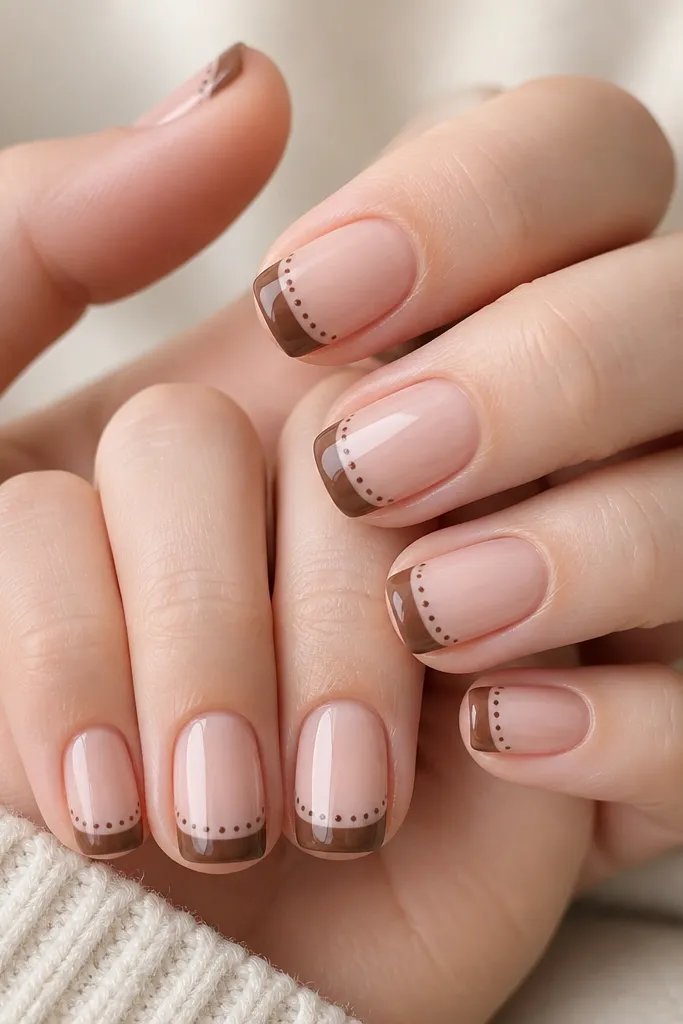
This is the cleanest version of the cute twist because the dots stay controlled. The brown stays the star, and the dot line creates a crisp border that looks intentional. I like milk chocolate here because it reads warm and friendly against sheer nude bases.
Paint a thin French tip first, about 2 mm wide on short nails. Then use a dotting tool to place micro dots along the tip line - keep them consistent. Add one extra dot near the side of the tip, then seal with two coats of glossy top coat.
Pro tipIf your dotting tool drags, wipe it on a paper towel between nails so the dot stays round.
Watch outAvoid oversized dots - they make the French edge look messy instead of crisp.
2. Chocolate French with polka dot half-moon tip
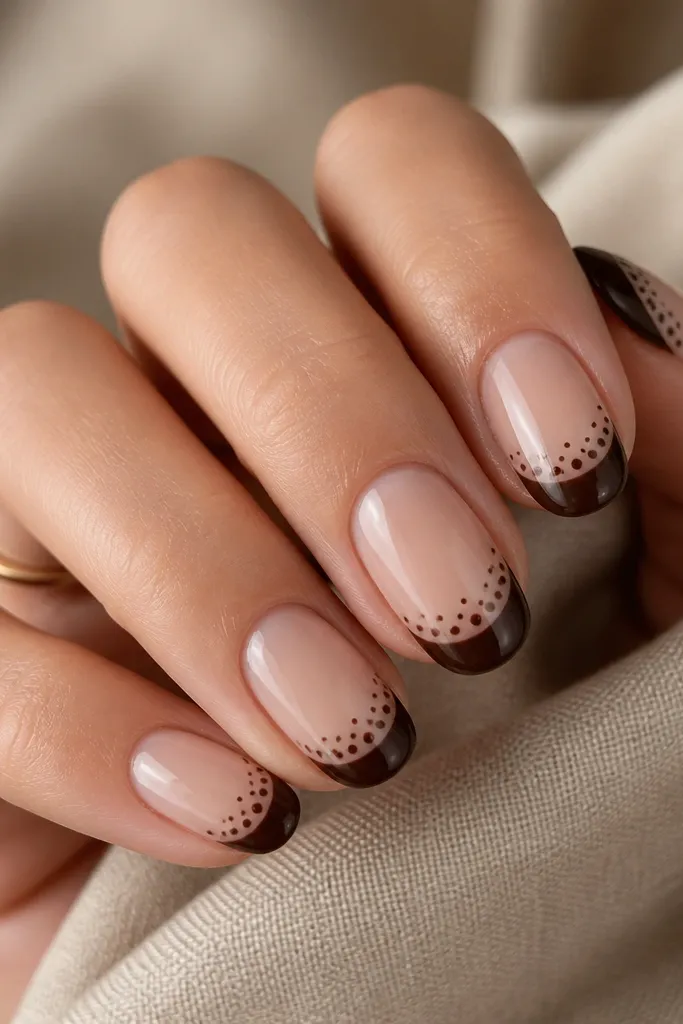
Half-moon French tips look softer than straight tips, and polka dots inside make the curve feel playful. Espresso gives contrast without turning orange. The scattered dot layout keeps it from looking like a perfect sticker pattern.
Use a fine brush to draw a curved tip, then fill the half-moon with espresso. Dot with small-to-medium dots (1 to 1.5 mm), leaving a few gaps so the nude shows through. Finish with glossy top coat to smooth everything.
Pro tipDraw the curve first lightly with a nude-brown guide line, then go over it once you like the shape.
Watch outDon't fill the half-moon so thick that it floods the edges - that makes dot placement look blurry.
3. Reverse French brown with negative space polka dots
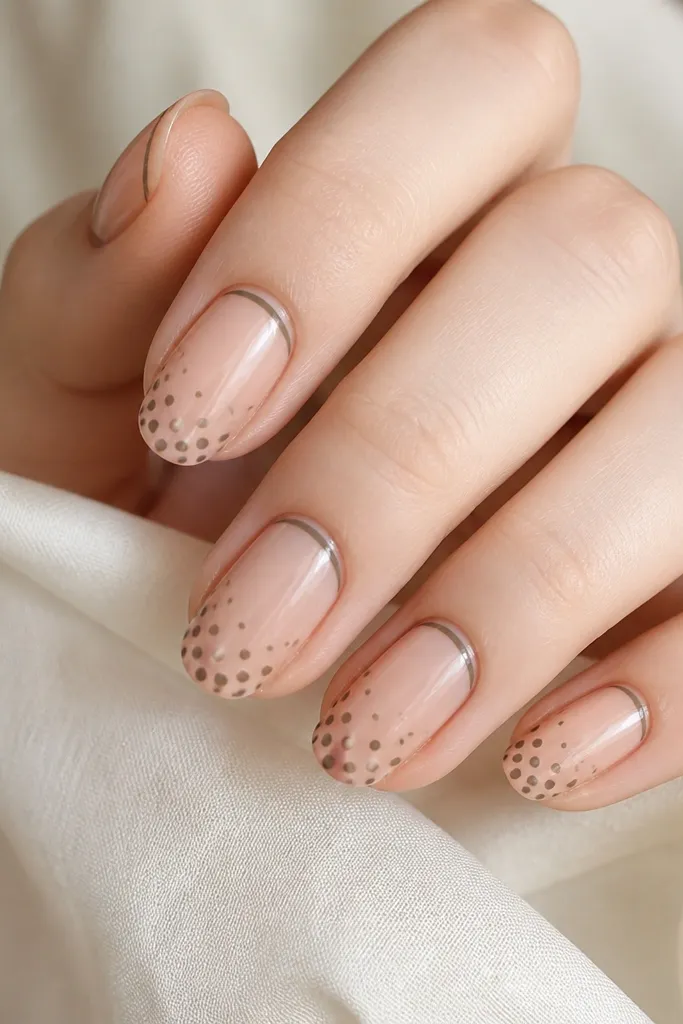
This design flips the usual French placement and makes the polka dots look extra sharp because they're actually negative space. Taupe-brown stays modern and not too heavy. The nude circles make your nails look longer and cleaner.
Create a reverse French line with a thin brush, about 1 mm thick near the cuticle. For the tip, paint a light brown layer over the tip area, then place tiny dot outlines using a dotting tool and remove the center with a small detail brush or cleanup brush tip. Seal with top coat carefully so the negative space stays open.
Pro tipUse a cleanup brush with acetone-light pressure to carve crisp dot holes without smearing.
Watch outDon't try negative space dots with matte polish - they look chalky and the holes don't pop.
4. Brown French ombre into polka dots
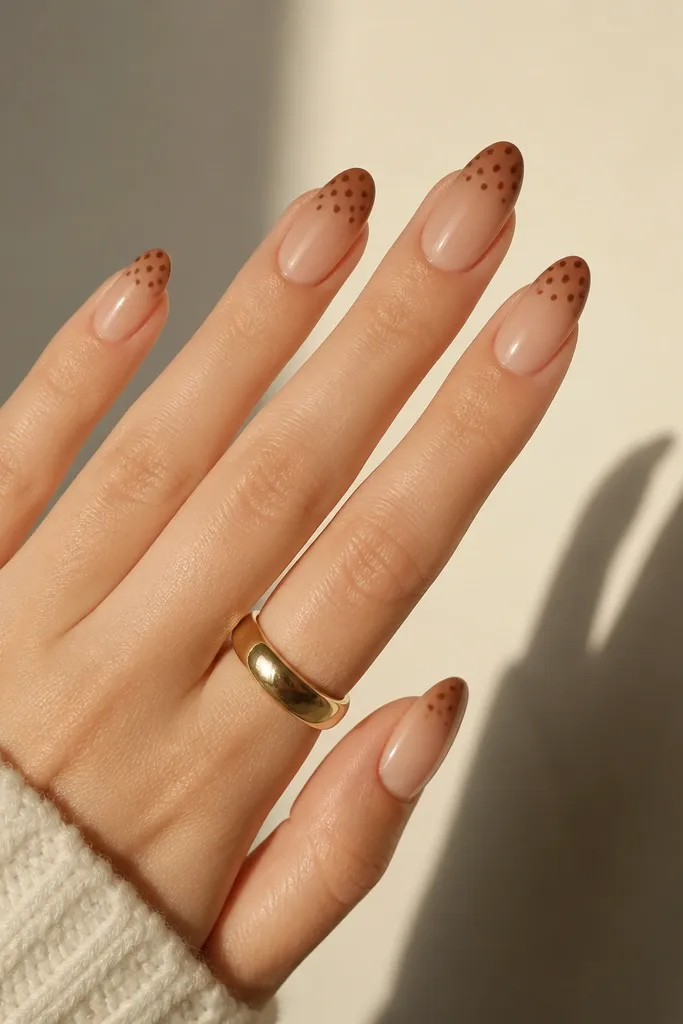
The ombre smooths the transition, so the dots sit on a gradient that looks expensive. Use two brown shades: one for the ombre fade and one slightly darker for the dots. This version looks great on medium-length nails because the gradient has room to blend.
Blend brown at the tip using a makeup sponge - tap off excess on a paper before applying. Keep the darker band within about the last 2-3 mm. Then dot on the dark band with a darker chocolate polish using a dotting tool, and top coat.
Pro tipLet the ombre dry fully, then dot - fresh sponge polish will make dots spread.
Watch outAvoid hard edges on the ombre - a harsh line makes the whole set look beginner-level.
5. Caramel swirl French with polka dot accent corner
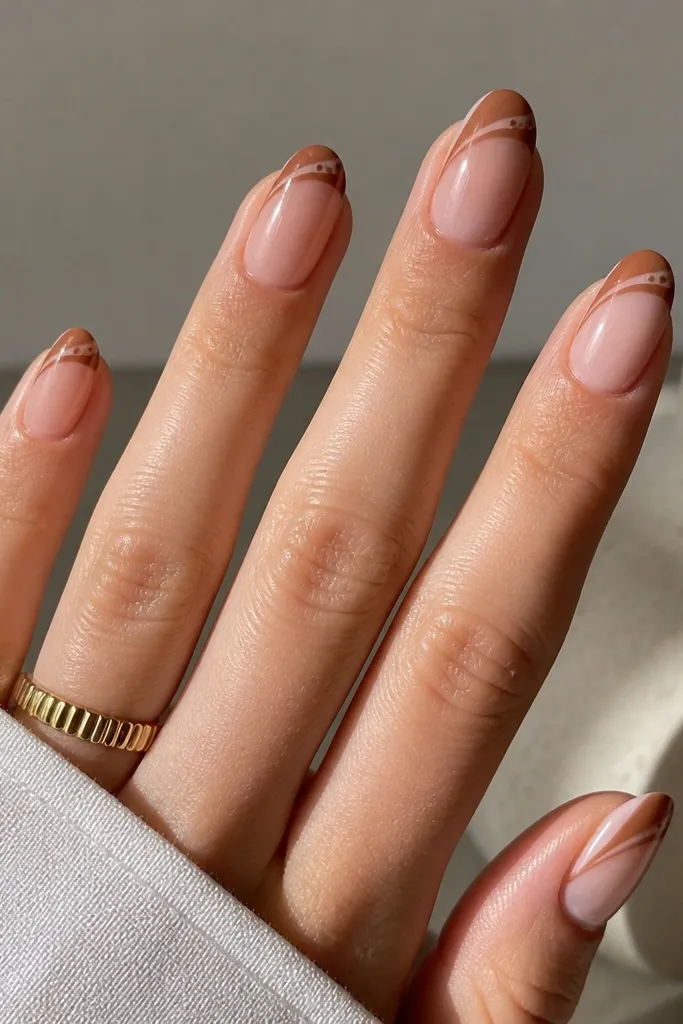
Swirl detail makes brown French feel more artistic without covering the whole nail. Keeping polka dots only at the corner makes the set look styled, not busy. Caramel keeps it sweet and warm.
Paint a straight French tip in caramel, then add a thin swirl line inside the tip border with a fine liner brush. Place three dots in a tight triangle at the outer corner, then seal with glossy top coat.
Pro tipWhen placing the corner dots, start with the middle dot first so the cluster looks intentional.
Watch outDon't add dots across the whole tip - that turns it into a full pattern instead of an accent.
6. Espresso French with gold-brown dot trail
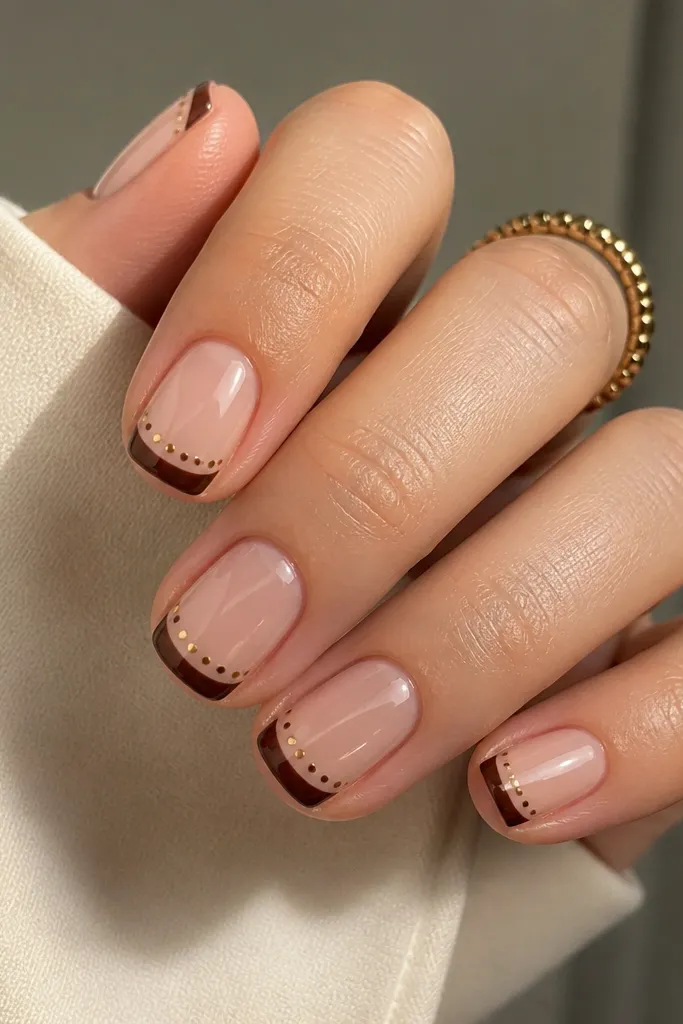
This looks like a "grown-up cute" set. Espresso holds the shape, and the gold-brown trail adds sparkle without turning the dots into random glitter. The alternation is what makes it look designed.
Paint espresso French tips thin and even. For the trail, use a dotting tool with gold nail art paint or metallic gel, then place a brown dot between each gold dot. Clean edges with a small brush dipped in remover, then top coat.
Pro tipIf gold paint is too thick, mix it with one drop of clear gel polish before dotting.
Watch outAvoid chunky glitter - it ruins the tiny-dot look and makes the trail uneven.
7. Matte nude base with glossy brown polka dot tips
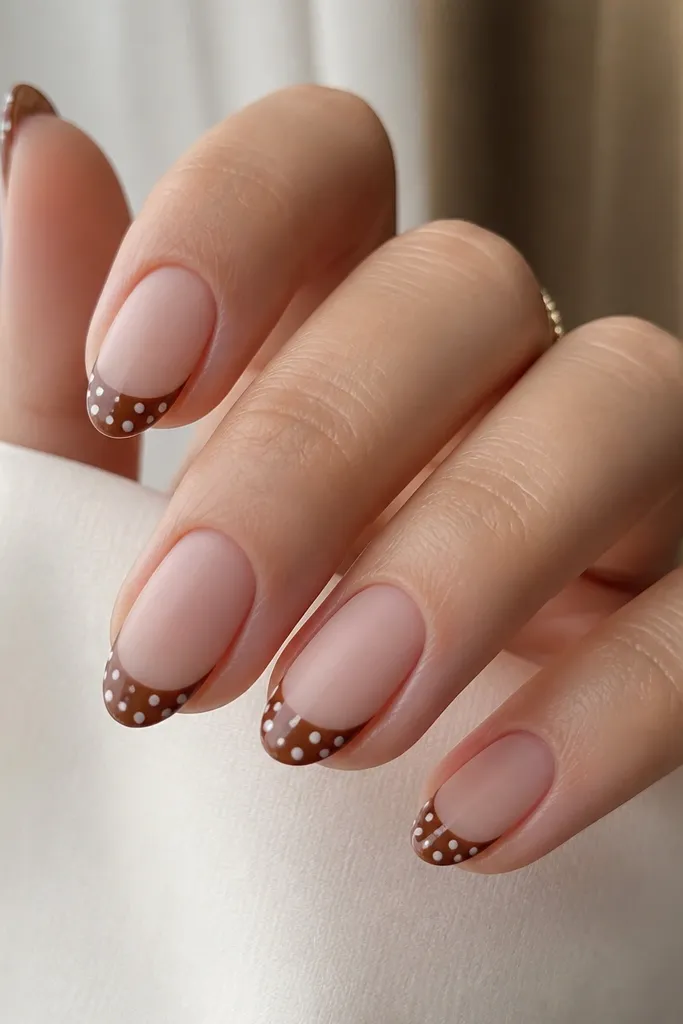
The contrast is the whole point: matte base makes the brown look richer, and glossy dots look clean and dimensional. I've gotten compliments on this combo because it looks intentional in indoor lighting.
Apply matte top coat on the nude base area but keep the tip area shiny by applying glossy top coat only over the French tips and dots. Paint brown tips, dot them, then seal the tip with glossy top coat.
Pro tipUse two top coats on purpose: matte on the base, glossy on the tips.
Watch outDon't matte everything - the dots lose definition and can look flat.
8. Brown French with white micro dots and brown outline
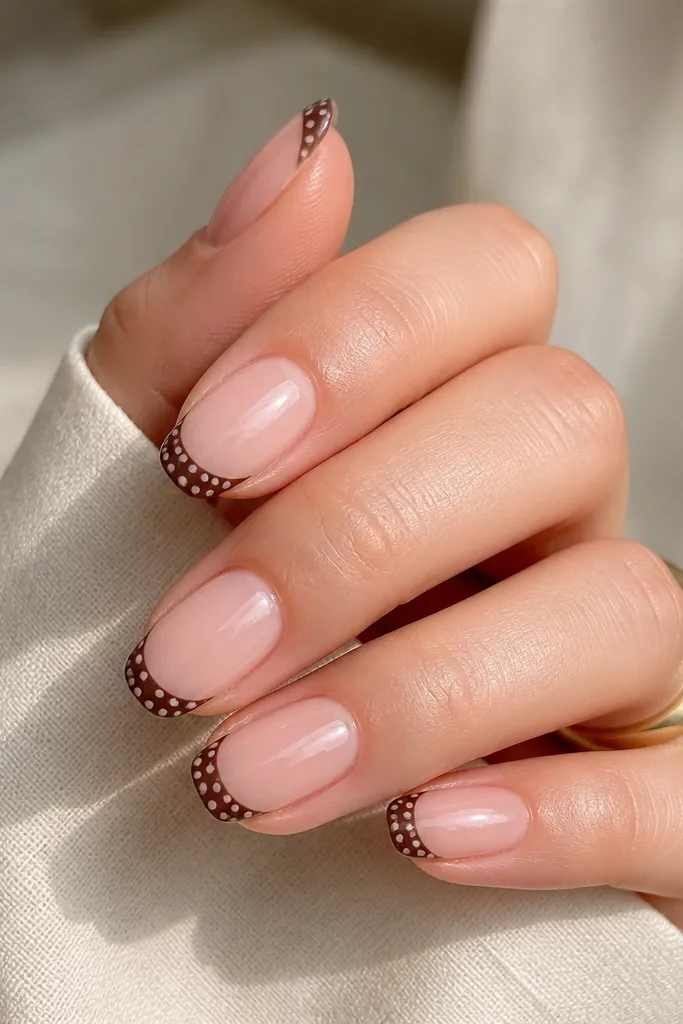
White dots give instant contrast, and the faint brown outline keeps them from looking like plain dots. This set reads cute even if you wear it to a casual work event. The outlined dots feel more crisp on camera.
Paint brown French tips first. Dot with white polish for the circles, then use a very thin brush to trace around the dots with slightly darker brown. Seal with glossy top coat to lock the outline.
Pro tipOutline only the top half of each dot - it's faster and still looks defined.
Watch outAvoid thick white blobs - micro dots should stay perfectly round.
9. Tortoiseshell brown French with polka dot overlay

Tortoiseshell gives depth, and the dots keep it from looking like random swirls. Use one brown tone for the dots so the pattern stays cohesive. This one looks great on medium almond nails where the tip has space.
Create tortoiseshell tips with 3 thin layers of brown shades using a sponge or brush strokes. Let it dry between layers. Then dot on top with a dotting tool using one consistent brown, and top coat.
Pro tipPick tortoiseshell shades that are within 2-3 shades of the same family, not totally different colors.
Watch outDon't mix in black for dots - it makes the polka dots look harsh next to warm tortoiseshell.
10. Brown French with polka dots and tiny dot studs at the base
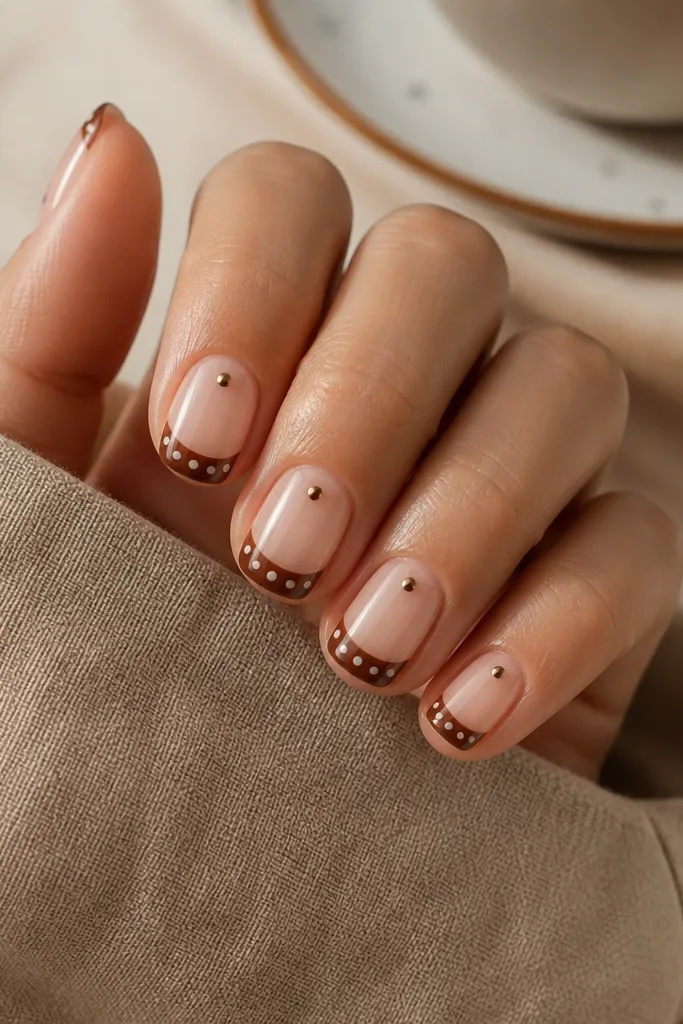
Adding one tiny detail at the base makes the set feel complete, not like a simple tip pattern. The micro studs catch light and make the polka dots feel intentional. This looks especially good if your cuticles are neat and you want the top half to stand out.
Paint brown French tips and dot them as usual. Then place one tiny dot stud or bead near the cuticle on each nail using gel glue. Cure, then apply top coat carefully around the studs.
Pro tipKeep the base studs small - about the size of a pinhead - so they don't compete with the dots.
Watch outDon't add studs on every dot - one or two extra points look styled; too many look cluttered.
11. Brown French with layered dot clusters (three sizes)
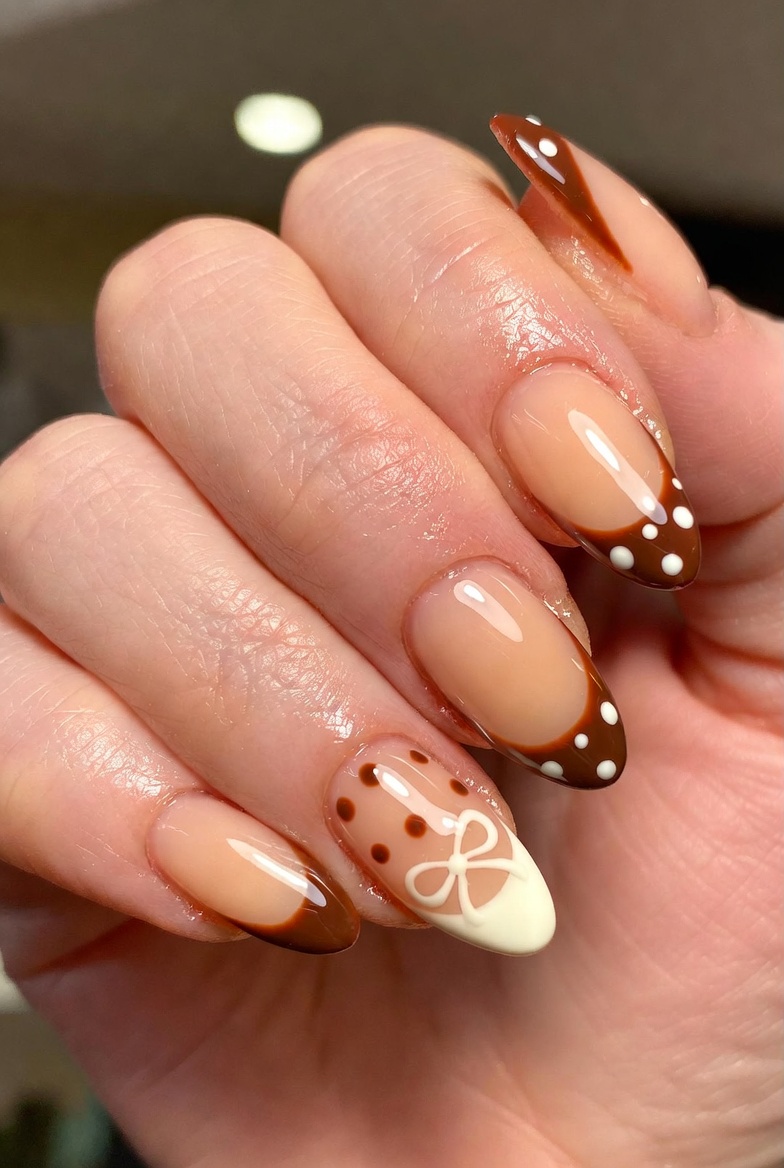
Layered clusters look more dimensional than evenly spaced dots. The trick is scale: one large dot anchors the cluster, and the smaller ones fill the space so it looks balanced. This style makes your nails look like you spent more time than you did.
Paint French tips in a medium brown. Use the dotting tool in three sizes: large, medium, micro. Place clusters centered on each tip, leaving space between clusters. Top coat in two thin layers so the dots don't level out.
Pro tipUse a clear gel top coat first in thin layers if you're working with gel - thick top coat can spread dots.
Watch outAvoid squeezing clusters too close - overlapping dots turn into blobs.
12. Satin-finish brown French with dotted chrome edge
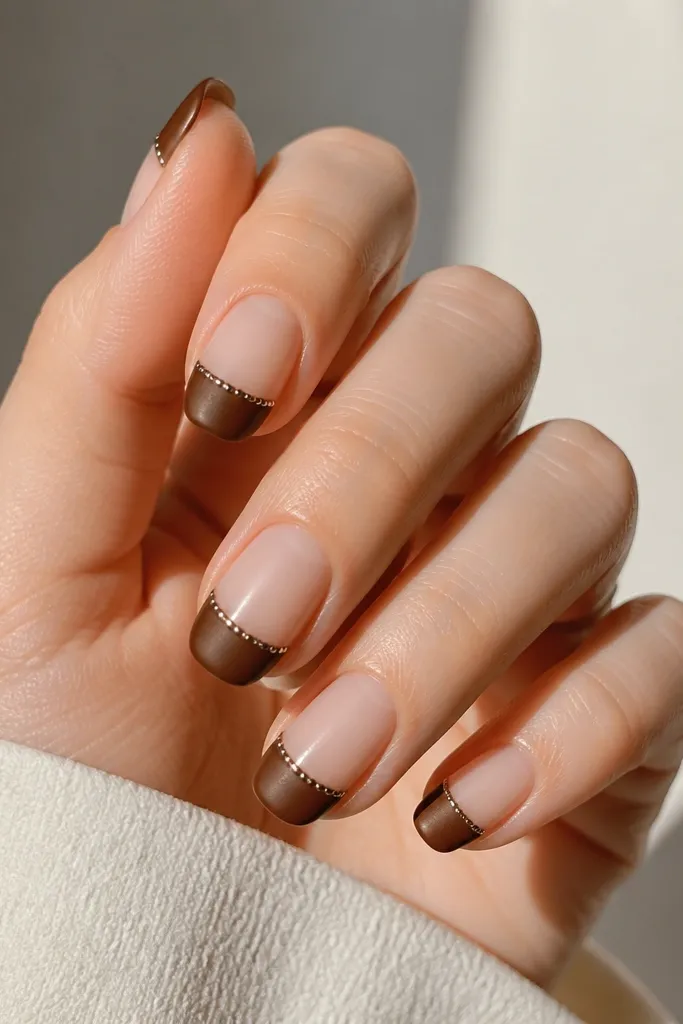
Satin brown makes the chrome dots pop because the surface doesn't reflect like glossy polish. The chrome edge is a clean, modern twist that still reads cute because it's in tiny dots, not a full strip. I like this when I want something that feels special but not too loud.
Use a satin top coat or a satin-finish brown polish for the tips. Then apply tiny chrome dots along the tip edge using a dotting tool with chrome powder mixed with gel or chrome paint. Seal lightly so the chrome stays bright.
Pro tipSeal chrome with a thin layer only - thick top coat dulls the shine.
Watch outAvoid placing chrome dots on a wet satin surface - they smudge instantly.