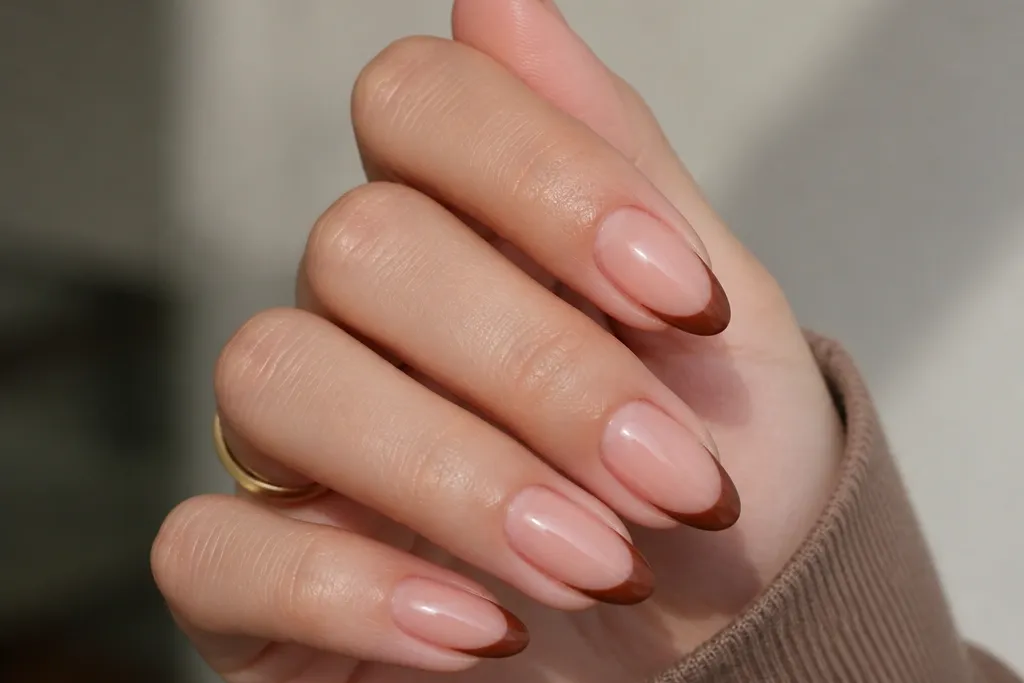
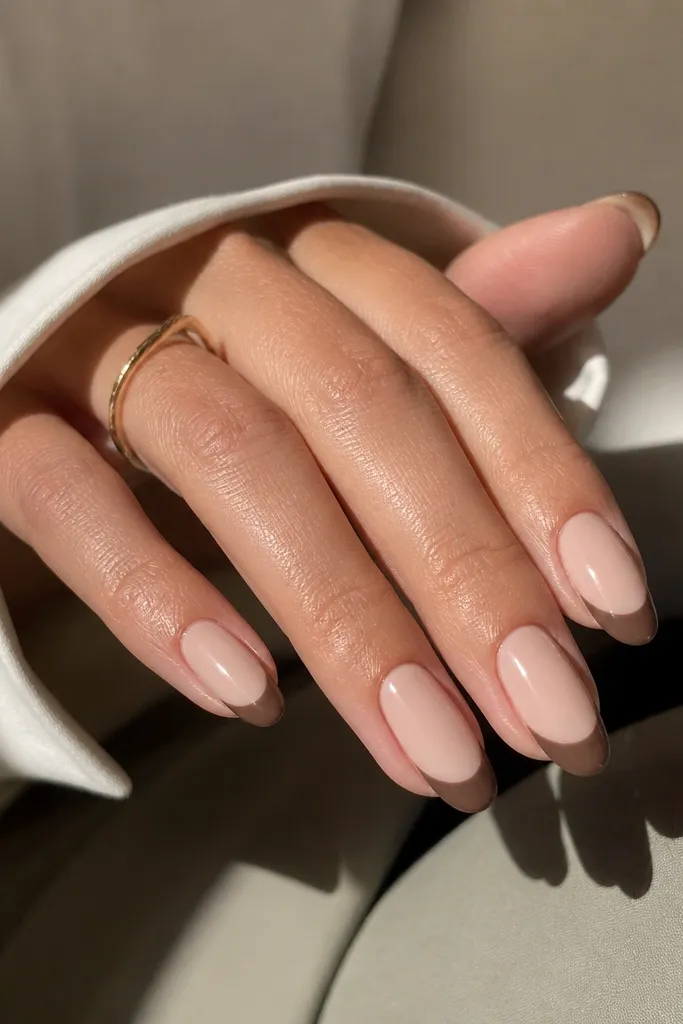
1. Classic almond brown French with milky base
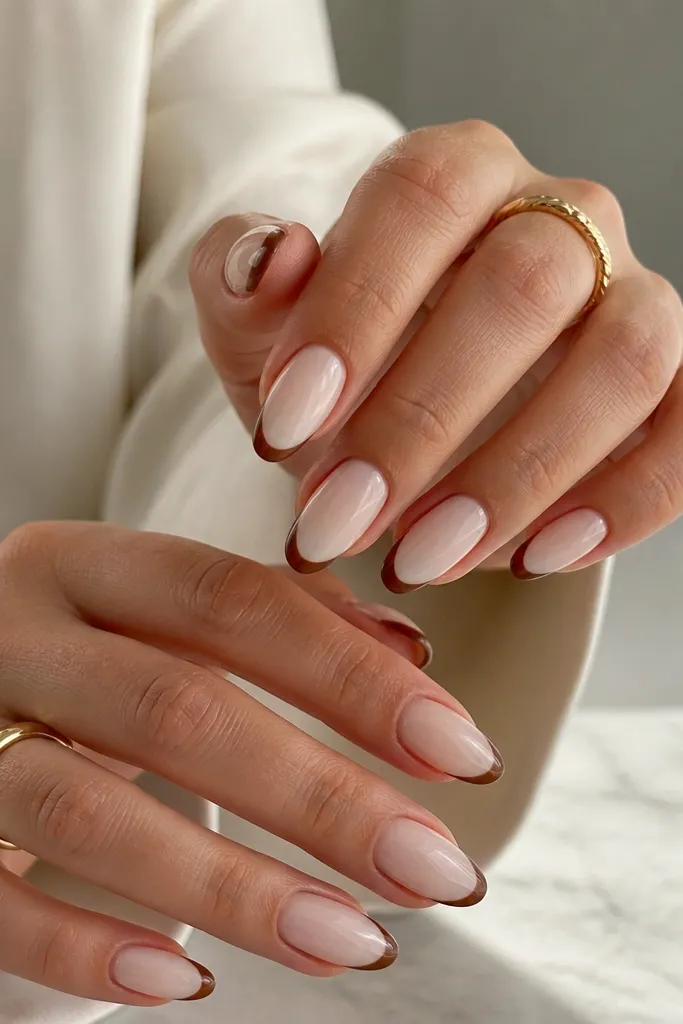
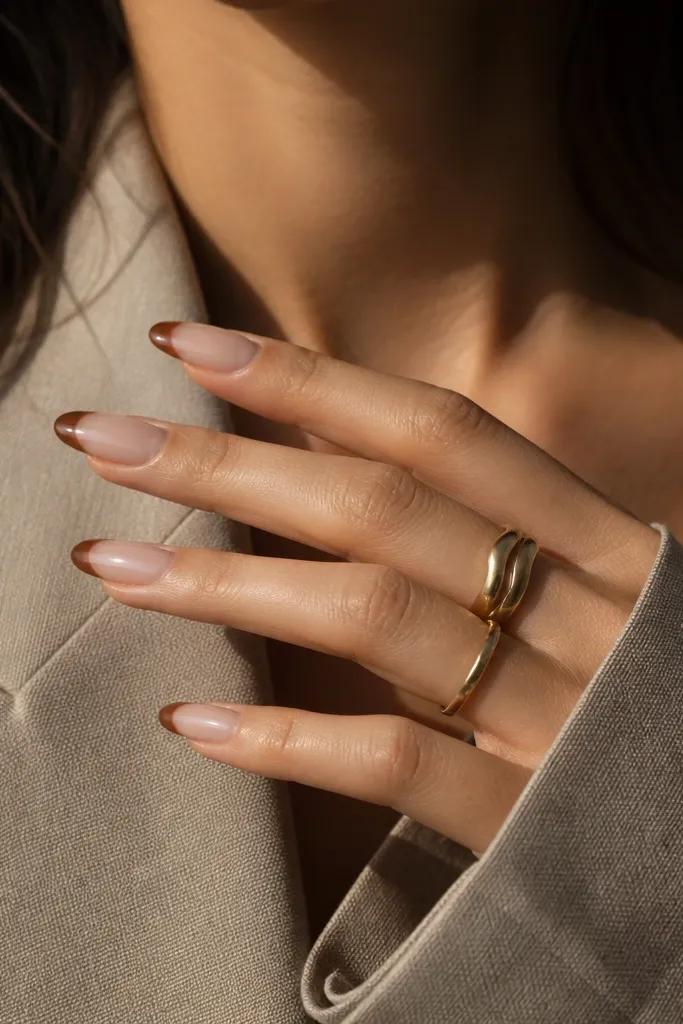
This is the version I reach for when I want "done" nails without thinking. The milky nude keeps the nail bright near the cuticle, so the brown tip looks intentional instead of heavy. A thin chocolate line reads French even if the tip grows out a little. Gloss makes the brown look smooth and expensive.
Use a sheer milky base gel or polish, then apply a French guide strip across the tip. Paint the brown line with a fine liner brush, filling only the inside edge. Wipe the brush on a lint-free wipe so the line stays controlled on the almond taper.
Pro tipAfter curing, drag the top coat over the free edge for 2 extra swipes per nail.
Watch outDon't make the brown tip too wide - it turns into a half-moon and looks bulky fast.
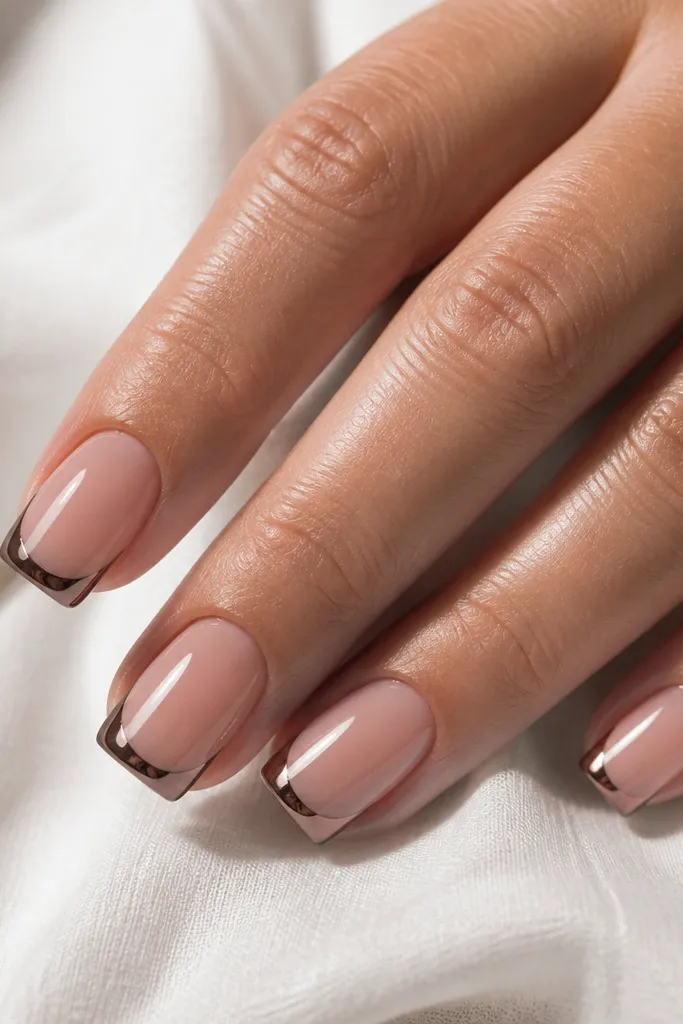
2. Caramel brown French with a soft smile curve
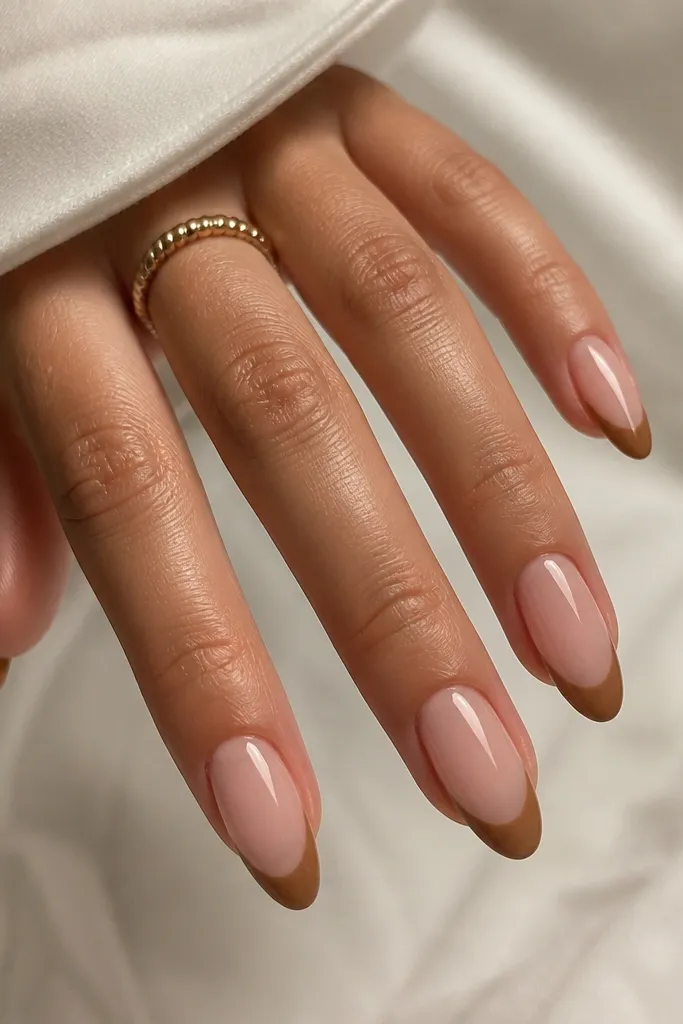
Caramel brown is warmer and more forgiving than deep chocolate. The soft smile curve looks natural against almond sides and makes the French line less harsh as it grows. I like this when my hands are dry because the caramel tone flatters without looking gray or dull.
Mix or choose a caramel-brown gel. Apply a guide strip, then paint the brown in two thin passes so it stays even. Keep the center slightly lighter by feathering the second pass inward.
Pro tipIf your line gets thick, clean the sidewalls with a small brush dipped in gel cleanser before curing.
Watch outAvoid espresso-brown here - it can look too stark on a milky nude base.
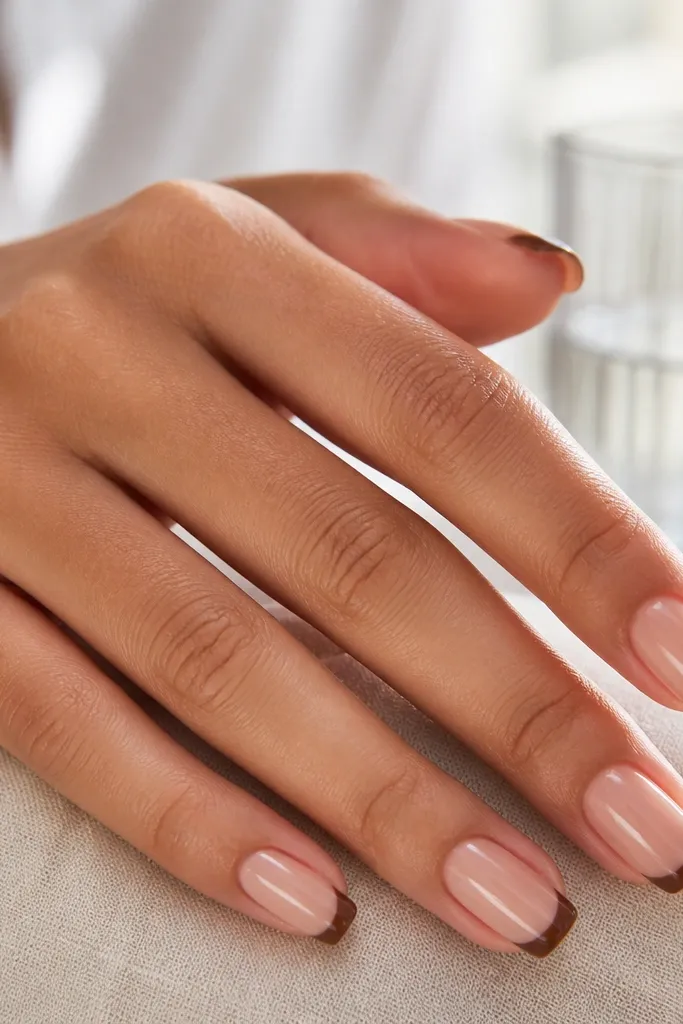
3. Espresso micro-French on almond tips
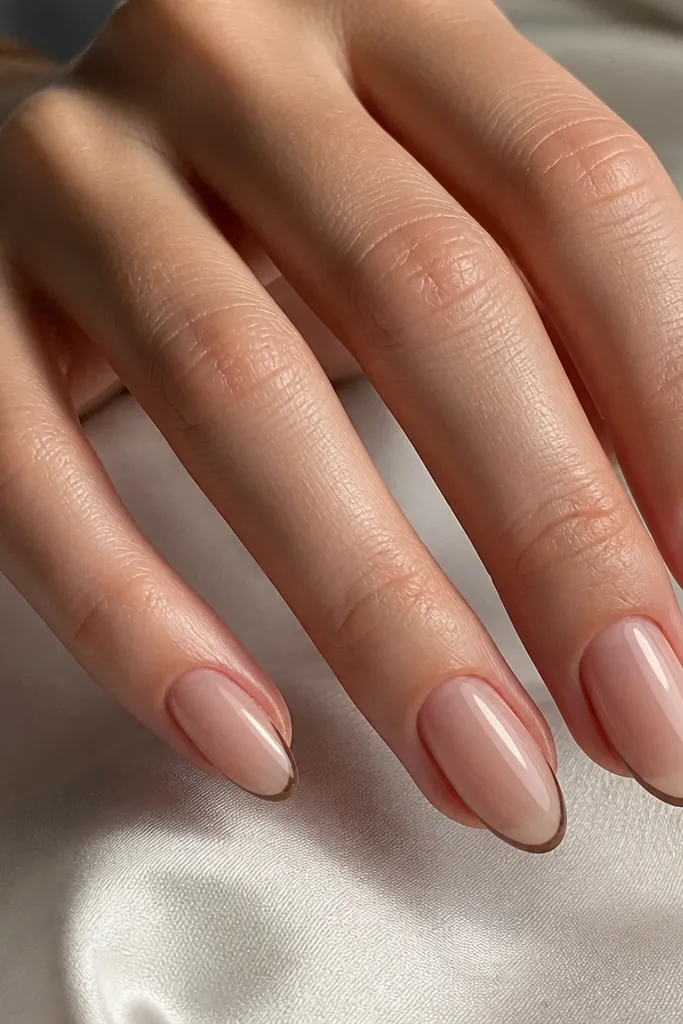
Micro-French is the lowest-maintenance look because the brown area is tiny. When you're only painting 1 mm or so, regrowth doesn't create a big visual gap. Espresso-brown gives contrast without needing a wide fill, and the glossy top coat keeps it from looking dry or chalky.
Use nail striping tape or pre-cut French guides. Paint only the top edge line, then stop before it spreads down the tip. If you want a filled look, fill just 30-40% of the tip thickness, not all the way down.
Pro tipUse a liner brush with a flat edge - it makes a straighter micro-line than a round tip brush.
Watch outDon't overfill micro-French - thickness is what makes it look messy.
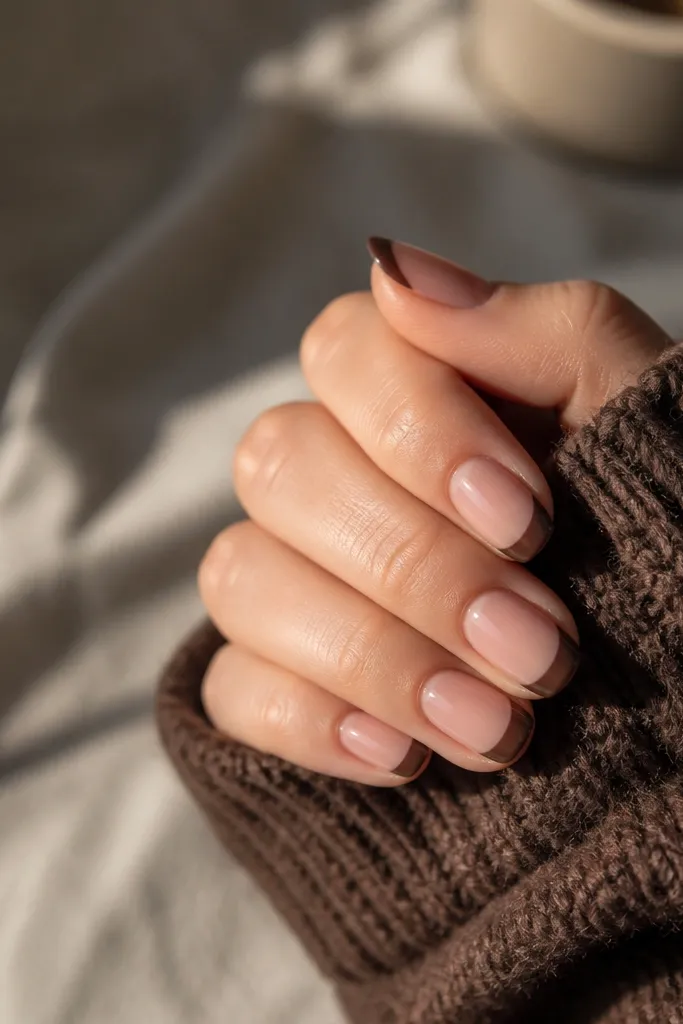
4. Brown French with a sheer nude gradient fade
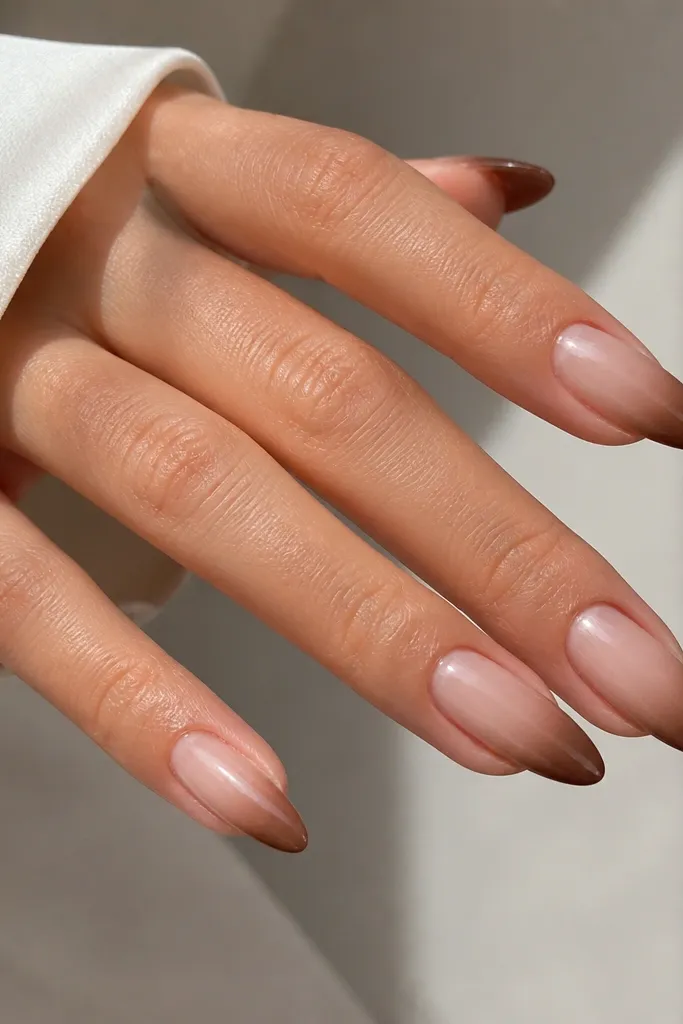
This one grows out the prettiest because the brown fades instead of ending in a hard line. It still reads French, but the gradient hides small placement shifts. The sheer nude keeps your nails looking light and clean, even on longer days.
Paint a French guide line at the top of the tip area. Then use a sponge or a small makeup wedge to dab brown near the free edge and blend upward lightly. Keep the gradient subtle - you want the edge to be the star.
Pro tipAfter blending, go over the tip with a thin top coat before curing so the fade looks glassy, not speckled.
Watch outSkip a heavy sponge layer - thick dabbing makes the gradient patchy.
5. Matte brown French tips over glossy nude
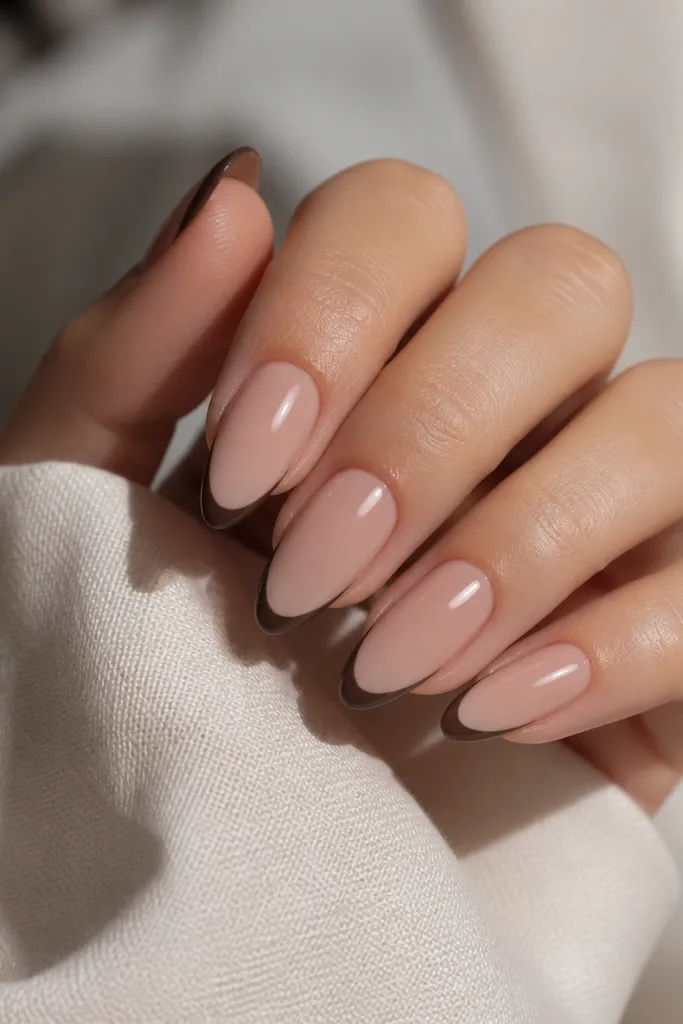
The contrast looks intentional and still low maintenance because you don't need extra art. Matte brown also hides minor brush streaks better than glossy brown. The glossy nude base keeps everything bright, so the set doesn't look dull.
Do your base in glossy nude gel. Apply a thin brown French line with a guide, then cure. Finish with a matte top coat only on the tips, not the entire nail, so the contrast stays crisp.
Pro tipUse a separate matte top coat brush or wipe your brush well between products so you don't haze the nude base.
Watch outDon't matte the whole nail - it kills the French definition on almond sides.
6. Brown French with gold micro-dot at the smile line
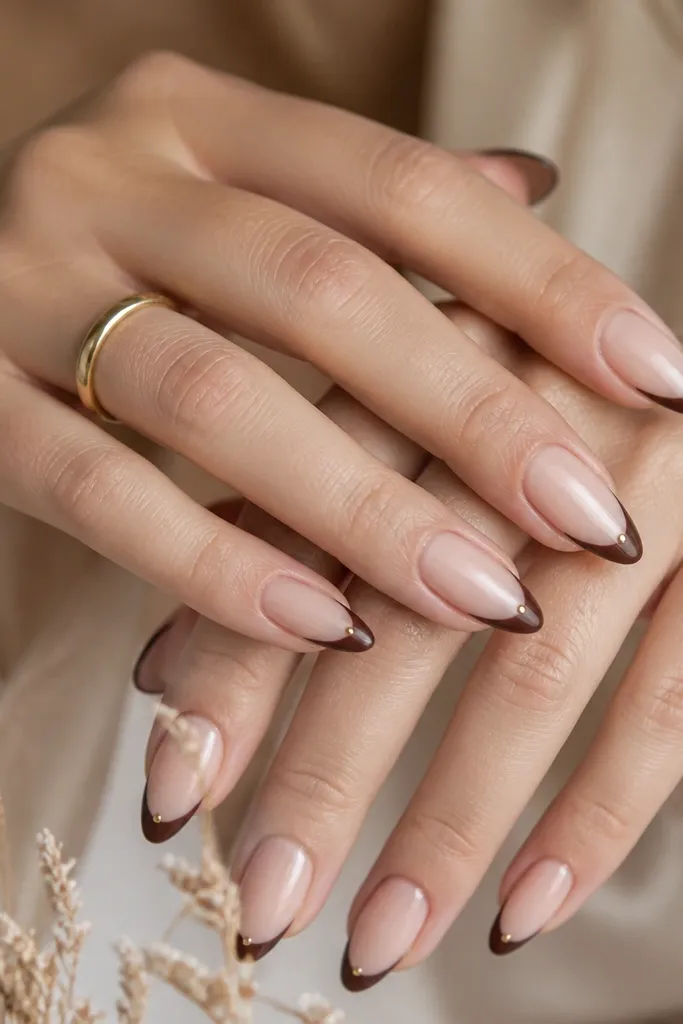
One tiny dot is enough to make the nails look special without adding a bunch of steps. It draws the eye to the line placement, so even if your tips grow a bit, the set still looks "styled." Gold micro-details flatter warm browns and look good in daylight.
Apply your French guide and paint the brown tip line thin. Place a single gold dot using a dotting tool or the end of a toothpick dipped in gel paint. Cure, then seal with top coat carefully around the dot.
Pro tipKeep the dot size about the tip of a ballpoint pen - if it's bigger, it turns into chunky decoration.
Watch outDon't add dots on every nail at two spots - it stops reading as French.
7. Reverse French: brown cuticle line with almond tips nude
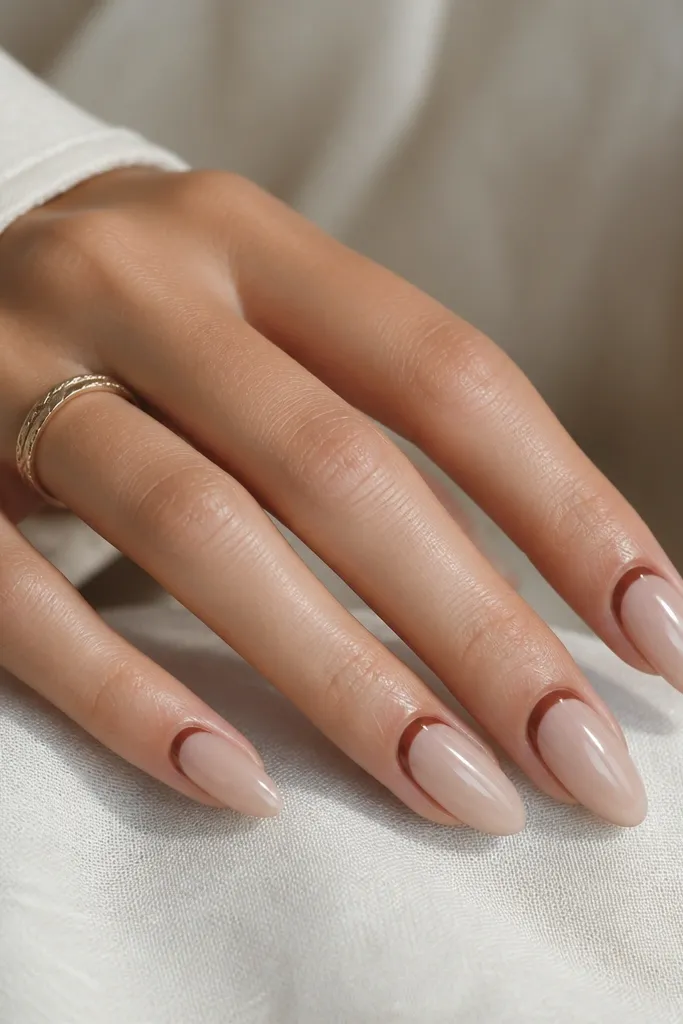
Reverse French is low maintenance because the regrowth line is already near the cuticle area - you're drawing there on purpose. The brown cuticle curve frames the almond shape and looks clean even when nails grow out. It also works great if you hate painting at the tip.
Use a small curved strip of guide tape to mask the cuticle arc. Paint a thin brown line across the cuticle, then cover the nail with clear glossy top coat. Keep the line narrow so it doesn't look like a thick halo.
Pro tipPress the tape down firmly at the sides so the cuticle curve stays smooth.
Watch outAvoid painting too close to the skin - thick cuticle lines lift and peel sooner.
8. Brown French with a tiny negative-space V at the center
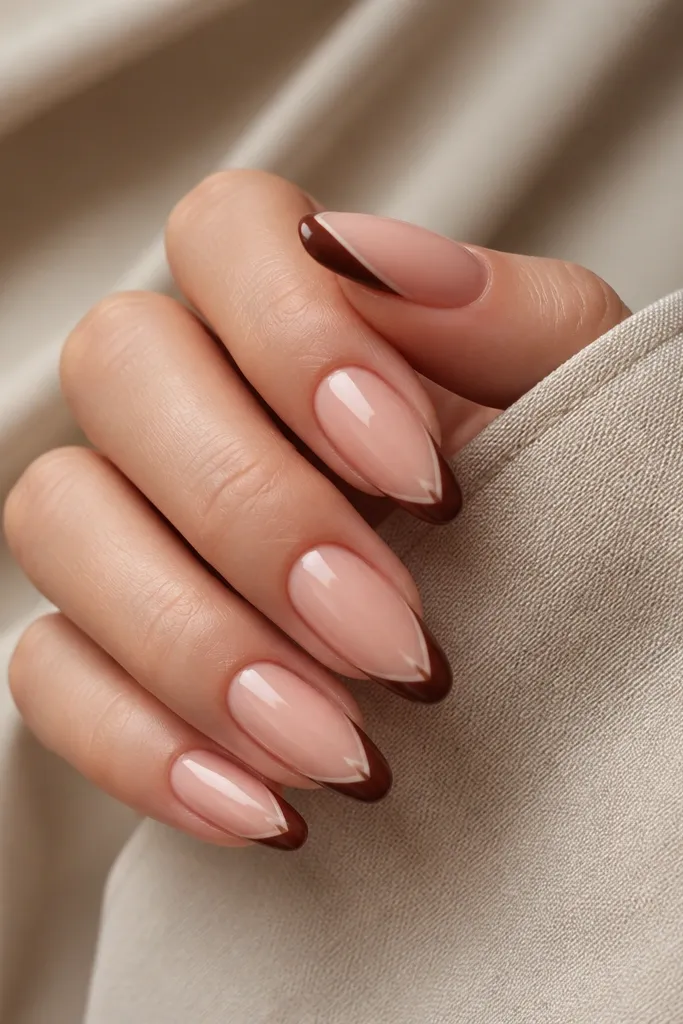
This trick makes the French tip look sharper and more custom. The negative-space V breaks up the brown so it doesn't look like a block at the tip. It also disguises minor unevenness because the V creates a focal point.
Apply a guide to shape the French tip. Paint the brown tip normally, then use a thin strip of tape in a V shape before curing, leaving the center gap. Remove the tape and seal with top coat.
Pro tipMake the V gap narrow - about 1 mm wide at the top - so it still reads like French.
Watch outDon't make the V too wide, or it starts looking like a broken nail design.
9. Two-tone brown French with warm latte stripe
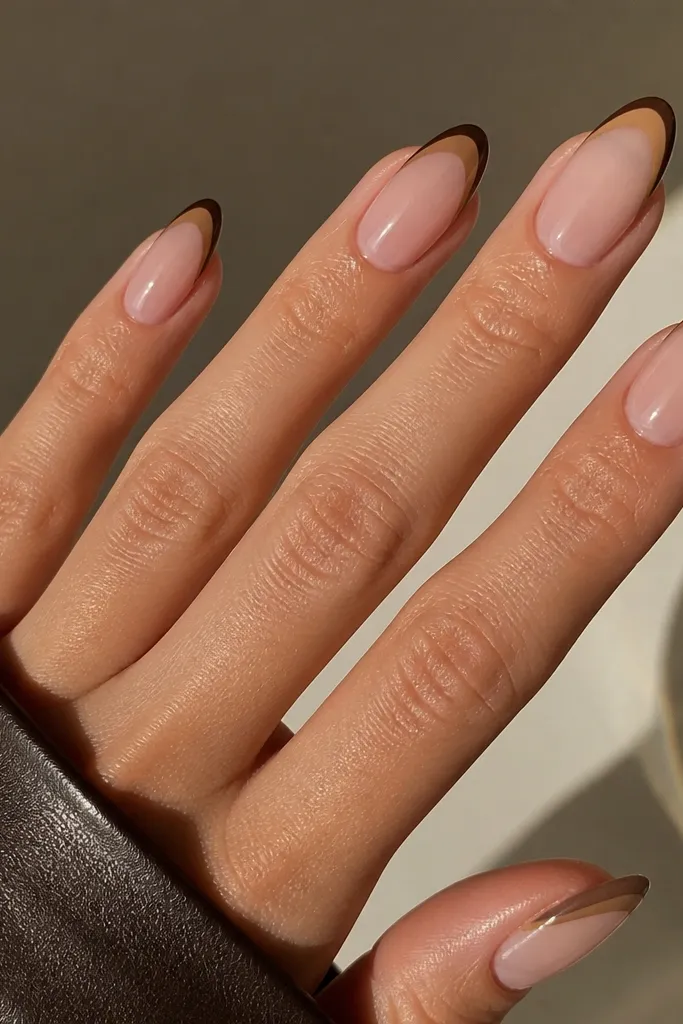
Two-tone French looks fancy but it's still low maintenance because the lines are thin. Using a darker outer border and a lighter inner stripe gives depth without needing extra art. It also helps hide slight brush wobble since the two shades create a crisp structure.
Paint a thin dark chocolate line first with a guide. Then, while it's tacky or after a first cure, paint a latte stripe inside the border using a liner brush. Keep both lines about 1 mm thick so they stay neat on almond taper.
Pro tipUse a steady hand and paint the inner stripe with the brush angled toward the center of the nail, not straight across.
Watch outAvoid using two browns that are too close - the effect disappears.
10. Mushroom brown French with pearl sheen
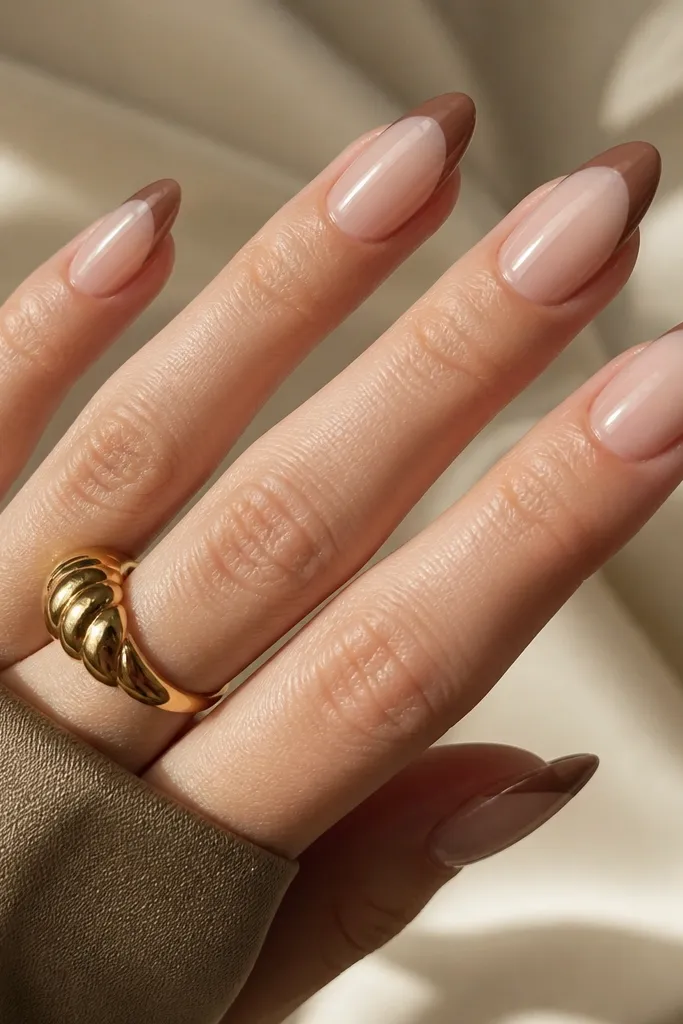
Mushroom brown sits between taupe and chocolate, and it looks good on every skin tone I've tried it on. The pearl sheen makes the tips catch light without glitter fallout. It's the kind of French that looks polished even if you don't do perfect cuticle cleanup.
Choose a brown polish labeled "pearl" or pick a taupe-brown with fine shimmer. Apply a thin French guide and fill the tip lightly. Cure, then top coat over the whole nail so the shimmer looks smooth.
Pro tipUse a slightly thicker top coat on the tips to lock shimmer and reduce texture.
Watch outDon't skip top coat - pearl browns can dry textured.
11. Brown French tips with micro-silver outline
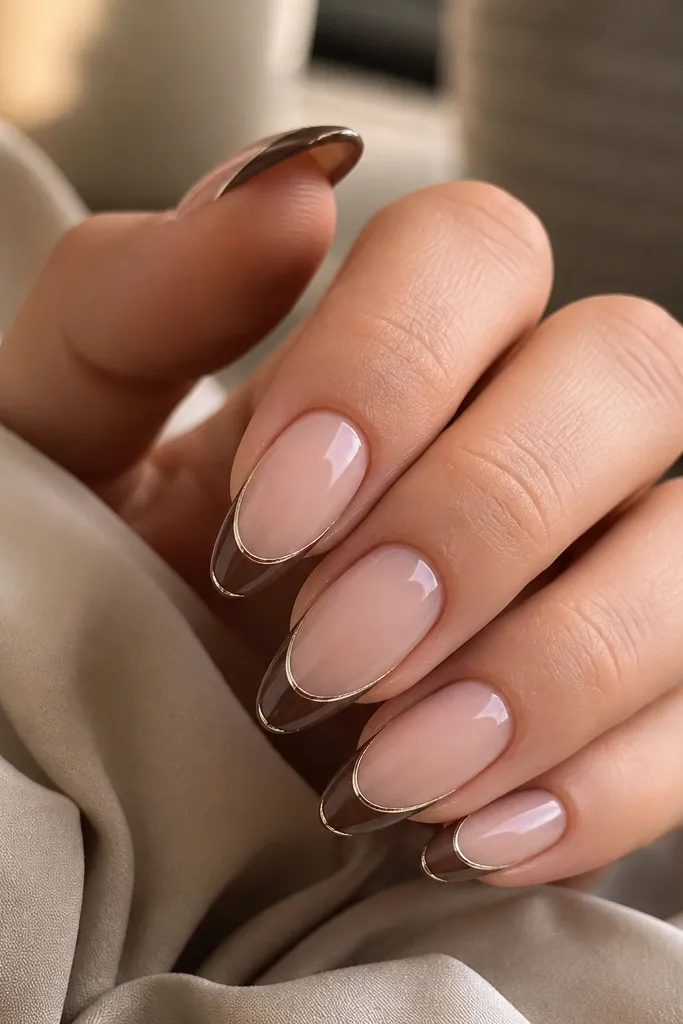
The silver outline makes the French edge look crisp like it's been traced. It also helps your eye see the line even when growth shows. I like it for evenings because silver reflects off the glossy top coat and makes the brown look richer.
Apply your brown French fill first with a guide. After curing, use striping gel or a metallic silver polish with a liner brush to trace the outer edge only. Keep the outline 0.5-1 mm wide so it stays micro.
Pro tipWipe your liner brush on a paper towel once - it should leave a thin line, not a streak.
Watch outDon't outline the inner edge too - that's where it starts looking busy.
12. Chocolate French with a glossy top edge only
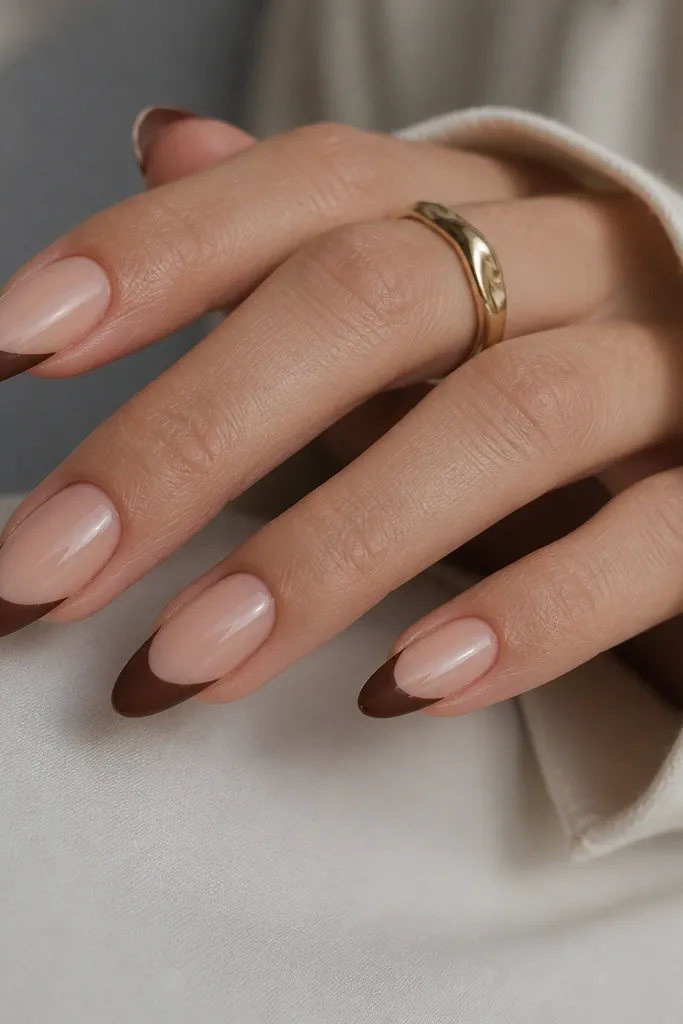
This is the "wear it for weeks" trick. The matte chocolate hides tiny chips, but the glossy edge gives you that fresh-from-the-salon highlight. It looks sharp on almond because the tip edge is narrow and catches light.
Paint and cure your chocolate French tips. Apply matte top coat across the tips, then after curing, paint a super thin glossy strip right at the free edge using a brush. Seal again with matte? No - keep the strip glossy by top coating only over the edge strip.
Pro tipUse tape to mask the strip so you don't accidentally turn the whole tip glossy.
Watch outDon't over-thicken the glossy strip - it should look like a highlight line.