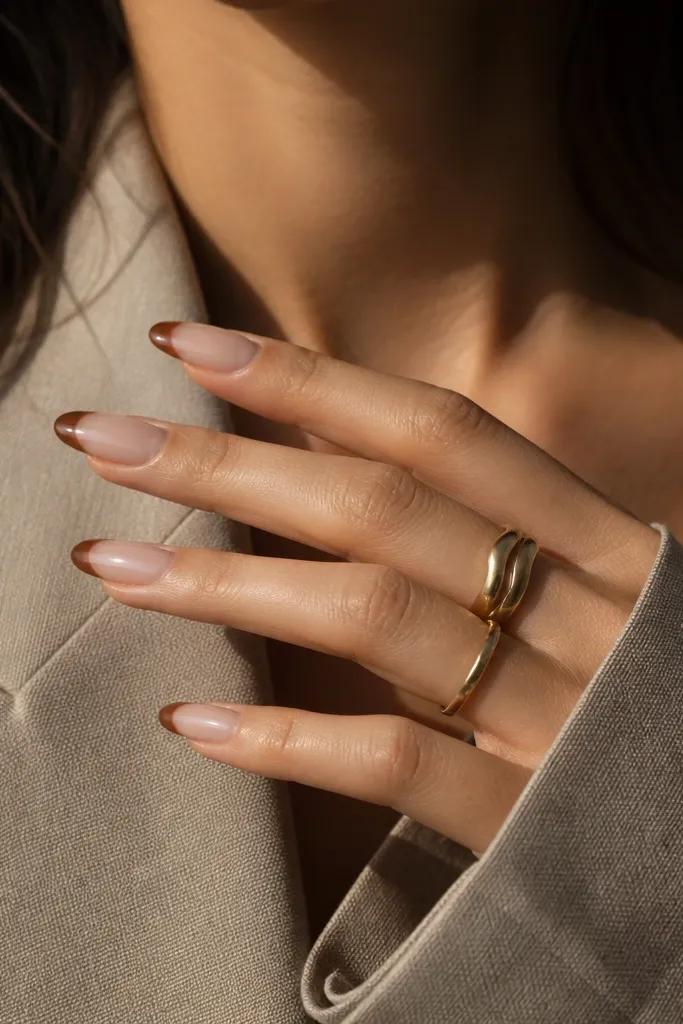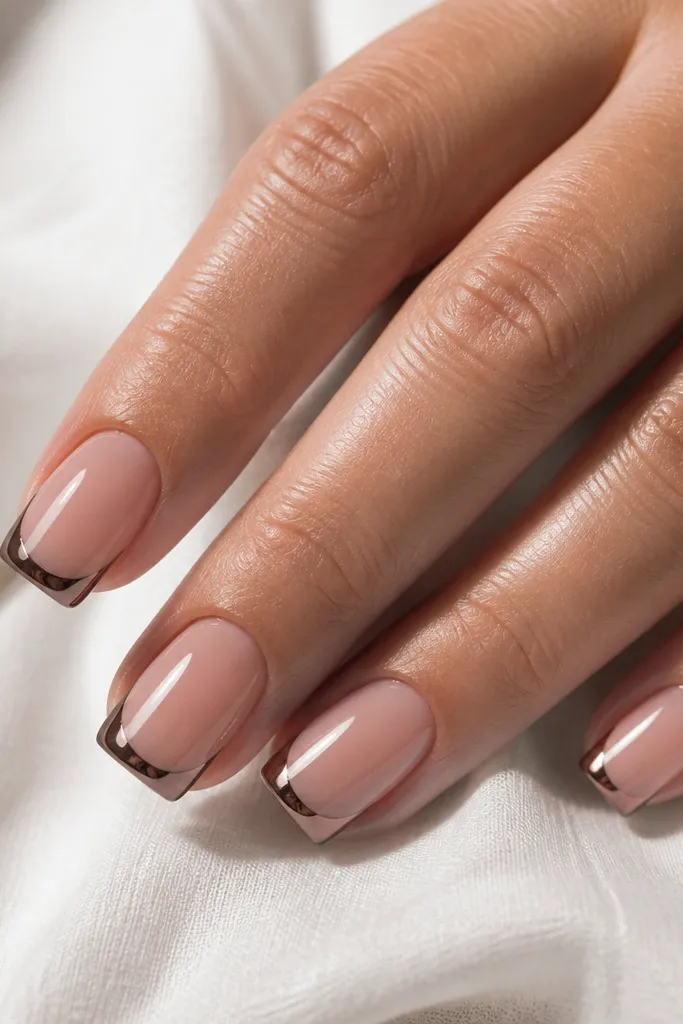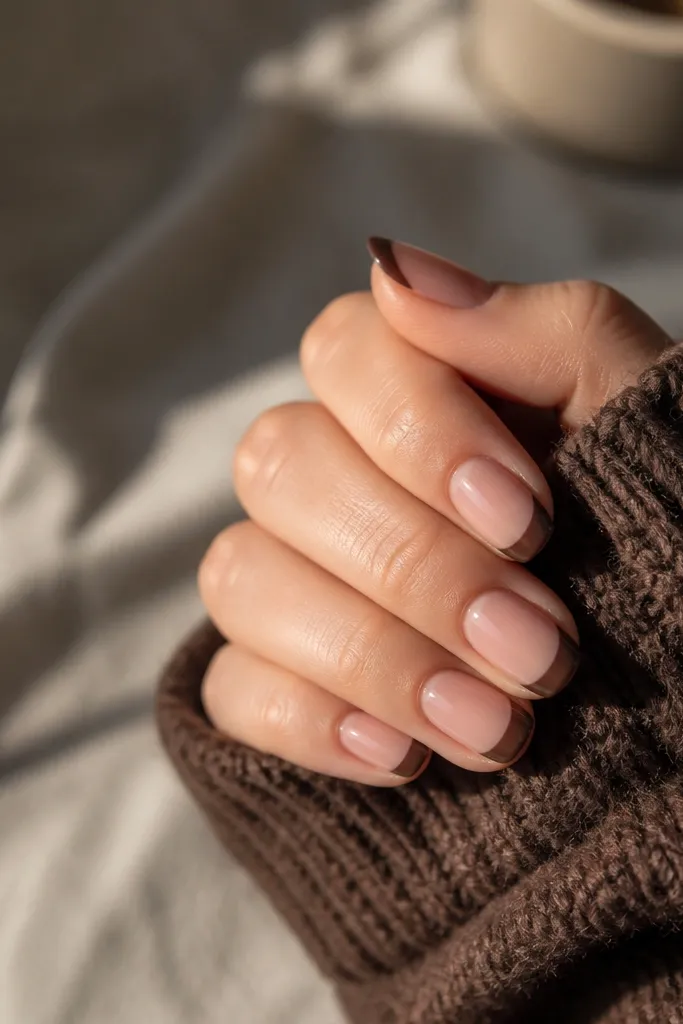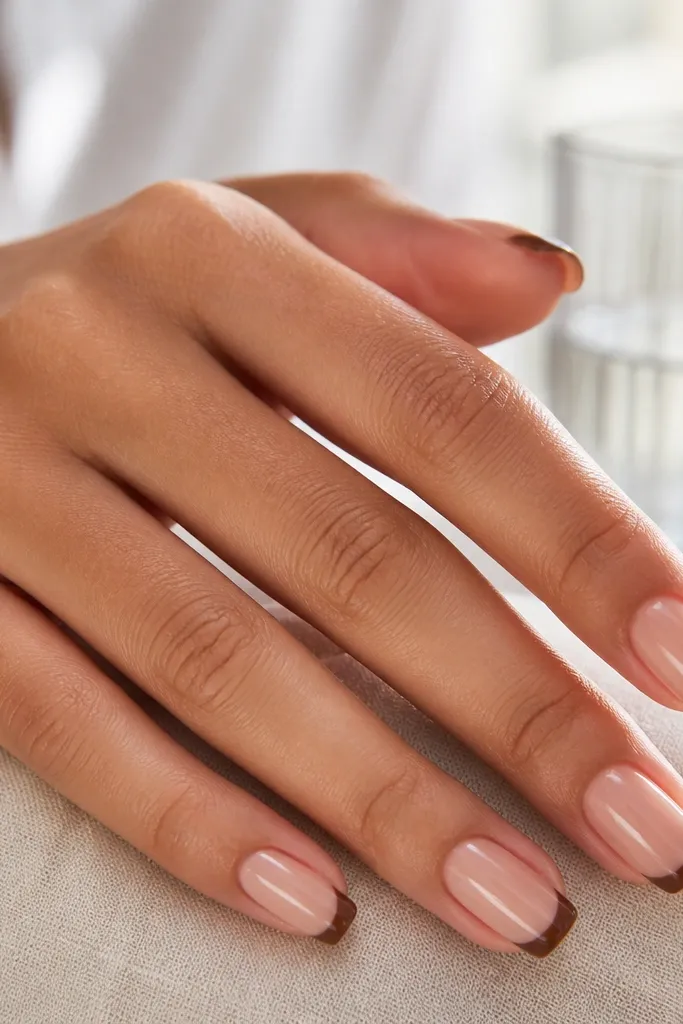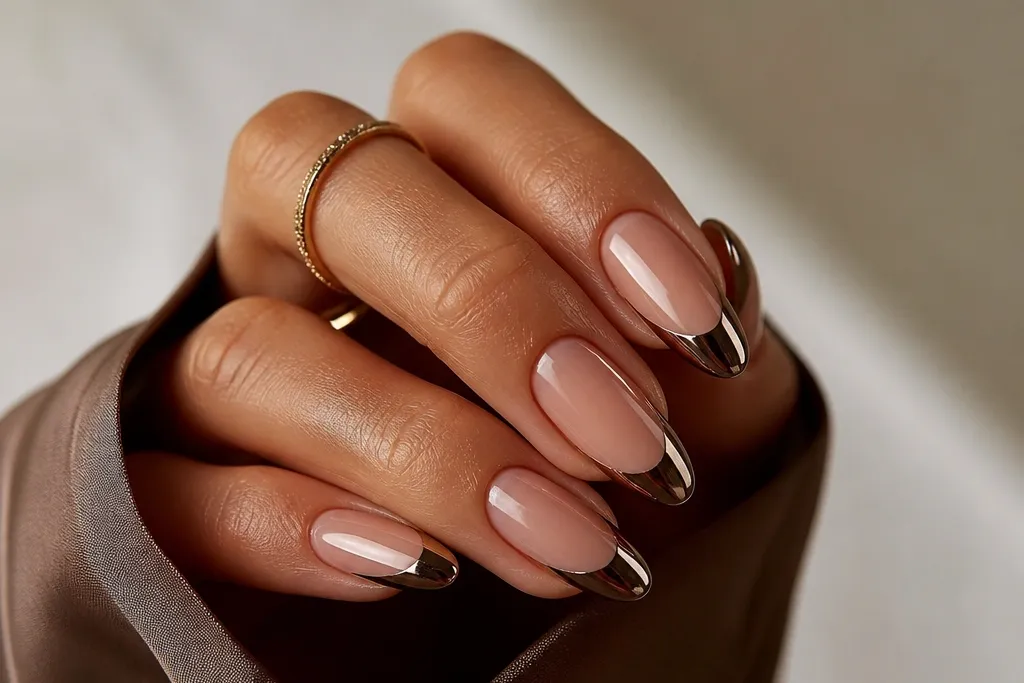
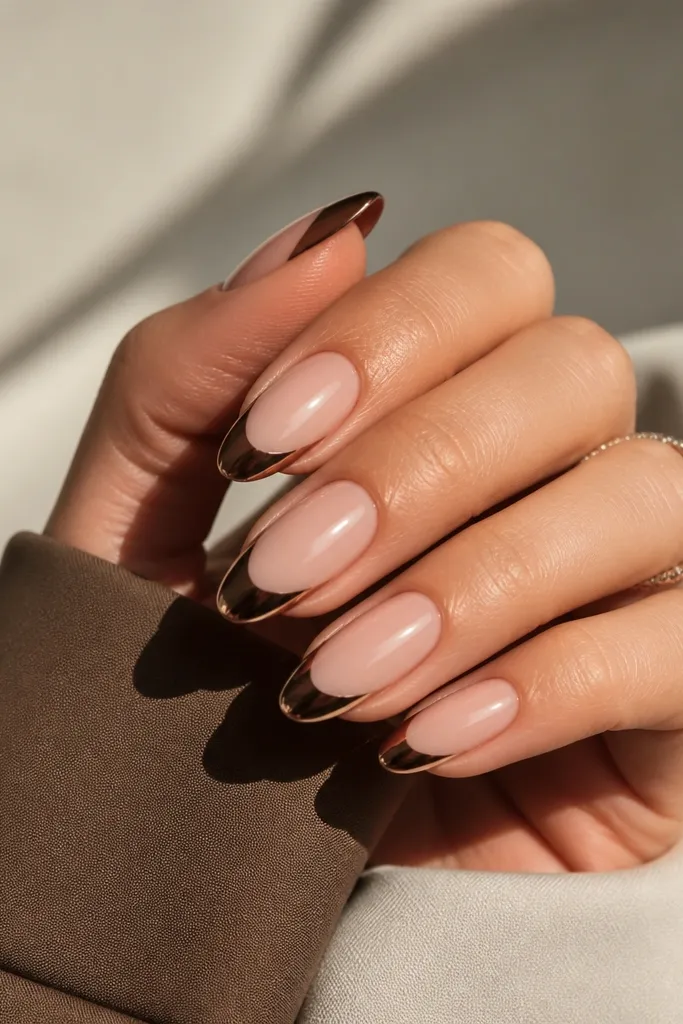
1. Milk-Chocolate French with One-Line Brown Chrome
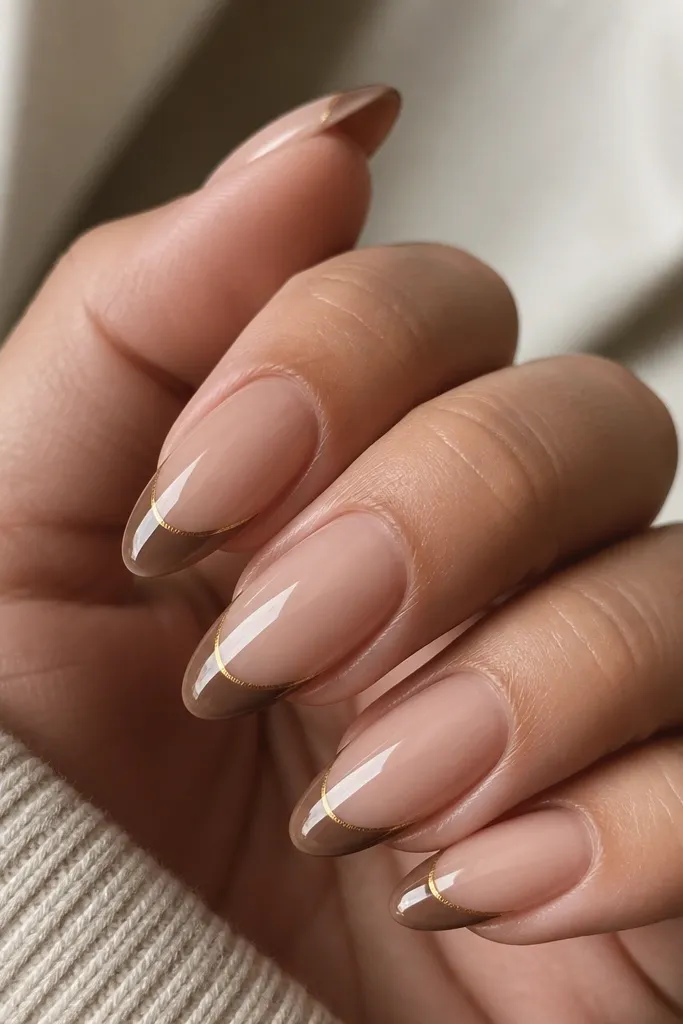
This is the "cozy but expensive" version of French tips. The milk-chocolate base keeps it soft, while the single chrome line gives that jewelry snap when your hand moves. I like it most because it looks polished in daylight and still sparkles in flash photos. The nude base stays clean, so the chrome reads intentional instead of busy.
File almond tips with a slightly longer free edge than you think you need, then keep the smile line narrow. Apply a sheer nude gel base, cure, then paint the brown tip in two thin layers - first to map, second to fully cover. Dust or stamp the brown chrome only on the outer edge line, then seal with a glossy top coat in a slow, single swipe.
Pro tipUse a striping guide (or a thin French stencil) to keep the smile line consistent across all 10 nails.
Watch outAvoid thick chrome that spreads across the brown - it makes the French look heavy and cheap.
2. Espresso Brown Reverse French with Chrome Smile
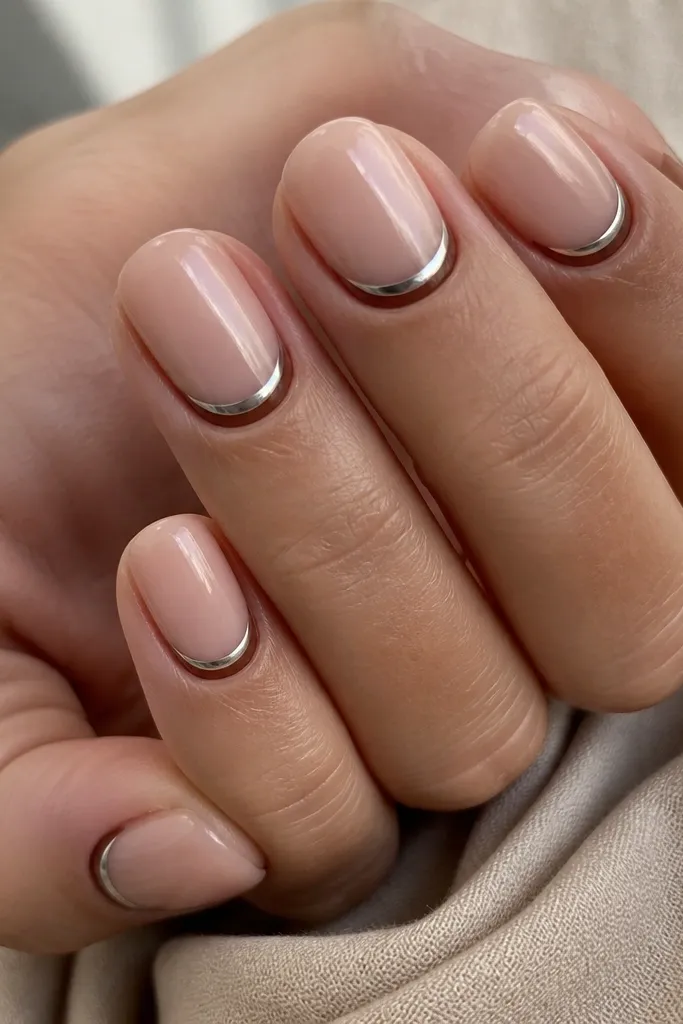
Reverse French looks special because it frames the nail from the inside. Espresso brown gives depth, and the chrome smile lifts the whole look so it doesn't feel flat. I like this for winter because the cuticle area looks neat and flattering even on shorter lengths. The chrome arc also makes fingers look longer.
Push cuticles back, then apply a sheer nude base and cure. Paint the reverse French with espresso brown, keeping it tight to the cuticle curve. For the chrome, apply a thin layer of chrome powder only on the top edge of the brown curve, then seal with a thick, high-shine top coat.
Pro tipWhen painting the reverse curve, use a smaller brush than you think - control beats speed here.
Watch outDon't let brown touch the skin - any smudge under chrome shows instantly.
3. Chocolate Gradient French with Smoky Chrome Fade
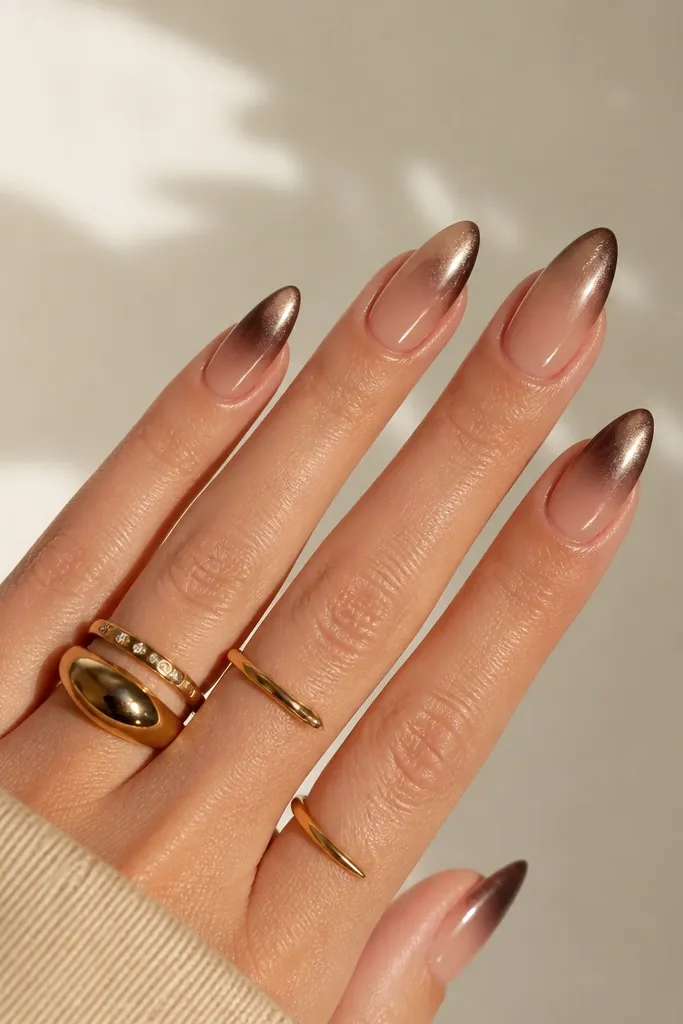
This one looks like you paid for a custom set. The gradient makes the brown feel dimensional, and the smoky chrome fade gives movement as light hits the curve. It's cozy because the brown blends instead of looking like a hard block. The key is keeping the chrome fade soft, not dusty.
Start with a sheer base and cure. Sponge or airbrush (even with a makeup sponge) a chocolate gradient from mid-tip to outer edge. Apply chrome only over the outer third, then buff lightly with a clean applicator so it fades instead of clumps. Seal with top coat that stays clear and glossy.
Pro tipDo the chrome after the gradient is fully cured - it prevents lifting and keeps the fade smooth.
Watch outSkip overworking the chrome once it's stuck; repeated rubbing turns it grainy.
4. Dark Brown French with Copper-Tinted Chrome Edge
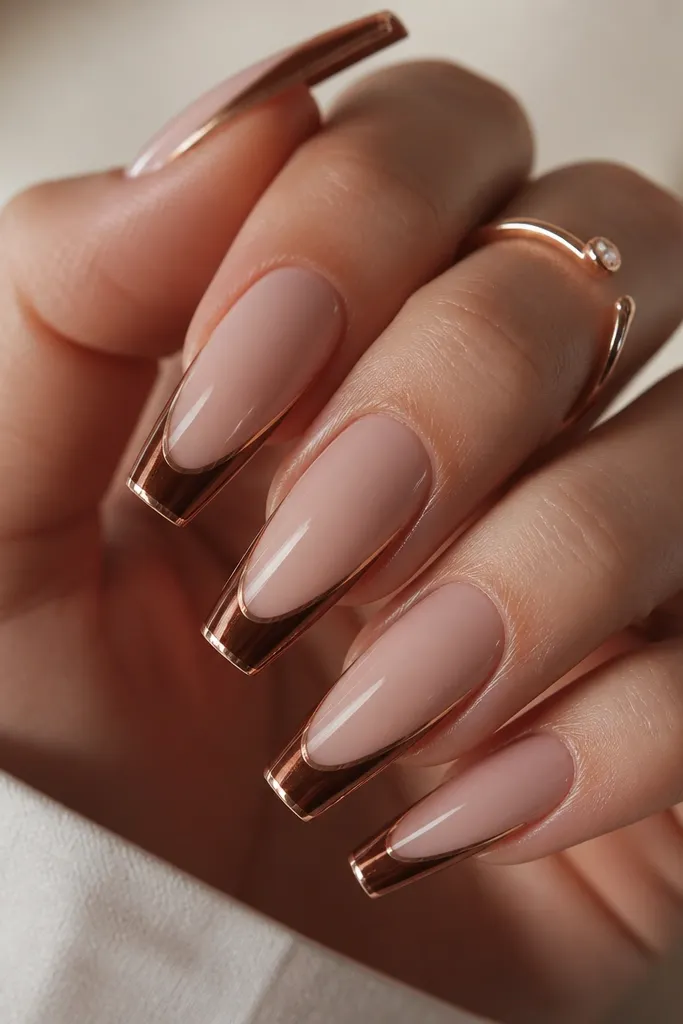
Warm copper-tinted chrome makes chocolate look richer. The contrast is subtle but it reads luxury because it looks like mixed metals - brown and copper instead of one flat shade. I've worn this to dinners where the lighting is low, and the edge still pops. It's also forgiving because the copper tint hides tiny brush imperfections.
Use a deep chocolate gel for the French tip, thin enough that it doesn't thicken the nail. Apply chrome along the outermost edge only - think "frame," not "cap." Cure and then cap the tip with top coat so the edge stays smooth to the touch.
Pro tipIf you're unsure about undertone, pick copper chrome - it flatters both warm and neutral skin tones.
Watch outDon't go too wide with the copper chrome or it turns into a chunky outline.
5. Caramel Nude Base with Chocolate Chrome Half-Moon
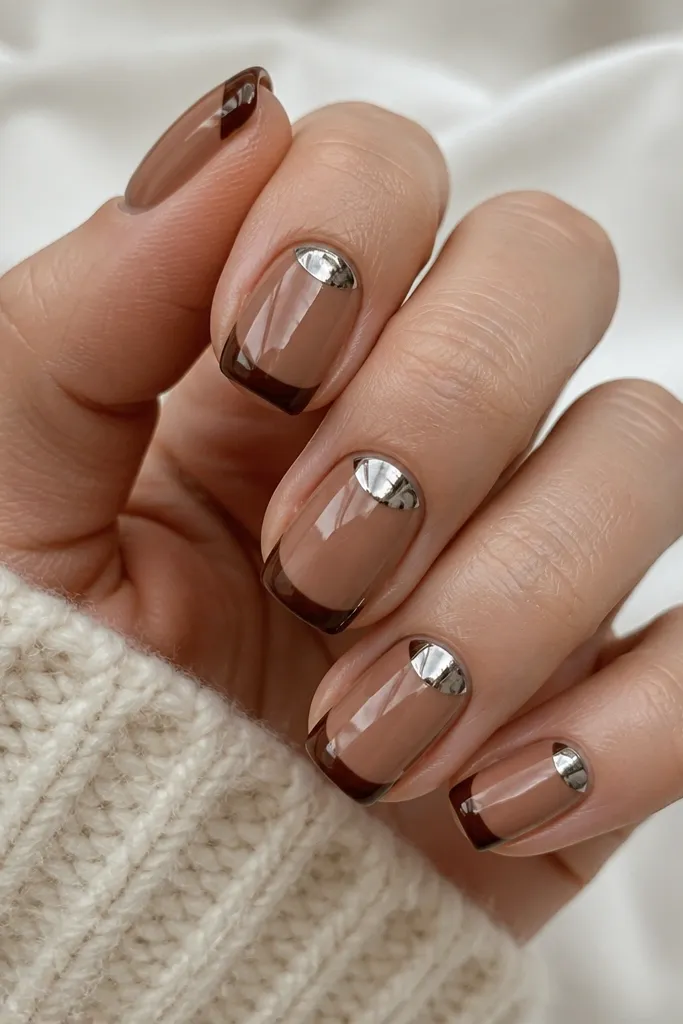
This design breaks the "French only at the tip" rule without losing the French vibe. The chrome half-moon creates a focal point that looks expensive even on shorter nails. Caramel nude makes the chocolate feel warm and cozy, and the chrome stays bright against it. It's a good choice if you want something different but still wearable.
Apply caramel nude base and cure. Paint a narrow chocolate French tip, then place chrome powder or foil in a half-moon centered about 1/3 down from the tip. Seal carefully around the chrome so it doesn't lift at the edges. Keep the French line slim so the half-moon stays the star.
Pro tipUse a dotting tool to place the chrome half-moon edges cleanly before sealing.
Watch outDon't put chrome too close to the cuticle - it can look like a random smear on shorter nails.
6. Chocolate Marble French with Micro Brown Chrome Veins
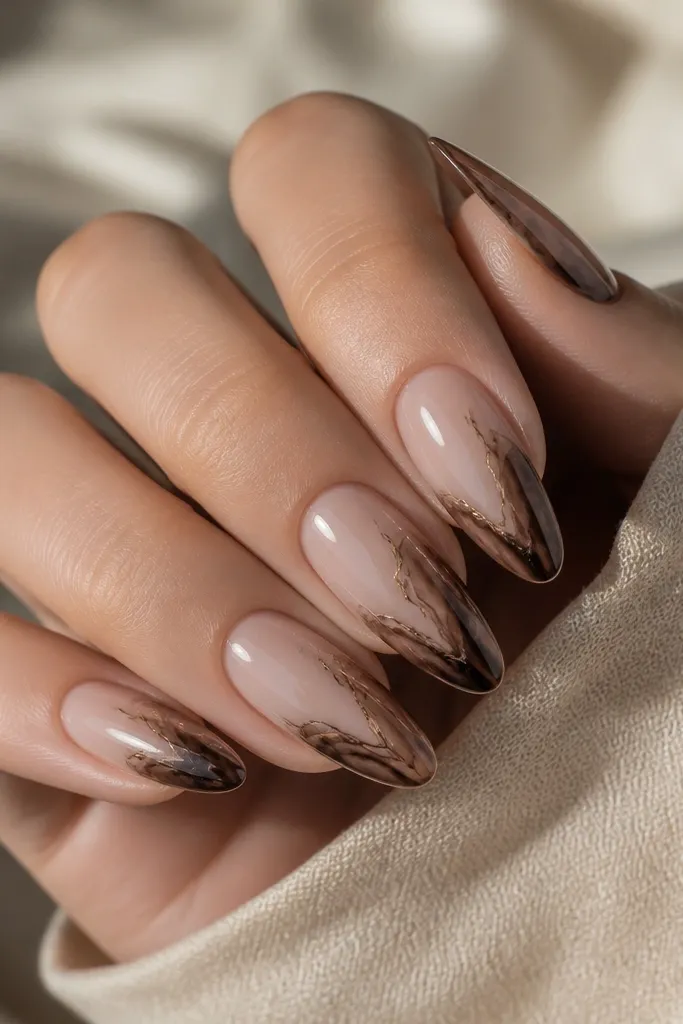
Marble French looks cozy because it feels organic, not geometric. Micro brown chrome veins add the "high end" part without making the nail look like it's covered in glitter. I like concentrating the marble only on the tip so the rest stays clean and easy to wear. The veins also make your hands look more detailed in photos.
Build a narrow French tip first with chocolate gel. Then add marble veining with a thin brush and a darker chocolate shade, pulling wisps downward. Press a tiny amount of brown chrome onto the vein lines only, then seal with a thick top coat. Cure fully between steps so the marble doesn't blur.
Pro tipSwirl the marble with a lighter touch than you think - thin lines look luxury; thick swirls look busy.
Watch outAvoid full-coverage chrome over marble; it kills the marble texture.
7. Chai Latte French with Frosted Brown Chrome Tips
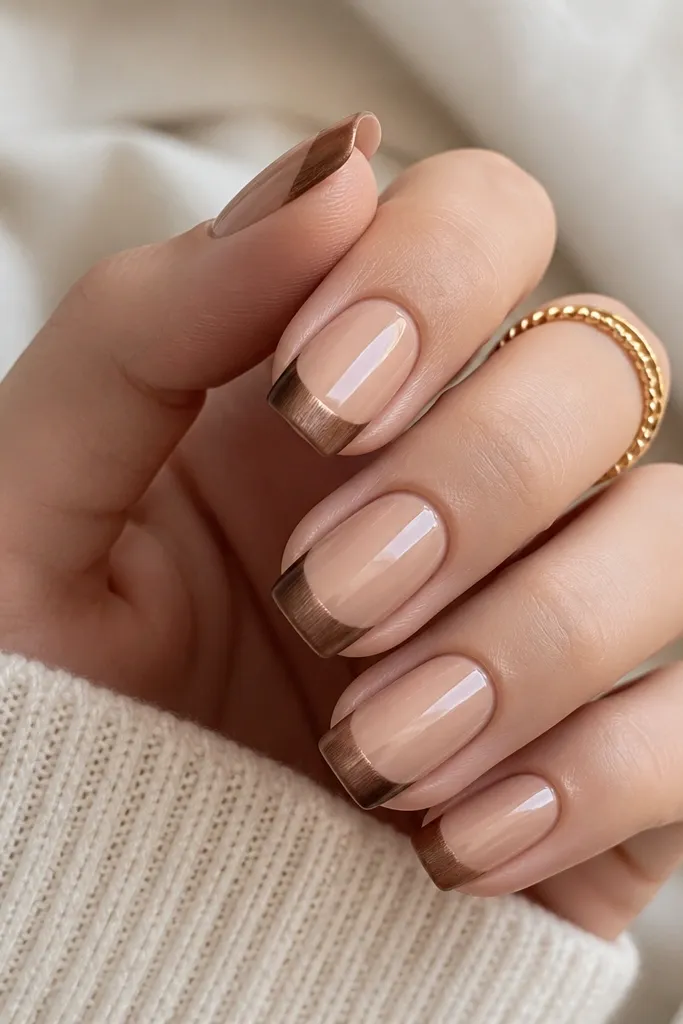
This is cozy without looking sleepy. The chai latte base keeps it warm, and the frosted chrome effect looks like brushed metal under light. It's less flashy than mirror chrome, so it works for workdays and holiday lunches. The trick is using chrome in a way that doesn't fully polish to mirror.
Apply chai latte nude base and cure. Paint the tips in a warm brown gel, then apply chrome powder and press gently instead of buffing hard. Seal with a top coat that keeps the frosted look - two thin coats over the tips, then one full coat overall. Keep the French line narrow so the frosted texture stays refined.
Pro tipPress chrome with a foam applicator - it controls the frost and prevents dust from spreading.
Watch outDon't use mirror chrome if you want frost; it will go too shiny and lose the brushed feel.
8. Deep Cocoa French with Pearl-Studded Chrome Accent
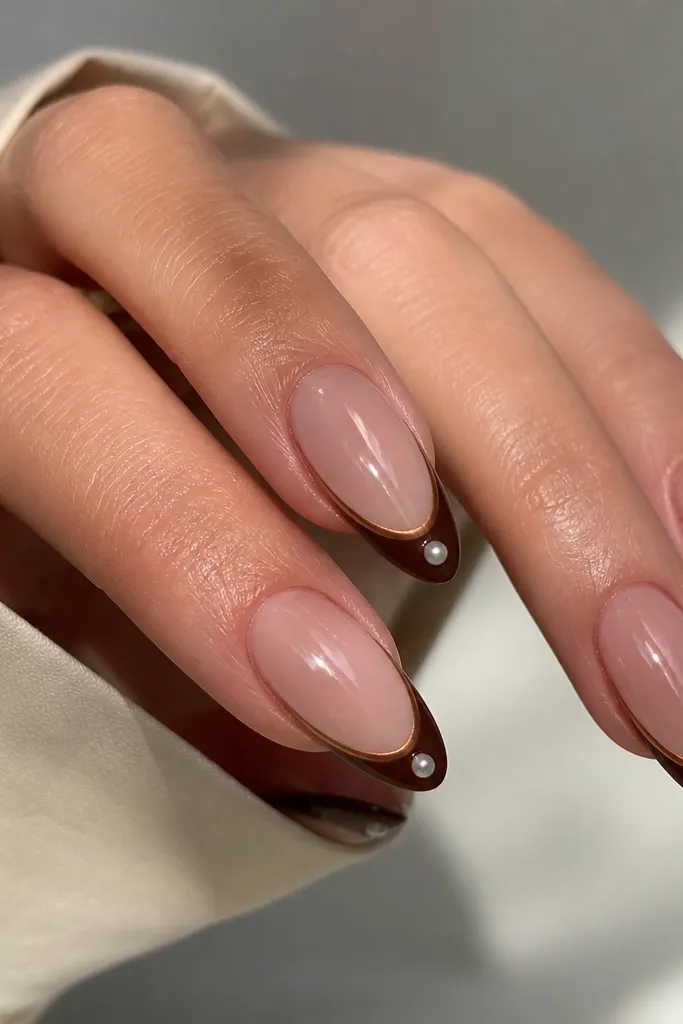
Pearls make brown chrome look like holiday jewelry, not nail art. The pearl sits on the tip where the light hits, so it reads premium. Keep the chrome line thin so the pearl stays the main sparkle. Deep cocoa keeps everything grounded and cozy.
Paint deep cocoa French tips in two thin coats. Apply a thin band of brown chrome only along the outer edge, then place one micro pearl centered on each tip with gel glue. Cure and seal with a top coat that caps the pearl edges so it doesn't snag.
Pro tipUse micro pearls around 1.0-1.3mm so they look like an accent, not a bead collection.
Watch outDon't add pearls on every nail in multiple spots - one pearl per nail is plenty.
9. Chocolate Chrome French with Negative Space Corner Cut
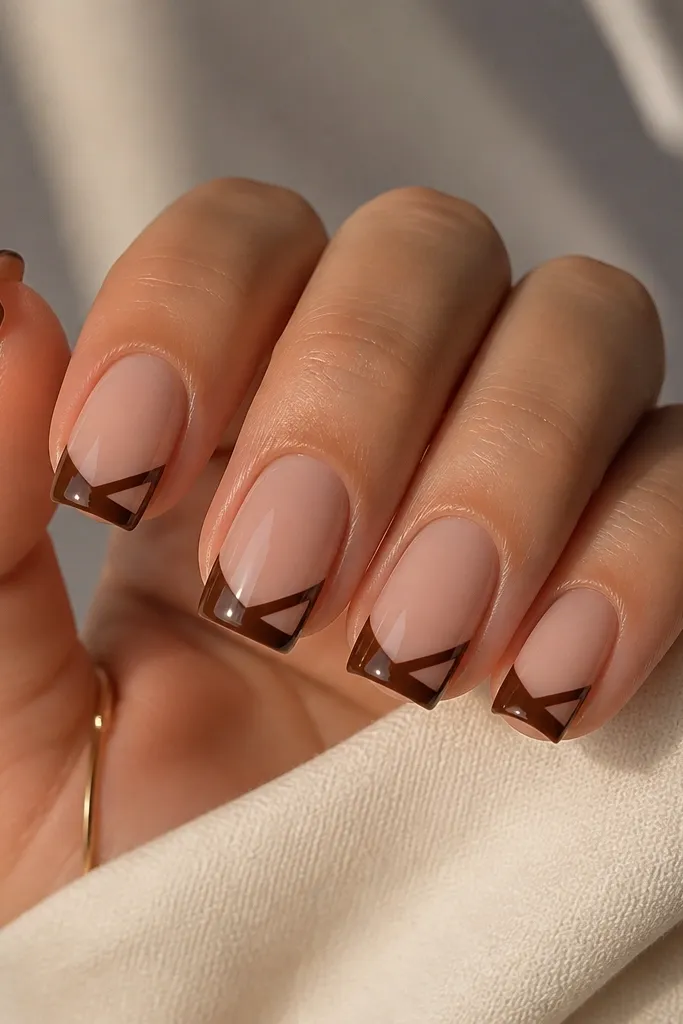
Negative space makes it feel modern and expensive. The tiny corner cut gives the eye a break, so the brown chrome looks intentional instead of heavy. I like this when I want something that feels different from classic French but still reads "French" in photos. The chrome edge ties it together even with the cut-out.
Keep the base sheer nude. Paint a French tip in chocolate brown, but leave a small triangle gap near the outer corner - about the width of a pencil eraser line. Apply chrome along the visible edge of the brown and around the corner so it frames the negative space. Seal carefully so the clear triangle stays clean.
Pro tipUse striping tape to mask the triangle gap before you paint the brown.
Watch outAvoid freehanding the triangle - uneven cuts make the design look like a mistake.
10. Warm Caramel French with Mirror Brown Chrome Crown
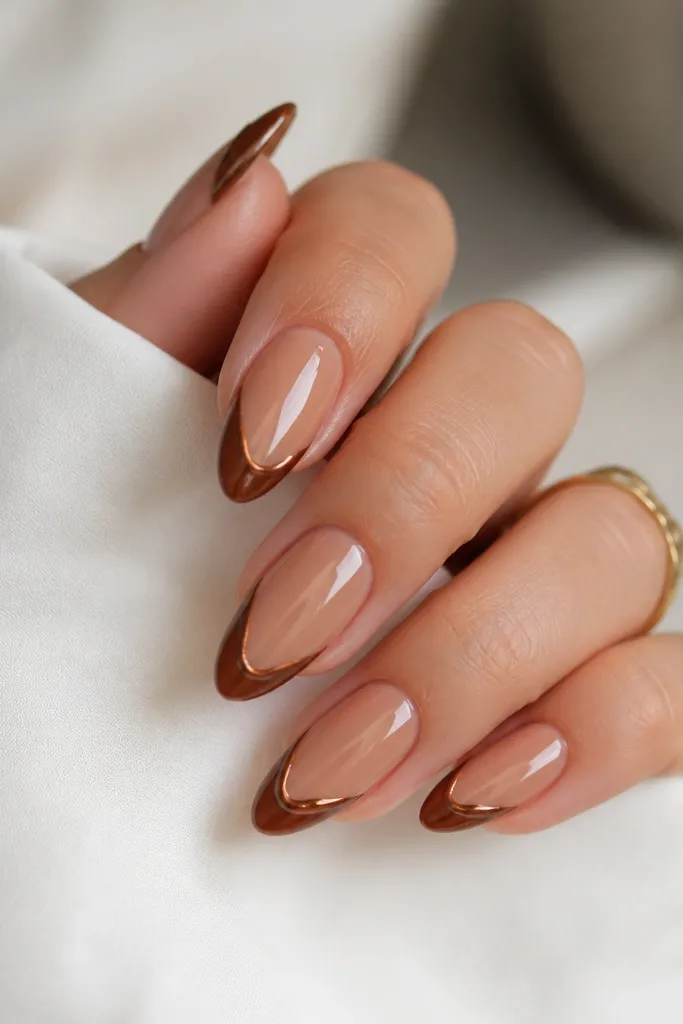
The mirror crown at the center is what makes it feel luxury. Warm caramel French keeps the look cozy and flattering, while the mirror chrome crown adds crisp reflection. It's like putting a tiny tiara on each nail. In flash photos, the crown catches light and looks sharp.
Do a classic French tip in warm caramel-brown, thin and smooth. Add mirror brown chrome only in a centered arc about 1/3 of the tip width. Cure and top coat in two passes so the chrome doesn't dull. The French line stays simple so the crown stands out.
Pro tipSize the chrome crown to match your nail width - too wide and it looks like a patch.
Watch outDon't cover the entire tip with mirror chrome - it stops reading as French.
11. Chocolate Brown French with Faint Satin Chrome Overlay
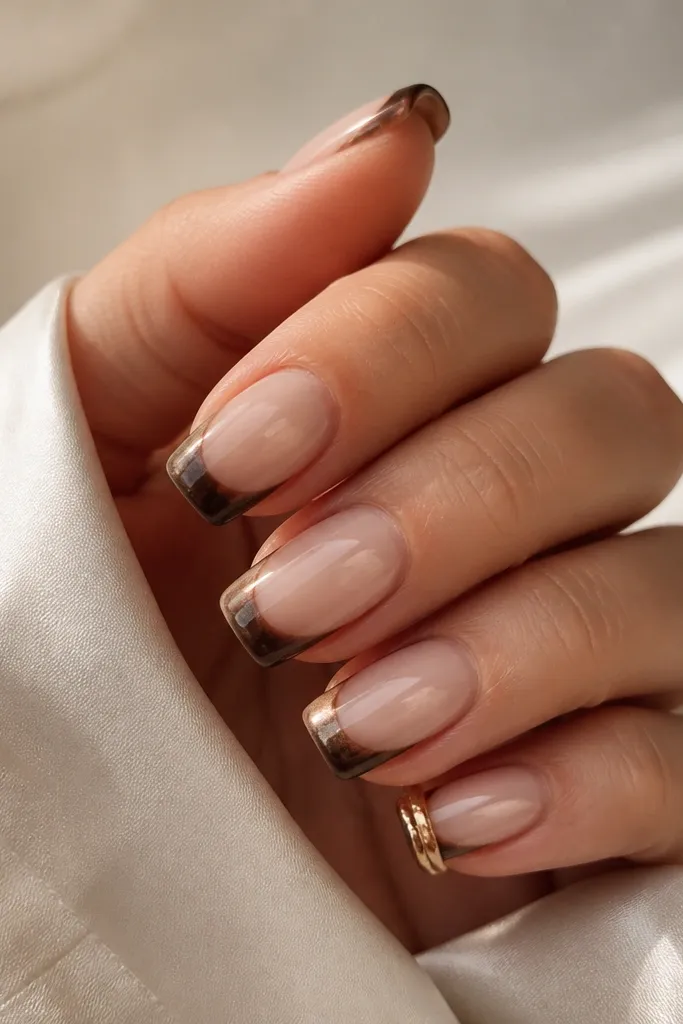
This is for when you want the chrome vibe but not the loud sparkle. The satin overlay gives a "cozy candlelight" effect, especially in indoor lighting. Chocolate brown stays the main color, and the metallic layer just turns it dimensional. It's a great option if you've tried chrome before and hated how loud it looked.
Paint chocolate French tips with full opacity in two thin layers. After curing, apply chrome powder very lightly and press once - no heavy rubbing. Seal with top coat; if your top coat is too thick, it can mute the metallic sheen, so use thin layers. Keep the French line crisp so the satin doesn't look messy.
Pro tipTest the satin intensity on one nail first - press lighter for a softer glow.
Watch outDon't over-apply top coat right after chrome - it can dull the sheen.
12. Cocoa Ombré French with Chrome Cuticle Halo
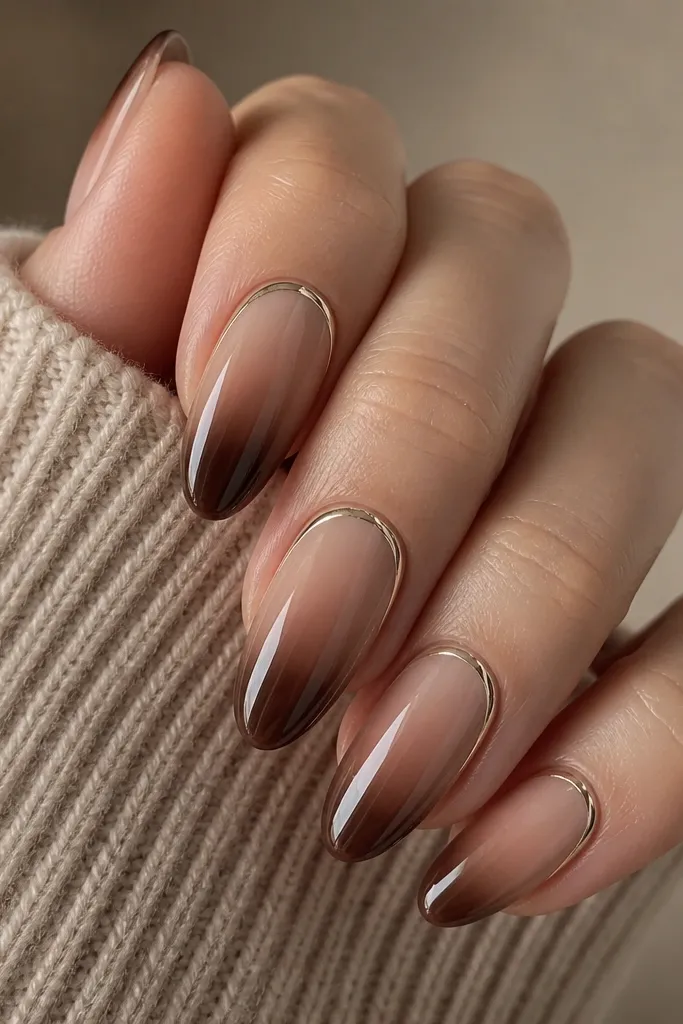
Ombré French gives you that lived-in, expensive softness. The chrome halo at the cuticle makes the whole set look intentional and frames the nail. I like this combo because it balances softness (ombré) with a clean metallic line (halo). It also makes the nail bed look longer.
Create the ombré by blending cocoa gel from mid-nail to the tip, keeping the outer edge slightly darker. Then apply chrome around the cuticle curve in a thin band. Seal with high-shine top coat and cap the tip so the ombré doesn't get rough. Keep the halo narrow so it doesn't look like a grown-out glitter line.
Pro tipUse a small angled brush to place the chrome halo evenly before sealing.
Watch outAvoid a thick halo - it overwhelms the ombré and looks like a sticker.