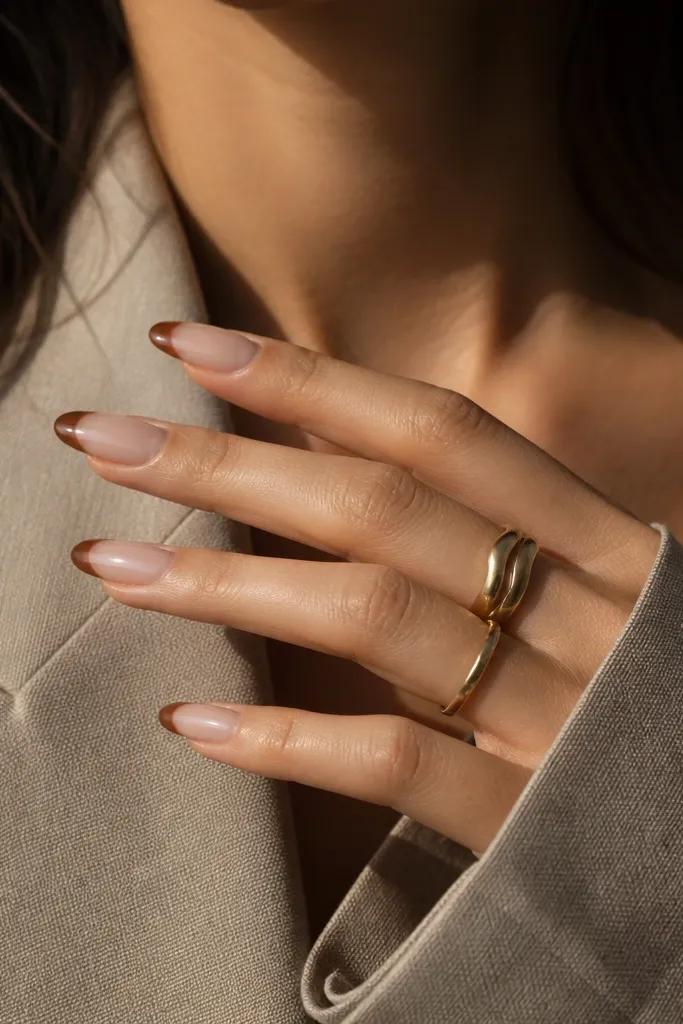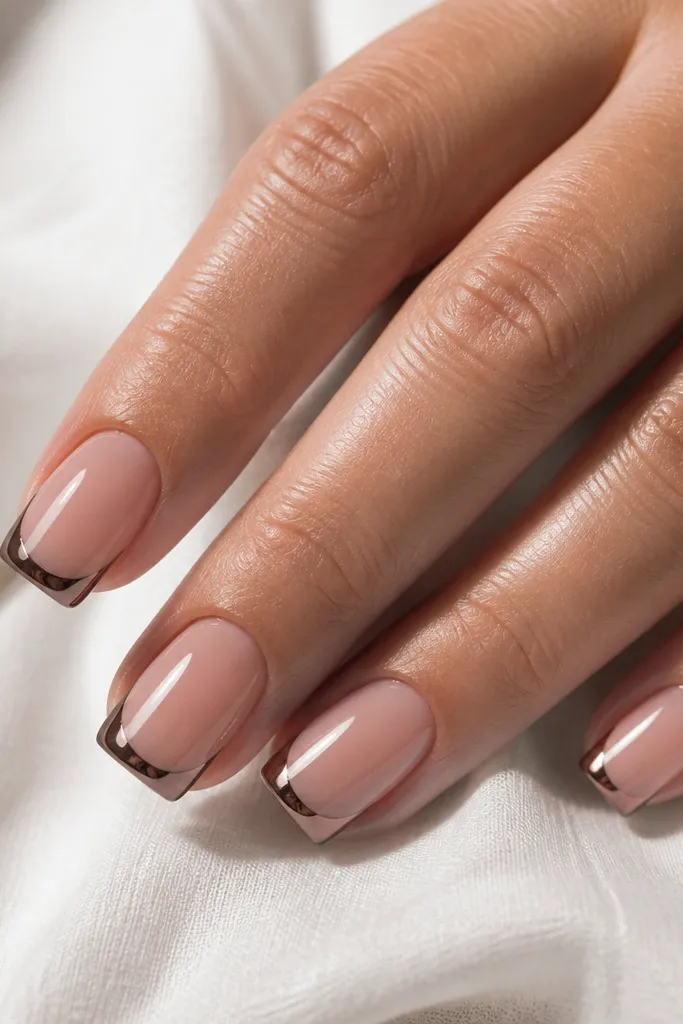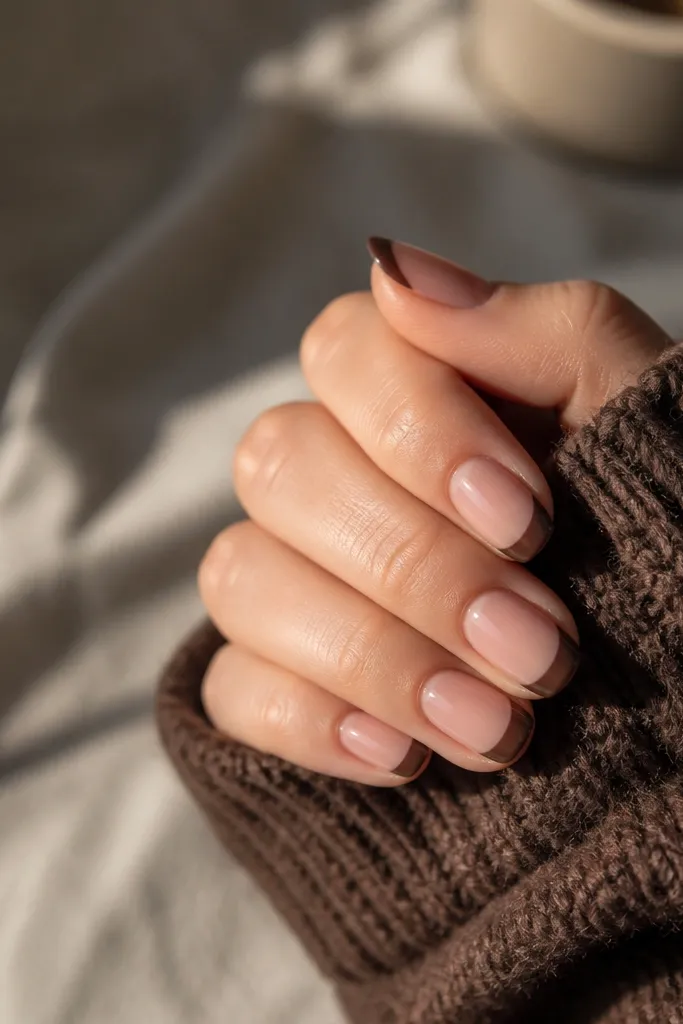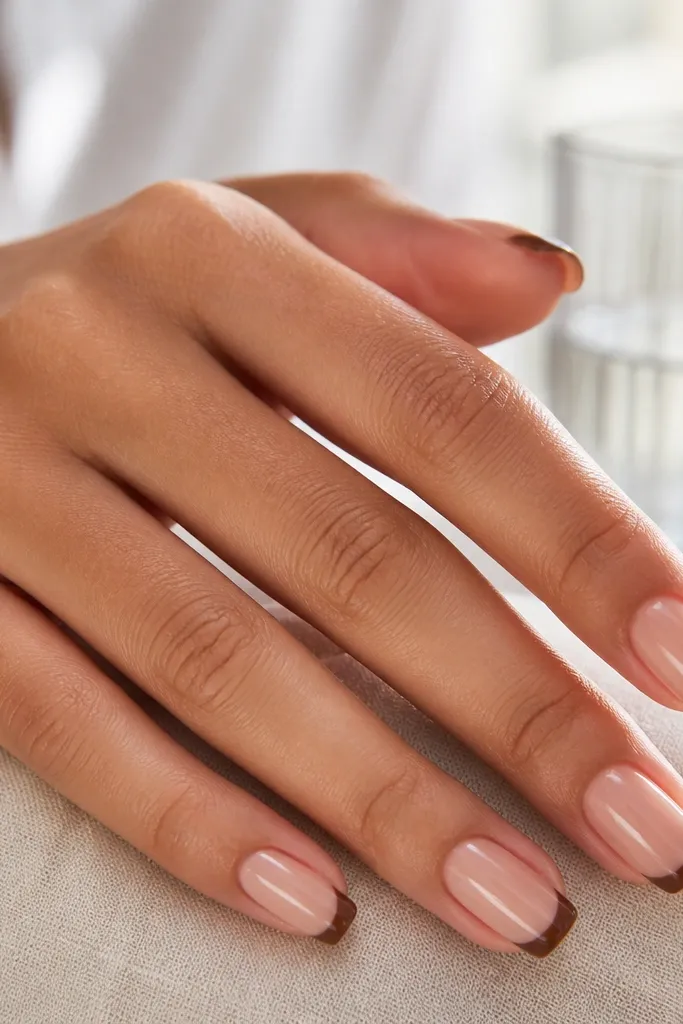
1. Caramel Cream Square French with Clear Sidewalls
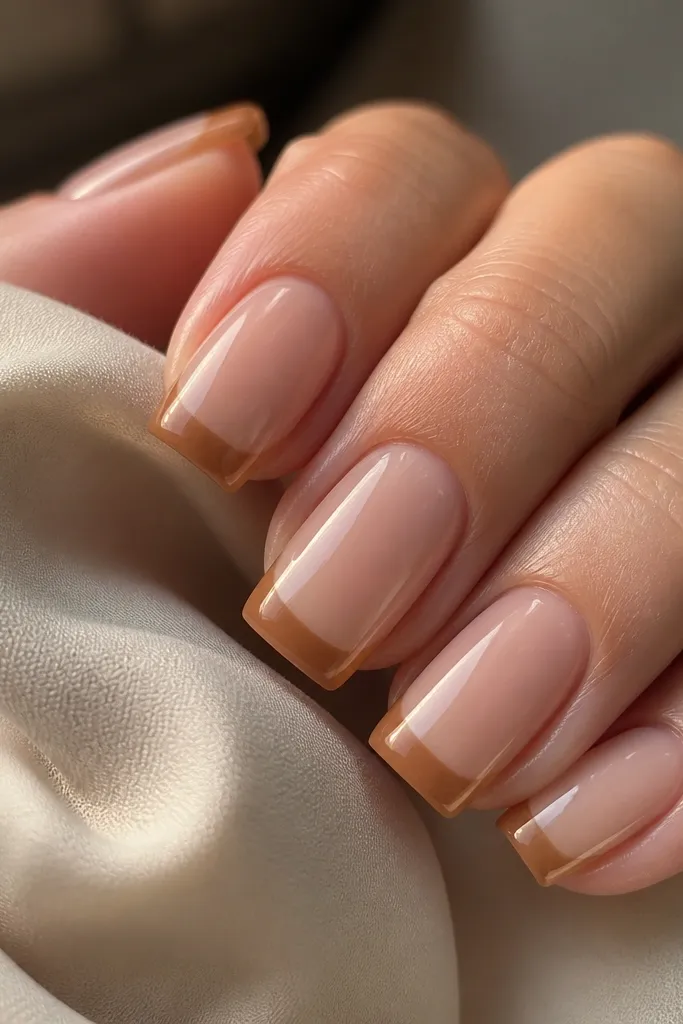
This design uses a sheer nude base so the nail still looks like skin, not a painted slab. The caramel French is opaque enough to cover in one to two strokes, but it stays creamy instead of metallic. Clear, glossy sidewalls make the French look sharper because light catches the borders and your eye reads a crisp edge.
Keep the French line narrow - about 2 mm from the tip edge on a medium square nail. Paint the sidewalls with clear builder gel before your final top coat, then cure. The caramel brown should be a gel color that brushes smoothly, not a watery pigment.
Pro tipAfter you draw the French, run the brush lightly along the side edges for 1 second each, then cure. It locks the line without thickening it.
Watch outDon't let the French bleed into the nude - if it feathers, wipe the brush on a lint-free wipe before the next stroke.
2. Espresso Micro-French with Negative Space Smile
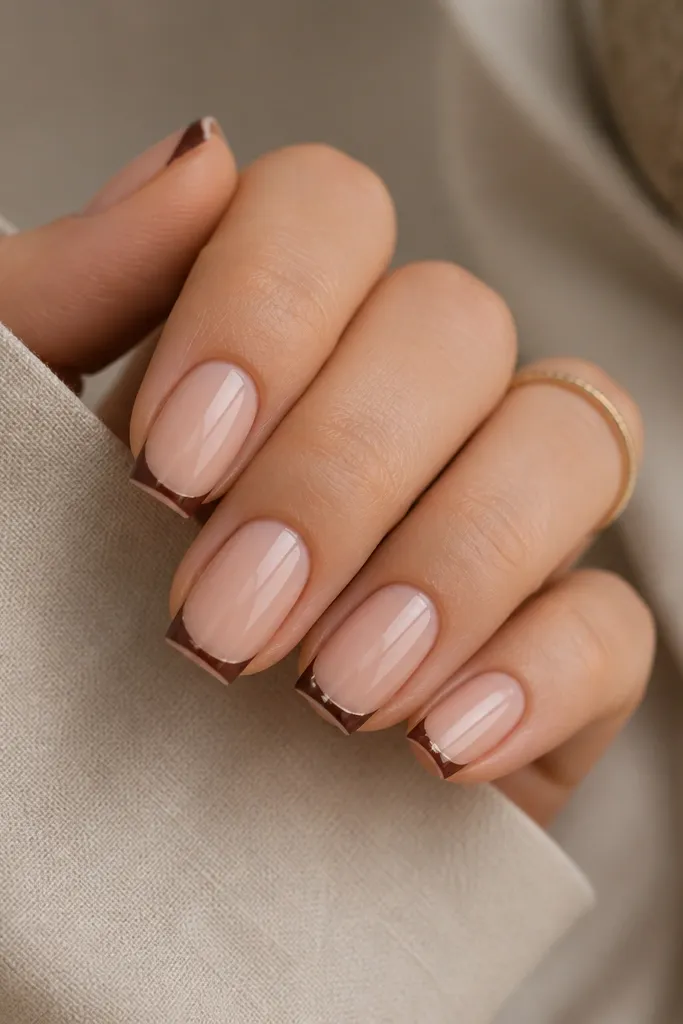
Micro-French makes square nails look neat and grown-up. The espresso color is darker and reads more refined than warm browns. Negative space in the center keeps it airy, so your nails don't look bulky even if your base is glossy.
Use a striping gel or a gel pen for the line and keep it under 1 mm thick. Leave a tiny gap at the center - about the width of a match head - and fill only the side segments with the French. Finish with a thick, even top coat for a glassy surface.
Pro tipUse a light hand and do two thin passes instead of one heavy stroke. It keeps the line straight.
Watch outAvoid trying to cover the line with extra brown; it thickens the tip and makes the negative space disappear.
3. Mocha Marble French Tip Squares
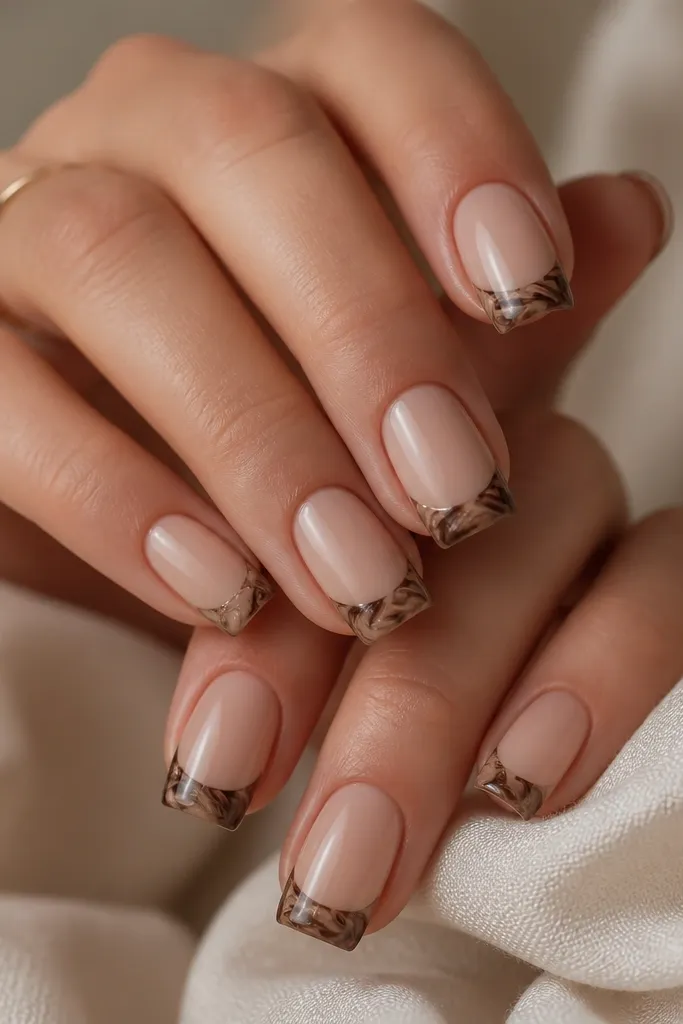
Marble French makes brown look special without adding bling. The trick is using two browns: a dark espresso and a lighter taupe-brown, then blending them while the gel is still workable. When the marble is only on the tip, it stays clean and doesn't clutter the whole nail.
Draw a French outline first, then drag a thin liner brush through the wet brown gel to create veining. Keep the swirls bigger on the side corners and smaller near the center. Cap with a thin clear layer so the marble looks flat and glossy.
Pro tipIf your marble looks muddy, wipe your liner brush and add lighter taupe only at the edges of the swirls.
Watch outDon't marble the entire nail - it makes square nails look busy and harder to match to storage pieces later.
4. Chocolate Gloss French with Matte Nude Base
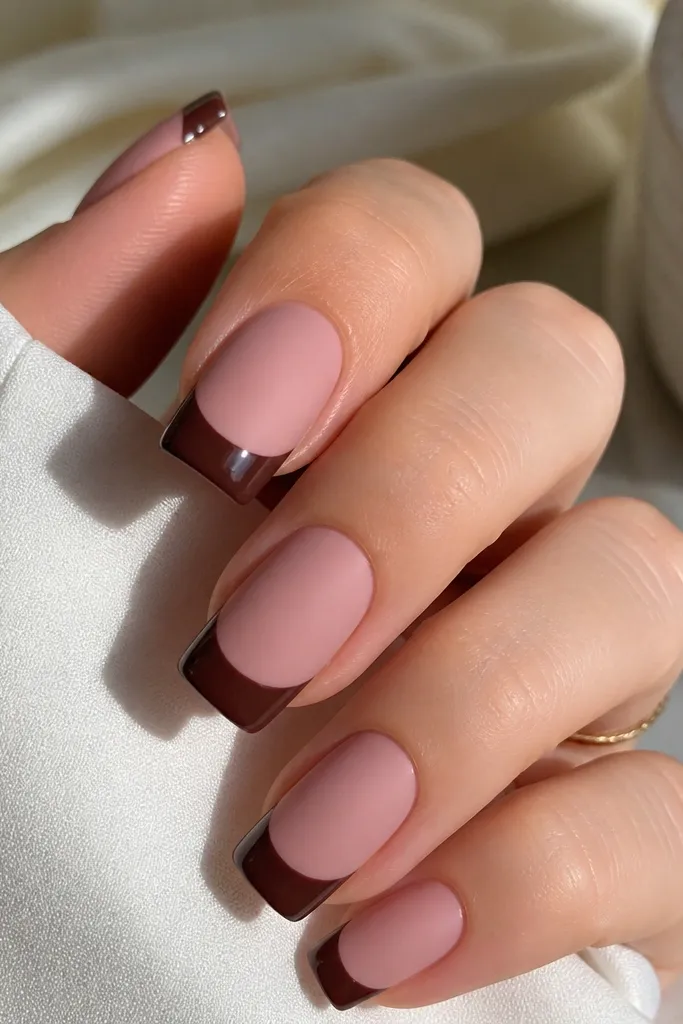
This is a clean contrast design: matte base hides imperfections and reduces glare, while glossy brown makes the tip look polished. Chocolate brown reads rich without needing gold foil. The matte base also makes the French line look extra sharp because there's less reflection behind it.
Apply matte top coat only on the nude base area, then cure. Paint the chocolate French over the matte base and cap with glossy top coat on the tip area. Keep the French width consistent at about 2 mm.
Pro tipUse a small makeup sponge to tap matte over the nude evenly, then cure. It prevents patchy matte streaks.
Watch outDon't put matte top coat over the whole nail after you paint the glossy French - it dulls the tip.
5. Carob Brown French with Gold Foil Edge
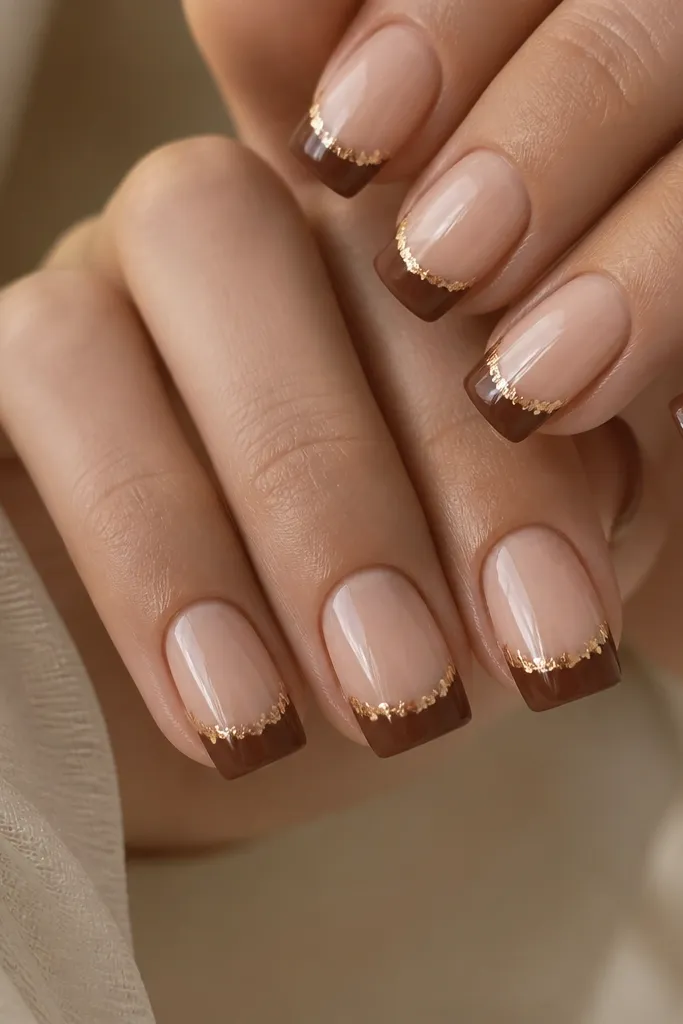
Foil on the edge makes the French look custom-made. Carob brown is lighter and warmer than espresso, so the gold reads bright instead of harsh. The foil placement matters: it should hug the outer corners, not cover the whole tip.
Press small pieces of gold foil along the sidewalls of the French, then seal with a thin clear gel layer. Keep the foil coverage to about 20-30% of the French area. Cure fully so the foil doesn't wrinkle under top coat.
Pro tipUse tweezers and tear foil into tiny triangles. Big chunks look chunky on square nails.
Watch outAvoid applying foil directly to tacky gel without sealing first; it lifts and creates texture.
6. Sienna Fade French Ombre Square Tips
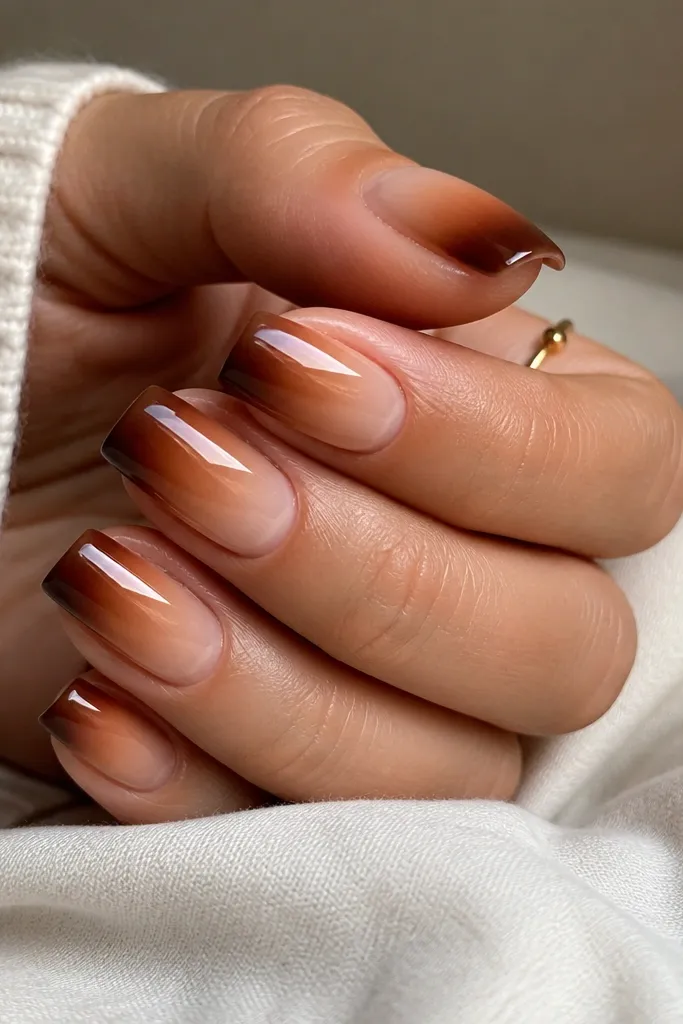
A fade French looks softer and more wearable than a hard stripe. Sienna is forgiving because the gradient hides tiny application bumps. This design also grows out better - the fade blends with the natural nail as it extends.
Use an ombre sponge or a small blending brush. Start with darker sienna at the free edge, then blend upward using fewer passes so the gradient stays smooth. Finish with a glossy top coat to smooth the transition.
Pro tipWipe the sponge lightly on a palette paper between nails so each nail has the same fade strength.
Watch outDon't blend too high - if the ombre climbs past the smile line, square nails look wider than they are.
7. Cocoa Dot French Corner Accents
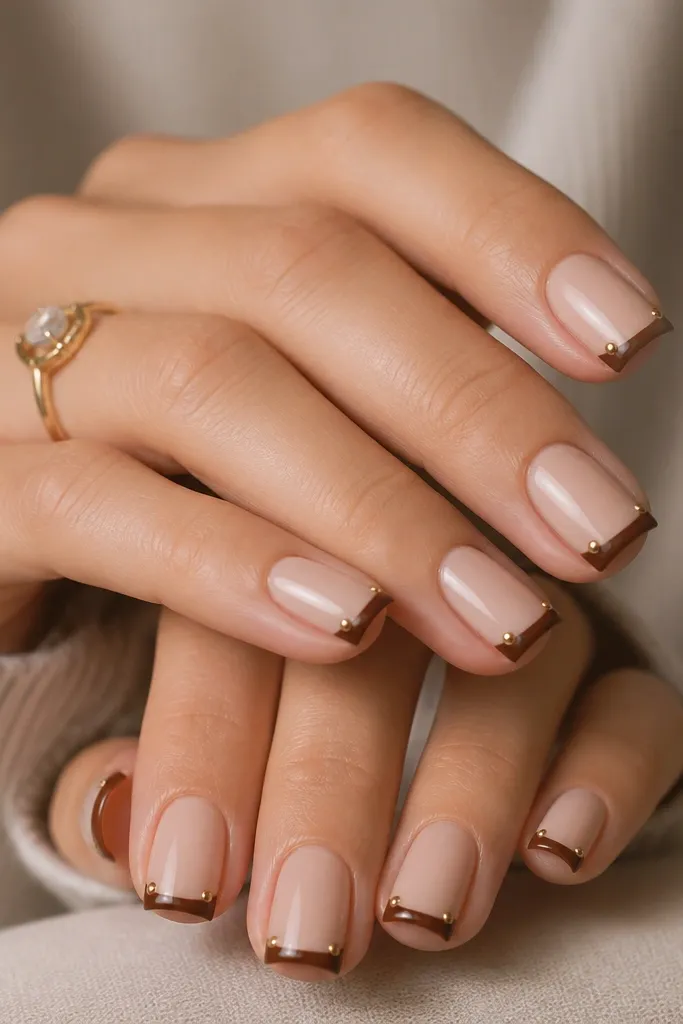
Dot corners keep it fun without adding full dots across the tip. Cocoa brown is dark enough to read bold, and the dots add a subtle graphic feel. The design looks intentional because the dots align with the corners of the square shape.
Paint a standard French stripe first. Then place one dot near each corner of the French using a dotting tool sized to about 0.8-1 mm tip. Seal with top coat so the dots look smooth, not raised.
Pro tipIf your dots smear, let the French cure fully before dotting. Tacky gel makes dots slide.
Watch outDon't use silver chrome as the dots unless your brown is very warm; cool browns clash with icy tones.
8. Rust Brown French with Thin Rose Line
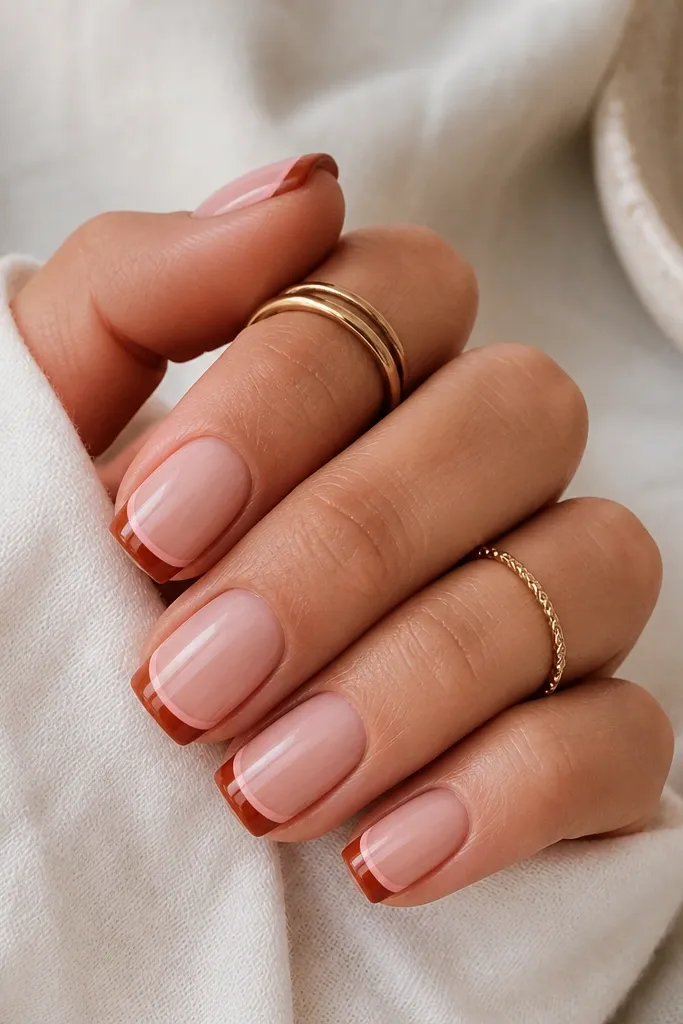
A thin rose line adds dimension and keeps the look from feeling flat. Rust brown has orange warmth, so rose-pink looks like it belongs rather than looking random. This works especially well if you like brown but want it to look more "fresh" than basic French.
Paint the rust French first and cure. Then draw a second line about 0.5 mm inside the brown edge using a gel liner brush. Keep the rose line straight and consistent across nails.
Pro tipDo the rose line in one controlled stroke per nail. Multiple strokes create uneven thickness.
Watch outAvoid thick double lines - they turn into a border instead of a refined accent.
9. Warm Taupe French with Glossy Checker Base
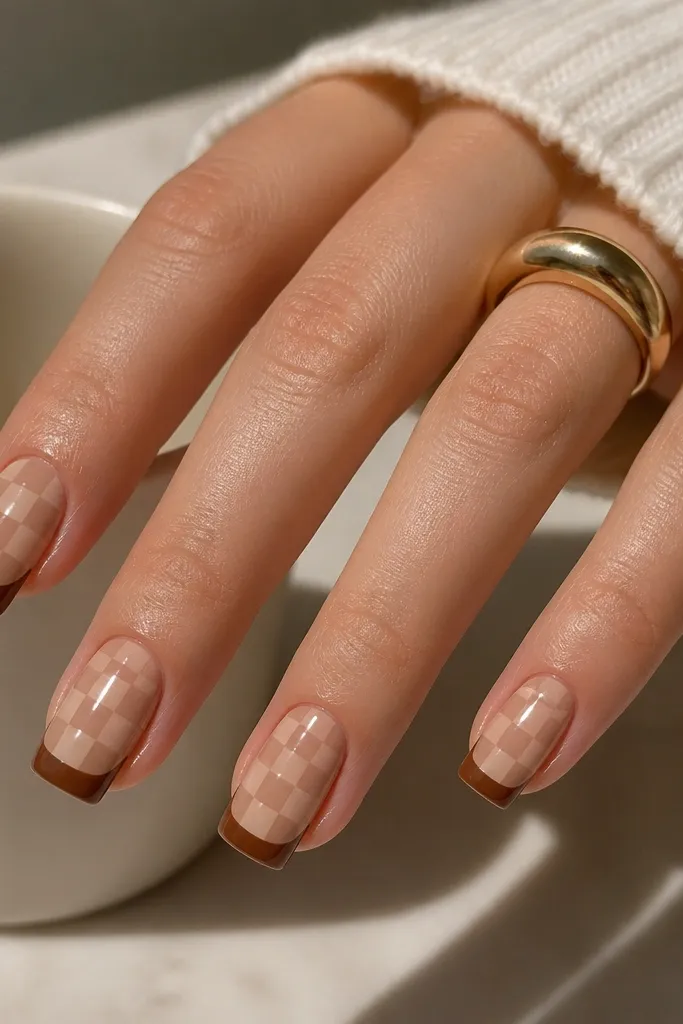
This design plays with texture without using glitter. The checker base adds movement under the light, while the solid French tip anchors the look. Warm taupe and nude make the brown French feel less harsh than on a flat pink base.
Create the checker pattern with two thin gel colors using a striping brush. Keep squares tiny, around 1-1.5 mm. Cure, then paint the warm brown French stripe on the free edge.
Pro tipUse a top coat with good self-leveling so the checker pattern doesn't look bumpy.
Watch outDon't make the checker squares too big; it competes with the French line on square nails.
10. Espresso French with Micro Rhinestone Row
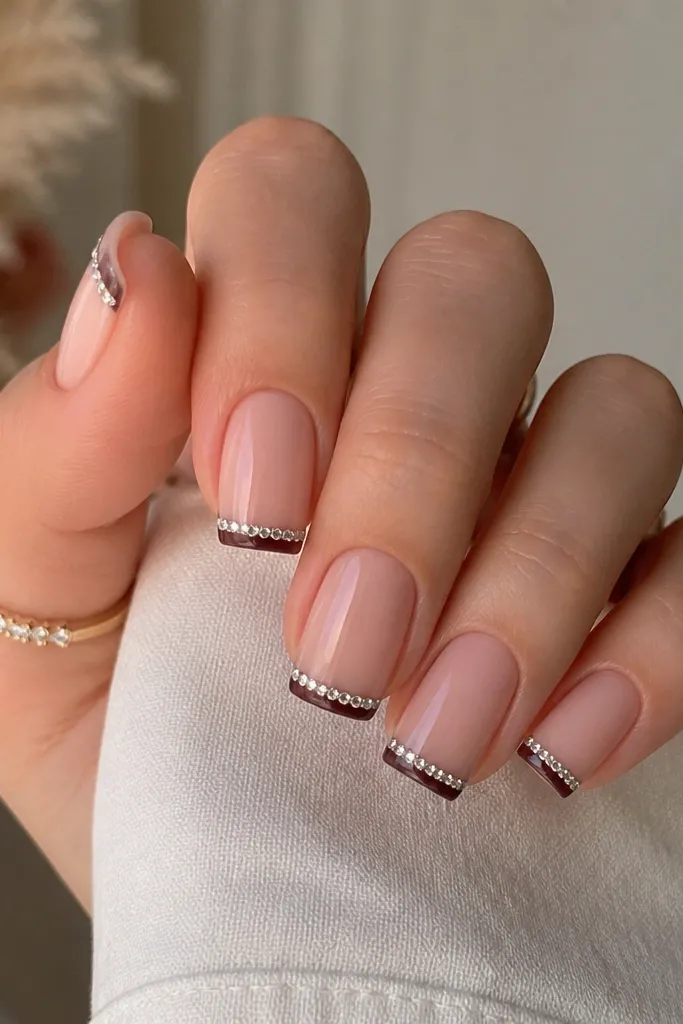
A micro rhinestone row turns a simple brown French into something you can wear out. Espresso is dark enough that the rhinestones look crisp, not muted. The line stays elegant because the stones are small and aligned.
Paint the espresso line first and cure. Place rhinestones only along the center of the French, or spread them evenly across the width. Seal with a clear gel that covers the stones without flooding the nail bed.
Pro tipCap each rhinestone with a tiny dot of clear gel directly on top before your final top coat.
Watch outAvoid big stones on square nails - they look heavy and make the tip look thicker than your natural nail.
11. Mocha Nude Base with Brown French Half-Moon Cutout
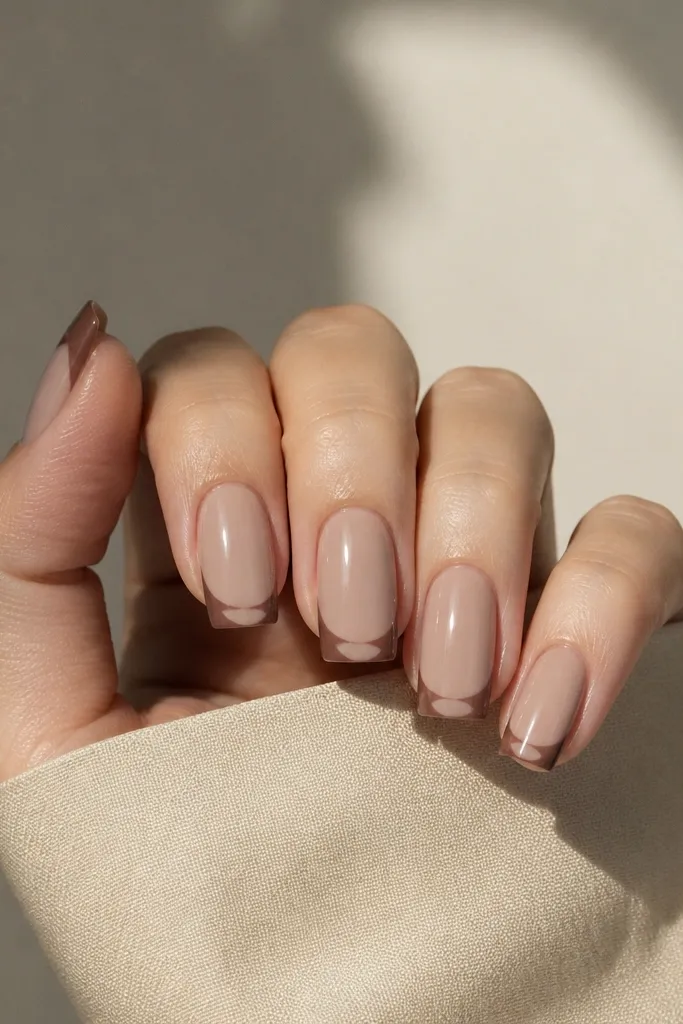
The half-moon cutout makes the French feel graphic and modern. It also solves a common French issue: the center of square nails often looks crowded. Leaving a crescent gap gives the design breathing room while keeping the brown line clean.
Draw a full French outline first, then erase the center by removing gel with a clean brush and wipe before curing. If you're using gel, you can also paint a nude micro-arc in the center before you cure the brown so the gap stays crisp. Finish with a high-gloss top coat.
Pro tipUse a thin liner brush and draw the crescent gap from one side corner toward the center so the curve stays even.
Watch outDon't hand-cut the gap after curing. It leaves jagged edges that look messy.
12. Chestnut Brown French with Faux Tortoiseshell Specks
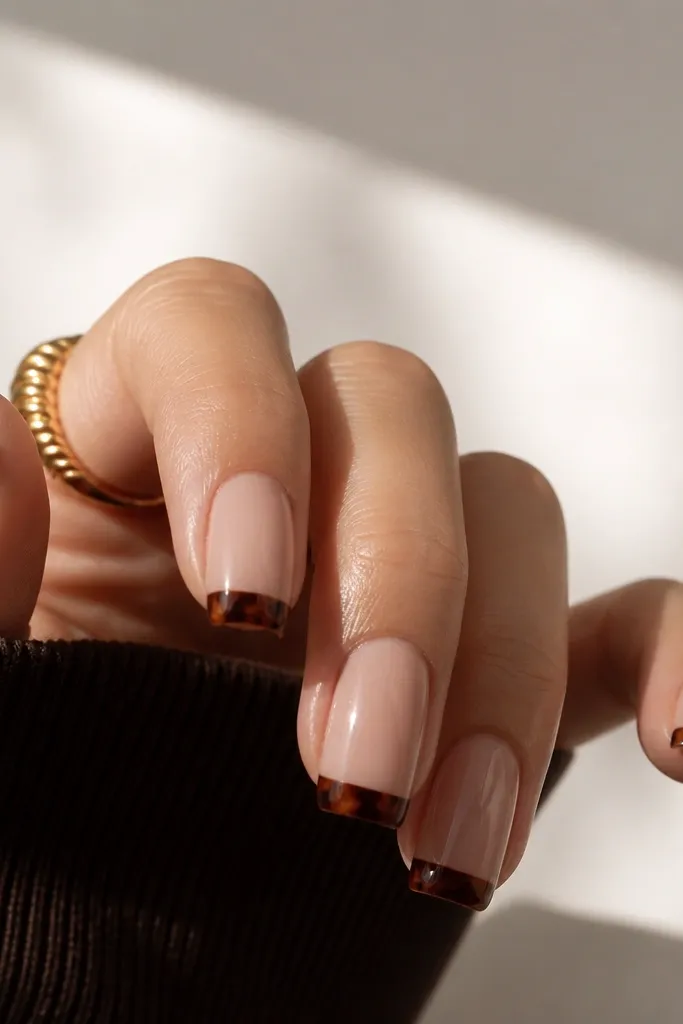
Faux tortoiseshell specks make brown look dimensional without adding actual shell pieces. The irregular dots catch light like tiny highlights, so the tips look richer in photos. It works especially well for fall outfits because the palette reads warm and grounded.
Paint the chestnut French stripe and cure. Then add lighter caramel specks with a dotting tool and a tiny amount of dark umber in between. Seal with top coat in two thin layers so the specks don't sink.
Pro tipKeep specks smaller at the center and slightly bigger at the corners for a balanced look.
Watch outAvoid uniform dots - tortoiseshell needs randomness or it reads like a pattern sticker.